
6 layers230 × 76 mm
Dual converter motherboard V1.0
Rack-Robotics/Powercore-V3
electrical-discharge power supply, open-source
130 parts85

 JolonB/Pico-Steno4
A Raspberry Pi Pico based stenography keyboard
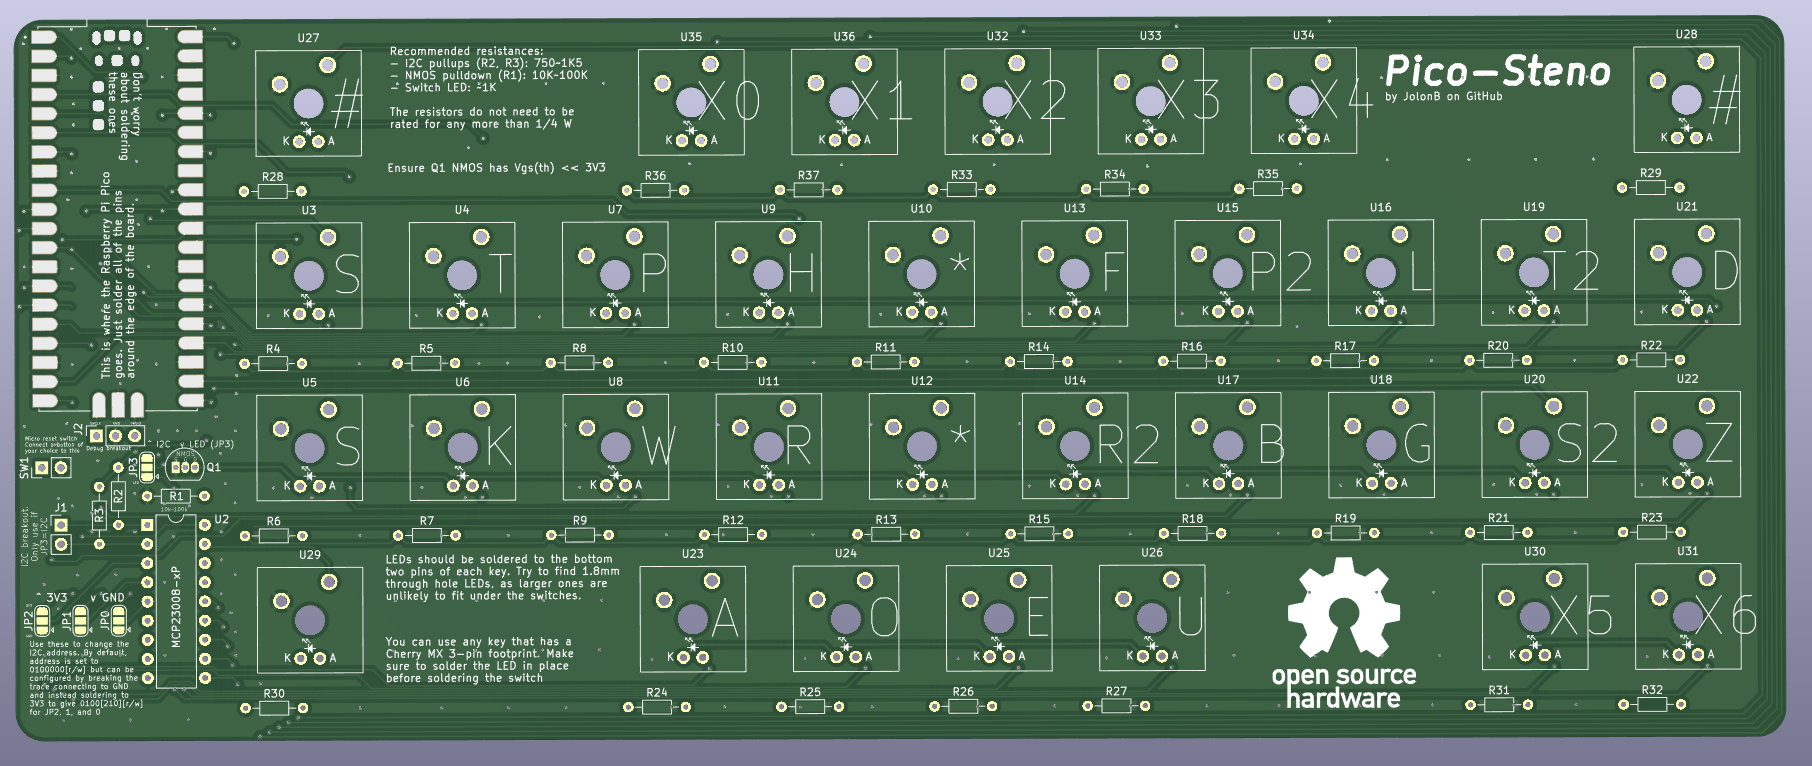
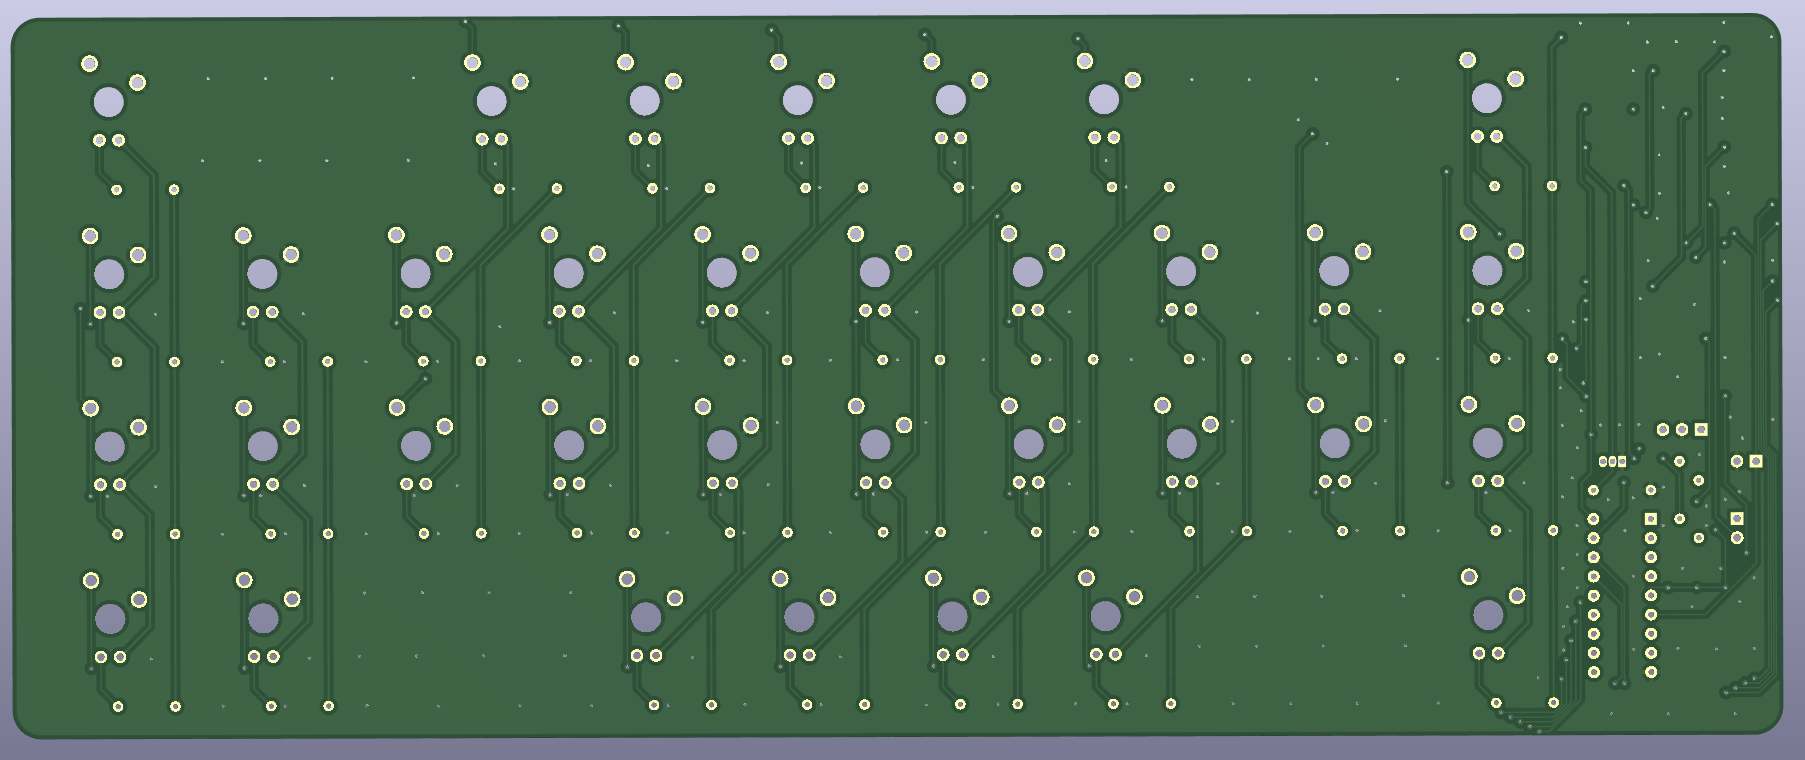
Keyboard is an open-source printed circuit board by JolonB, from the JolonB/Pico-Steno repository on GitHub. It is a 2-layer board of 235 × 95.7 mm with 87 parts on 92 nets, routed with 725 tracks and 289 vias.
It is built around the SC0915. Its parts include 37 resistors, 36 ICs, 2 connectors, 1 transistor and 1 switch. It belongs with the keyboards and input boards and the RP2040 boards of this library.
An open-source Raspberry Pi Pico stenography keyboard.
I promise I'll write more here soon.
Gerber files can be found here. I have had these files manufactured and the keyboard works fine. I'll add some photos of the keyboard at some stage.
The bill of materials can be found here.
You will need to install CircuitPython to run this code. Follow the instructions here to do this.
To begin, you need to have circup installed so you can add libraries to your Pico.
Start by installing the dependencies:
sudo apt install -y git python3 python3-pipAnd then install circup:
pip3 install --upgrade pip
pip3 install circup
You can update circup by running:
pip3 install --upgrade circupNow, you can simply install the packages by plugging in your Pico which is running CircuitPython and running:
cd src/
circup install -r requirements.txtWhen the keyboard is connected over USB, a file explorer will be opened.
Copy the .py files from (but not including) the src/ directory into the Pico's filesystem.
By modifying the i2c_conf.py file, you can add functions to the extra keys (X0–X6).
Good question.
Because I'm not using a keyboard matrix! I had to wire each key directly to a GPIO pin on the Pico. I didn't both trying to optimise the connections to minimise crossovers, so this is what you get. But hey, this is open source; if it annoys you, feel free to fork it!
pip3 install adafruit-board-toolkit
python3 -c "import adafruit_board_toolkit.circuitpython_serial; print(adafruit_board_toolkit.circuitpython_serial.data_comports()[0].device)"
If you get IndexError: tuple index out of range, then no data port was detected.
Check that you have all the correct drivers installed and that the keyboard is connected properly.
| Qty | Value | Footprint | References |
|---|---|---|---|
| 37 | R | Resistor_THT:R_Axial_DIN0204_L3.6mm_D1.6mm_P7.62mm_Horizontal | R1, R2, R10, R11, R12, R13, R14, R15, R16, R17, R18, R19, R20, R21, R22, R23 +21 |
| 34 | CherryMX_LED | CherryMX_LED:CherryMX_1.00u_LED | U10, U11, U12, U13, U14, U15, U16, U17, U18, U19, U20, U21, U22, U23, U24, U25 +18 |
| 4 | MountingHole_Pad | MountingHole:MountingHole_3mm_Pad_Via | H1, H2, H3, H4 |
| 4 | SolderJumper_3_Bridged12 | Jumper:SolderJumper-3_P1.3mm_Bridged12_RoundedPad1.0x1.5mm | JP0, JP1, JP2, JP3 |
| 2 | Conn_01x03_Female | Connector_PinSocket_2.54mm:PinSocket_1x03_P2.54mm_Vertical | J1, J2 |
| 1 | MCP23008-xP | Package_DIP:DIP-18_W7.62mm | U2 |
| 1 | Q_NMOS_SGD | Package_TO_SOT_THT:TO-92L_Inline | Q1 |
| 1 | SC0915 | RPiPico:MODULE_SC0915 | U1 |
| 1 | SW_Push | Connector_PinHeader_2.54mm:PinHeader_1x02_P2.54mm_Vertical | SW1 |
The 85 most common of 87 parts.
Rack-Robotics/Powercore-V3
electrical-discharge power supply, open-source


jackw01/pi-pico-printer-board
Tinkerer-friendly Klipper compatible 3D printer control board using Raspberry Pi Pico


Supermagnum/Europe-ergo
A 94 key ergonomic, split keyboard suitable for European countries.

lambdaBoost/MC6205-graphical-display
graphical display on old neon plasma screen


It measures 235 × 95.7 mm and has 2 copper layers, 1.6 mm thick.
87 parts, built around the SC0915. The full list of its parts is on this page, with links to each part's symbol and footprint where PCBKit's library has them.
From the JolonB/Pico-Steno repository on GitHub, at the commit this page was made from: the board is hardware/keyboard/keyboard.kicad_pcb and its schematic hardware/keyboard/keyboard.kicad_sch. PCBKit opens the board in the browser, with nothing to install.
Its repository states no licence, so its author keeps all rights: ask JolonB before reusing the design.