4 layers241.7 × 56.7 mm

 wafaffles/AudioSwitchInator
Audio Switch + Hifi Phono Preamp
AudioSwitchInator is an open-source printed circuit board by wafaffles, from the wafaffles/AudioSwitchInator repository on GitHub. It is a 4-layer board of 140 × 70 mm with 63 parts on 51 nets, routed with 234 tracks and 1 via.
It is built around the IR1215S and OPA1656ID. Its parts include 16 capacitors, 7 connectors, 4 resistors, 4 switches and 3 ICs. It belongs with the audio and music boards of this library.

A multi input and output audio switch with an integrated, toggleable Hifi phono preamp
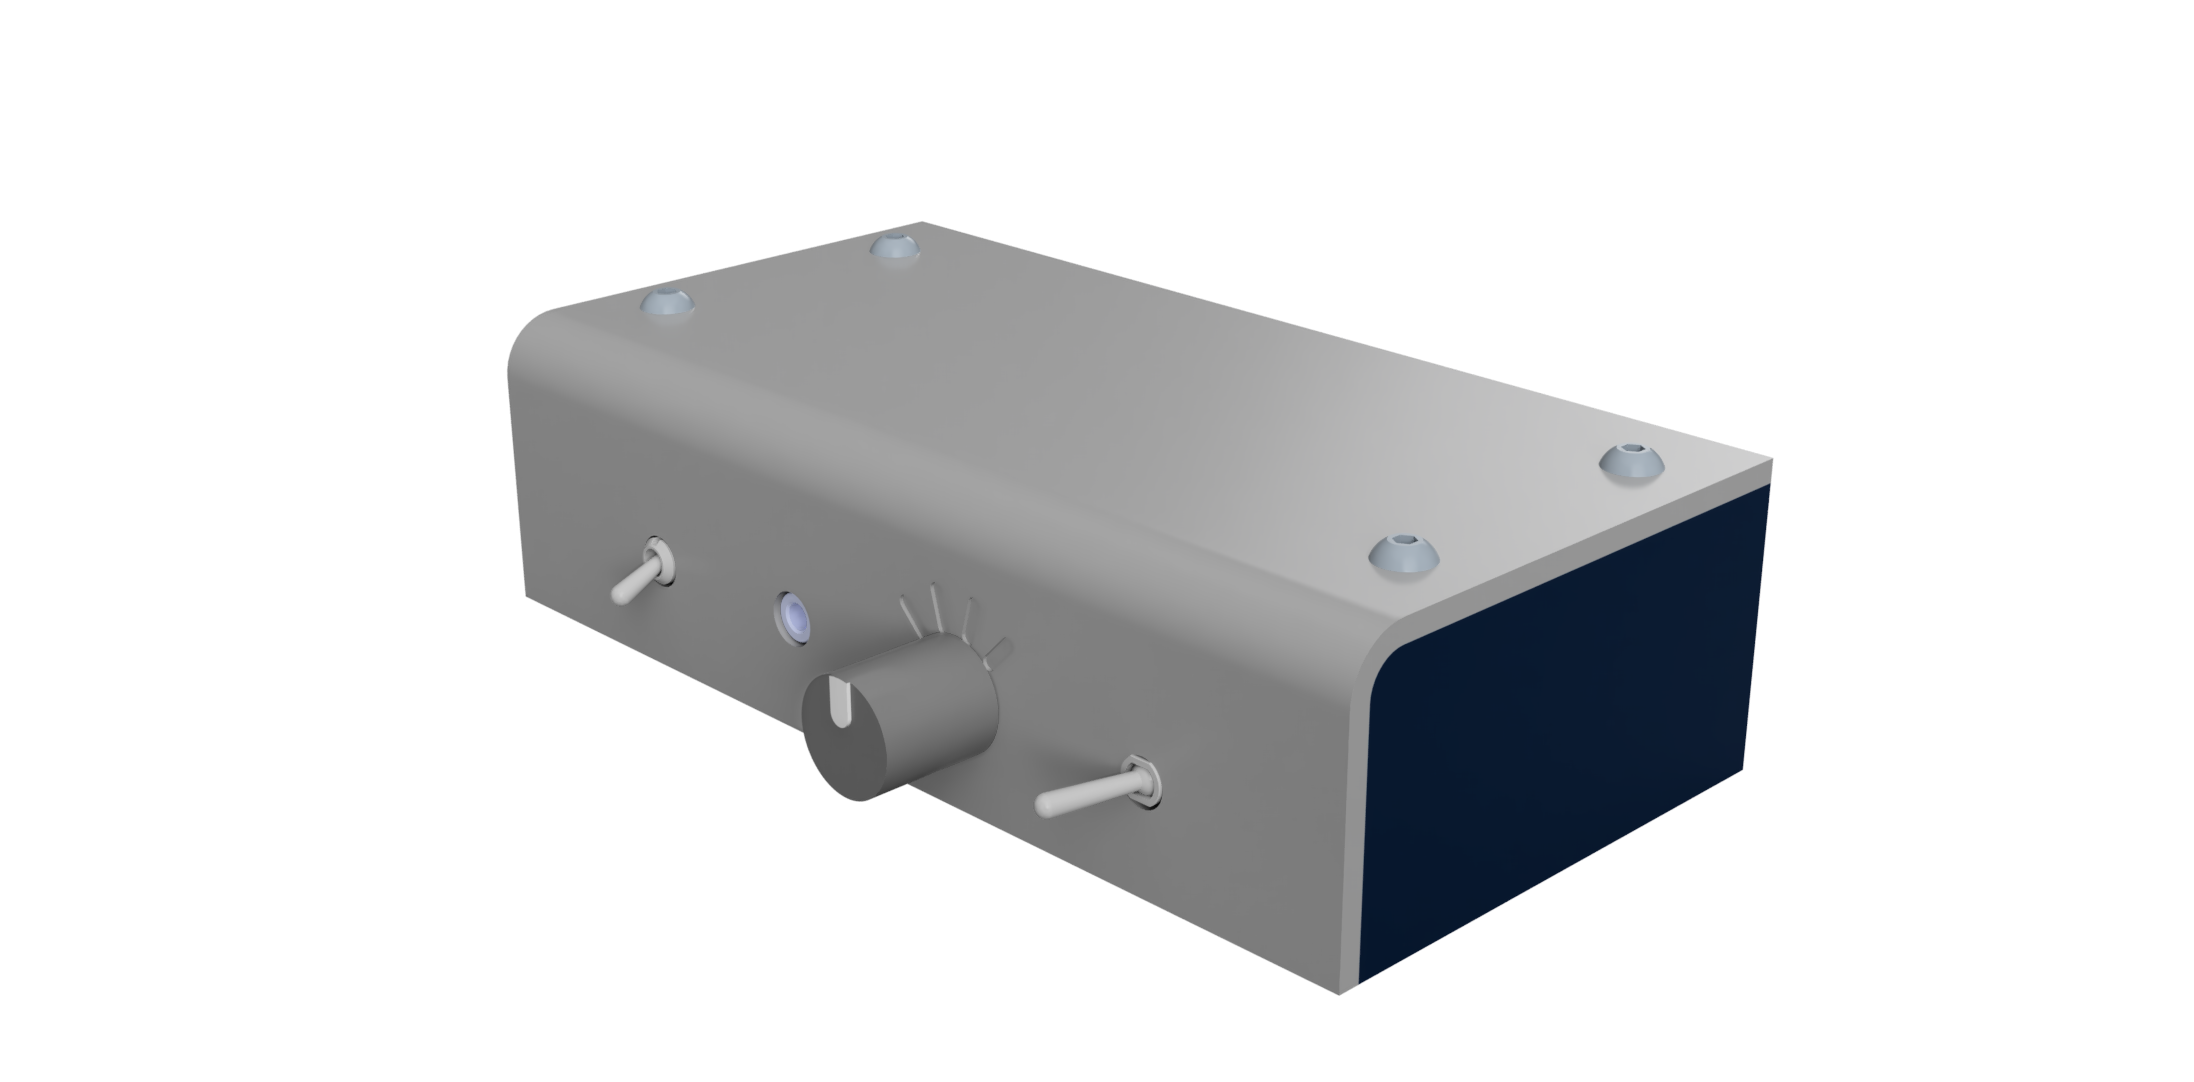
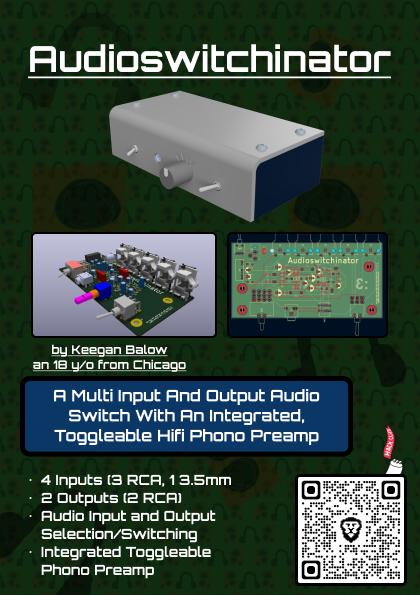
The Audioswitchinator is a device that was made to allow me to route all of my audio inputs and outputs into one place on my desk so that I can easily change where my audio is coming from and going to without having to deal with changing the input on my speakers, changing the output on my computer, and my record player mainly. It features 4 inputs, 3 RCA and 1 3.5mm ports, and 2 ouputs, both being RCA ports. The first of the phono inputs is routed to a toggleable phono preamp, based on this design by Elliott Sound Products. The mixture of inputs and ports allows for easily compatibility with most audio products, as well as supporting smaller on the go inputs like a phone or other input device. While I only need 2 inputs and 2 outputs currently, the device features the extra inputs and outputs as my equipment arsenal expands or I want to test new products without fully removing the old ones.
The device features a power switch on the rear to power the integrated phono preamp, a switch on the front to enable routing of the turntable input through the phono preamp, a rotary switch to choose which input you would like to listen to, and a switch to choose between either of the two inputs. It is powered using 12V via a 5.7mm barrell jack. It has a very low power draw of around 50mA at most so nearly any suitable 12V switching mode power supply should work well.
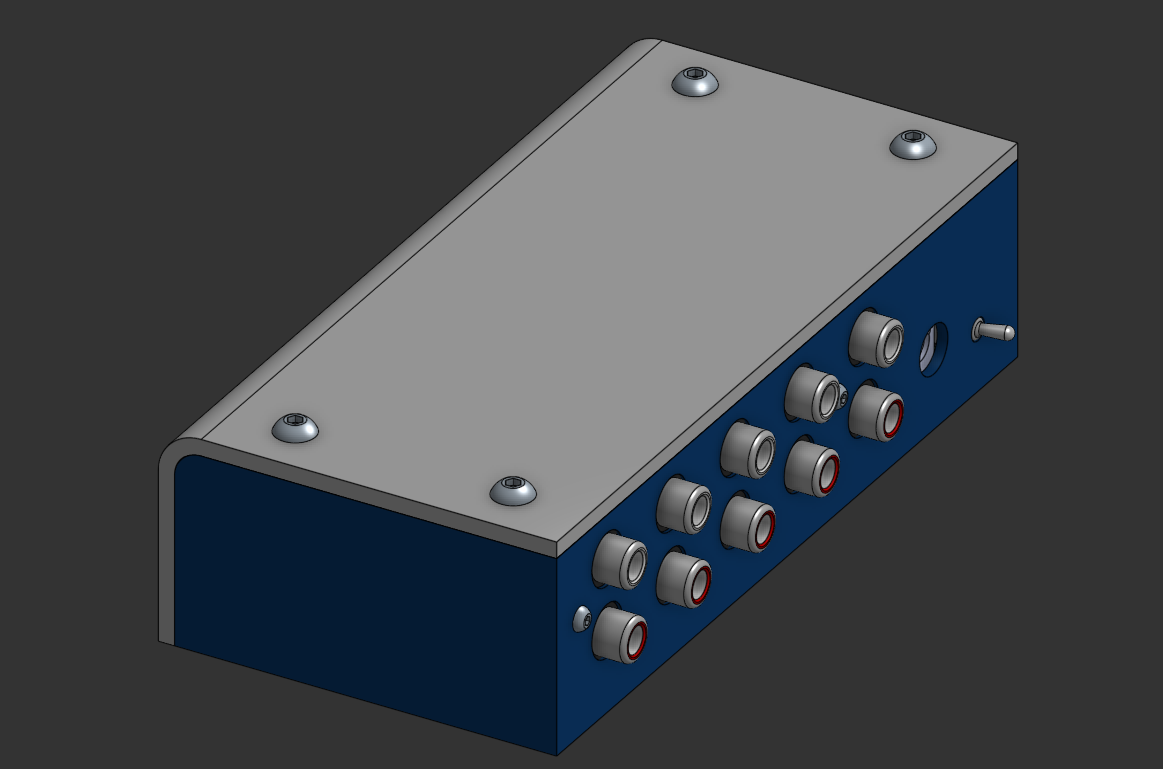
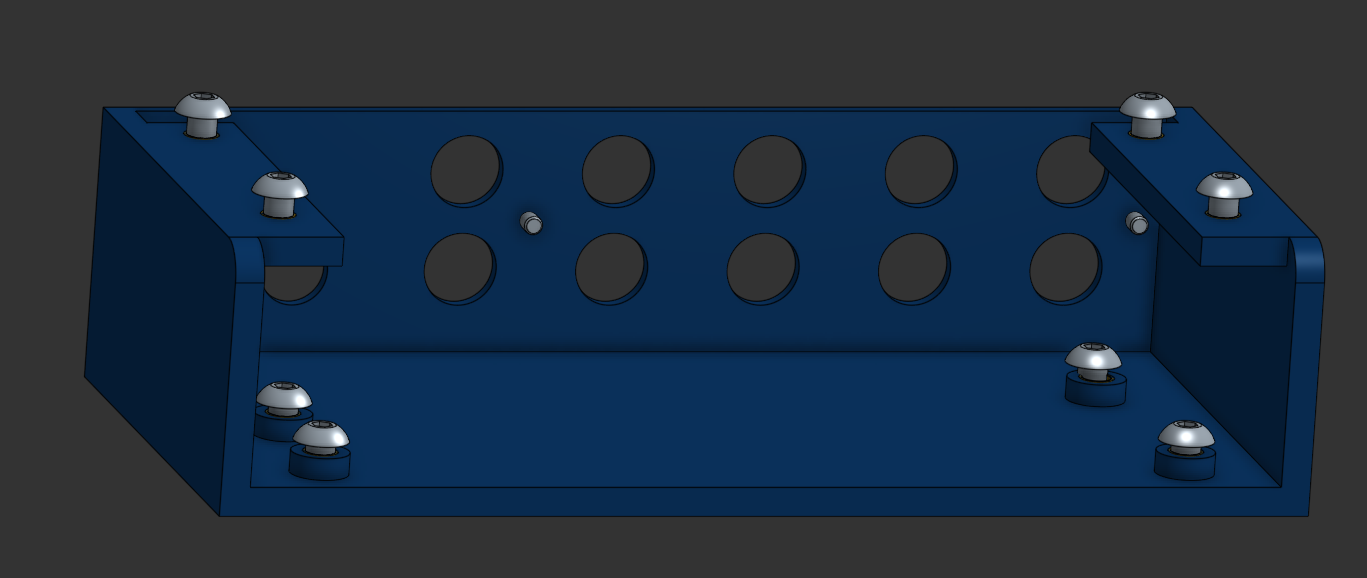
The case is fully 3d printed with use of a few M4 bolts and heatset inserts, but can easily be modified to thread directly into the plastic. The design resembles the design pattern of Schiit Audio products as I currently own a DAC and headphone amp and really like the design. The case is at largest 160x80, so it is easily printable on most 3D printers, being designed to print on my Bambu Labs A1 Mini.
CAD Files: HERE
ECAD Files: HERE
Production Files: HERE
You will need:
To start, you will need to have access to a 3D printer with a build volume of at least 160x80mm and about 100-120g of filament of your choice.
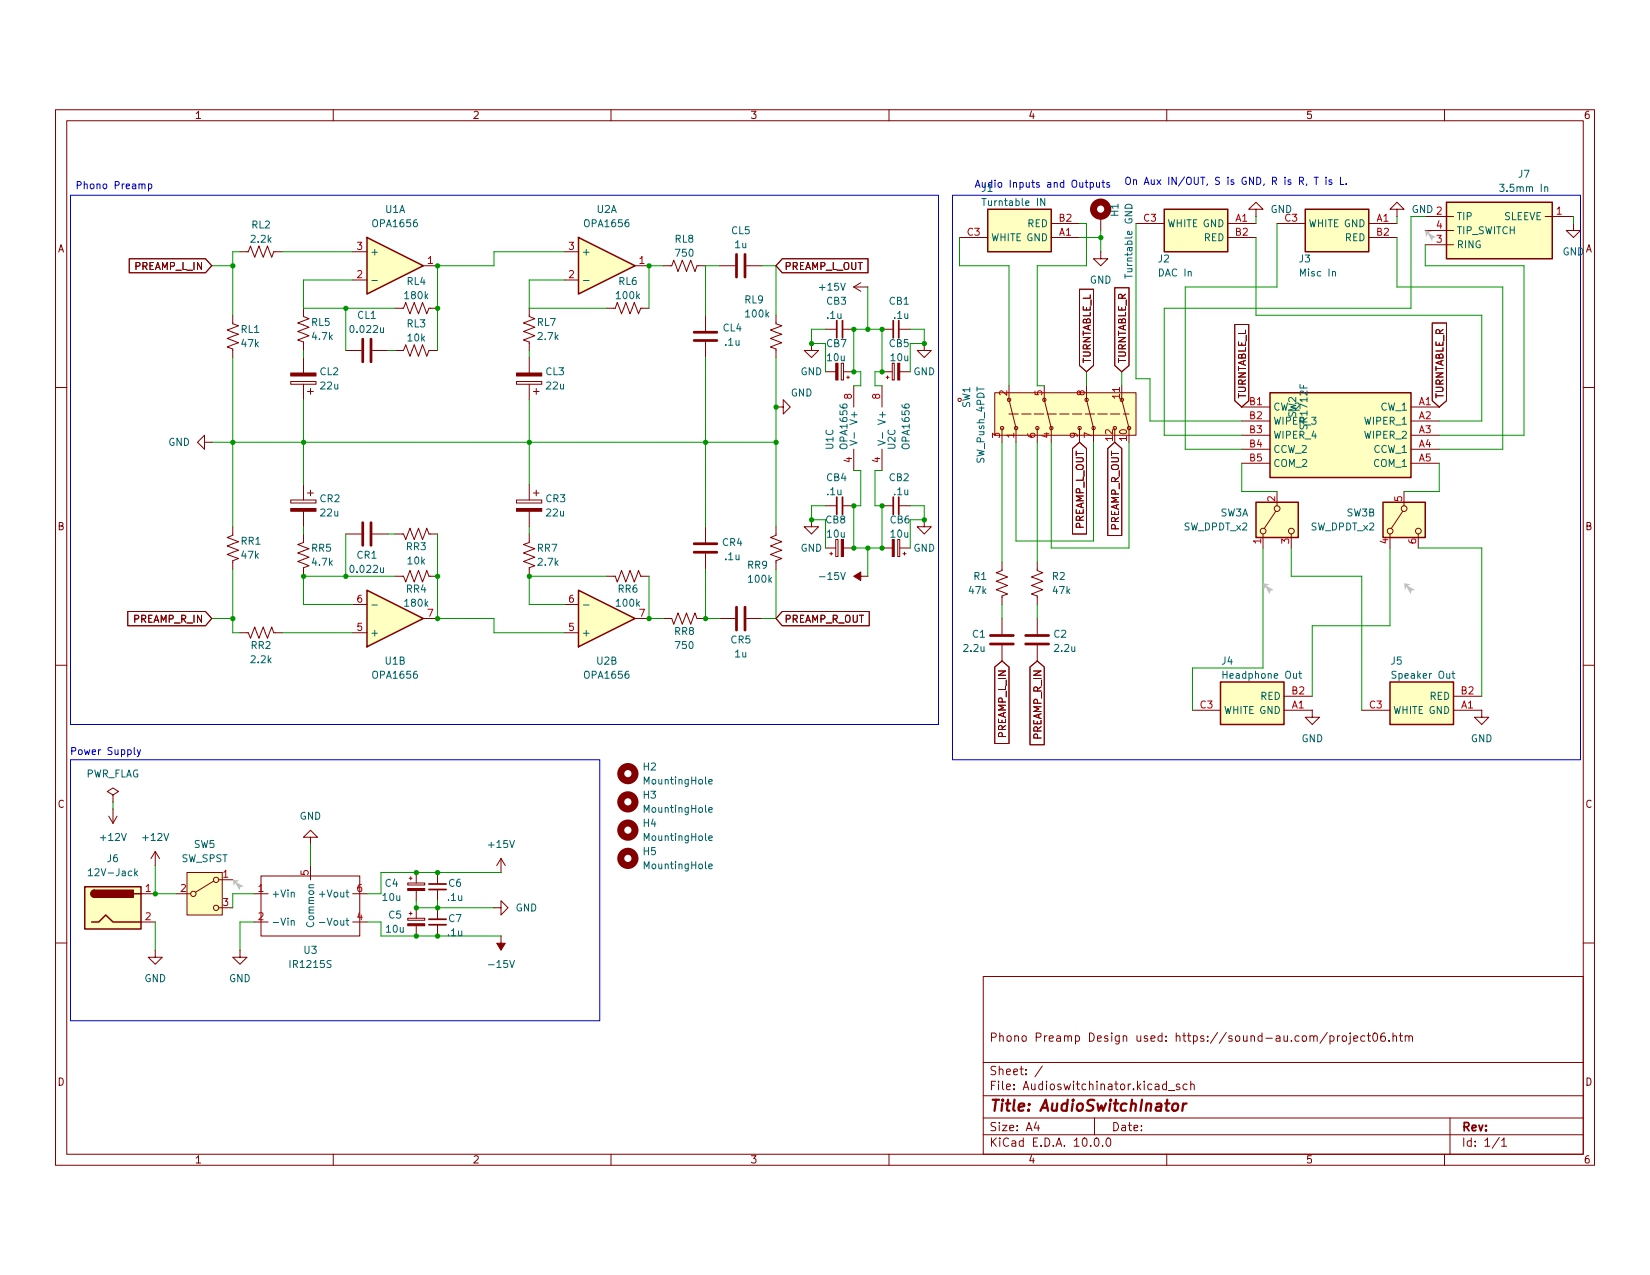
You then need to order all the parts and PCB and have proper resources to solder these components. Once you have these, solder all components on as specified in the schematic.
Once soldered together where listed in the schematic, then with the bottom part of the case, insert the 8 heatset inserts if you choose not to modify the design to use those. To insert heatset inserts, get the largest tip that fits inside the heatset insert and install it on your soldering iron. Now, place the insert where it goes and insert the tip into the center of the insert snd heat it while applying slight downward force until it is flush with the surface. A small pair of tweasers may be helpful to reorient it.
Once all the heatset inserts are installed, you should be able to screw in the PCB, then screw on the top, and it should be working there!
Bill of Materials: HERE
Audioswitchinator PCB Schematic
Audioswitchinator Case Front
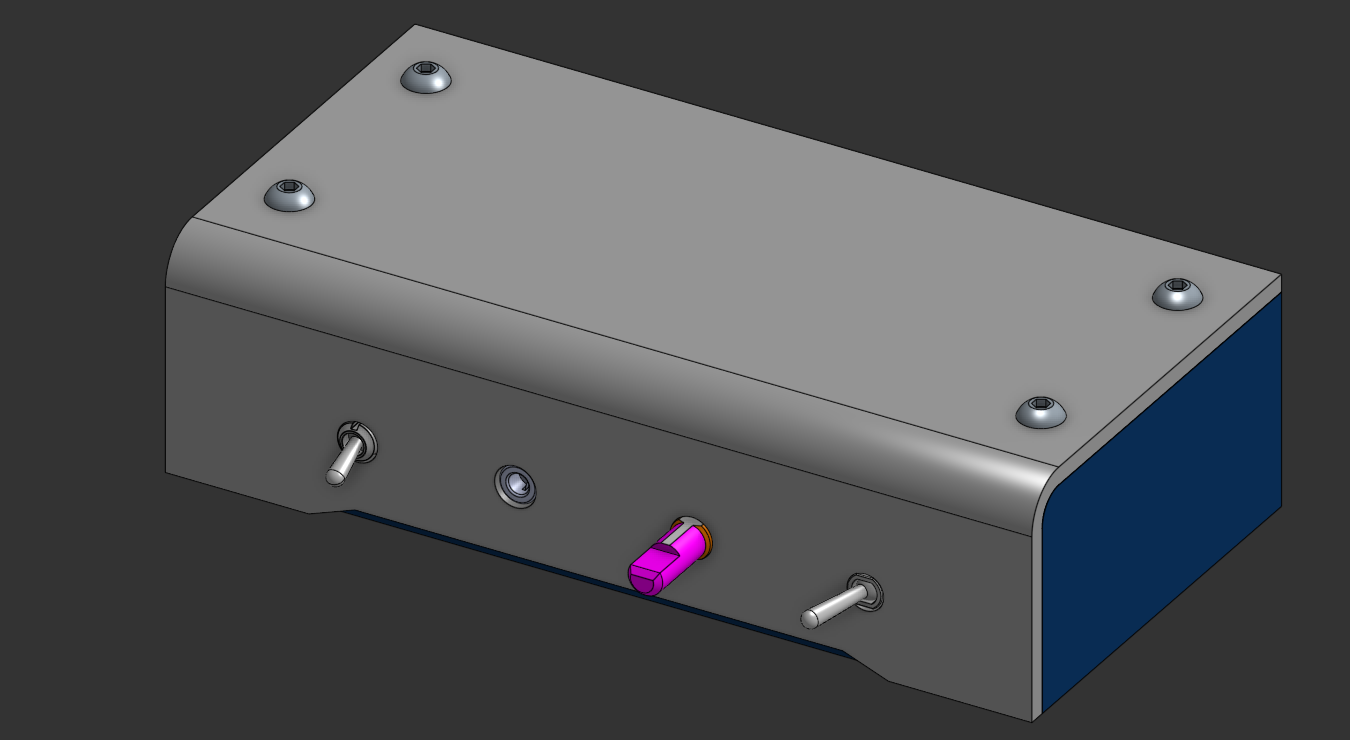
Audioswitchinator Case Back
Audioswitchinator Case Inside
PCB All Layers
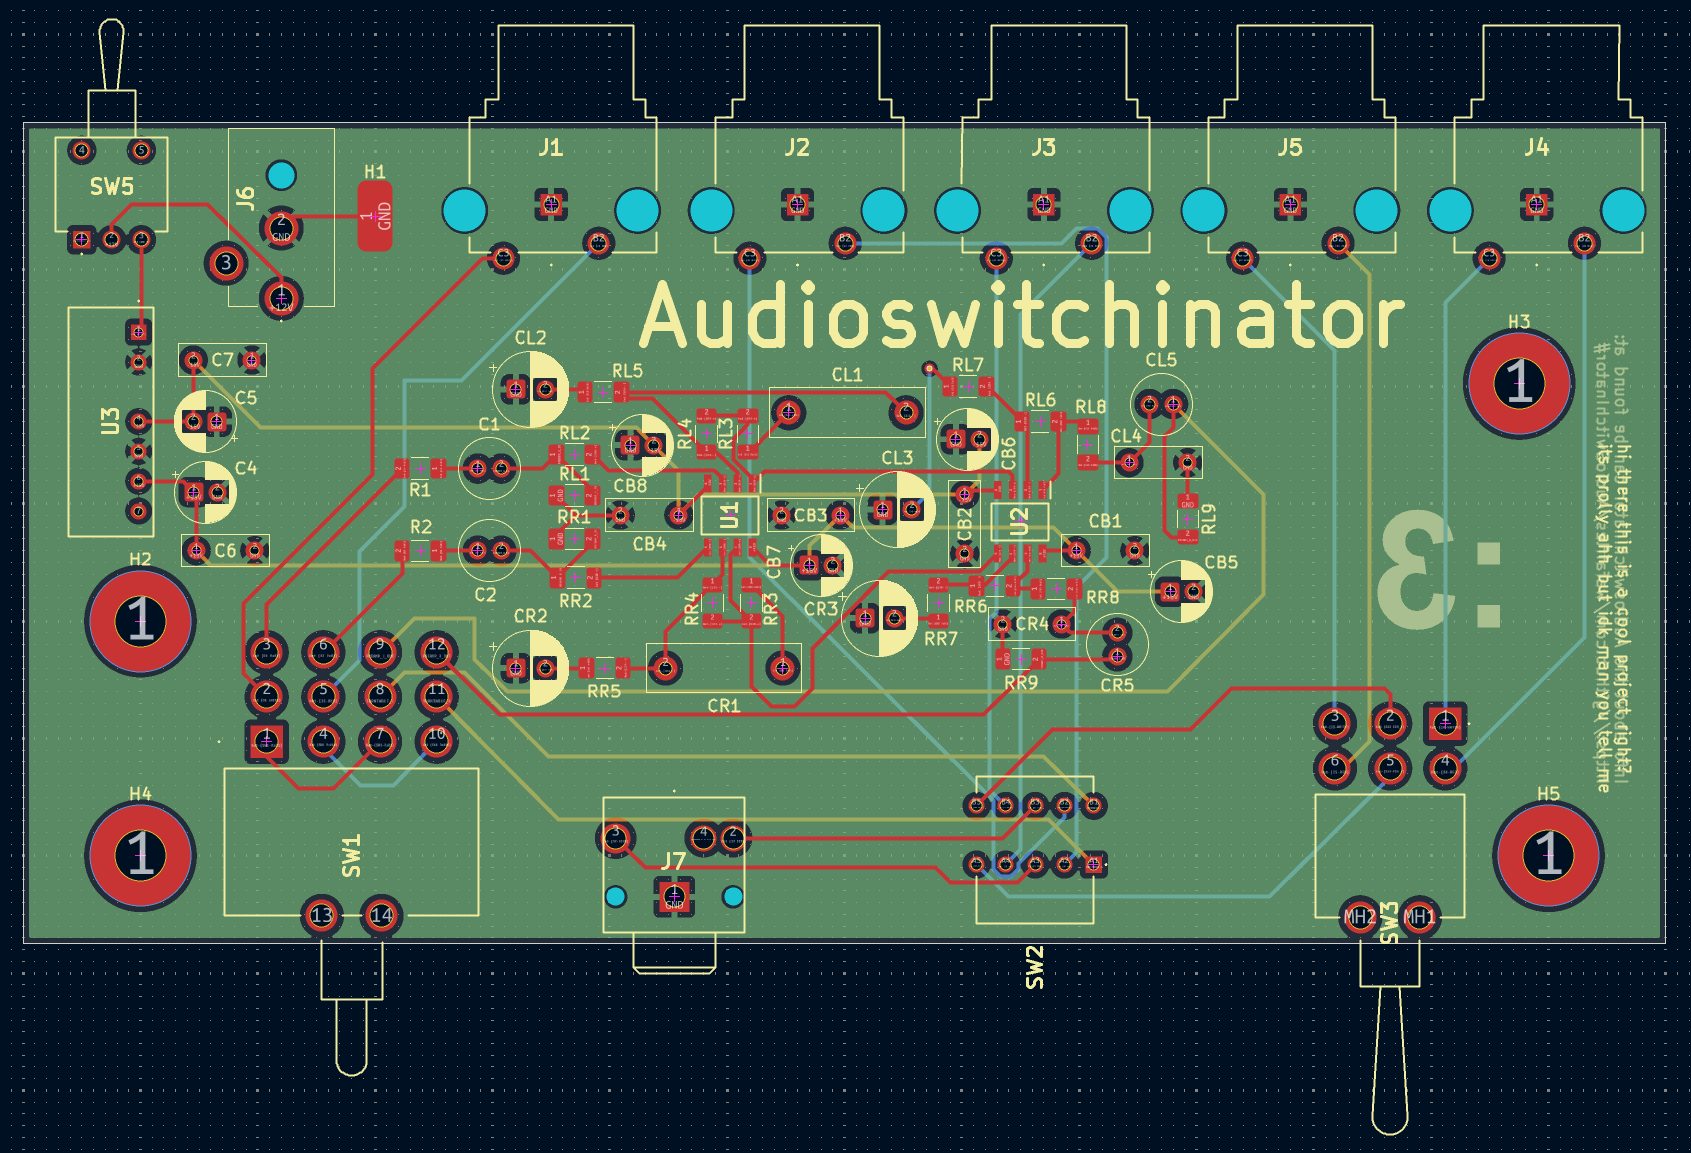
PCB F.Cu Layer
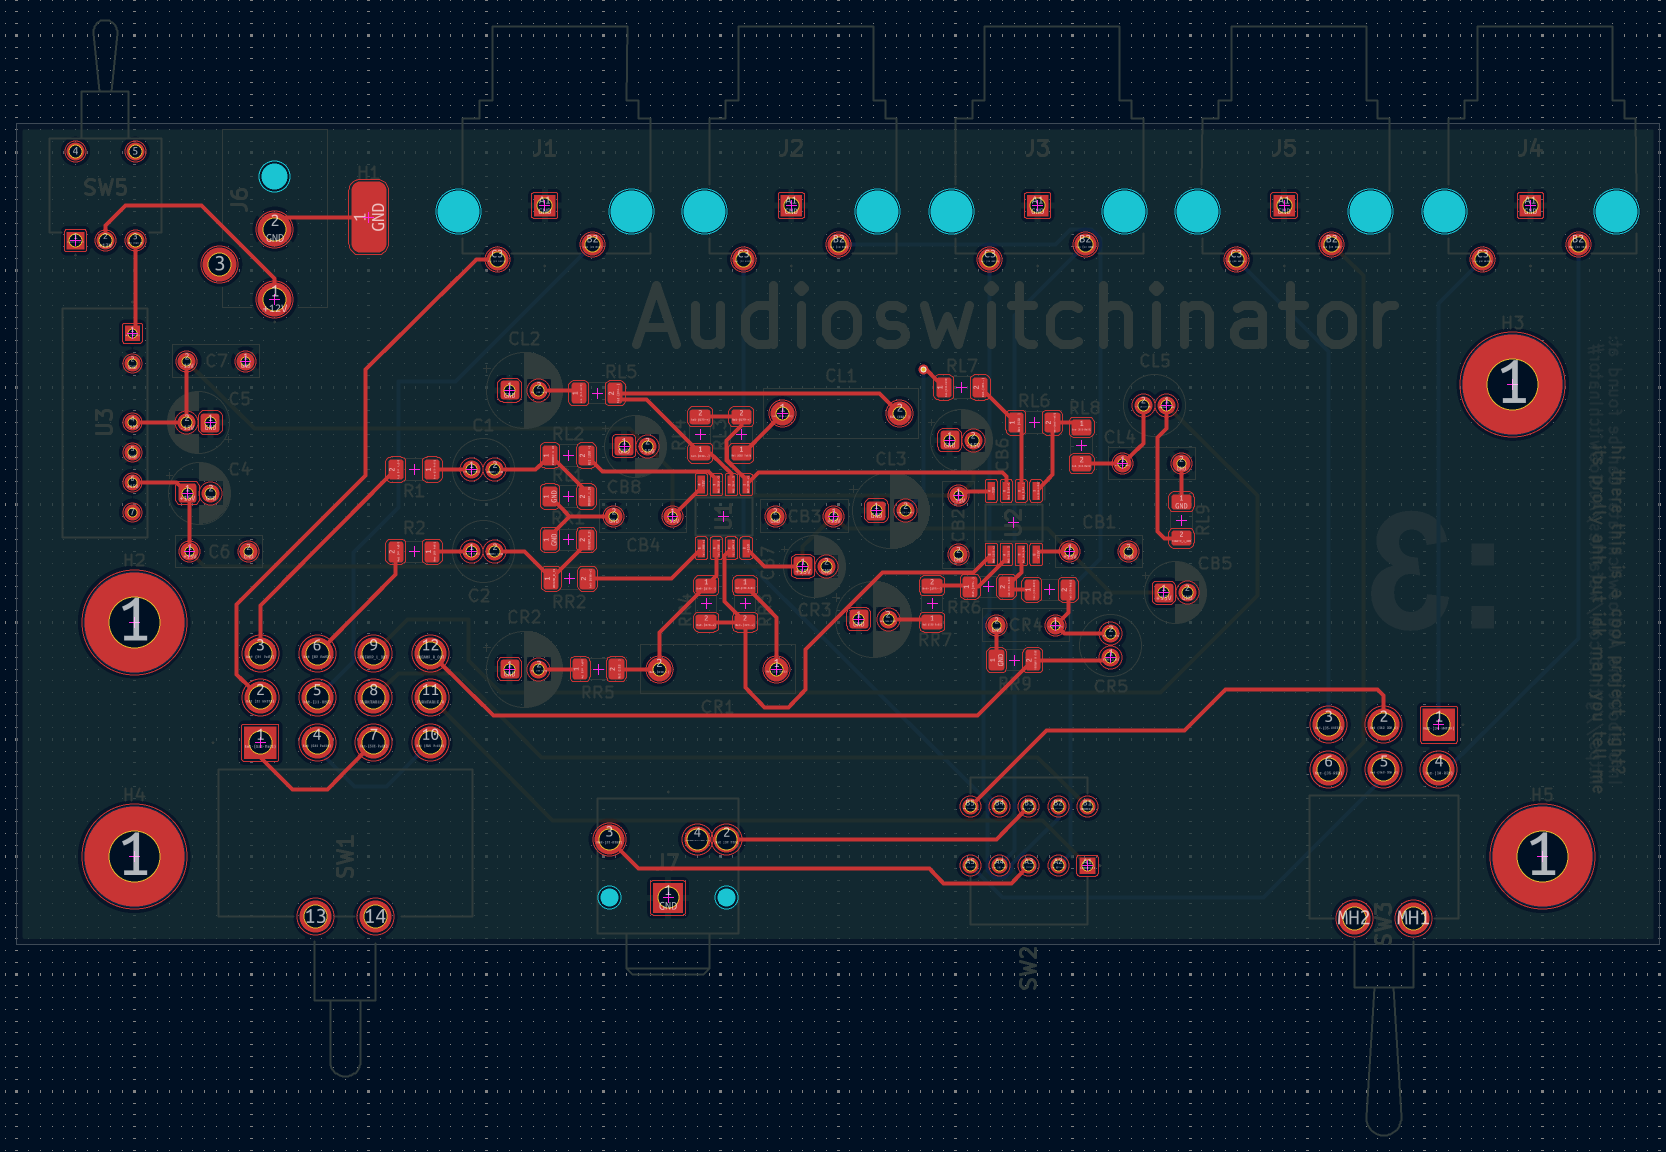
PCB In1.Cu Layer
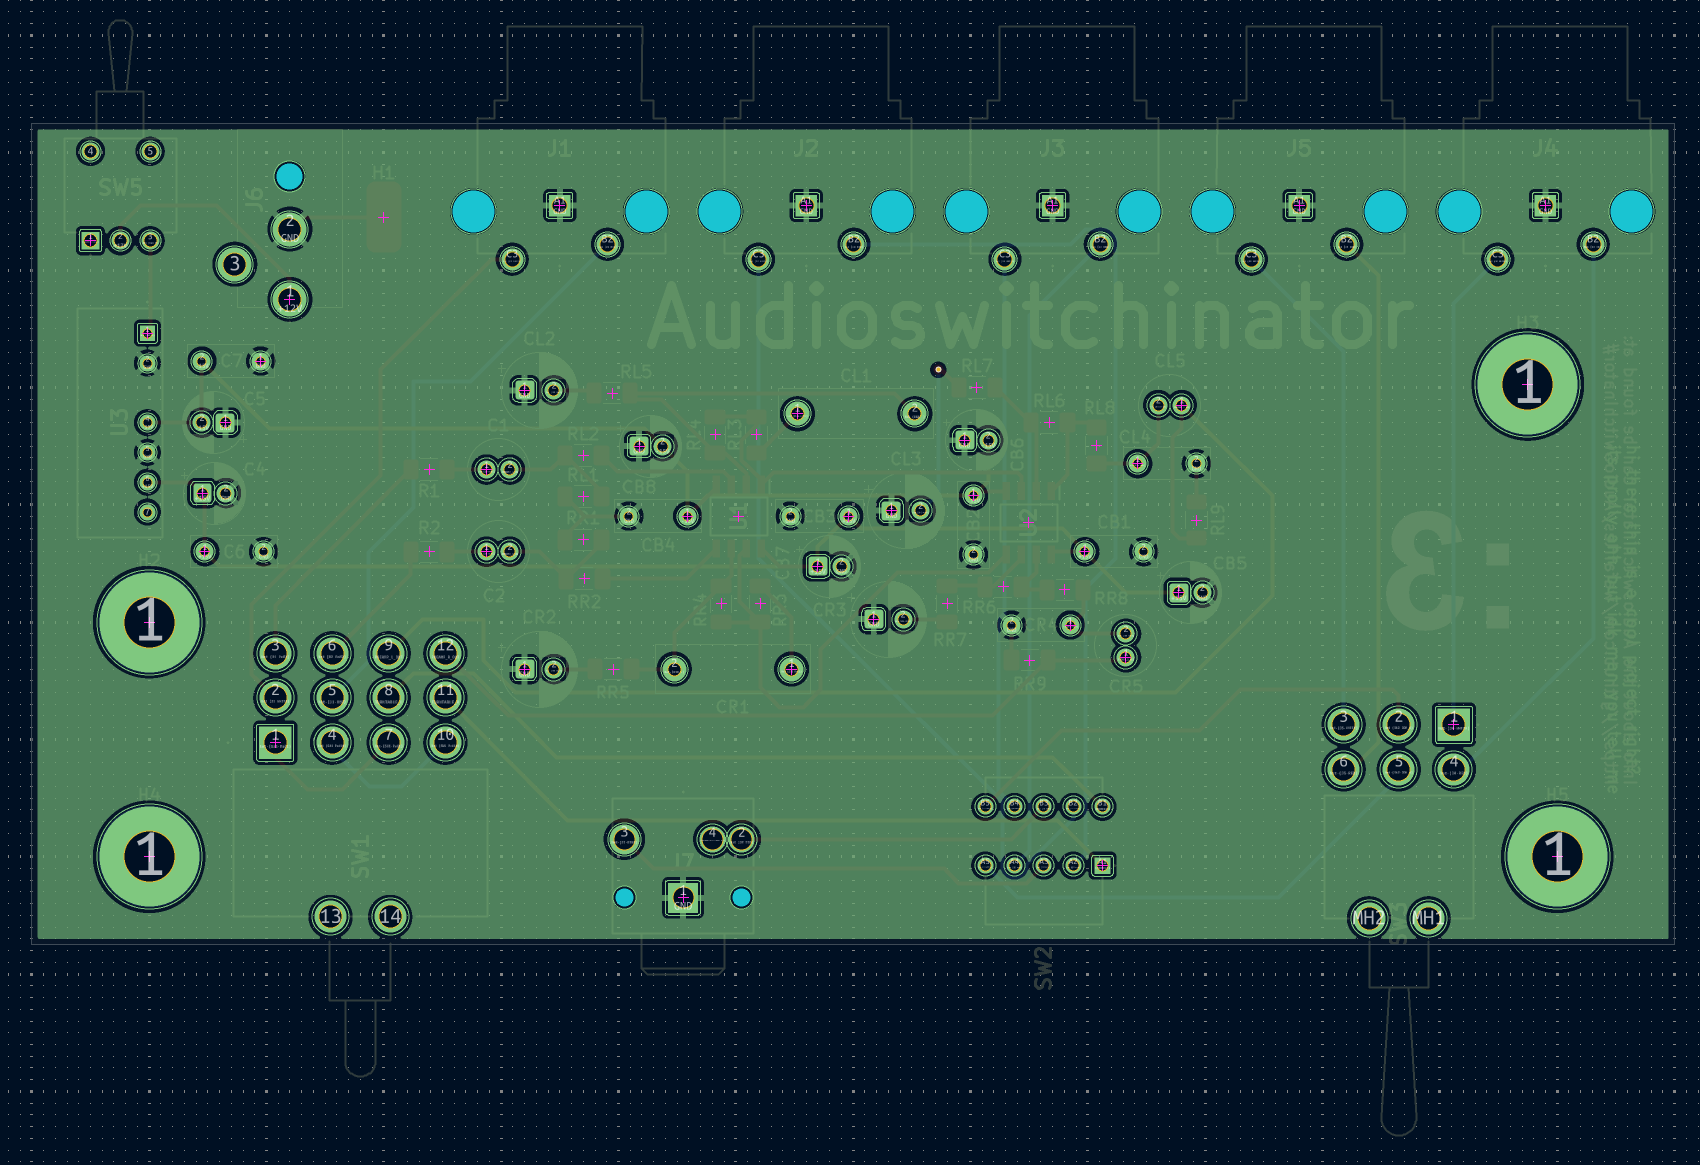
PCB In2.Cu Layer
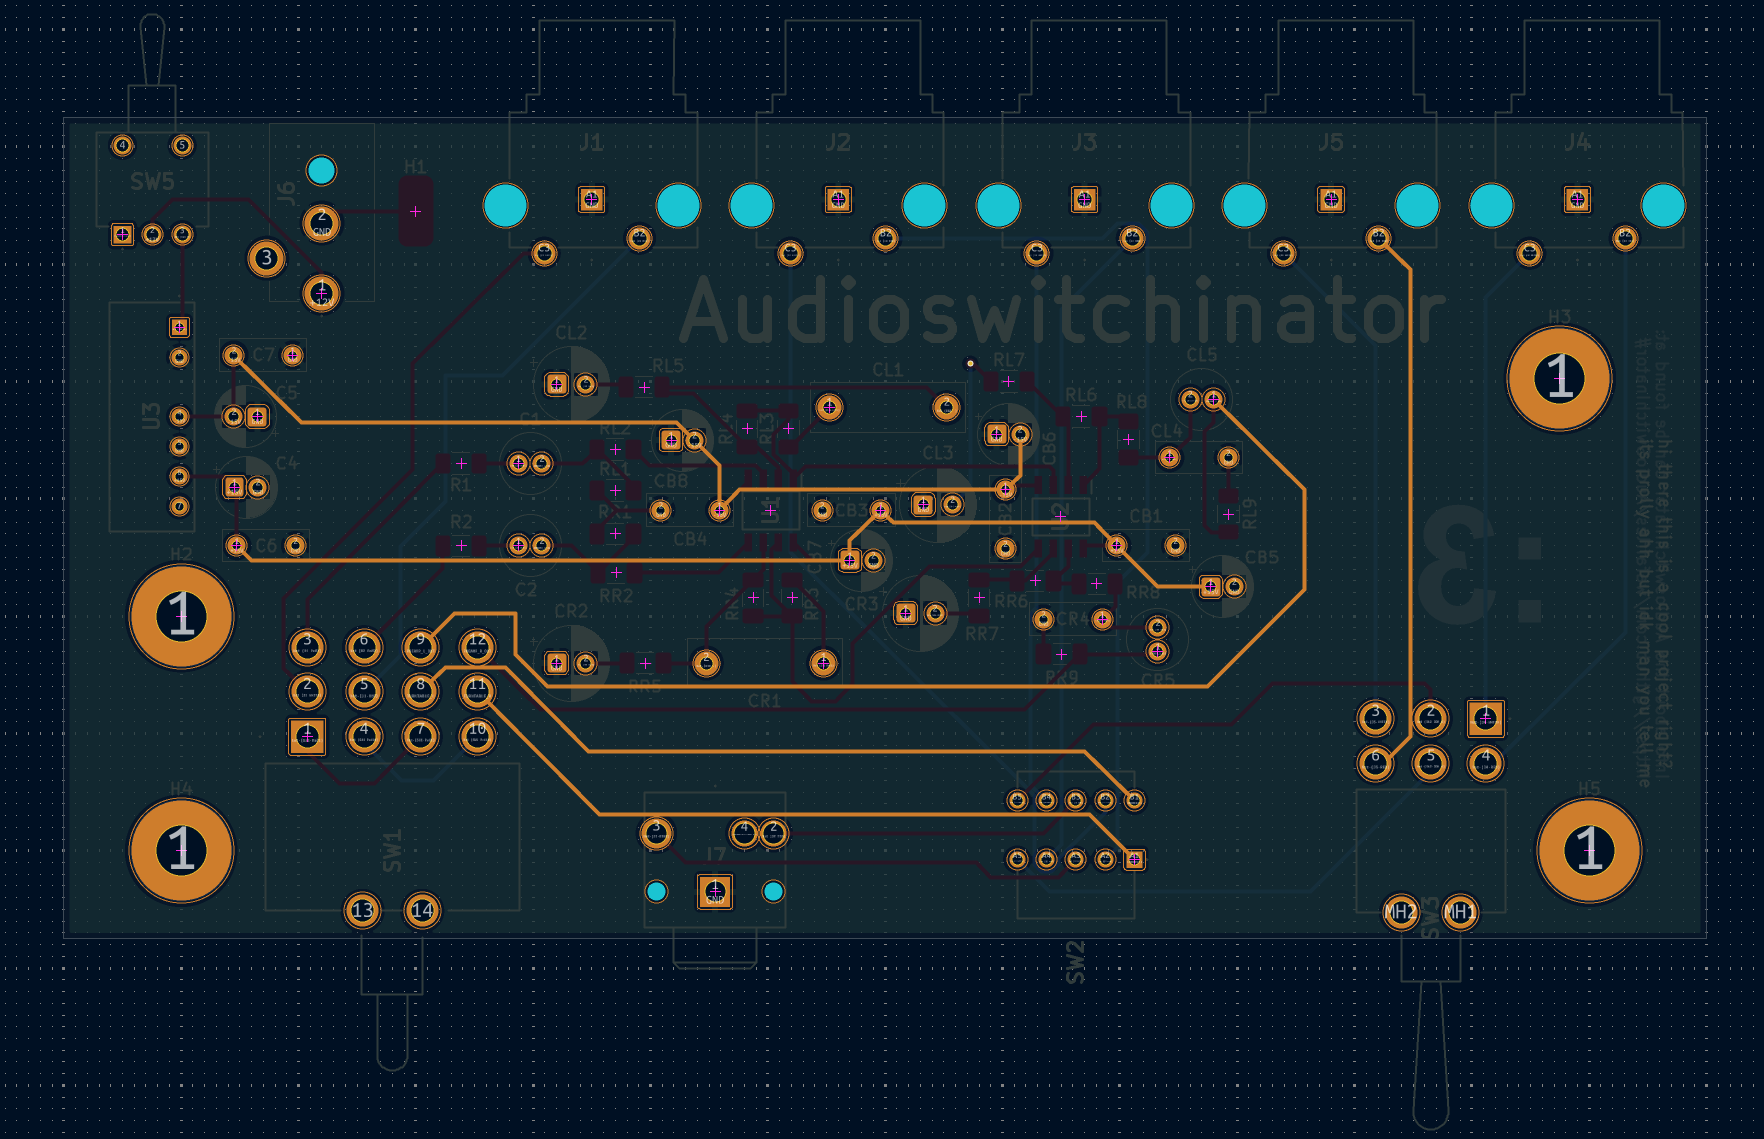
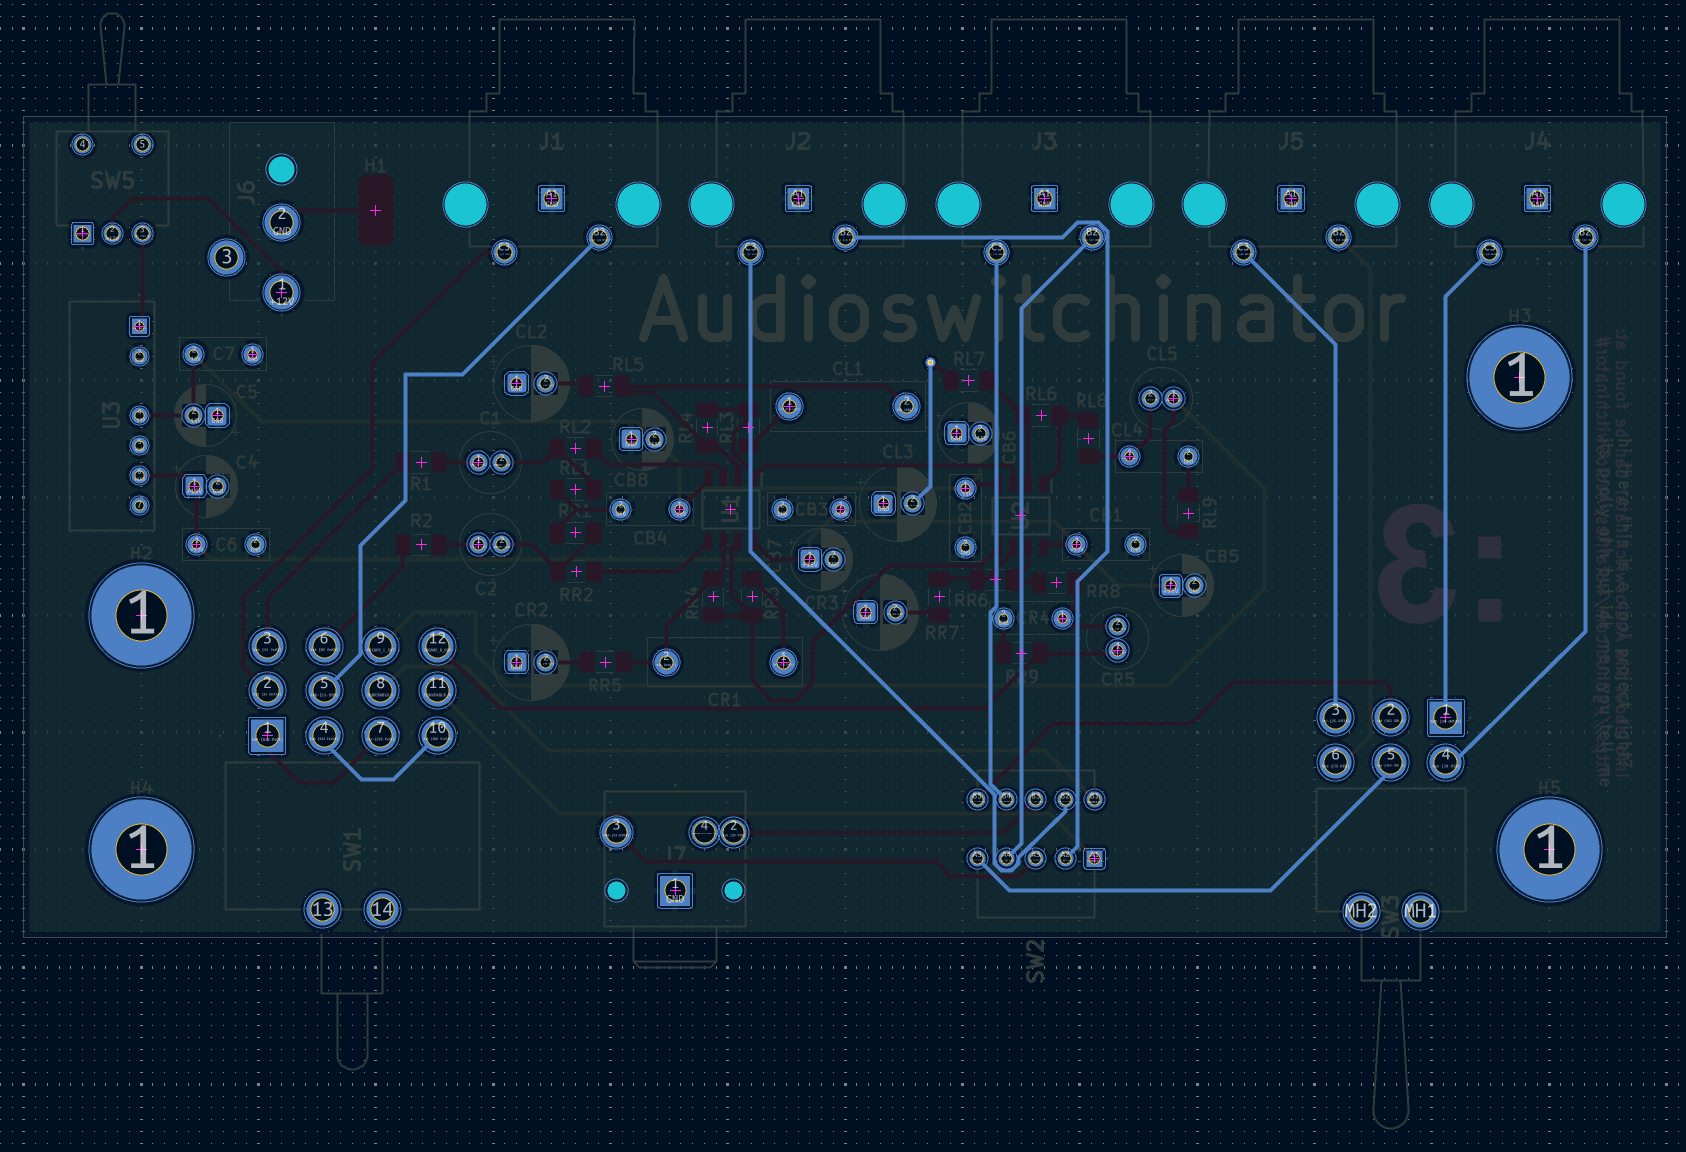
PCB B.Cu Layer
Fromt of PCB
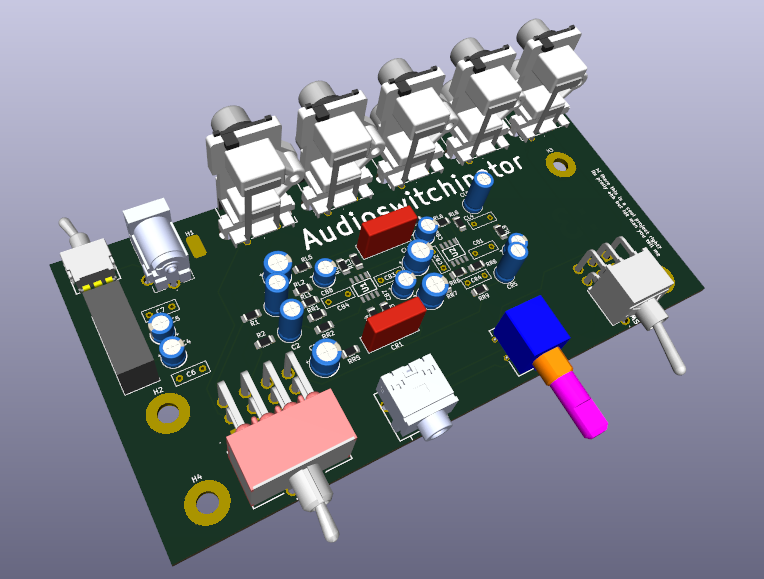
Back of PCB
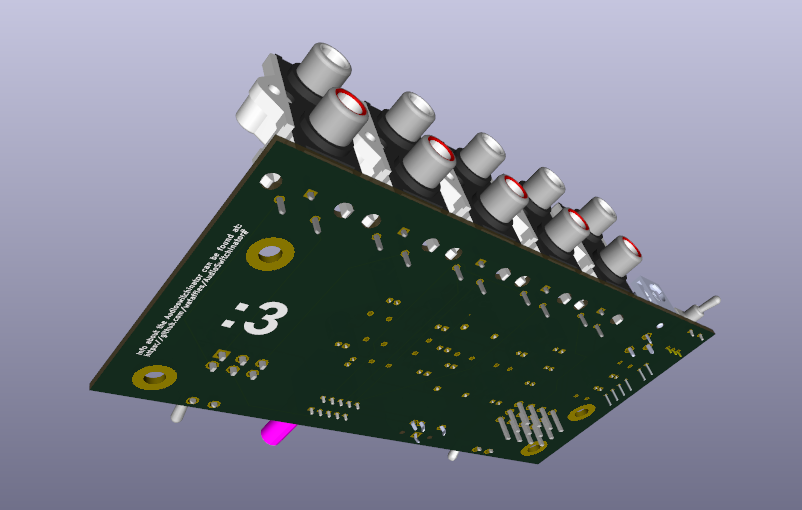
This project uses:
| Qty | Value | Footprint | References |
|---|---|---|---|
| 8 | .1u | Capacitor_THT:C_Rect_L7.2mm_W2.5mm_P5.00mm | C6, C7, CB1, CB2, CB3, CB4, CL4, CR4 |
| 6 | 10u | Capacitor_THT:CP_Radial_D5.0mm_P2.00mm | C4, C5, CB5, CB6, CB7, CB8 |
| 4 | 100k | Resistor_SMD:R_1206_3216Metric_Pad1.30x1.75mm_HandSolder | RL6, RL9, RR6, RR9 |
| 4 | 22u | Capacitor_THT:CP_Radial_D6.3mm_P2.50mm | CL2, CL3, CR2, CR3 |
| 4 | 47k | Resistor_SMD:R_1206_3216Metric_Pad1.30x1.75mm_HandSolder | R1, R2, RL1, RR1 |
| 4 | MountingHole | MountingHole:MountingHole_4.3mm_M4_Pad | H2, H3, H4, H5 |
| 2 | 0.022u | Capacitor_THT:C_Rect_L13.0mm_W4.0mm_P10.00mm_FKS3_FKP3_MKS4 | CL1, CR1 |
| 2 | 10k | Resistor_SMD:R_1206_3216Metric_Pad1.30x1.75mm_HandSolder | RL3, RR3 |
| 2 | 180k | Resistor_SMD:R_1206_3216Metric_Pad1.30x1.75mm_HandSolder | RL4, RR4 |
| 2 | 1u | Capacitor_THT:C_Radial_D5.0mm_H11.0mm_P2.00mm | CL5, CR5 |
| 2 | 2.2k | Resistor_SMD:R_1206_3216Metric_Pad1.30x1.75mm_HandSolder | RL2, RR2 |
| 2 | 2.2u | Capacitor_THT:C_Radial_D5.0mm_H11.0mm_P2.00mm | C1, C2 |
| 2 | 2.7k | Resistor_SMD:R_1206_3216Metric_Pad1.30x1.75mm_HandSolder | RL7, RR7 |
| 2 | 4.7k | Resistor_SMD:R_1206_3216Metric_Pad1.30x1.75mm_HandSolder | RL5, RR5 |
| 2 | 750 | Resistor_SMD:R_1206_3216Metric_Pad1.30x1.75mm_HandSolder | RL8, RR8 |
| 2 | OPA1656 | CustomFootpritns:SOIC127P600X175-8N-OPA1656IDR | U1, U2 |
| 1 | 12V-Jack | CustomFootpritns:PJ059A | J6 |
| 1 | 3.5mm In | CustomFootpritns:SJ13554NG | J7 |
| 1 | DAC In | CustomFootpritns:1564219E | J2 |
| 1 | Headphone Out | CustomFootpritns:1564219E | J4 |
| 1 | IR1215S | CustomFootpritns:IR1215S | U3 |
| 1 | Misc In | CustomFootpritns:1564219E | J3 |
| 1 | SR1712F | CustomFootpritns:SRBM149501 | SW2 |
| 1 | SW_DPDT_x2 | CustomFootpritns:100AWDP1T1B4M6QE | SW3 |
| 1 | SW_Push_4PDT | CustomFootpritns:1004P3T2B4M7QE | SW1 |
| 1 | SW_SPST | CustomFootpritns:ATE1D6M310Z | SW5 |
| 1 | Speaker Out | CustomFootpritns:1564219E | J5 |
| 1 | Turntable GND | Connector_Wire:SolderWirePad_1x01_SMD_3x6mm | H1 |
| 1 | Turntable IN | CustomFootpritns:1564219E | J1 |
It measures 140 × 70 mm and has 4 copper layers, 1.6 mm thick.
63 parts, built around the IR1215S and OPA1656ID. The full list of its parts is on this page, with links to each part's symbol and footprint where PCBKit's library has them.
From the wafaffles/AudioSwitchInator repository on GitHub, at the commit this page was made from: the board is Models/ECAD/Audioswitchinator.kicad_pcb and its schematic Models/ECAD/Audioswitchinator.kicad_sch. PCBKit opens the board in the browser, with nothing to install.
Its repository states no licence, so its author keeps all rights: ask wafaffles before reusing the design.

Jscott44/RTEP5-the-raspberry-jam
Realtime digital guitar effects pedal designed for Raspberry PI, written in C++


HearnChristian/k-band-fmcw-radar
24 GHz FMCW radar front-end in KiCad (WIP): ADF4159 chirp synth, BGT24LTR11 transceiver, custom Marki AMM-8211PSM driver-amp symbol/footprint, OPA1656 IF, ADS8353 ADC, FT2232H USB.

filliformes/pandore
pandore is an open-source digital audio instrument protyping platform based on the LattePanda Mu.

AxelMcKenna/AFX-1000
RMX-1000-inspired effects processor for macOS, AU and VST3, built on a shared C++20 engine. Standalone Daisy Seed 3 hardware with two main PCBs and a custom housing is in development.

bernardopg/ps28-modern-amp
Infinity Primus PS28 amplifier modernization: TPA3255 engineering, validation and safety-gated workflow

Rivercraft911/R-01_Raster_Laser_Projector
Red, blue and green lasers combine through two dichroc mirrors and bounce off a spinning polygon mirror, which each mirror facet makes one scanline.