4 layers180 × 140 mm
 ChladpavPy/Super3DMaker
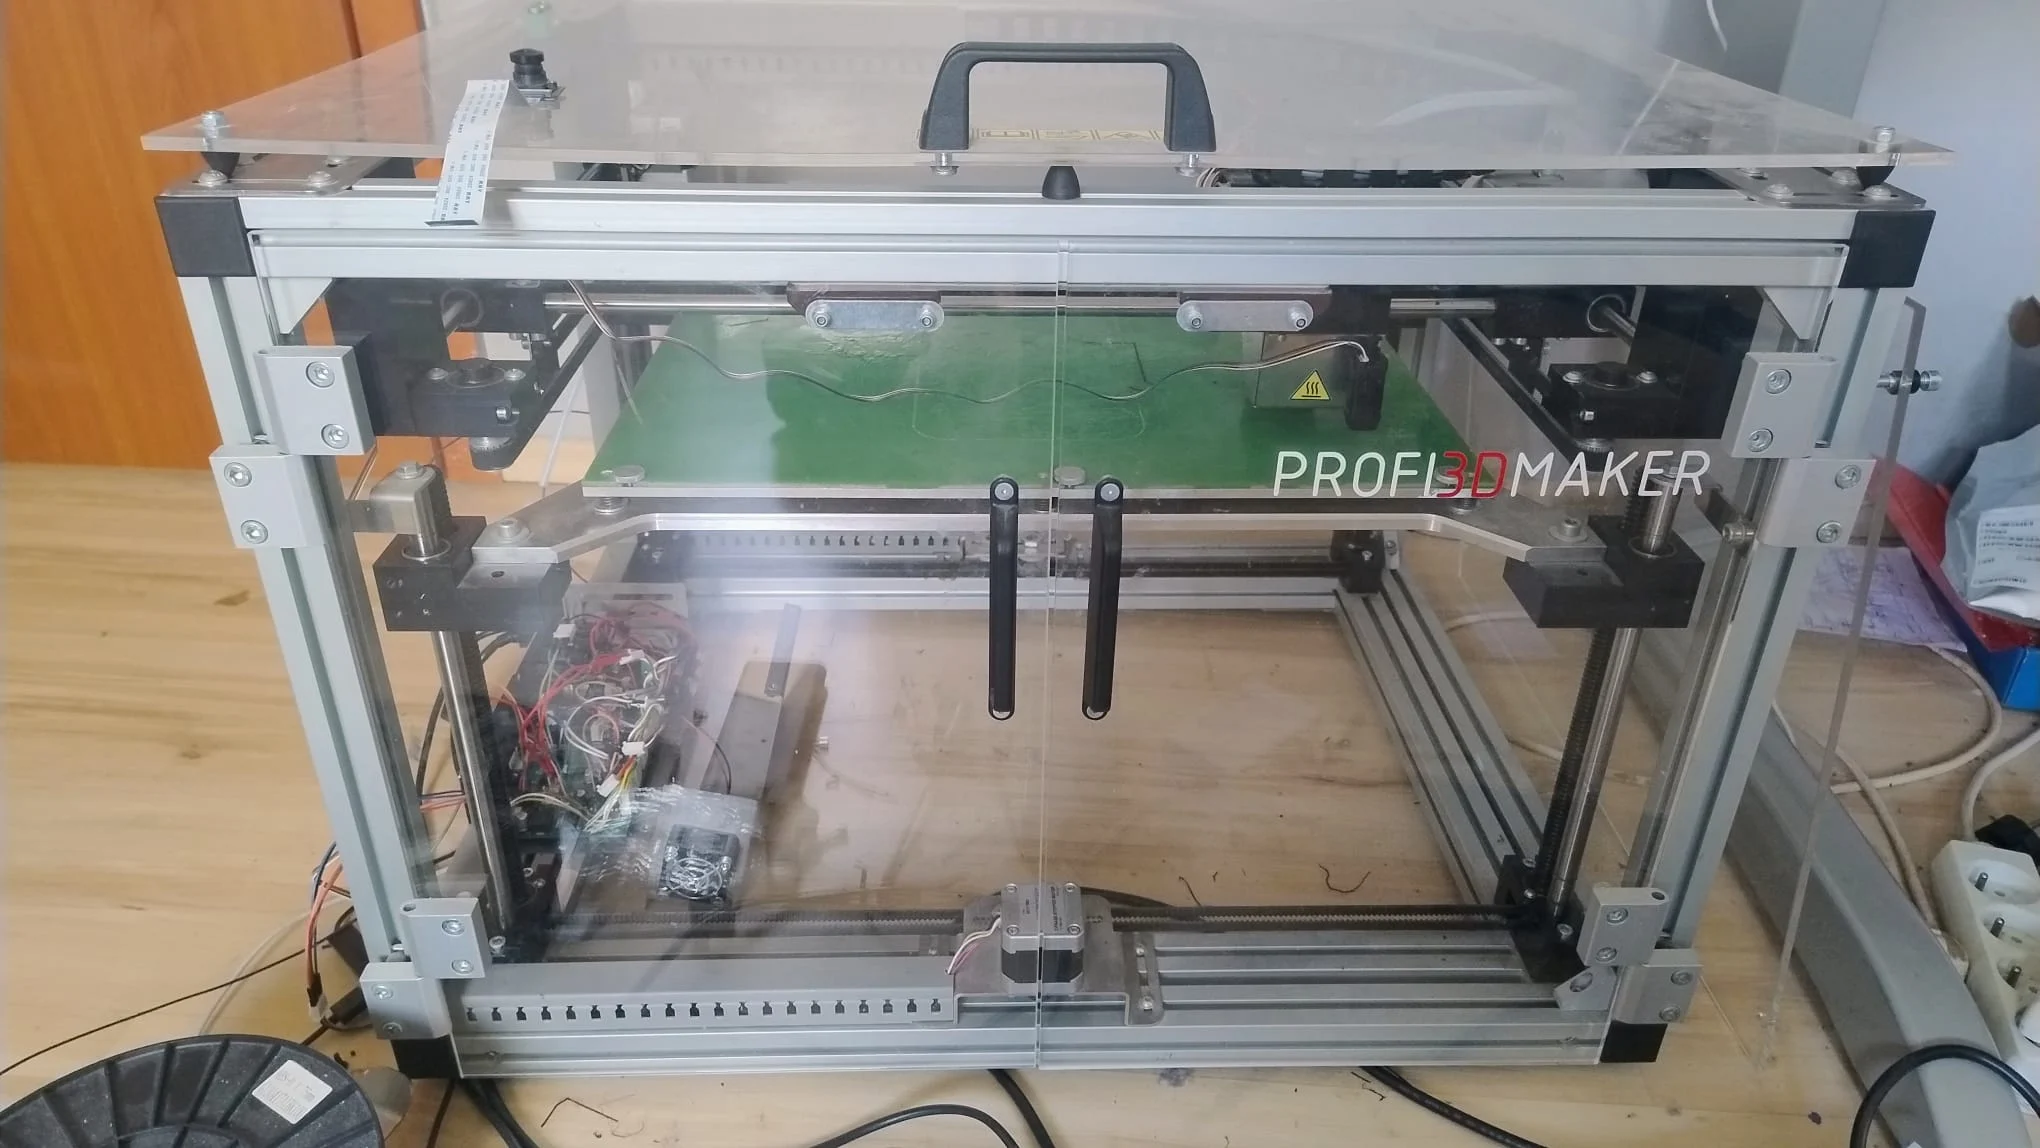
So first I want to explain, why I started this project. I had an old Profi3DMaker 3D printer at home, which was not used for a long time, mainly because of the hardware, which was just outdated.
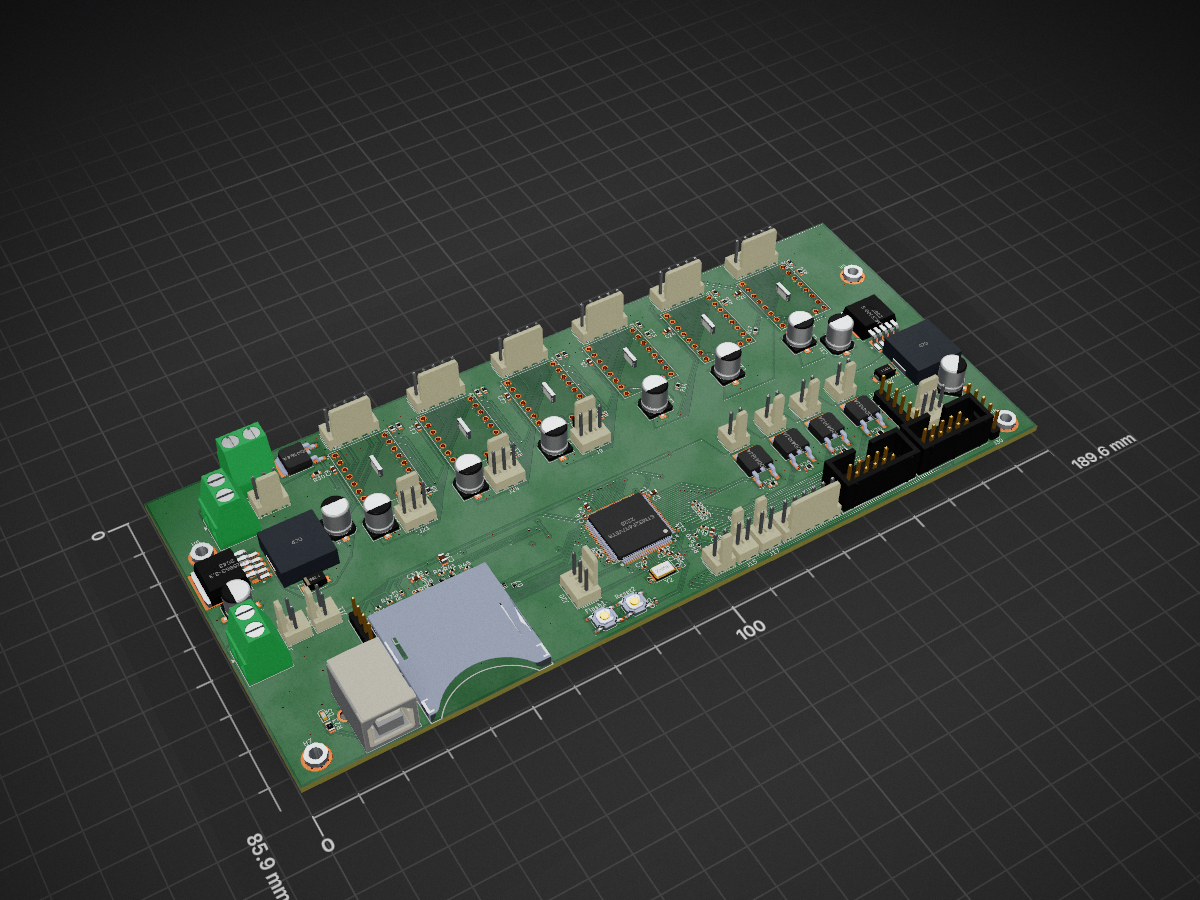
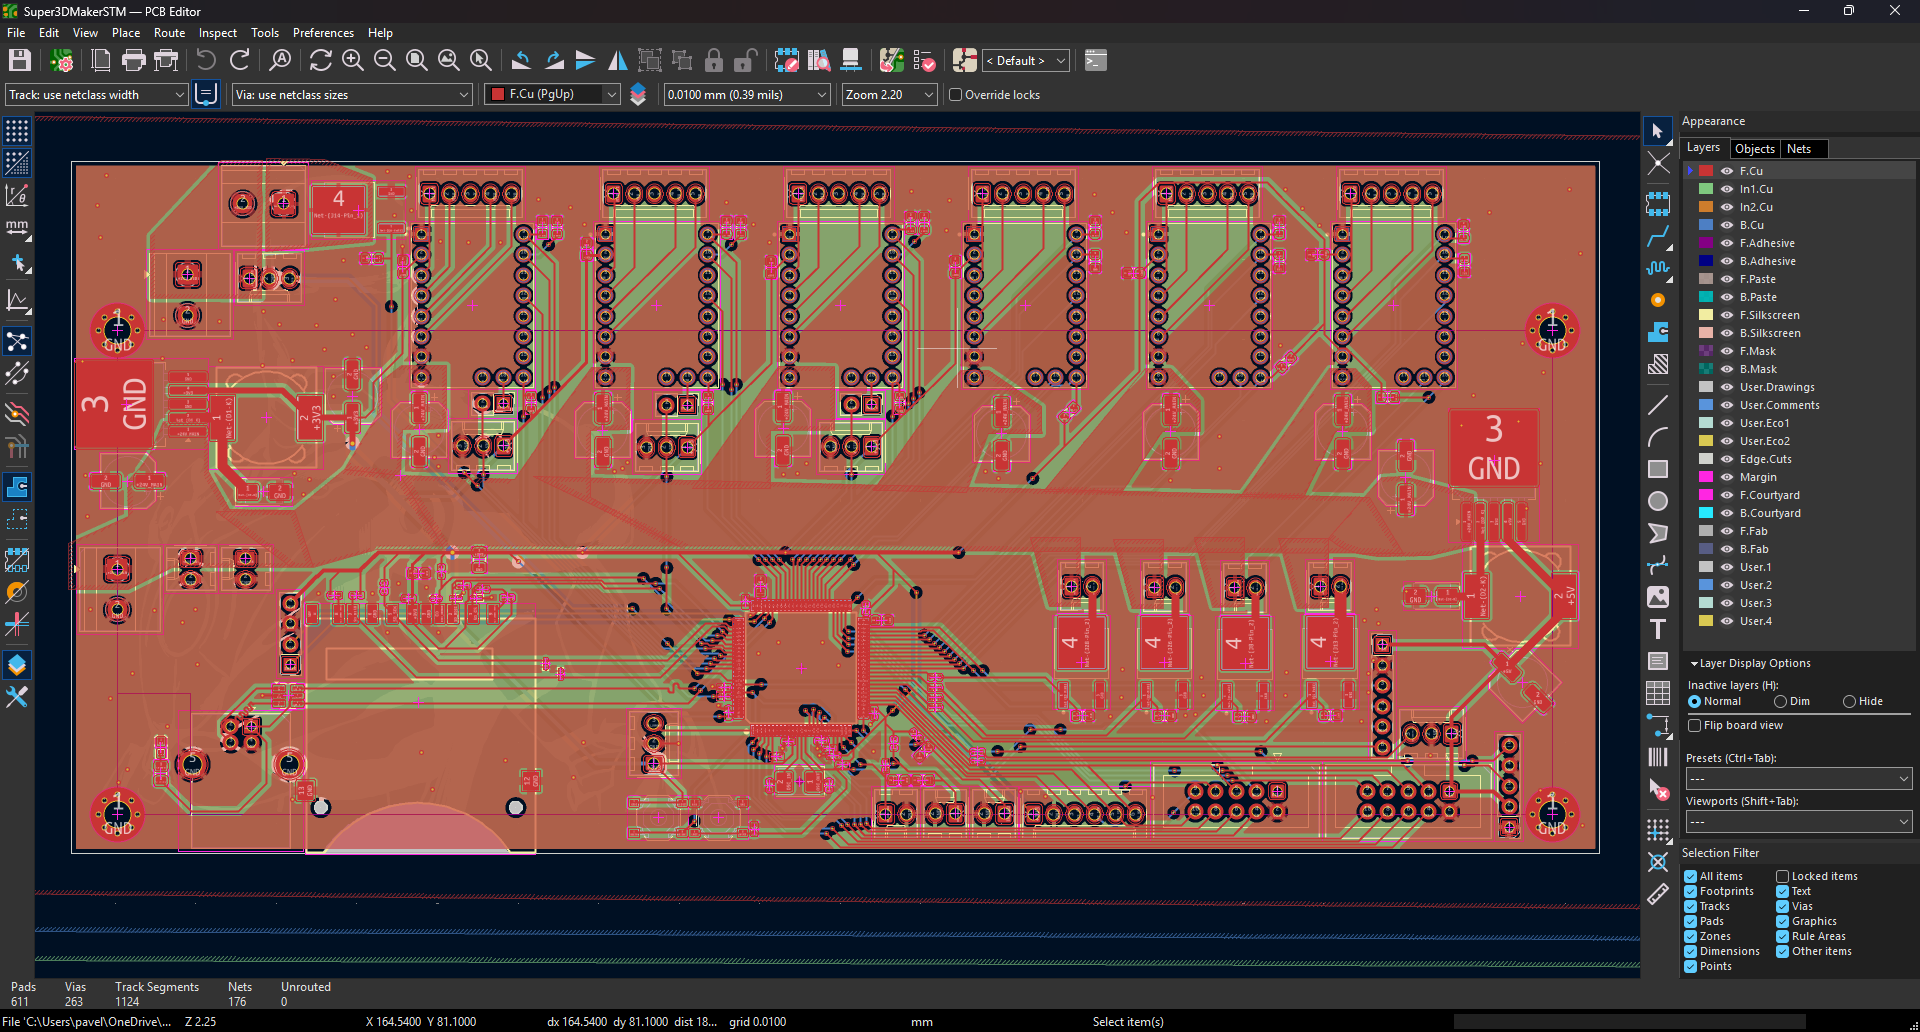
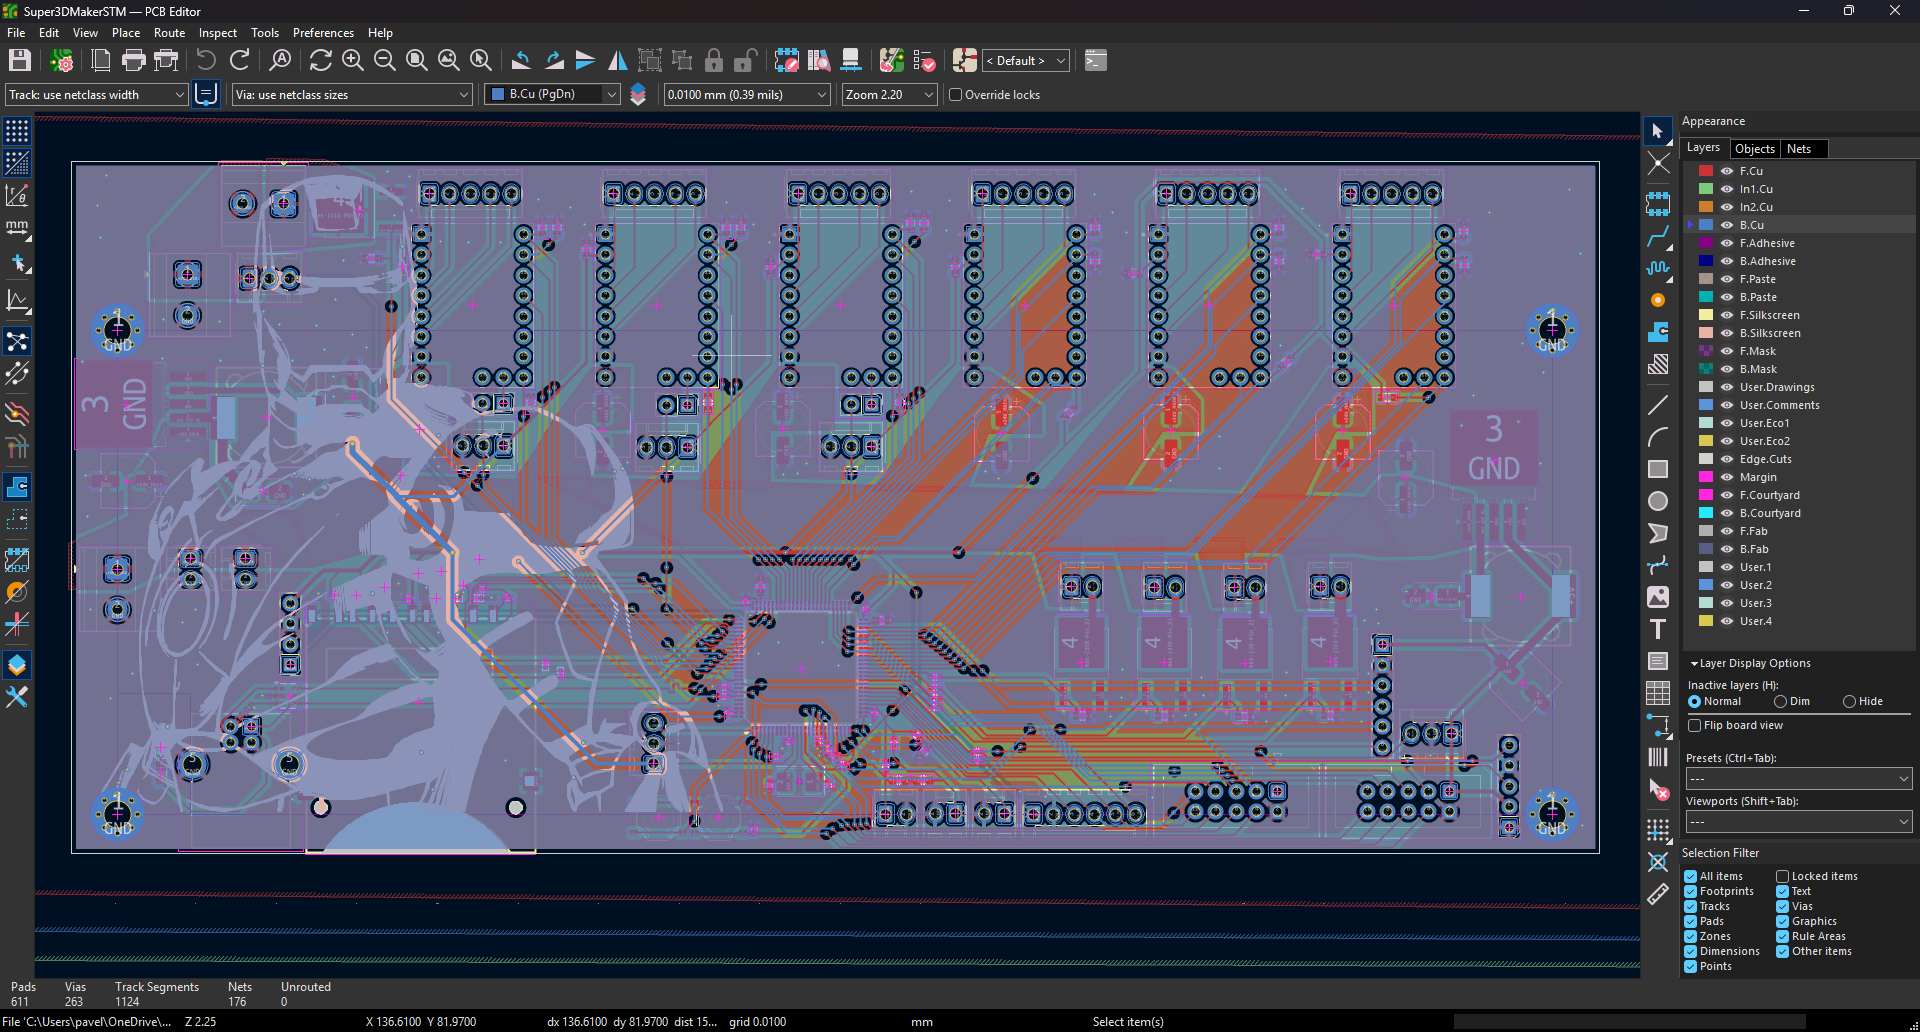
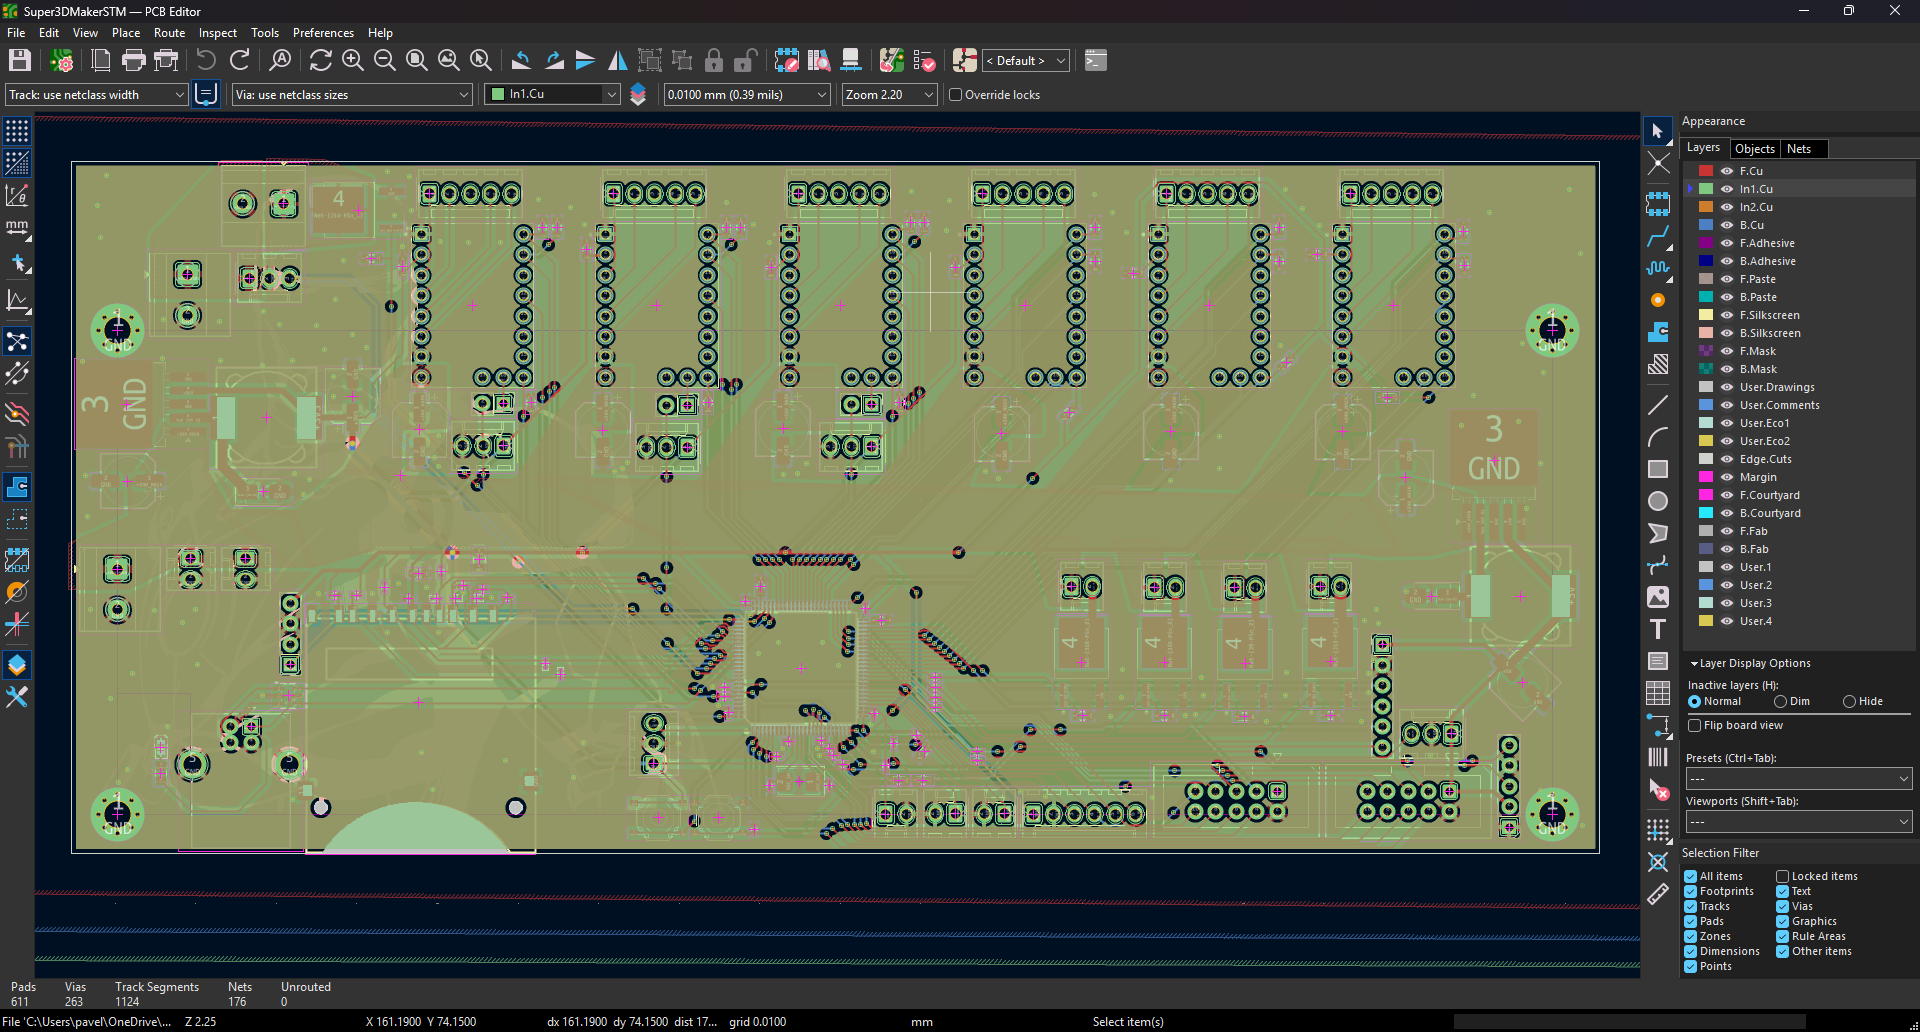
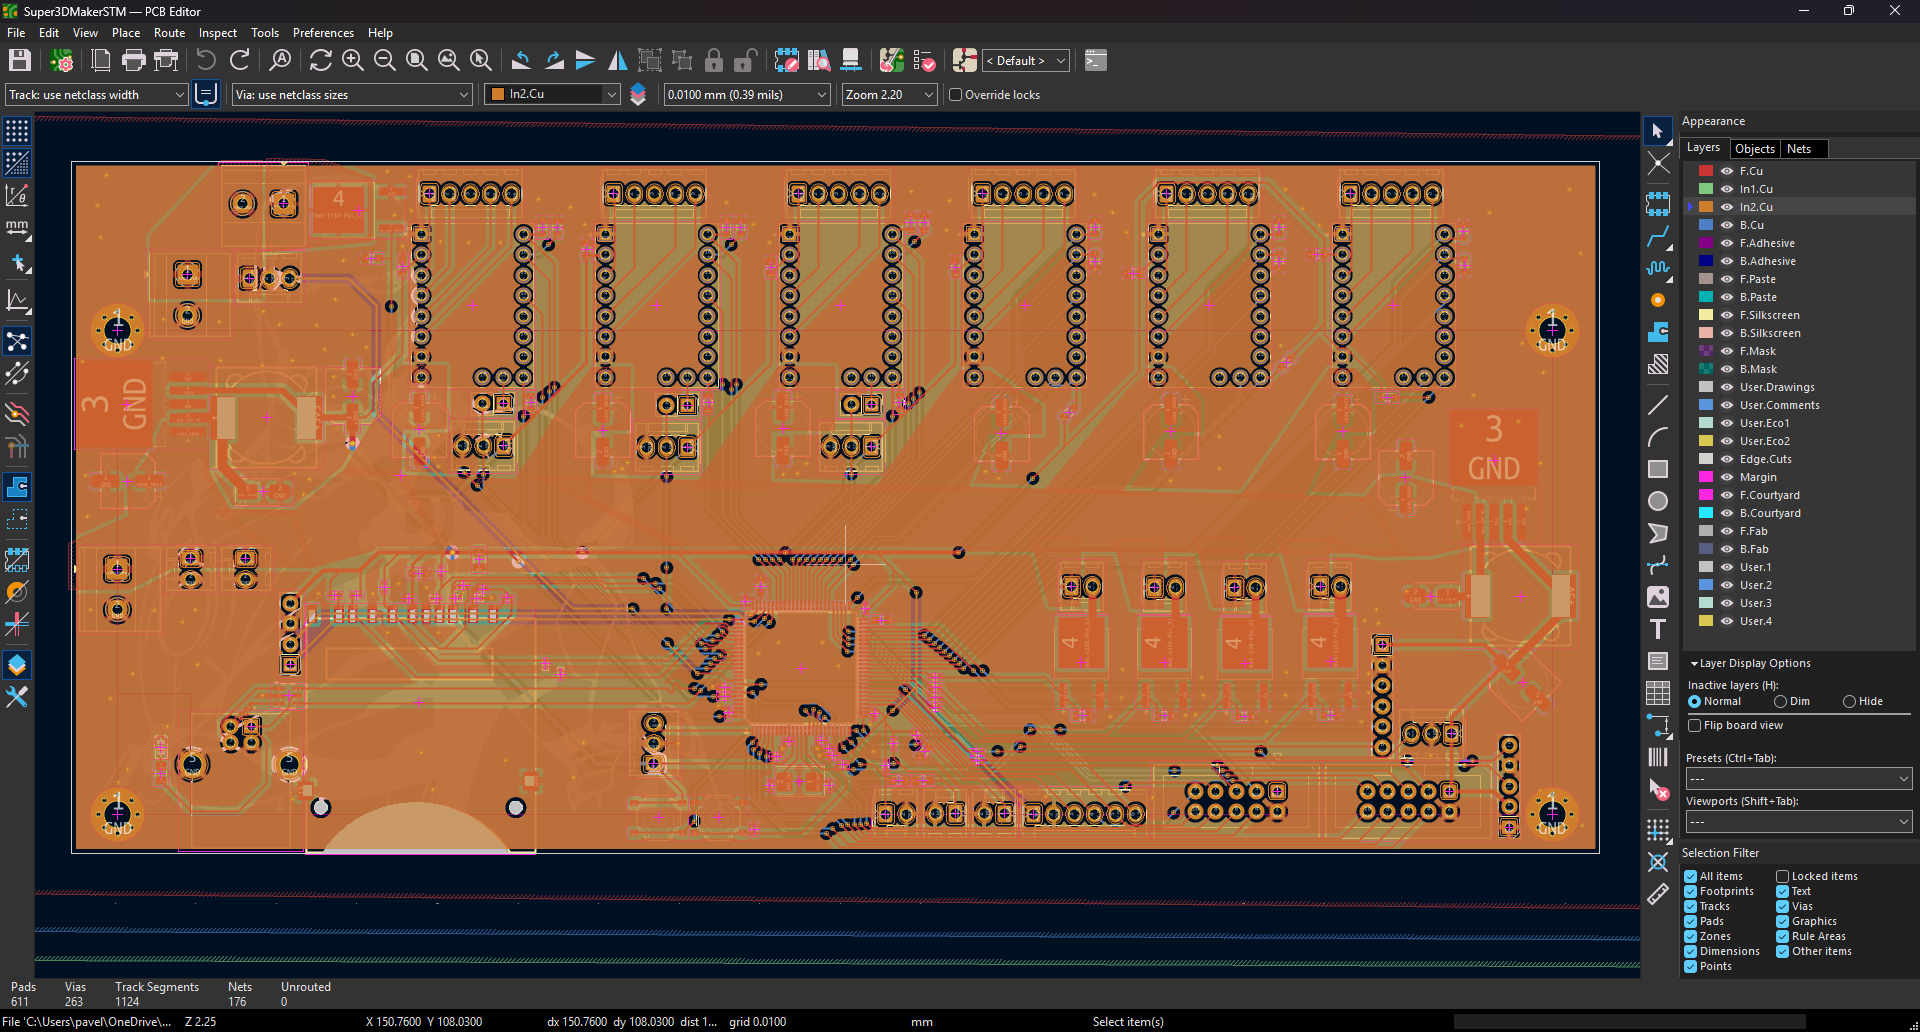
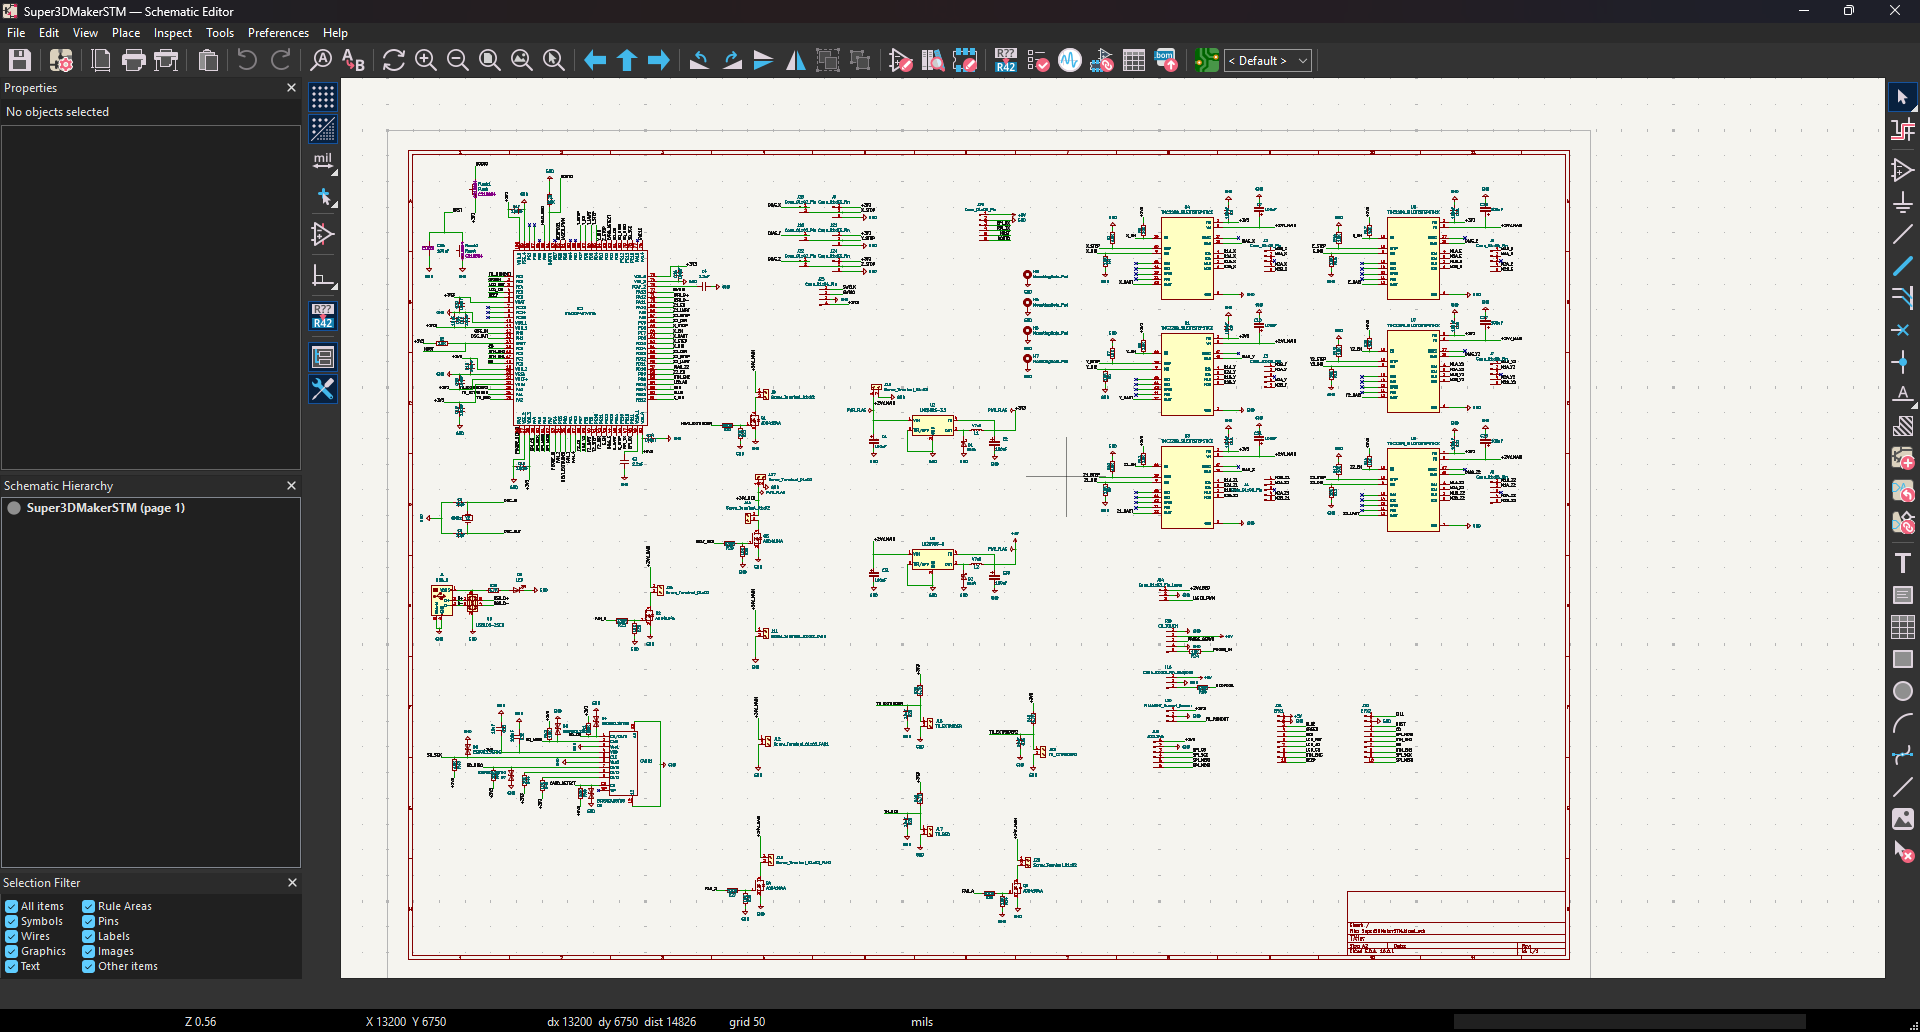
Super3DMakerSTM is an open-source printed circuit board by ChladpavPy, from the ChladpavPy/Super3DMaker repository on GitHub, published under the MIT licence. It is a 4-layer board of 189.6 × 85.9 mm with 147 parts on 176 nets, routed with 1,100 tracks and 263 vias.
It is built around the STM32F407VET6, TMC2209SILENTSTEPSTICK and LM2596S-3.3, with the LM2596S-5.0, USBLC6-2SC6 and AOD4184A among its other parts. Its parts include 43 resistors, 36 capacitors, 34 connectors, 10 ICs and 8 diodes. It belongs with the STM32 boards of this library.


So first I want to explain, why I started this project. I had an old Profi3DMaker 3D printer at home, which was not used for a long time, mainly because of the hardware, which was just outdated. Because the printer had electronics probably from years like 2012 and older, it was my idea to bring it again to life, because the tech of 3D printing and electronics changed a lot. The 3D printer actually works, but does not stand a chance to modern machines which would be even cheaper based on the materials. Back in 2012, this printer was high-end and one of the most expensive 3D printers, you could get, because of the high quality aluminium frame, but because the technology changed so rapidly, it is just unreliable and prints items badly now, when compared to new 3d printers, which are also cheap. And because it is mainly and electronics issue, I realized that I could build my own new 3D printer board for this 3D printer and bring it again to life, so I started new Project.
The first stage was actually reverse-engineering the old board and studying as much possible of how modern 3d printers work.
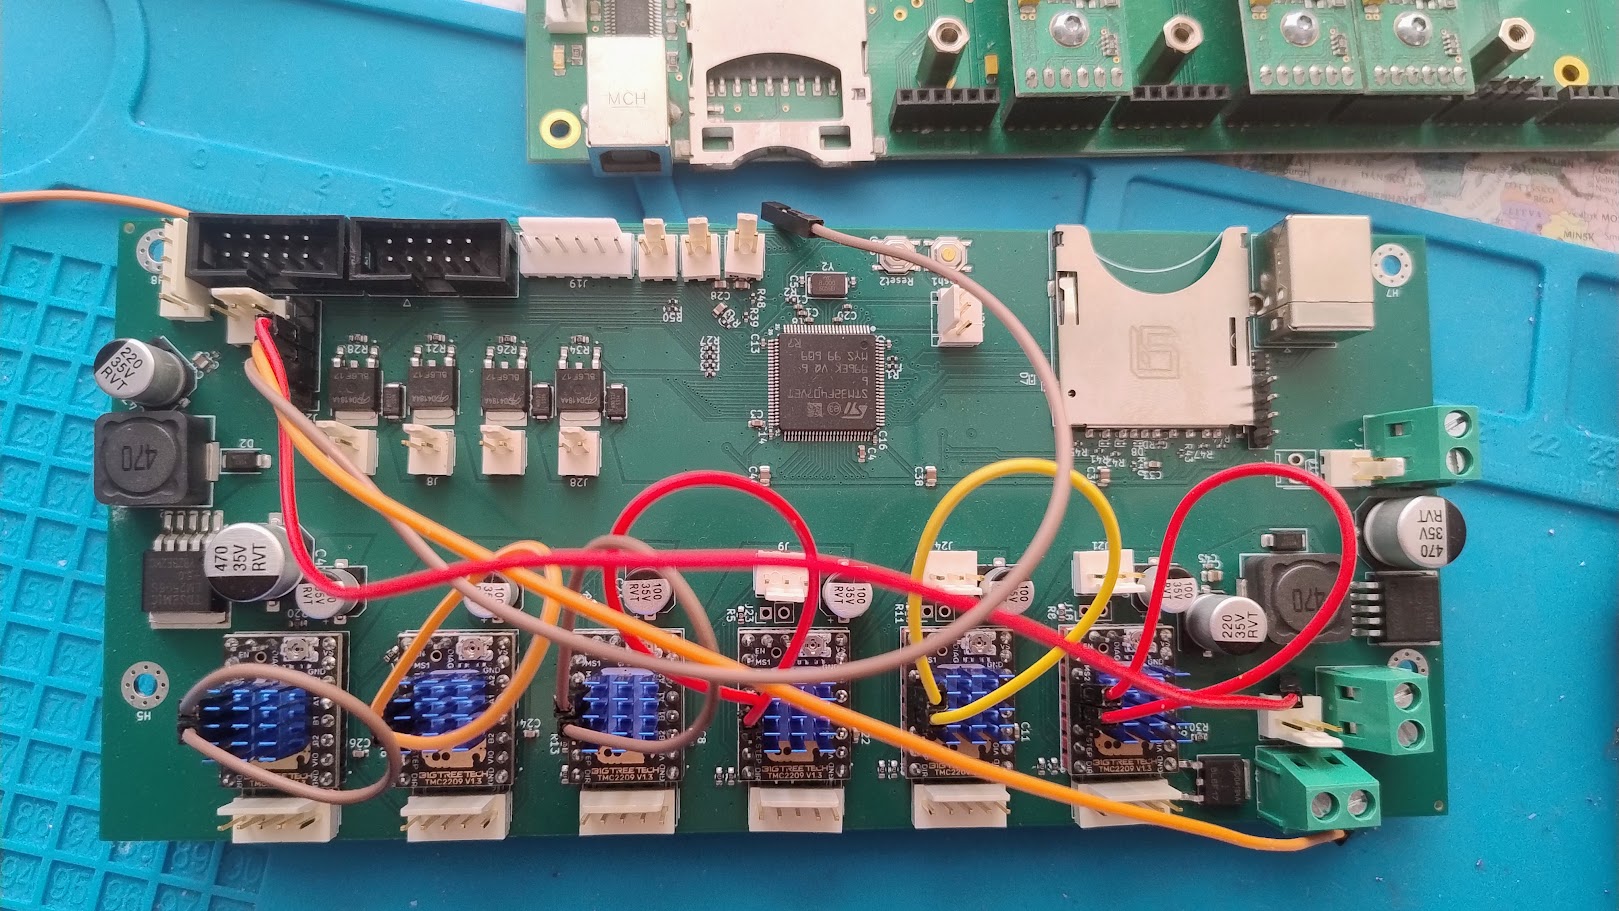
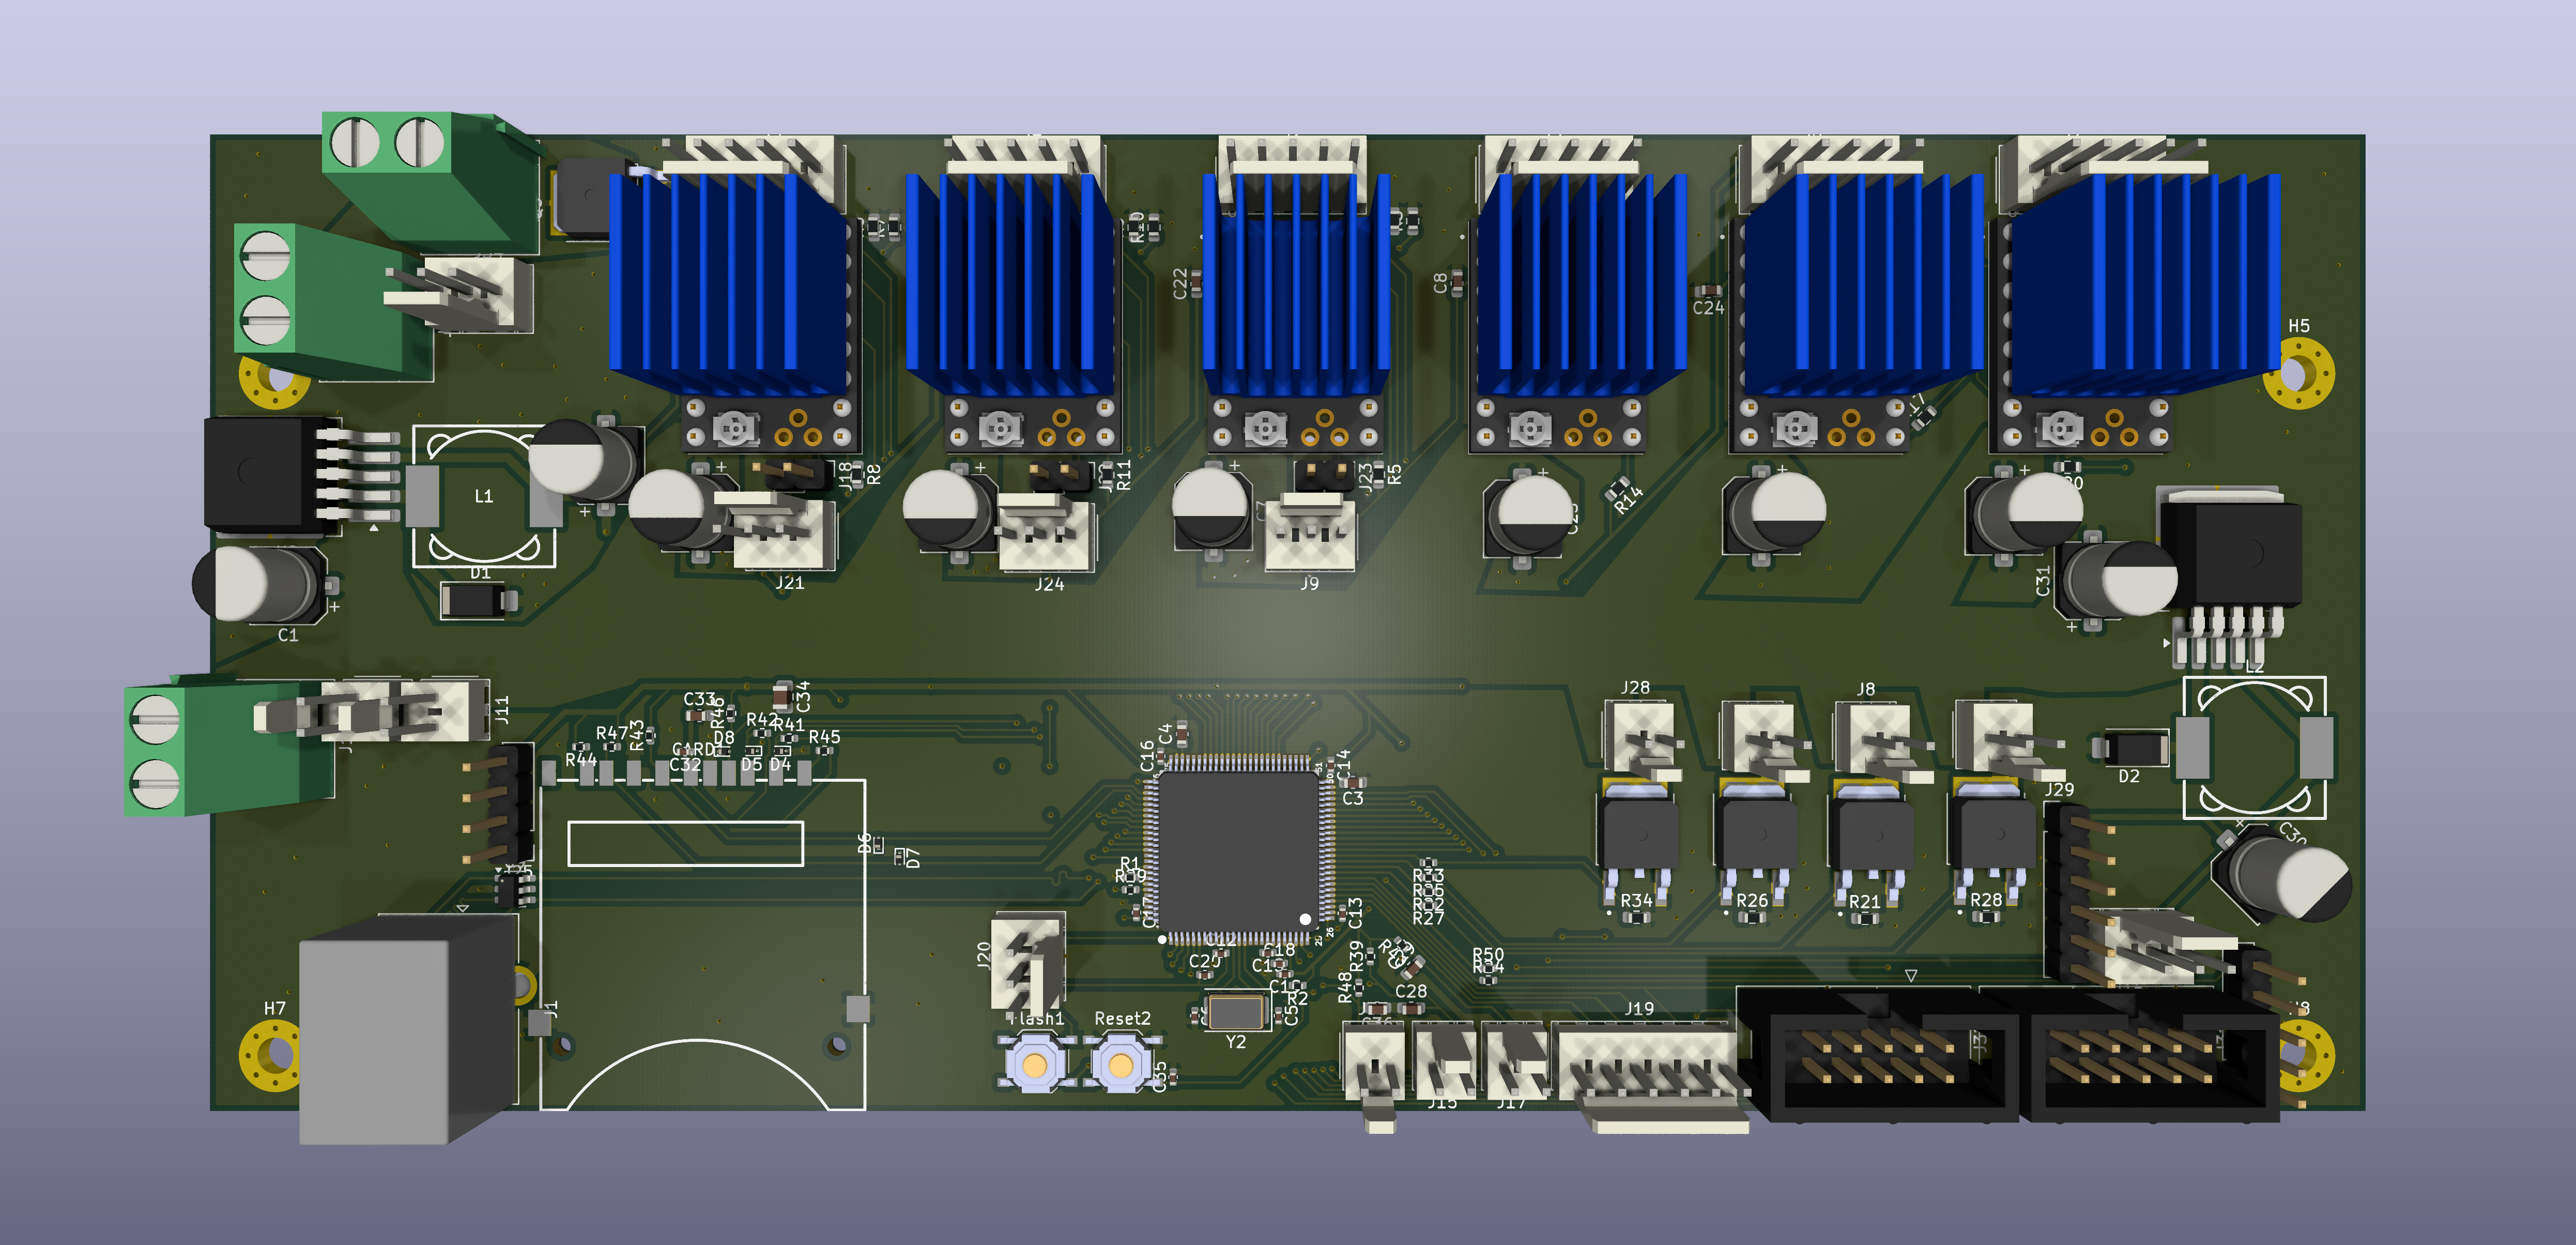
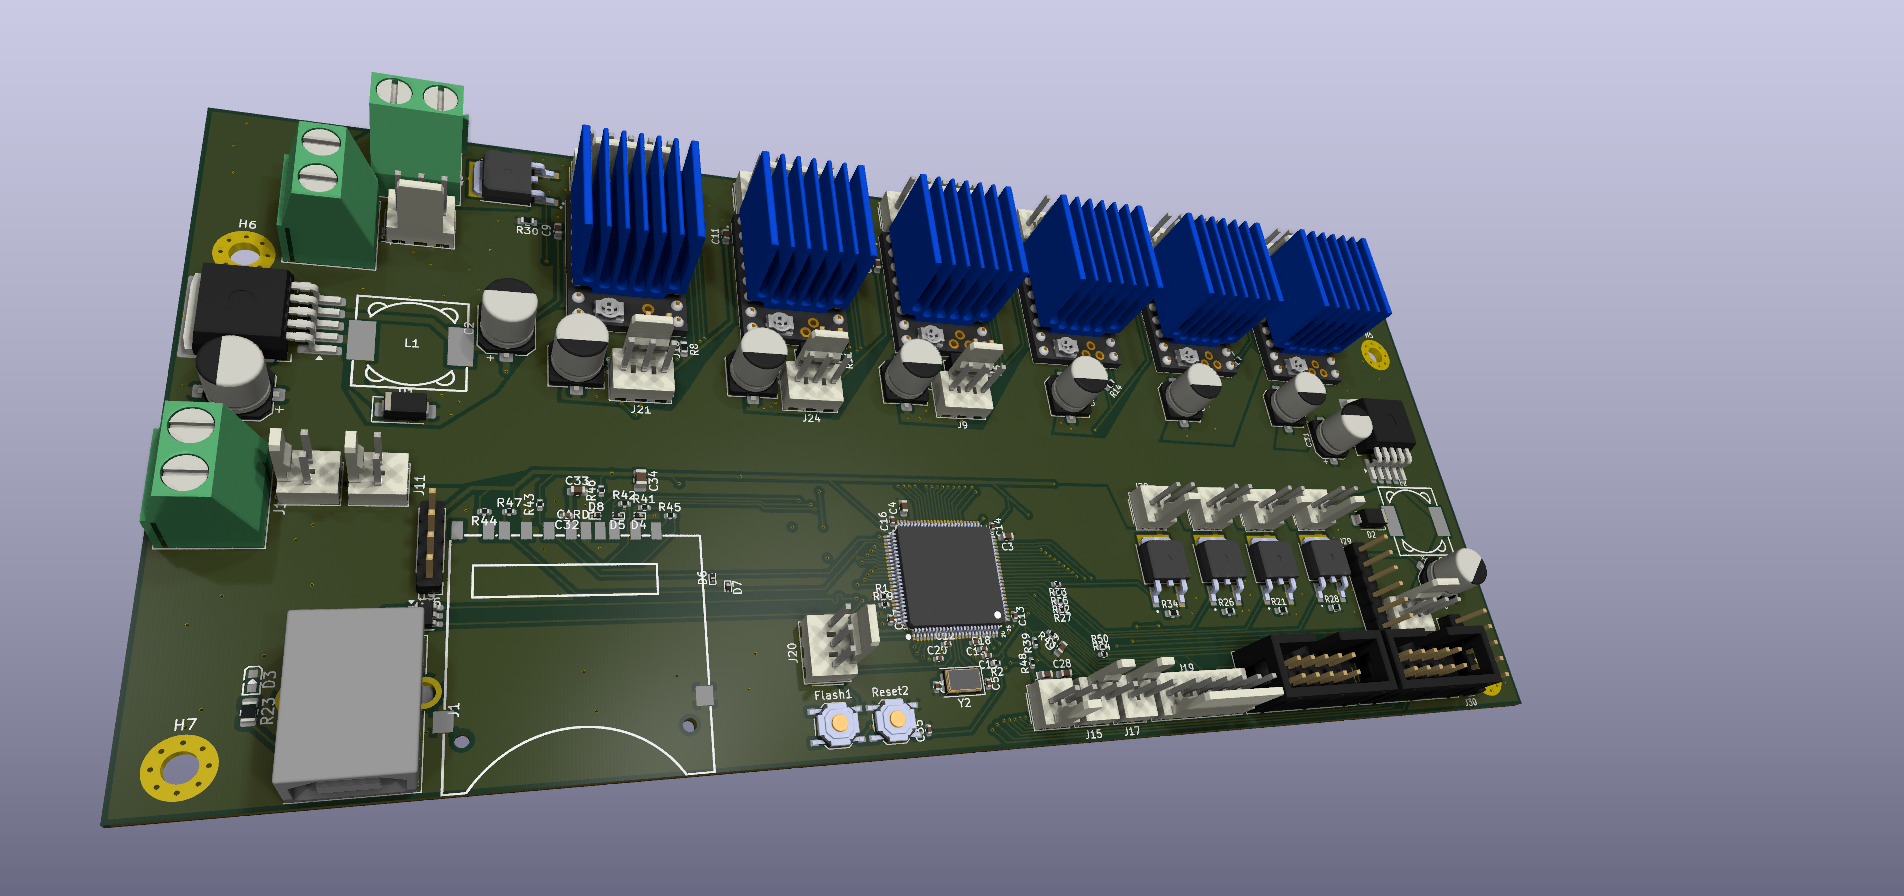
A custom mainboard designed to replace the old electronics in my 3D printer. Built to handle klipper high speed kinematics and communicate directly with a Raspberry Pi Zero 2W. Designed entirely from scratch in KiCad 10.
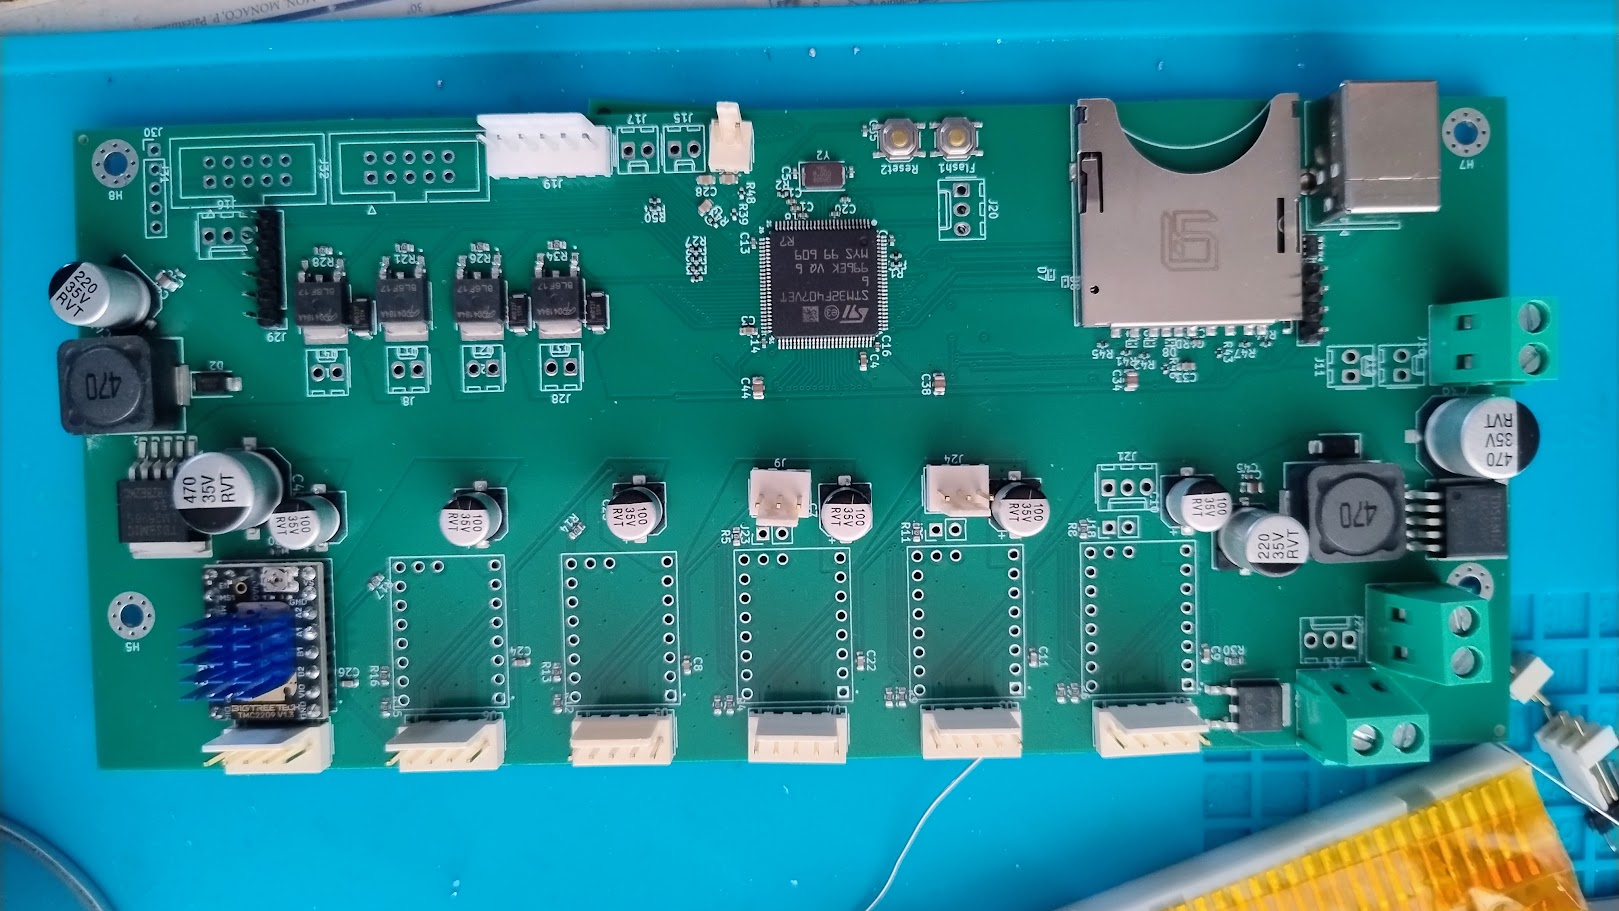
After receiving the manufactured PCB from JLCPCB, the project transitioned into the physical build phase. This involved soldering all components and integrating the new board into the chassis.
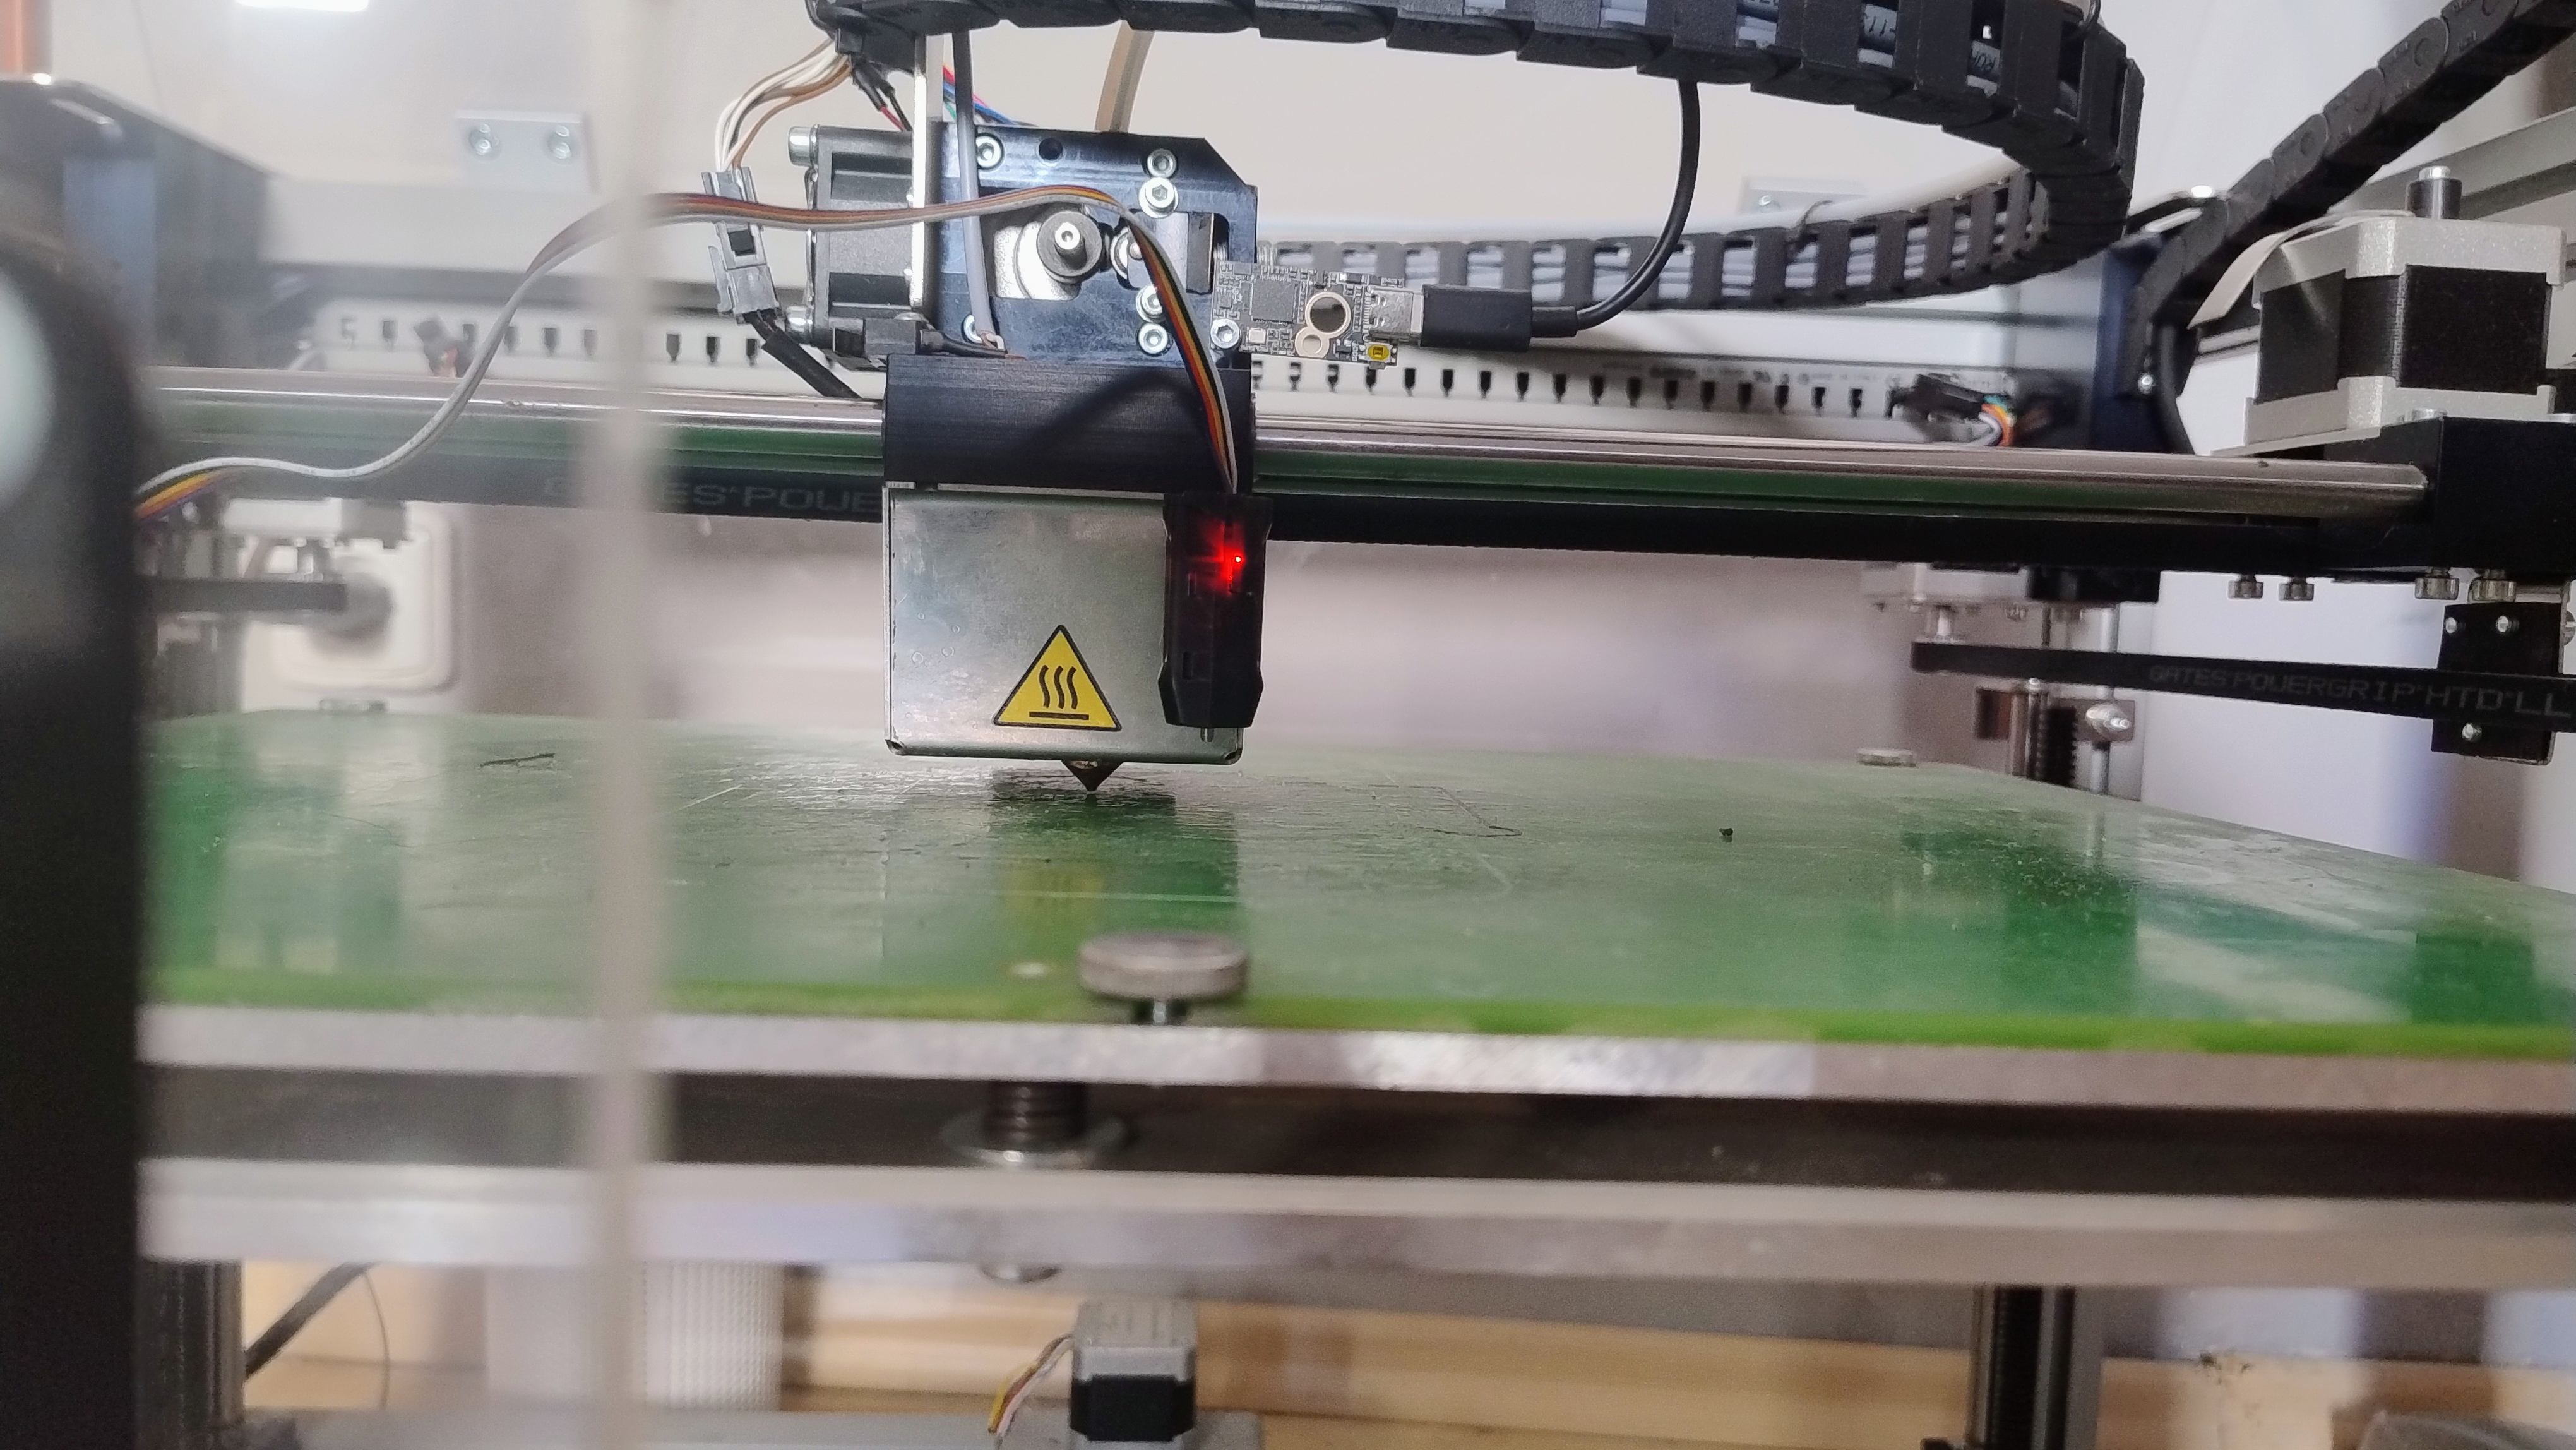
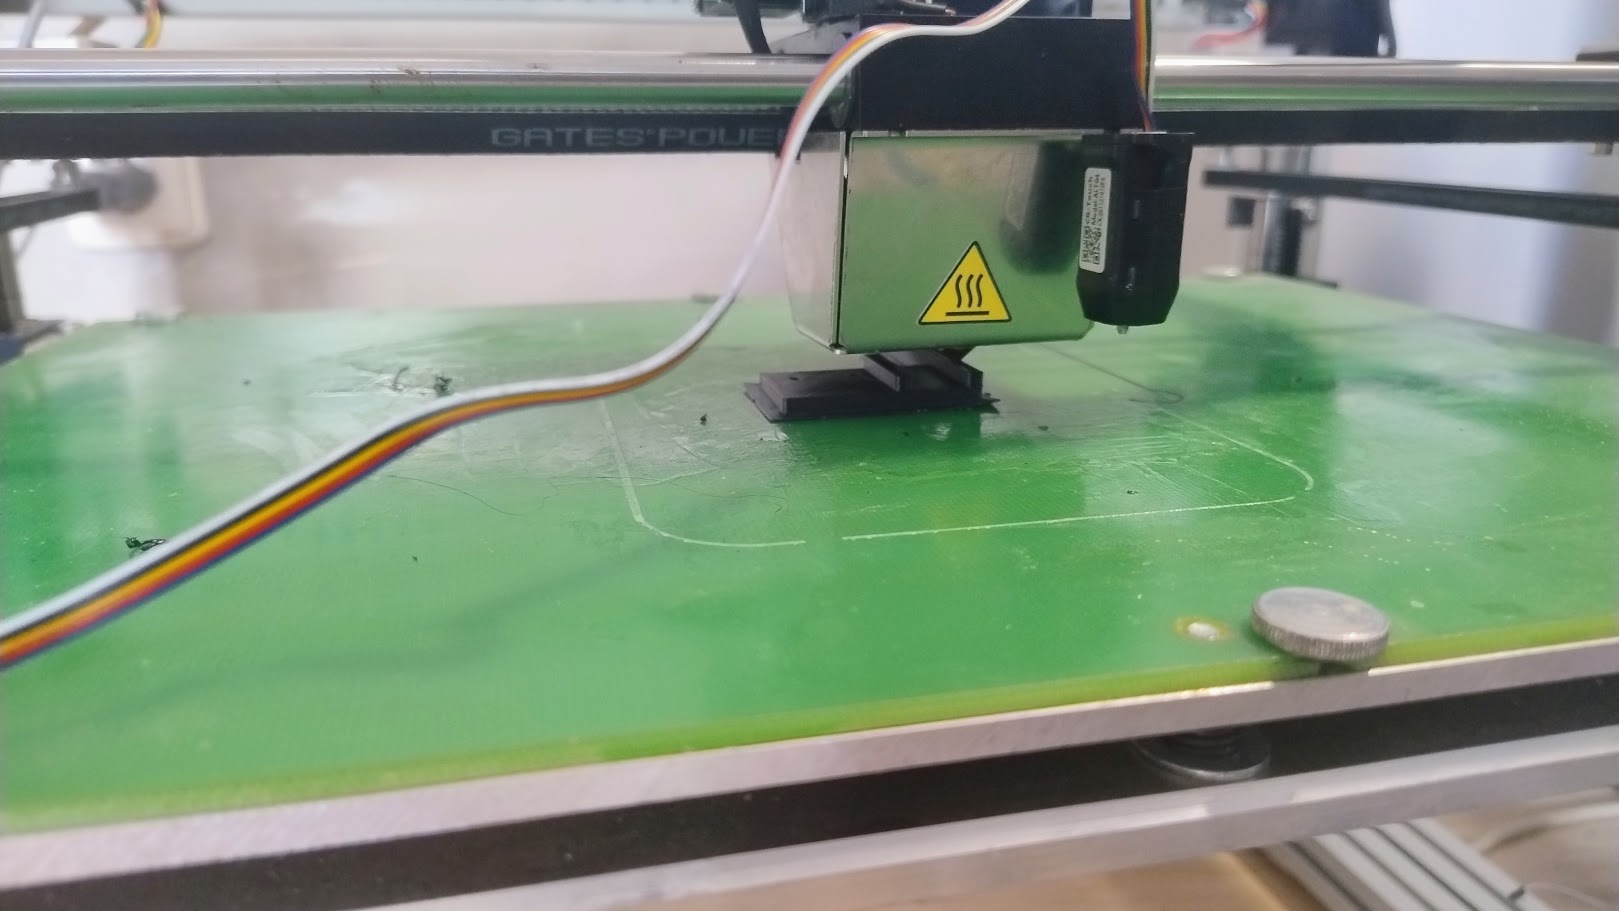
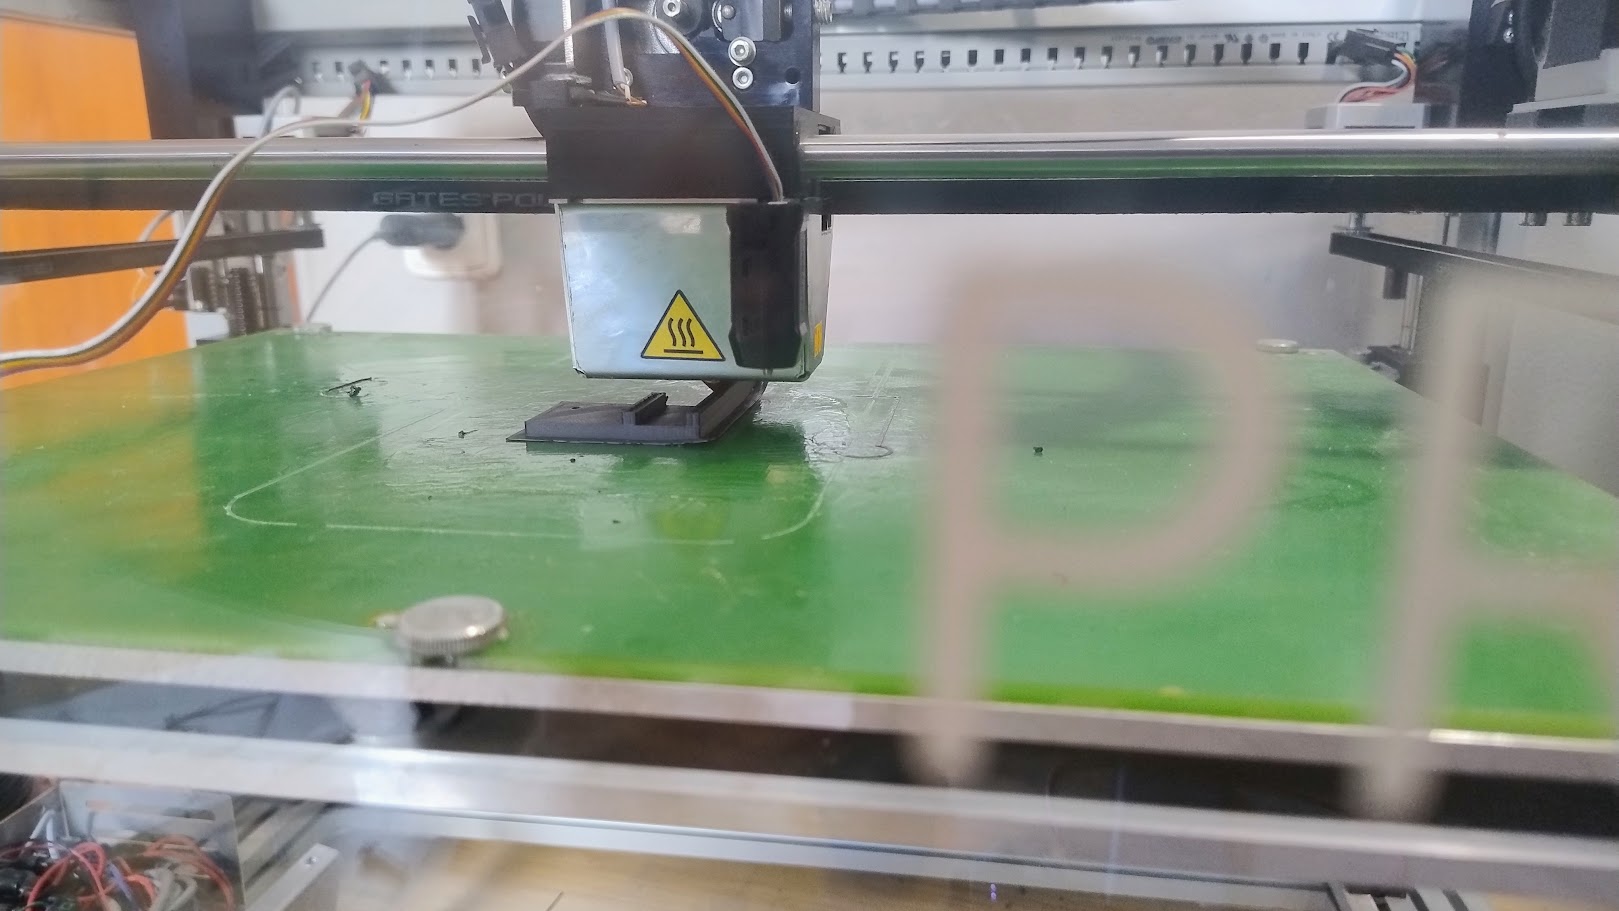
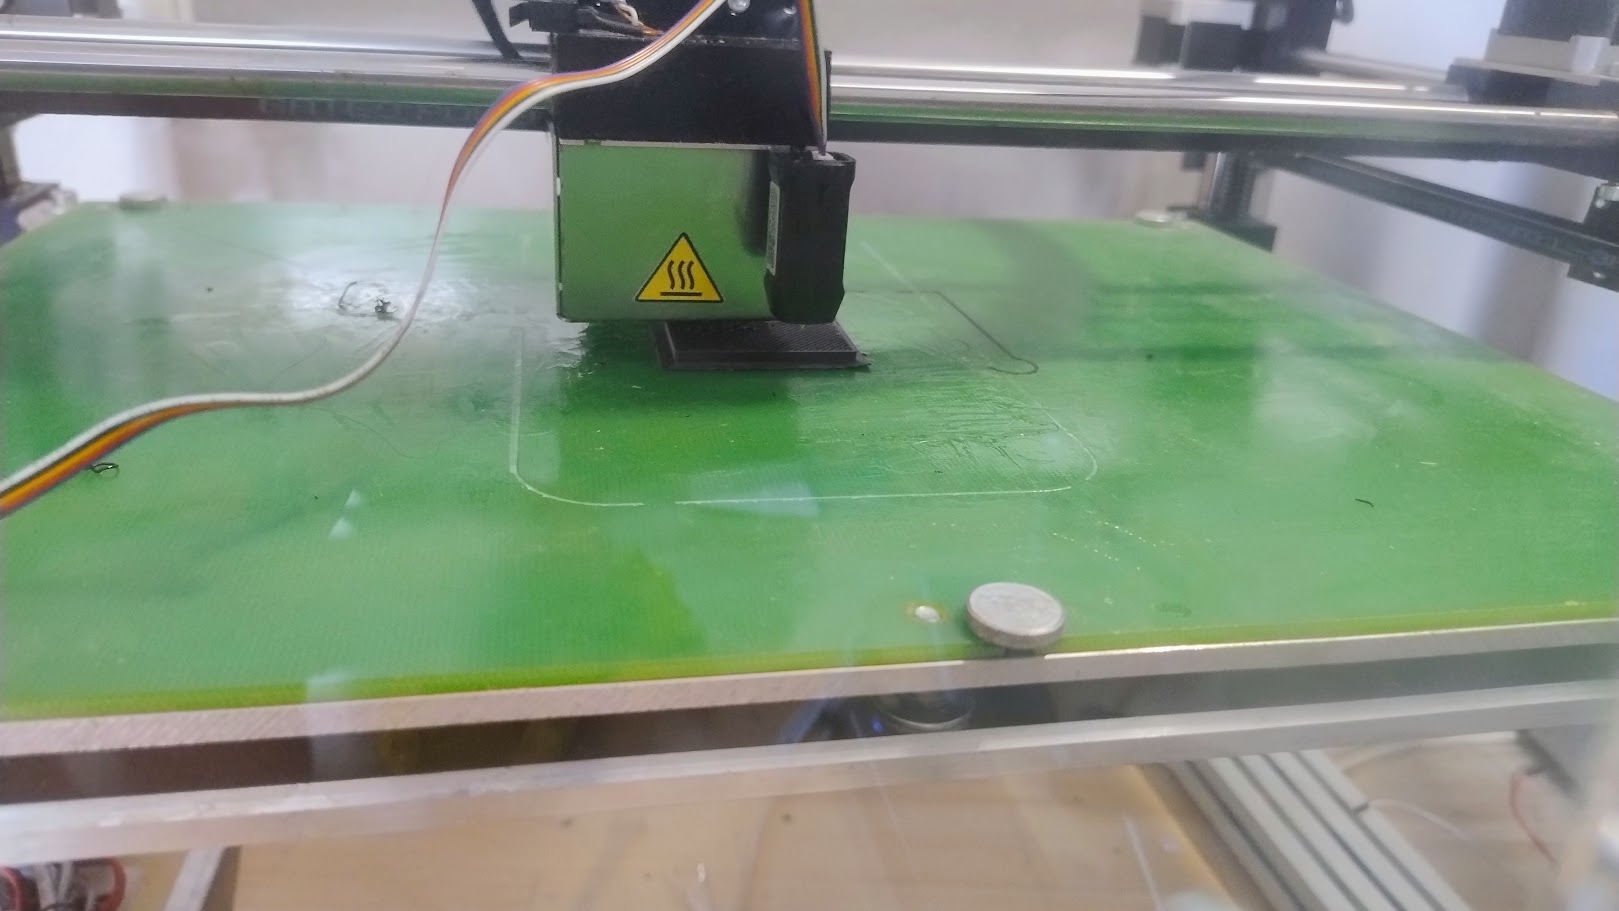
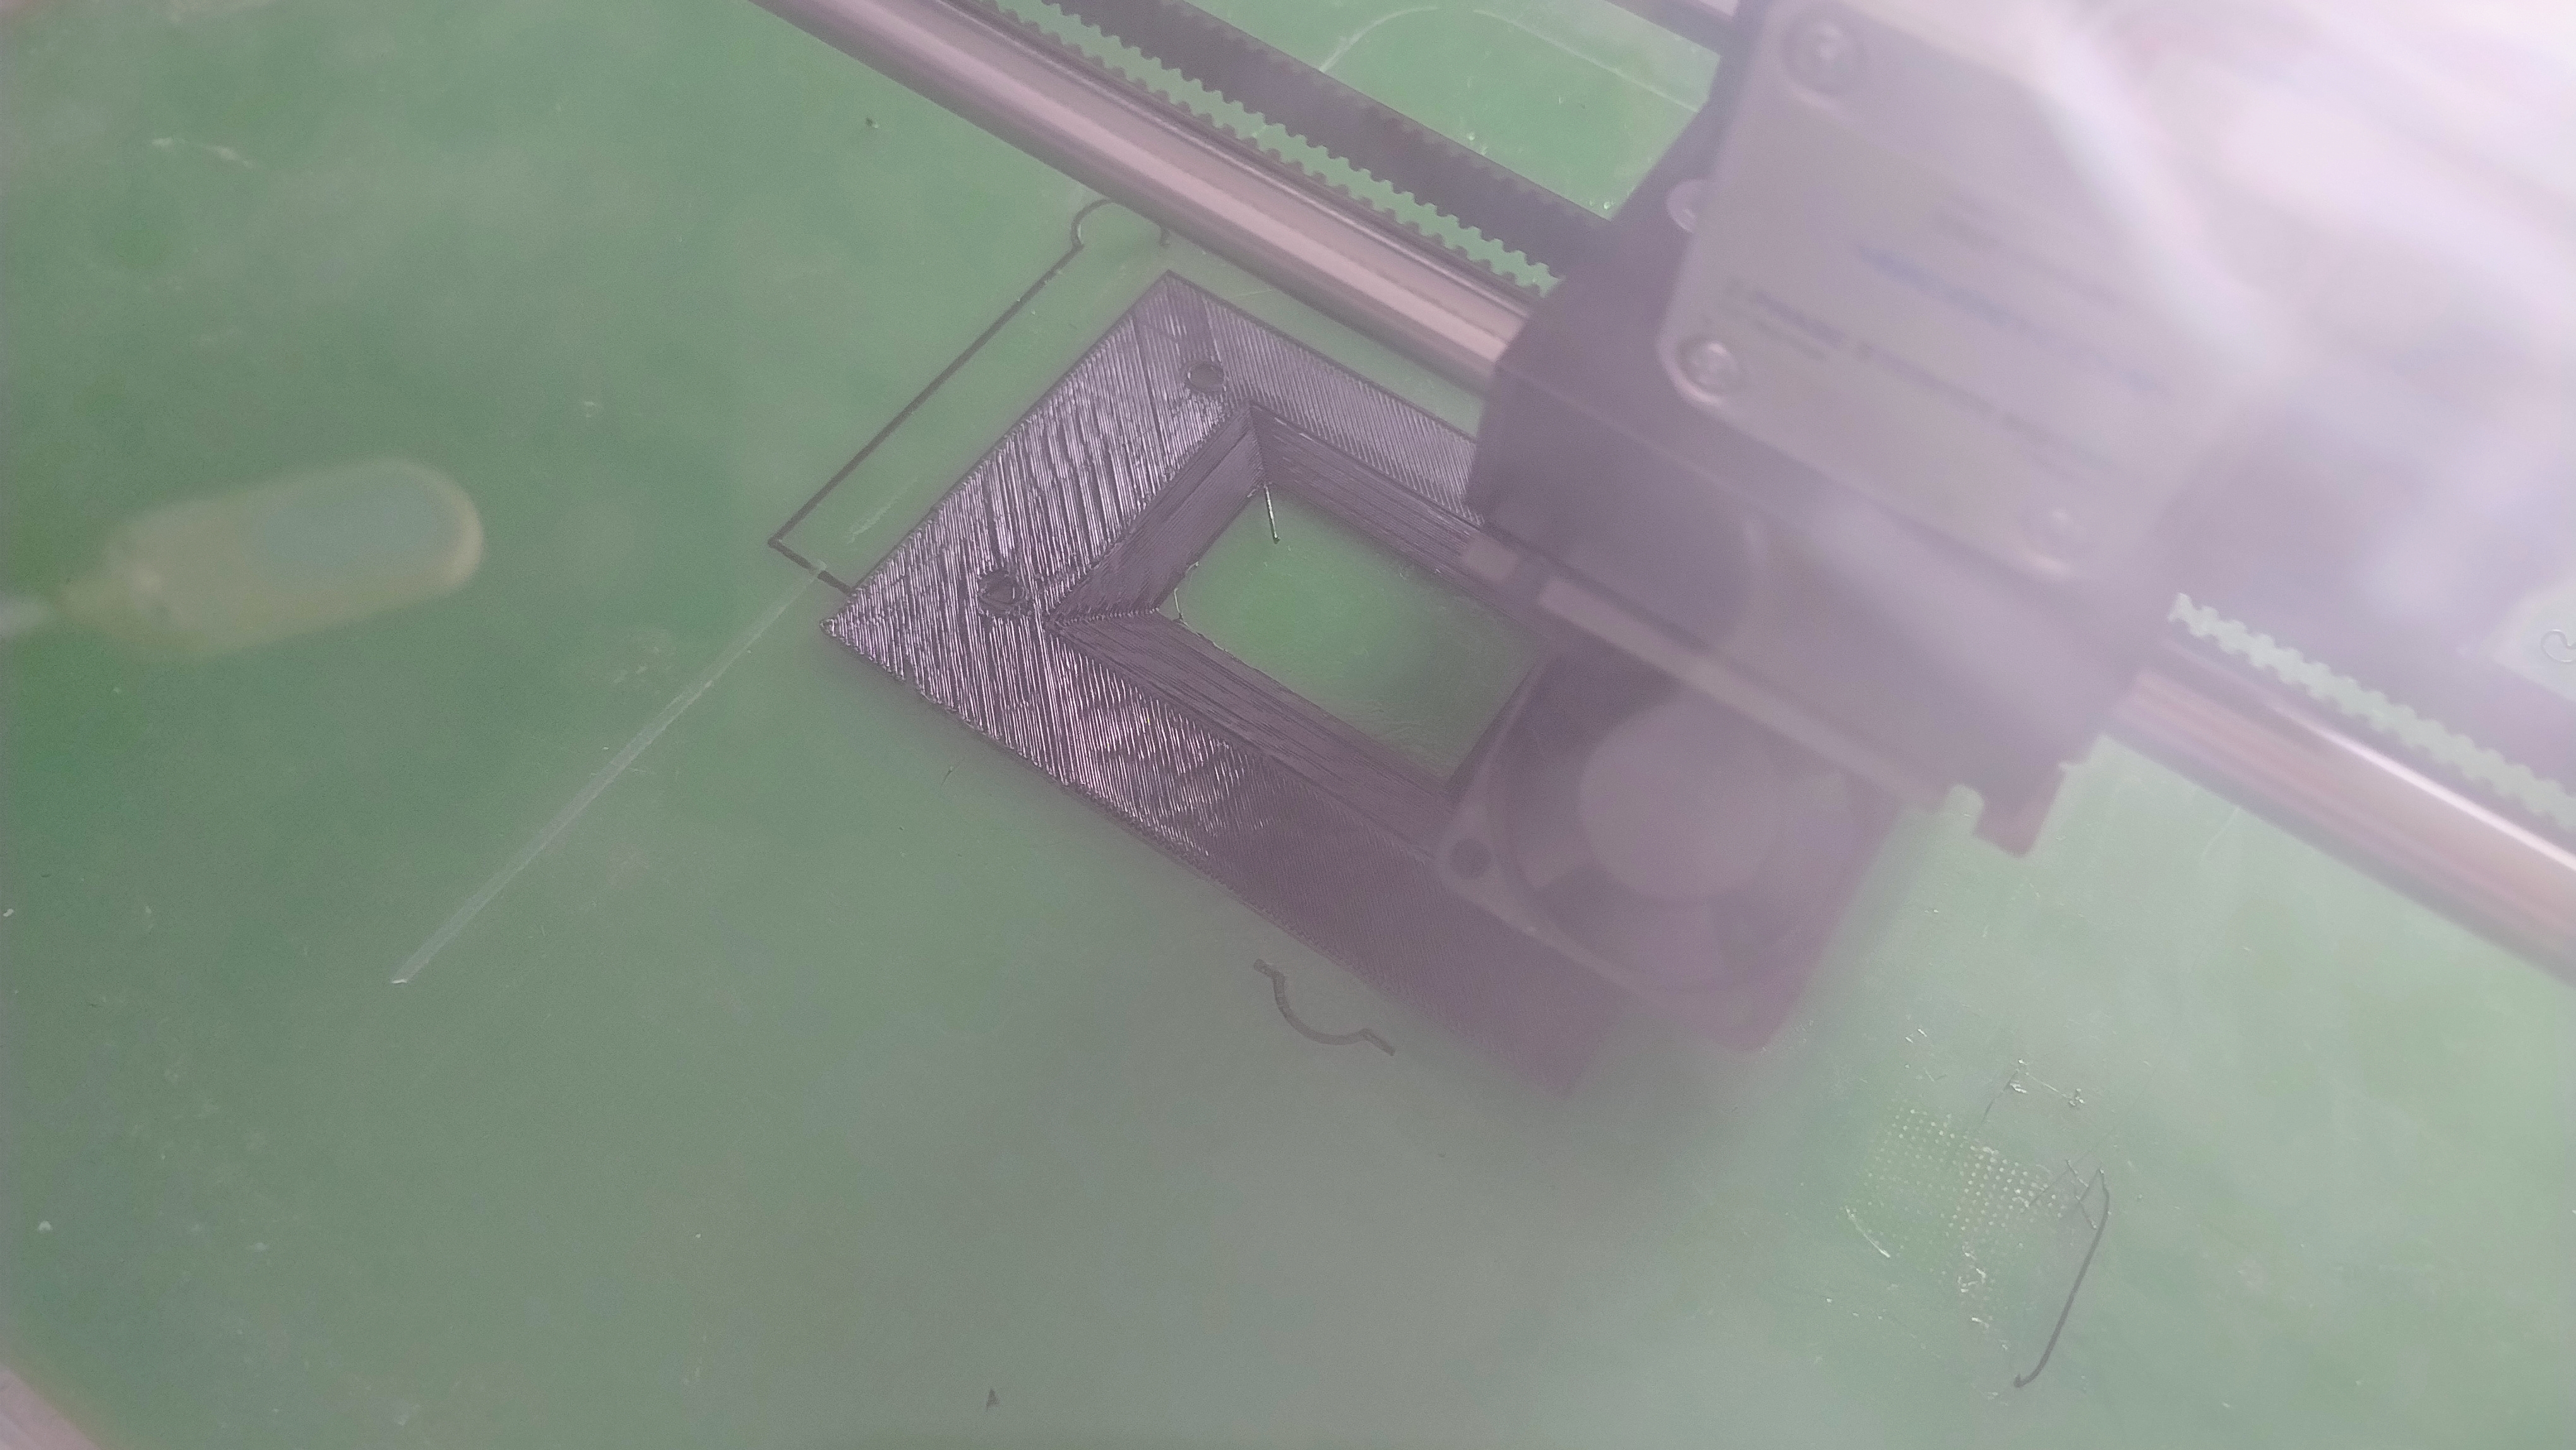
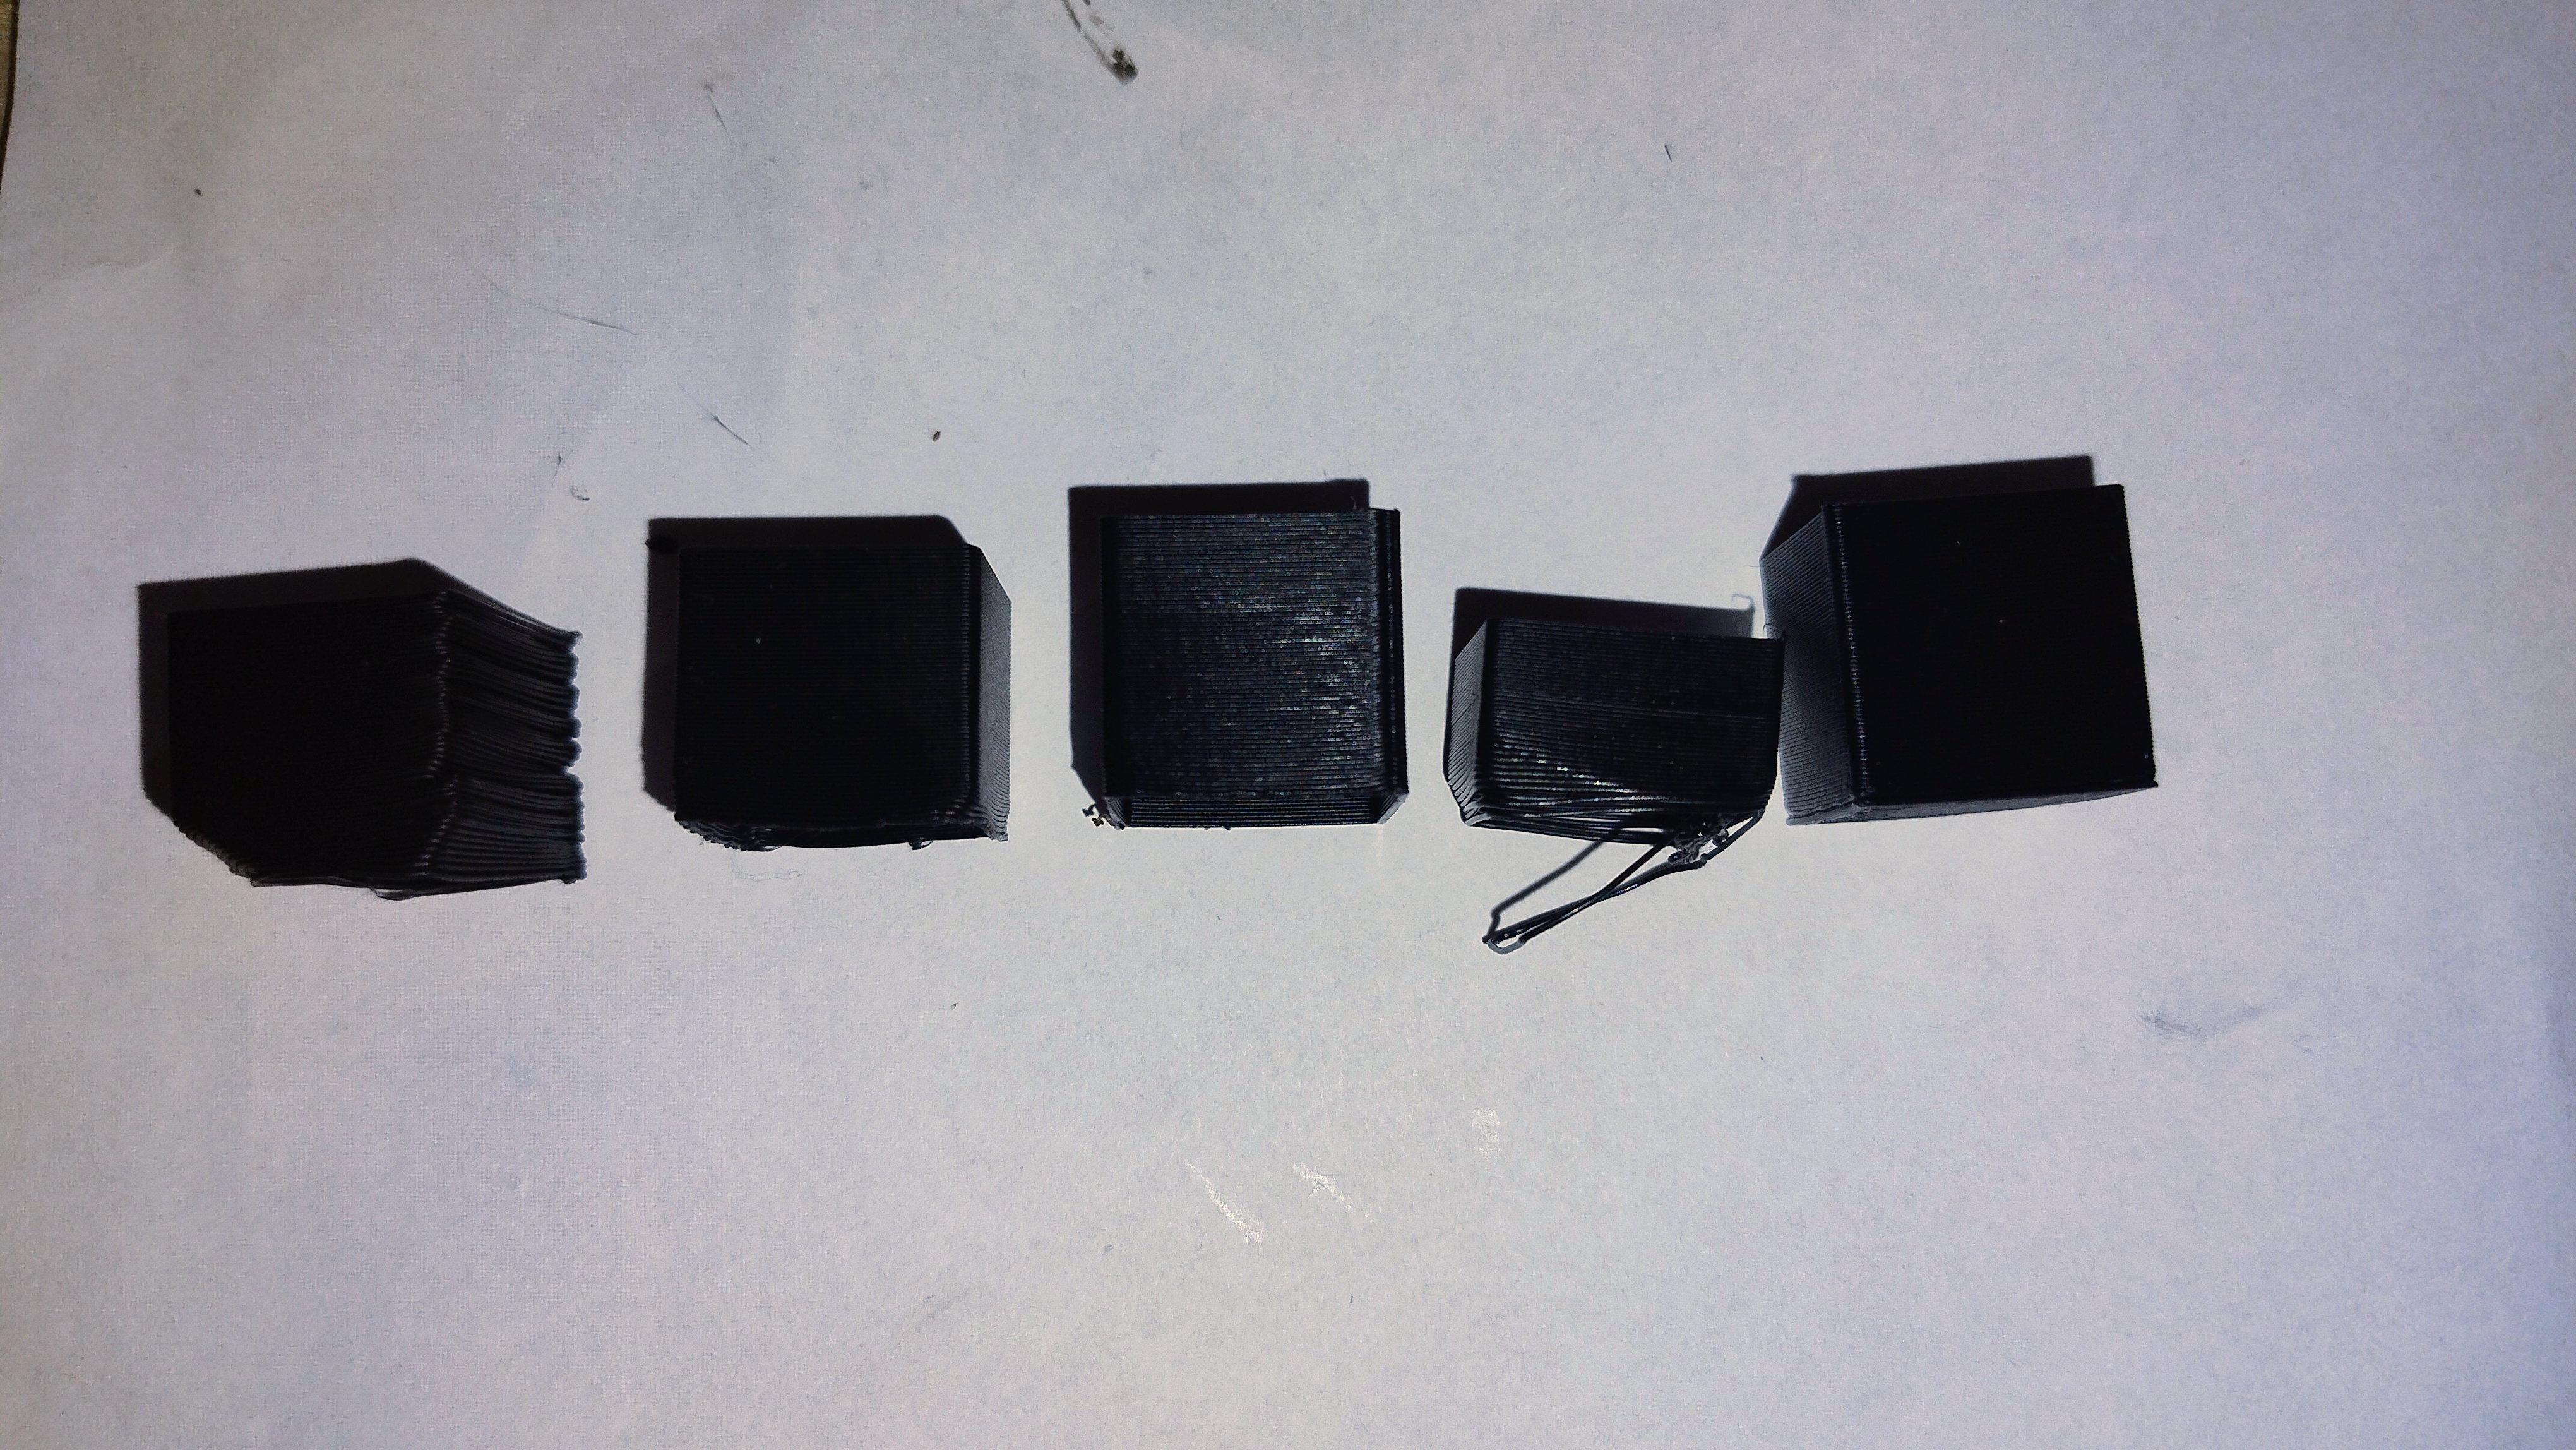
The most intensive part was the software setup and calibration. I configured Klipper and the Raspberry Pi, and spent a significant amount of time getting the printer.cfg right. This meant dialing in the correct motor parameters, gear ratios, and microsteps through trial and error and reverse engineering.
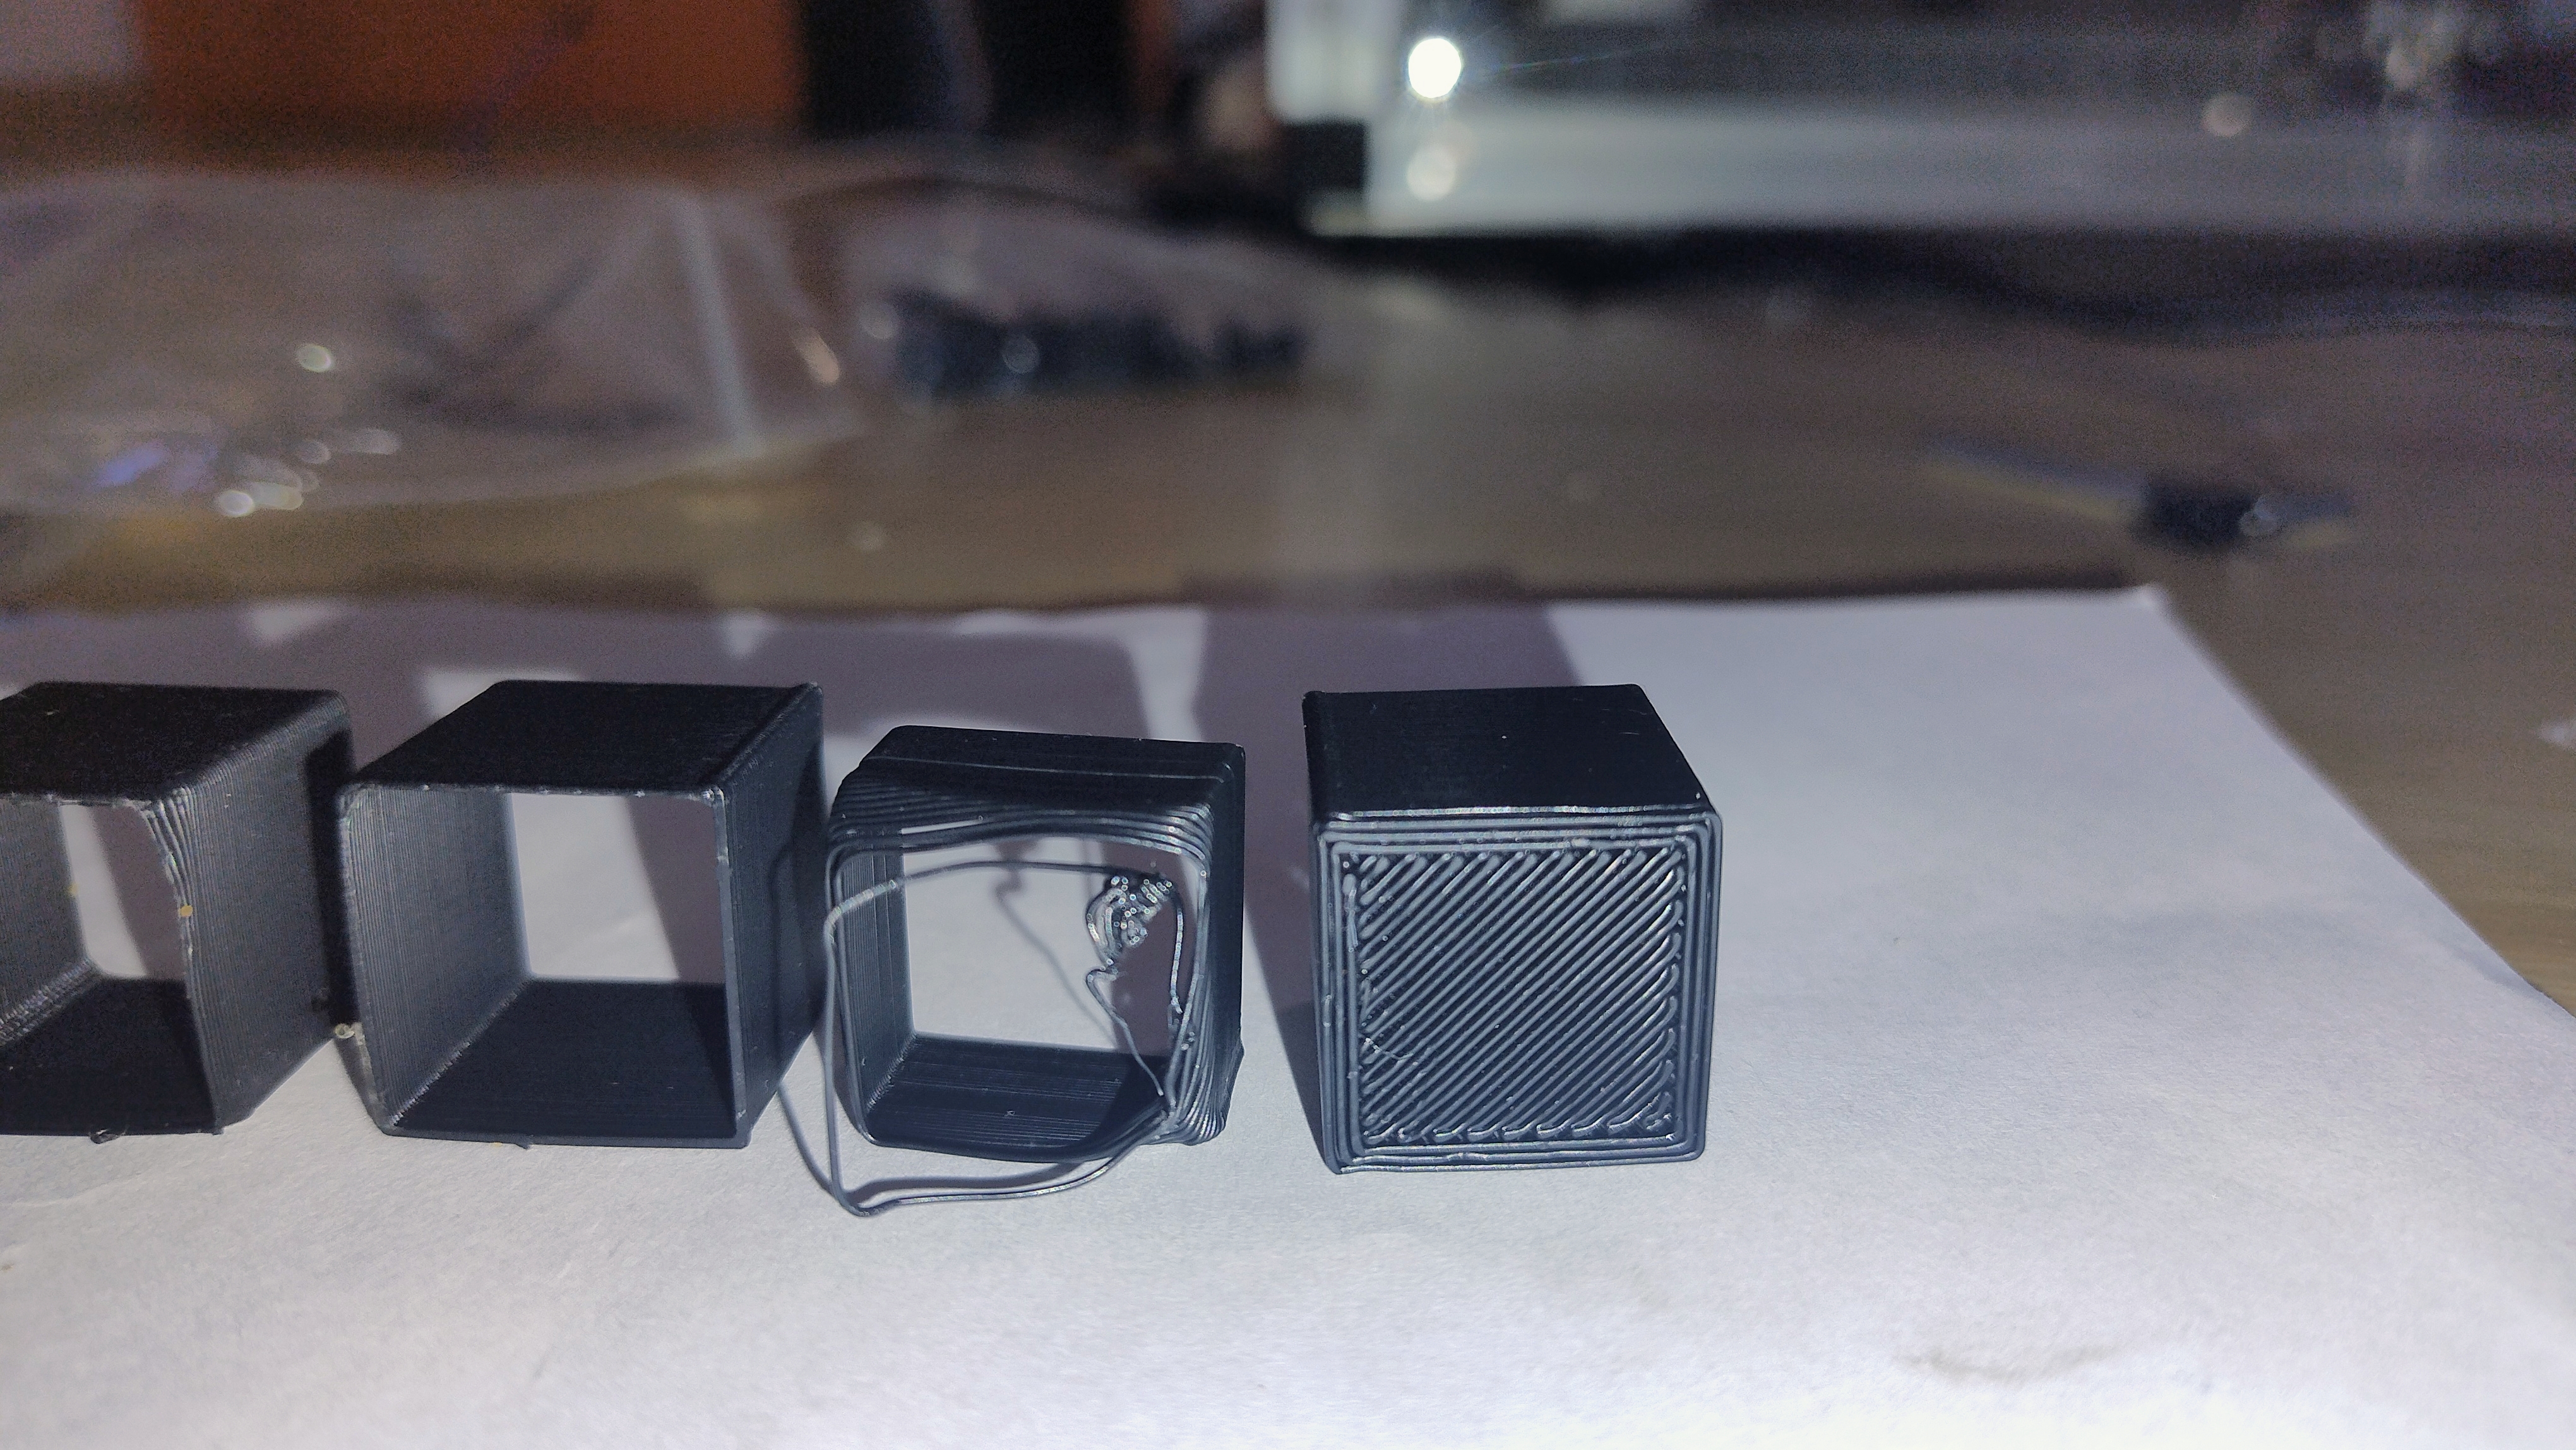
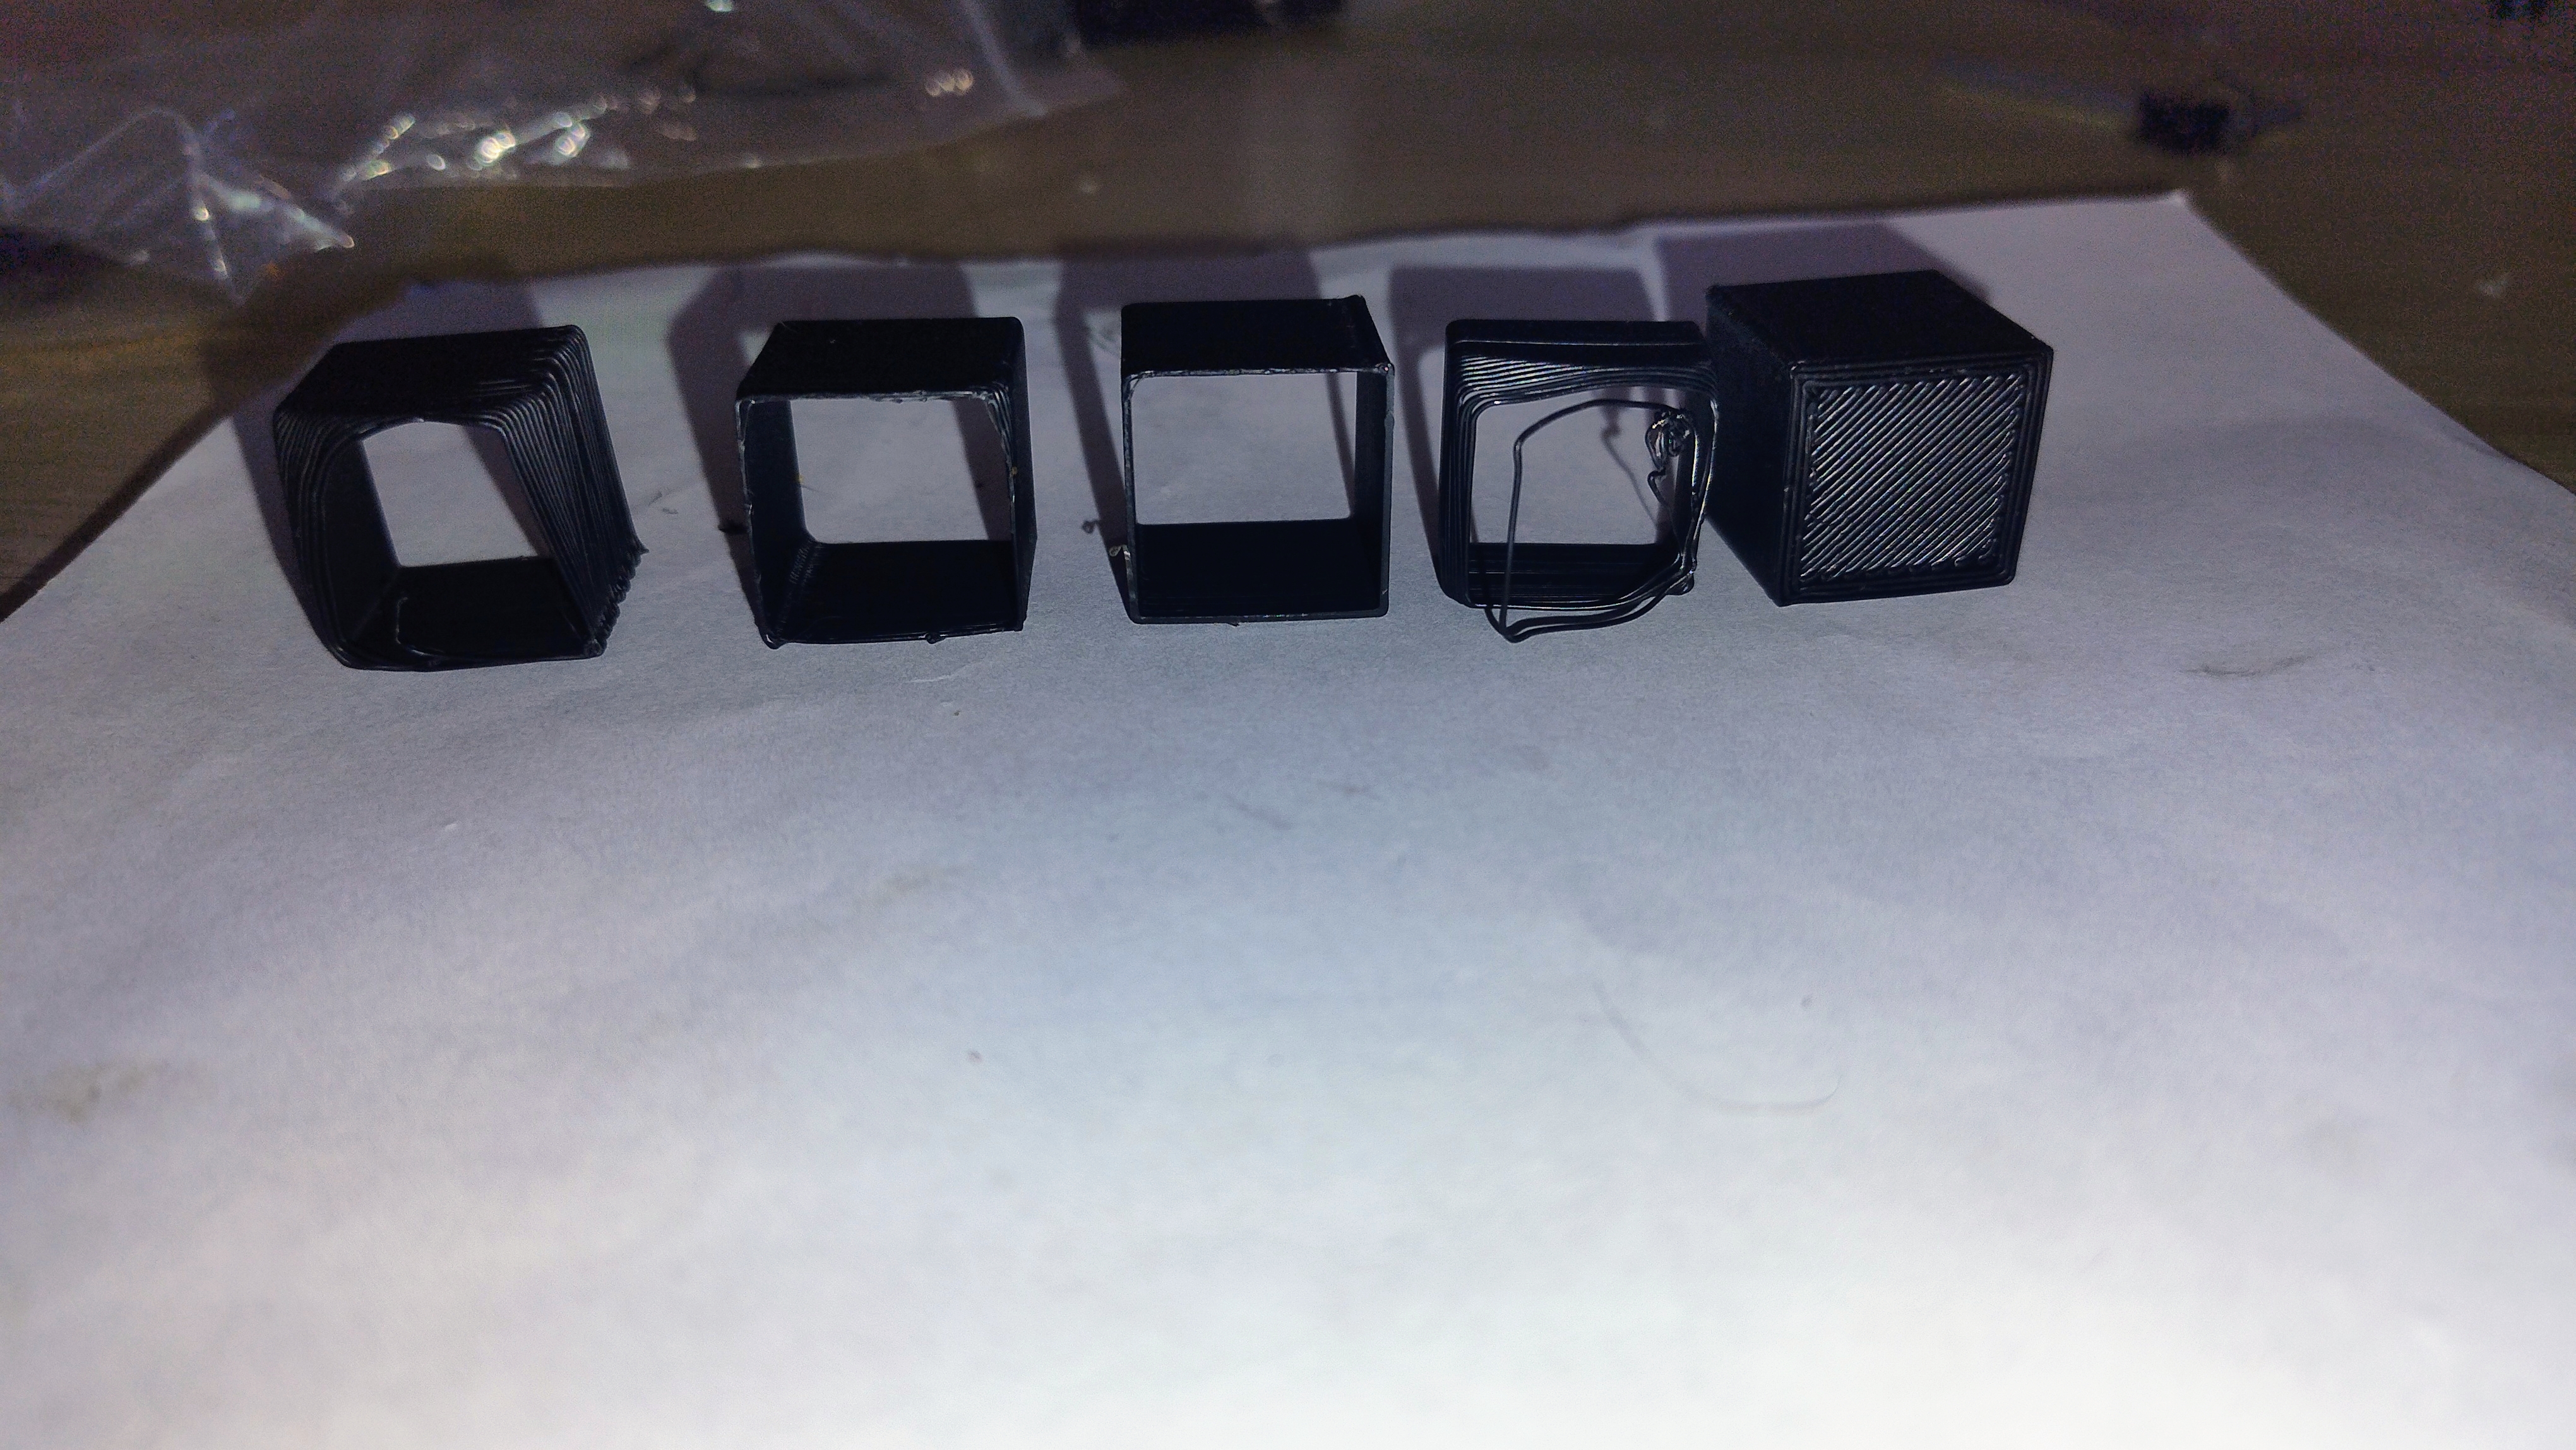
The custom STM32F407VET6 board works perfectly and successfully replaces the old ATmega setup. Klipper brings many modern features compared to the old Marlin firmware. Thanks to the new TMC2209 drivers, the printer is now significantly quieter during operation.
However, the build process revealed several mechanical limitations of the original Profi3DMaker chassis that the new electronics alone cannot fix:
To fully utilize the new controller board's capabilities, I have designed a completely new mount for a modern toolhead. This can be actually directly mounted on the chassis. However, this will only add weight if I don't disassemble the moving carriage from the tubes, which requires practically disassembling the entire printer, which I plan to do as a future upgrade. This would also require creating another model which would replace the previous aluminium carriage on the tubes. For now, the goal of successfully designing, building, and running a custom controller board has been achieved.
Since this board is built around a custom STM32F407VET6 microcontroller, it runs on the open-source Klipper firmware. Instead of writing custom kinematic calculations from scratch, the firmware setup uses a printer configuration file. You can find the complete pin-mapping and configuration file (printer.cfg), along with the original dumped .srec firmware files used to reverse-engineer the correct gear ratios and microsteps, ready in the Firmware folder. You can also access all the other original files for this 3D printer by registering on the 3D Factories website.
Microcontroller: STM32F407VET6 (100-pin, 32-bit ARM Cortex-M4)
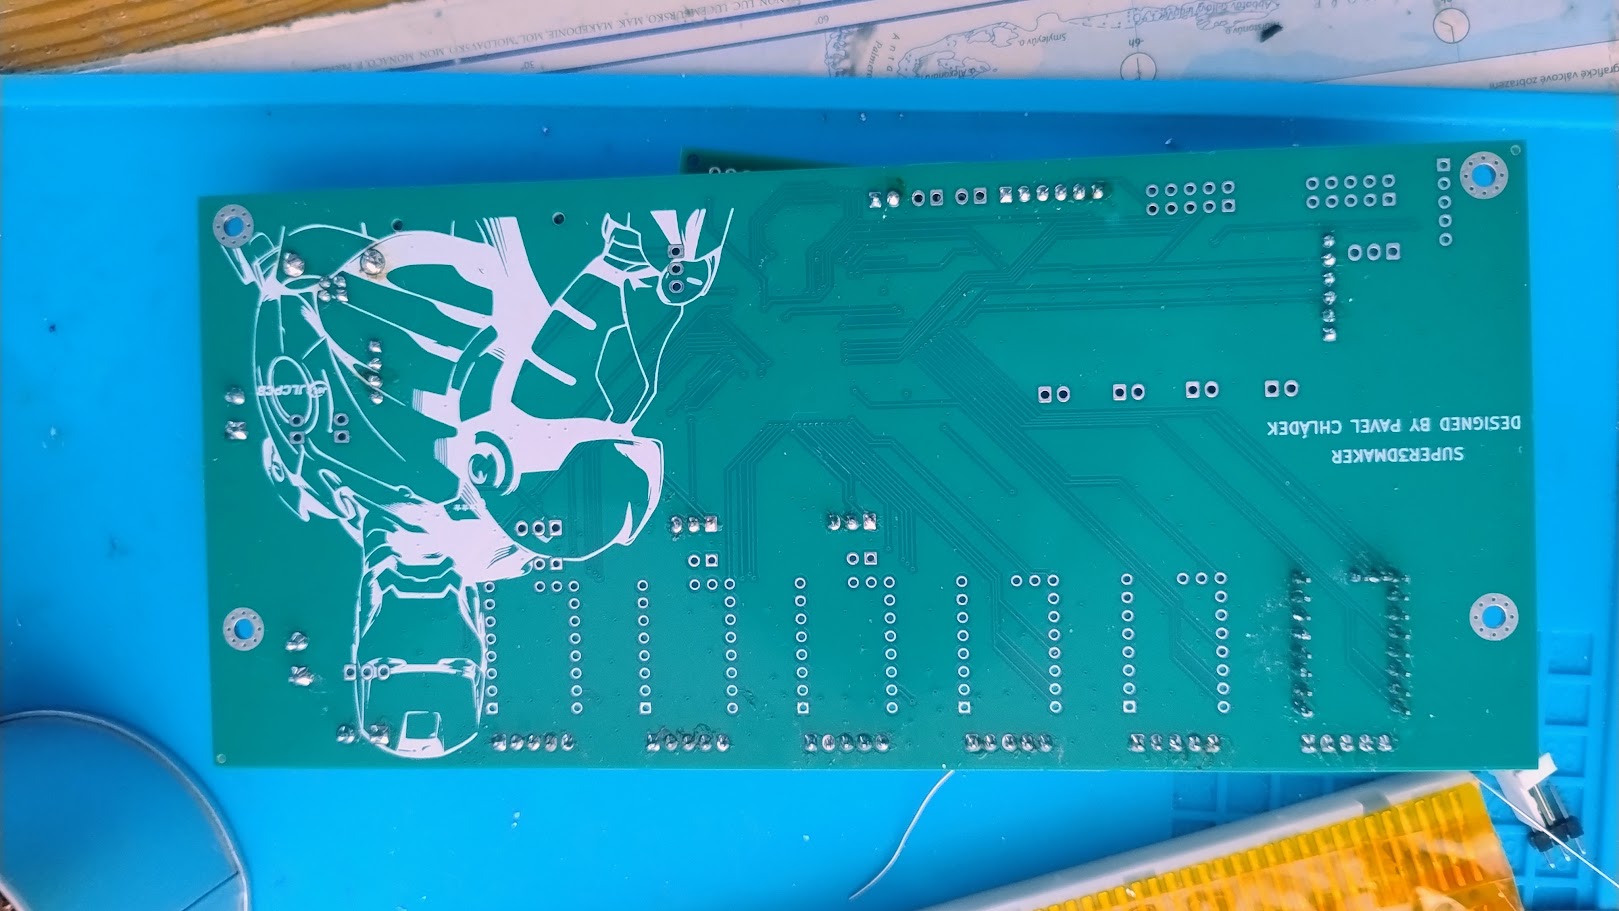
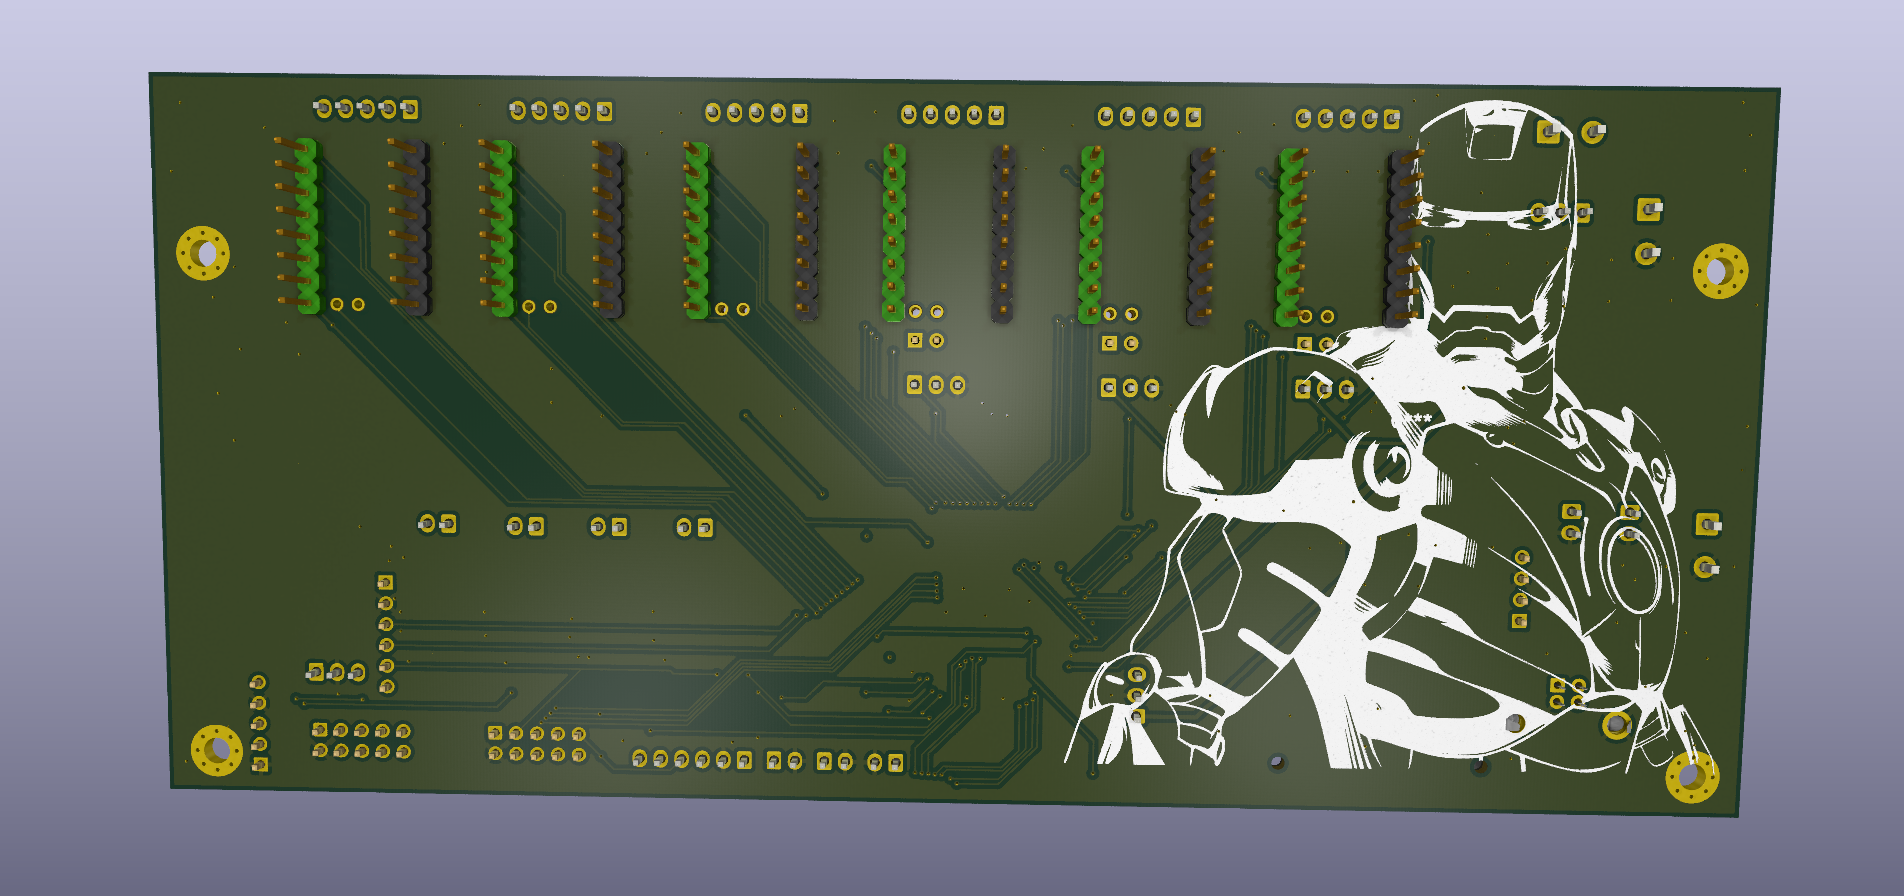
Stackup: 4-Layer PCB (Signal / GND / GND / Signal) for internal routing and better EMI shielding
Stepper Drivers: 6x UART-controlled TMC2209 sockets
Power: 24V main input with dual LM2596S buck converters (5V and 3.3V rails)
Connectivity: USB-B for main communication, native Raspberry Pi UART interface
Displays: Standard 10-pin IDC EXP1 and EXP2 headers for legacy 12864 or modern SPI BTT Mini12864 displays
Hardware Interlock: Laser module power logically tied to the high-current heated bed circuit to prevent simultaneous power draw
And more other...
https://github.com/user-attachments/assets/c8a4d6e0-8937-4ded-b093-ac17ca0ef771
https://github.com/user-attachments/assets/72c90019-3e0b-4c00-92d0-47ec632bfb1b
https://github.com/user-attachments/assets/8aad29d0-d306-4471-a87c-c93d6b09ec2d
LIS2DW accelometer calibration
https://github.com/user-attachments/assets/c06aa969-909b-4192-8ba1-088b3594a9f0
CR Touch Bed Mesh
https://github.com/user-attachments/assets/029f4fde-3b9d-4758-a506-7faca7a6295e
| Component | Qty | Purpose / Description | Price (USD) | Link / Distributor |
|---|---|---|---|---|
| Custom PCBA (Mainboard) | 2 | Custom designed 4-layer STM32 controller board. Fully assembled via JLCPCB SMT (minus the THT USB-B connector which will be soldered manually to avoid mechanical case collisions). | ~$137.67 | JLCPCB - This is the price for 2 assembled boards to keep the price as low as possible. |
| BIQU H2 V2S REVO | 1 | Ultra-lightweight direct drive extrusion system with rapid-change nozzle capability. Replaces the current heavy toolhead, significantly reducing weight on the massive 400mm X-axis for faster, vibration-free printing. | $151.45 | Allegro |
| ADXL345 3-Axis Accelerometer | 2 | Essential for Klipper's Input Shaping calibration. It measures the physical resonance frequencies of the X and Y axes, allowing the firmware to actively cancel out vibrations during high-speed printing and eliminate ringing/ghosting on the printed parts. | $2.88 | AliExpress |
| CR-Touch (Auto Bed Leveling) | 1 | Provides automatic high-precision mesh bed leveling. It compensates for any slight warping of the print bed and ensures a perfect first layer every time by measuring the distance between the nozzle and the build surface at multiple points. | $20.00 | AliExpress |
| BigTreeTech TMC2209 V1.3 | 6 | These are high-performance silent motor drivers required for the custom motherboard. They feature StealthChop technology for near-silent operation and StallGuard for sensorless homing, eliminating the need for physical limit switches. | $19.25 | AliExpress |
| Raspberry Pi Zero 2W | 1 | Serves as the main host computer for the custom 3D printer. It runs the Klipper firmware ecosystem and its web interface (Mainsail/Fluidd), performs heavy kinematics calculations, and sends precise hardware commands to the custom-designed STM32 motherboard via serial/USB connection. | $20.17 | Rpishop |
| Item | Qty | Specification | Purpose |
|---|---|---|---|
| Original Aluminum Case | 1 | The heavy original printer chassis | I had to reverse engineer the mounting holes and connector distances, because I could not get the original CAD files. It was a nightmare but it fits within like 4.7mm of the board edge now. |
| M3 Screws | 4 | Standard mounting hardware | Securing the PCB to the chassis standoffs. |
If you want to replicate this custom controller board for your own Profi3DMaker or similar 3D printer, follow these steps:
STM32F407VET6 chip using make menuconfig on your Raspberry Pi Zero 2W.klipper.bin to the STM32 using STM32CubeProgrammer.printer.cfg (found in the /Firmware folder) to your Klipper interface (Mainsail/Fluidd) and verify motor directions and sensor readings.
That is all, thank you for reading!| Qty | Value | Footprint | References |
|---|---|---|---|
| 23 | 10K | Resistor_SMD:R_0603_1608Metric | R3, R10, R11, R12, R13, R14, R15, R16, R17, R18, R19, R20, R21, R26, R28, R30 +7 |
| 11 | 100nF | Capacitor_SMD:C_0402_1005Metric | C12, C13, C14, C15, C16, C17, C18, C19, C20, C32, C35 |
| 10 | 100uF | Capacitor_SMD:CP_Elec_6.3x7.7 | C1, C2, C7, C10, C21, C23, C25, C27, C30, C31 |
| 10 | 10K | Resistor_SMD:R_0402_1005Metric | R1, R2, R24, R41, R42, R43, R44, R45, R46, R47 |
| 6 | 100nF | Capacitor_SMD:C_0603_1608Metric | C8, C9, C11, C22, C24, C26 |
| 6 | 330R | Resistor_SMD:R_0402_1005Metric | R22, R25, R27, R29, R33, R50 |
| 6 | Conn_01x05_Pin | Connector_Molex:Molex_KK-254_AE-6410-05A_1x05_P2.54mm_Vertical | J2, J3, J4, J5, J6, J7 |
| 6 | TMC2209_SILENTSTEPSTICK | Moje_knihovna:MODULE_TMC2209_SILENTSTEPSTICK | U1, U3, U4, U5, U6, U7 |
| 5 | AOD4184A | Moje_knihovna:DPAK228P994X240-4N | Q1, Q2, Q3, Q4, Q5 |
| 5 | ESD9B3.3ST5G | Diode_SMD:D_SOD-923 | D4, D5, D6, D7, D8 |
| 4 | 10uF | Capacitor_SMD:C_0603_1608Metric | C28, C29, C33, C36 |
| 4 | MountingHole_Pad | MountingHole:MountingHole_3.2mm_M3_Pad_Via | H5, H6, H7, H8 |
| 3 | 4.7K | Resistor_SMD:R_0402_1005Metric | R39, R40, R48 |
| 3 | Conn_01x02_Pin | Connector_PinHeader_2.54mm:PinHeader_1x02_P2.54mm_Vertical | J18, J22, J23 |
| 3 | Conn_01x03_Pin | Connector_Molex:Molex_KK-254_AE-6410-03A_1x03_P2.54mm_Vertical | J9, J21, J24 |
| 3 | Screw_Terminal_01x02 | TerminalBlock_Phoenix:TerminalBlock_Phoenix_MKDS-1,5-2-5.08_1x02_P5.08mm_Horizontal | J10, J14, J27 |
| 3 | Screw_Terminal_01x02 | Connector_Molex:Molex_KK-254_AE-6410-02A_1x02_P2.54mm_Vertical | J8, J26, J28 |
| 2 | 2.2uF | Capacitor_SMD:C_0603_1608Metric | C3, C4 |
| 2 | 33pF | Capacitor_SMD:C_0402_1005Metric | C5, C6 |
| 2 | 47uH | Inductor_SMD:IND-SMD_L12.3-W12.3 | L1, L2 |
| 2 | SS54 | Diode_SMD:D_SMA | D1, D2 |
| 1 | 10uF | Capacitor_SMD:C_0805_2012Metric | C34 |
| 1 | 4.7K | Resistor_SMD:R_0805_2012Metric | R23 |
| 1 | 8MHz | Crystal:Crystal_SMD_5032-2Pin_5.0x3.2mm | Y2 |
| 1 | ADXL345 | Connector_Molex:Molex_KK-254_AE-6410-06A_1x06_P2.54mm_Vertical | J19 |
| 1 | CR_TOUCH | Connector_PinHeader_2.54mm:PinHeader_1x05_P2.54mm_Vertical | J30 |
| 1 | Conn_01x03_Pin_Laser | Connector_Molex:Molex_KK-254_AE-6410-03A_1x03_P2.54mm_Vertical | J34 |
| 1 | Conn_01x03_Pin_Neopixel | Connector_Molex:Molex_KK-254_AE-6410-03A_1x03_P2.54mm_Vertical | J16 |
| 1 | Conn_01x04_Pin | Connector_PinHeader_2.54mm:PinHeader_1x04_P2.54mm_Vertical | J25 |
| 1 | Conn_01x06_Pin | Connector_PinHeader_2.54mm:PinHeader_1x06_P2.54mm_Vertical | J29 |
| 1 | EPX1 | Connector_IDC:IDC-Header_2x05_P2.54mm_Vertical | J31 |
| 1 | EPX2 | Connector_IDC:IDC-Header_2x05_P2.54mm_Vertical | J32 |
| 1 | FILAMENT_Runout_Sensor | Connector_Molex:Molex_KK-254_AE-6410-03A_1x03_P2.54mm_Vertical | J20 |
| 1 | Flash | Button_Switch_SMD:SW_Push_1P1T_XKB_TS-1187A | Flash1 |
| 1 | LED | LED_SMD:LED0603-RD | D3 |
| 1 | LM2596S-3.3 | Package_TO_SOT_SMD:TO-263-5_TabPin3 | U2 |
| 1 | LM2596S-5 | Package_TO_SOT_SMD:TO-263-5_TabPin3 | U8 |
| 1 | LOGO | LOGO | G*** |
| 1 | Reset | Button_Switch_SMD:SW_Push_1P1T_XKB_TS-1187A | Reset2 |
| 1 | STM32F407VET6 | Moje_knihovna:LQFP100-0.5-13.8X13.8MM | IC1 |
| 1 | Screw_Terminal_01x02_FAN0 | Connector_Molex:Molex_KK-254_AE-6410-02A_1x02_P2.54mm_Vertical | J11 |
| 1 | Screw_Terminal_01x02_FAN1 | Connector_Molex:Molex_KK-254_AE-6410-02A_1x02_P2.54mm_Vertical | J12 |
| 1 | Screw_Terminal_01x02_FAN2 | Connector_Molex:Molex_KK-254_AE-6410-02A_1x02_P2.54mm_Vertical | J13 |
| 1 | TH_BED | Connector_Molex:Molex_KK-254_AE-6410-02A_1x02_P2.54mm_Vertical | J17 |
| 1 | TH_EXTRUDER | Connector_Molex:Molex_KK-254_AE-6410-02A_1x02_P2.54mm_Vertical | J15 |
| 1 | TH_EXTRUDER2 | Connector_Molex:Molex_KK-254_AE-6410-02A_1x02_P2.54mm_Vertical | J33 |
| 1 | USBLC6-2SC6 | Package_TO_SOT_SMD:SOT-23-6 | U9 |
| 1 | USB_B | Connector_USB:USB_B_OST_USB-B1HSxx_Horizontal | J1 |
| 1 | ~ | Moje_knihovna:SD_KARTA_OPRAVENA | CARD1 |
It measures 189.6 × 85.9 mm and has 4 copper layers, 1.6 mm thick.
147 parts, built around the STM32F407VET6, TMC2209SILENTSTEPSTICK, LM2596S-3.3 and LM2596S-5.0. The full list of its parts is on this page, with links to each part's symbol and footprint where PCBKit's library has them.
From the ChladpavPy/Super3DMaker repository on GitHub, at the commit this page was made from: the board is Kicad_Source/Super3DMakerSTM.kicad_pcb and its schematic Kicad_Source/Super3DMakerSTM.kicad_sch. PCBKit opens the board in the browser, with nothing to install.
Its repository publishes it under the MIT licence: you may reuse it on that licence's terms (keep the author's notice, and for a copyleft licence share your changes alike).


danhmanu/PLC-STM32F407VET6
Mạch nguyên lý KiCad 10 cho bộ PLC: điều khiển qua LAN bằng Modbus TCP (module W5500 Lite), nạp code qua USB‑C (CH340C), 16 ngõ ra transistor cách ly quang, 10 ngõ vào analog 4–20mA.

npgo22/Serie
The board itself is based around an STM32H723, the fastest microcontroller supported by Klipper at the moment.

MichalKacperek/electric_angle_actuator
PCB for AM4096 encoder with STM32F103RBT6 microcontroller and terminals for DC motor controller based on two L6390D with CAN bus interface.