2 layers43.7 × 66.8 mm
Nevolta Nexus
EmmetGameDev/NevoltaNexusConsole
Repository for design files and code for the Nexus console.
38 parts4GPL-3.0

 EmmetGameDev/NevoltaNexusConsole4
Repository for design files and code for the Nexus console.
WirelessControllerESP32 is an open-source printed circuit board by EmmetGameDev, from the EmmetGameDev/NevoltaNexusConsole repository on GitHub, published under the GPL-3.0 licence. It is a 2-layer board of 147 × 105.9 mm with 66 parts on 72 nets, routed with 457 tracks and 121 vias.
It is built around the ESP32-S3-WROOM-1-N8, AMS1117-3.3 and DW01A, with the MIC5219-3.3YM5 and TP4056-42-ESOP8 among its other parts. Its parts include 17 resistors, 16 switches, 13 capacitors, 5 ICs and 4 connectors. It belongs with the ESP32 boards of this library.


See the build and design on YouTube!
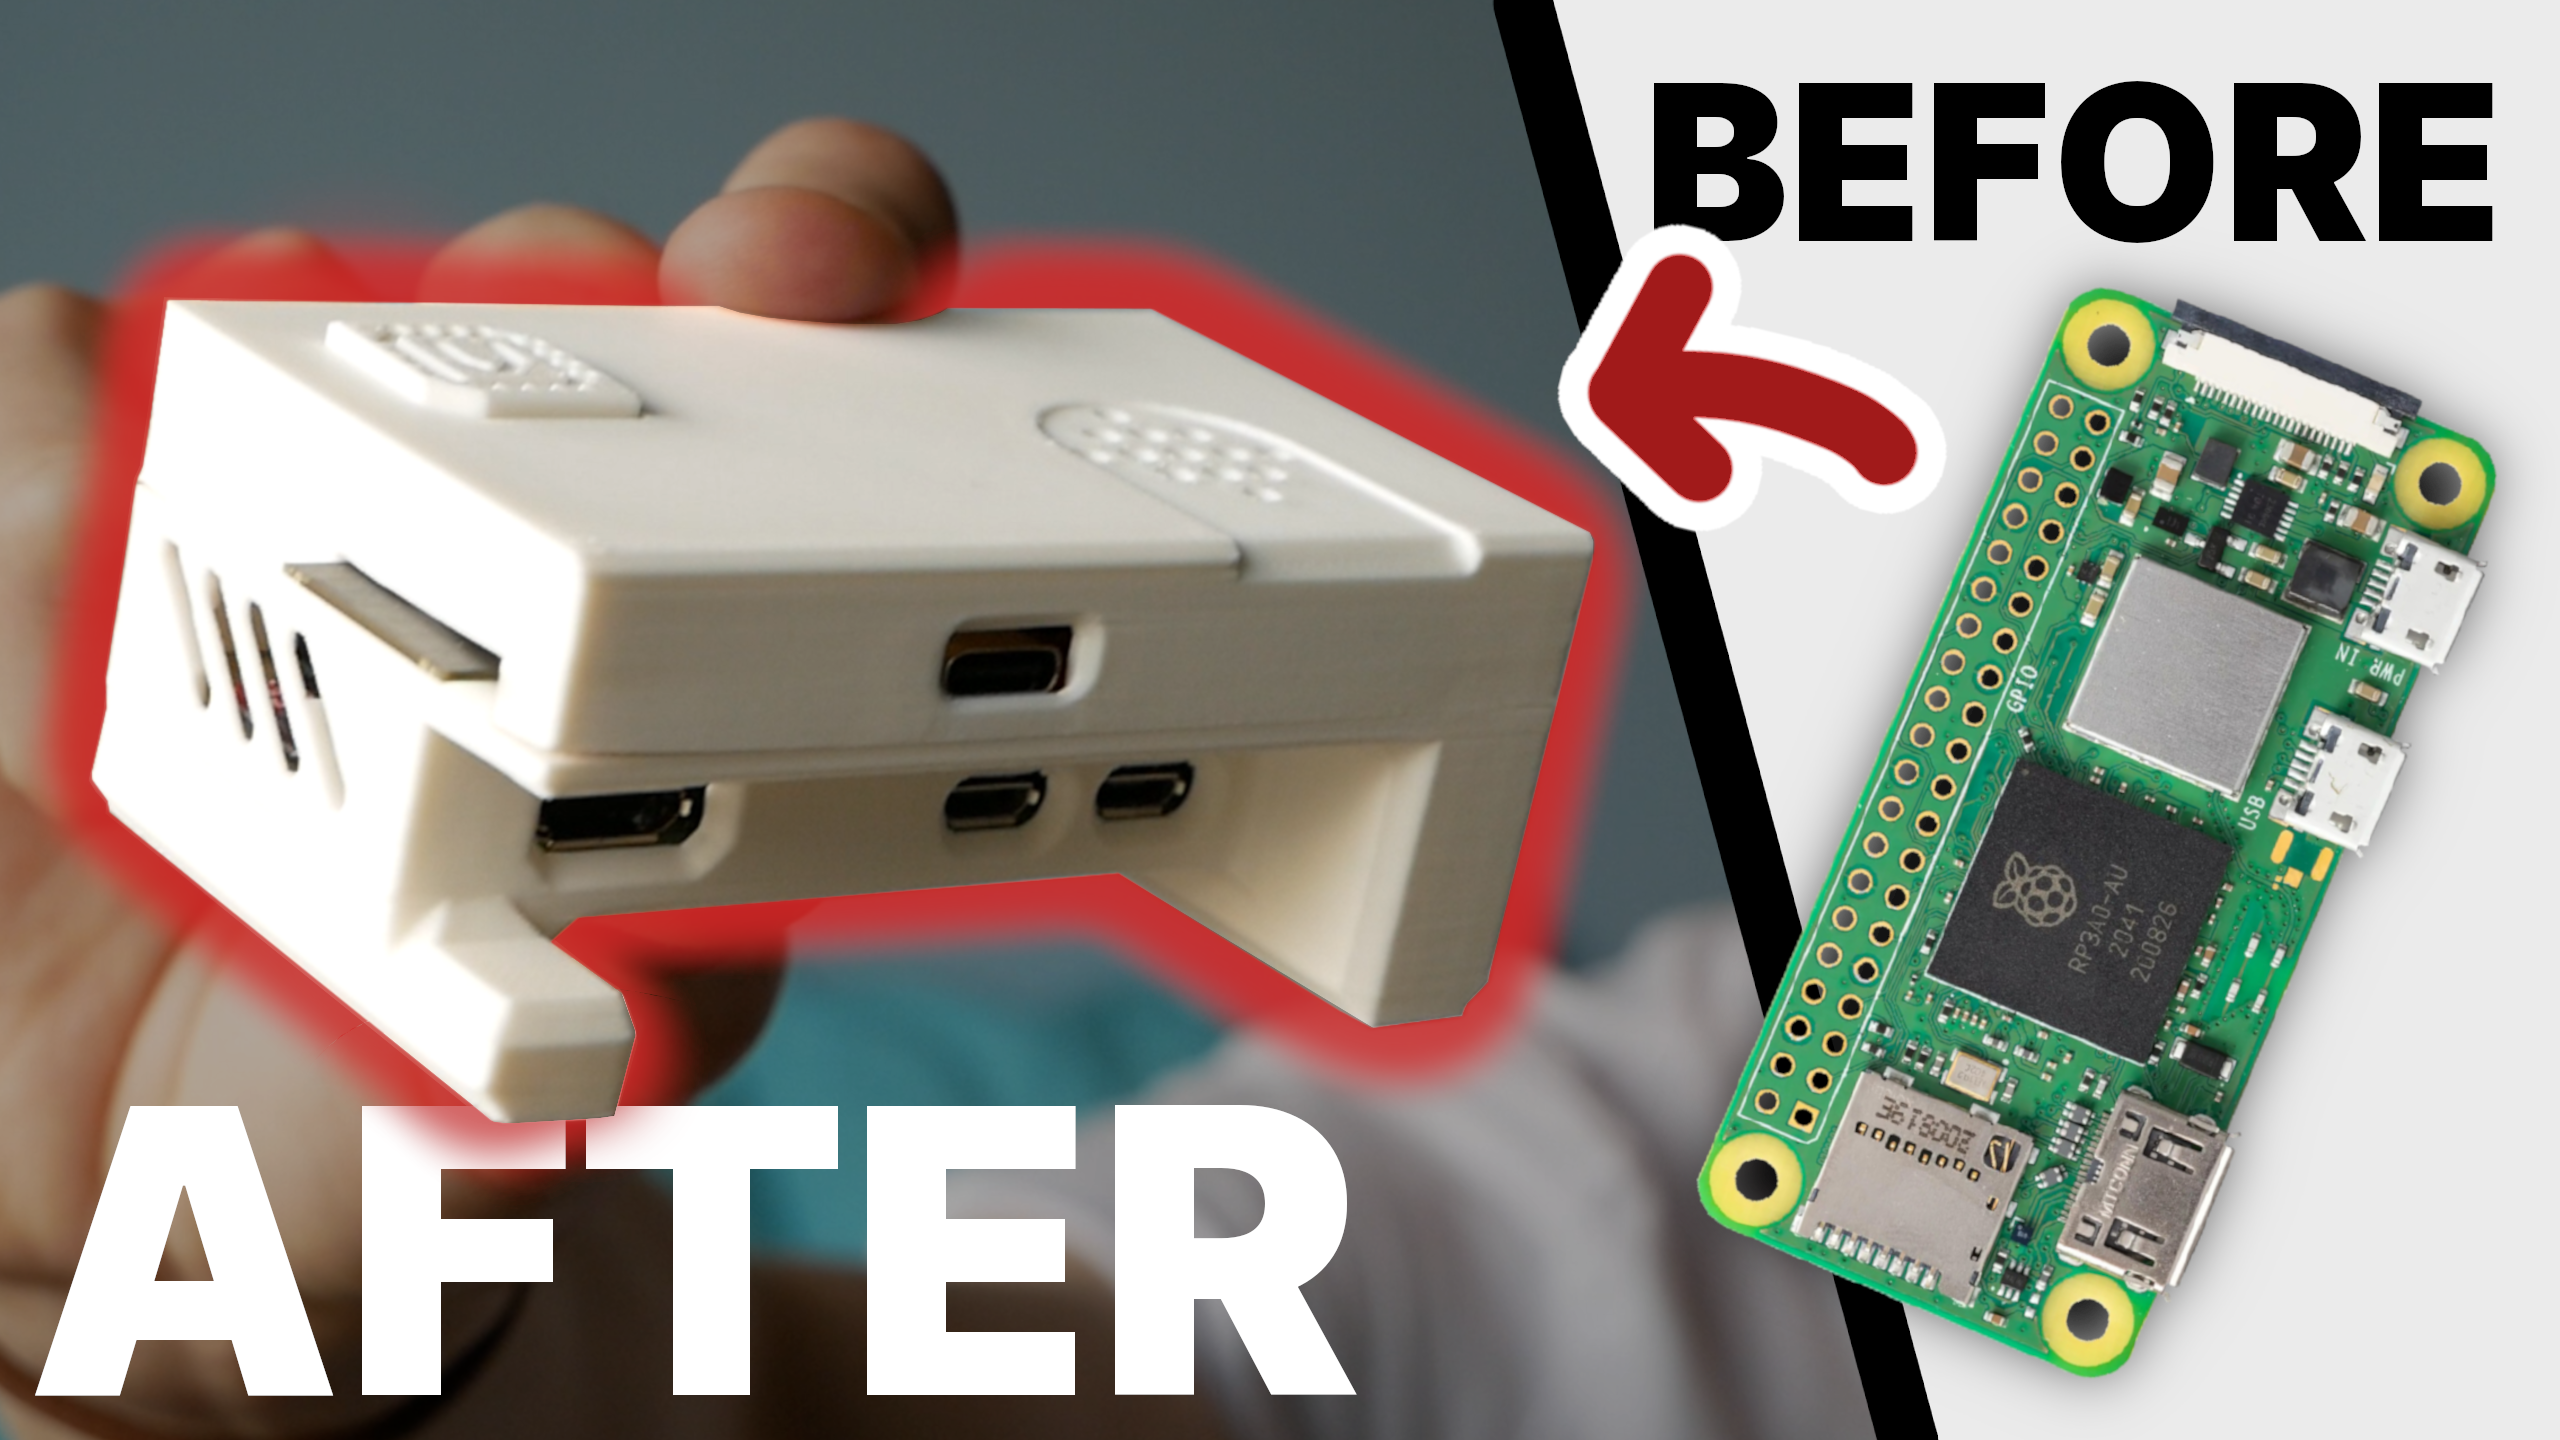
The Nexus is a retro games console based on the Raspberry Pi Zero 2W and the ESP32-S3. The console features:
"Nevolta" is the name for my personal console line-up. (more are coming soon!)
| Qty | Value | Footprint | References |
|---|---|---|---|
| 7 | 100k | Resistor_SMD:R_0603_1608Metric | R10, R11, R12, R13, R14, R15, R16 |
| 6 | 100nF | Capacitor_SMD:C_0603_1608Metric | C1, C3, C7, C8, C9, C13 |
| 4 | 10uF | Capacitor_SMD:C_0603_1608Metric | C4, C5, C6, C10 |
| 3 | 1k | Resistor_SMD:R_0603_1608Metric | R5, R6, R7 |
| 2 | 100R | Resistor_SMD:R_0603_1608Metric | R8, R9 |
| 2 | 10k | Resistor_SMD:R_0603_1608Metric | R1, R17 |
| 2 | 5.1k | Resistor_SMD:R_0603_1608Metric | R2, R3 |
| 1 | 1.2k | Resistor_SMD:R_0603_1608Metric | R4 |
| 1 | 10uF | Capacitor_Tantalum_SMD:CP_EIA-3216-18_Kemet-A | C11 |
| 1 | 22uF | Capacitor_Tantalum_SMD:CP_EIA-3216-18_Kemet-A | C12 |
| 1 | 22uF | Capacitor_SMD:C_0603_1608Metric | C2 |
| 1 | 5V | TestPoint:TestPoint_Pad_D2.0mm | TP1 |
| 1 | AMS1117-3.3 | Package_TO_SOT_SMD:SOT-223-3_TabPin2 | U5 |
| 1 | AMS_3v3 | TestPoint:TestPoint_Pad_D2.0mm | TP4 |
| 1 | BLUE | LED_SMD:LED_0603_1608Metric | D2 |
| 1 | BOOT | Custom Footprints:SW_SPST_TS-1088-xR020 | SW3 |
| 1 | BTN_A | Custom Footprints:SW_PUSH_8mm_H5mm_custom | SW12 |
| 1 | BTN_B | Custom Footprints:SW_PUSH_8mm_H5mm_custom | SW13 |
| 1 | BTN_Down | Custom Footprints:SW_PUSH_8mm_H5mm_custom | SW7 |
| 1 | BTN_L | Custom Footprints:TS-1224VW | SW4 |
| 1 | BTN_Left | Custom Footprints:SW_PUSH_8mm_H5mm_custom | SW6 |
| 1 | BTN_R | Custom Footprints:TS-1224VW | SW10 |
| 1 | BTN_Right | Custom Footprints:SW_PUSH_8mm_H5mm_custom | SW8 |
| 1 | BTN_Select | Custom Footprints:SW_PUSH_8mm_H5mm_custom | SW15 |
| 1 | BTN_Start | Custom Footprints:SW_PUSH_8mm_H5mm_custom | SW9 |
| 1 | BTN_Sys | Custom Footprints:SW_PUSH_8mm_H5mm_custom | SW16 |
| 1 | BTN_Up | Custom Footprints:SW_PUSH_8mm_H5mm_custom | SW5 |
| 1 | BTN_X | Custom Footprints:SW_PUSH_8mm_H5mm_custom | SW11 |
| 1 | BTN_Y | Custom Footprints:SW_PUSH_8mm_H5mm_custom | SW14 |
| 1 | Batt_Conn | Connector_JST:JST_ZH_S2B-ZR-SM4A-TF_1x02-1MP_P1.50mm_Horizontal | J2 |
| 1 | DW01A | Package_TO_SOT_SMD:SOT-23-6 | U4 |
| 1 | EN | Custom Footprints:SW_SPST_TS-1088-xR020 | SW1 |
| 1 | ESP32-S3-WROOM-1 | RF_Module:ESP32-S3-WROOM-1 | U1 |
| 1 | GND | TestPoint:TestPoint_Pad_D2.0mm | TP3 |
| 1 | LOGO | Custom Footprints:NevoltaNexusTextLogo | G*** |
| 1 | LOGO | Custom Footprints:NevoltaTextLogo | G*** |
| 1 | LOGO | Custom Footprints:NevoltaIconLogo | G*** |
| 1 | MIC5219-3.3YM5 | Package_TO_SOT_SMD:SOT-23-5 | U2 |
| 1 | MIC_3v3 | TestPoint:TestPoint_Pad_D2.0mm | TP5 |
| 1 | Oled_Conn | Custom Footprints:OLED128x32_1x04_P2.54mm_socket | J4 |
| 1 | PMOS | Package_TO_SOT_SMD:SOT-23 | Q2 |
| 1 | RED | LED_SMD:LED_0603_1608Metric | D1 |
| 1 | SW_PWR | Connector_PinSocket_2.54mm:PinSocket_1x03_P2.54mm_Vertical | SW2 |
| 1 | TP4056-42-ESOP8 | Package_SO:SOIC-8-1EP_3.9x4.9mm_P1.27mm_EP2.41x3.3mm_ThermalVias | U3 |
| 1 | USB_C_Receptacle_USB2.0_16P | Connector_USB:USB_C_Receptacle_GCT_USB4105-xx-A_16P_TopMnt_Horizontal | J1 |
| 1 | ~ | Resistor_SMD:R_0603_1608Metric | J3 |
| 1 | ~ | Custom Footprints:SOT-23-6L_TCP | Q1 |
EmmetGameDev/NevoltaNexusConsole
Repository for design files and code for the Nexus console.


mornepousse/Niphargus
Niphargus — a slim, indestructible wireless split keyboard. ESP32 + nRF24, wired fallback, and an emergency kit hidden behind the USB port. The successor to the Rouge-Gorge.


ANSHUMANDOCX/STM32-Walkie-Talkie
This is a Walkie talkie made using STM32 and LoRa

milovanpms/talk-e
📻 — A simple LoRa-based talkie-walkie built on ESP32, operating on the 433 MHz frequency band for long-range, low-power wireless communication.

HYLDAIC/Flagshep-V1_Audio-Player
A high fidelity semi-portable audio player student project with provided PCB files, 3D files and Code


AhmedOsama21998/SmartWatch-ESP32-S3-PCB
ESP32-S3 smartwatch PCB with Li-ion battery charging, protection, and power management. Work in progress; sensor integration is planned.
It measures 147 × 105.9 mm and has 2 copper layers, 1.6 mm thick.
66 parts, built around the ESP32-S3-WROOM-1-N8, AMS1117-3.3, DW01A and MIC5219-3.3YM5. The full list of its parts is on this page, with links to each part's symbol and footprint where PCBKit's library has them.
From the EmmetGameDev/NevoltaNexusConsole repository on GitHub, at the commit this page was made from: the board is PCBs/WirelessControllerESP32.kicad_pcb and its schematic PCBs/Nevolta Nexus.kicad_sch. PCBKit opens the board in the browser, with nothing to install.
Its repository publishes it under the GPL-3.0 licence: you may reuse it on that licence's terms (keep the author's notice, and for a copyleft licence share your changes alike).