
2 layers132.3 × 94.9 mm

 ChrisChrisLoLo/bunchiez4056
A pocket keyboard that makes use of mouse switches to achieve a miniscule size
Buinchiez40 is an open-source printed circuit board by ChrisChrisLoLo, from the ChrisChrisLoLo/bunchiez40 repository on GitHub, published under the GPL-3.0 licence. It is a 2-layer board of 120 × 40 mm with 90 parts on 63 nets, routed with 270 tracks and 49 vias.
It is built around the RP2040-ZERO. Its parts include 40 diodes, 40 switches, 1 IC and 1 connector. It belongs with the keyboards and input and lEDs and displays boards and the RP2040 boards of this library.
An experimental ultraportable keyboard that uses mouse switches to achieve a compact form factor while still being viable as a daily use keyboard. Board can be hand soldered, and case can be 3D printed or CNC'd.
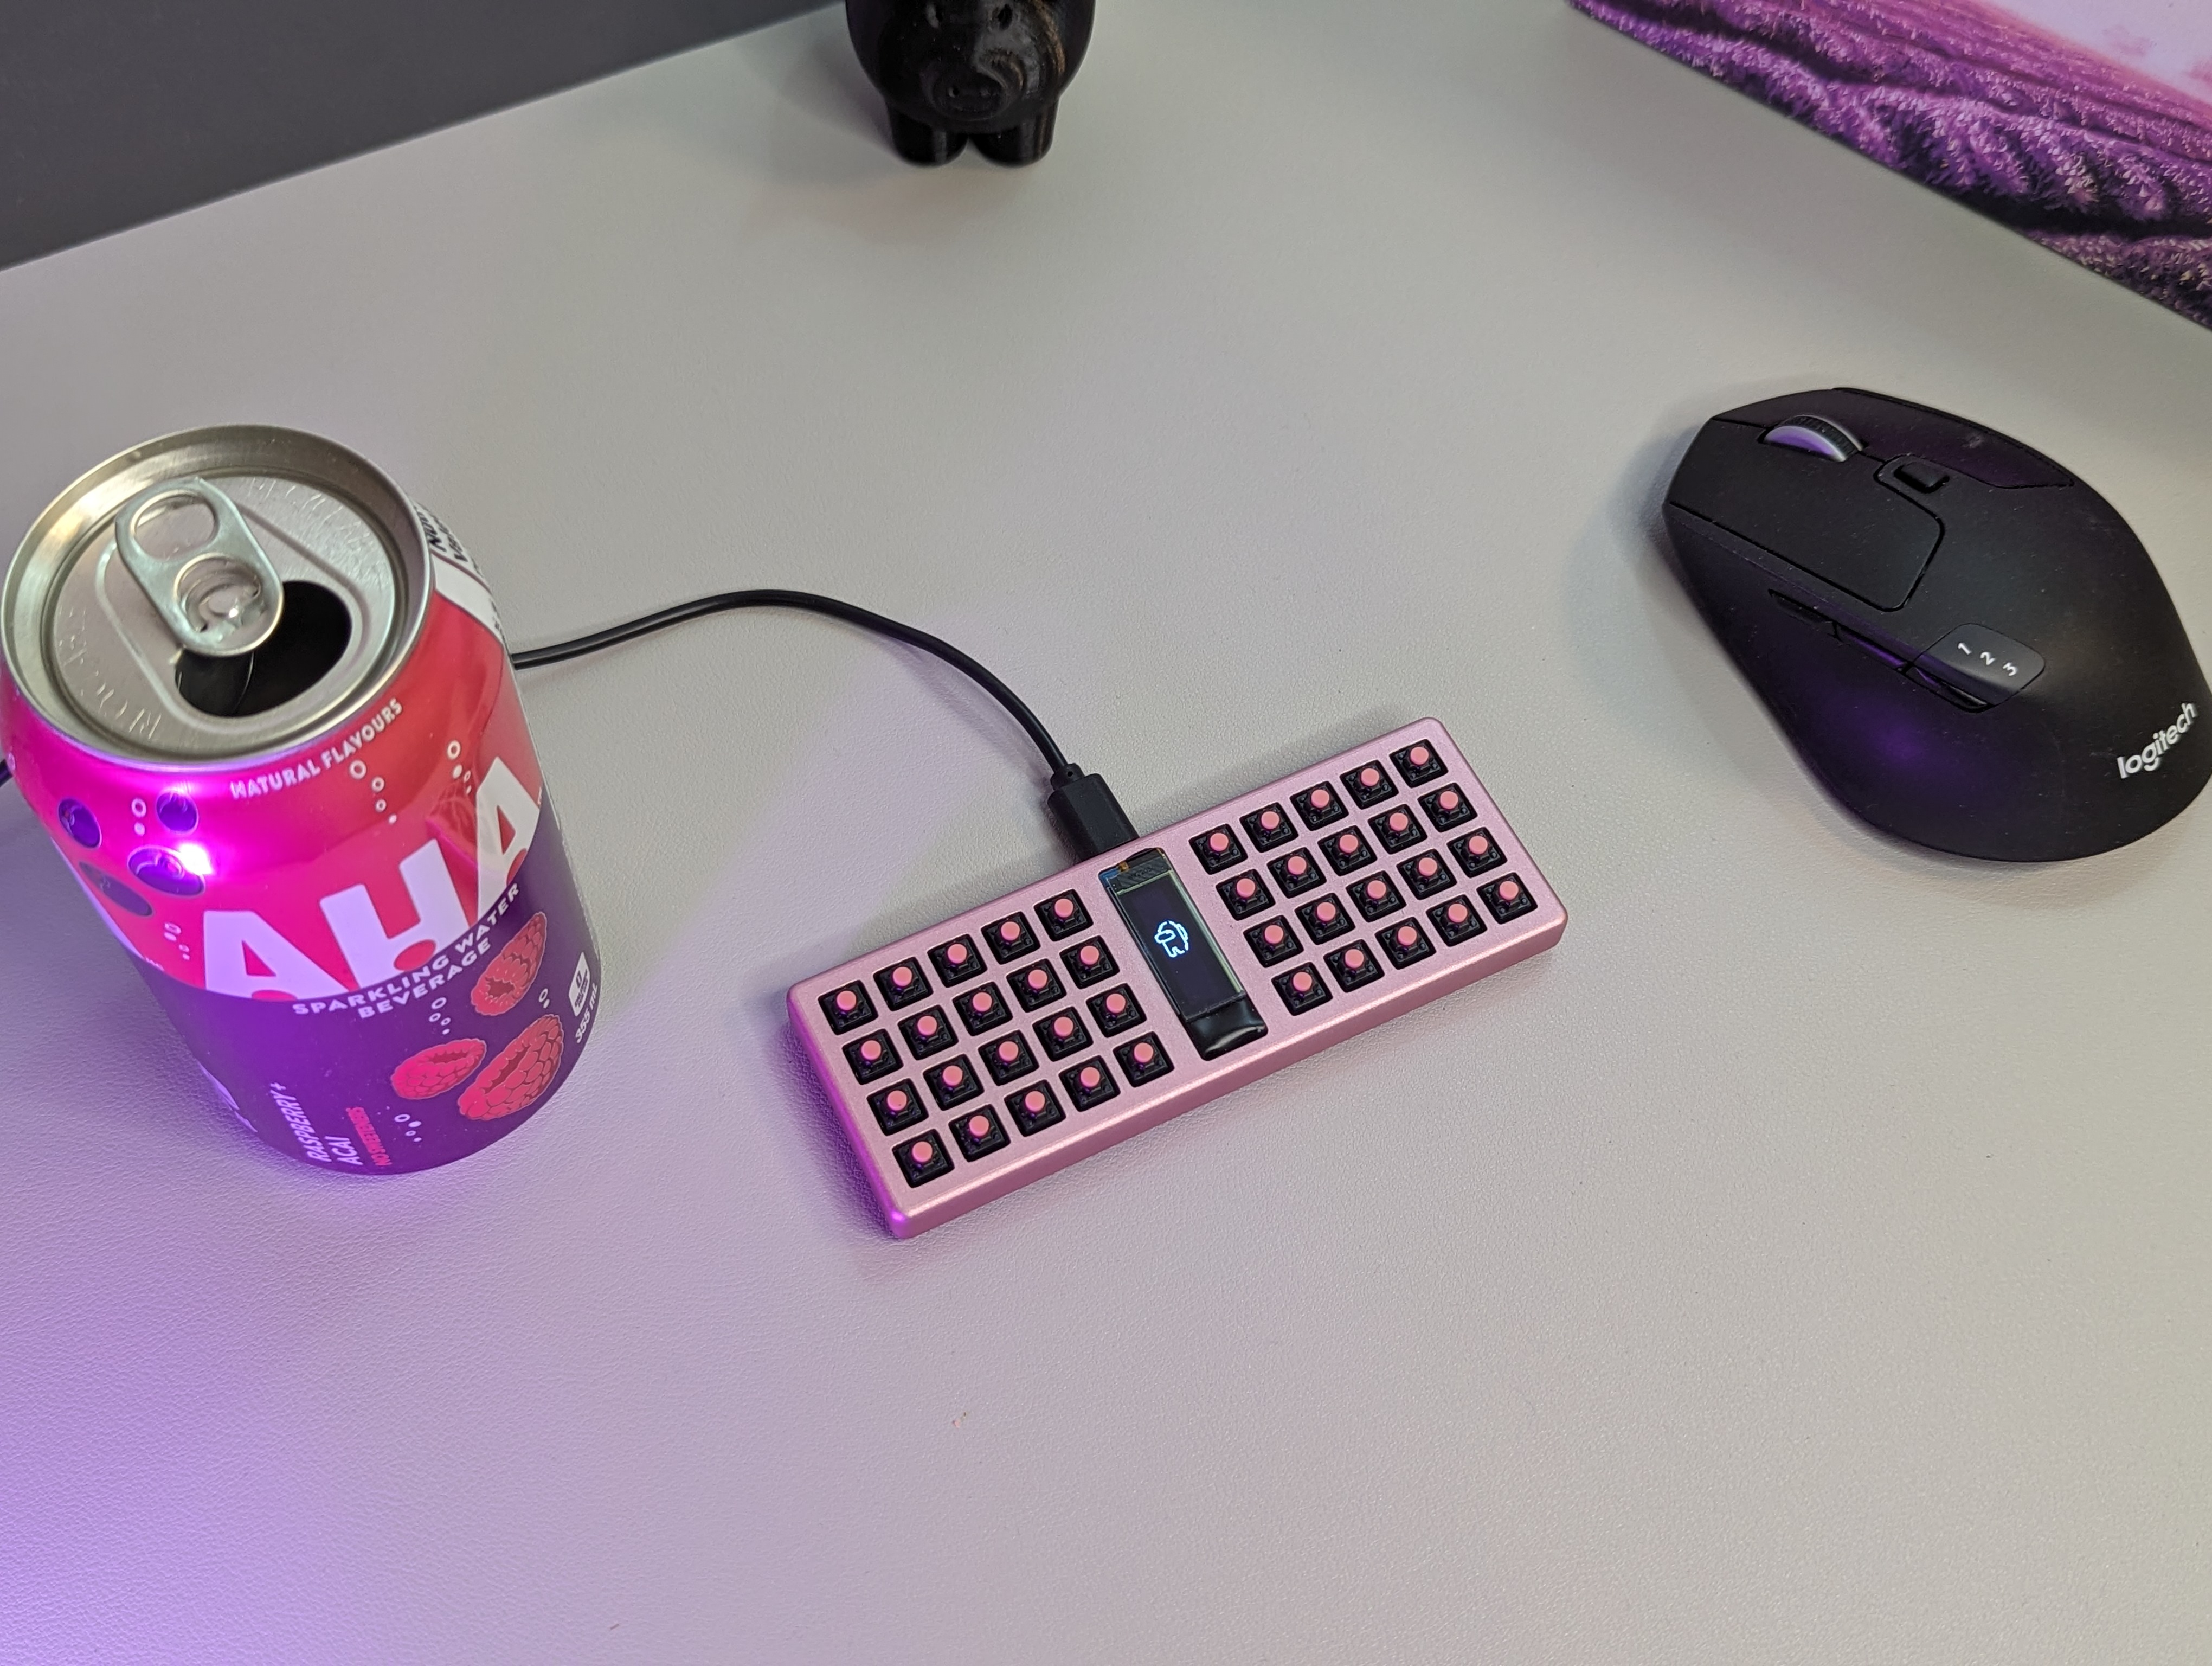
Has science gone too far?
v0.0 PCBs confirmed to be working! Happy to open up this project for others to play with
I hit the limit as how small I could go with choc switches. I found that kailh mute switches are an ideal small form factor alternative in terms of their size, durability, and actuation force. To make this board more accessible to build at home, it uses a rp2040-zero board that can be soldered on.
More details about my research on mouse switches and experience with the bunchiez40 can be found here: https://chrischrislolo.github.io/orthoLabLogs/bunchiez40-how-i-built-a-keyboard-using-mouse-switches.html
Case files include STLs, STEP files, as well as source OpenSCAD files that can be modified. The OpenSCAD models do not have fillets on them
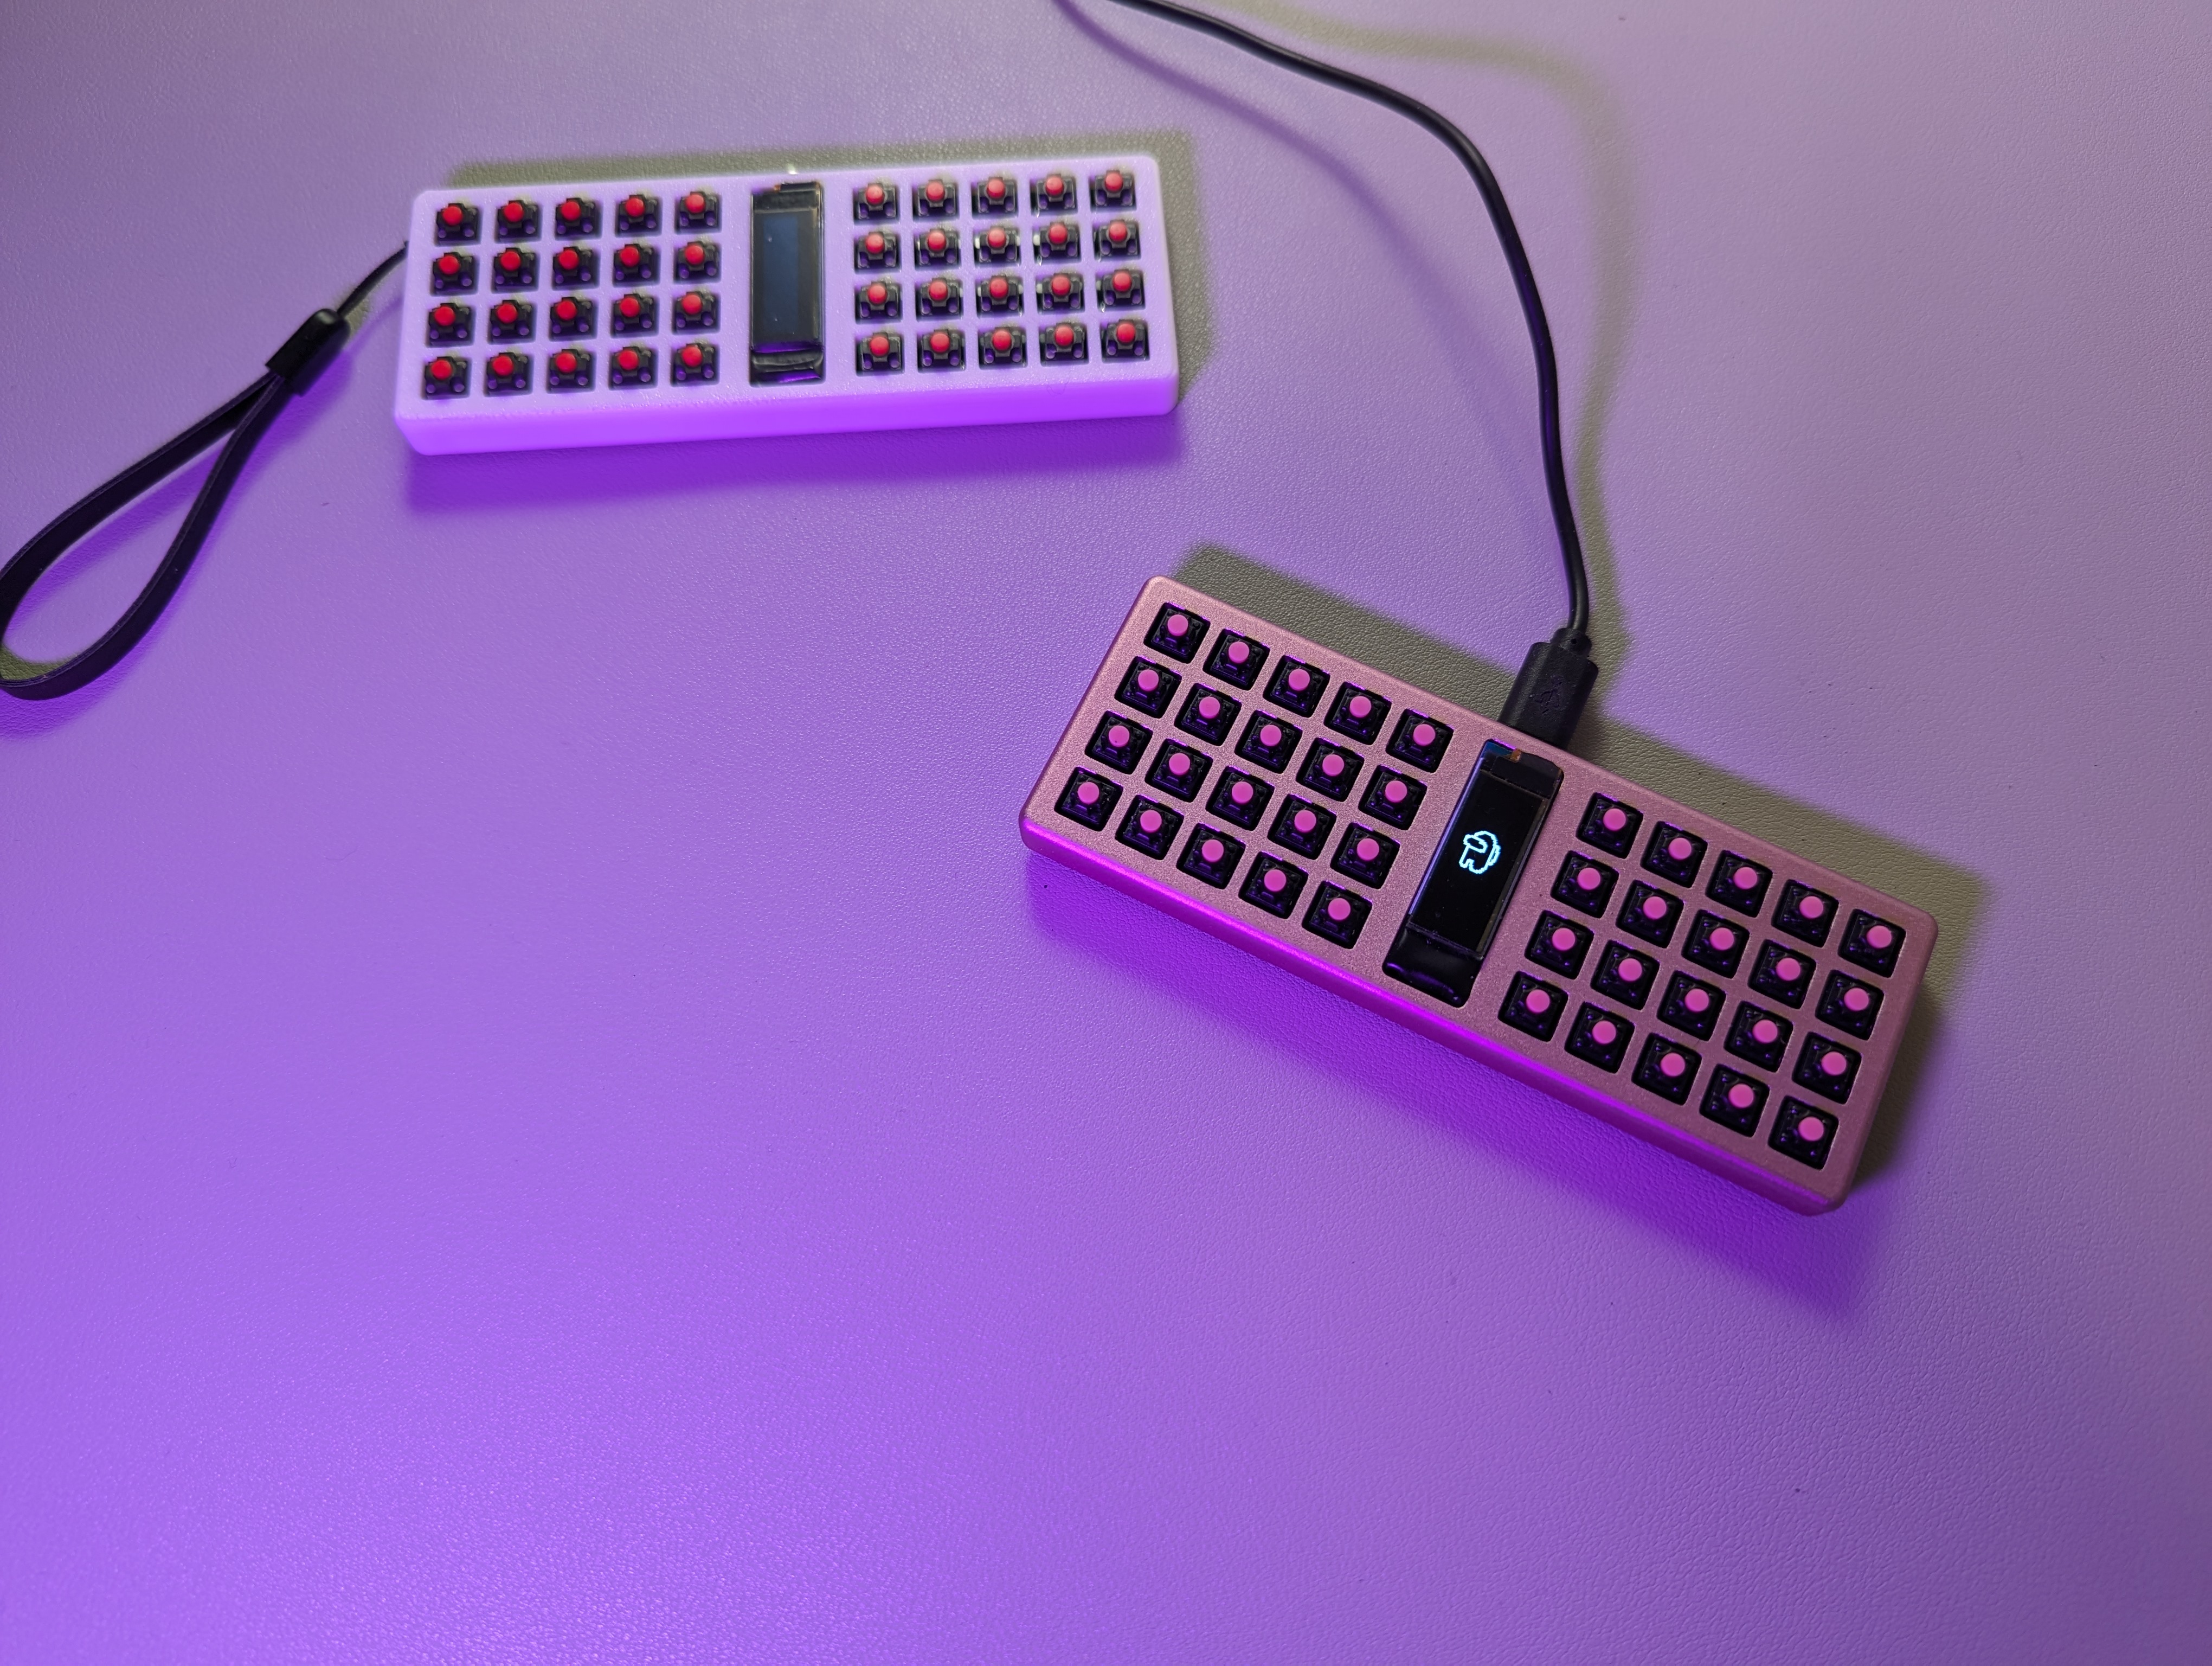
The case files can be found in the case directory. The particular files you'll want are the case_holes file for the top part of the case, and the case_holes_floor file for the bottom part. CNC and 3DP works with the top part of the case, and I chose to 3DP my case bottom.
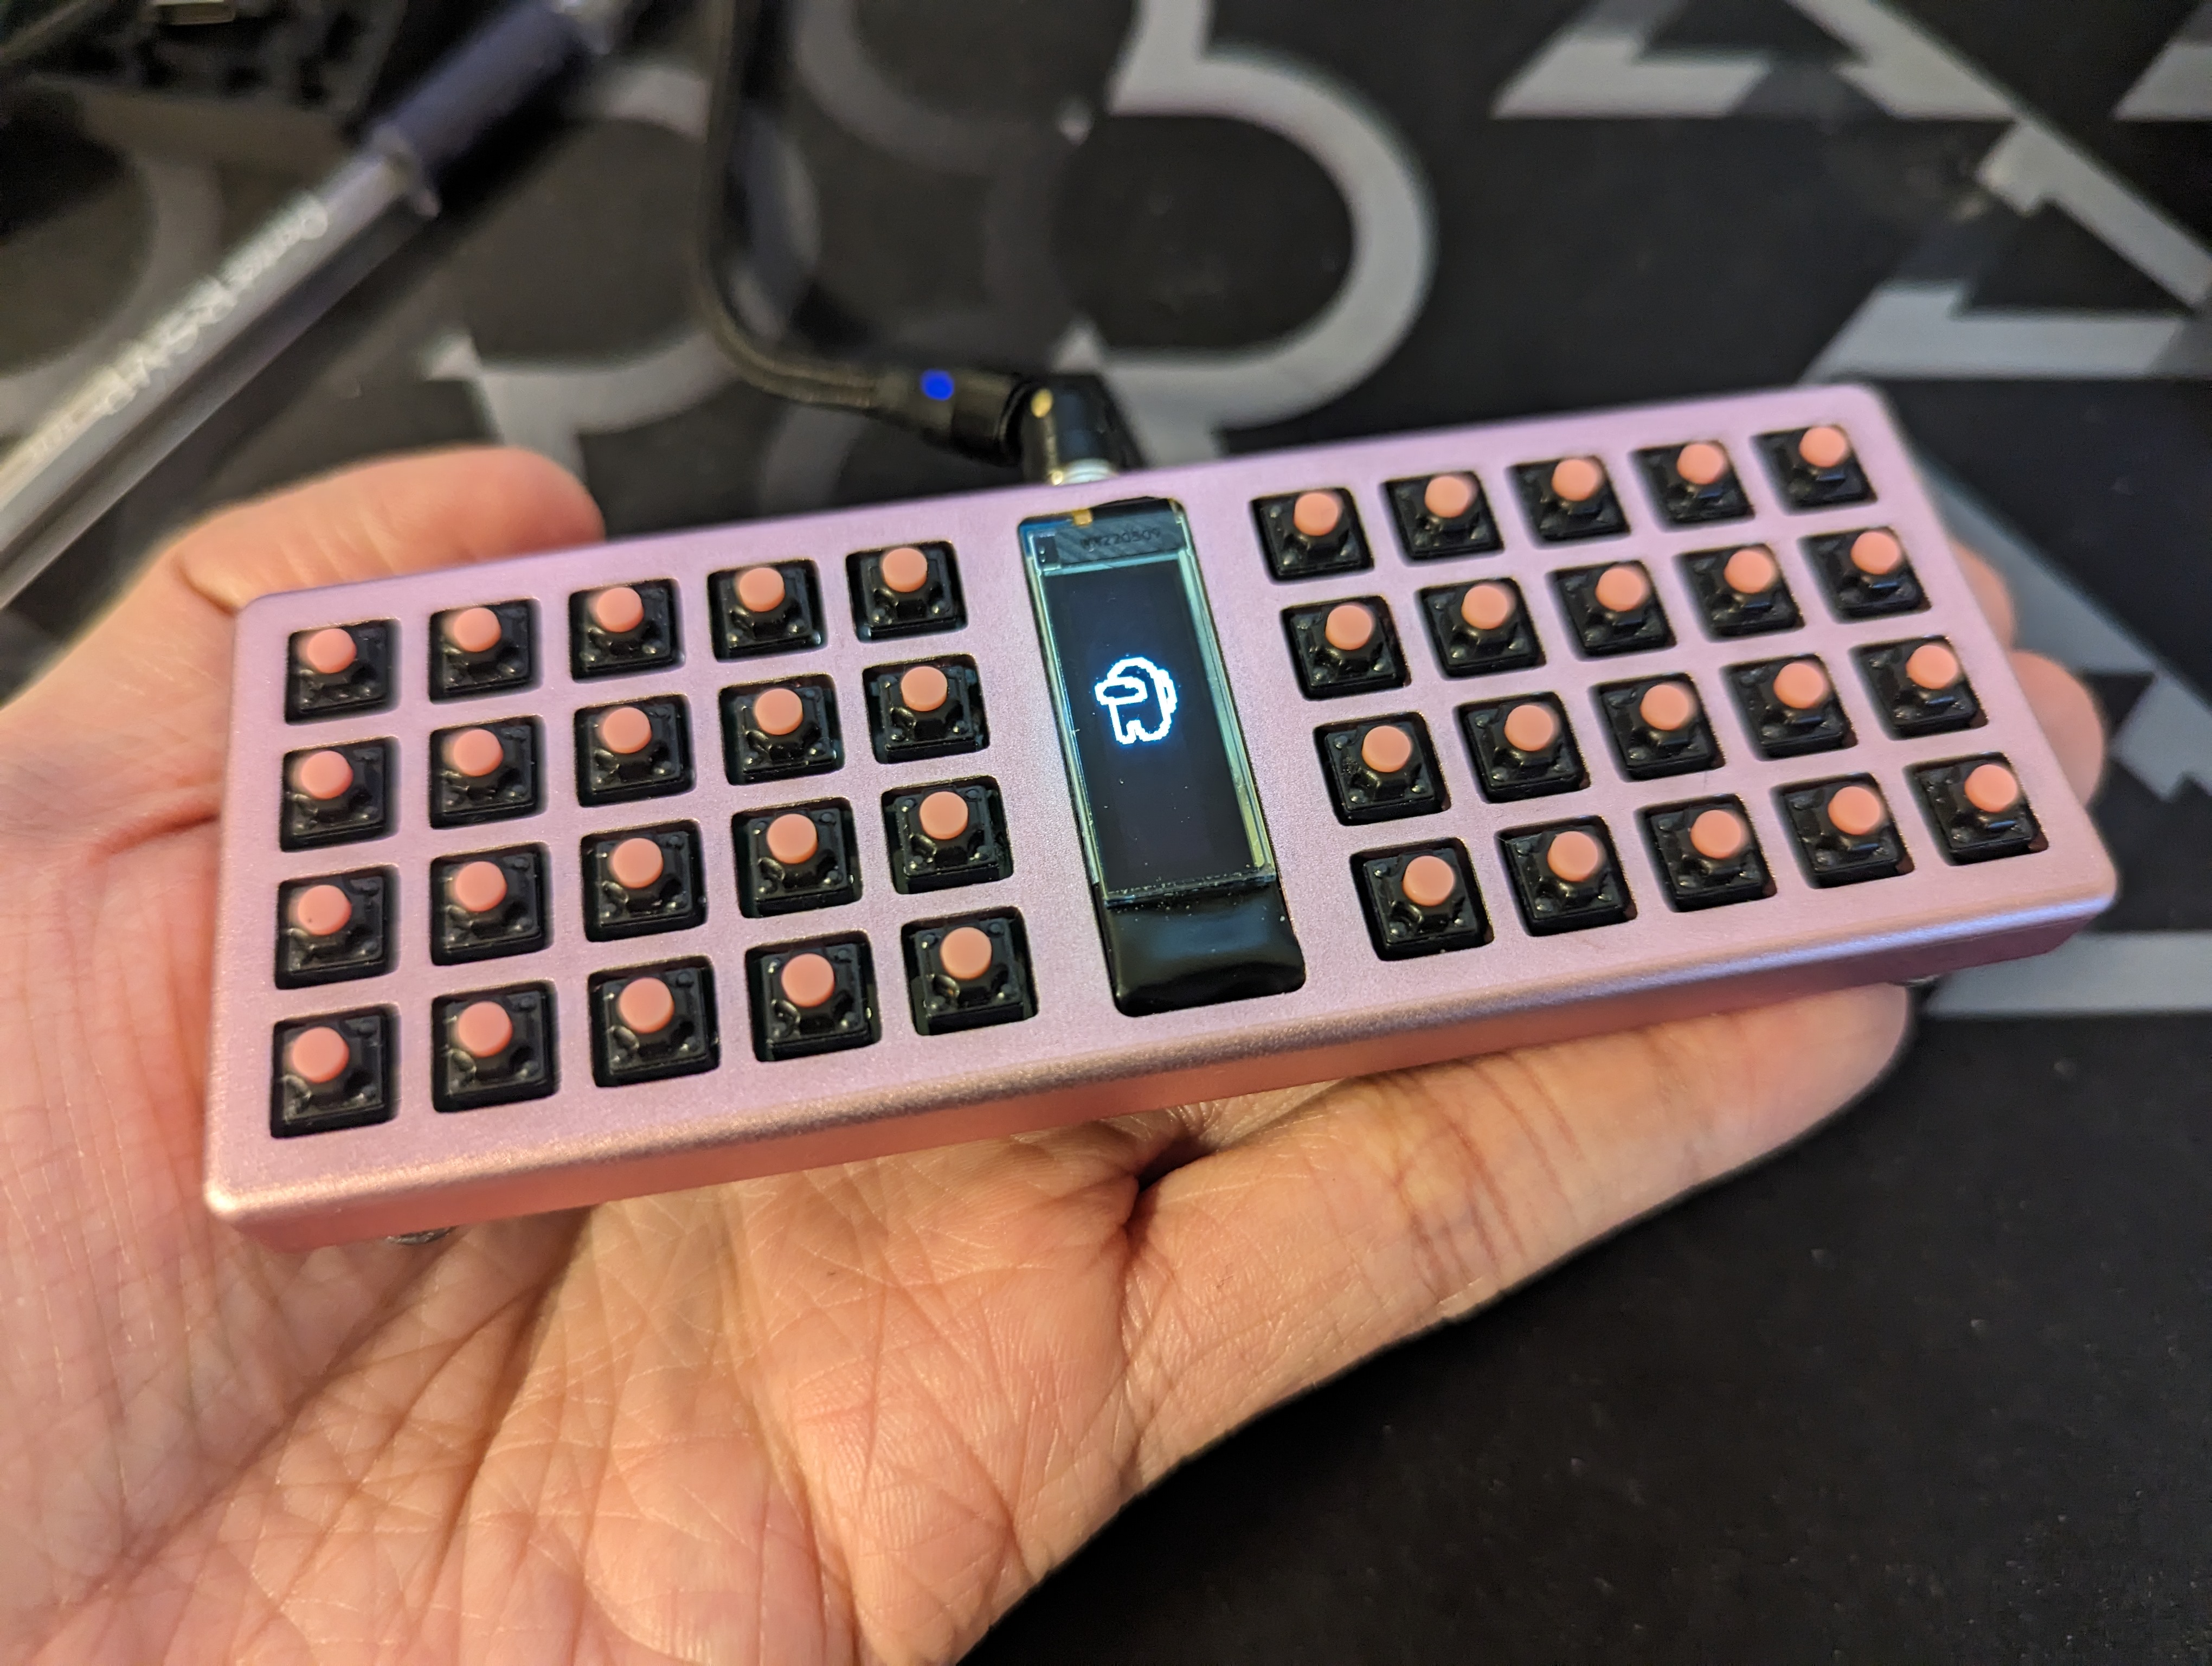
You can find the PCB source files in the pcb folder. The BOM files can be found in this folder.
case
You can find the files you need in this folder to print out a case for the keyboarddrafts
Stores any KLE or intermediate information used in making the caseoutlines
Outlines used to create the case and pcbpcb
Kicad project relating to the projectBuild guide coming soon. For now, hopefully the footprints make it clear as to what should go where. Note that the rp2040-zero should be placed in such a way that the MCU is on "top" of the pcb when the assembly is face up, like such.

Once all parts have been assembled, the board can be screwed onto the top of the case with 8 screws.
The firmware should then be flashed onto the board.
The bottom of the board can then be screwed to the case. My recommendation is to put two bumpons on each corner of the bottom of the case, one above the screw and one beside the screw. This helps maximize stability.
QMK Firmware can be found here https://github.com/ChrisChrisLoLo/vial-qmk/tree/sporewoh/keyboards/sporewoh/bunchiez40
| Qty | Value | Footprint | References |
|---|---|---|---|
| 40 | D_Small | Diode_SMD:D_MiniMELF | D1, D2, D10, D11, D12, D13, D14, D15, D16, D17, D18, D19, D20, D21, D22, D23 +24 |
| 40 | SW_Push | userlib:Button_Mute_Kailh | SW1, SW2, SW10, SW11, SW12, SW13, SW14, SW15, SW16, SW17, SW18, SW19, SW20, SW21, SW22, SW23 +24 |
| 8 | MountingHole_Pad | userlib:m1.6_hole | H1, H2, H3, H4, H5, H6, H7, H8 |
| 1 | OLED-128x32 | display:OLED-128x32-cutout | J1 |
| 1 | rp2040-zero | mcu:rp2040-zero-tht | U1 |


beekeeb/zerosprey42
Zerosprey42 Keyboard is a wired, beginner friendly, choc hotswap, MonoBlockSplit (Unibody), column-staggered, DIY mechanical keyboard.


ravinrabbid/DonCon2040
RP2040 based firmware and hardware for DIY Taiko no Tatsujin Drum Controllers
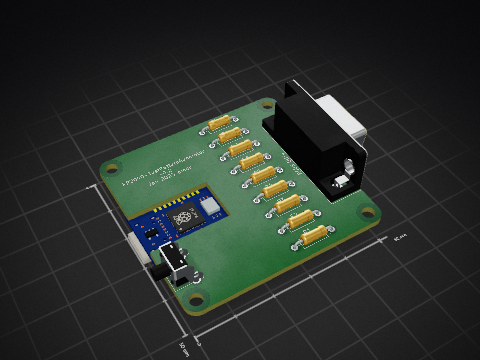
nmur/RP2040-TestPatternGenerator
A simple test pattern generator running on the RP2040 microcontroller


It measures 120 × 40 mm and has 2 copper layers, 1.6 mm thick.
90 parts, built around the RP2040-ZERO. The full list of its parts is on this page, with links to each part's symbol and footprint where PCBKit's library has them.
From the ChrisChrisLoLo/bunchiez40 repository on GitHub, at the commit this page was made from: the board is pcb/buinchiez40/buinchiez40.kicad_pcb and its schematic pcb/buinchiez40/buinchiez40.kicad_sch. PCBKit opens the board in the browser, with nothing to install.
Its repository publishes it under the GPL-3.0 licence: you may reuse it on that licence's terms (keep the author's notice, and for a copyleft licence share your changes alike).