Skip to the content
4 layers23.2 × 27 mmSWDProgrammer, the printed circuit board in 3D

NRF52833 Based ScrollWheel Key

Size
23.2 × 27 mm
Copper layers
4
Thickness
0.94 mm
Parts
37
Nets
67
Pads
170
Tracks, vias
227, 46
Pours
43
Routed
Yes
KiCad
KiCad 8.0 (file 20240108)
Created
10 Oct 2022
Updated
29 Dec 2025

Overview

SWDProgrammer is an open-source printed circuit board by tongtongwang86, from the tongtongwang86/Revolute repository on GitHub. It is a 4-layer board of 23.2 × 27 mm with 37 parts on 67 nets, routed with 227 tracks and 46 vias.

It is built around the AP2112K-3.3. Its parts include 11 capacitors, 11 resistors, 3 ICs, 3 diodes and 3 connectors. It belongs with the STM32 boards of this library.

Main components

1

README

README.md

Revolute

  • nRF52833 Based Scroll wheel dial

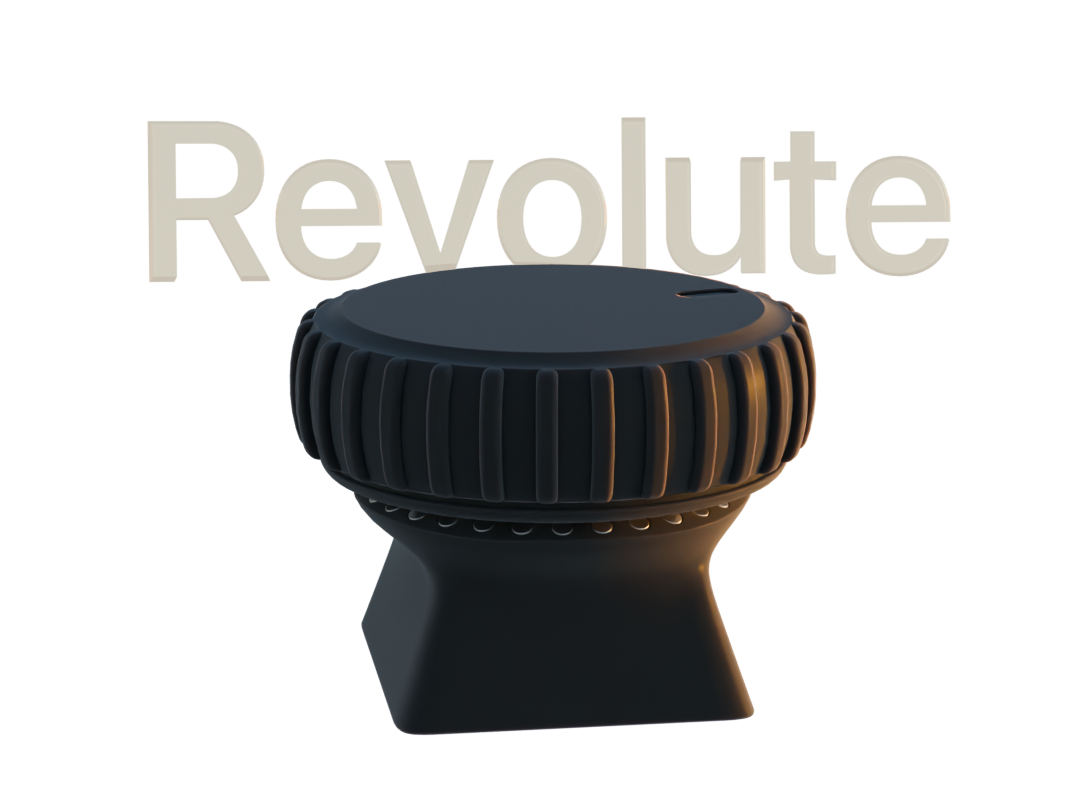
Introducing Revolute

Visit the product page website (Faster loading time, Interactive 3D Models, Demo Videos)

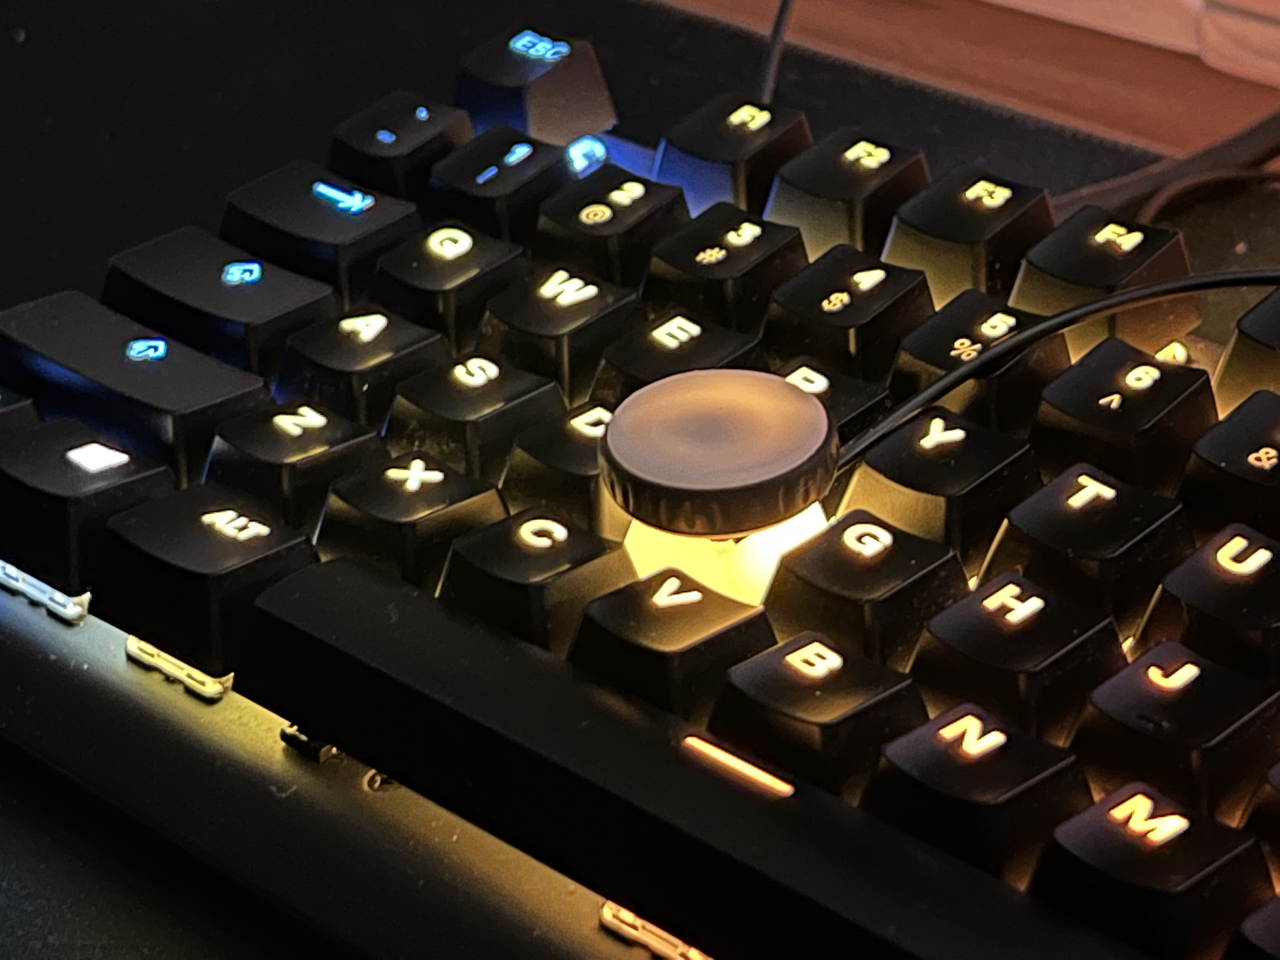
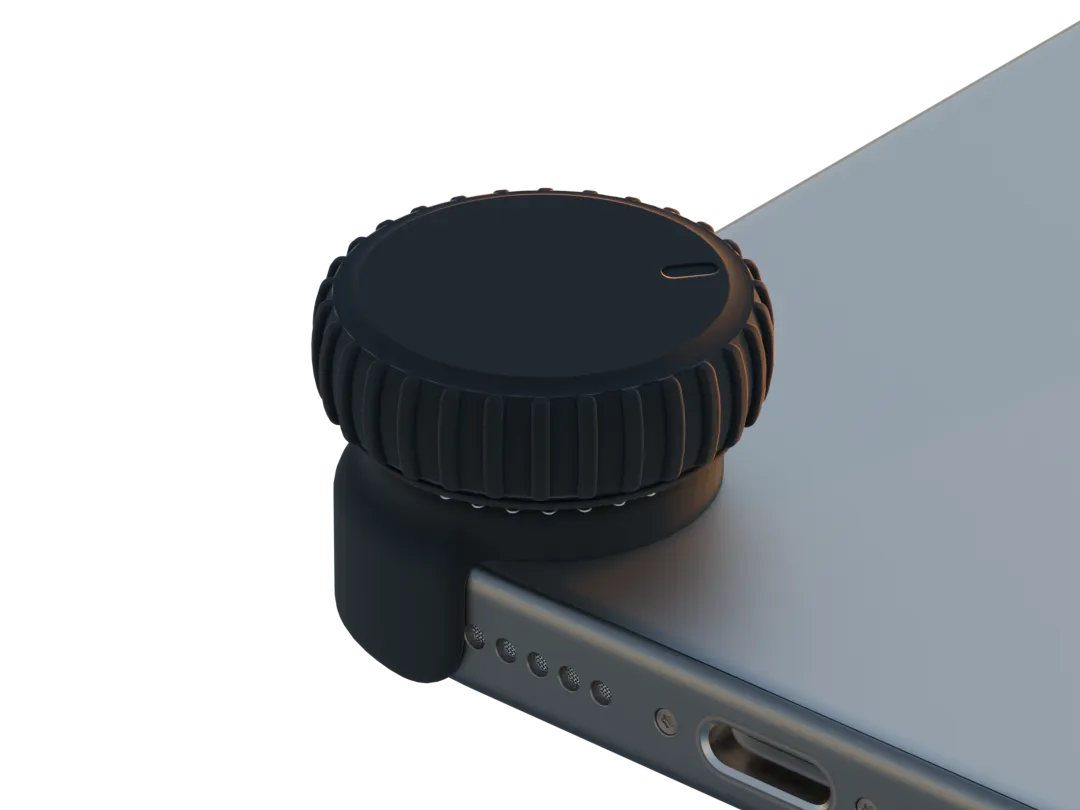
The Revolute is a scroll wheel/dial that aims to revolutionize the way we interact with complex software applications.

  • Revolute currently simulate keyboard inputs, consumer controlls, mouse inputs.

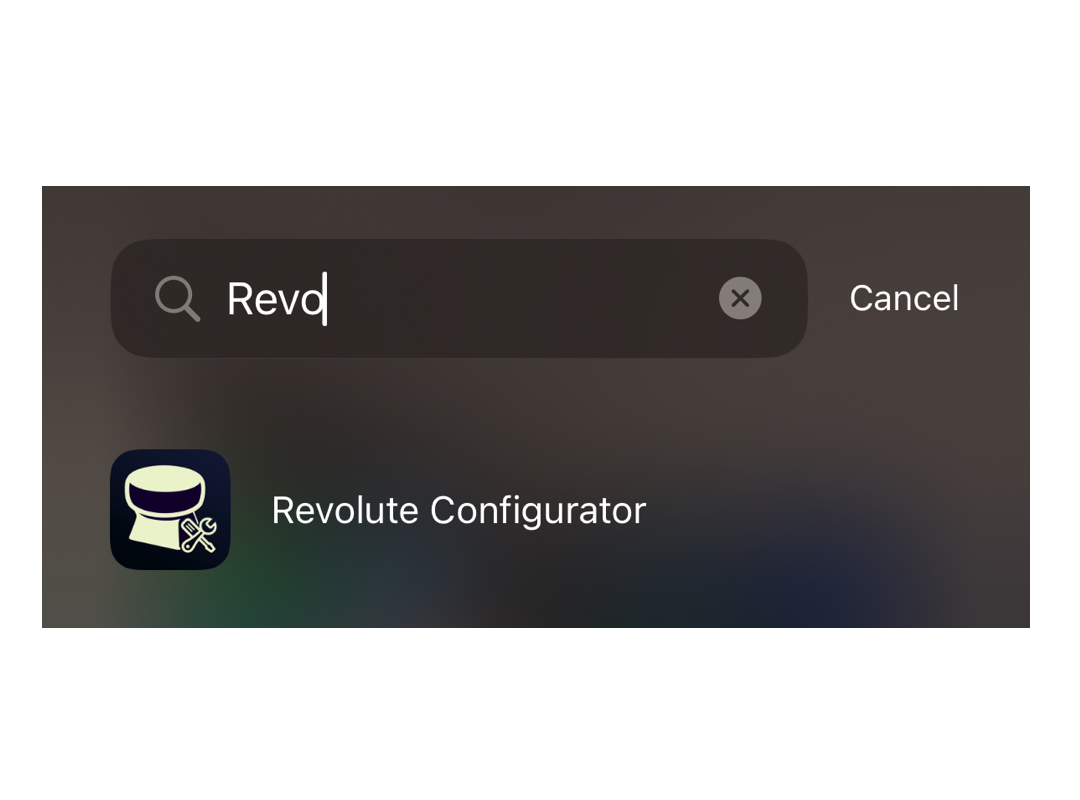
  • the actions and sensitivity of the wheel can be configured through the revolute configurator app that will be available for iOS, Macos and Windows devices that have bluetooth support.

  • Configuratios done on revolute is persistently stored on device, which means that revolute can work on any device with Bluetooth and HID support.

  • Revolute has a number of use cases and is not limited to: scrubbing through a timeline in a video editing app, changing the brush size in 3D/2D painting, smooth scrolling, volume controll, brightness control, media playback control, quickly pressing keys in short successions within games. if you get two you can bind each revolute axis to x and y of the cursor, making a etch a sketch

  • Gamepad emulation is currently in development, which will allow you to use revolute within a wide range of mobile and console games.

How the Revolute works

Rotational inputs

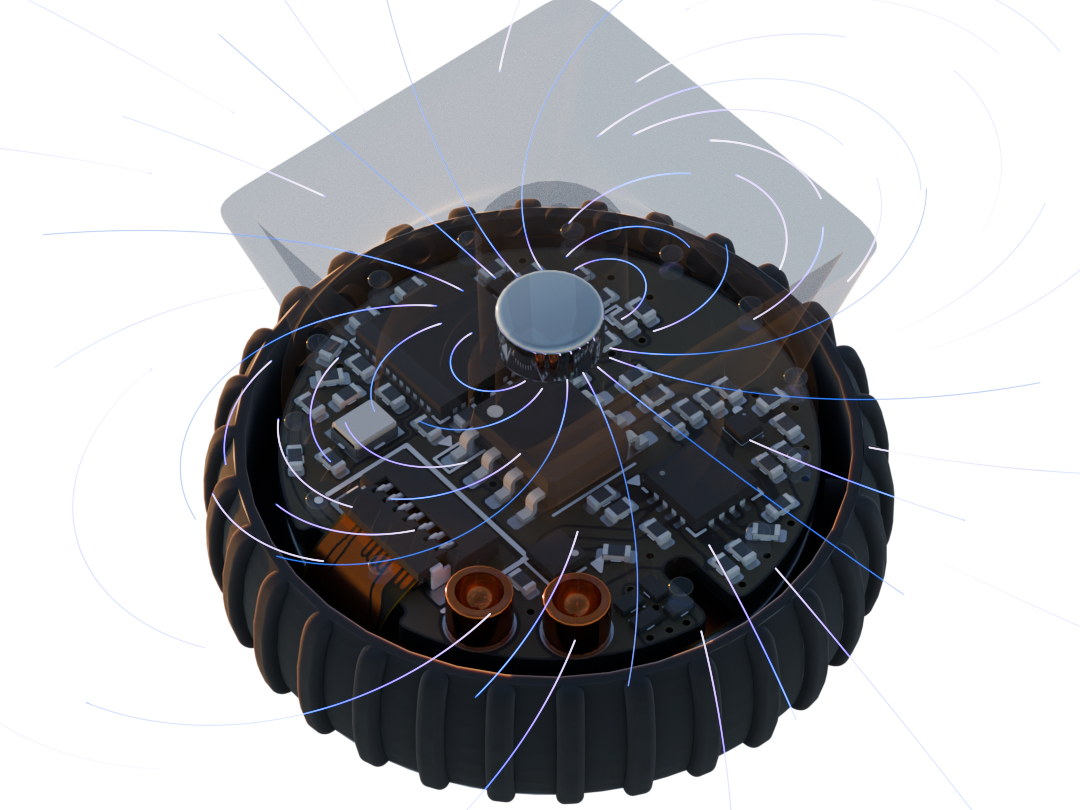
- Revolute has gone through a number of iterations and currently uses the AS5600 magnetic encoder. It recordes the angle of a diametric magnet embedded within the base of the revolute, which the SoC will process and send bluetooth reports to the host device.

BLE connection

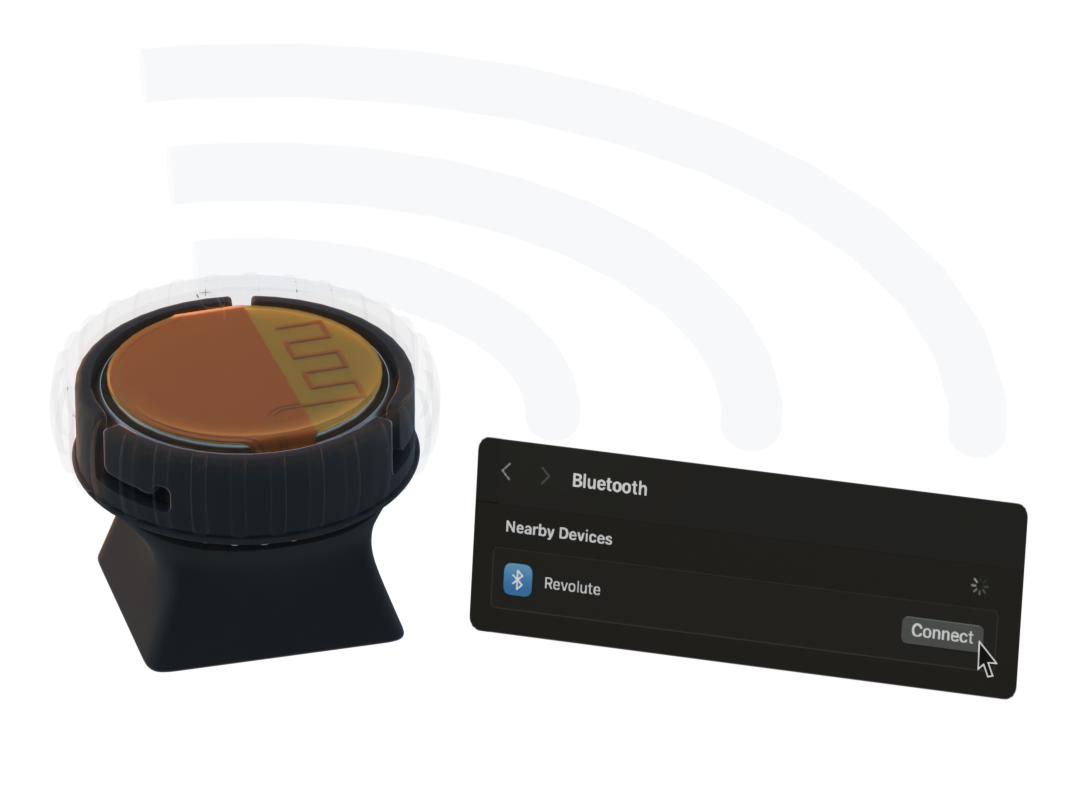
  • Using BLE wireless connection we can have the Revolute connected to devices such as your computer, phone, or tablet using bluetooth.
  • By using the nRF52833 SoC and Zephyr RTOS, the Revolute is designed to maximize its power efficiency for bluetooth functionalities.

Central button

  • By pressing down on the Revolute, it powers on the device.
  • After powering on the device, the button can also be configured to other actions based on your configurations
  • Power it off by pressing and holding down on the button.

Configuration

  • As mentioned before, the Revolute's functionalities can be configured through the Revolute Configuration app that is currently in development
  • Once you have made your changes to our configurations, they are then sent to the Revolute over bluetooth and stored locally on the SoC. allowing you to use the same configurations across different devices.

Accessories

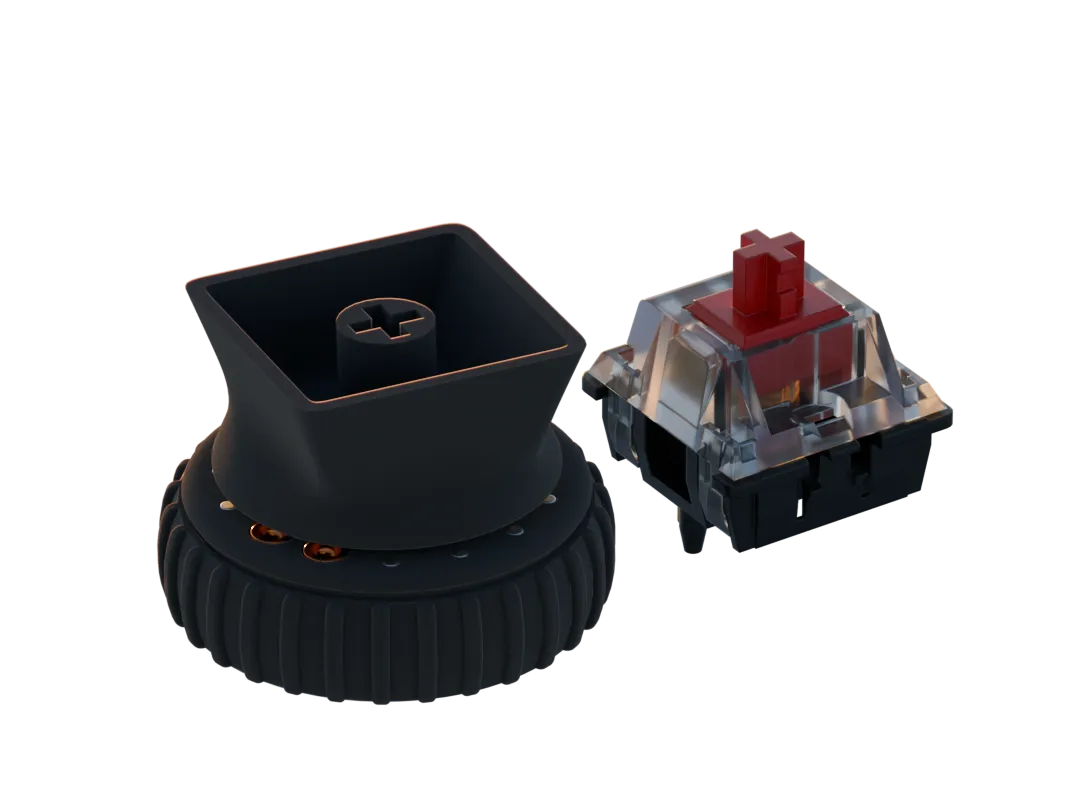
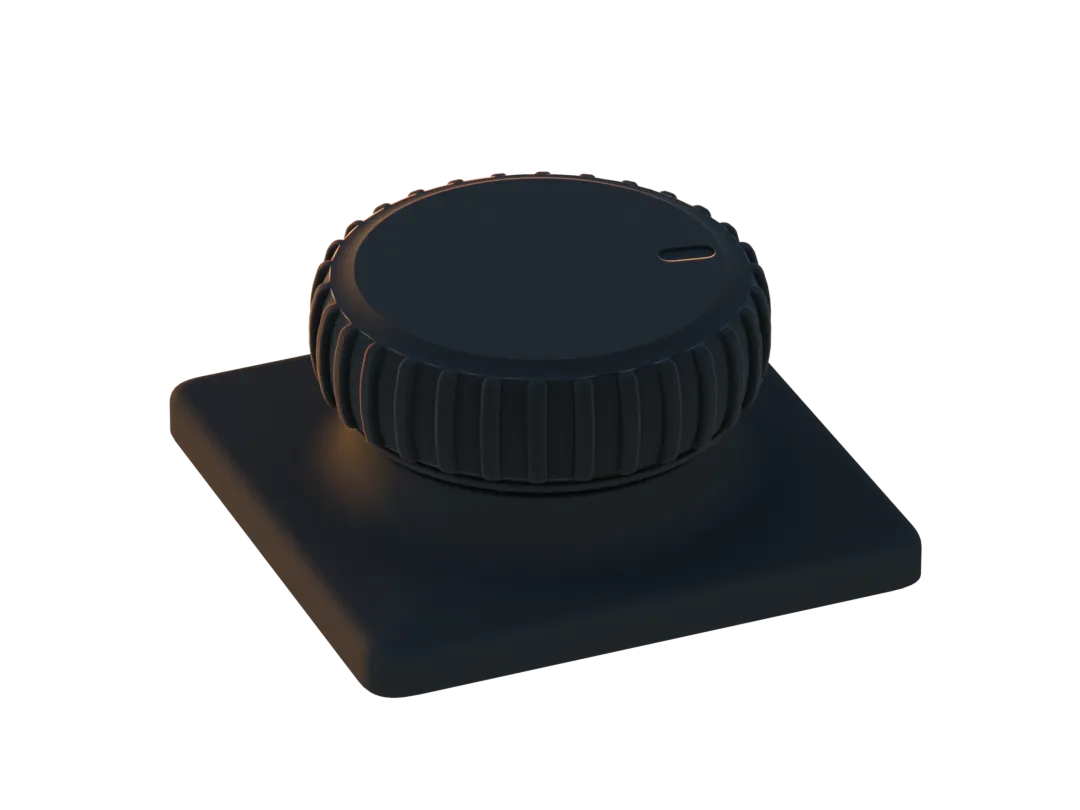
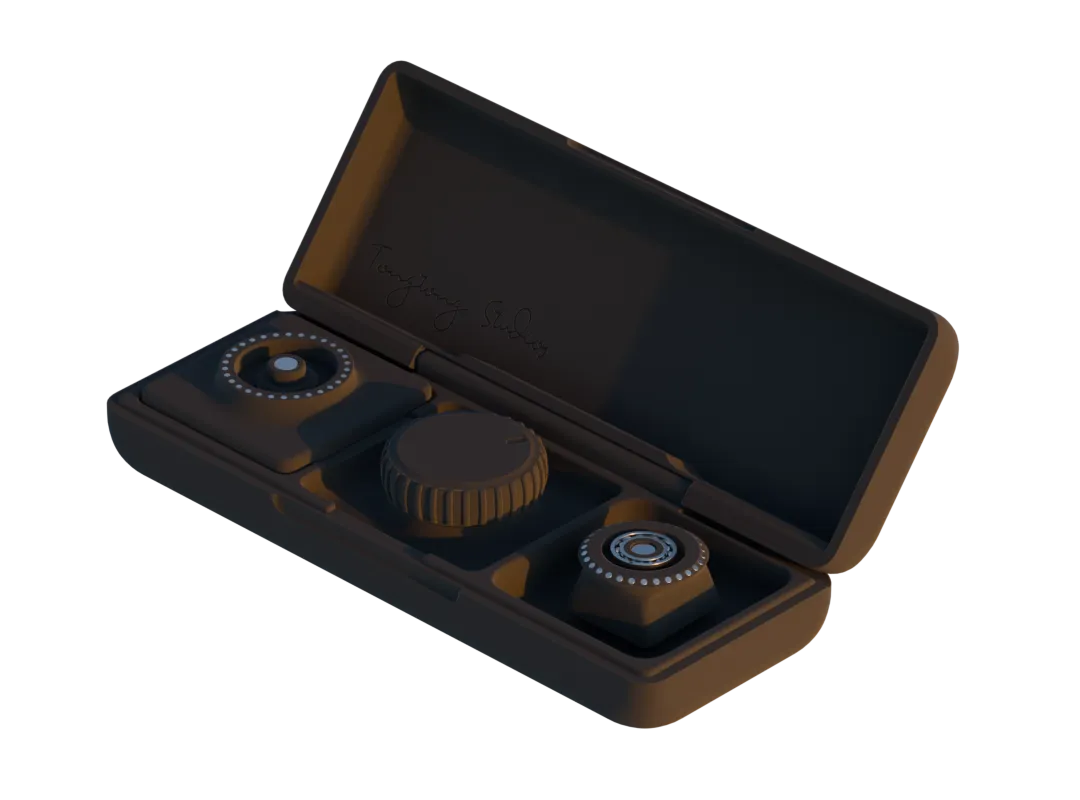
  • Revolute has a range of existing accessories that allow you to use it within different use cases

  • Key attachment

  • Adhesive/magnetic attachment

  • Phone attachment

  • Revo-Pod charges the revolute and is a place to store your attachments.

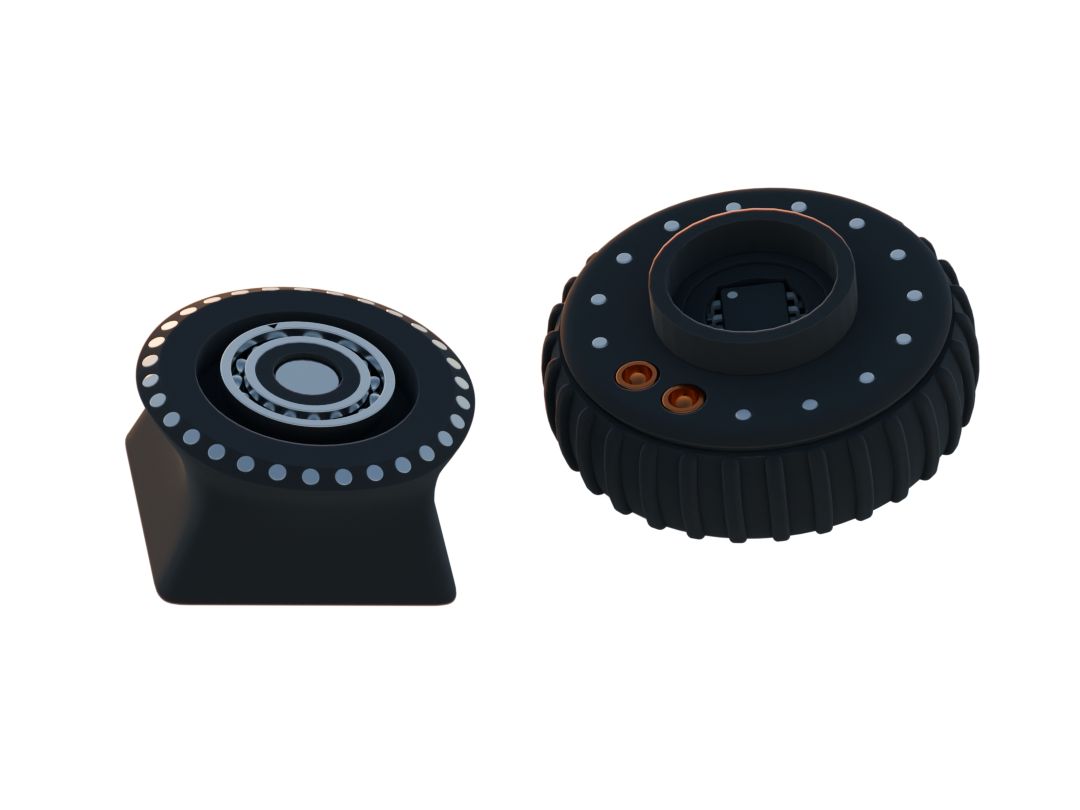
  • The attachment can be hot swapped with a common bearing interface.

Charging and Battery Replacement

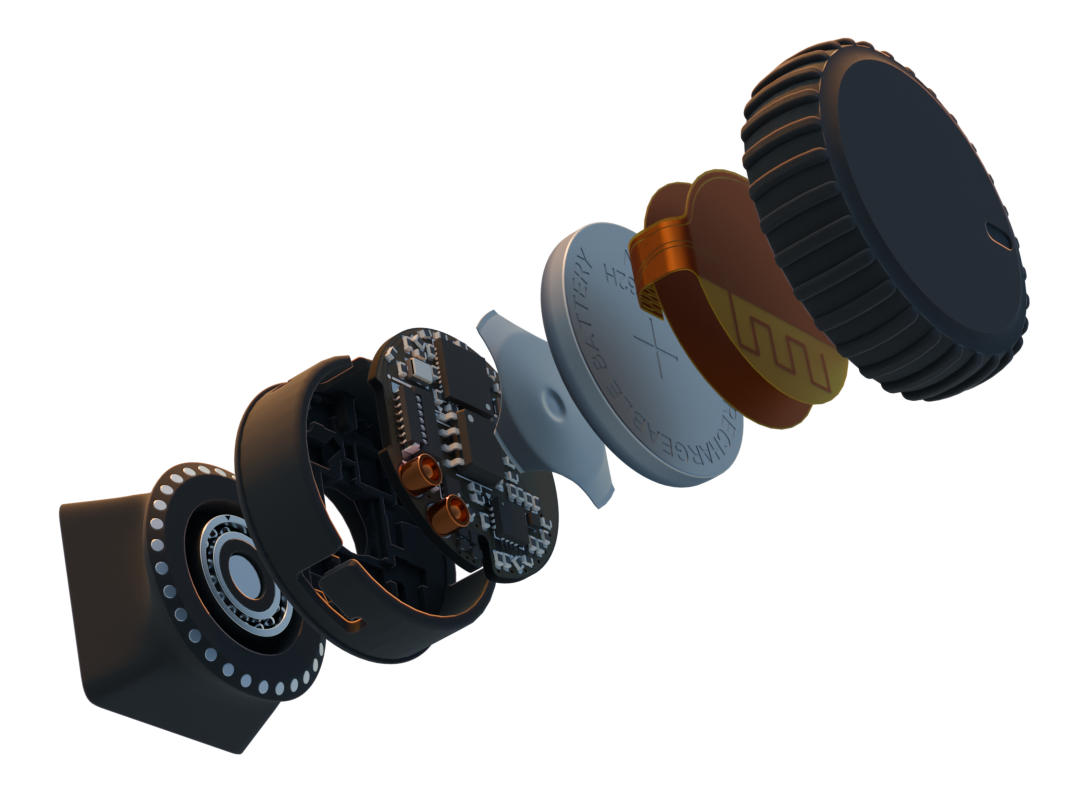
  • For this device to be wireless, the Revolute is comprised of a 70Mah li-Ion rechargable coin cell battery (LIR2032H)
  • The Revolute uses the BQ24075-RGT charger ic and BQ27441-G1 fuel gauge, both by Texas Instruments, for charging, monitoring, and managing the battery that powers the system.
  • To charge the Revolute, simply take your Revopod and mount it in the pod and have the two pogopins aligned with the receptors on the wheel.
  • To replace the battery, simply flip the Revolute over, press it down until you feel the central button being completely pressed down, and twist it clockwise and you should be able to have the entire Revolute disassembled. From there, simply place a new battery in and reverse the steps of how you disassembled it after your align the cap with the body chassis.

*Gyro mouse

  • With the LSM6DS3 gyroscope accelerometer incorporated in on the Revolute, you can configure it to control the movements of your cursor by moving the Revolute around.
  • This feature is still in development and will be finalized shortly in our next firmware updates

How this repo works

  • PCB hardware files are in the folder /Hardware
  • 3D printed part files are stored in the folder /3D Prints
  • Latest firmware is hosted on the repo "revolute-firmware-ci"
  • There is also a wired version of the revolute in this repo

Get your own Revolute

Parts

37
QtyValueFootprintReferences
5100nFCapacitor_SMD:C_0402_1005MetricC1, C5, C7, C8, C9
45.1KResistor_SMD:R_0402_1005MetricR9, R10, R12, R13
310kResistor_SMD:R_0402_1005MetricR1, R2, R4
210uFCapacitor_SMD:C_0402_1005MetricC2, C6
212pFCapacitor_SMD:C_0402_1005MetricC3, C4
222pfCapacitor_SMD:C_0402_1005MetricC10, C11
2510ΩResistor_SMD:R_0402_1005MetricR3, R8
2Jumper_3_OpenJumper:SolderJumper-3_P1.3mm_Open_RoundedPad1.0x1.5mmJP2, JP3
2USB_C_Receptacle_USB2.0Library:USB-C_C168688J1, J2
2WhiteLED_SMD:LED_0402_1005MetricD1, D3
11.5KResistor_SMD:R_0402_1005MetricR11
11MResistor_SMD:R_0402_1005MetricR7
132.768KHZCrystal:Crystal_SMD_3215-2Pin_3.2x1.5mmY1
18MhzCrystal:Crystal_SMD_3225-4Pin_3.2x2.5mmY2
1AP2112K-3.3Package_TO_SOT_SMD:SOT-23-5U1
1BLUELED_SMD:LED_0402_1005MetricD2
1Conn_01x04_PinConnector_PinHeader_1.27mm:PinHeader_1x04_P1.27mm_VerticalJ3
1Conn_01x14_SocketLibrary:FPCU4
1Jumper_2_BridgedJumper:SolderJumper-2_P1.3mm_Bridged_RoundedPad1.0x1.5mmJP5
1STM32F103CBTxPackage_QFP:LQFP-48_7x7mm_P0.5mmU2
1SolderJumper_2_OpenJumper:SolderJumper-2_P1.3mm_Open_RoundedPad1.0x1.5mmJP1

More from tongtongwang86/Revolute

11
  • 4 layers54 × 85.7 mmWireless, the printed circuit board in 3D

    Wireless

    tongtongwang86/Revolute

    NRF52833 Based ScrollWheel Key

    271 parts5
  • 4 layers16.3 × 17.2 mmRefinedRevolute, the printed circuit board in 3D

    RefinedRevolute

    tongtongwang86/Revolute

    NRF52833 Based ScrollWheel Key

    71 parts5
  • 4 layers16.3 × 17.2 mmRevolute production, the printed circuit board in 3D

    Revolute production

    tongtongwang86/Revolute

    NRF52833 Based ScrollWheel Key

    59 parts5
  • 4 layers60 × 37 mmRevolute, the printed circuit board in 3D

    Revolute

    tongtongwang86/Revolute

    NRF52833 Based ScrollWheel Key

    53 parts5
  • 4 layers18 × 11.2 mmMainPCB, the printed circuit board in 3D

    MainPCB

    tongtongwang86/Revolute

    NRF52833 Based ScrollWheel Key

    25 parts5
  • 4 layers8.2 × 10.7 mmTopPCB, the printed circuit board in 3D

    TopPCB

    tongtongwang86/Revolute

    NRF52833 Based ScrollWheel Key

    9 parts5
  • 2 layers18 × 49.9 mmFlex3kicad pcb, the printed circuit board in 3D

    Flex3kicad pcb

    tongtongwang86/Revolute

    NRF52833 Based ScrollWheel Key

    3 parts5
  • 2 layers10.4 × 12.8 mmJlink adapter, the printed circuit board in 3D

    Jlink adapter

    tongtongwang86/Revolute

    NRF52833 Based ScrollWheel Key

    2 parts5
  • 2 layers17.6 × 9.4 mmFlex, the printed circuit board in 3D

    Flex

    tongtongwang86/Revolute

    NRF52833 Based ScrollWheel Key

    2 parts5

Similar boards

  • 2 layers26 × 30 mmMicrocontroller, the printed circuit board in 3D

    Microcontroller

    FrameworkComputer/ExpansionCards

    Reference designs and documentation to create Expansion Cards for the Framework Laptop

    34 parts1.1kCC-BY-4.0
  • 2 layers53.2 × 24.8 mmPicoLink, the printed circuit board in 3D

    PicoLink

    ErichStyger/mcuoneclipse

    McuOnEclipse projects and examples

    46 parts765
  • 2 layers36 × 20 mmCombined, the printed circuit board in 3D

    Combined

    adamb314/ServoProject

    Getting the most out of your hobby servo

    24 parts545
  • 2 layers25 × 25 mmSmallEncoder, the printed circuit board in 3D

    SmallEncoder

    DDeGonge/OS-ARM

    This arm is not industrial and it will not be fast, but that is not my goal. But it will hopefully be a very nice looking arm fully capable of 6dof motion, cheap enough to keep it accessable but capable enough to…

    17 parts498MIT
  • 4 layers70 × 72 mmSPINC AA Charger, the printed circuit board in 3D

    SPINC AA Charger

    CoretechR/SPINC

    DIY Automatic Battery Charger Using RP2040

    101 parts467GPL-3.0
  • 4 layers60.8 × 61.3 mmOS3M Mouse, the printed circuit board in 3D

    OS3M Mouse

    spoter368/os3m-hardware

    All the hardware needed to build your own OS3M Mouse!

    51 parts399
  • 4 layers74 × 104 mmBeepy, the printed circuit board in 3D

    Beepy

    sqfmi/beepy-hardware

    Beepy Hardware

    160 parts348MIT

Questions

How big is the SWDProgrammer PCB?

It measures 23.2 × 27 mm and has 4 copper layers, 0.94 mm thick.

What parts does the SWDProgrammer use?

37 parts, built around the AP2112K-3.3. The full list of its parts is on this page, with links to each part's symbol and footprint where PCBKit's library has them.

Where can I download the SWDProgrammer KiCad files?

From the tongtongwang86/Revolute repository on GitHub, at the commit this page was made from: the board is Hardware/Debugger/SWDProgrammer.kicad_pcb and its schematic Hardware/Debugger/SWDProgrammer.kicad_sch. PCBKit opens the board in the browser, with nothing to install.

Can I use the SWDProgrammer design in my own project?

Its repository states no licence, so its author keeps all rights: ask tongtongwang86 before reusing the design.