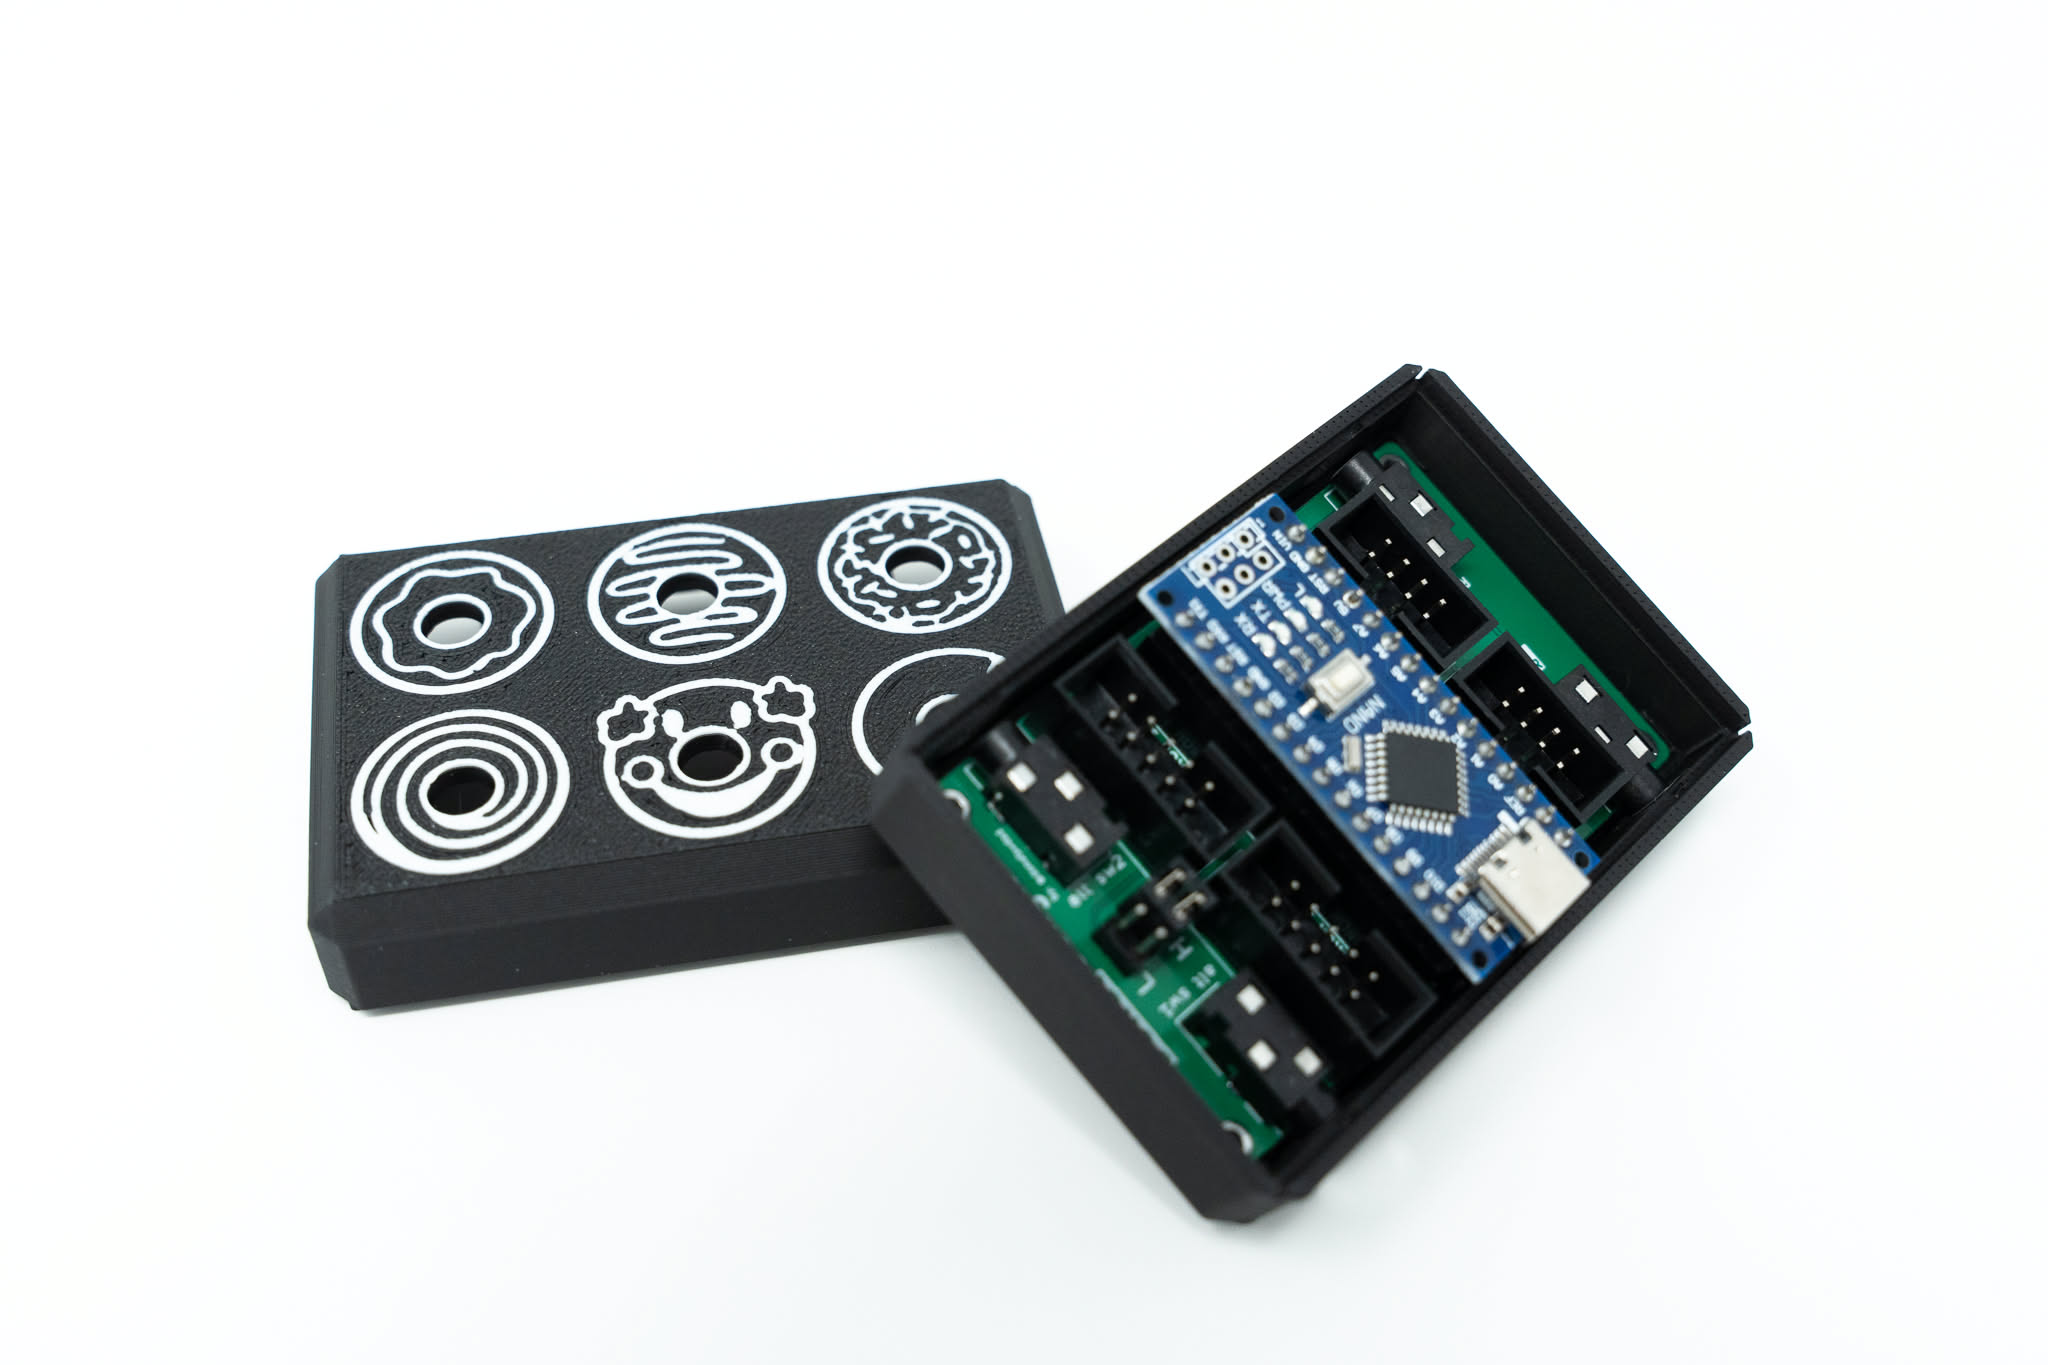
Arduino Nano based hub that connects your digital and analog console switching setup with the RetroTink 4K and/or RetroTink 5x/OSSC for Auto Profile switching
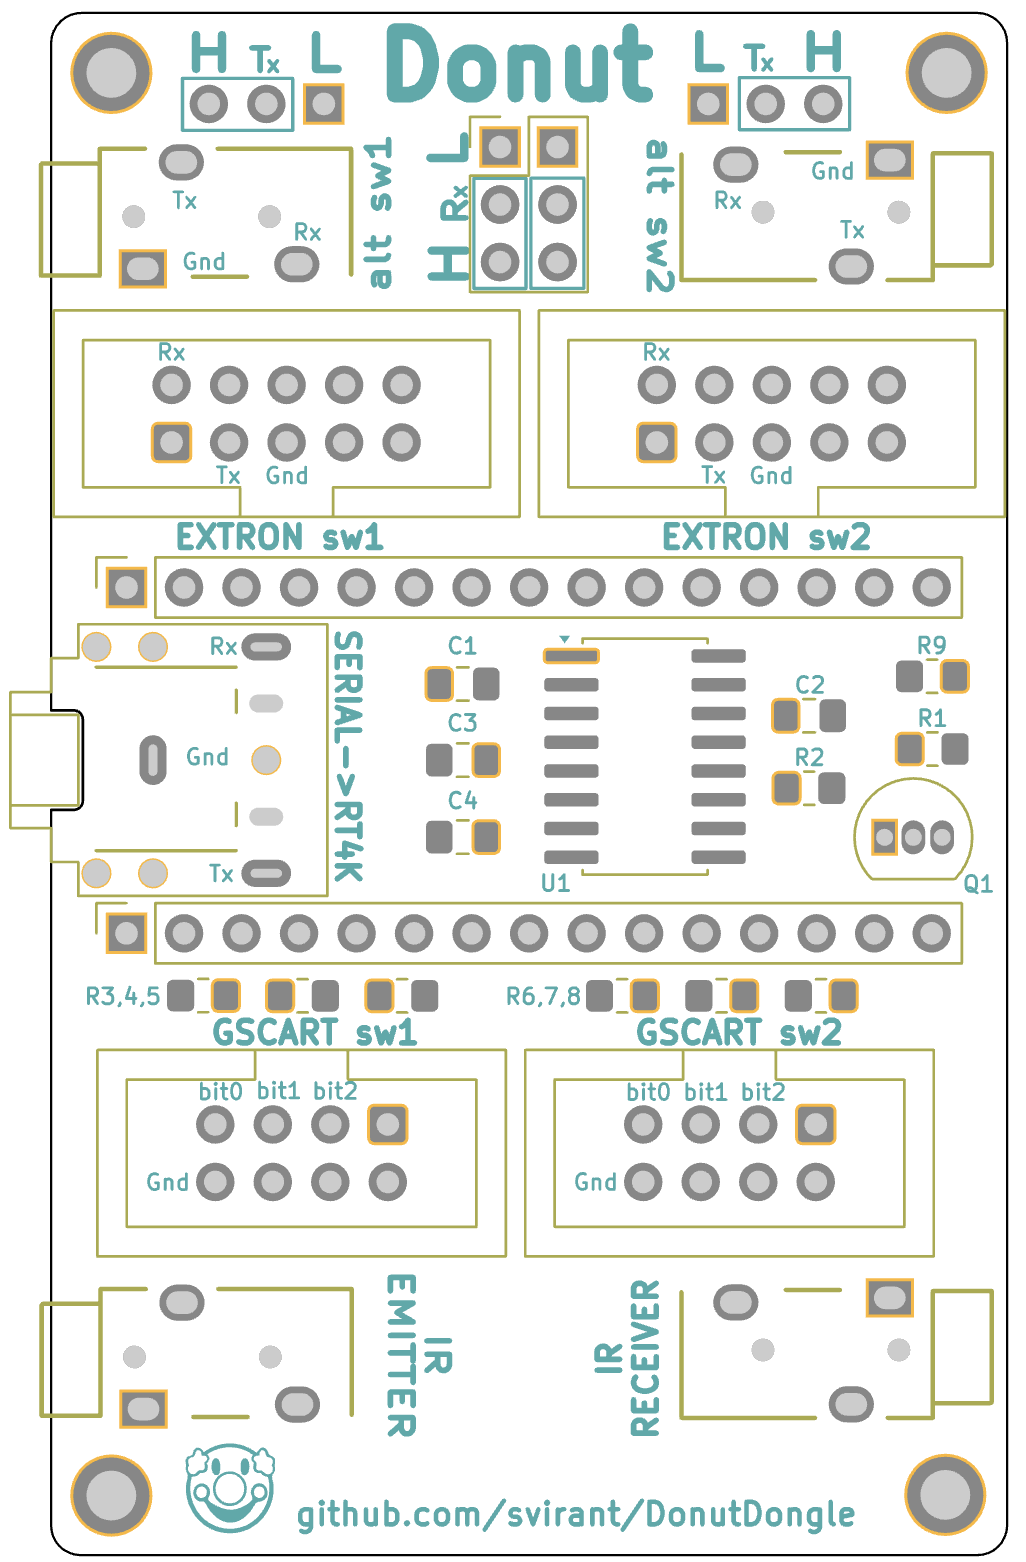
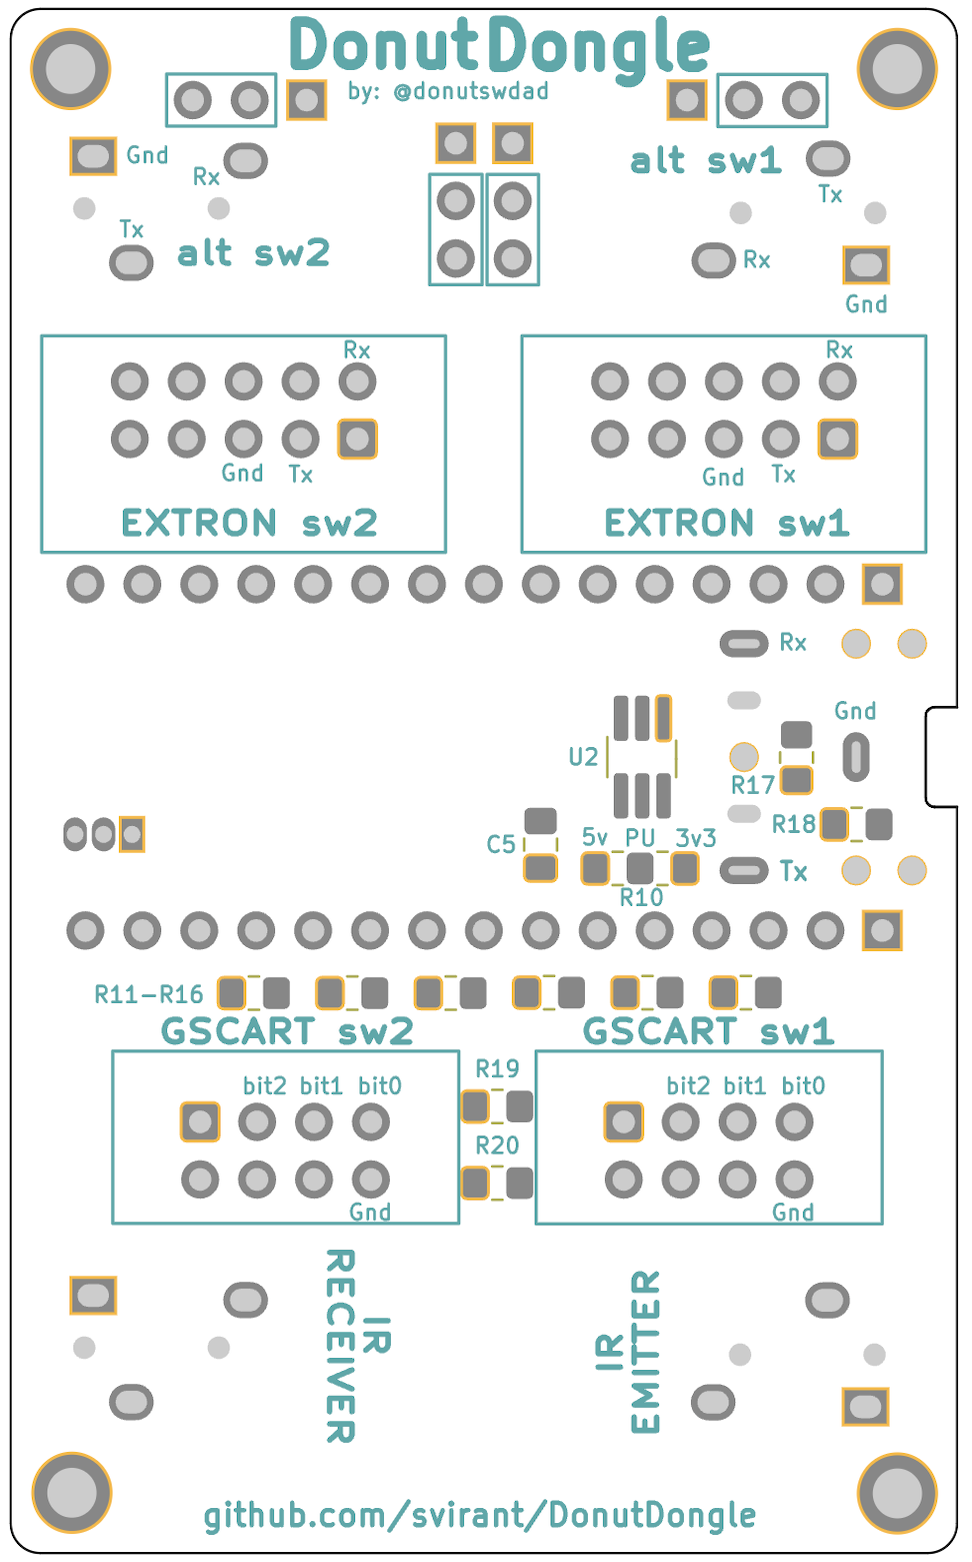
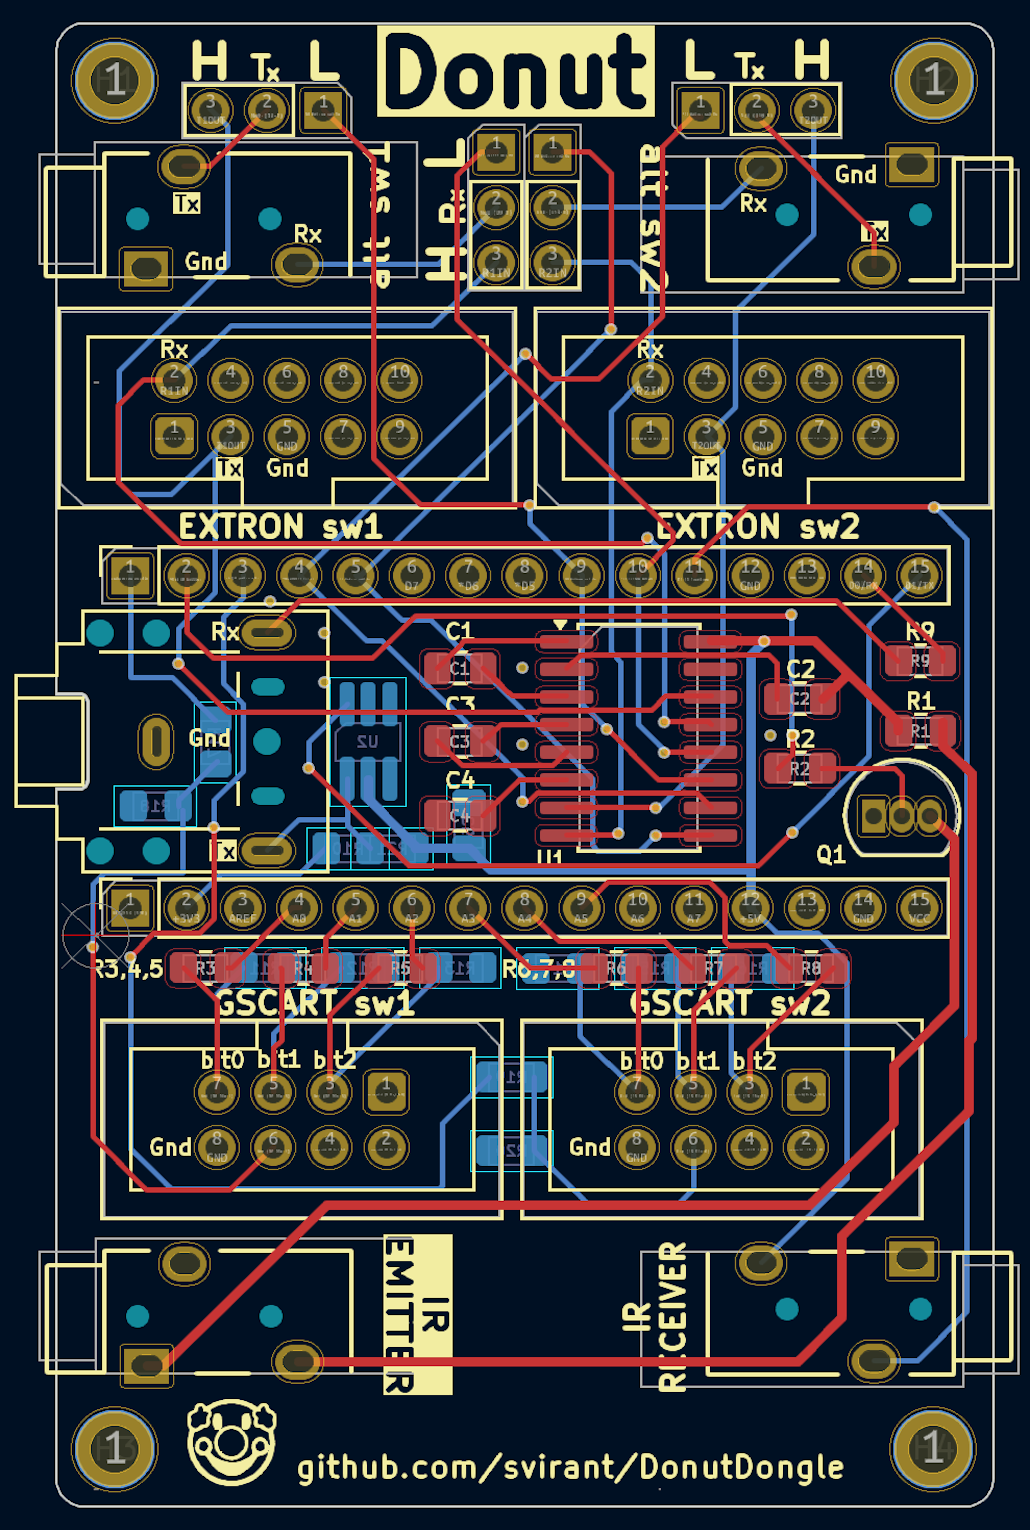
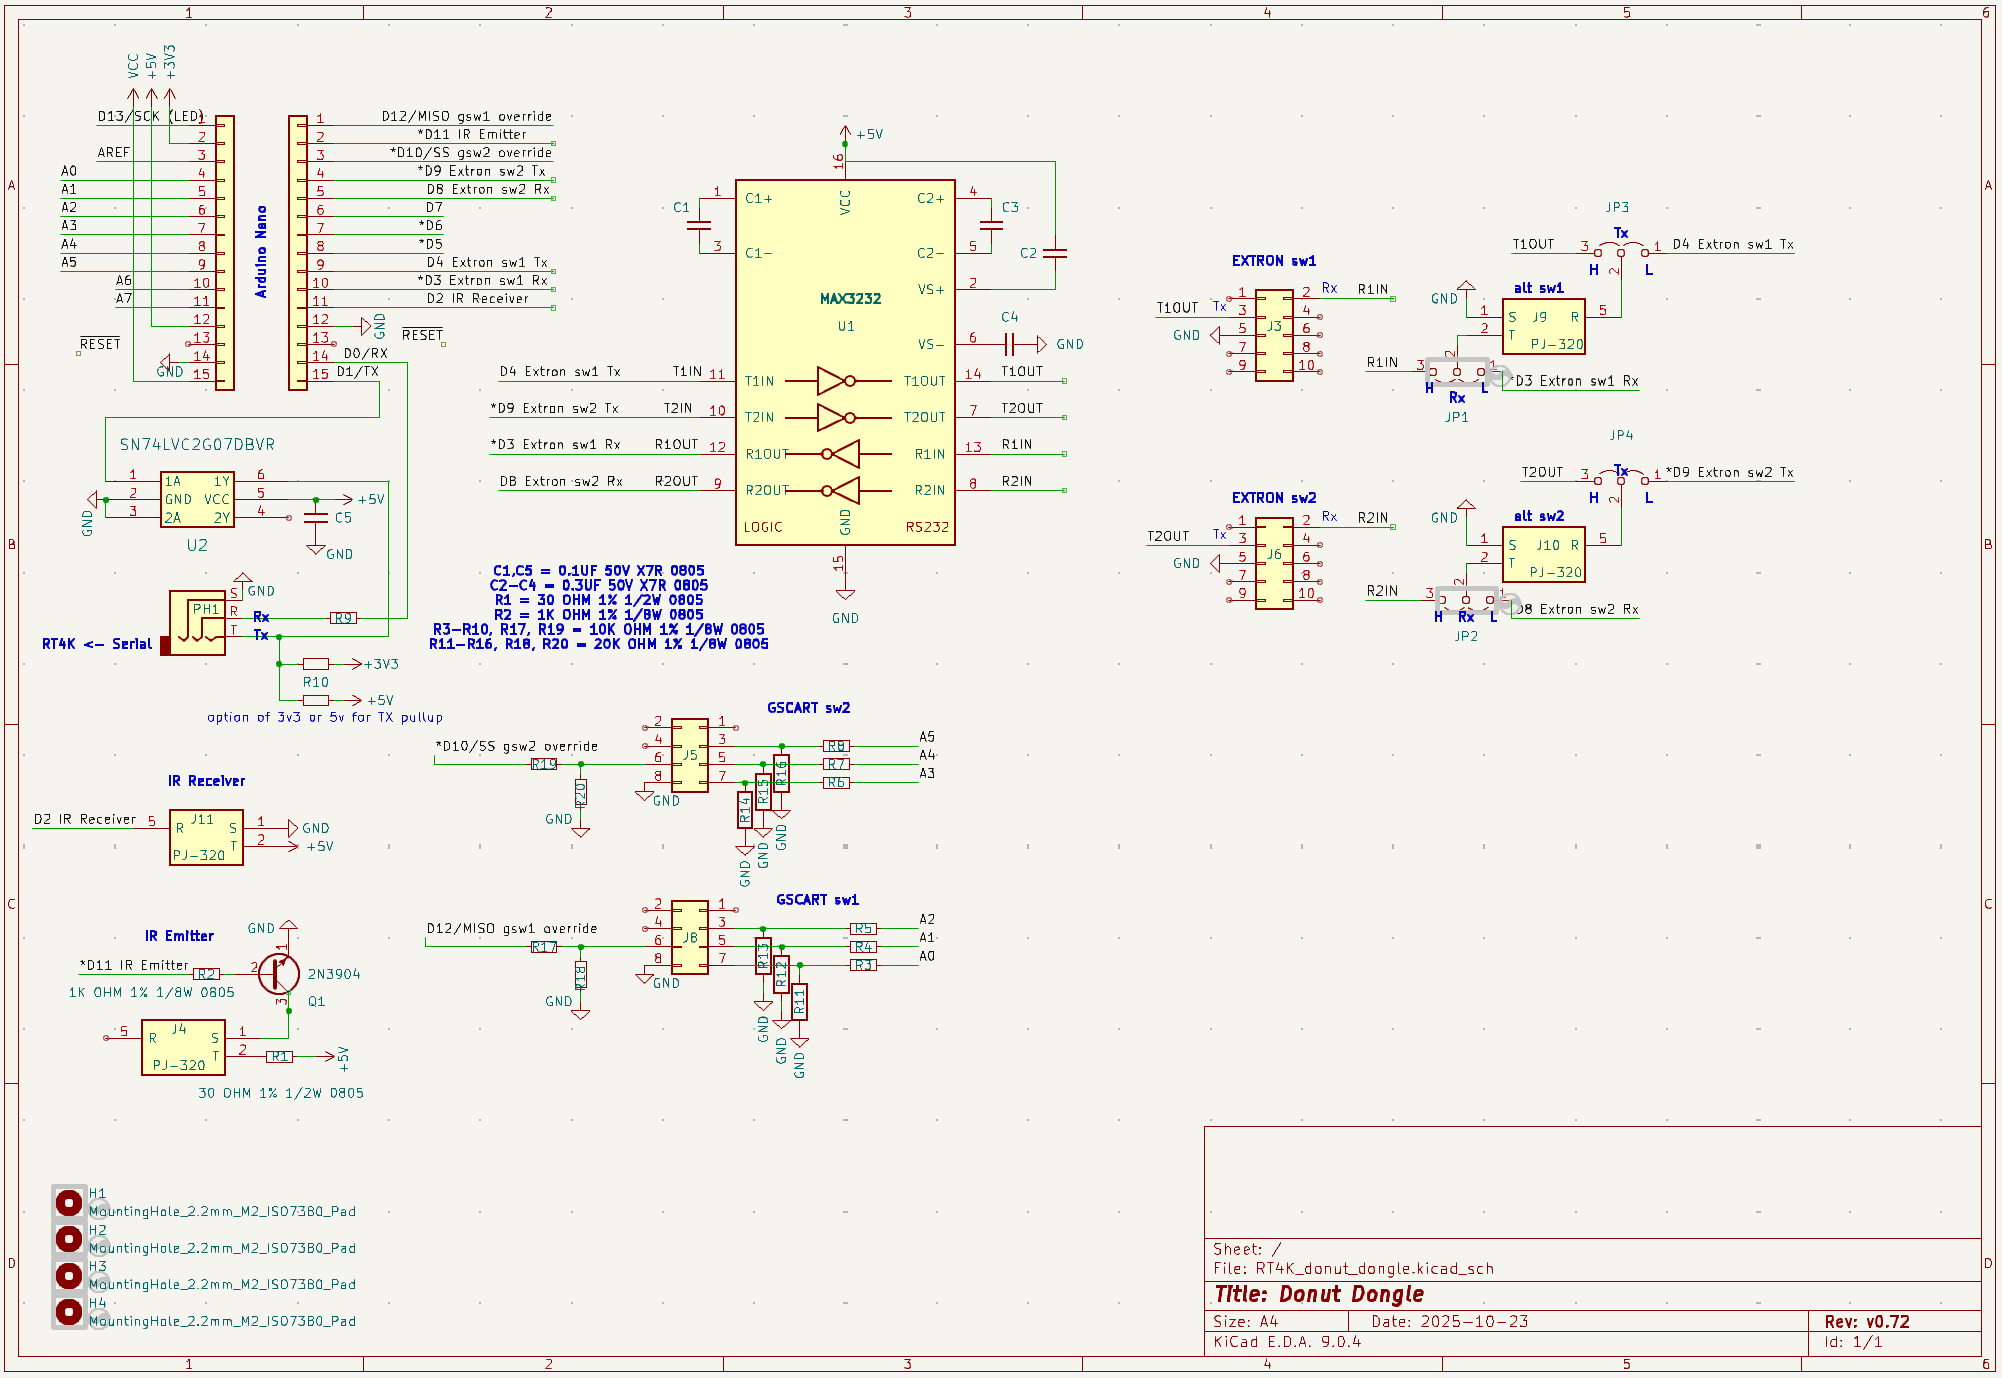
RT4K donut dongle is an open-source printed circuit board by svirant, from the svirant/DonutDongle repository on GitHub, published under the GPL-3.0 licence. It is a 2-layer board of 42.2 × 68.1 mm with 49 parts on 78 nets, routed with 315 tracks and 27 vias.
It is built around the MAX3232ID, SN74LVC2G07DBVR and PJ-307. Its parts include 21 resistors, 10 connectors, 5 capacitors, 2 ICs and 1 transistor.
Arduino Nano based hub that connects your digital and analog console switching setup with the RetroTink 4K and/or RetroTink 5x / OSSC for Auto Profile switching
The Donut Dongle connects to a switch in a way that allows it to see which port is active. When a console powers on (auto-switching) or an input is manually selected, the Donut Dongle sends a serial command to the RetroTink 4k (or IR signal to the RT5x, OSSC) telling it to load a profile. For the RT4K, the profiles can either be defined as remote profiles; those configured in the menu for the remote buttons. Or they can be SVS profiles which are configured on the RT4K's SDcard.
For details, refer to the "How to Use" section below.
[!TIP]
If DIY is not your thing. I have assembled versions for gScart/gComp and MT-VIKI/TESmart/Extron/db9 available in my Ko-fi shop.
Fallback - feature that allows a switch that reports having no active inputs to change profiles over to one that does.
MT-VIKI Disconnection Detection - when an input is powered off and on, the profile is resent.
Disable MT-VIKI beeping by pressing the "#" button on its remote.
front case buttons/remote NOW change profiles on the MT-VIKI HDMI switch. Thanks to Arthrimus!
auto-switching on Extron Matrix switchers that support DSVP. Works with RGBS/HV and HDMI/DVI signal types.
Support for older Extron Crosspoint (non plus) matrix switchers
Use the follow Options to enable:
text
#define automatrixSW1 true  // set true for auto matrix switching on "SW1" port
#define automatrixSW2 false // set true for auto matrix switching on "SW2" port

uint8_t const ExtronVideoOutputPortSW1 = 1; // For non "Plus" Extron Matrix models, must specify video output port that connects to RT4K
uint8_t const ExtronVideoOutputPortSW2 = 1;

uint8_t const vinMatrix[65] = {0,  // MATRIX switchers  // When auto matrix mode is enabled: (automatrixSW1 / SW2 defined above)
                                                       // set to 0 for the auto switched input to tie to all outputs
                                                       // set to 1 for the auto switched input to trigger a Preset
                                                       // set to 2 for the auto switched input to tie to "ExtronVideoOutputPortSW1" / "ExtronVideoOutputPortSW2"
                                                       //
                                                       // For option 1, set the following inputs to the desired Preset #
                                                       // (by default each input # is set to the same corresponding Preset #)
yes, confirmed first hand. RT4K remote can also change inputs and profiles.
Front case buttons and included IR remote also change profiles! Disable MT-VIKI beeping by pressing the "#" button on its remote.
TESmart 16x1 HDMI
yes, confirmed first hand
RT4K remote can also change inputs and profiles.
TESmart 8x1 HDMI
unconfirmed, but should work, let me know!
gSCARTsw / gCOMPsw
version 5.x confirmed by @niquallis and @UstSte, thanks so much for your help!
Manual input selection works too!
Extron RGBHV sw6
yes, confirmed first hand
Extron DXP 88
yes, confirmed first hand
Auto-switching can be enabled in "Options" section of .ino. Works with Presets. On SW1, Preset 1 is S1_ profile. On SW2, Preset 1 is S101_ profile, etc.
Power up the switch before connecting the DonutHole.
Extron CrossPoint, MVX, etc
yes, confirmed by other users
Auto-switching can be enabled for switches that supports DSVP and are RGBS/HDMI/DVI signal types. By default, works with Presets as shown in the Note above.
Extron CrossPoint E-series
yes, works with Presets and Input changes
Must set ExtronVideoOutputPortSW1 / SW2 variable to output connected to RT4K
Extron SW4 VGA Ars
yes, confirmed by "Nobody" on the RT4K Discord
Otaku Games Scart 10
Jumper moved to "L" and with required mod , SVS=0; must also be set in the Otaku .ino for the DD to respond
modded switch works on its own, but connecting through the DD is mostly useful if your Otaku mod doesn't include the buffer IC
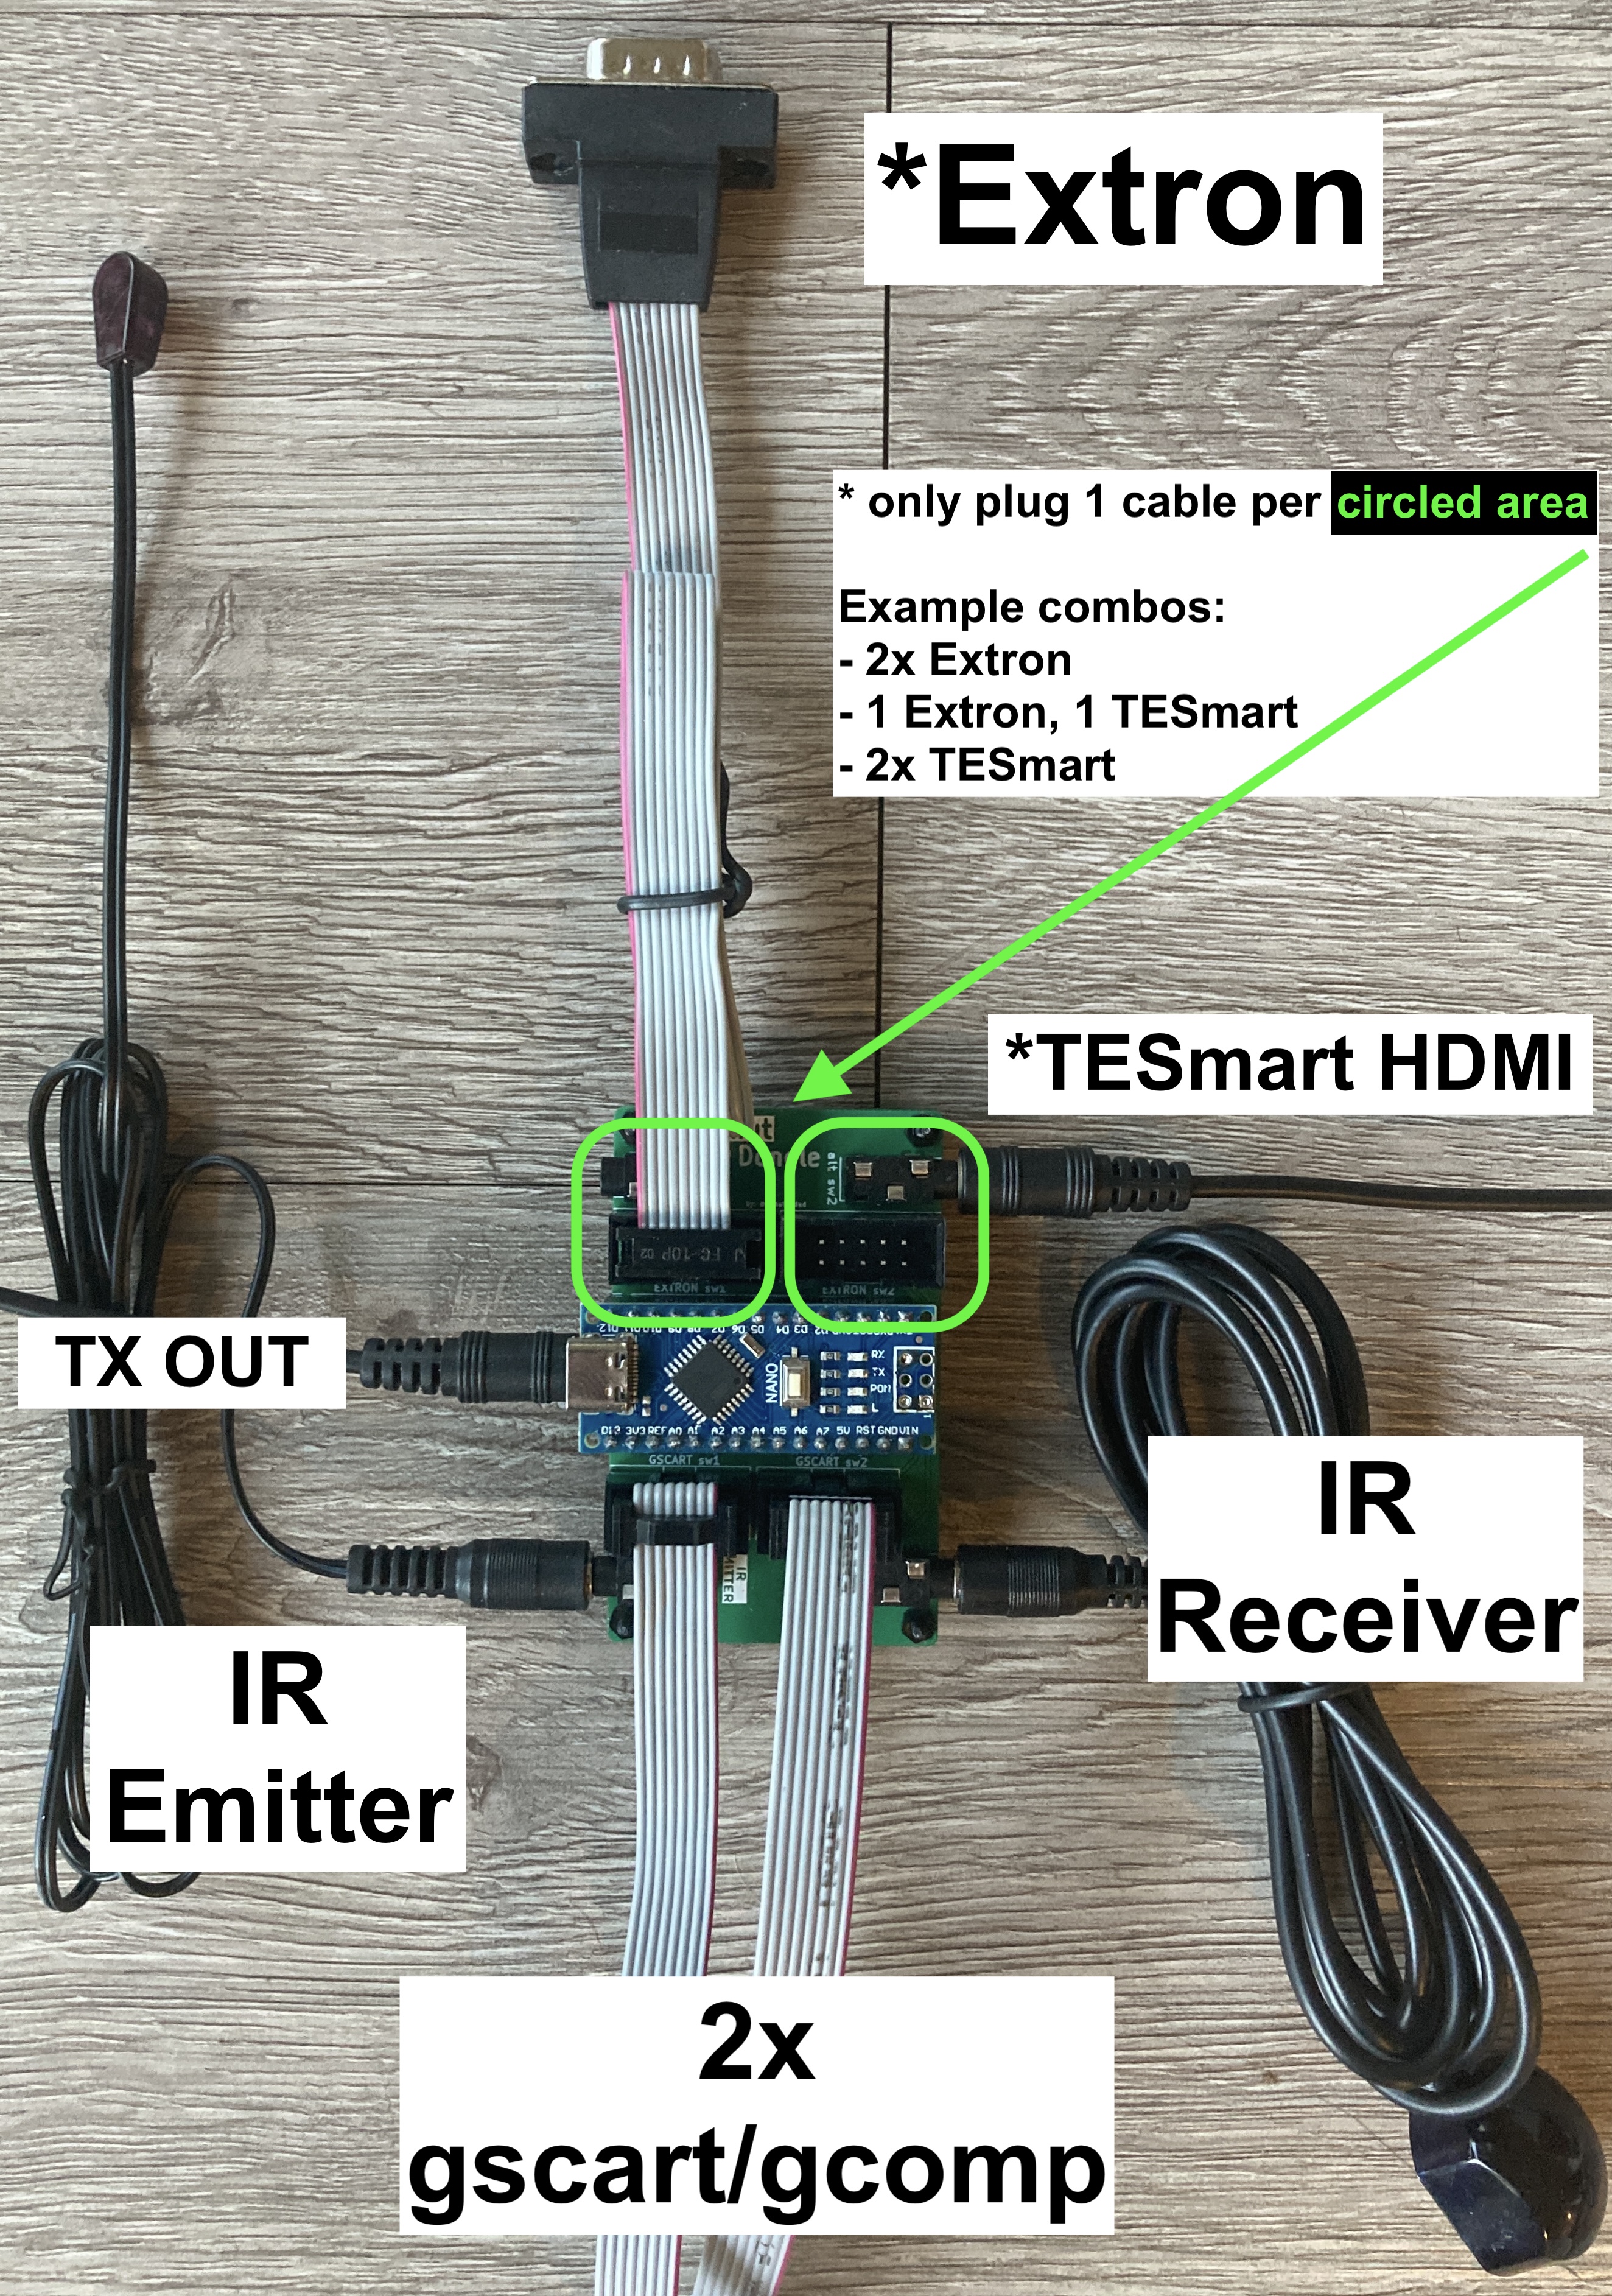
Connections
Connect 4 switches Total
2x gscart/gcomp
2x Extron, 2x TESmart, or 1 of each
1x usb-c port for power/programming (on Arduino Nano)
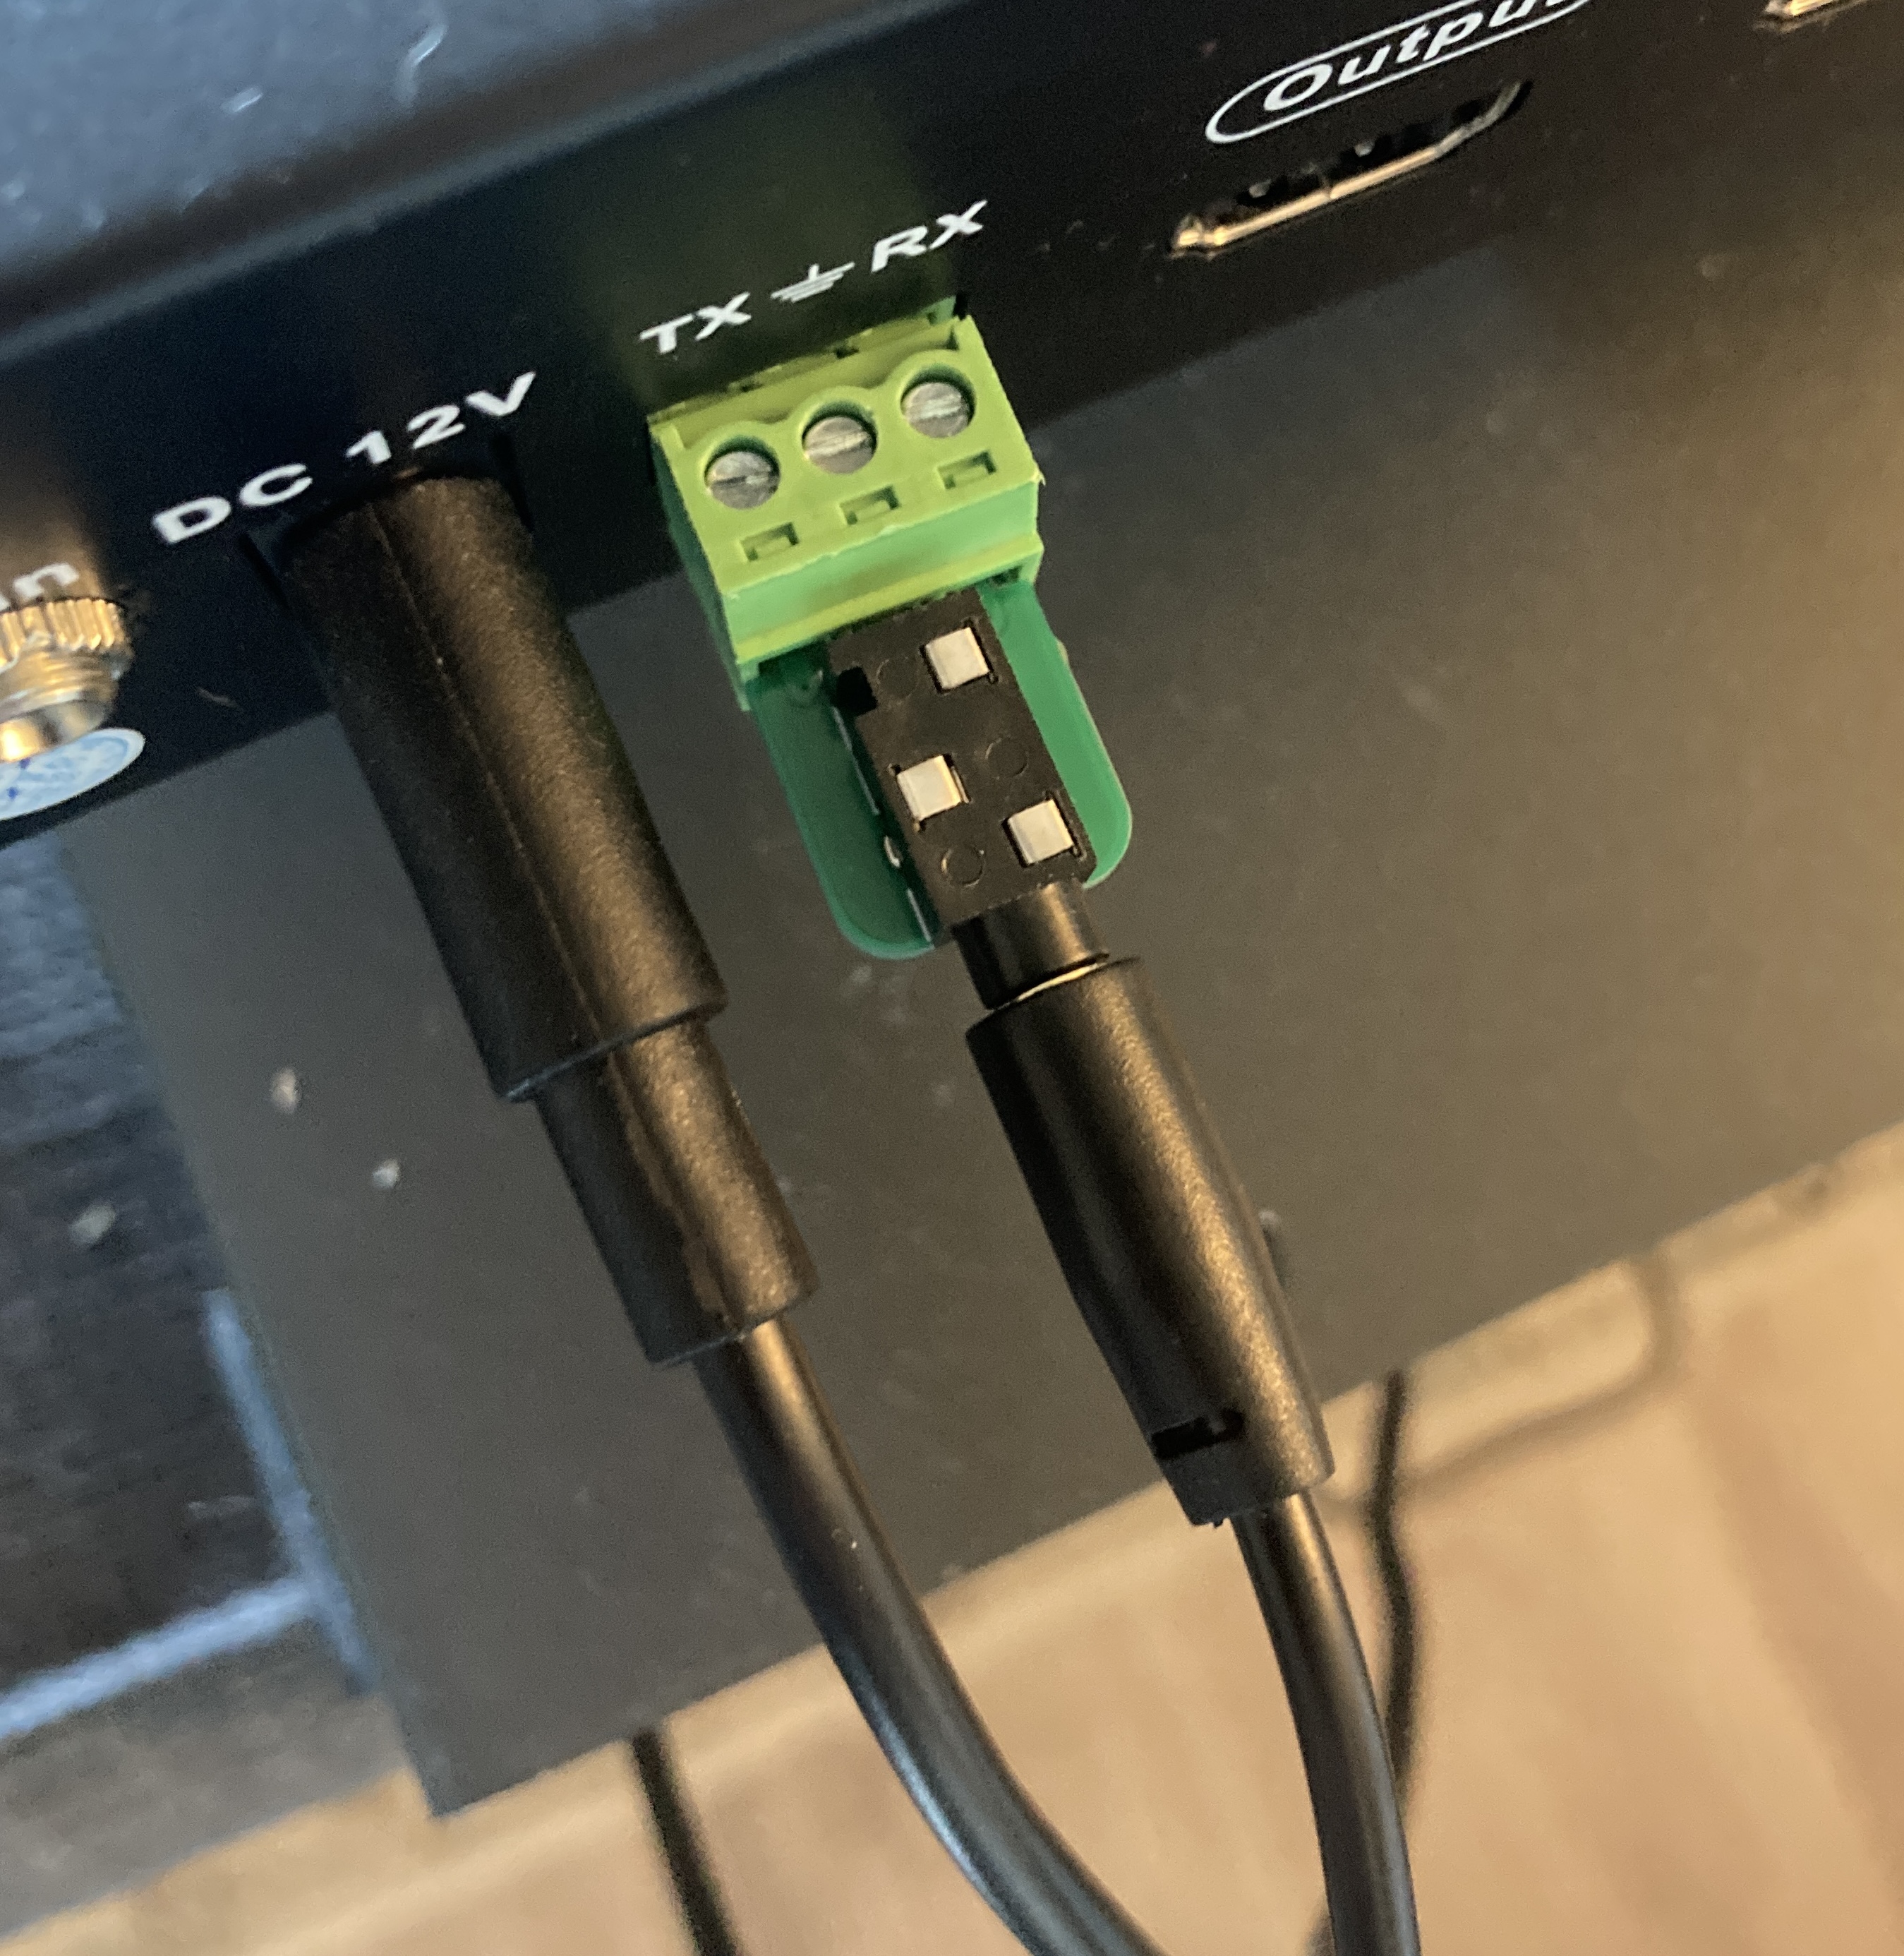
1x 3.5mm "TX OUT to Retrotink 4K VGA adapter" port
1x IR Emitter (required for OSSC, RT5x (RT5x must be on firmware version 3.7 or higher))
1x IR Receiver (optional for better reception and IR remote customizations)
Layout Example
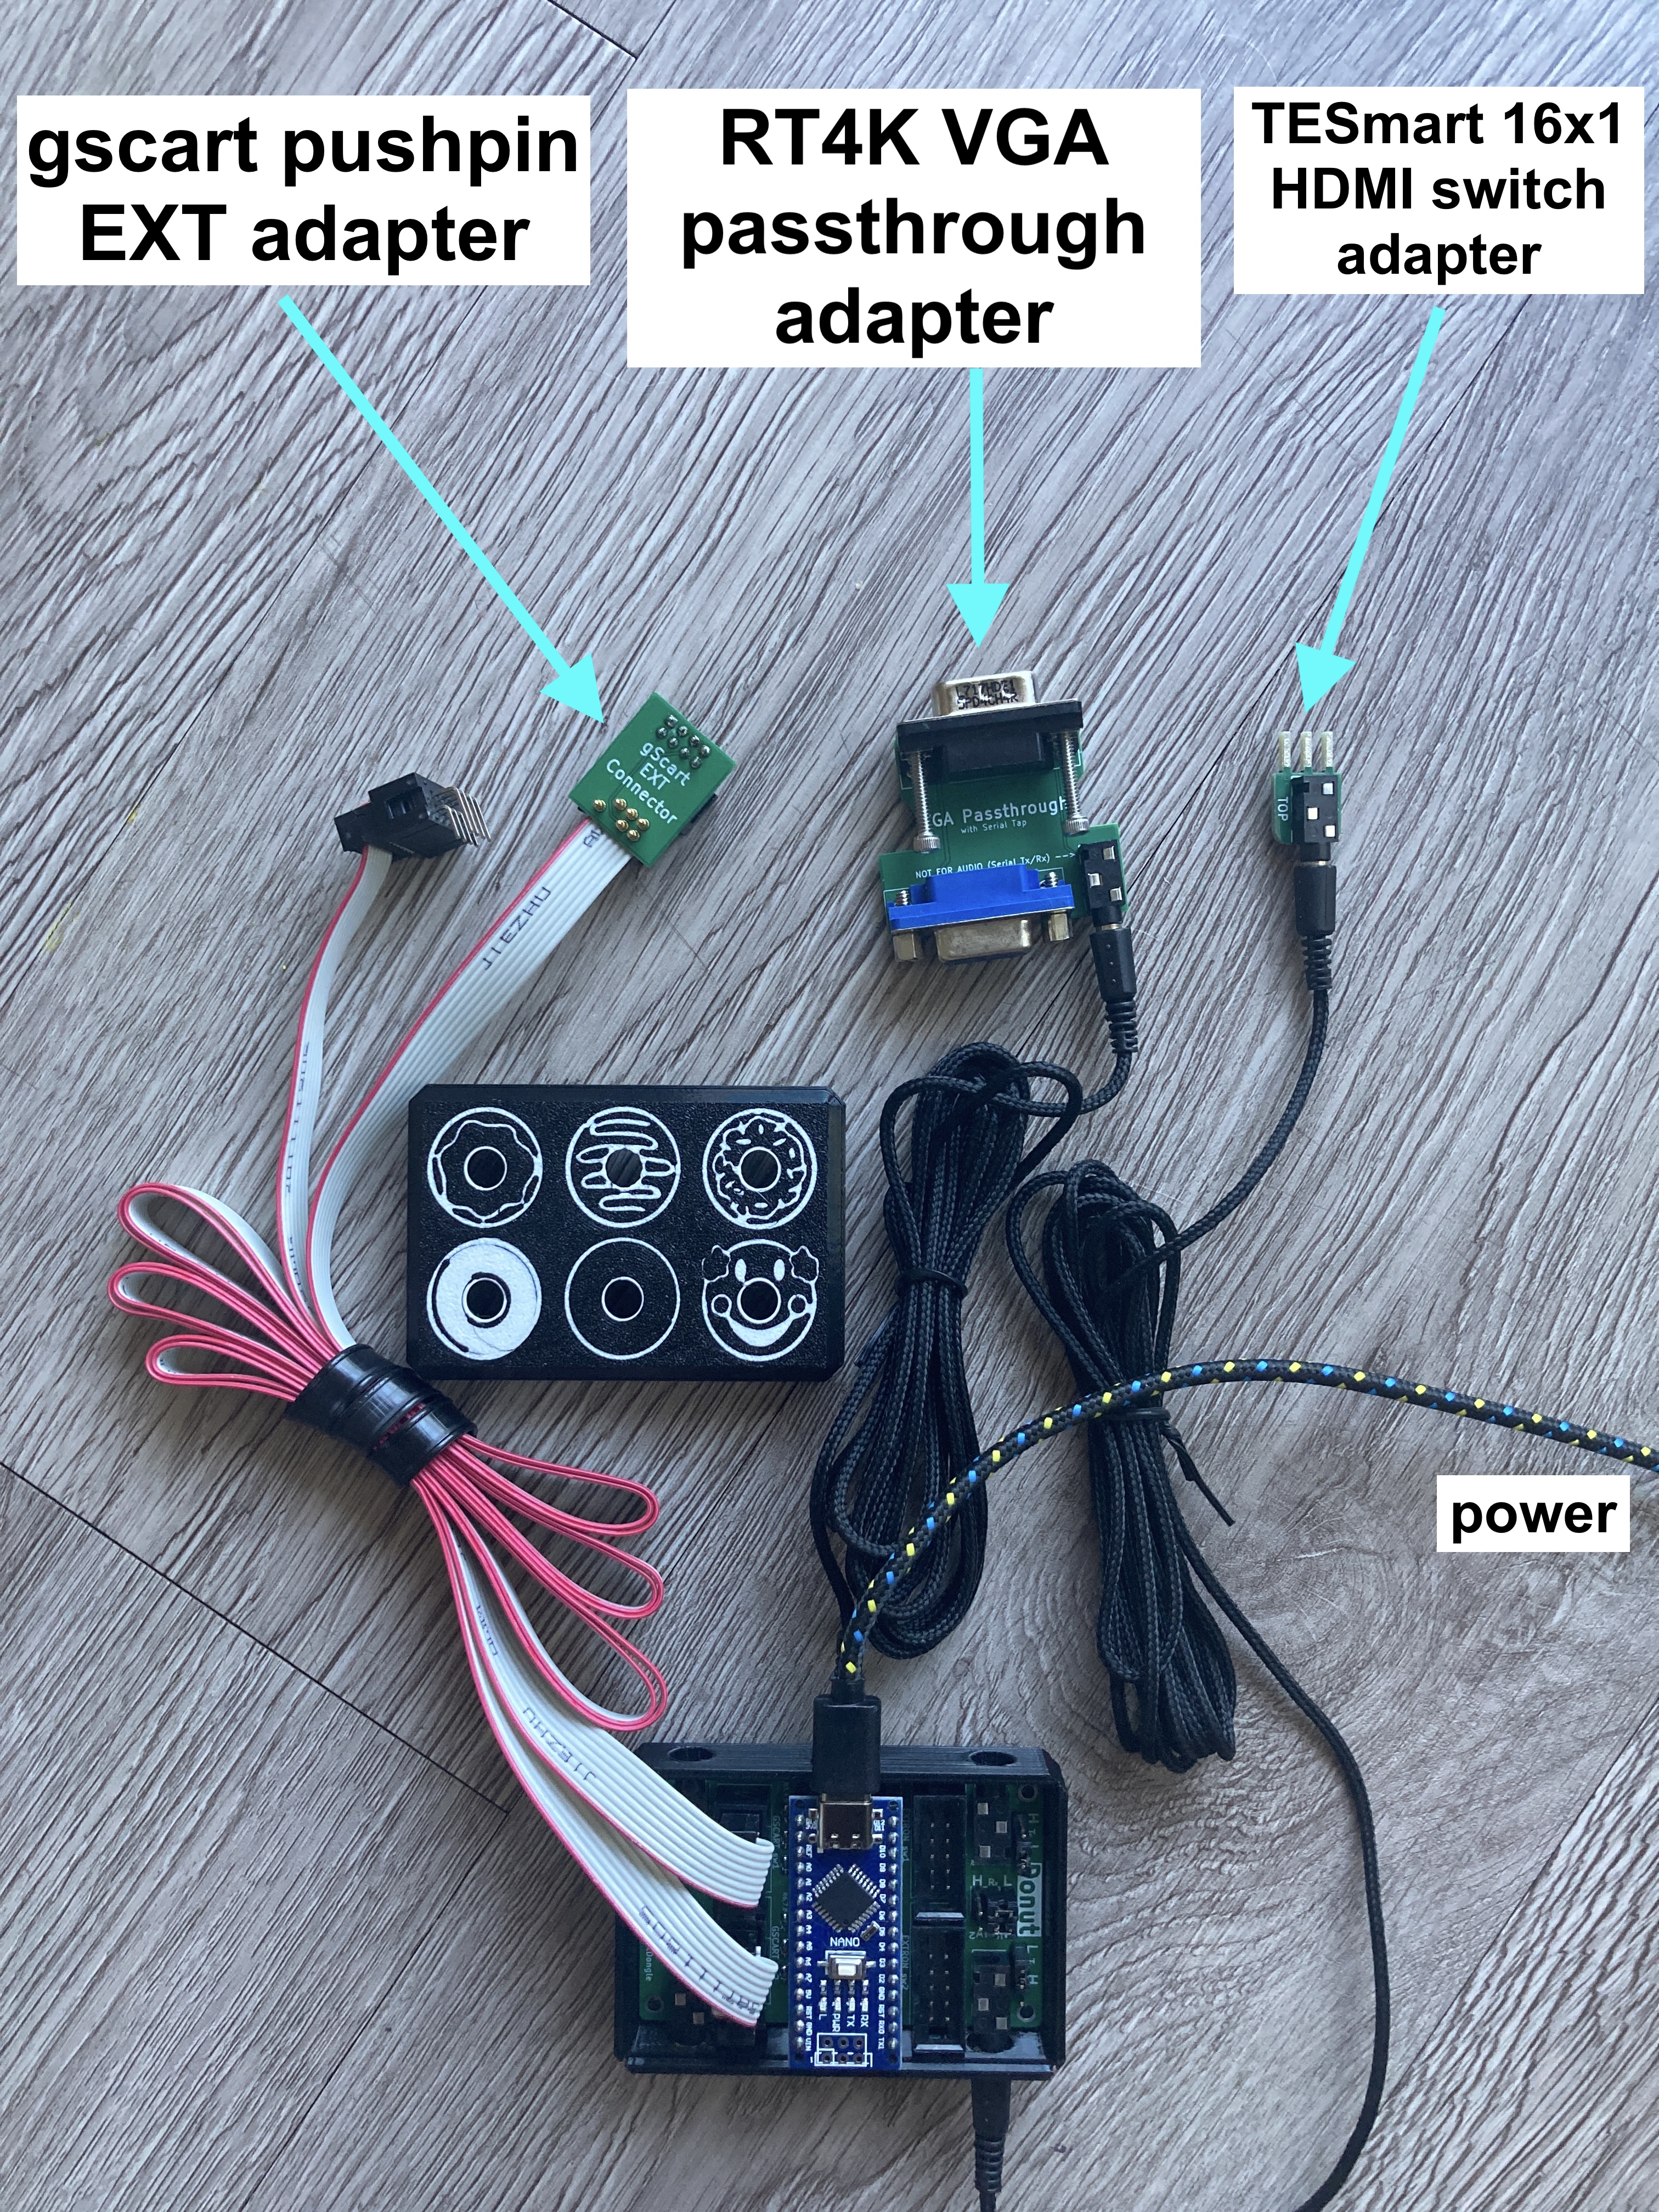
TESmart 16x1 HDMI switch & 2x gSCART/gCOMP
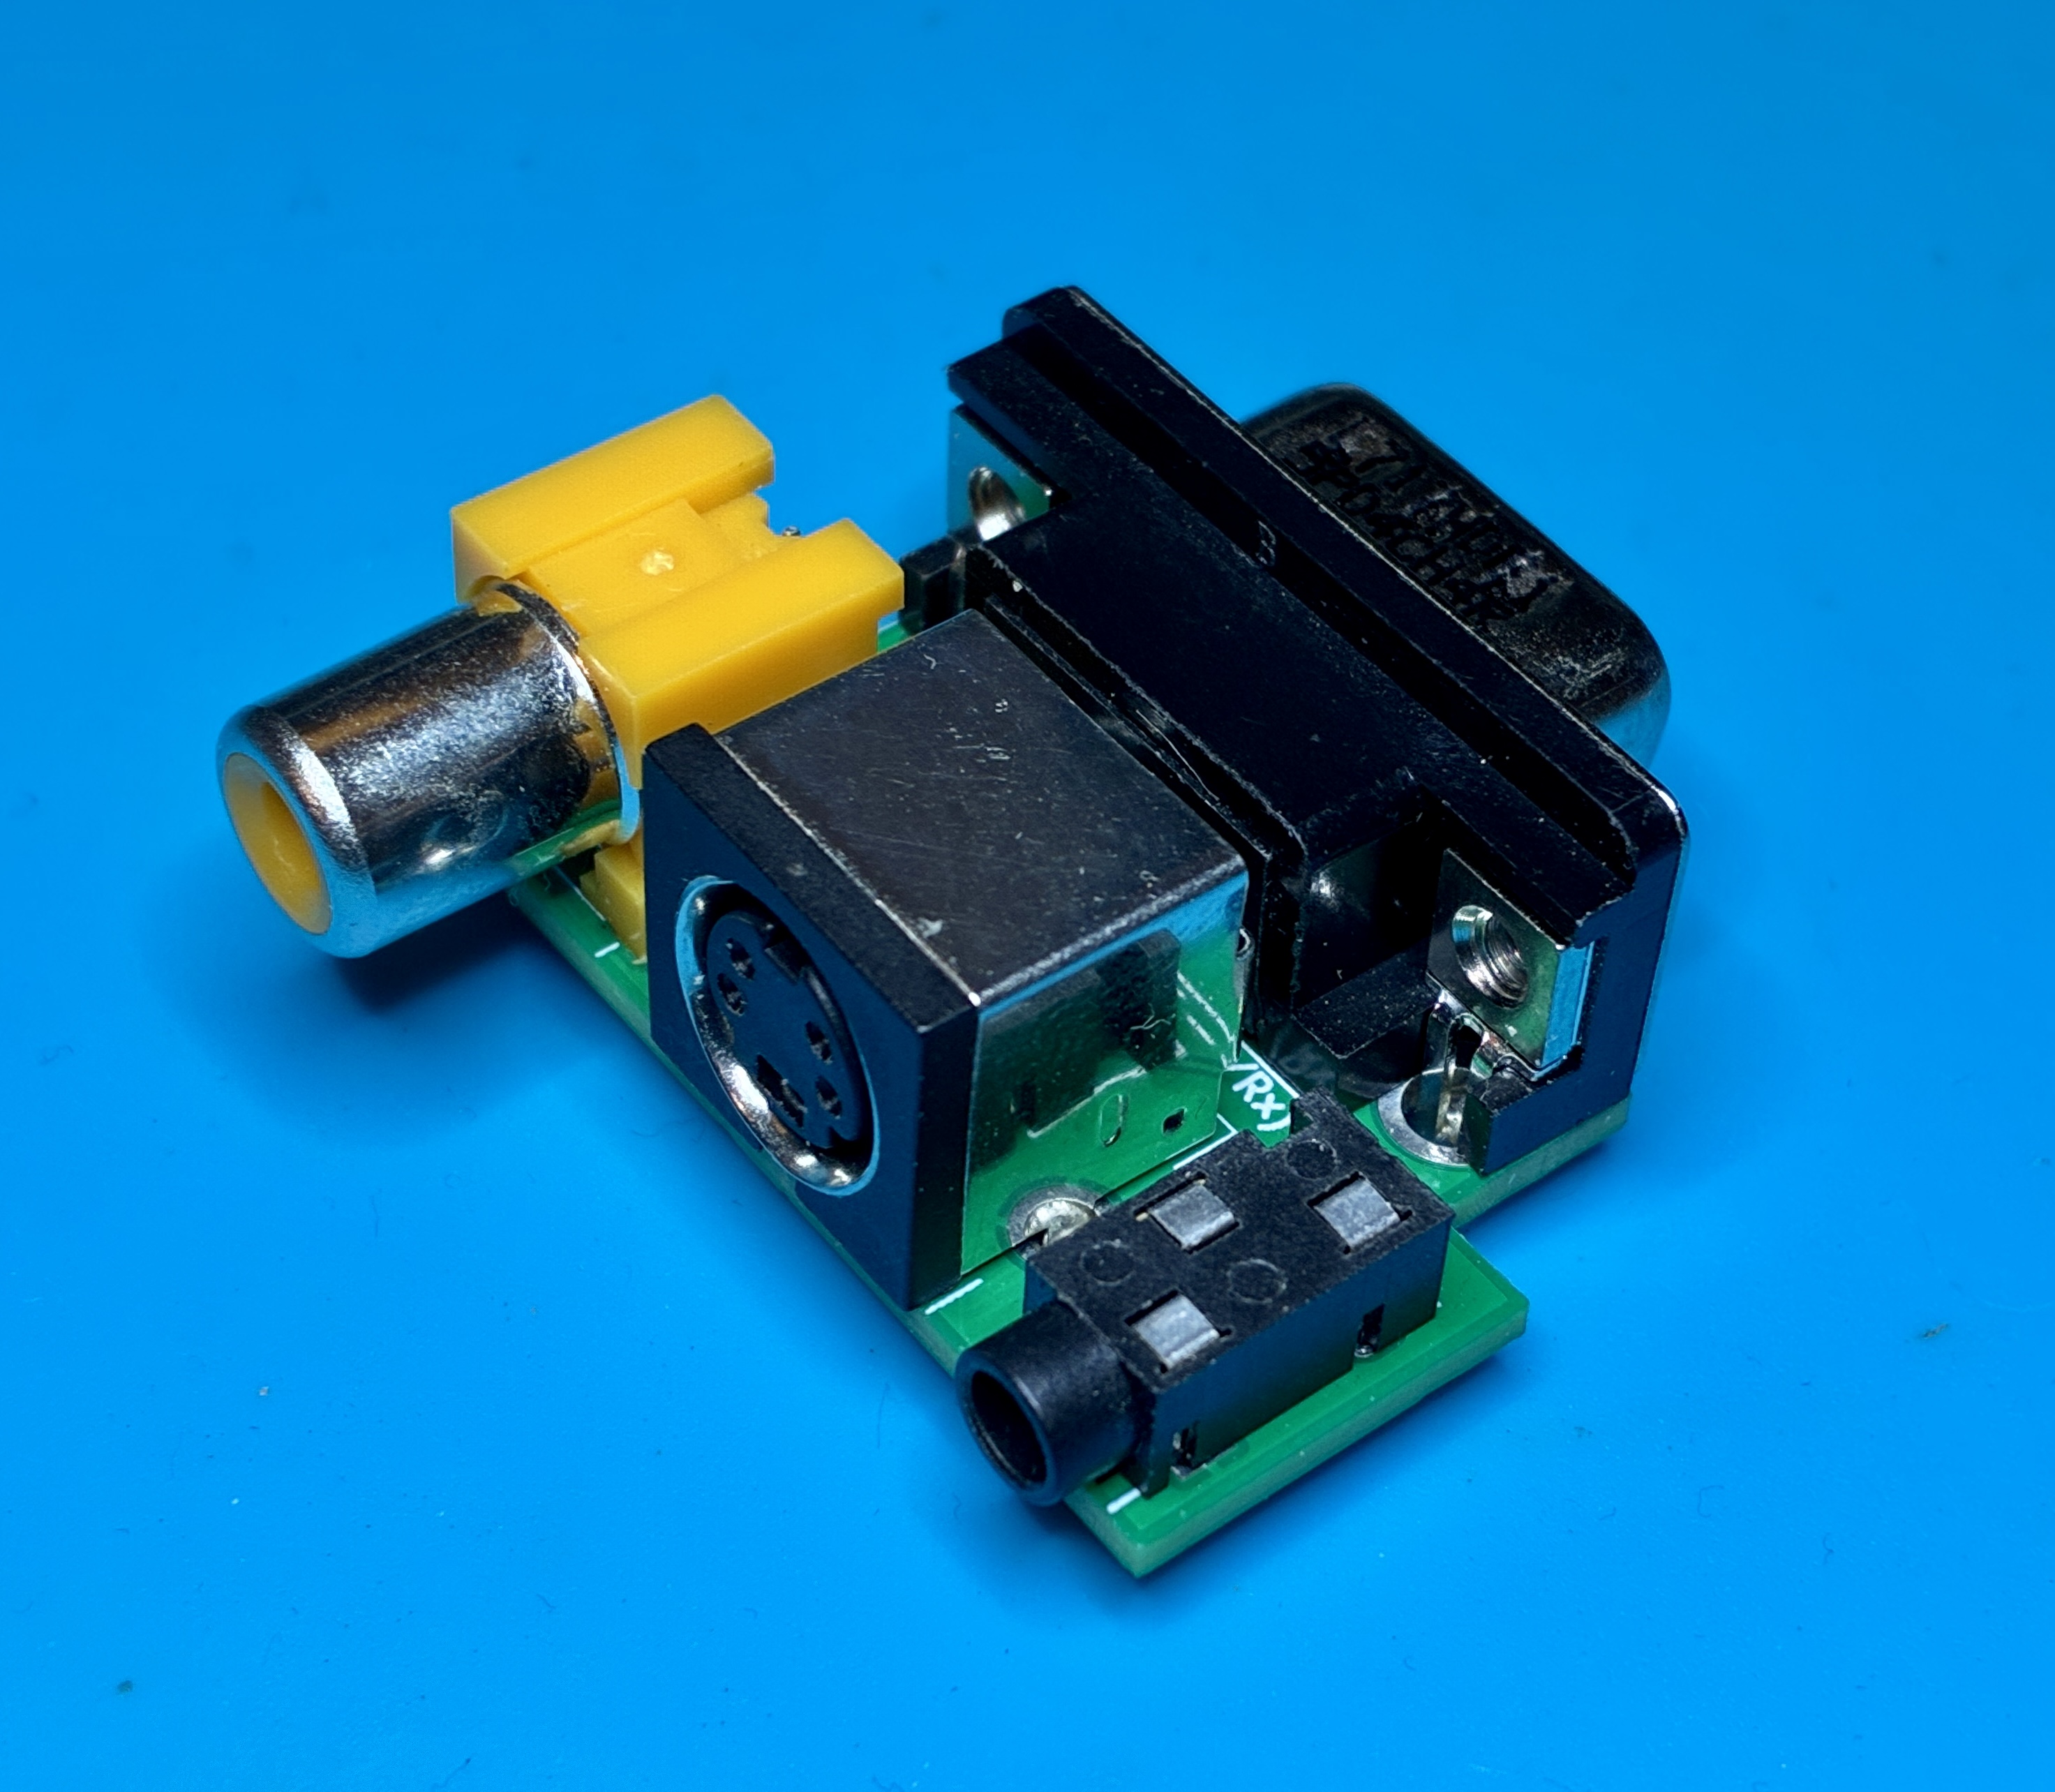
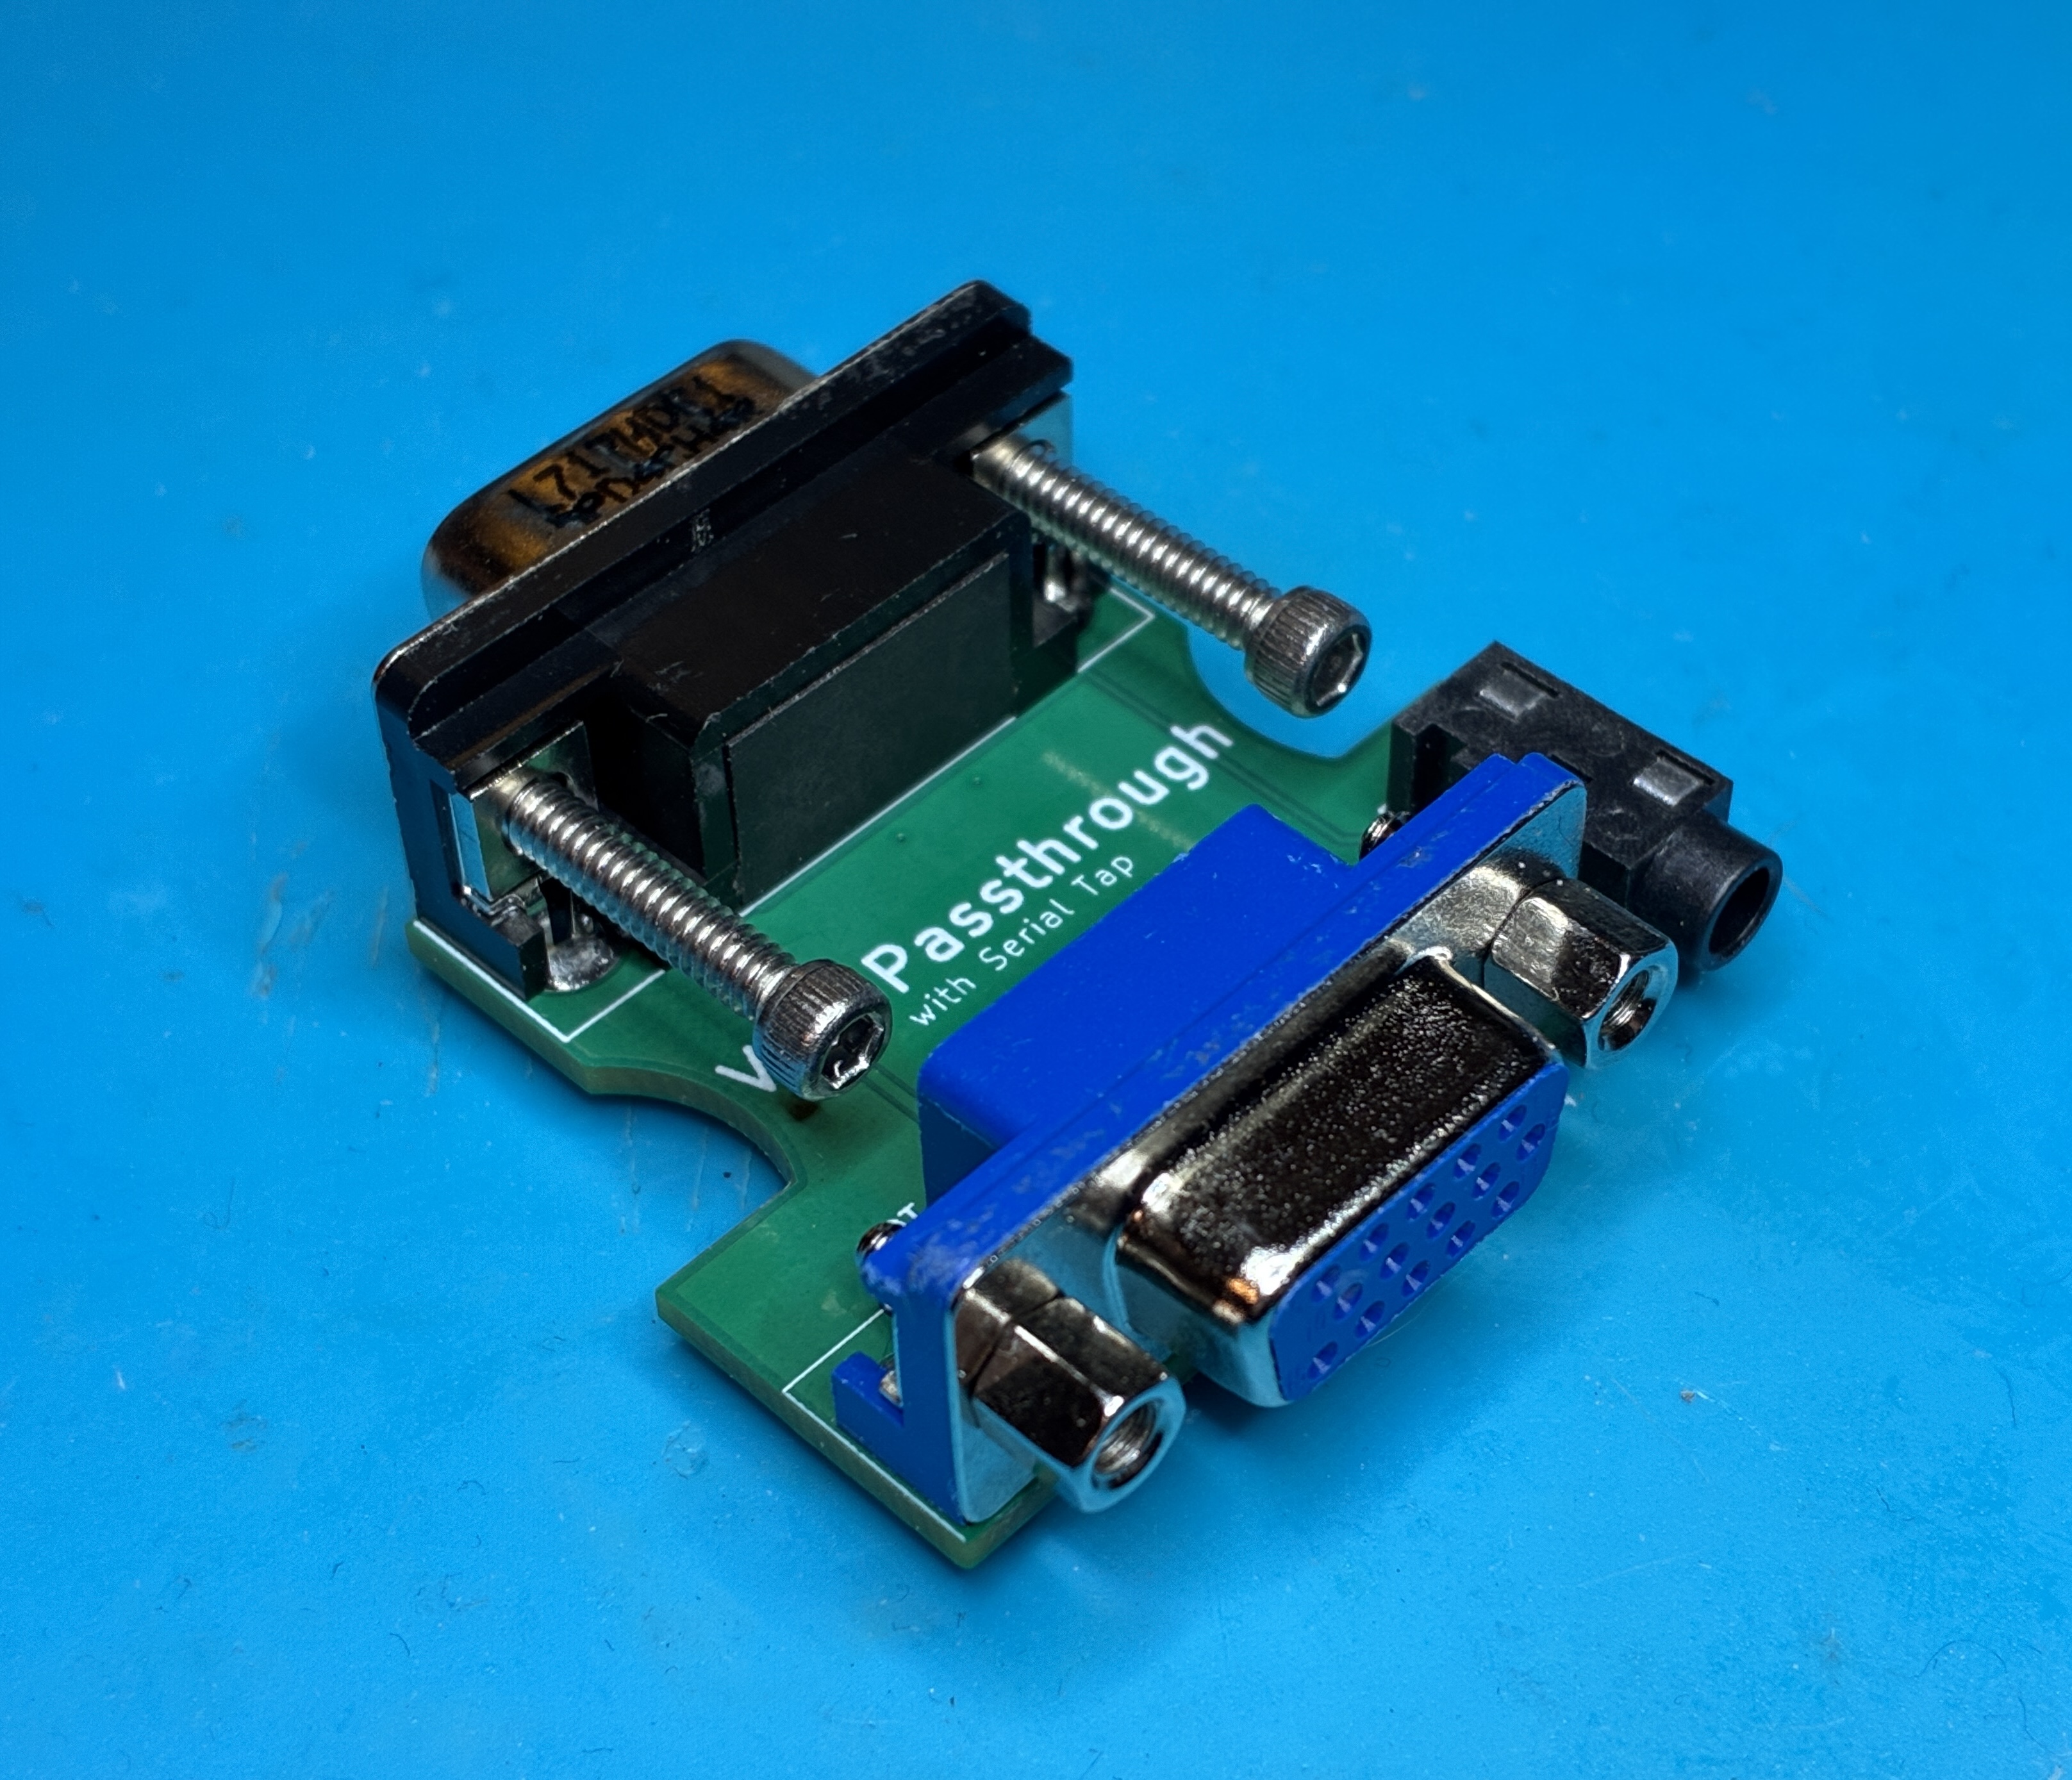
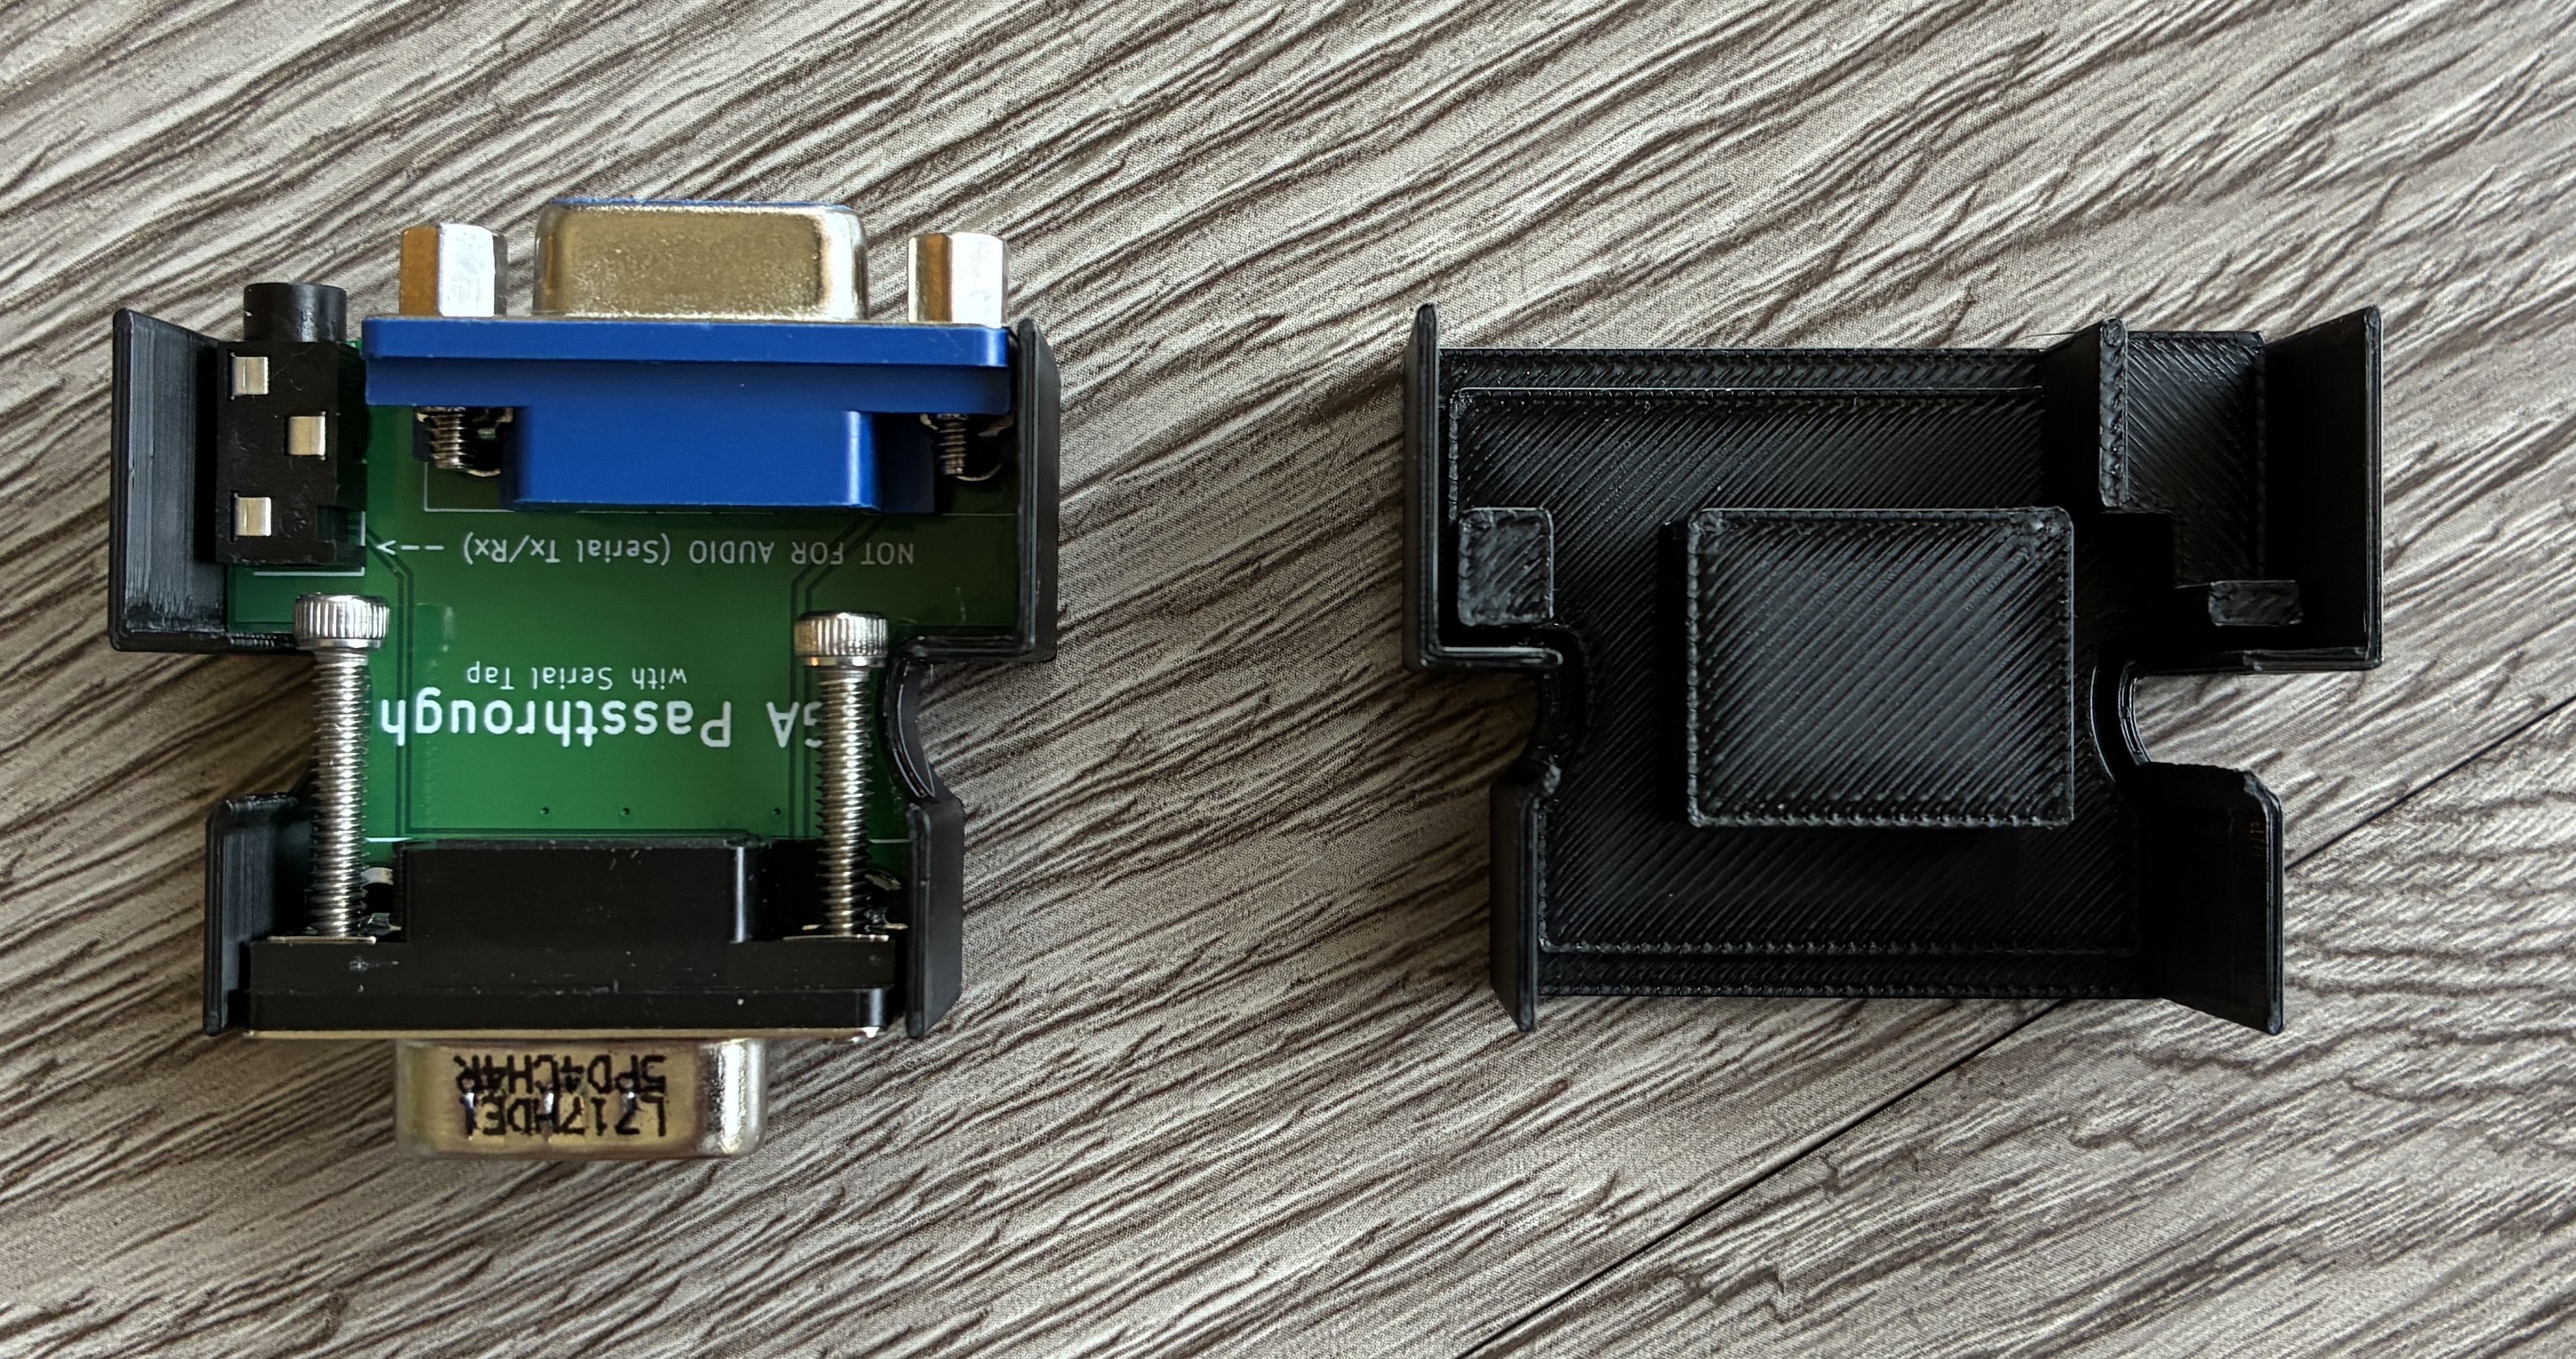
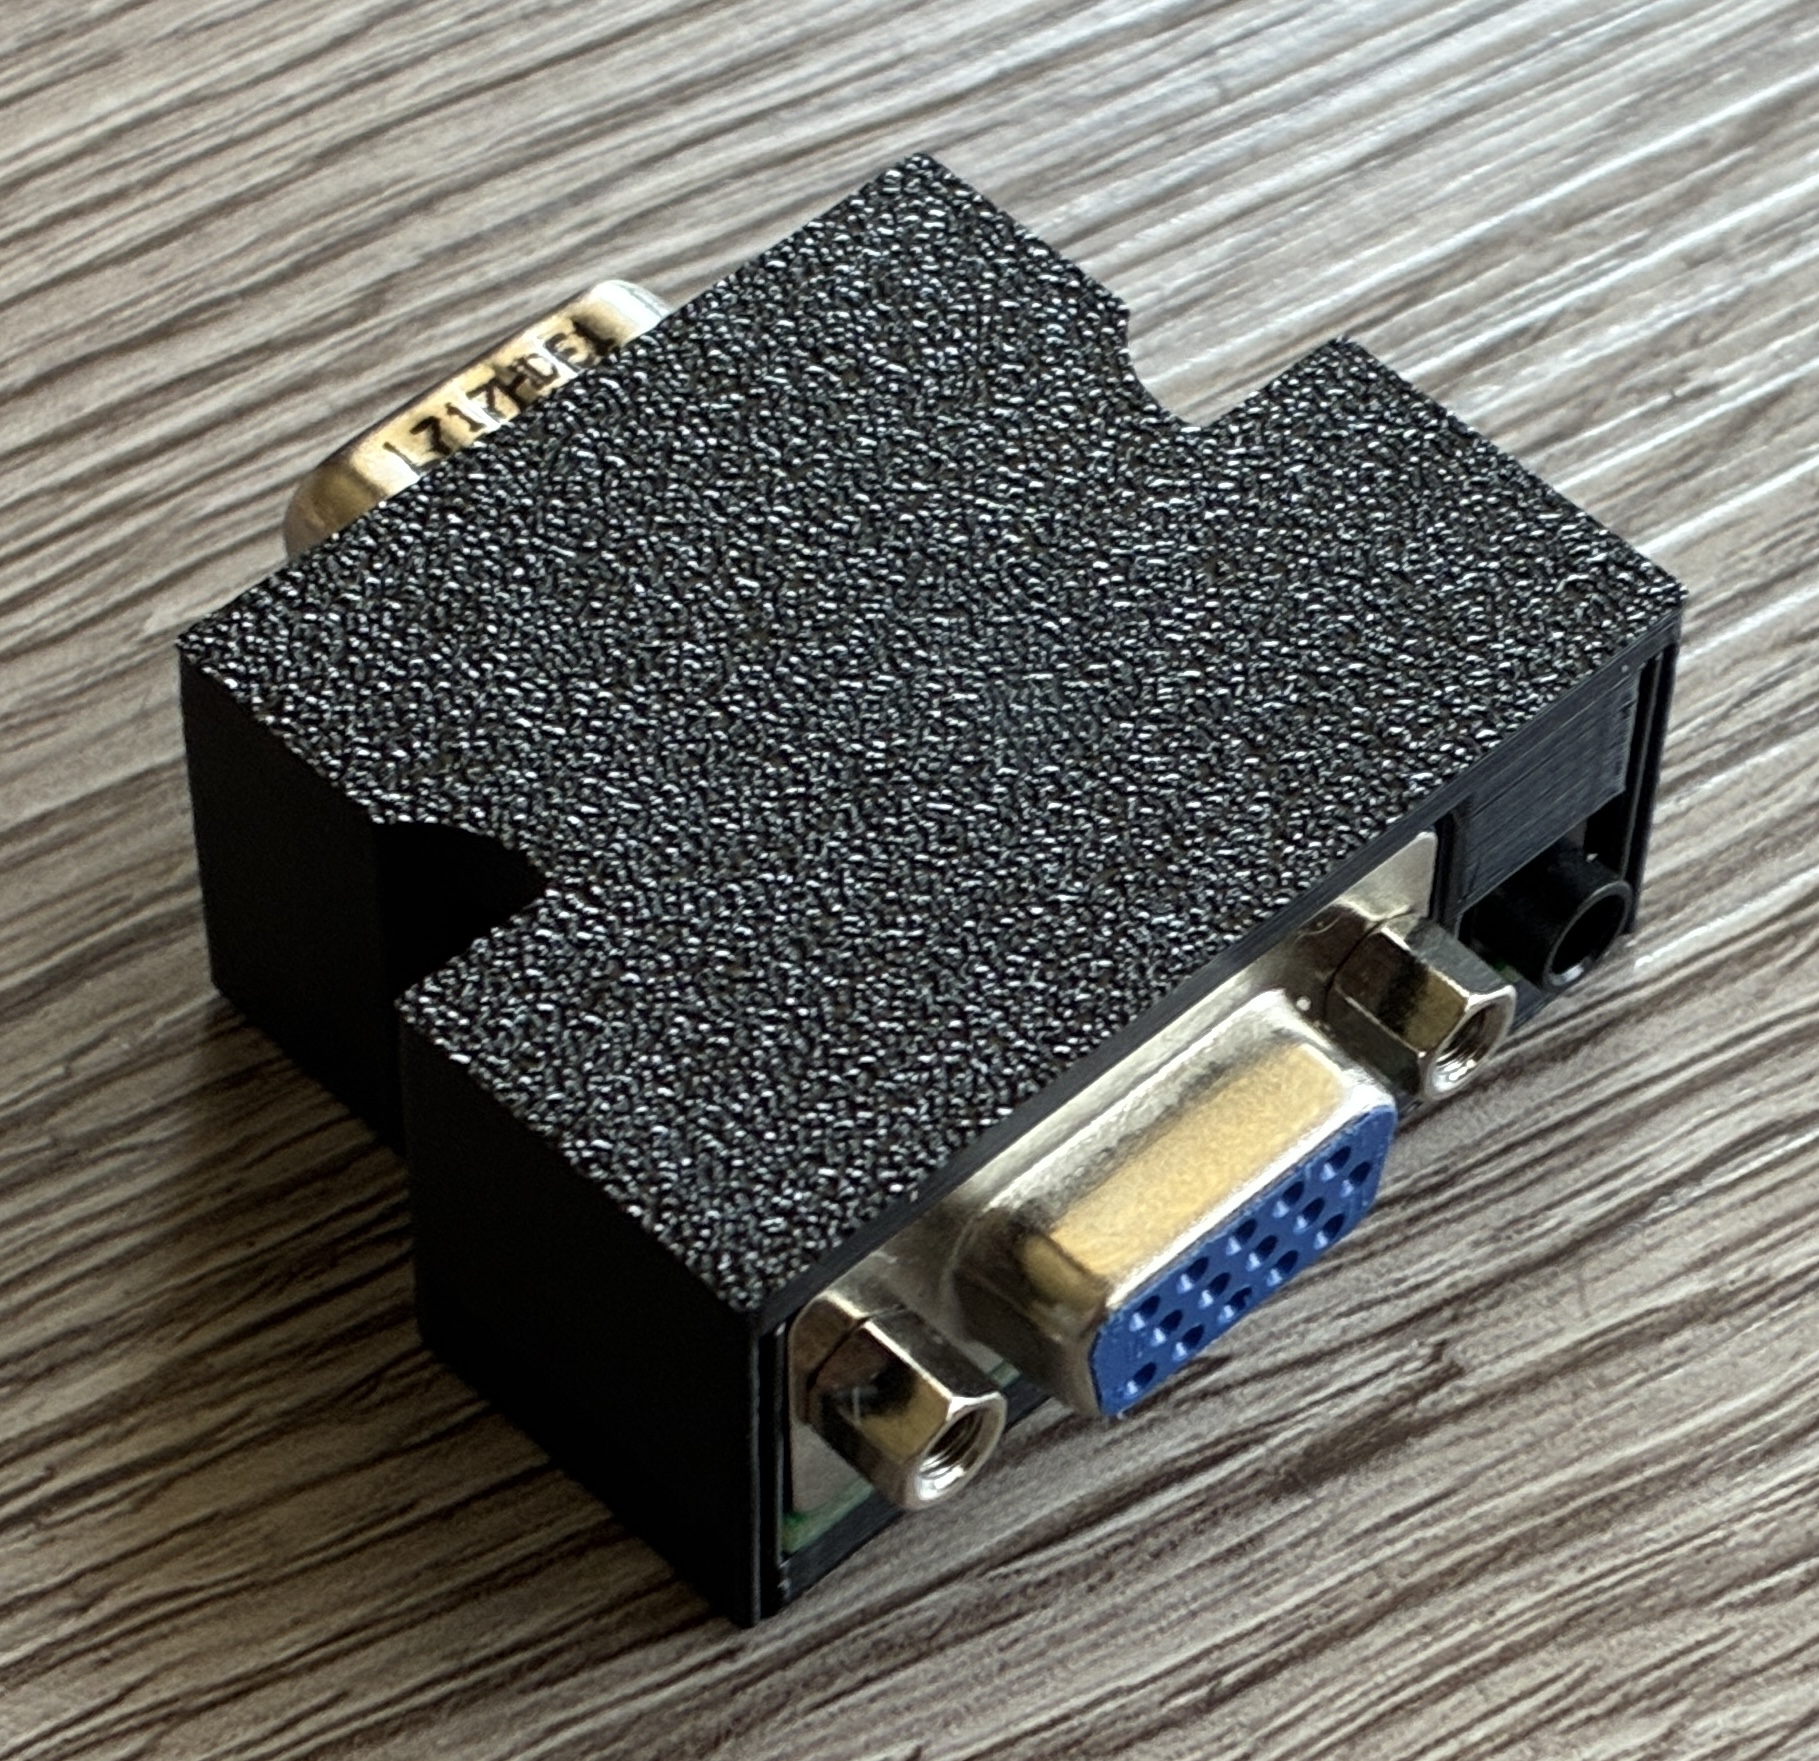
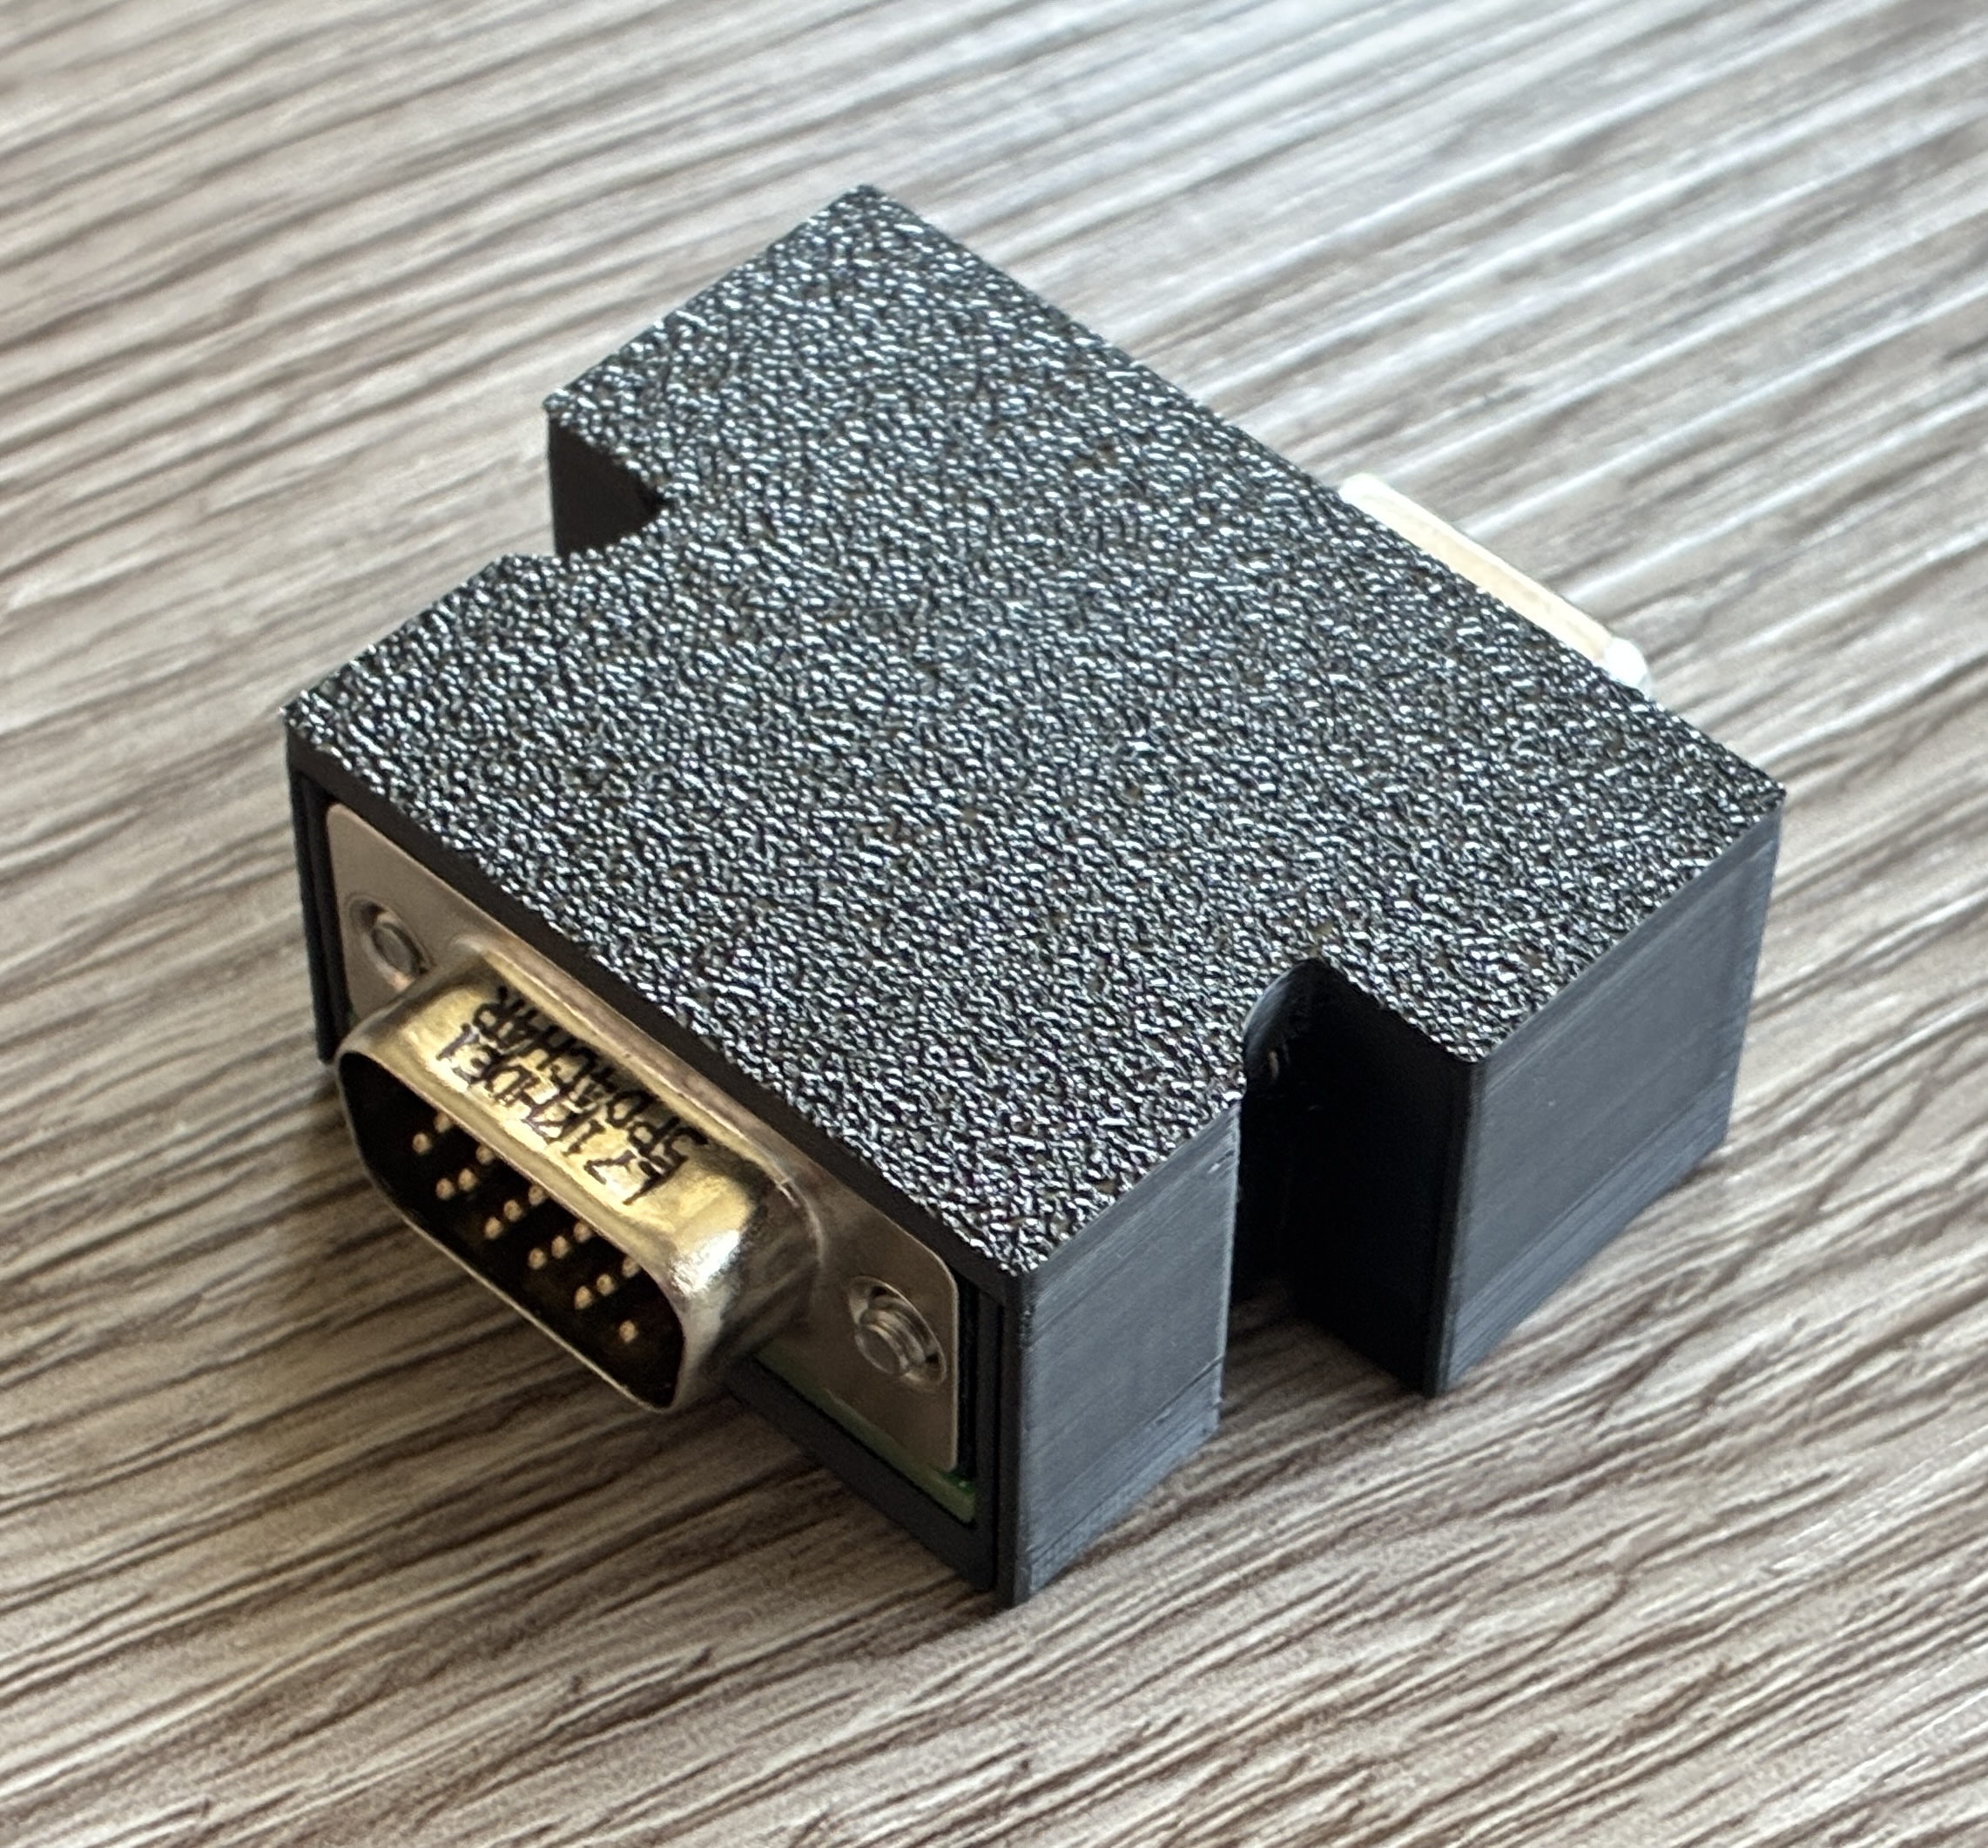
VGA Passthrough adapter
TESmart adapter
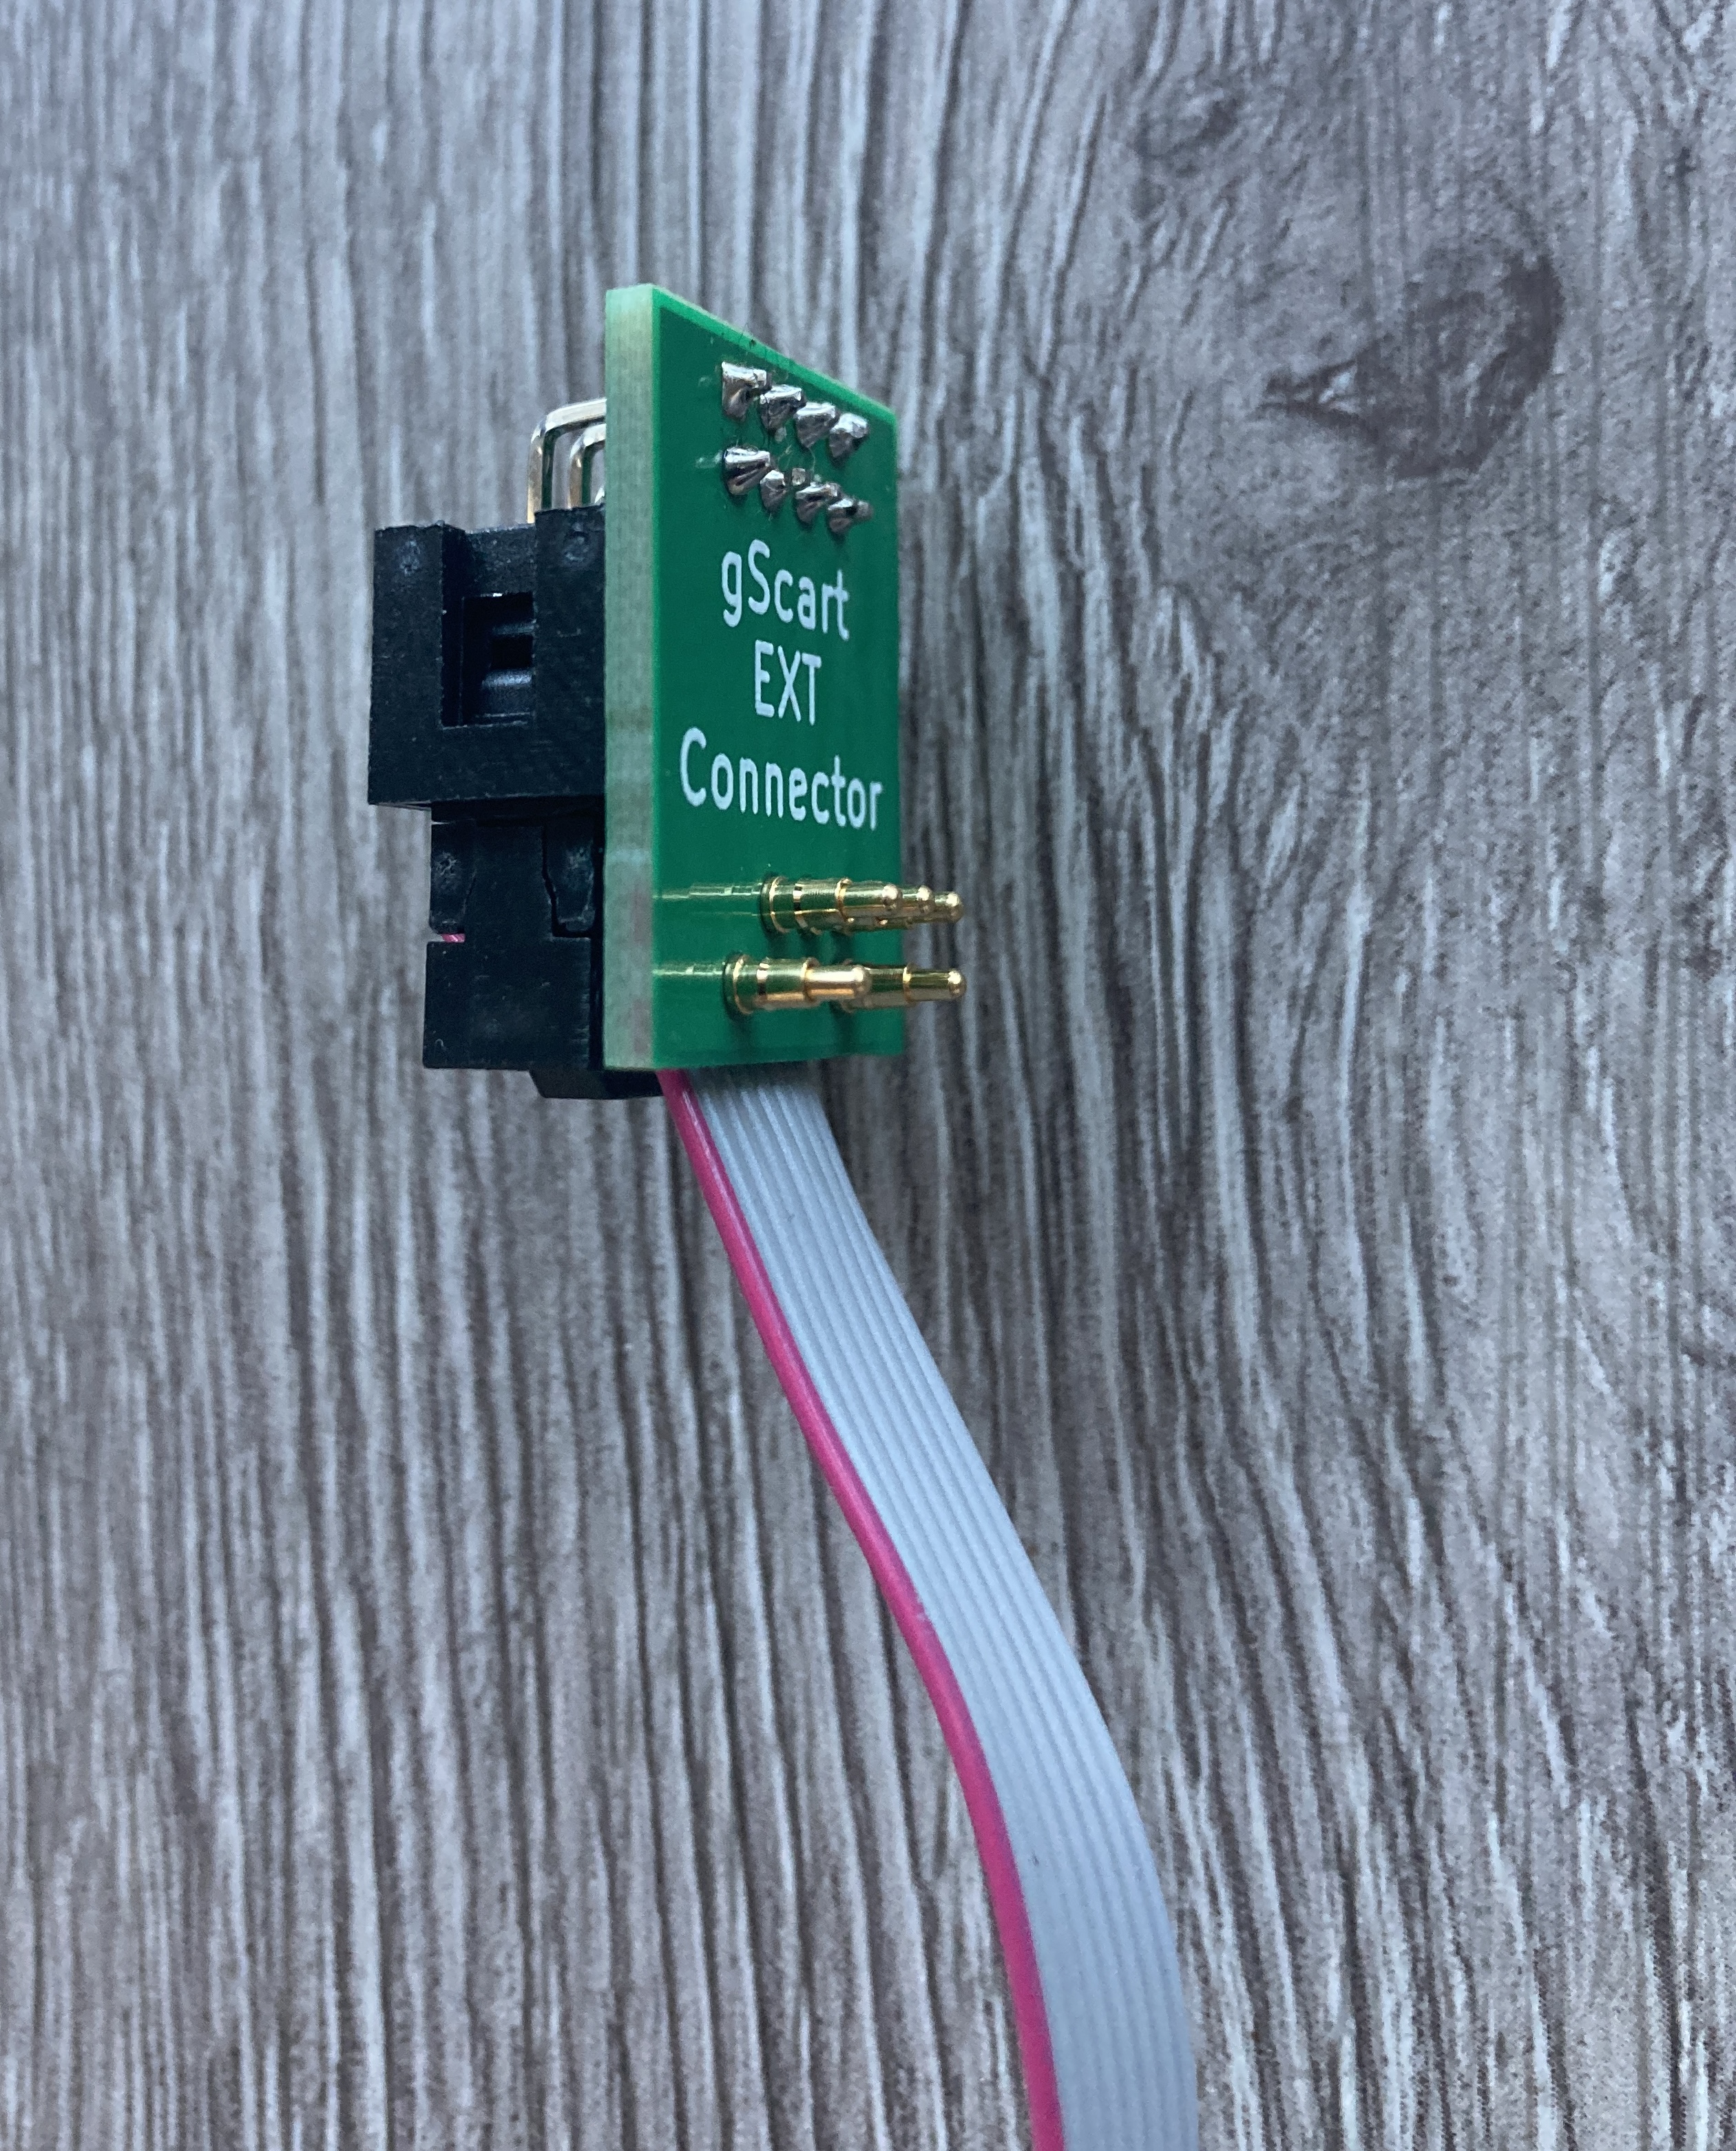
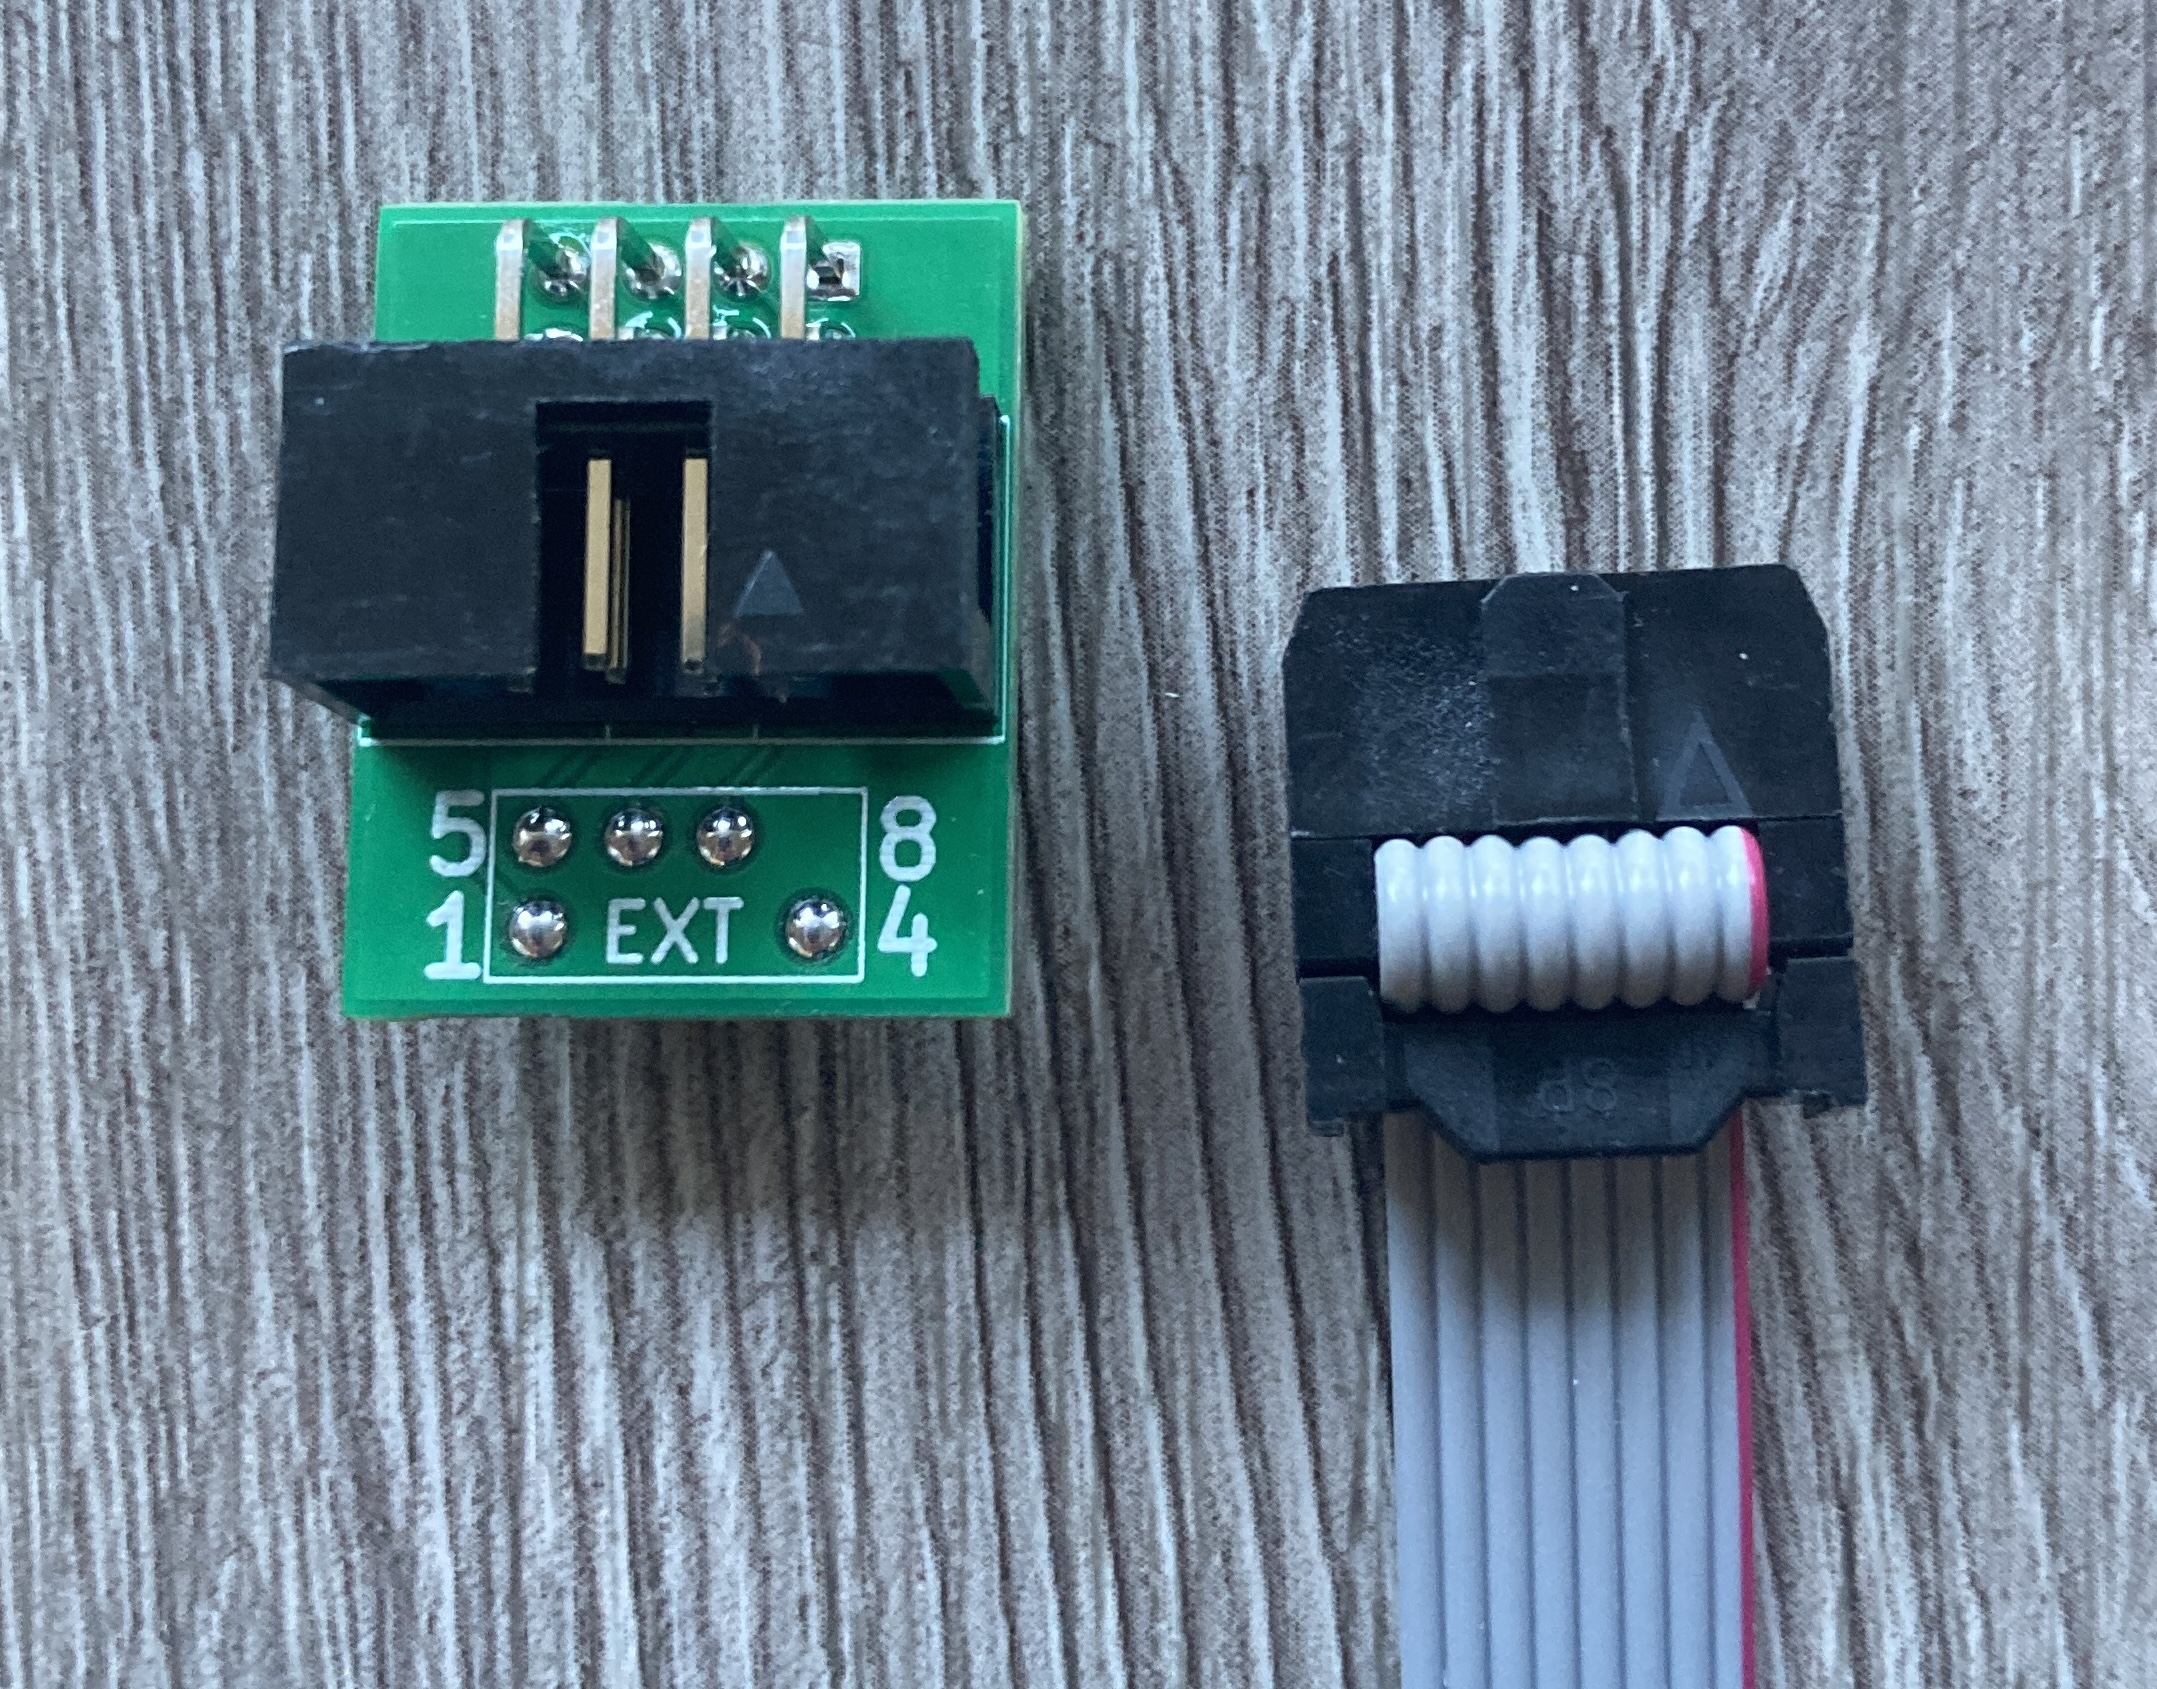
gScart EXT pushpin adapter
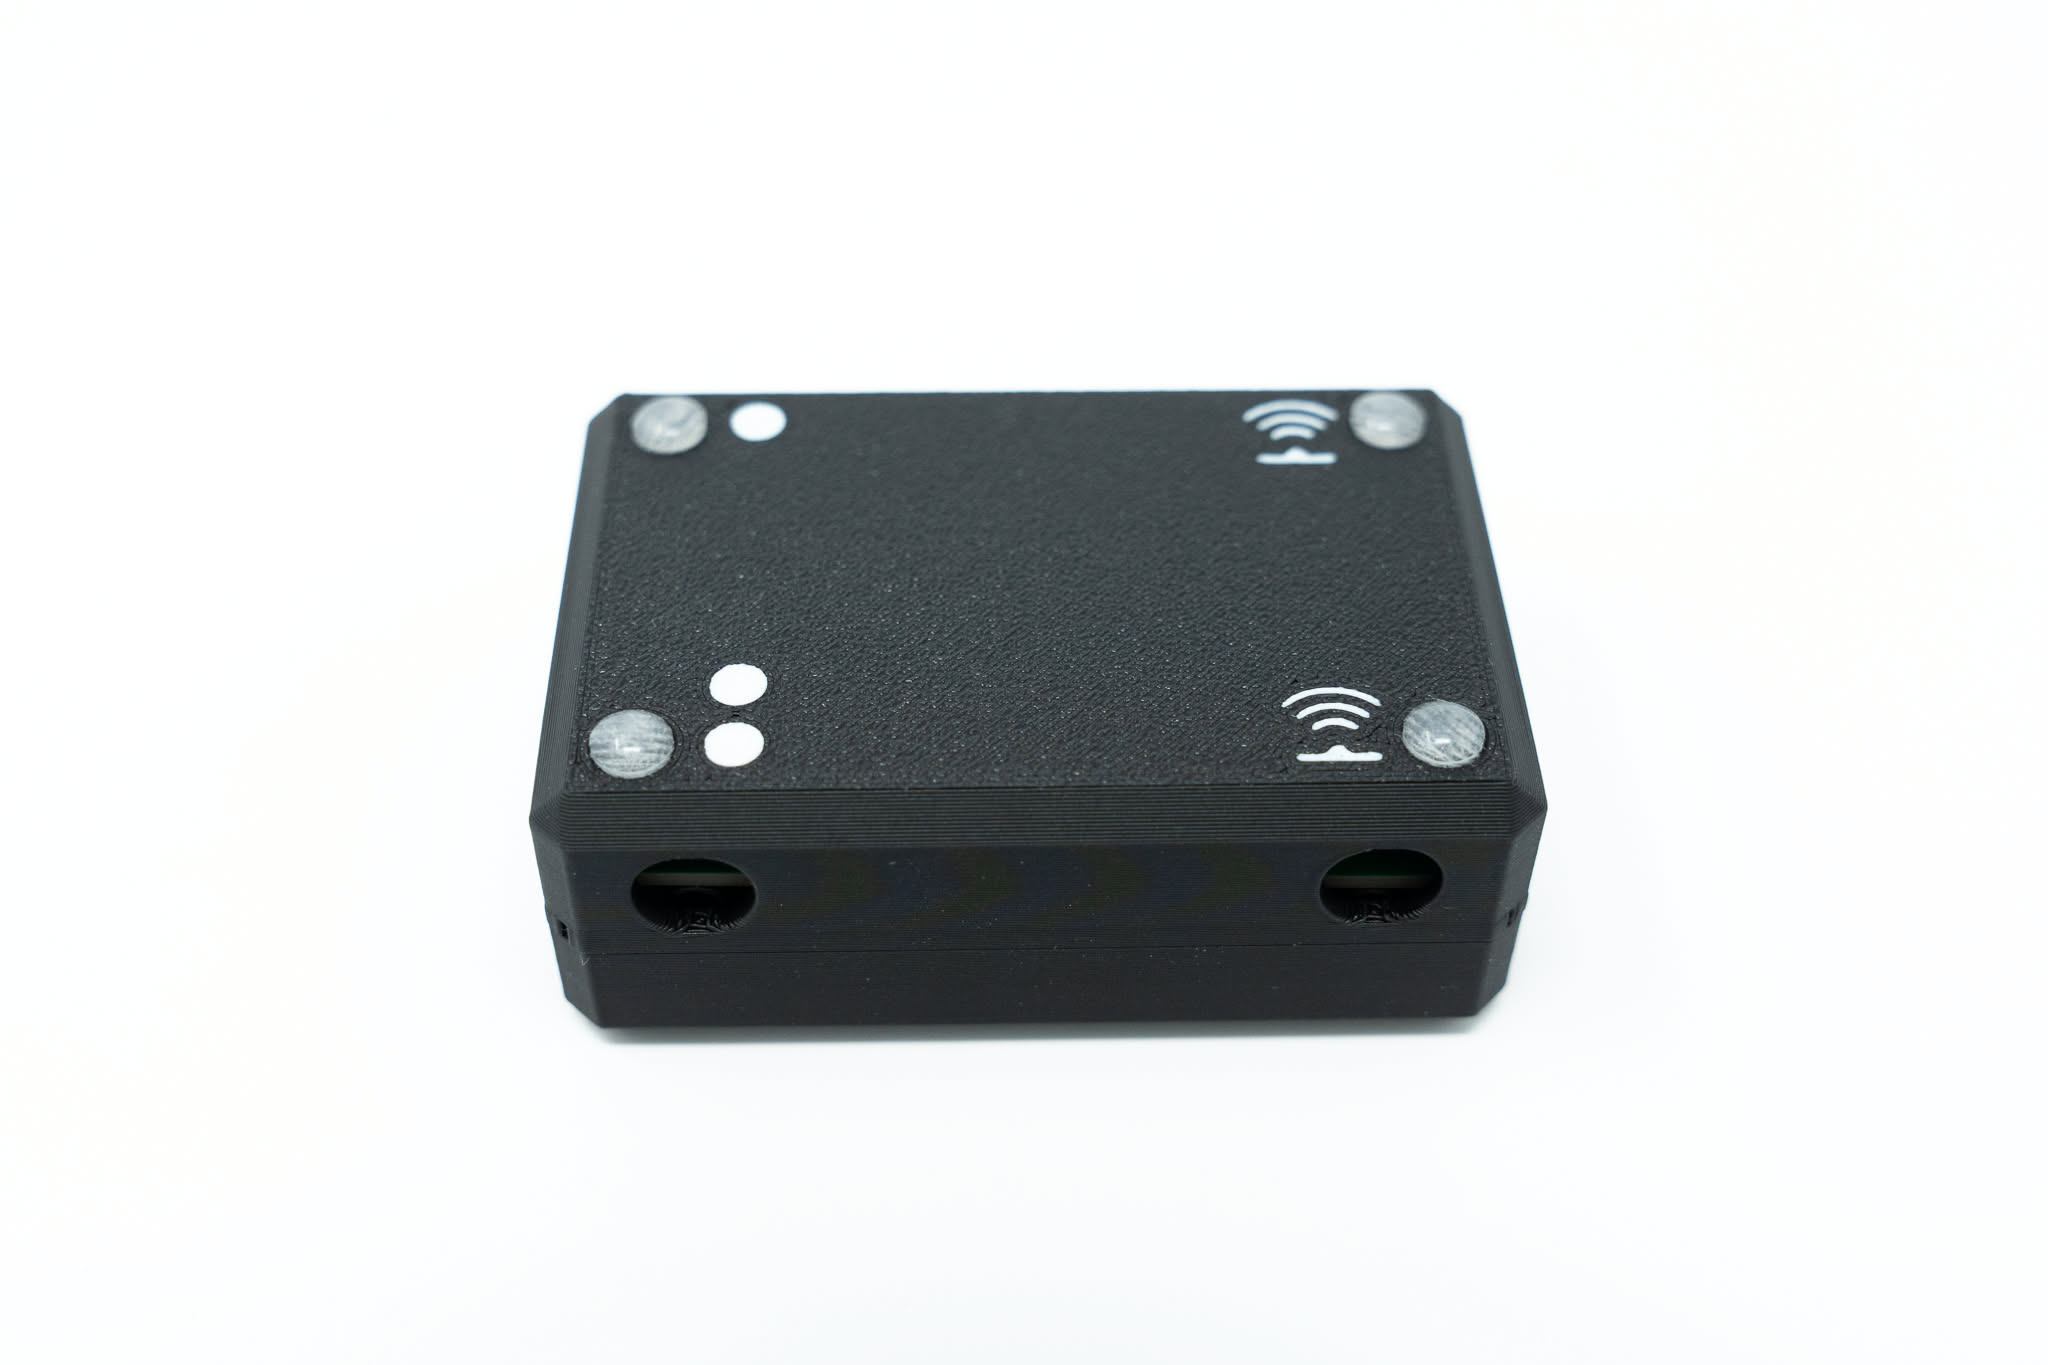
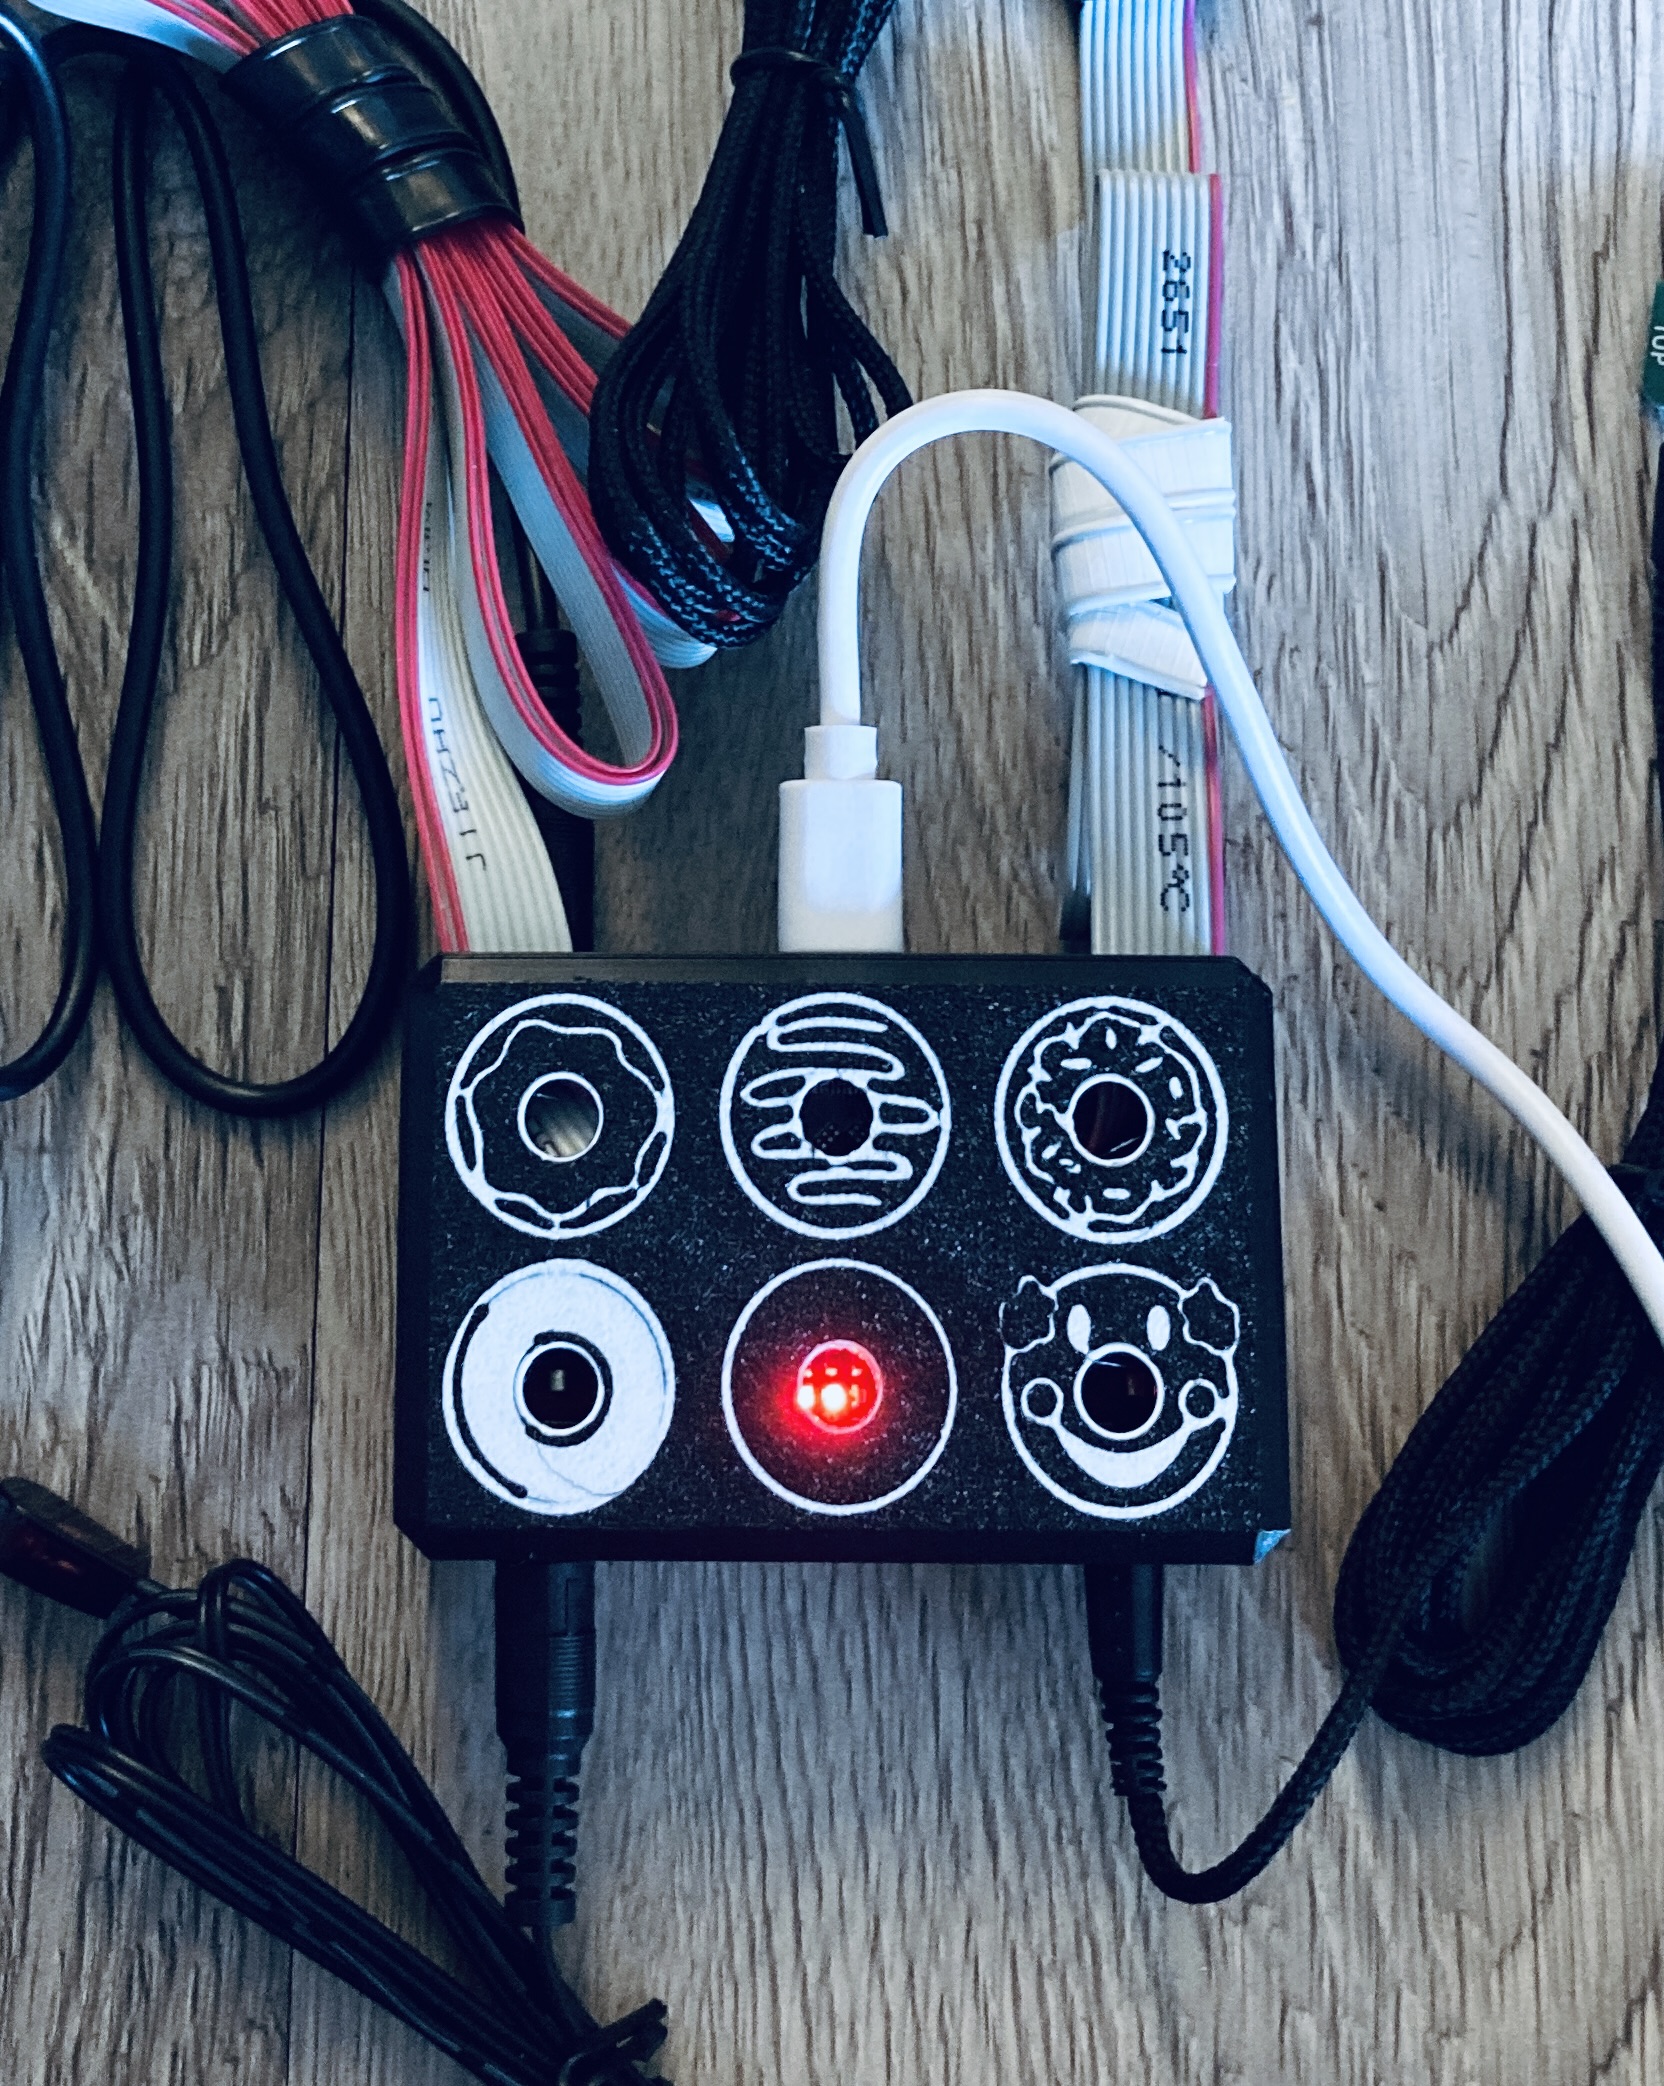
Case closed
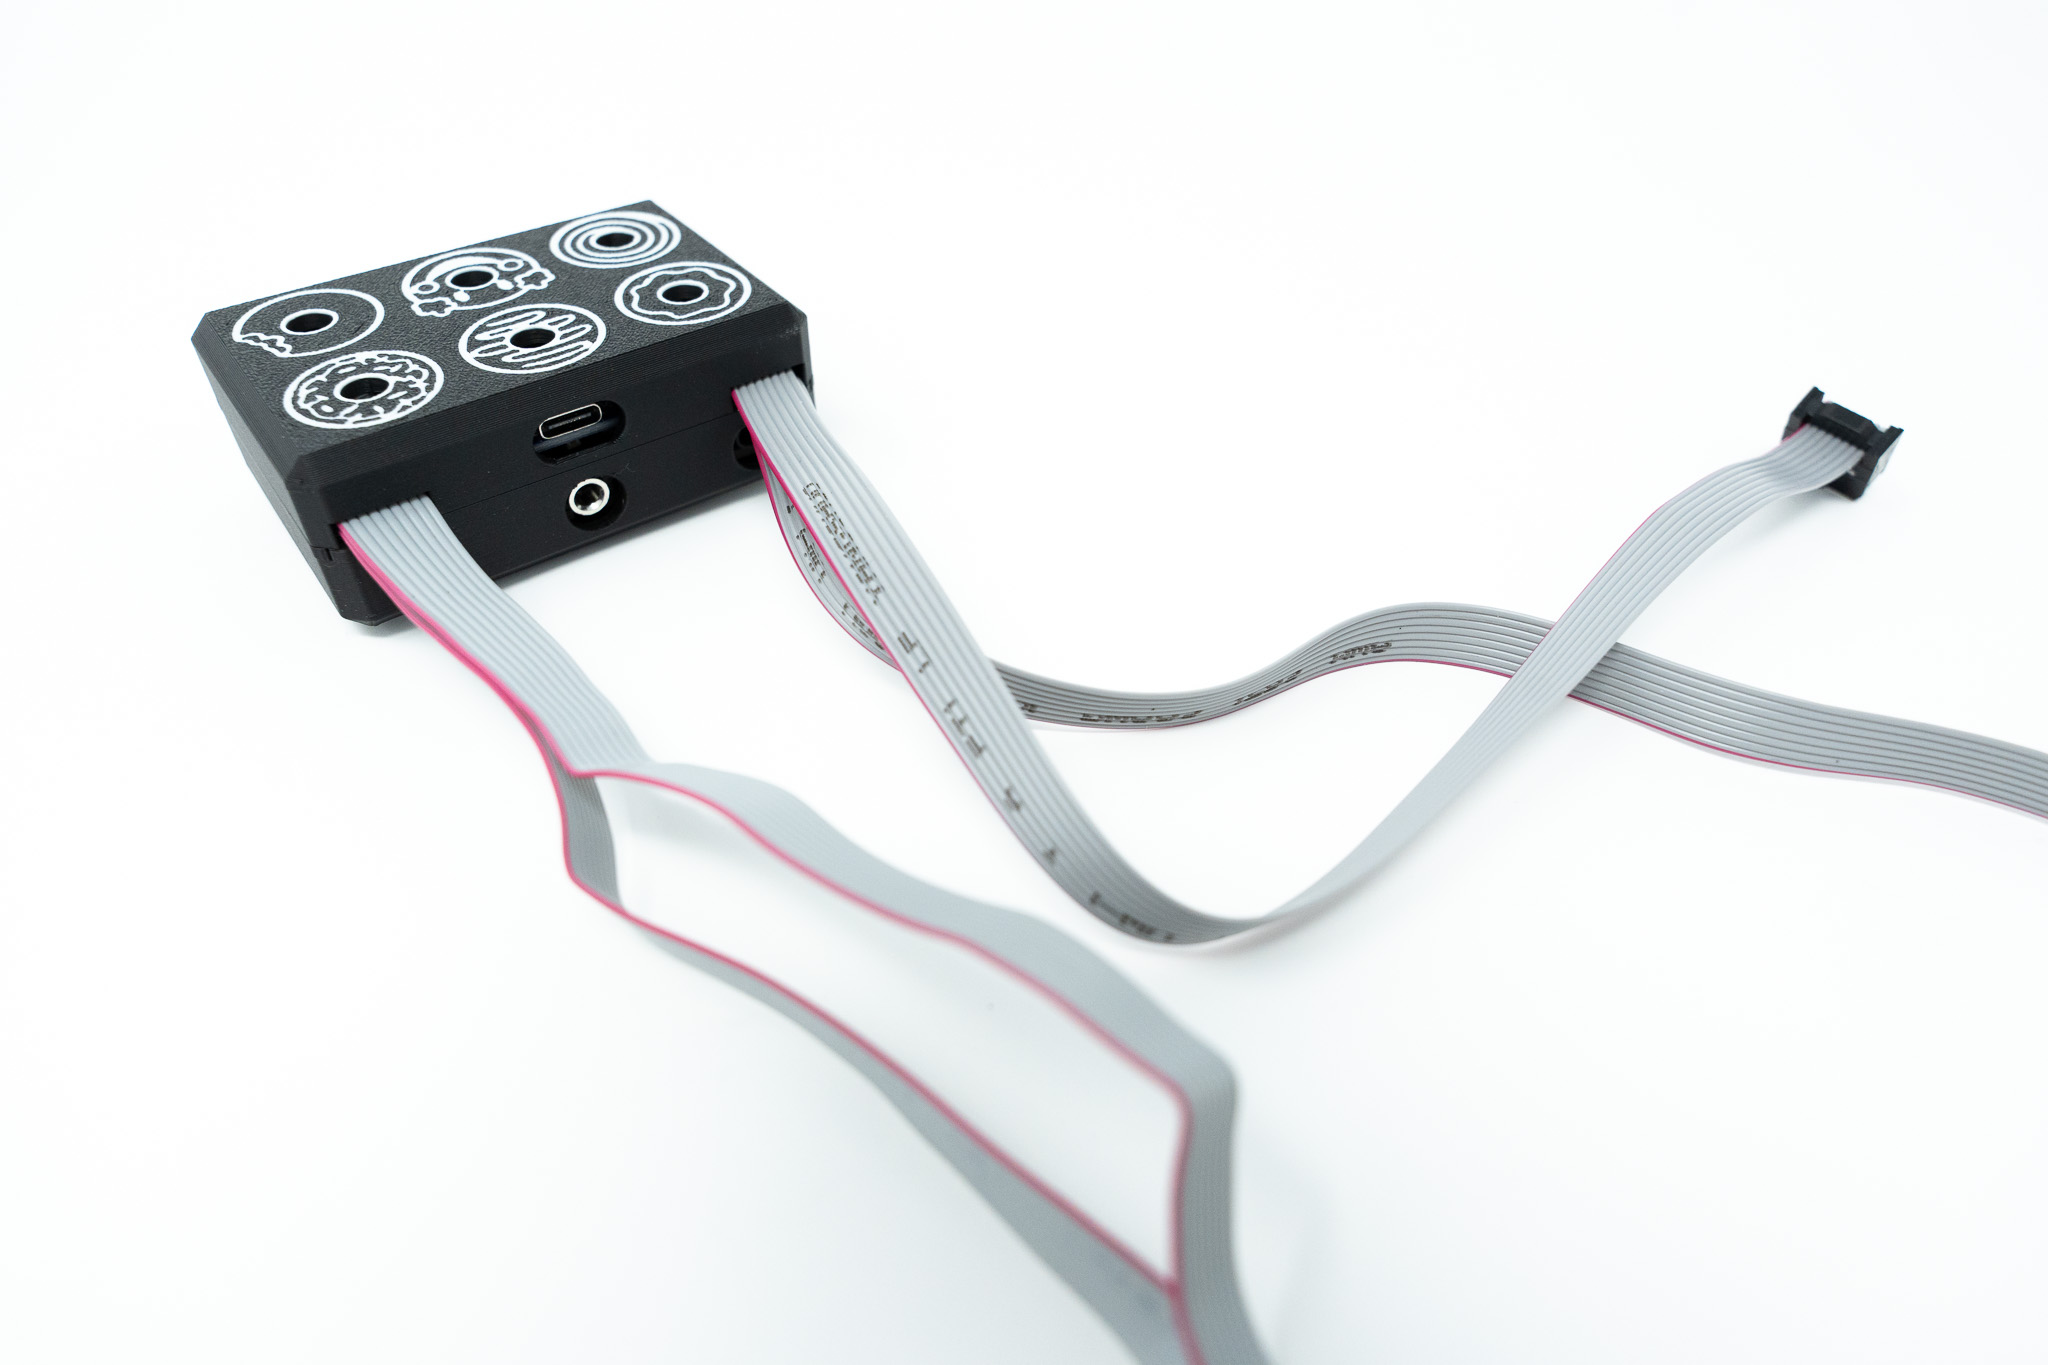
ribbon cables fold over and come out slots in the back of case
Connection Acccessories
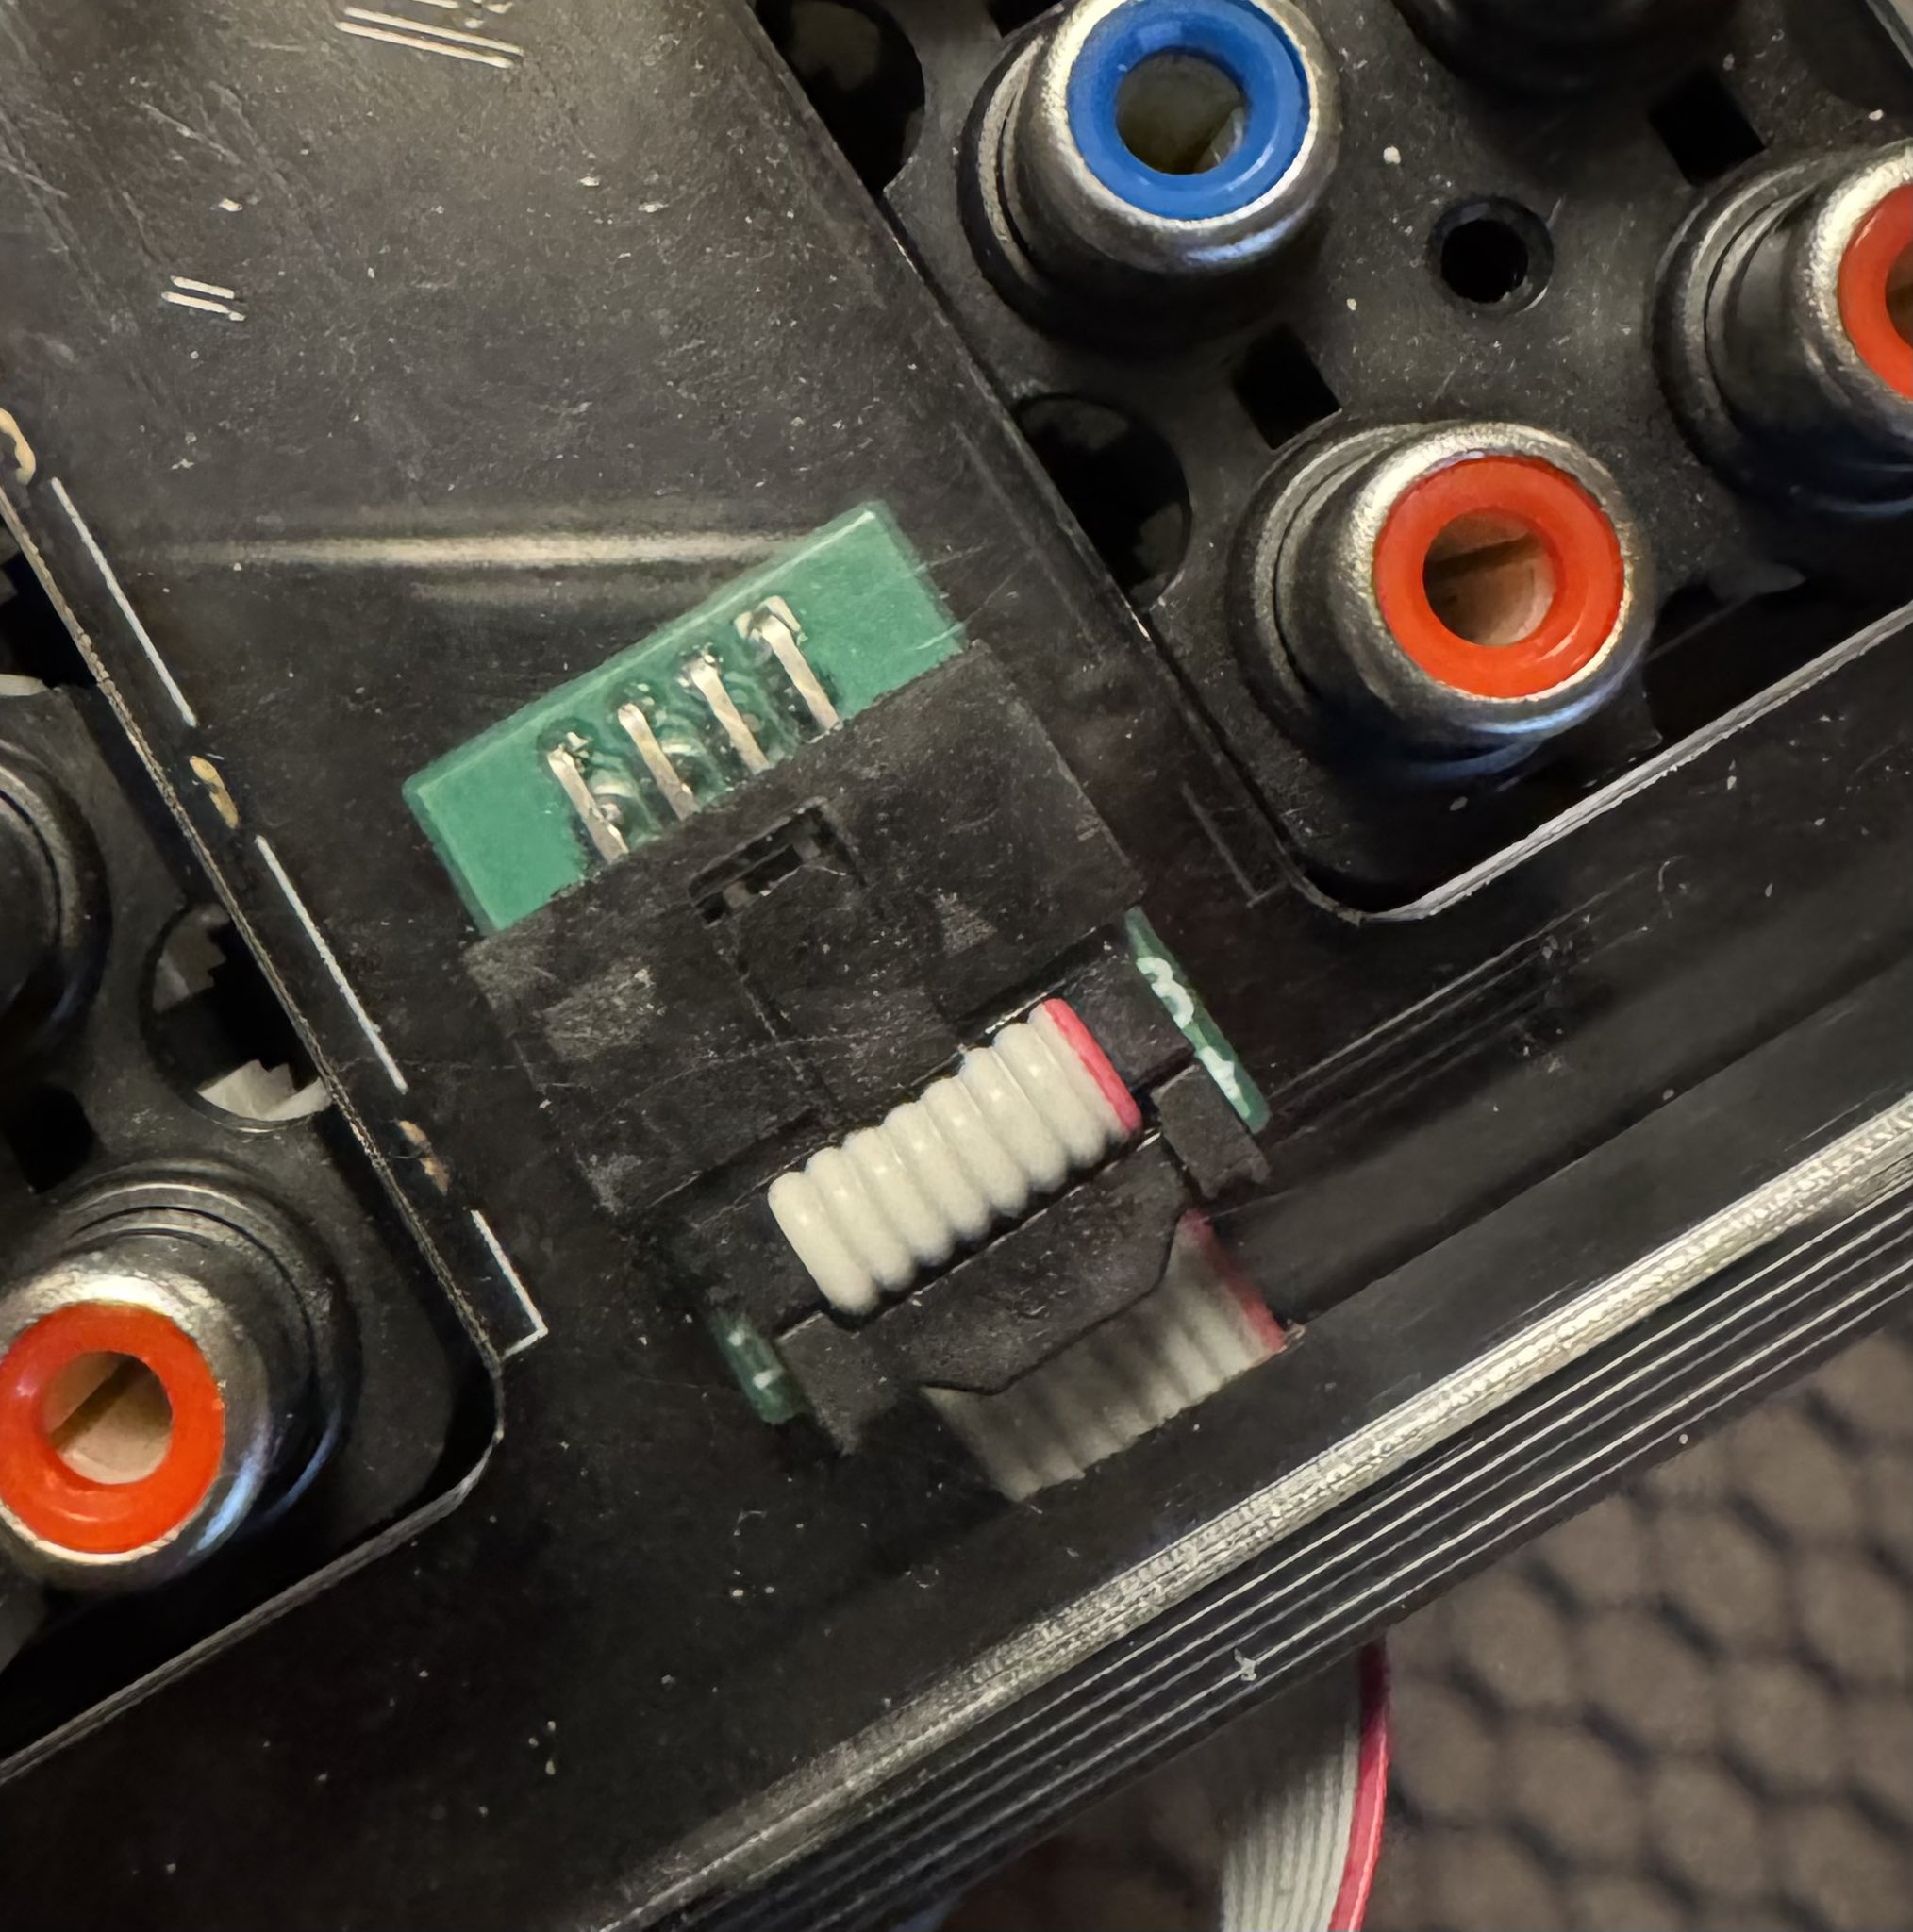
gscart/gcomp EXT connector (plug-n-play)
The spring pins allow it to stay "sandwiched" in place by the lid
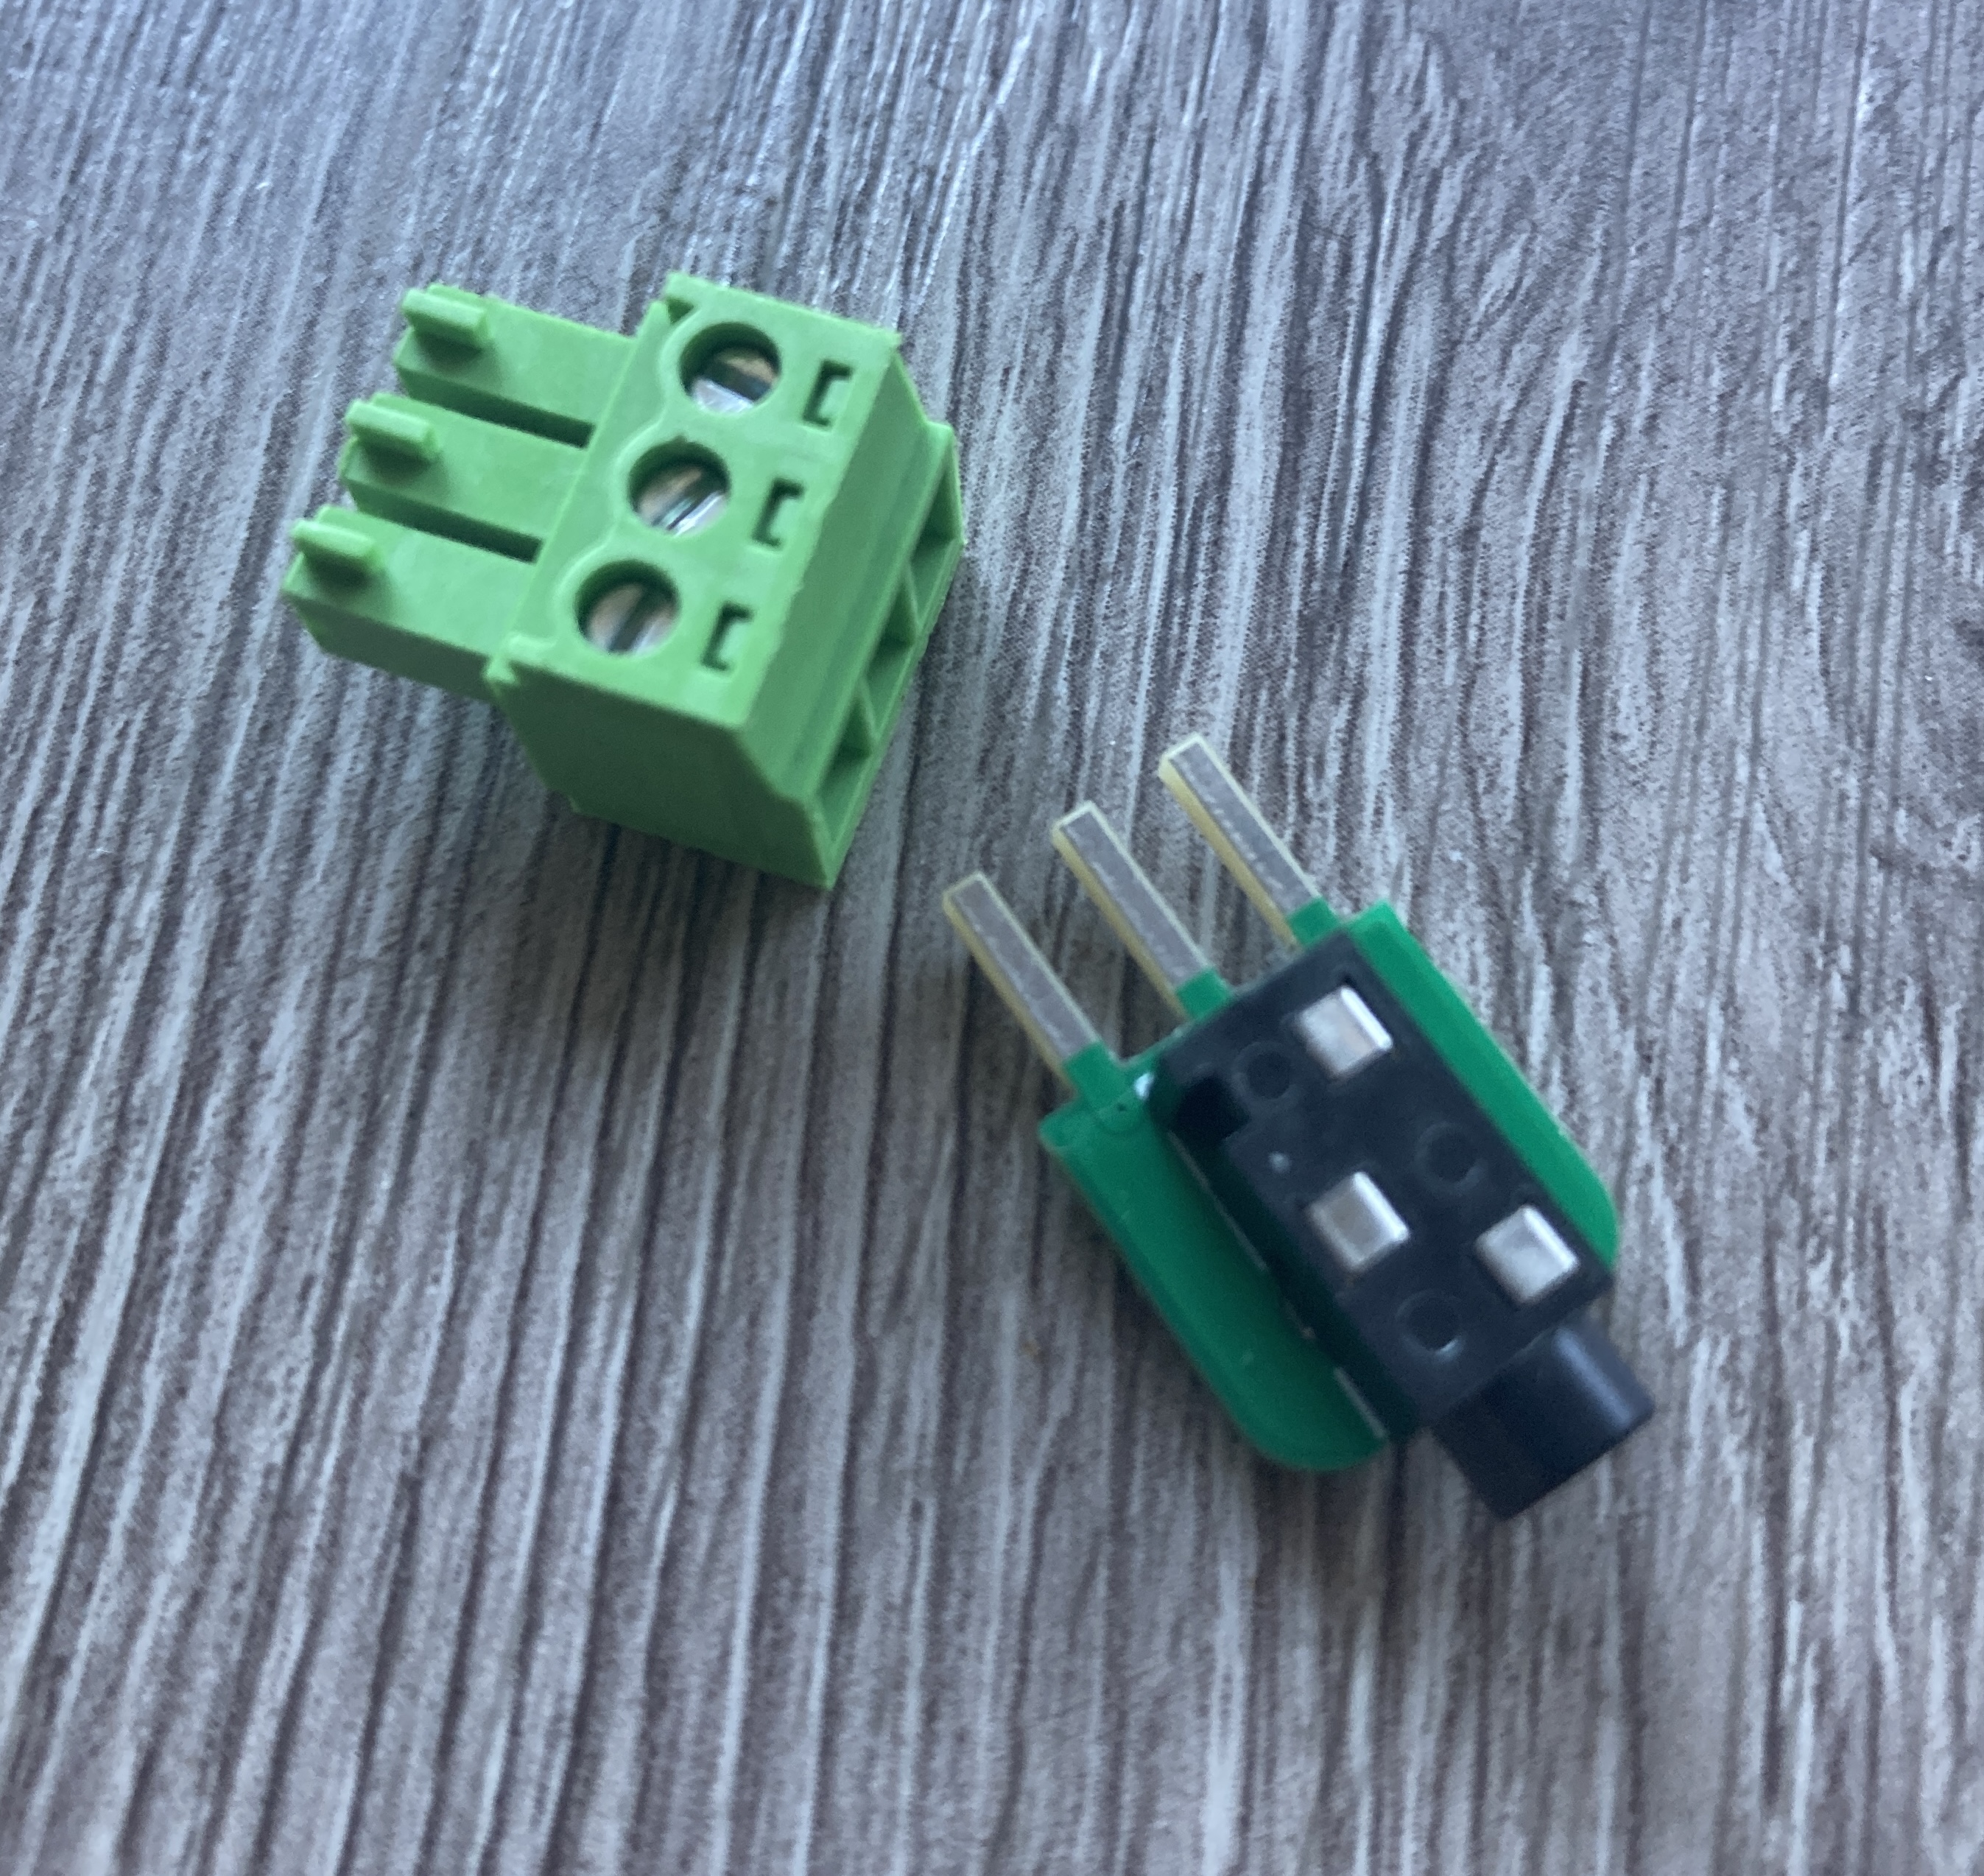
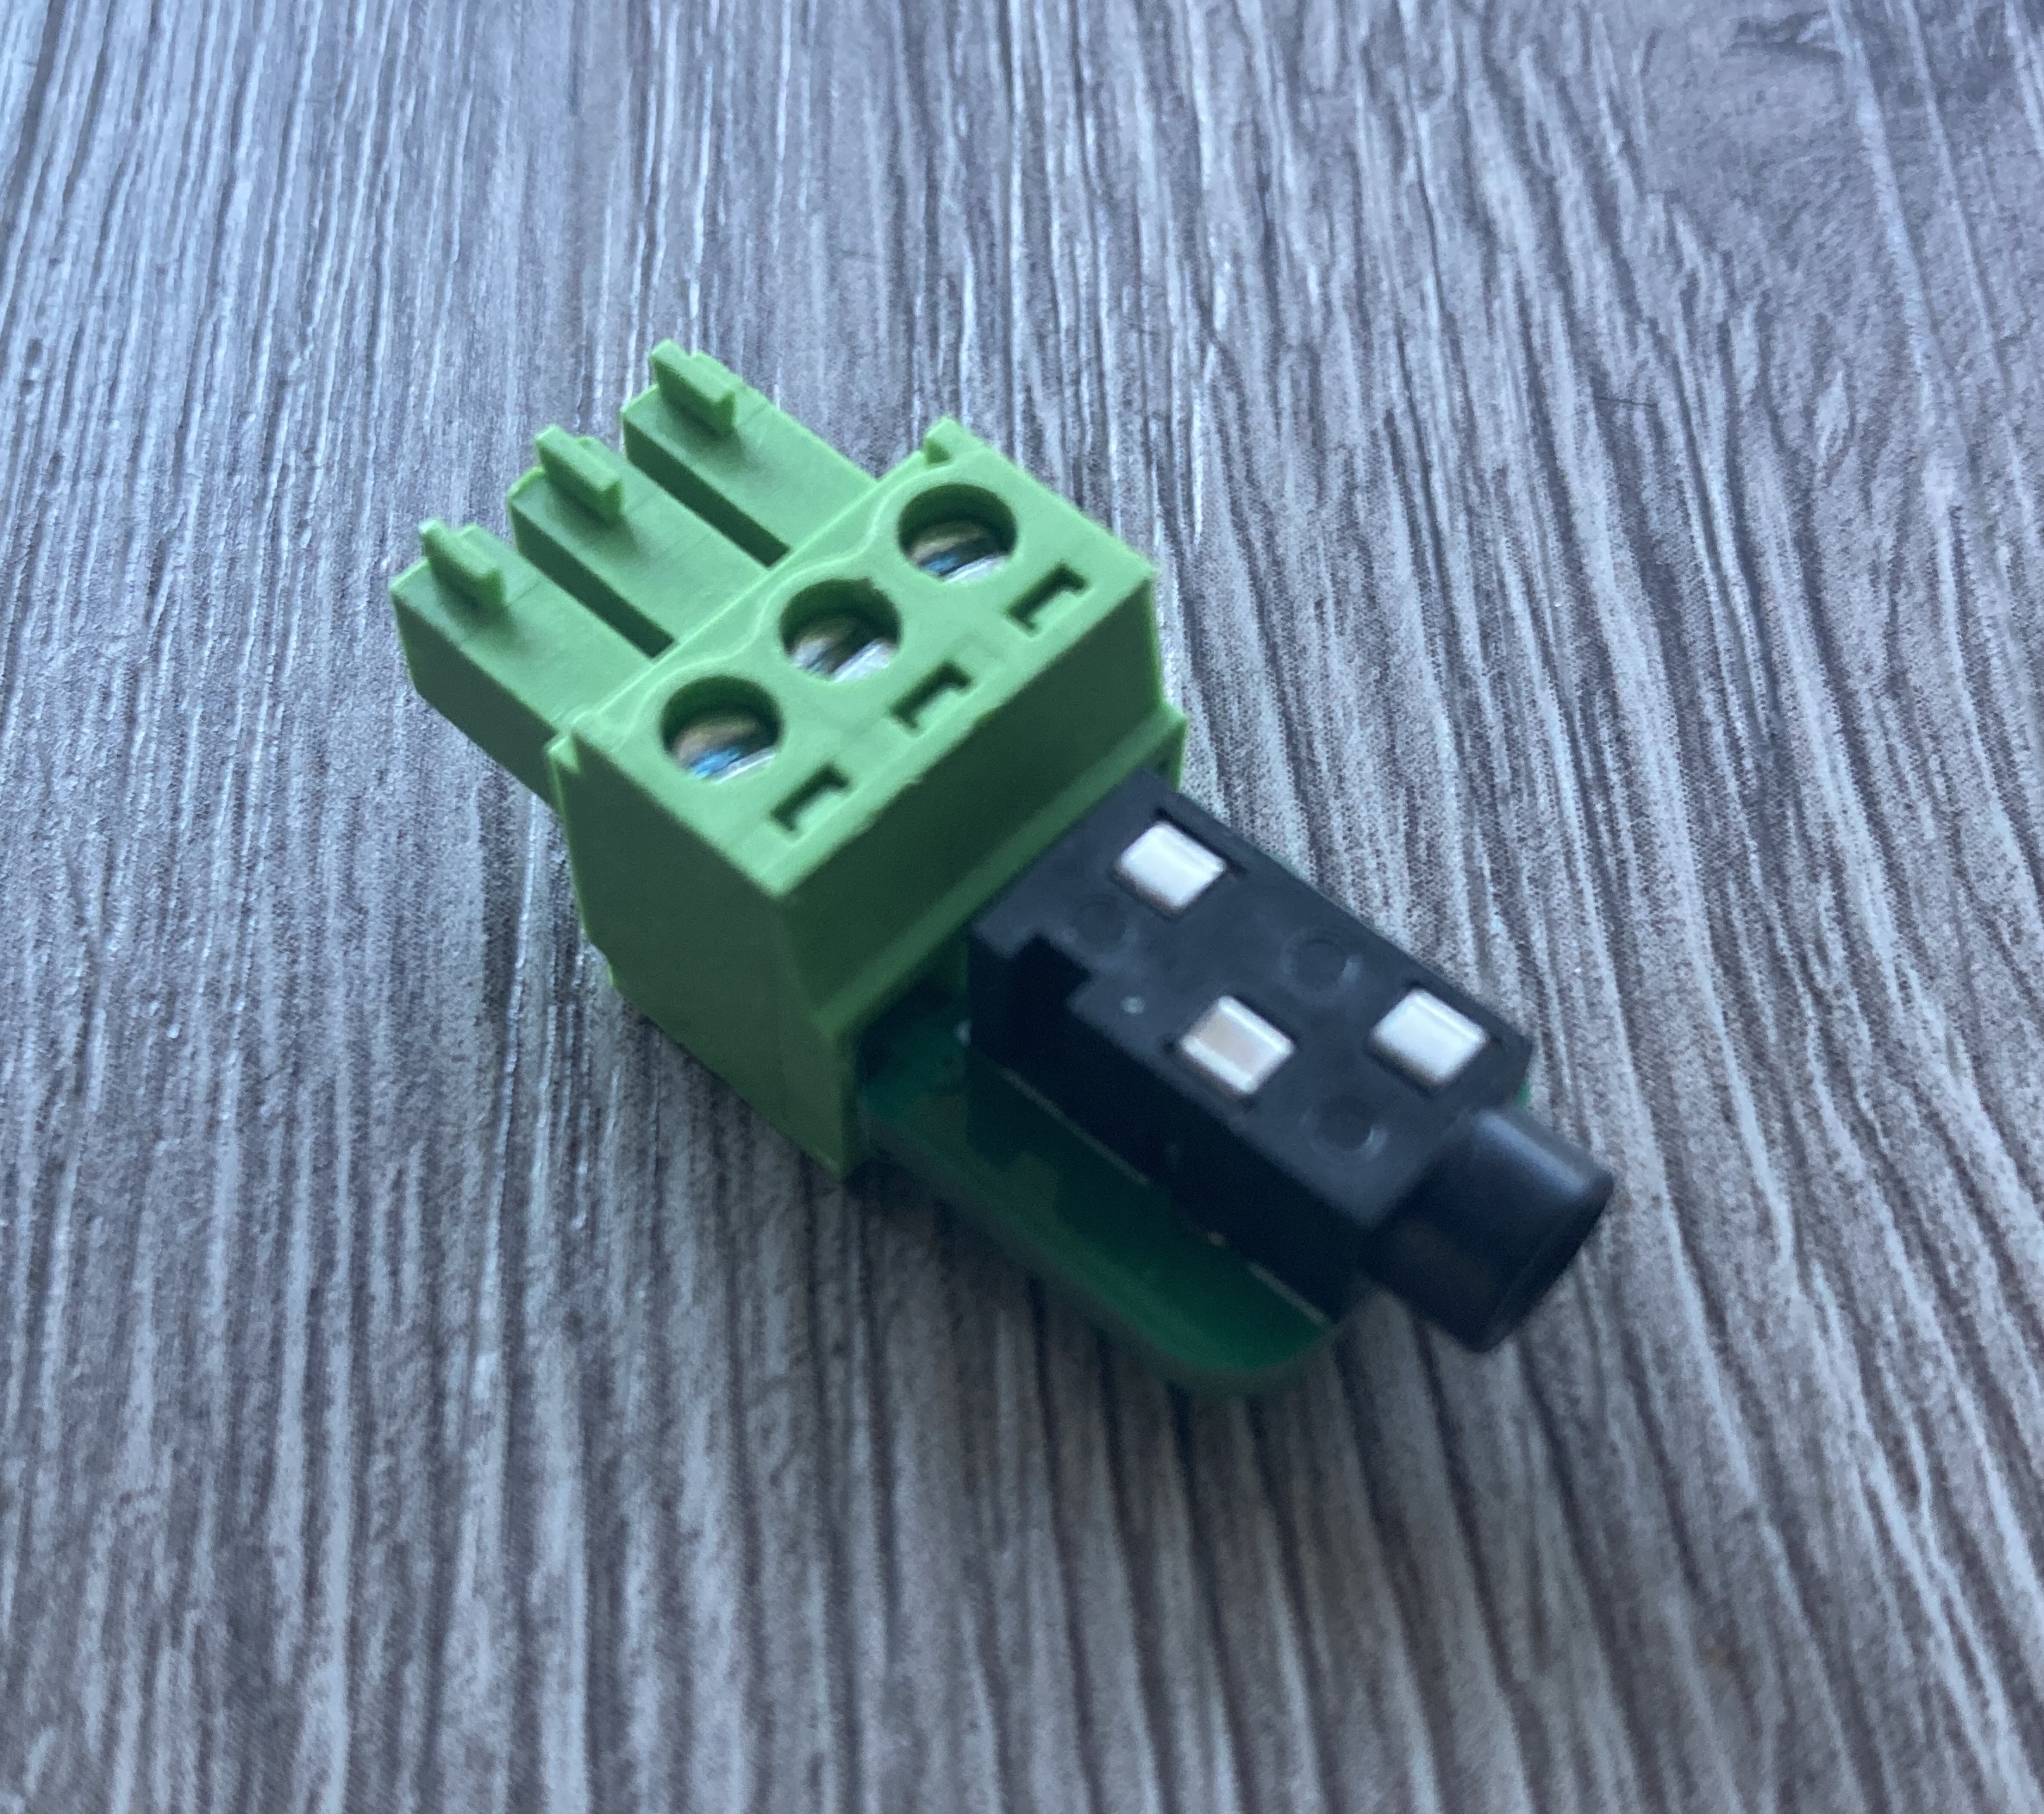
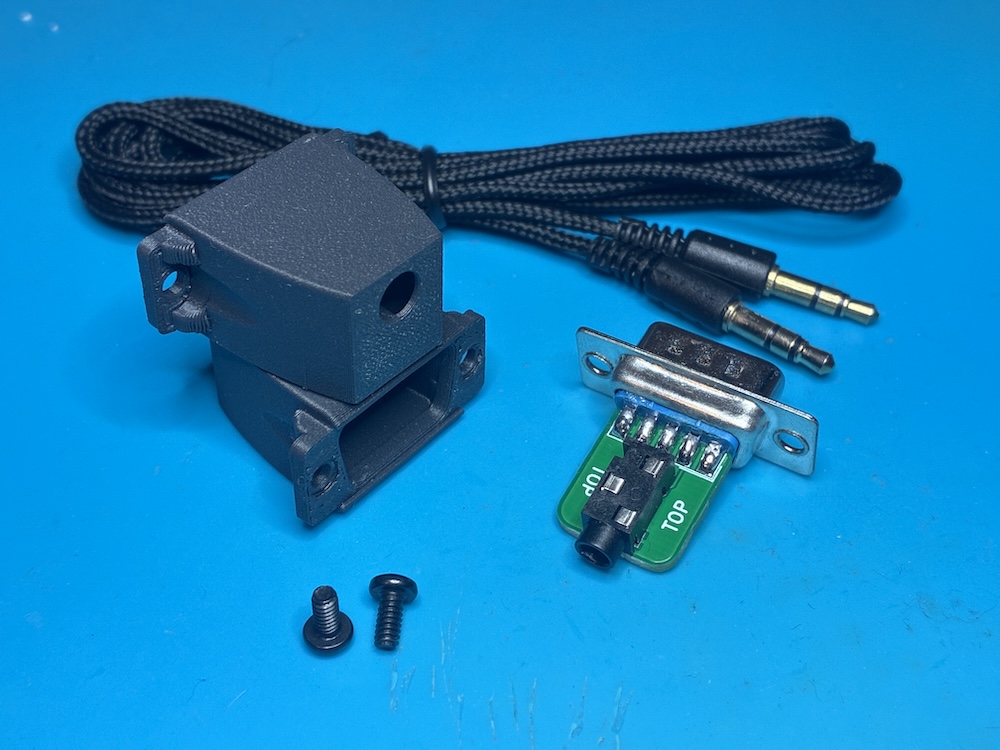
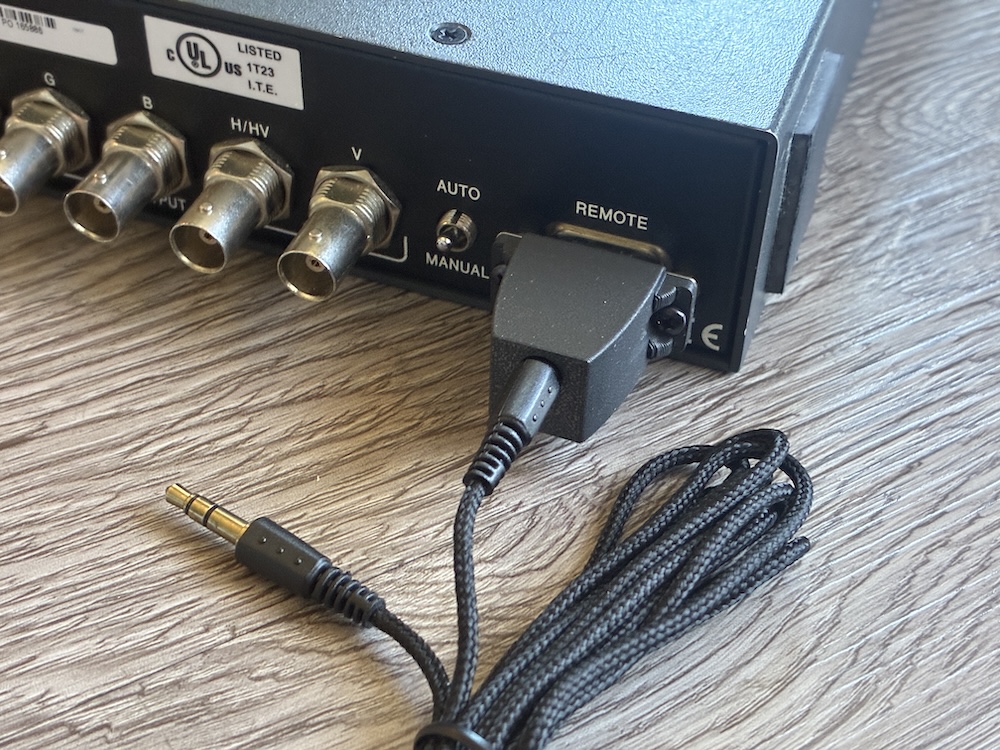
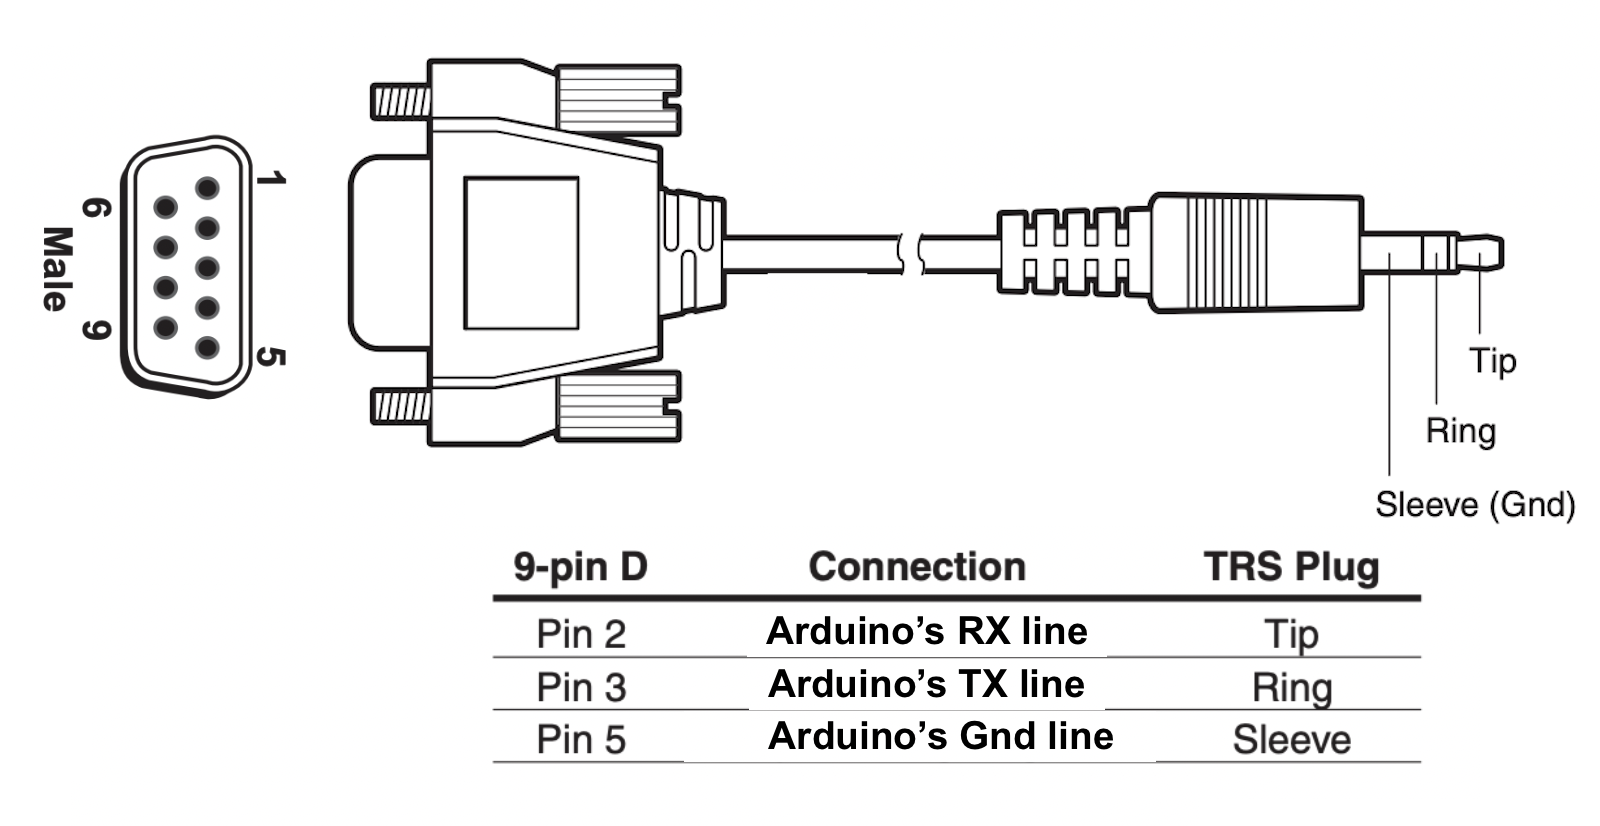
DB9 male to 3.5mm (connects to alt sw1 / alt sw2 port instead of 2x5 header)
Higher quality and much longer cord than the standard 2x5 cable
New IR Remote Control functionality
When using the optional IR Receiver, the IR reception of the RT4K can be been greatly enhanced. You can think of it as an IR repeater, but instead talks to the RT4K via Serial for solid communication. Since the Donut Dongle is in the middle, other remote features can be added such as:
Alternate SVS Profiles: Have you ever wanted to add CRT effects to all of your existing SVS profiles? Or wanted all your profiles to output at 1080p instead of 4K? With this feature you can create a set of SVS profiles that have these changes and activate the system with the remote. Pressing the "SAFE" button twice + 1 - 9 buttons will allow you to configure 9 different sets of these profiles per regular profile to load instead of the regular one you created. For example: Instead of SVS profile S1_SNES.rt4 loading, S1001_SNES.rt4 will load instead after activating with the "SAFE"x2 + 1 button. Here are some more examples so you can see the pattern used for creating these:
"SAFE"x2 + x button = Sx001_SNES-CRT.rt4, where x is the number button selected and 001 is the S1_ profile represented in 3 digits.
"SAFE"x2 + 2 button = S2001_SNES-1080p.rt4
"SAFE"x2 + 3 button = S3001_SNES-Zoomed.rt4
"SAFE"x2 + 4 button = S4001_SNES.rt4
"SAFE"x2 + 5 button = S5001_SNES.rt4
"SAFE"x2 + 6 button = S6001_SNES.rt4
"SAFE"x2 + 7 button = S7001_SNES.rt4
"SAFE"x2 + 8 button = S8001_SNES.rt4
"SAFE"x2 + 9 button = S9001_SNES.rt4
The name following the "_" can be changed as well. So a name like S1001_SNES-CRT.rt4 can be used to better describe. Only the naming pattern before the "_" is important.
When SVS profile S2 normally would load, Sx002 would load instead where x = the number button chosen prior and 002 represents the S2 profile. S2100_NES.rt4 for example would be the 2nd Alternate profile for S100_NES.rt4. It's up to you to create these alternate sets of profiles on your SD card of course. To disable this feature and return to your normally configured profiles, press "SAFE"x2 + 10, 11, or 12 buttons on the remote.
SAFE button once + profile button 1 - 12 loads SVS profiles of your choosing. By default is SVS 1 - 12. Configured with auxprof[] in the Settings section of the .ino
Normally, if you power on your console before waking the RT4K, the RT4K will have not seen the profile change. Using the remote's POWER button, in this configuration, will wake the RT4K "and" resend the profile after it's finished waking.
AUX8 button + Power button power cycles your TV via IR Emitter. (only LG OLED CX atm, more can be added upon request)
AUX8 pressed twice, manually enter a SVS profile to load with the profile buttons using 1 - 9 and 10,11,12 buttons for 0. Must use 3 digits. Ex: 001 = 1, 010 = 10, etc
AUX8 pressed 3x will perform the standard AUX8 action
MT-ViKI 8 Port HDMI switch's inputs can be changed. Must configure "MTVir" in the options section of the .ino
AUX7 + button 1 - 8 for inputs 1 - 8 on "alt sw1" port (SVS profiles 1 - 8)
AUX8 + button 1 - 8 for inputs 1 - 8 on "alt sw2" port (SVS profiles 101 - 108)
TESmart 16x1 HDMI switch's inputs can changed. Must set "TESmartir" in the options section.
AUX7 + button 1 - 12, aux1, aux2, aux3, aux4 for inputs 1 - 16 on "alt sw1" port (SVS profiles 1 - 16)
AUX8 + button 1 - 12, aux1,aux2,aux3,aux4 for inputs 1 - 16 on "alt sw2" port (SVS profiles 101 - 116)
gScart / gComp Control (must set gctl = 1 in Options, Only supported on vers 5.x switches)
AUX6 button + profile button 9 - 12 button to return to auto switching
RT5x and OSSC may require a repeat of the button combos
Let me know what ideas you have, and perhaps I can add them in.
Note: To stop the RT4K from responding twice (once from the built-in IR sensor and once from the Donut Dongle), place the included "ir_remote.txt" on the root of the SDcard. This remaps the builtin IR for every button except POWER to the RT5x remote. This way you can still use the POWER button to power on the RT4K but will stop it from responding from all other button presses.
There are plenty of options for PCB manufacturing but I prefer JLCPCB (No affiliation). Using the gerber (.zip) files provided, it's easy to place an order. Below are some tips/guidelines:
1.0mm PCB Thickness for gscart_ext_connector.zip
1.6mm for all others
For Surface Finish, "HASL(with lead)" is fine
4 Layer PCBs are the same cost as 2 Layer for the VGA Adapters. Because of that, the inner 2 layers are being used as ground planes for better EMI protection. Thanks to https://x.com/zaxour for the idea!
"Remove Mark" option is now free on JLCPCB. Use it!
...unless SDA/SDL trace is cut on VGA Adapter, but that disables the SVS's profile sending.
SVS runs at 9600 baud which conflicts with 2M regardless.
Extra Tx/Rx wire length of VGA cable can also cause issues. Workaround - You can cut SDA/SDL traces on the bottom of the VGA adapter to continue passing video but disables "VGA cable Serial" passthrough. (How the SVS sends profile changes)
I recommend the Official Arduino IDE and guide if you're unfamiliar with Arduinos. All .ino files used for programming are listed above. The following Libraries will also need to be added in order to Compile successfully.
Libraries:
<IRremote.hpp> "IRremote" available through the built-in Library Manager under "Tools" -> "Manage Libraries..."
<AltSoftSerial.h> Follow these steps to add AltSoftSerial.h
1 - Click the green "<> Code" button above and "Download ZIP".
2 - Extract the .zip file and open up the "Donut_Dongle.ino" file in the Arduino IDE. It will ask if you would like to move this file inside a folder, select OK.
3 - With the source code now open, select "Tools" -> "Board" -> "Arduino AVR Boards" -> "Arduino Nano"
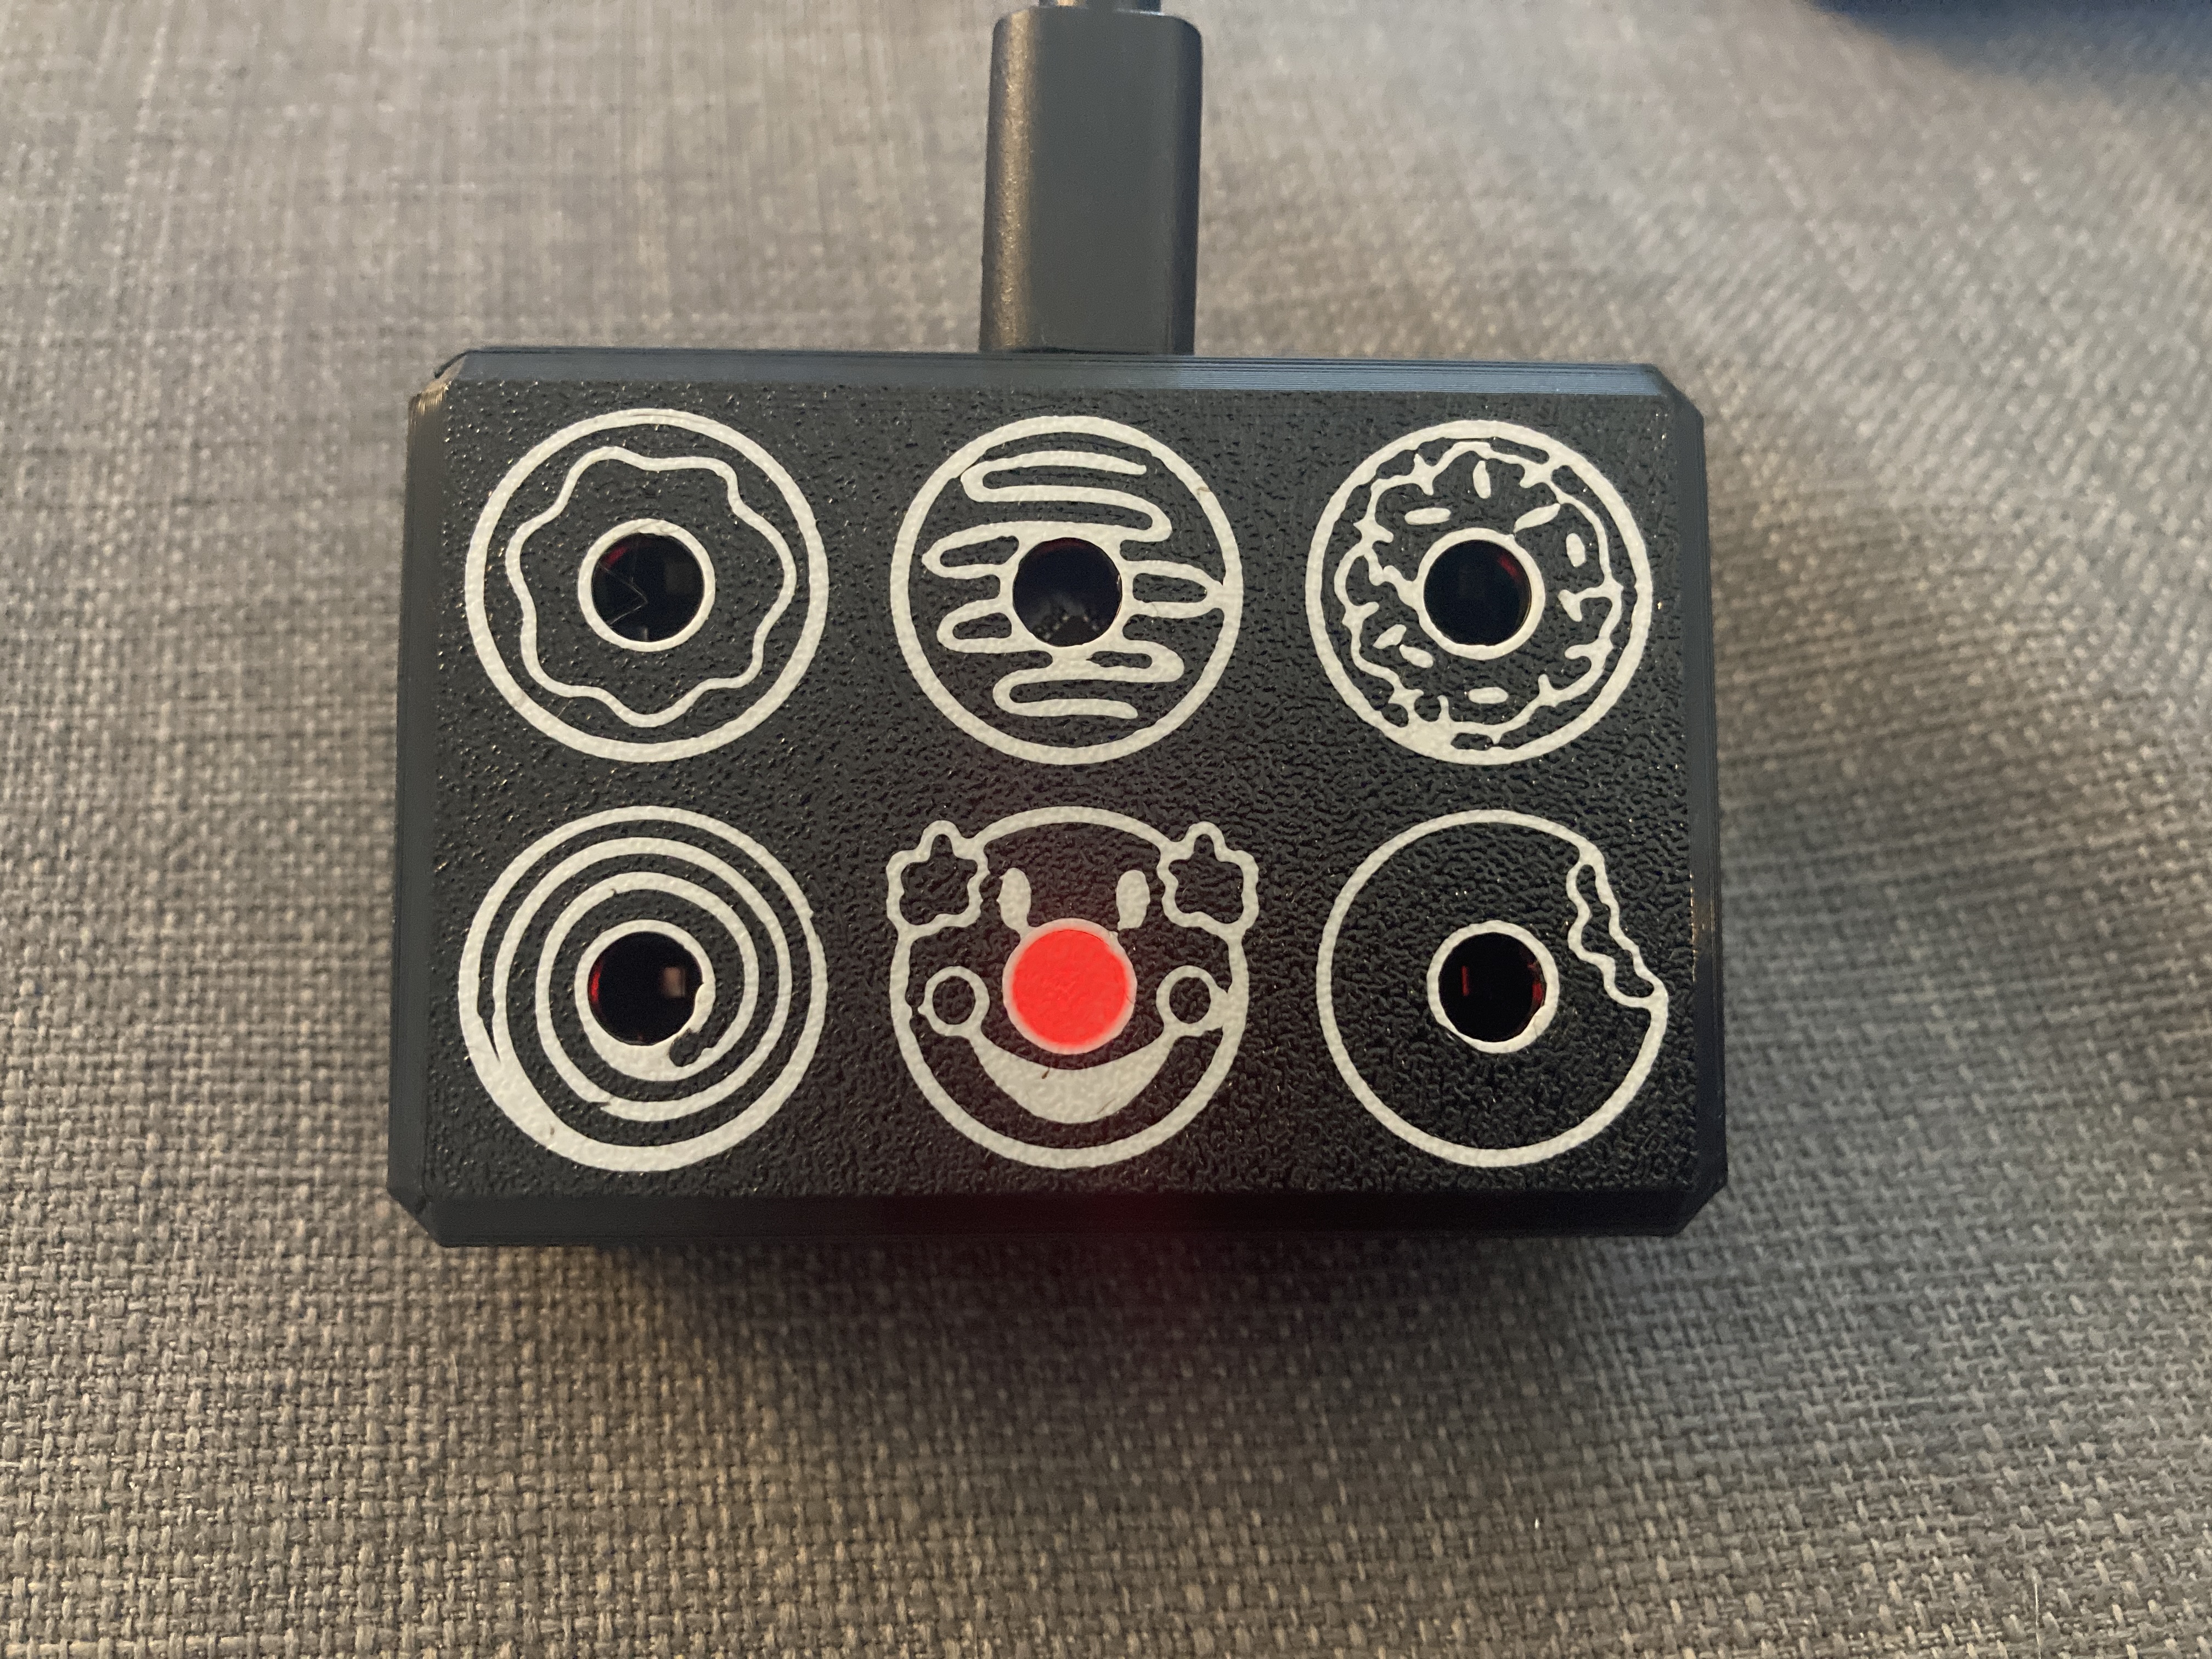
4 - Connect the Donut Dongle device to your PC or Mac using the usb-c cable. You should see an LED light up when connected.
5 - With the Donut Dongle now connected, select it's "port" by going to "Tools" -> "Port", and select the port that starts with "/dev/cu.usbserial-" (on Mac) or "COM" if on PC.
6 - From the menu at the top, select "Sketch" -> "Verify/Compile". If everything is setup properly, you should see a message in the bottom corner saying "Done compiling".
7 - Now select "Sketch" -> "Upload". You should see the LEDs on the Donut Dongle flicker and a message that says "Done uploading." if successful.
If you get errors, see the section below about changing the "Bootloader" type.
8 - Disconnect the usb-c cable from your computer and give it a whirl! You can repeat these steps in the future to make any other changes or update if a newer firmware is ever released.
9 - It's also best practice when unplugging/reconnecting cables to the Donut Dongle, that you do so with the power disconnected.
How to Use
Make sure "Auto Load SVS" is "On" under the RT4K Profiles menu.
The RT4K checks the /profile/SVS subfolder for profiles and need to be named: S<input number>_<user defined>.rt4 For example, SVS input 2 would look for a profile that is named S2_SNES.rt4. If there’s more than one profile that fits the pattern, the first match is used.
Check the RT4K Diagnostic Console for Serial commands being received as confirmation.
Troubleshooting
When (un)plugging aux cables from "alt sw1" or "alt sw2" ports make sure Donut Dongle power is disconnected. Sometimes the onboard MAX3232 chip can lock up if this is not done.
To fix lockup, power off switch and DD (Donut Dongle). Disconnect/reconnect aux cable from DD and power up switch first, then DD last.
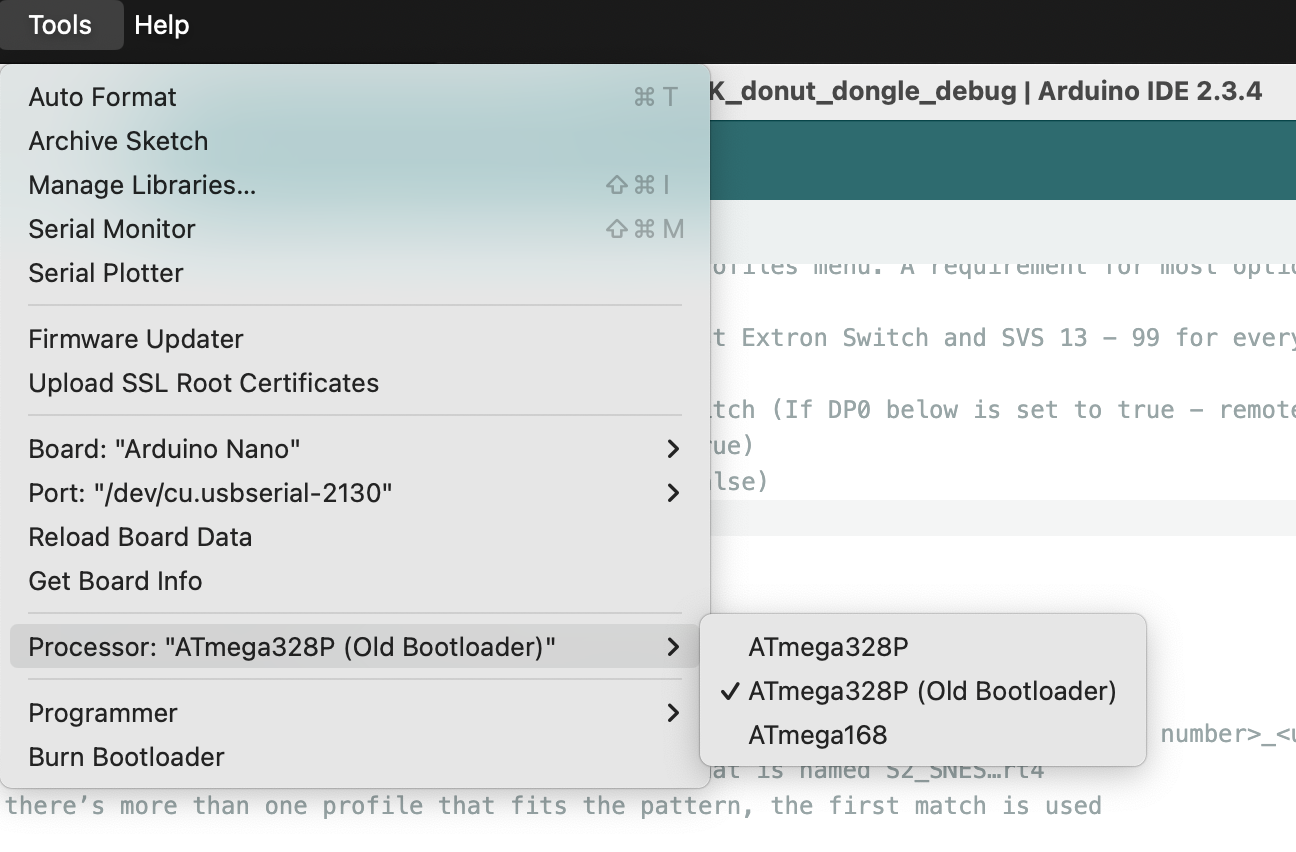
Some Arduino Nanos come with an Old Bootloader and won't Upload unless specified. If you get errors when trying to upload, swap to this option as a possible fix.
SVS Profile numbering scheme
SVS = 1 (default)
Profile #
Notes
Extron sw1 / alt sw1
1 - 99
also for TESmart, MT-ViKi, Otaku Games Scart 10 devices
Extron sw2 / alt sw2
101 - 199
also for TESmart, MT-ViKi, Otaku Games Scart 10 devices
GSCART sw1
201 - 208
GSCART sw2
209 - 216
Remote Button Profiles are not used when SVS=1
SVS = 0
Profile #
Notes
Extron sw1 / alt sw1
13 - 99
also for TESmart, MT-ViKi, Otaku Games Scart 10 devices
Extron sw2 / alt sw2
101 - 199
also for TESmart, MT-ViKi, Otaku Games Scart 10 devices
GSCART sw1
201 - 208
GSCART sw2
209 - 216
Remote Button Profiles 1-12 are used for Extron sw1 when SVS=0
SVS = 2
Profile #
Notes
Extron sw1 / alt sw1
1 - 99
also for TESmart, MT-ViKi, Otaku Games Scart 10 devices
Extron sw2 / alt sw2
101 - 199
also for TESmart, MT-ViKi, Otaku Games Scart 10 devices
GSCART sw1
N/A
GSCART sw2
213 - 216
inputs 5-8
Remote Button Profiles 1-12 are used for GSCART sw1 inputs 1-8 and GSCART sw2 inputs 1-4 when SVS=2
The following is from the .ino file itself. Refer to it directly for all Advanced Options.
text
/*
////////////////////
//    OPTIONS    //
//////////////////
*/

uint8_t const debugE1CAP = 0; // line ~495
uint8_t const debugE2CAP = 0; // line ~768
uint8_t const debugState = 0; // line ~432


uint16_t const offset = 0; // Only needed for multiple Donut Dongles (DD). Set offset so 2nd,3rd,etc boards don't overlap SVS profiles. (e.g. offset = 300;)
                      // MUST use SVS=1 on additional DDs. If using the IR receiver, recommended to have it only connected to the DD with lowest offset.


uint8_t const SVS = 1; //     "Remote" profiles are profiles that are assigned to buttons 1-12 on the RT4K remote. "SVS" profiles reside under the "/profile/SVS/" directory
                      //     on the SD card.  This option allows you to choose which ones to call when a console is powered on.  Remote profiles allow you to easily change
                      //     the profile being used for a console's switch input if your setup is in flux. SVS require you to rename the file itself on the SD card which is
                      //     a little more work.  Regardless, SVS profiles will need to be used for console switch inputs over 12.
                      //
                      // **** Make sure "Auto Load SVS" is "On" under the RT4K Profiles menu. A requirement for most options ****
                      //
                      // 0 - use "Remote" profiles 1-12 for up to 12 inputs on 1st Extron Switch and SVS 13 - 99 for everything over 12. Only SVS profiles are used on 2nd Extron Switch if connected.
                      //
A HW build of the MT32-PI project, allowing you to emulate a Roland MT-32 using a Raspberry Pi. Includes enough additional modules to build a MIDI-mountain as well as adapters for connecting to most things retro.
It measures 42.2 × 68.1 mm and has 2 copper layers, 1.6 mm thick.
What parts does the RT4K donut dongle use?
49 parts, built around the MAX3232ID, SN74LVC2G07DBVR and PJ-307. The full list of its parts is on this page, with links to each part's symbol and footprint where PCBKit's library has them.
Where can I download the RT4K donut dongle KiCad files?
From the svirant/DonutDongle repository on GitHub, at the commit this page was made from: the board is src/RT4K_donut_dongle.kicad_pcb and its schematic src/RT4K_donut_dongle.kicad_sch. PCBKit opens the board in the browser, with nothing to install.
Can I use the RT4K donut dongle design in my own project?
Its repository publishes it under the GPL-3.0 licence: you may reuse it on that licence's terms (keep the author's notice, and for a copyleft licence share your changes alike).


 svirant/DonutDongle17