
4 layers99 × 53.3 mm
PSLab
fossasia/pslab-hardware
PSLab Hardware Design and Schematics https://pslab.io
199 parts1.7kApache-2.0

 Syndric/maimai-controller-fullsize60
A guide to build your own Maimai DX machine.
Rabbit mai rgb is an open-source printed circuit board by Syndric, from the Syndric/maimai-controller-fullsize repository on GitHub. It is a 2-layer board of 60 × 10 mm with 6 parts on 5 nets, routed with 14 tracks and 2 vias.
It is built around the WS2812B. Its parts include 2 capacitors, 2 diodes and 2 connectors. It belongs with the lEDs and displays boards of this library.
A fullsize homemade maimai machine.
Current guide can be found at this google doc.
This guide is not finished yet, but most of the files you need to make the machine are here. READ CAREFULLY!
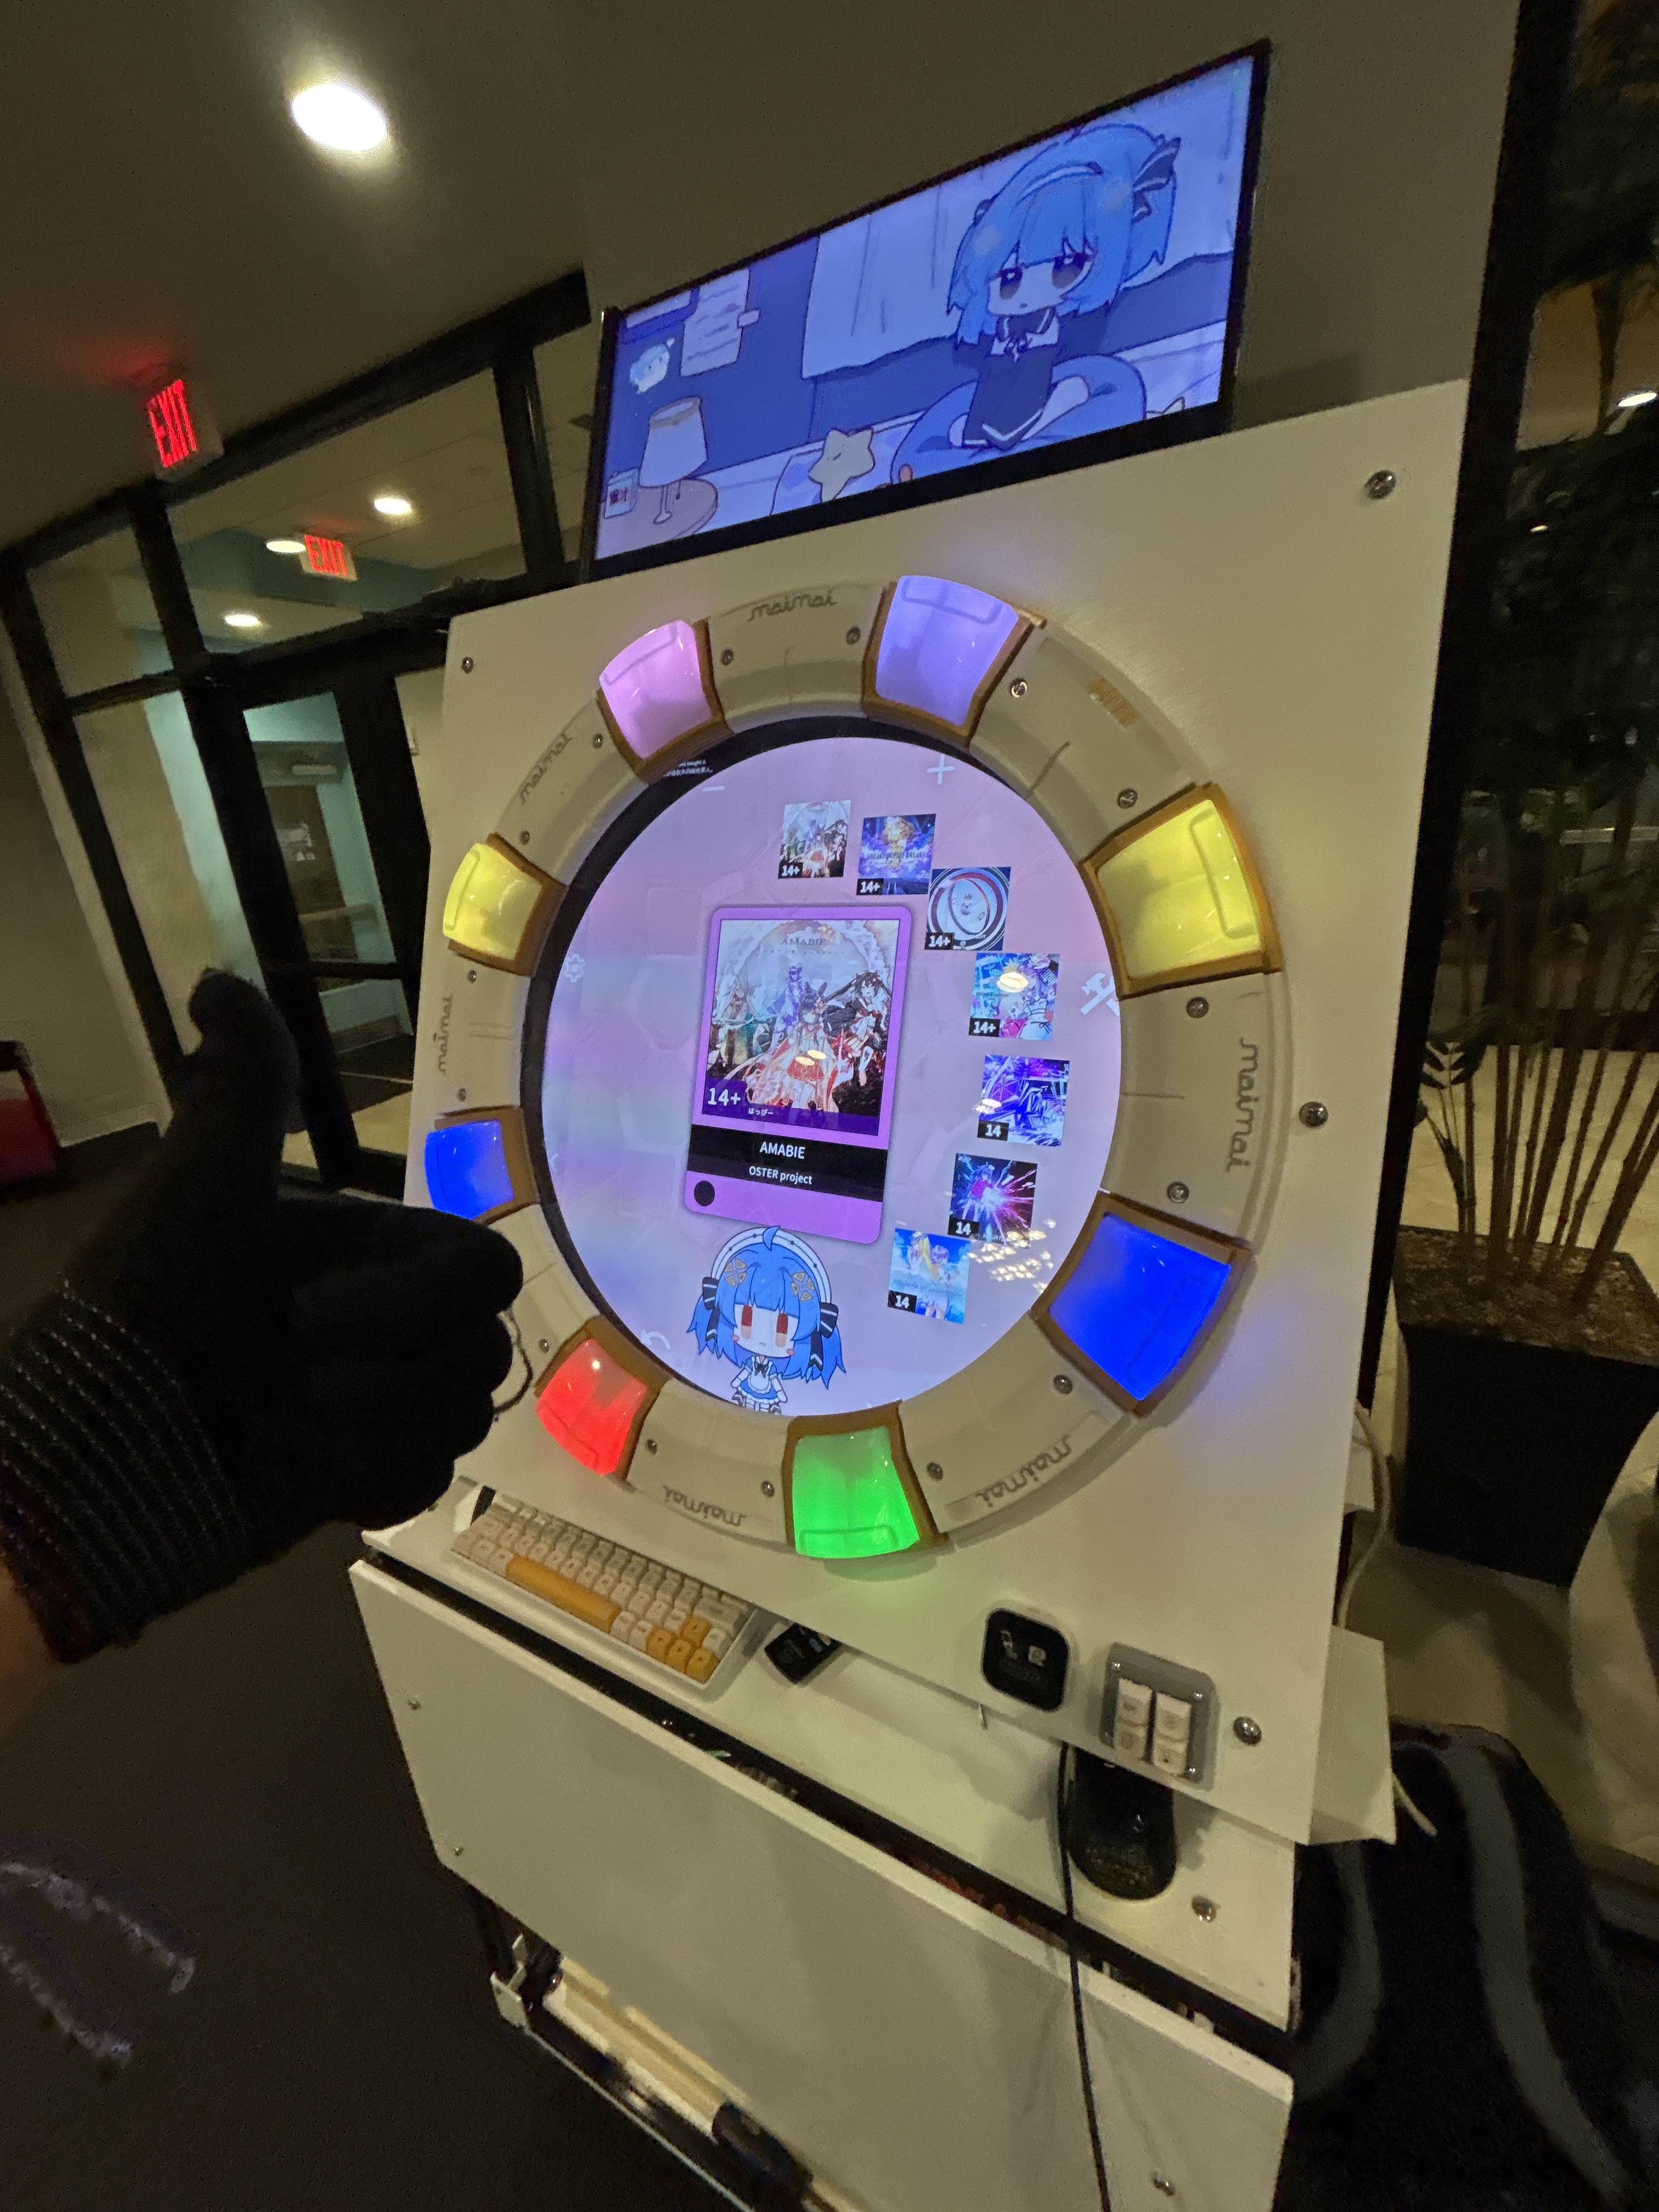
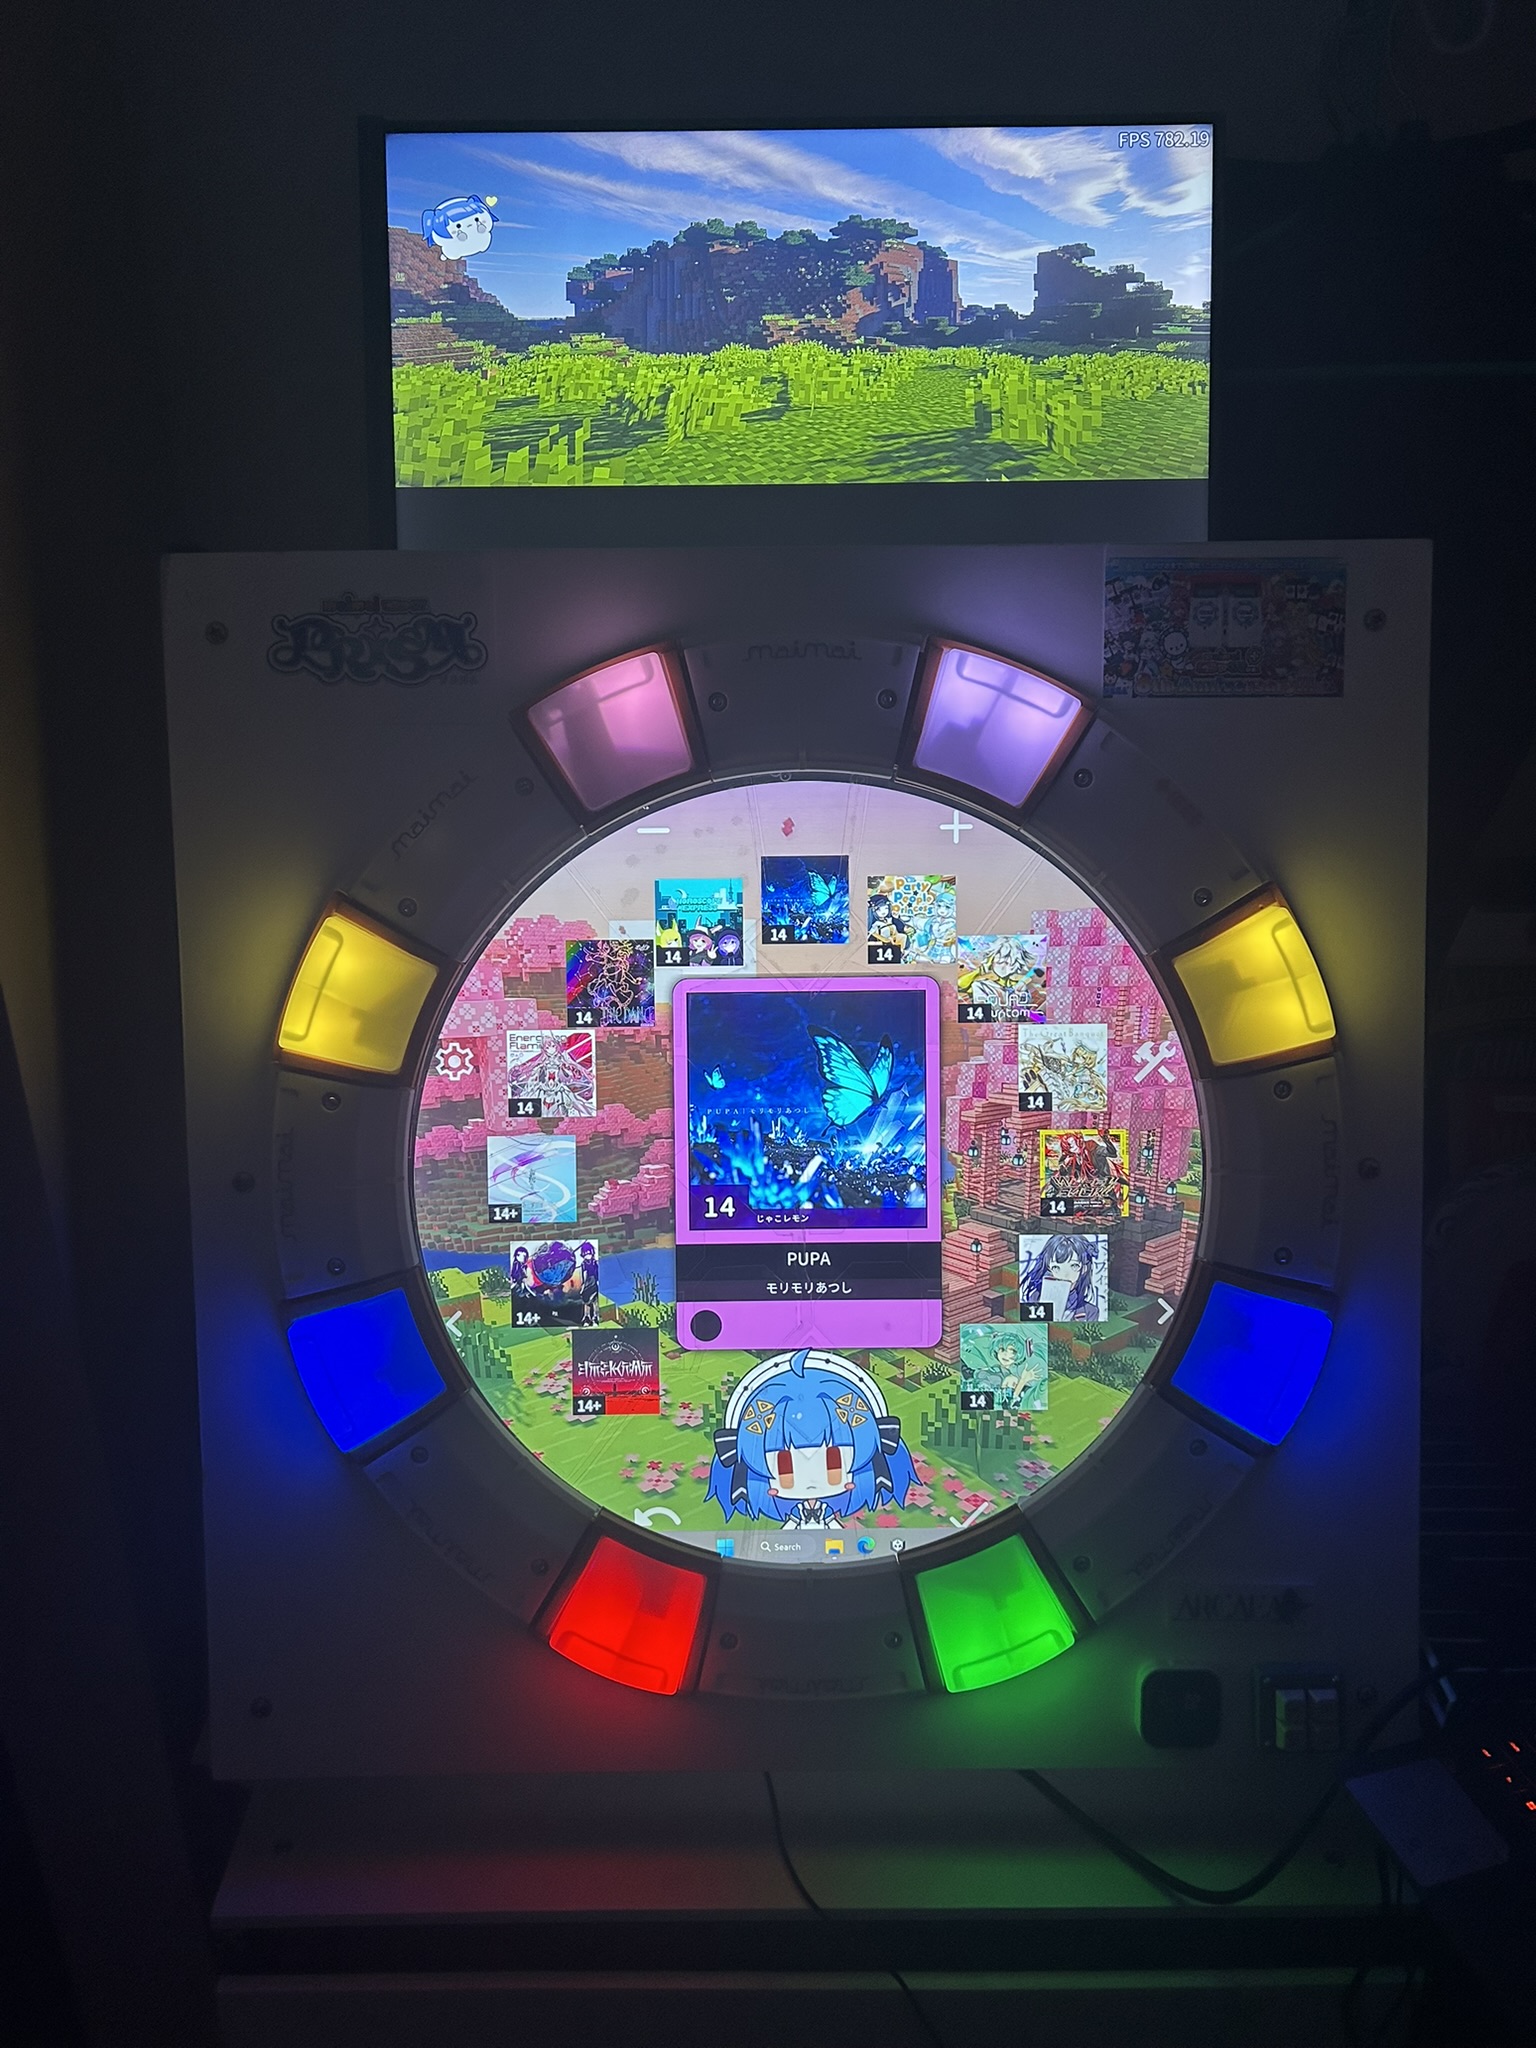
Read Romper's fullsize guide before reading the instructions here. DO NOT LASERCUT WITH THE ITO TEMPLATE AS IS. I'm not sure if the traces are wide enough. It's only good to be used for hand tracing/cut. DO NOT MAKE THE CART IN MY DESIGN. It's not really stable.
I am NOT financially responsible for any mishaps you might have. This is only a guide. Double check all measurements.
CC-NC, feel free to modify the project but don't make any money from this guide.
Not complete
| Qty | Value | Footprint | References |
|---|---|---|---|
| 2 | C | Capacitor_SMD:C_0603_1608Metric_Pad1.08x0.95mm_HandSolder | C1, C2 |
| 2 | Conn_01x03 | Connector_JST:JST_XH_S3B-XH-A_1x03_P2.50mm_Horizontal | J1, J2 |
| 2 | WS2812B | LED_SMD:LED_WS2812B_PLCC4_5.0x5.0mm_P3.2mm | D1, D2 |
fossasia/pslab-hardware
PSLab Hardware Design and Schematics https://pslab.io

FrameworkComputer/ExpansionCards
Reference designs and documentation to create Expansion Cards for the Framework Laptop


PrintersForAnts/Micron
If you want to purchase full kits there are 3 available (Kits are slowly updating to R1 hardware just make sure to double check the included hardware in your kit and if you have any questions reach out in the discord)


It measures 60 × 10 mm and has 2 copper layers, 1 mm thick.
6 parts, built around the WS2812B. The full list of its parts is on this page, with links to each part's symbol and footprint where PCBKit's library has them.
From the Syndric/maimai-controller-fullsize repository on GitHub, at the commit this page was made from: the board is pcb/rabbit_mai_rgb/rabbit_mai_rgb.kicad_pcb and its schematic pcb/rabbit_mai_rgb/rabbit_mai_rgb.kicad_sch. PCBKit opens the board in the browser, with nothing to install.
Its repository states no licence, so its author keeps all rights: ask Syndric before reusing the design.