
2 layers150.6 × 89.6 mm
Keyther
MagoSaronno/keyther
Keyther derives from the Cantor Classic keyboard, replacing TRRS with RJ45 (Ethernet), adding hotswappable sockets and slightly increasing switches' horizontal spacing
23 parts6GPL-3.0

 MagoSaronno/keyther6
Keyther derives from the Cantor Classic keyboard, replacing TRRS with RJ45 (Ethernet), adding hotswappable sockets and slightly increasing switches' horizontal spacing
Keyther is an open-source printed circuit board by MagoSaronno, from the MagoSaronno/keyther repository on GitHub, published under the GPL-3.0 licence. It is a 2-layer board of 150.6 × 89.6 mm with 24 parts on 53 nets, routed with 524 tracks and 27 vias.
It is built around the RJ45. Its parts include 21 switches, 1 resistor, 1 IC and 1 connector. It belongs with the keyboards and input boards of this library.
The Keyther Keyboard represents an attempt at perfecting the already great Cantor Classic. The name comes from the combination of the substantives Keyboard and Ethernet, due to the use of an RJ45 socket.
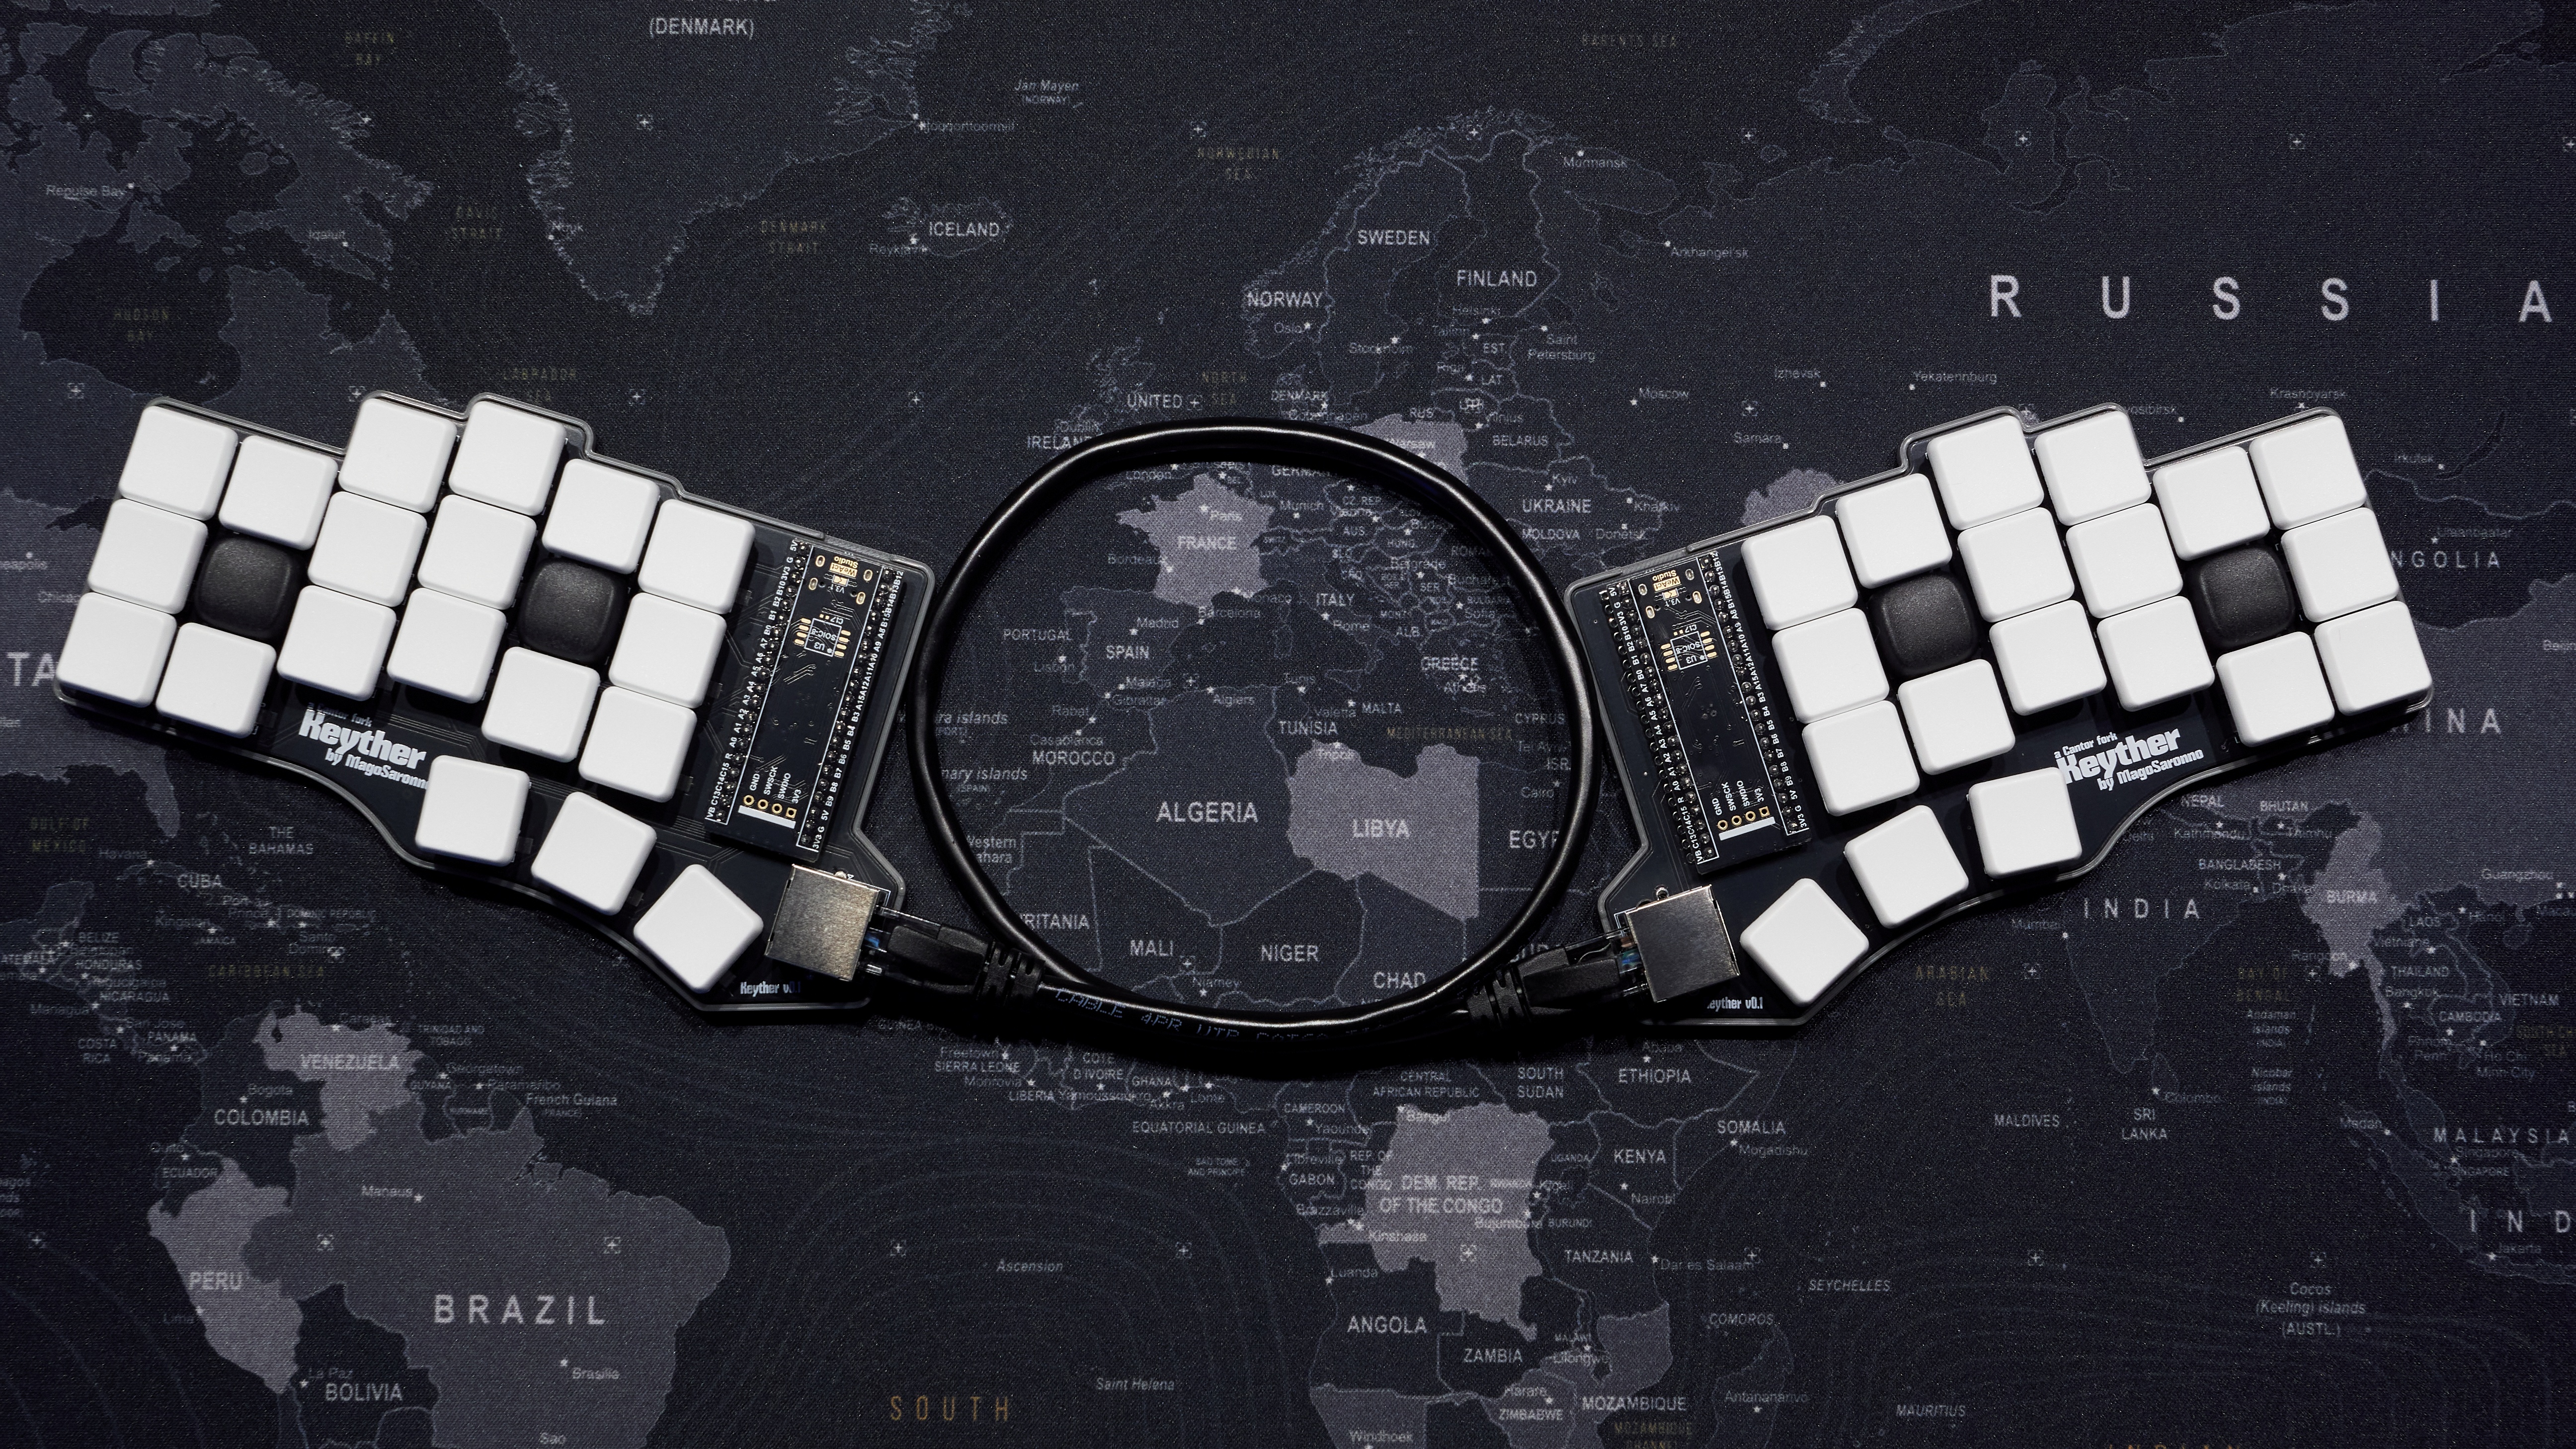
Special thanks to both diepala and daprice for having paved the way for the creation of the Keyther Keyboard.
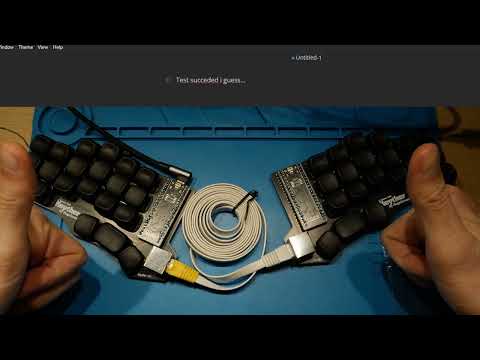
The design introduces hot-swappable Kailh Choc sockets and handedness by pin (through the addition of a 10k resistor and an added line in the config.h file) You won't have to desolder all 42 switches to change them and you will be able to connect the keyboard even through the right half.
The horizontal space between switches has been increased, accommodating larger hands without additional modifications to the overall PCB size (expept the space for the RJ45 socket).
The keyther keyboard keeps (for the most part) the original concepts that were at the origin of Cantor, which are the diodeless design and the use of an invertible PCB design, to ultimately avoid cuttable costs.
The main reasons to use RJ45 sockets are their easy soldering, their overall diffusion, and the widespread presence of premade cables of different kinds, like coiled, straight, and flat.
Additionally, the number of pins present on the socket allows the possible addition of two optional communication lines between PCBs for whatever use (namely pins 1 and 5).
The Keyther Keyboard is designed to be used with STRAIGHT-THROUGH CABLES, not the crossover ones.
Always check the cable type before connecting the two halves.
All the designs and files are provided "AS IS" without any warranty or support.
The required components needed to assemble the keyboard are the following:
| N. | Item | Notes |
|---|---|---|
| 2 | PCB board | |
| 2 | STM32F401CC BlackPill microcontrollers | on AliExpress |
| 4 | 20 pin stripes | usually included with the Blackpill |
| 42 | Kailh Choc v1 switches | namely the Kailh PG1350 |
| 42 | Kailh Choc hot-swap sockets | |
| 42 | Kailh Choc v1 compatible keycaps | |
| 2 | RJ45 sockets (RJHSE type, e.g., the RJHSE-XM80) | on AliExpress |
| 1 | Straight-through Ethernet cable | flat ones seem to be more flexible and less annoying when using the keyboard |
| 1 | USB-C cable compatible with your computer |
To order the PCB, you will need the Gerber files present in the Release section. Then, you can either compare the prices on PCBShopper by choosing a dimension of 150x90mm or upload them directly to the PCB manufacturer's website of choice.
You can refer to the Ordering Tutorial page which provides a step-by-step guide on the ordering procedure.
I personally prototyped my PCBs using JLCPCB, primarily due to lower prices. However, these may vary depending on your customs policies and regional shipping rates.
It is preferable to flash and check the microcontroller for defects before assembling the keyboard.
The Keyther Keyboard uses the QMK Firmware, specifically the same as the Cantor Keyboard. You can easily follow the guide on the QMK website to customise and compile the firmware.
To add language-specific characters (such as accented or umlaut vowels) you can follow this additional guide.
Unfortunately, at this time, to add the handedness feature to your keyboard you will need to use the QMK source, and, before compiling, add to the cantor's config.h file the line:
#define SPLIT_HAND_PIN B12
To flash the firmware onto the microcontroller you will need to set it in bootloader mode first:
Now you will be able to flash the firmware and check if the microcontroller works properly.
Once the first flash has been done successfully you will be able to enter bootloader mode just by plugging in one half of the keyboard while holding down the top-left or top-right (whether it is the left or right keyboard half).
To assemble your Keyther Keyboard you will need a soldering iron and tin of your choice. You can also follow the Assembly Guide.
To 3D print the cases to protect the bottom of your keyboard halves you will need to download the .stl files present in the case folder of this repository and slice them with the appropriate software.
In case you wish to modify the designs, you can download the .step files in the step folder. I've personally succeded in printing them using generic PLA with a layer height of 0.2mm and no supports.
You can fill out this form to let me know of any potential improvements or issues with the project.
| Qty | Value | Footprint | References |
|---|---|---|---|
| 21 | KEYSW | keyswitches:Kailh_socket_PG1350_reversible | K00, K01, K02, K03, K04, K05, K10, K11, K12, K13, K14, K15, K20, K21, K22, K23 +5 |
| 1 | 10k | Resistor_THT:R_Axial_DIN0207_L6.3mm_D2.5mm_P10.16mm_Horizontal | R1 |
| 1 | RJ45 | Connector_RJ:RJ45_Amphenol_RJHSE5380 | J1 |
| 1 | YAAJ_WeAct_BlackPill_Part_Like | Footprints:YAAJ_WeAct_BlackPill_2 | U1 |
MagoSaronno/keyther
Keyther derives from the Cantor Classic keyboard, replacing TRRS with RJ45 (Ethernet), adding hotswappable sockets and slightly increasing switches' horizontal spacing

UtilitechAS/amsreader-firmware
ESP8266 and ESP32 compatible firmware to read, interpret and publish data to MQTT from smart electrical meters, both DLMS and DSMR is supported

travisgoodspeed/goodfet
An embedded bus adapter for various microcontrollers and radios.


nv1t/standing-desk-interceptor
I wanted to intercept the communication between my Flexispot standing desk buttons. This is the progress on the project


Severson-Group/AMDC-Hardware
Circuit board designs for controlling advanced motor systems

mfkiwl/KiwiSDR_PCB
KiCAD PCB files for KiwiSDR project including active antenna and bias tee
It measures 150.6 × 89.6 mm and has 2 copper layers, 1.6 mm thick.
24 parts, built around the RJ45. The full list of its parts is on this page, with links to each part's symbol and footprint where PCBKit's library has them.
From the MagoSaronno/keyther repository on GitHub, at the commit this page was made from: the board is project/Keyther Mk.I/Keyther.kicad_pcb and its schematic project/Keyther Mk.I/Keyther.kicad_sch. PCBKit opens the board in the browser, with nothing to install.
Its repository publishes it under the GPL-3.0 licence: you may reuse it on that licence's terms (keep the author's notice, and for a copyleft licence share your changes alike).