
2 layers40 × 30 mm

 Ajimaru/pihole-display
OLED status display for Pi-hole and Unbound on a BeagleBone Black, with hardware buttons and a web UI.
Pihole display cape is an open-source printed circuit board by Ajimaru, from the Ajimaru/pihole-display repository on GitHub, published under the MIT licence. It is a 2-layer board of 55 × 28 mm with 3 parts on 8 nets.
It belongs with the lEDs and displays boards of this library.
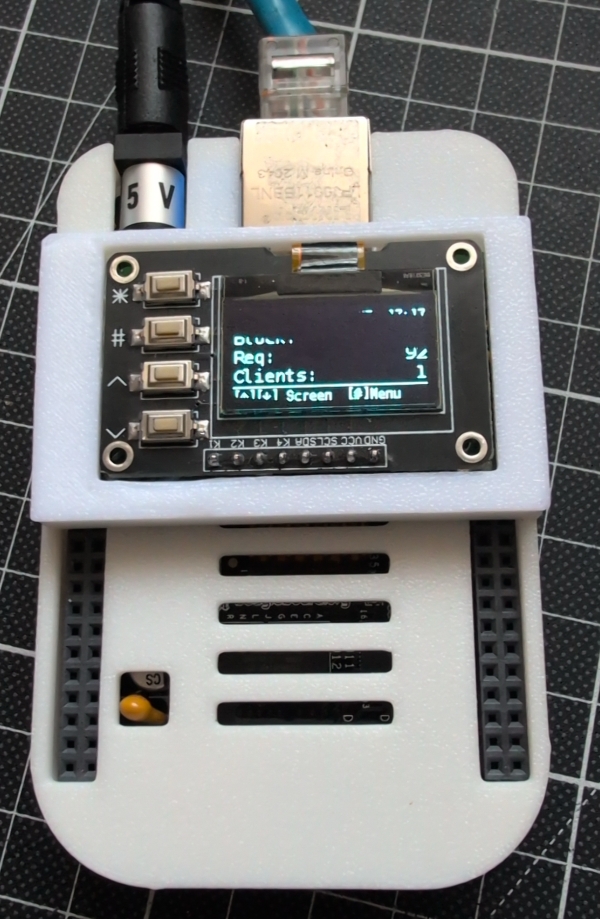
OLED display controller for a BeagleBone Black running Pi-hole and Unbound.
Shows DNS filter statistics, system info and allows basic control via 4 hardware buttons —
or from a browser, through a built-in web UI that mirrors the display.






Display Pin  →  BBB Pin     Function
───────────────────────────────────────
GND          →  P9 Pin 2    Ground
VCC          →  P9 Pin 4    3.3V
SCL          →  P9 Pin 19   I2C2 SCL
SDA          →  P9 Pin 20   I2C2 SDA
K1  (v)      →  P8 Pin 7    gpiochip1 line 2
K2  (^)      →  P8 Pin 8    gpiochip1 line 3
K3  (#)      →  P8 Pin 9    gpiochip1 line 5
K4  (*)      →  P8 Pin 10   gpiochip1 line 4
The display is mounted rotated by 180° (DISPLAY_ROTATE = 2), so K2 is
up and K1 is down.
-> Detailed wiring guide with perfboard adapter: docs/WIRING_GUIDE.md
stl/BBB_Cover.stl is a printable cover that frames the
OLED display (58 × 35 × 6.5 mm). It is designed to go with the
BeagleBone Black Case with Ventilation
by MandyRae on Thingiverse.
pihole-display expects Pi-hole v6 with Unbound as its local upstream resolver on the BBB. Set both up first with the official Pi-hole documentation:
From a release (recommended) — the archive holds everything needed on the board, including the wiring guide:
# On the BBB — picks up whatever the latest release is
REPO=Ajimaru/pihole-display
VERSION=$(curl -fsSL "https://api.github.com/repos/${REPO}/releases/latest" |
          sed -n 's/.*"tag_name": *"v\([^"]*\)".*/\1/p')
echo "Installing v${VERSION}"

BASE="https://github.com/${REPO}/releases/download/v${VERSION}"
curl -fsSLO "${BASE}/pihole-display-${VERSION}.tar.gz"
curl -fsSLO "${BASE}/pihole-display-${VERSION}.tar.gz.sha256"
# Compare the hash itself, so this works regardless of the path the
# checksum file records.
[ "$(awk '{print $1}' "pihole-display-${VERSION}.tar.gz.sha256")" \
  = "$(sha256sum "pihole-display-${VERSION}.tar.gz" | awk '{print $1}')" ] \
  && echo "checksum OK" || echo "CHECKSUM MISMATCH"

tar -xzf "pihole-display-${VERSION}.tar.gz"
cd "pihole-display-${VERSION}"
sudo ./install.sh
To install a specific version instead, set VERSION=0.1.0 by hand and skip
the curl that looks it up.
Or straight from a checkout, to run unreleased changes:
# Copy to BeagleBone Black (root login is disabled on the BeagleBoard images)
scp -r pihole-display/ <user>@<BBB_IP_ADDRESS>:/tmp/

# On the BBB
cd /tmp/pihole-display
sudo ./install.sh

# Verify I2C (should show 3c, or 3d if the address bridge is set)
sudo i2cdetect -y -r 2

# Start
sudo systemctl start pihole-display
sudo journalctl -u pihole-display -fFetch and unpack the new release exactly like a fresh install — the same
commands above, including the checksum check — then run install.sh from the
new directory. It upgrades /opt in place.
The running service keeps the old code until it is restarted, so finish with:
sudo systemctl restart pihole-display
journalctl -u pihole-display -n 20 --no-pager
Site settings are not affected: they live in /etc/pihole-display/config.py,
which the installer never overwrites. Settings a new release adds simply keep
their default until you assign them, so there is no merge step and the service
cannot fail on a missing attribute.
When updating from a version that still kept settings in
/opt/pihole-display/config.py, the installer carries that file over to
/etc/pihole-display/config.py (mode 0600) once. If both exist, the /etc
file wins; the old copy is saved to /var/backups/pihole-display/ and the
diff command is printed, so you can see what you had.
Runtime state (state.json, the web password file) lives in
/var/lib/pihole-display and is never touched by the installer.
The web UI is then available at http://<BBB_IP_ADDRESS>:8080 — log in with
admin / pihole and change the password straight away (see Web UI).
The Unbound screen reads its stats with unbound-control, which Debian ships
disabled. install.sh offers to enable it (this restarts Unbound, so DNS is
briefly unavailable for the network). To do it manually, through a local
socket without certificates:
sudo cp /etc/unbound/unbound.conf.d/remote-control.conf.dpkg-dist \
        /etc/unbound/unbound.conf.d/remote-control.conf
sudo unbound-checkconf && sudo systemctl restart unboundOnce the service runs, the display cycles through five screens. Each one has
an action menu behind the # key, and anything reachable there is also
reachable from the web UI.
-- without a sensor,
the BBB kernel has none)
Action key (#): Reboot / shutdown / screen lock menuupdate next to Pi-hole when
a newer Core, Web or FTL release is out
Action key (#): Actions menu, including Update Pi-hole when one is
availableK2 (^) short → previous screen / menu up
K1 (v) short → next screen / menu down
K3 (#) short → open action menu / confirm
K4 (*) short → home screen / cancel
K2 (^) long → force data refresh
K1 (v) long → toggle display sleep
K4 (*) long → home screen
K4 (*) hold 5s → wake the display while the screen lock is onThe display sleeps after DISPLAY_TIMEOUT without input. Any button
wakes it, unless the screen lock is on: then only holding * for 5 seconds
does. Long running actions such as a Pi-hole update hold it on until they
finish, so the screen never blanks mid-update. The System menu (#) offers reboot, shutdown and the screen lock
toggle, each with a yes/no confirmation. The lock setting is kept in
/var/lib/pihole-display/state.json.
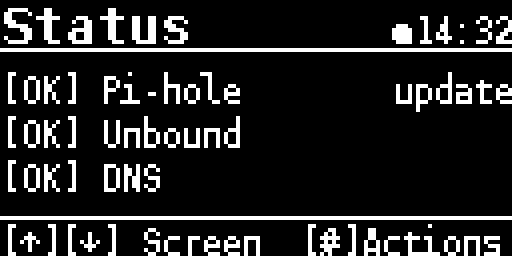
The Status screen shows update next to Pi-hole when Core, Web or FTL has a
newer release, the same information the admin page puts in its footer. It is
read from GET /api/info/version once an hour (UPDATE_CHECK_INTERVAL),
since versions rarely change.
When an update is available, the Status action menu (#) gains an
Update Pi-hole entry that runs pihole -up after a yes/no prompt.
The service runs a small web server that mirrors the OLED and turns the four hardware buttons into clickable ones. It is reachable on port 8080 per default:
http://<BBB_IP_ADDRESS>:8080The page shows the live display, scaled up, with the four keys down its right
side. They are ordered by what they do — up above down — and each keeps its
board marking, so the top key reads K2 because the display is mounted
upside down.
Pressing and holding works like it does on the board: the server measures how long a key is held and classifies it with the same thresholds as the GPIO handler, so short press, long press and the 5-second hold to wake a locked screen all behave identically. Below 560 px the keys move under the display into a row.
Username: admin
Password: pihole
The password must be changed on first login — no other page is reachable until it is. Until then, the service logs a warning on every start and the web page shows a warning banner.
The user name is matched without regard to case, and leading or trailing spaces are stripped from both fields, so a pasted password does not fail over an invisible space. While the default password is still set, the login form asks the browser not to autofill it — a saved password from an earlier install otherwise looks like a wrong one.
admin / pihole is public — it is in this README.
Change it immediately, and do not expose port 8080 to the internet./var/lib/pihole-display/web_auth.json, mode 0600.To restrict access to an SSH tunnel, set WEB_HOST = '127.0.0.1' in
/etc/pihole-display/config.py and connect with:
ssh -L 8080:localhost:8080 <user>@<BBB_IP_ADDRESS>To turn the web UI off entirely, set WEB_ENABLED = False.
The systemd unit is hardened (ProtectHome, PrivateTmp,
ProtectKernelTunables, RestrictAddressFamilies), but deliberately does
not set NoNewPrivileges or RestrictSUIDSGID: pihole -up drops to
the pihole user and uses setuid sudo to get back to root. With either
flag on, the update aborts after stopping FTL and leaves the network without
DNS.
Site settings live in /etc/pihole-display/config.py (mode 0600, root
only), which is loaded on top of the shipped defaults in
/opt/pihole-display/config.py. Assign only the names you want to change —
everything else keeps its default, so a new release can add settings without
breaking your file. After editing, restart the service:
sudo systemctl restart pihole-displayThe installer creates the file when it finds settings in an old
/opt/pihole-display/config.py, and never overwrites it afterwards.
Example (all of it optional, defaults shown):
I2C_PORT         = 2           # /dev/i2c-2
I2C_ADDRESS      = 0x3C        # or 0x3D
DISPLAY_ROTATE   = 2           # 180°, display mounted upside down
PIHOLE_HOST      = 'localhost' # Pi-hole host
PIHOLE_SCHEME    = 'http'      # 'https' when Pi-hole redirects HTTP to HTTPS
PIHOLE_TLS_VERIFY = True       # CA file path, or False for self-signed
PIHOLE_PASSWORD  = ''          # Pi-hole v6; empty = log in with /etc/pihole/cli_pw
REFRESH_INTERVAL = 10          # seconds
UPDATE_CHECK_INTERVAL = 3600   # seconds between Pi-hole update checks
DISPLAY_TIMEOUT  = 60          # seconds until sleep (0 = never)
HOLD_MS          = 5000        # hold * this long to wake a locked display

WEB_ENABLED      = True        # False disables the web UI entirely
WEB_HOST         = '0.0.0.0'   # '127.0.0.1' = local only (SSH tunnel)
WEB_PORT         = 8080        # Pi-hole admin already uses :80
WEB_USER         = 'admin'     # Login name
WEB_SCALE        = 4           # Display zoom in the browser
Since Pi-hole v6 redirects HTTP to HTTPS by default, point the app straight at TLS. With the self-signed certificate, either trust Pi-hole's CA file or turn verification off for the local connection:
PIHOLE_HOST       = 'pi.hole'              # matches the certificate's SAN
PIHOLE_SCHEME     = 'https'
PIHOLE_TLS_VERIFY = '/etc/pihole/tls_ca.crt'
With PIHOLE_PASSWORD empty, the service logs in with Pi-hole's local CLI
password file, so no password has to be stored in the settings file.
The web UI speaks plain HTTP by default. To serve it over TLS, point
WEB_TLS_CERT at a PEM file — a combined certificate and private key works,
a separate key can be supplied through WEB_TLS_KEY:
WEB_PORT               = 8443
WEB_TLS_CERT           = '/etc/pihole/tls.pem'  # Pi-hole's self-signed cert
WEB_HTTP_REDIRECT_PORT = 8080                  # plain HTTP -> HTTPS
The redirect listener answers every plain request with 301 Moved Permanently to the TLS port, keeping the path. As soon as a certificate is
configured, the session cookie carries the Secure flag. Leave
WEB_TLS_CERT empty to go back to plain HTTP; WEB_HTTP_REDIRECT_PORT = 0
disables the redirect listener.
The certificate is not validated against a CA — browsers warn on the
self-signed Pi-hole certificate. Accessing the UI as https://pi.hole:8443
matches its CN and avoids that warning on machines using Pi-hole for DNS.
pihole-display/
├── config.py              — pins, I2C bus, timing
├── data.py                — Pi-hole API v5/v6, Unbound, system stats
├── display_manager.py     — OLED screens + menu system (luma.oled)
├── button_handler.py      — GPIO buttons (gpiod v2 + sysfs fallback)
├── web_server.py          — web UI: display mirror + clickable buttons
├── web_auth.py            — login, PBKDF2 passwords, sessions
├── web_ui.py              — HTML/CSS/JS for the web UI (served inline)
├── main.py                — main loop + event handling
├── version.py             — version number (shown in the System header)
├── requirements.txt       — Python dependencies
├── pihole-display.service — systemd unit
└── install.sh             — installation script

docs/
├── WIRING_GUIDE.md        — wiring, verification, troubleshooting
├── generate_mockups.py    — renders all screens as PNG (run on the BBB)
├── mockups/               — rendered screen mockups
└── kicad/                 — KiCad PCB for the cape

scripts/
├── release.sh             — set version.py, commit and tag a release
└── changelog.py           — group commits into release notes

stl/
└── BBB_Cover.stl — printable cover around the OLED displayA release is cut by pushing a tag. scripts/release.sh sets version.py,
commits and tags in one step, so the tag and the version the display shows
can never drift apart:
./scripts/release.sh 0.2.0 --dry-run   # show what it would do
./scripts/release.sh 0.2.0             # set version, commit, tag
git push origin main v0.2.0            # this publishes the release
Pushing the tag starts .github/workflows/release.yml,
which refuses to build if the tag and version.py disagree, then packs
pihole-display-<version>.tar.gz with the modules, install.sh, the
systemd unit, the licenses and the wiring guide, adds a .sha256 next to
it, and publishes a GitHub release. The notes are grouped from the commit
subjects by their Conventional Commits prefix (feat:, fix:, docs:,
…); anything without a prefix is listed under "Other", and a ! marks a
breaking change.
To preview the notes before tagging:
git log --no-merges --pretty=$'%s\t%h' v0.1.0..HEAD |
VERSION=0.2.0 python3 scripts/changelog.pyRendered by docs/generate_mockups.py, which
drives the real DisplayManager against a dummy device. Run it on the board
(it needs luma and the DejaVu fonts) after changing anything a screen shows.
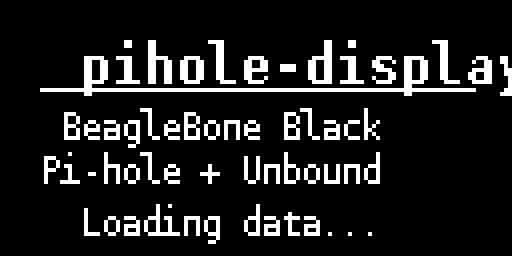
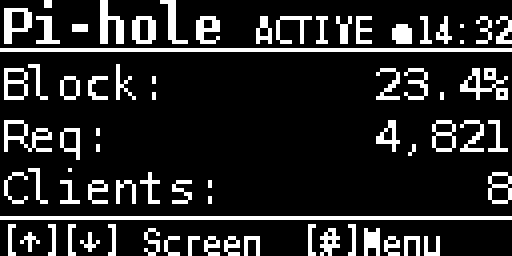
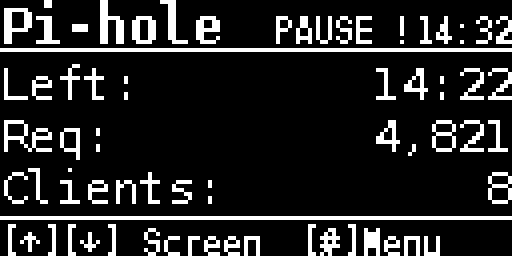
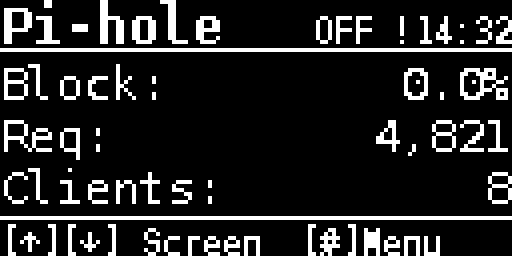
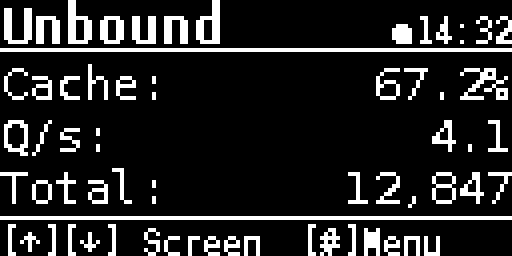
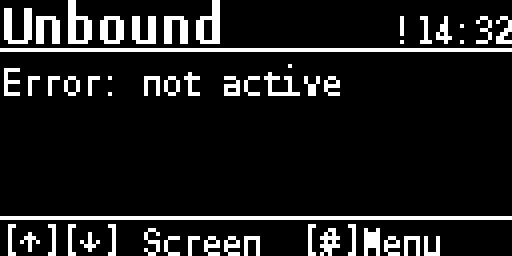
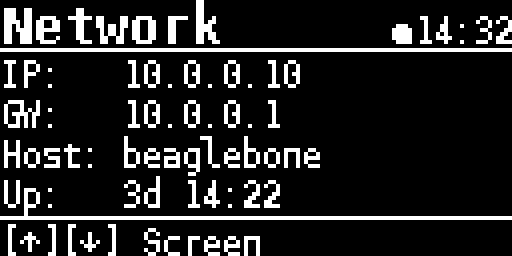
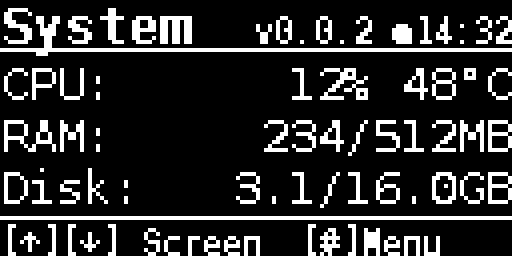
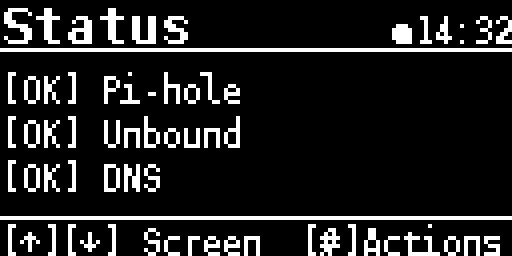
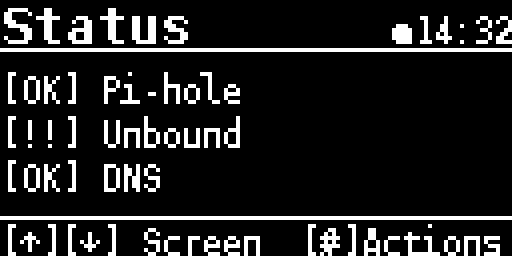
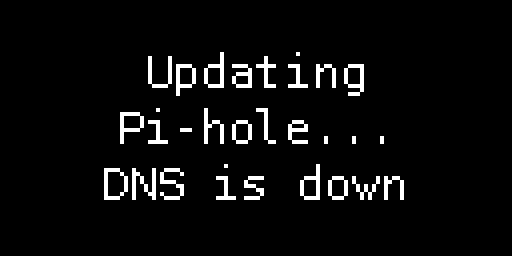
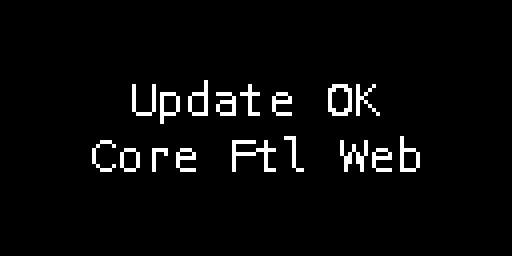
All screens rendered at 4× scale (actual display: 128×64 px)
Splash:
Pi-hole active:
Pi-hole paused:
Pi-hole off:
Unbound:
Unbound (error):
Network:
System:
Status:
Status (error):
Status (update available):
Pi-hole menu:
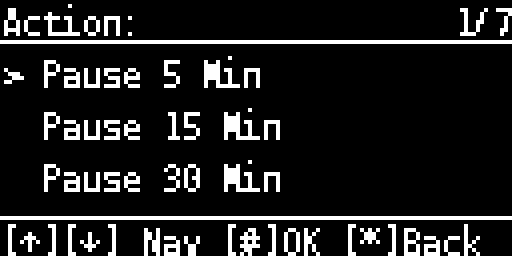
Pi-hole menu (scrolled):
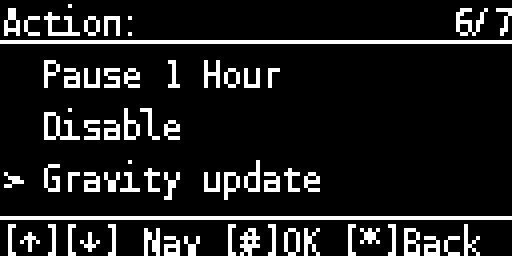
Pi-hole menu (off):
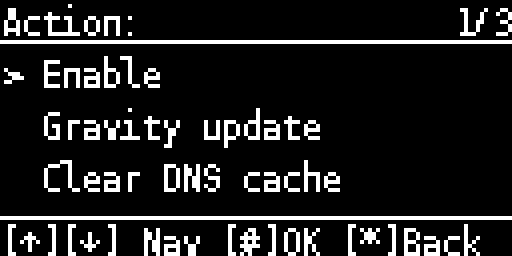
Unbound menu:
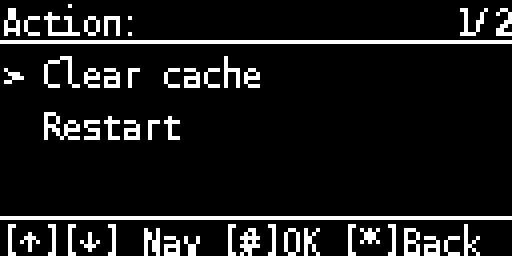
Status actions:
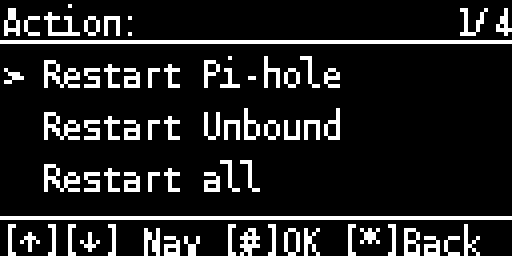
Status actions (scrolled):
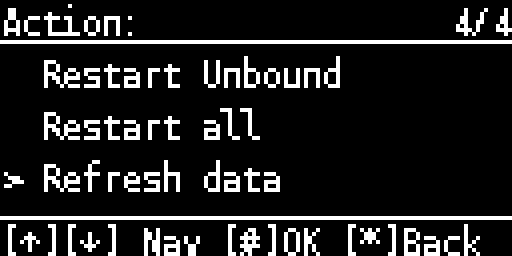
Status actions (update available):
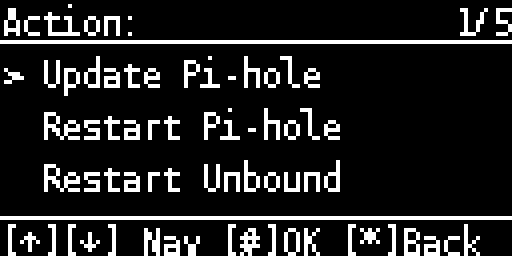
System menu:
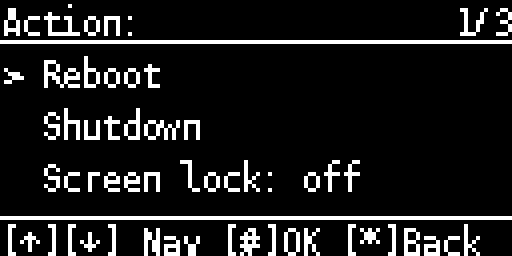
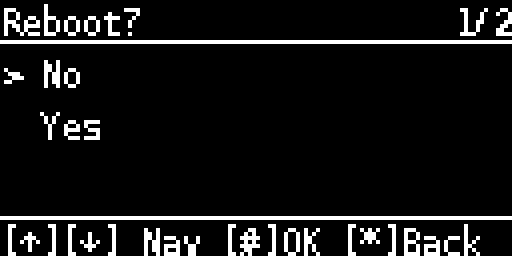
Confirmation (reboot):
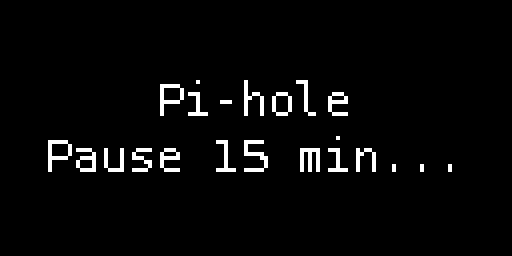
Pause:
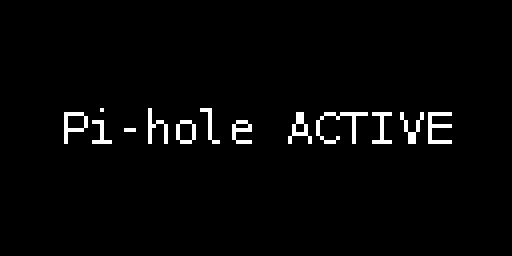
Active:
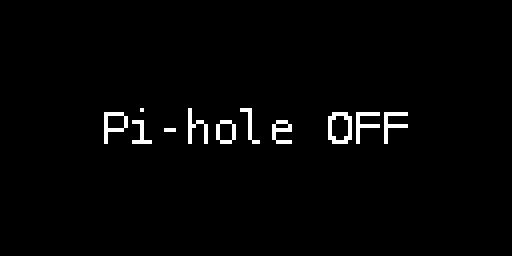
Off:
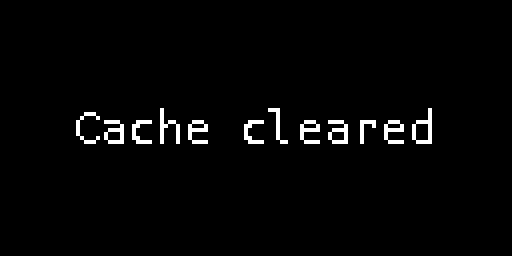
Flush:
Gravity update:
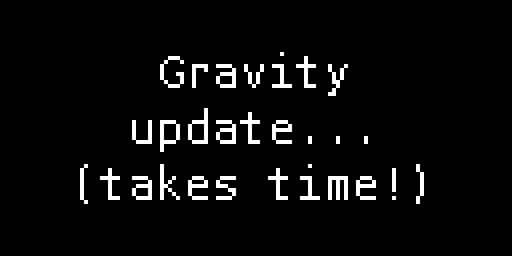
Reboot:
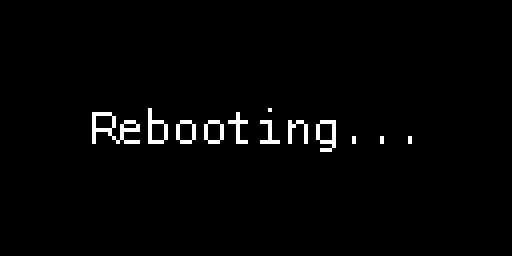
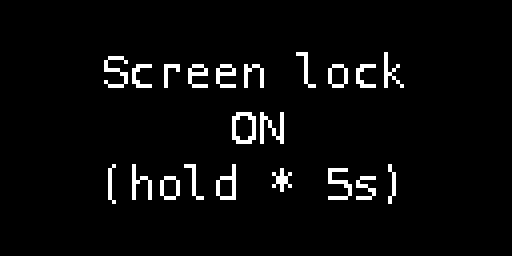
Screen lock on:
Updating:
Update done:
The web UI adds no dependency: it is built entirely on the Python standard
library (http.server, hashlib, secrets) and reuses Pillow, which is
already needed for rendering.
System packages (installed by install.sh): python3-venv,
python3-libgpiod, gpiod, i2c-tools, libi2c-dev, fonts-dejavu-core
Full attribution for each of these is in THIRD_PARTY_LICENSES.md.
MIT — see LICENSE.
The libraries this project builds on carry their own licenses, listed in THIRD_PARTY_LICENSES.md.
| Qty | Value | Footprint | References |
|---|---|---|---|
| 1 | DISP_1x8 | pihole_display:J3 | J3 |
| 1 | P8_1-20 | pihole_display:J2 | J2 |
| 1 | P9_1-20 | pihole_display:J1 | J1 |

hzeller/rpi-rgb-led-matrix
Controlling up to three chains of 64x64, 32x32, 16x32 or similar RGB LED displays using Raspberry Pi GPIO


atopile/atopile
Design circuit boards with code! ✨ Get software-like design reuse 🚀, validation, version control and collaboration in hardware; starting with electronics ⚡️


hackclub/sprig
🍃 Learn to code by making games in a JavaScript web-based game editor.
It measures 55 × 28 mm and has 2 copper layers, 1.6 mm thick.
3 parts. The full list of its parts is on this page, with links to each part's symbol and footprint where PCBKit's library has them.
From the Ajimaru/pihole-display repository on GitHub, at the commit this page was made from: the board is docs/kicad/pihole_display_cape.kicad_pcb. PCBKit opens the board in the browser, with nothing to install.
Its repository publishes it under the MIT licence: you may reuse it on that licence's terms (keep the author's notice, and for a copyleft licence share your changes alike).