2 layers10 × 15.2 mm

 sarfata/shirtty-addon7
Badge addon with infrared receive/transmit
Shirtty is an open-source printed circuit board by sarfata, from the sarfata/shirtty-addon repository on GitHub. It is a 2-layer board of 36.6 × 36.4 mm with 26 parts on 25 nets, routed with 256 tracks and 30 vias.
It is built around the ATSAMD21E18A-AF, AP2112K-3.3 and TSOP77438TT. Its parts include 4 capacitors, 4 resistors, 3 ICs, 3 diodes and 3 transistors. It belongs with the lEDs and displays boards and the SAM D and SAM boards of this library.


A CircuitPython compatible, SAMD21 shitty addon with IR transmit/receive and RGB LED.
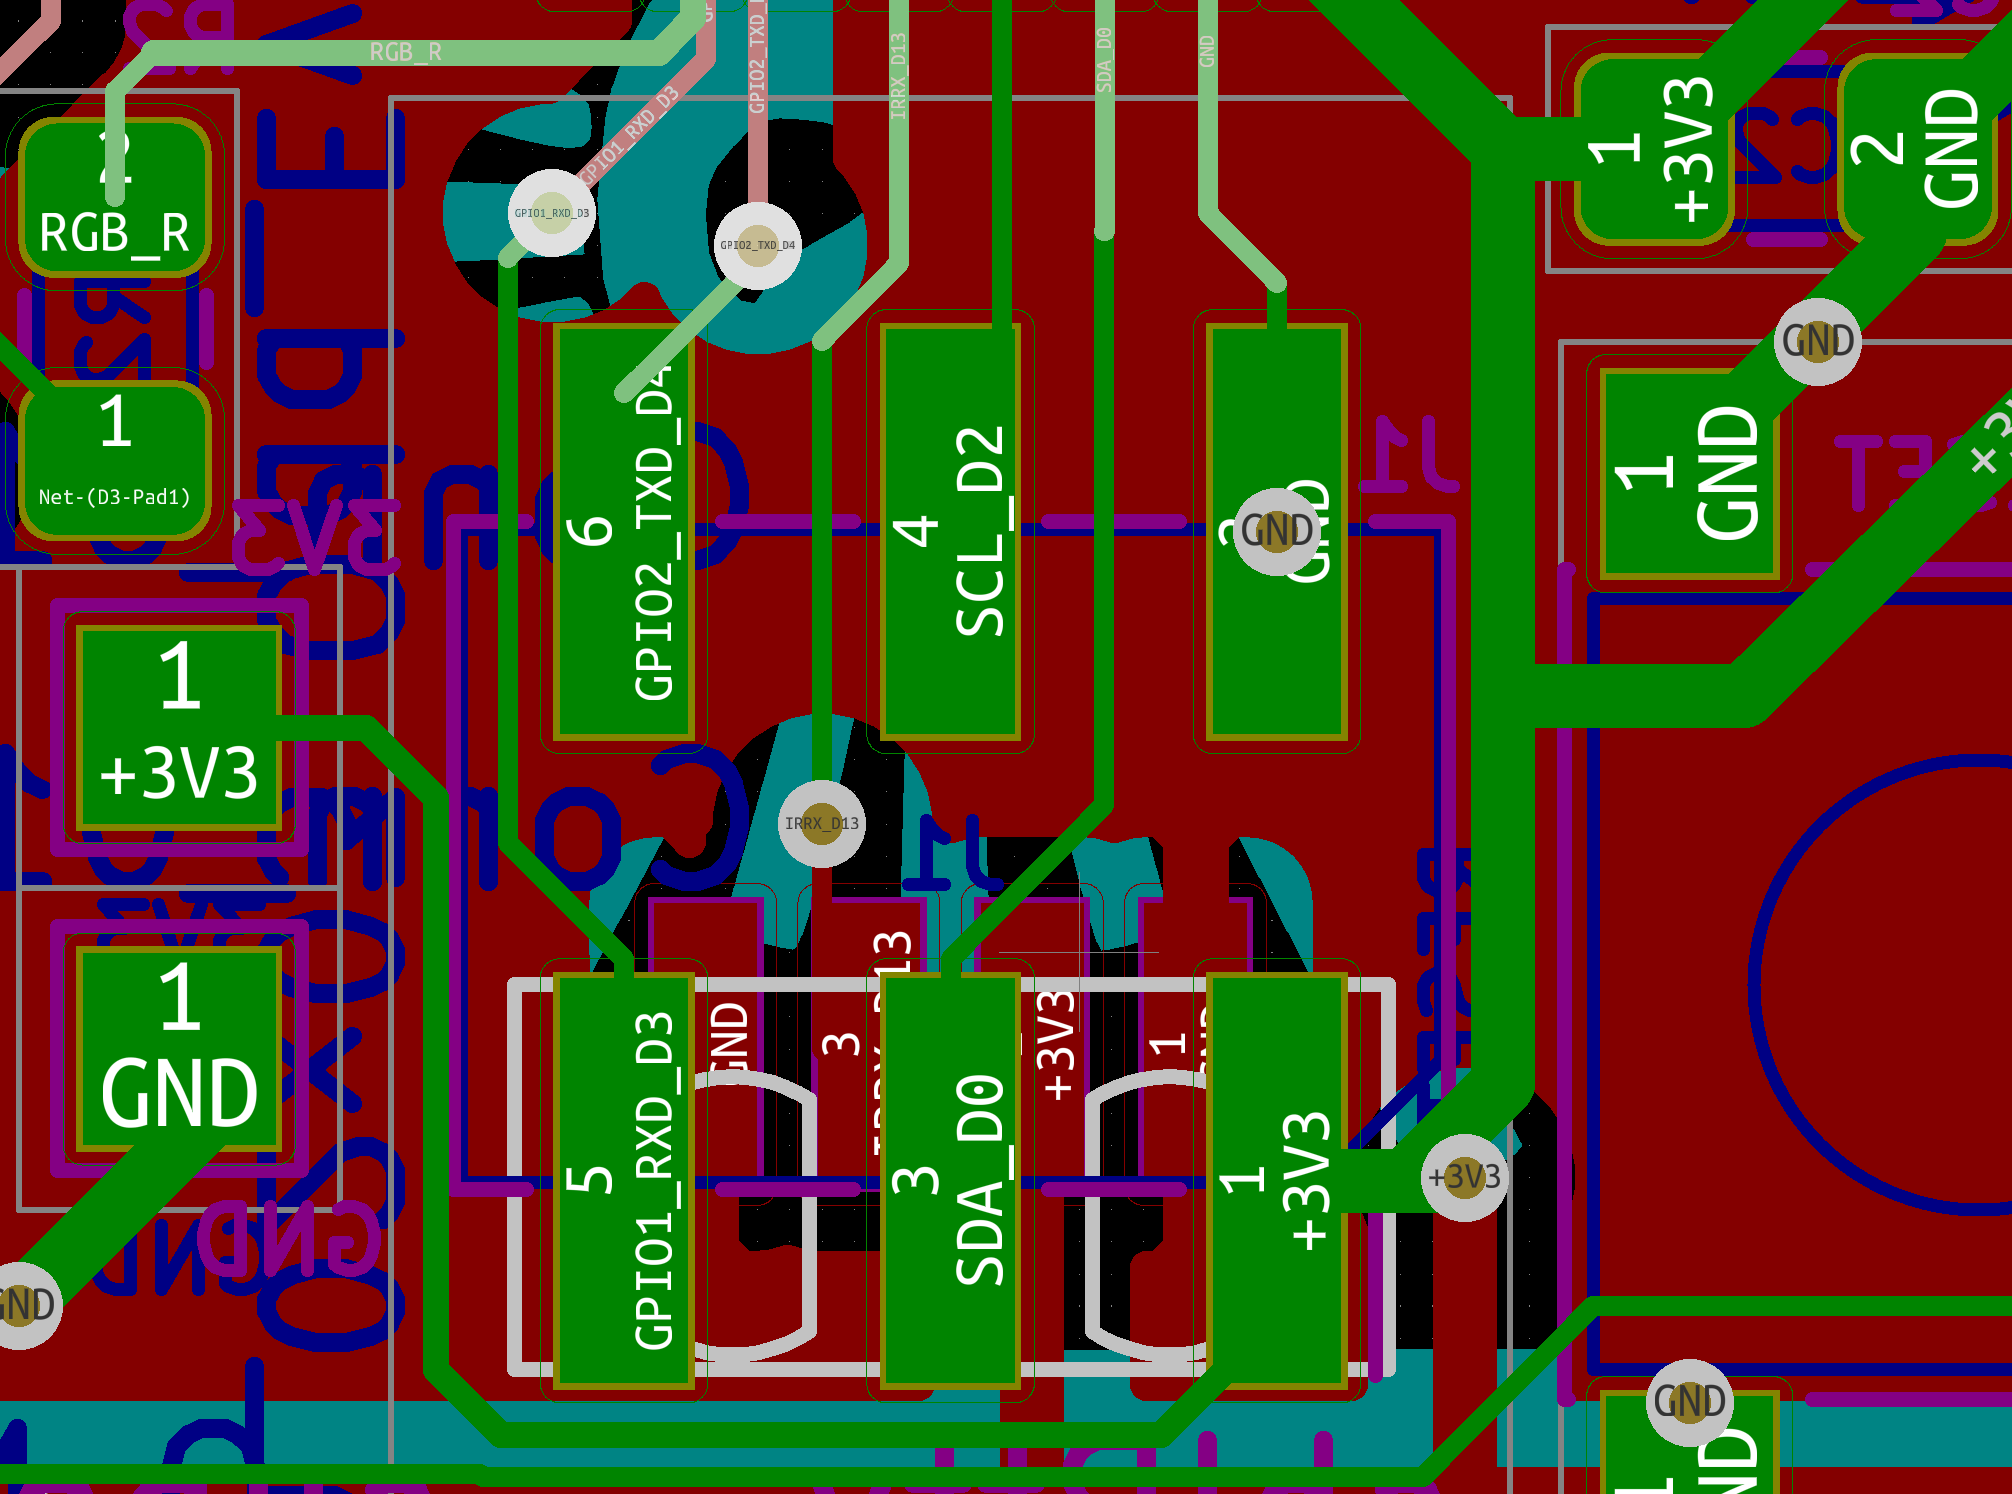
IMPORTANT To make things more shitty the SAO header is upside down on the badge. You will need a shitty inverser (included in this repo) or to put the addon upside down.
This is the pinout when looking at the face of the badge. Note that VCC is bottom right (bottom left if you are looking at the connector).
Look at the readme in ports/atmel-samd.
# needed so gettext/msgfmt is available during build
export PATH="/usr/local/opt/gettext/bin:$PATH"

git clone git@github.com:adafruit/circuitpython.git
git submodule update --init --recursive
make -C mpy-cross

cd ports/atmel-samd

make BOARD=trinket_m0
(stopped there something funky going on where echo toto |xargs arm-none-eabi-gcc does not work)Some reference:
TODO:
We only add two files from the adafruit version of the uf2 bootloader:
git clone git@github.com:adafruit/uf2-samdx1.git~/work/uf2-samdx1/boards/shirtty/board.mk
CHIP_FAMILY = samd21
CHIP_VARIANT = SAMD21E18A
uf2-samdx1/boards/shirtty/board_config.h
#ifndef BOARD_CONFIG_H
#define BOARD_CONFIG_H

#define CRYSTALLESS 1

#define VENDOR_NAME "@sarfata"
#define PRODUCT_NAME "shIRtty"
#define VOLUME_LABEL "shIRtty"
#define INDEX_URL "https://github.com/sarfata/shirtty-addon"
#define BOARD_ID "shIRtty"

#define USB_VID 0x239A
#define USB_PID 0x001E

#define LED_PIN PIN_PA14

#endif
Then build with:
$ make BOARD=shirttyI got an error at the end on a selfmain.c used for self update. #aintgottimeforthat - does not matter because the elf for the bootloader was built properly earlier.
Connect:
$ arm-none-eabi-gdb build/shirtty/bootloader-shirtty-v3.7.0-54-g63b4c6f.elf
(gdb) target extended-remote /dev/cu.usbmodem7AB17EC11

# If you need the black magic to provide power:
(gdb) monitor tpwr enable

(gdb) monitor swdp_scan
Target voltage: 3.3V
Available Targets:
No. Att Driver
 1      Atmel SAMD21E18A (rev D)
(gdb) attach 1

# if the bootloader is protected
(gdb) monitor unlock_bootprot

(gdb) load
(gdb) compare-sections

# if you want the new bootloader protected
(gdb) monitor lock_bootprot
Note: if you don't connect the RST line, you have to press reset after applying power, before running the monitor command. If the RST line is connected that is not needed.
First I had to update the firmware on my black magic probe (I had 1.6.1), I followed readme recommendations and installed daily build.
Version before:
Black Magic Probe (Firmware 04d9749) (Hardware Version 3)Upgrade with:
sudo dfu-util -d 1d50:6018,:6017 -s 0x08002000:leave -D ~/Downloads/blackmagic-native.binVersion after:
Black Magic Probe (Firmware 04d9749) (Hardware Version 3)Then the commands monitor unlock_bootprot becomes available.
Note: commands above do not work on the trinket m0 because the bootloader is protected. They should work on a fresh samd21e18 though.
| Qty | Value | Footprint | References |
|---|---|---|---|
| 5 | Conn_01x01 | TestPoint:TestPoint_Pad_1.5x1.5mm | 3V3, GND, RST, SWC, SWD |
| 4 | 1k | Resistor_SMD:R_0805_2012Metric_Pad1.15x1.40mm_HandSolder | R1, R2, R3, R4 |
| 2 | 10uF | Capacitor_SMD:C_0805_2012Metric_Pad1.15x1.40mm_HandSolder | C3, C4 |
| 2 | 1uF | Capacitor_SMD:C_0805_2012Metric_Pad1.15x1.40mm_HandSolder | C1, C2 |
| 2 | LED | LED_THT:LED_D5.0mm | D1, D2 |
| 2 | Q_PNP_BEC | Package_TO_SOT_SMD:SOT-23 | Q1, Q2 |
| 1 | AP2112K-3.3 | Package_TO_SOT_SMD:SOT-23-5 | U3 |
| 1 | ATSAMD21E18A-AF | ATSAMD21E18A-AF:QFP80P900X900X120-32N | U1 |
| 1 | Conn_02x03_Odd_Even | Connector_PinHeader_2.54mm:PinHeader_2x03_P2.54mm_Vertical_SMD | J1 |
| 1 | LED_RGBA | LED_SMD:LED_Avago_PLCC4_3.2x2.8mm_CW | D3 |
| 1 | LOGO | shirtty:logo | G*** |
| 1 | Q_NPN_BEC | Package_TO_SOT_SMD:SOT-23 | Q3 |
| 1 | SW_SPST | Button_Switch_SMD:SW_Push_1P1T_NO_6x6mm_H9.5mm | RESET |
| 1 | TSOP77438 | tsop77438:TSOP774xx | U2 |
| 1 | USB_PCB | usb-connector:usb-PCB | J2 |


hackclub/OnBoard
💡 Join 1,000 teenagers and make your first PCB with a $100 grant!

upbeatcarri/eclair
Pocket device for taking quick notes, acting as a USB keyboard for PC sync etc., with custom apps samd21, tinygo

mitsake/rng-pcb
A hardware random number generator that uses avalanche noise. Based on the Trinket M0.

electricui/electricui-helloboard
Cute arduino compatible development board for introducing people to Electric UI

Hugoyhu/corgikeychain
Corgi "keychain" LilyPad with ATSAMD21E18

Hugoyhu/Hack-Club-Sticker-Development-Boards
"Sticker" dev boards.

OpenSiPM/sipm-bias-control
Single channel silicon photomultipliers for high-speed fluorescence imaging
It measures 36.6 × 36.4 mm and has 2 copper layers, 1.6 mm thick.
26 parts, built around the ATSAMD21E18A-AF, AP2112K-3.3 and TSOP77438TT. The full list of its parts is on this page, with links to each part's symbol and footprint where PCBKit's library has them.
From the sarfata/shirtty-addon repository on GitHub, at the commit this page was made from: the board is hardware/shirtty.kicad_pcb. PCBKit opens the board in the browser, with nothing to install.
Its repository states no licence, so its author keeps all rights: ask sarfata before reusing the design.