2 layers41.2 × 27.6 mm
Contactor interface minimal
aaronds/access-control-manufacture
Access Control Manufacturing Artefacts
9 parts

 rvt/espgaggia31
Automate your gaggia classic or other machine...
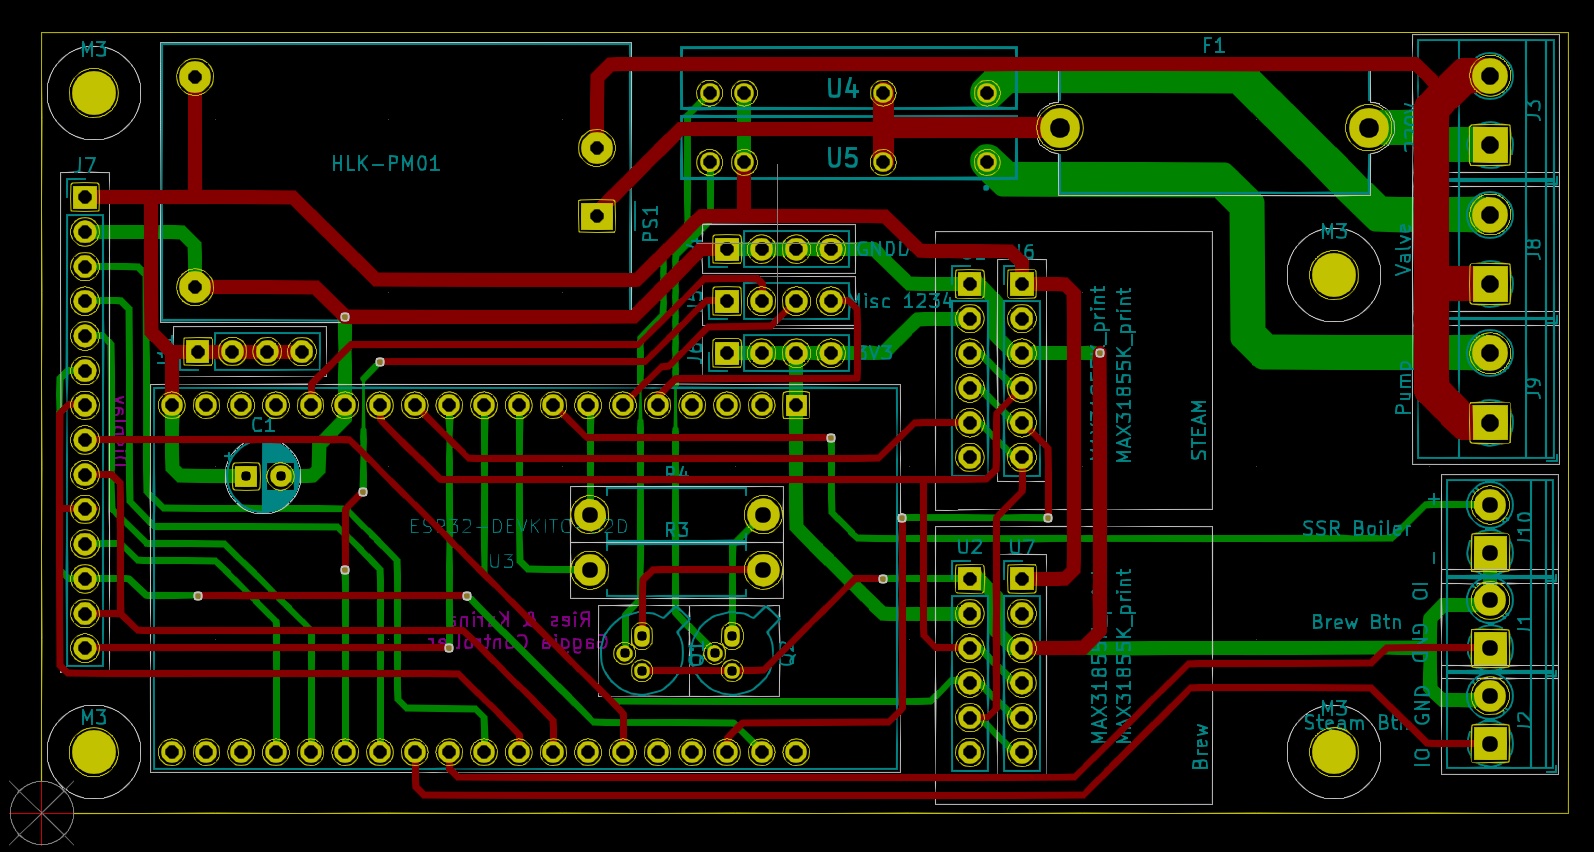
Gaggia print is an open-source printed circuit board by rvt, from the rvt/espgaggia repository on GitHub, published under the MIT licence. It is a 2-layer board of 111.8 × 57.2 mm with 29 parts on 49 nets, routed with 325 tracks and 12 vias.
It is built around the HLK-PM01 and G3MB-202P DC5. Its parts include 11 connectors, 7 ICs, 2 resistors, 2 transistors and 1 capacitor. It belongs with the ESP32 boards of this library.


A make a gaggia coffee machine more smart and make it such that is would be easy to duplicate with least amouth of soldering.
Features
| Main | Menu Screen | Settings Screen | Mounted on Gaggia |
|---|---|---|---|
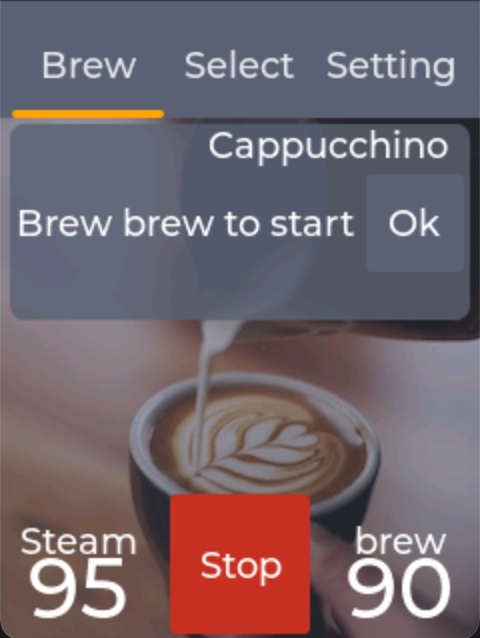 | 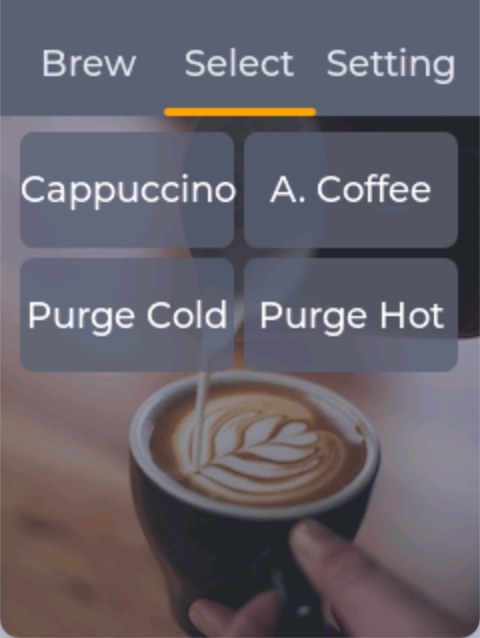 | 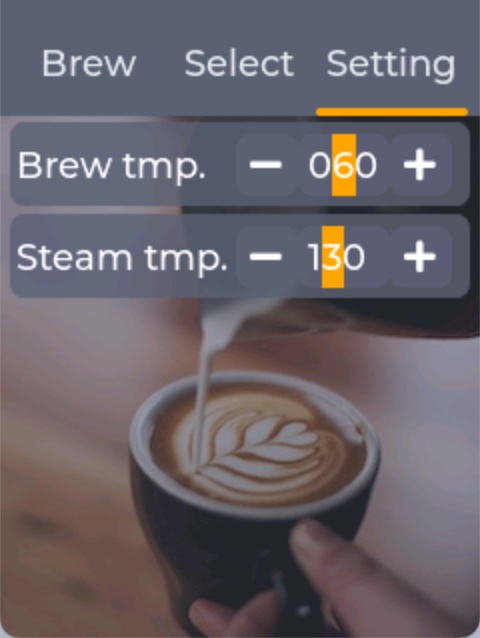 | 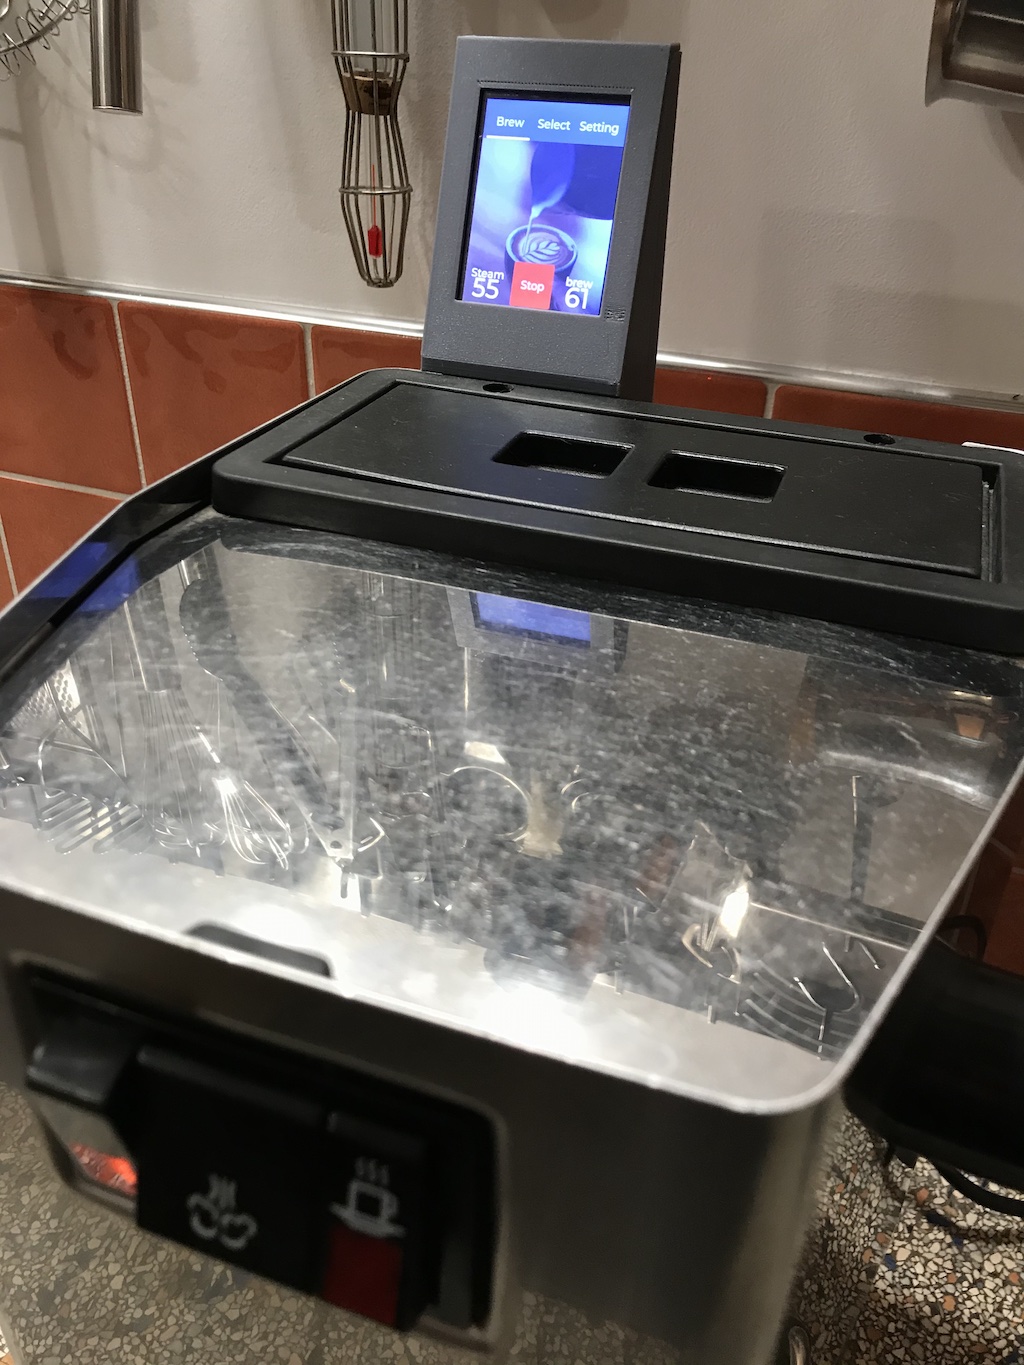 |
If you are going to build this project you have to understand you will be working with dangerous voltages and high temperatures! Although I did my best to use standard components that I think are reliable, I cannot be held responsible for any damages to your machine, yourself or the surroundings in any way possible.
rvt$ pio run
Processing gaggia (platform: espressif32; framework: arduino; board: esp32dev)
-------------------------------------------------------------------------------------------------------------------------------------------------------------------------------------------------------------------------------------------------
Verbose mode can be enabled via `-v, --verbose` option
CONFIGURATION: https://docs.platformio.org/page/boards/espressif32/esp32dev.html
PLATFORM: Espressif 32 (2.1.0) > Espressif ESP32 Dev Module
...
...
...
|-- <WiFi> 1.0
Building in debug mode
Retrieving maximum program size .pio/build/gaggia/firmware.elf
Checking size .pio/build/gaggia/firmware.elf
Advanced Memory Usage is available via "PlatformIO Home > Project Inspect"
RAM:   [===       ]  25.6% (used 84048 bytes from 327680 bytes)
Flash: [=======   ]  72.6% (used 1427385 bytes from 1966080 bytes)
============== [SUCCESS] Took 4.41 seconds ==============
To upload to your esp32 device run the following command (OSX):
platformio run --target uploadfs -e gaggia
platformio run --target upload -e gaggia
To update over Over The Air (OTA):
platformio run --target uploadfs -e gaggia --upload-port <IP or DOmain name of device>
platformio run --target upload -e gaggia --upload-port <IP or DOmain name of device>
For other compiler options check config.hpp and platformio.ini for other options.
The device will use the know wifi network or it wil present itself as a WIFI accesspoint using a wifimanager. Just connect to that accesspoint and open a browser to configure WIFI andf MQTT. By default it will have some scripts to do some of it's work. Check the data directory that is almost self explanatory on how it works.
Well, it's not really scripting because the scripting capabilities are very limited, only simple jumps and no math. See it like more like a PLC function where you can make decissions, jump or wait at various points within the process and controle the state of the machine
| Command | Type | Values | Explanation | Example | |
|---|---|---|---|---|---|
| jump | String | label name | Jump to a specific label | jump=foo;skipThis=1;label=foo; | Jump to label foo skiping the line skipThis |
| label | String | any string | A label jump can jump into | See Jump | |
| valve | bool | 1 or 0 | Turn on the 3 way valve | valve=1; | Turn on the 3 way valve |
| pump | bool | 1 or 0 | Turn on the pump | pump=1; | Turn on the pump |
| brewMode | bool | 1 or 0 | Setup the controller to read brew sensor temperature. Otherwise read temperature from steam sensor | brewMode=1; | |
| brewTemp | float or valueRef | 0..160 or string | Set a desired temperature and enable brewMode, wait untill reached or above | brewTemp=95;brewTemp=fromConfig; | Set the brew temperature to 95 degrees. Or read the desired temperature from the fromConfig value in gaggiaCfg.conf |
| steamTemp | float or valueRef | 0..160 or string | Setup the controller to read steam sensor temperature. Otherwise read temperature from steam sensor | steamTemp=150; | |
| setTemp | float or valueRef | 0..160 or string | Set a desired temperature, similar to brewTemp but do not wait | setTemp=95;setTemp=fromConfig; | |
| incTemp | float or valueRef | -160..160 | Increase or decrease from current temperature | incTemp=-5;incTemp=fromConfig; | |
| count | int or valueRef | 1..32000 | Loop a number of times (minimal 1 time) | count=5,do5Times; | |
| Message | String,String | Shows a message box on the first screen | Message=Message,Title; | Display a message 'message' with title 'Title' | |
| MessageOff | int | 0 or 1 | When 1 immediatly hdoe the message box. When 0 wait 5 seconds untill it's hidden | MessageOff=0; | Hide the message box after 5 seconds. |
| load | String | any valid script filename | Load a new script | load=/foo.txt; | Load a new script with filename foo.txt, / is mandatory |
| SteamButton | bool | 1 or 0 | Wait for the steam button to have a specific value | SteamButton=1; | Wait untill the steam button is pressed |
| BrewButton | bool | 1 or 0 | Wait for the brew button to have a specific value | BrewButton=0; | Wait untill the brew button is released |
| BrewOrSteamButton | bool,String,String,bool | 1 or 0,label,label,1 or 0 | Wait for the brew or steam button to have a specific value | BrewOrSteamButton=1,jumpBrew,jumpSteam,1; | Wait untill Brew or Steam is set (first bool is set or unset) jump to brew or steam, when non is set wait (0) or continue 1 |
| BrewAndSteamButton | bool | 1 or 0 | Wait for the brew and steam button to have a specific value | BrewAndSteamButton=1; | Wait untill the brew and steam button are in a pressed state |
Note, current scripting version does not support of adding comments, but they are added in the below script for clarity
Explanation of cappuccino.txt
pump=0; # Turn of pump (if it was on)
valve=0; # Turn of valve (if it was on)
SteamButton=1,steamIsOff; # If the steam button was set, continue to next line, otherwhsie jump to the steamIsOff label
Message=Turn off Steam,Cappuccino; # If steam was on, display message asking to turn off
SteamButton=0; # Wait here untill the steam button is in the off position
label=steamIsOff; # label that is skipped, or can bu jumped onto
Message=Press brew to start,Cappuccino; # Displat message with title
BrewButton=1; # Wait untill the brew button is pressed
Message=Wait for brew temperature; # Show message taht it is waiting untill brew temperaure is reached
brewTemp=defaultBrewTemp; # Set brewmode and temperature from configuration and wait untill temperature is reached
Message=Preinfusing...; # Display pre-infusing message
valve=1; # Turn on valve
wait=100; # wait 100ms
pump=1; # Turn on pump
wait=2000; # Wait 2 second
pump=0; # Turn of Pump
wait=5000; # Wait 5 seconds
Message=Brewing; # Display brewing
pump=1; # Turn on pump again
wait=30000; #Wait 30 seconds
pump=0; # Turn off pump
wait=100; # Wait 100ms
valve=0; # Turn off valve
Message=Done; # Display done message
wait=2500; # Wait 2500ms
MessageOff=1; #Hide message boxdata directory for full working examplesMessages can be send as simple string (properties format) or as JSON.
{
    "tempBrew":49.50,
    "tempSteam":50.00,
    "setPoint":10.00,
    "boiler":0.00,
    "brewBut":0,
    "steamBut":0,
    "pump":0,
    "valve":0
}See data directory for examples (this is still work in progress, but it works right now well enough for me to beabke to publish, however they are subject to change.
Note: For latest component set check the KiCAD schematic.
note: For the MAX31855K make sure you get the 'fancy' one, that is proper dialectric consensator, NOT the one with just two components
For pins in platformio.ini
WARNING schematic needs further verification It's now verified and work's well after 6 months. See KIA Print for latest version.
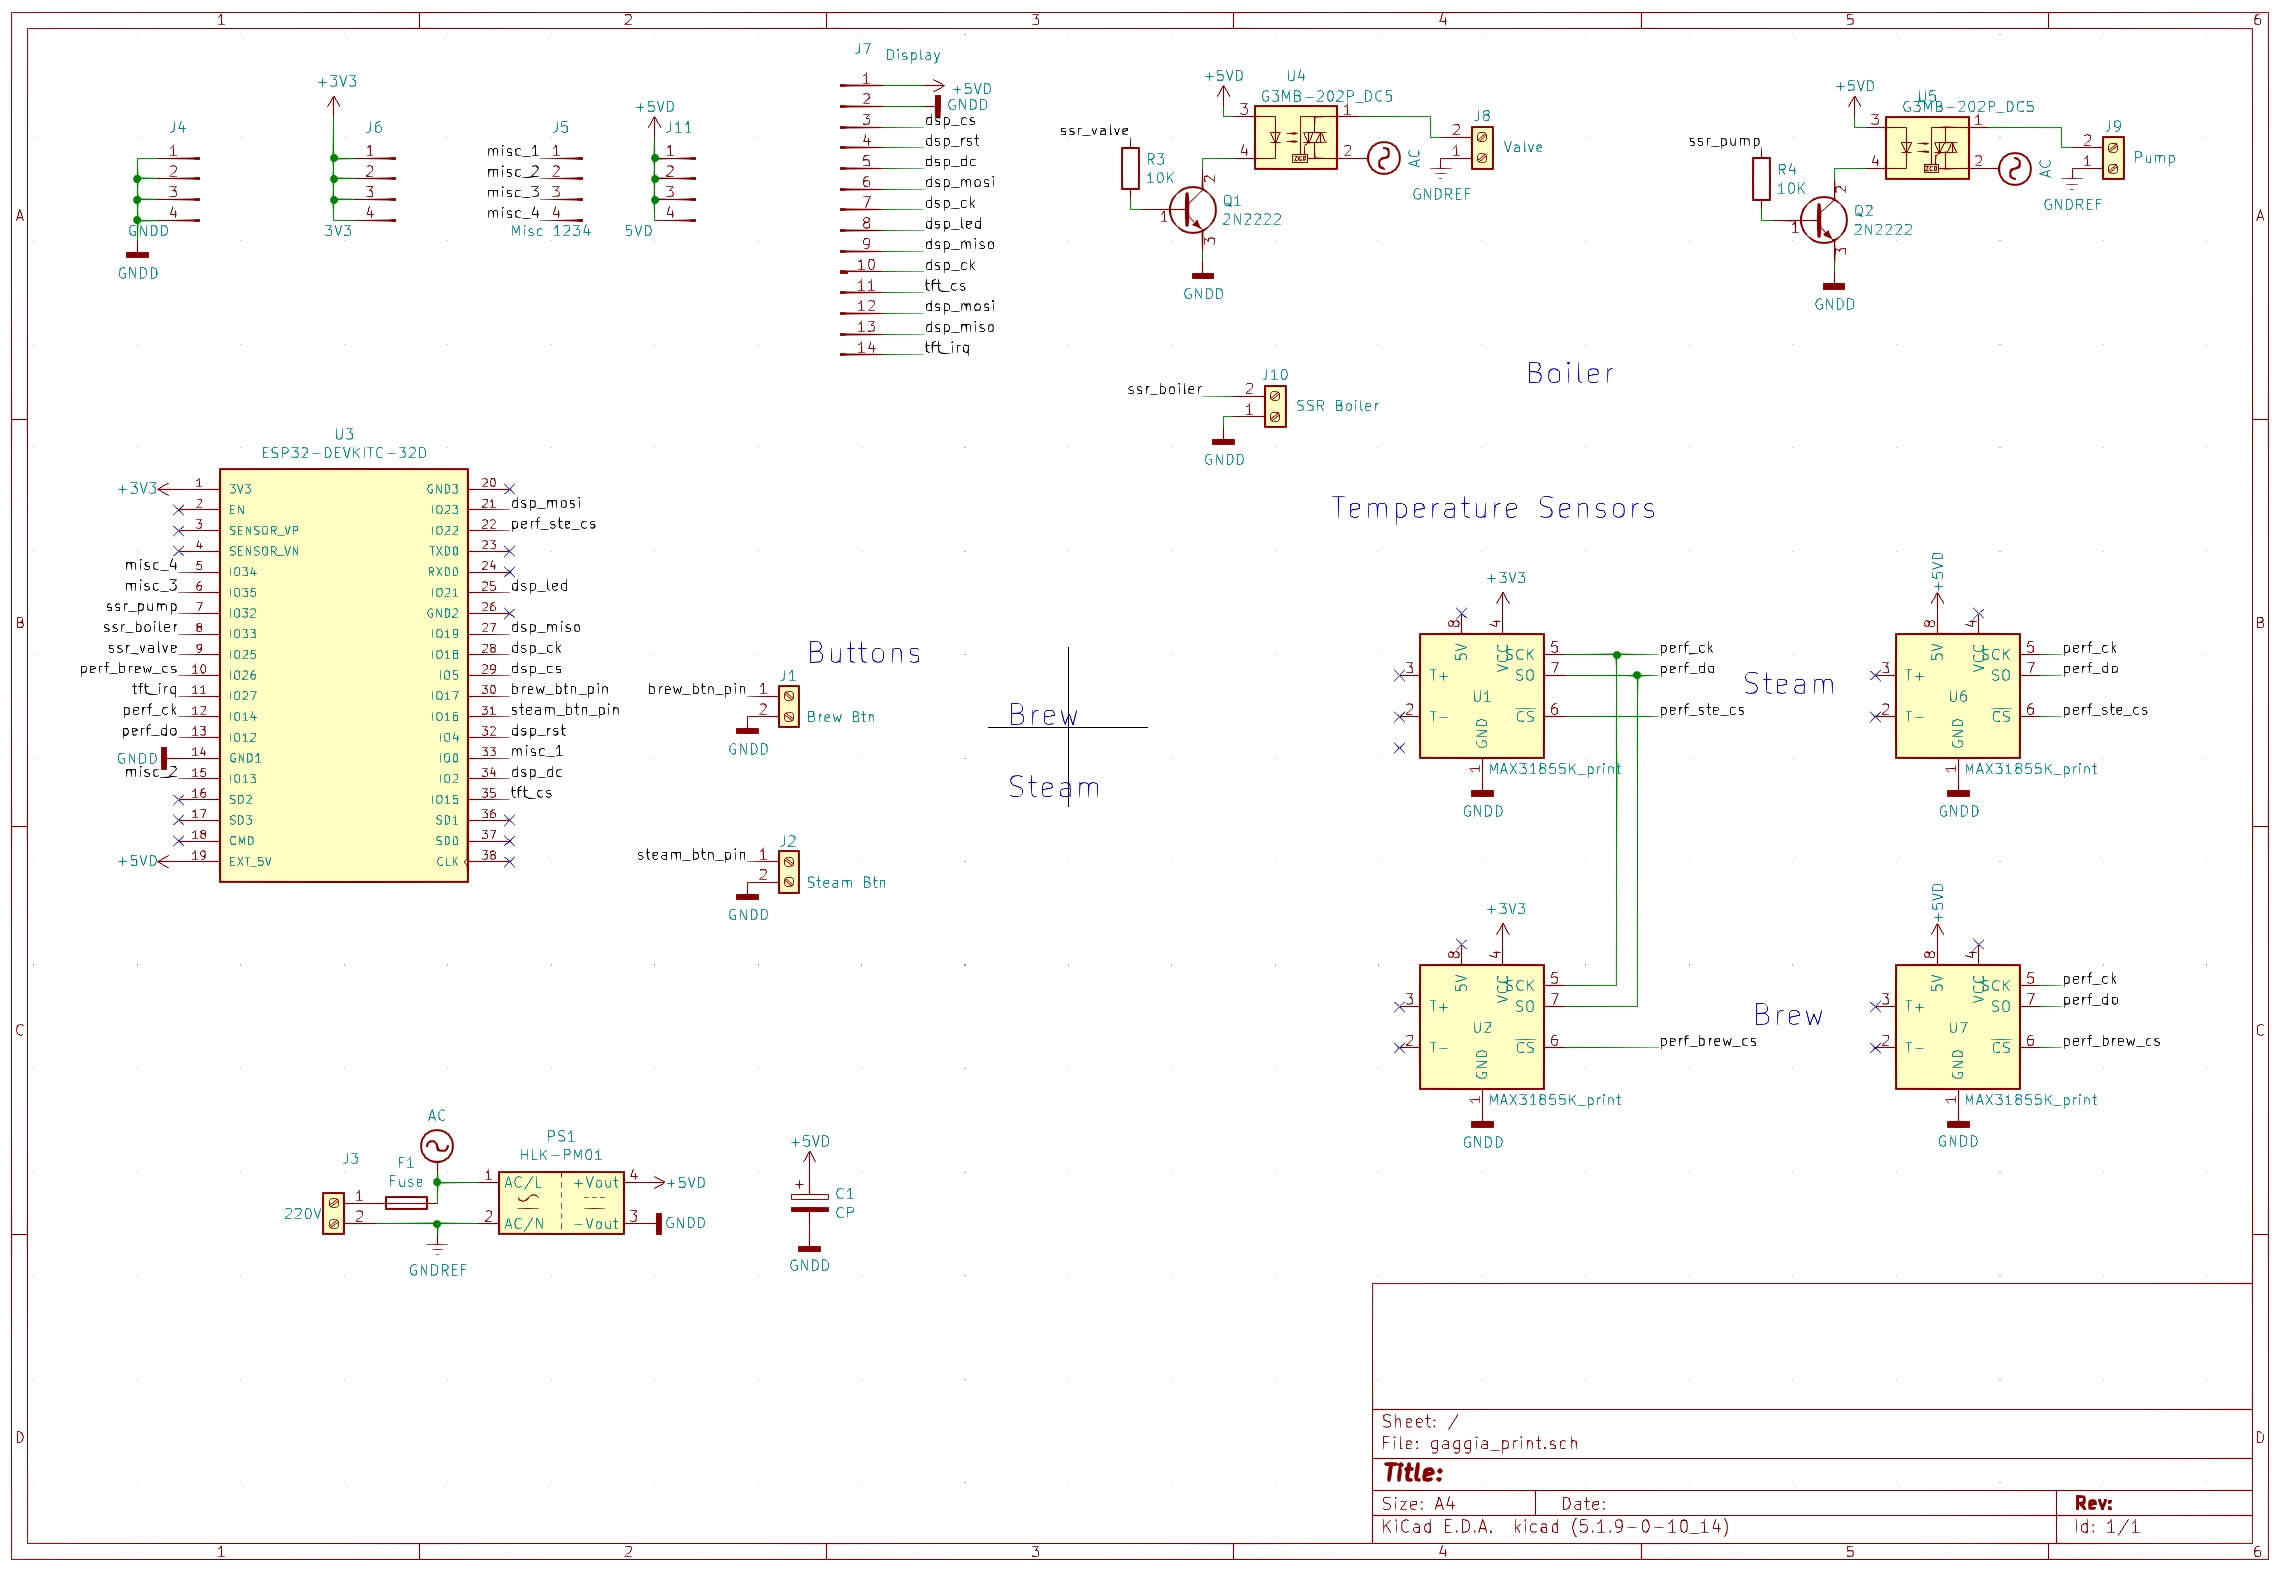
JSON Configuration for homebrige so you can turn on and off the machine with SIRI.
ID OF ESP32 is in the form of XXXXXXXX. Use a tool like http://mqtt-explorer.com to see the messages
 {
            "accessory": "mqttthing",
            "type": "outlet",
            "name": "Gaggia",
            "url": "<MQTT URL>",
            "username": "<mqtt username>",
            "password": "<mqtt password>",
            "integerValue": true,
            "confirmationPeriodms": 250,
            "onlineValue": "online",
            "offlineValue": "offline",
            "retryLimit": 2,
            "topics": {
                "getOnline": "gaggia/<ID OF ESP32>/lastwill",
                "getOn": {
                    "topic": "gaggia/<ID OF ESP32>/status",
                    "apply": "var m=JSON.parse(message); return m.setPoint>40;"
                },
                "setOn": {
                    "topic": "gaggia/<ID OF ESP32>/config",
                    "apply": "return message==1?'on=1':'on=0';"
                }
            }
}| Qty | Value | Footprint | References |
|---|---|---|---|
| 4 | M3 | MountingHole:MountingHole_3.2mm_M3 | M3, M3, M3, M3 |
| 2 | 10K | Resistor_THT:R_Axial_DIN0411_L9.9mm_D3.6mm_P12.70mm_Horizontal | R3, R4 |
| 2 | 2N2222 | Package_TO_SOT_THT:TO-18-3 | Q1, Q2 |
| 2 | G3MB-202P_DC5 | private_library:G3MC-201PL | U4, U5 |
| 2 | MAX31855K_print | private_library:QS2016039-MAX31855K | U6, U7 |
| 2 | MAX31855K_print | private_library:CJMCU-MAX31855K | U1, U2 |
| 1 | 220V | TerminalBlock_Phoenix:TerminalBlock_Phoenix_MKDS-1,5-2-5.08_1x02_P5.08mm_Horizontal | J3 |
| 1 | 3V3 | Connector_PinHeader_2.54mm:PinHeader_1x04_P2.54mm_Vertical | J6 |
| 1 | 5VD | Connector_PinHeader_2.54mm:PinHeader_1x04_P2.54mm_Vertical | J11 |
| 1 | Brew Btn | TerminalBlock_Phoenix:TerminalBlock_Phoenix_PT-1,5-2-3.5-H_1x02_P3.50mm_Horizontal | J1 |
| 1 | CP | Capacitor_THT:CP_Radial_D5.0mm_P2.50mm | C1 |
| 1 | Display | Connector_PinHeader_2.54mm:PinHeader_1x14_P2.54mm_Vertical | J7 |
| 1 | ESP32-DEVKITC-32D | private_library:MODULE_ESP32-DEVKITC-32D | U3 |
| 1 | Fuse | Fuse:Fuseholder_Cylinder-5x20mm_Stelvio-Kontek_PTF78_Horizontal_Open | F1 |
| 1 | GNDD | Connector_PinHeader_2.54mm:PinHeader_1x04_P2.54mm_Vertical | J4 |
| 1 | HLK-PM01 | Converter_ACDC:Converter_ACDC_HiLink_HLK-PMxx | PS1 |
| 1 | Misc 1234 | Connector_PinHeader_2.54mm:PinHeader_1x04_P2.54mm_Vertical | J5 |
| 1 | Pump | TerminalBlock_Phoenix:TerminalBlock_Phoenix_MKDS-1,5-2-5.08_1x02_P5.08mm_Horizontal | J9 |
| 1 | SSR Boiler | TerminalBlock_Phoenix:TerminalBlock_Phoenix_PT-1,5-2-3.5-H_1x02_P3.50mm_Horizontal | J10 |
| 1 | Steam Btn | TerminalBlock_Phoenix:TerminalBlock_Phoenix_PT-1,5-2-3.5-H_1x02_P3.50mm_Horizontal | J2 |
| 1 | Valve | TerminalBlock_Phoenix:TerminalBlock_Phoenix_MKDS-1,5-2-5.08_1x02_P5.08mm_Horizontal | J8 |
It measures 111.8 × 57.2 mm and has 2 copper layers, 1.6 mm thick.
29 parts, built around the HLK-PM01 and G3MB-202P DC5. The full list of its parts is on this page, with links to each part's symbol and footprint where PCBKit's library has them.
From the rvt/espgaggia repository on GitHub, at the commit this page was made from: the board is kicad/gaggia_print/gaggia_print.kicad_pcb and its schematic kicad/gaggia_print/gaggia_print.kicad_sch. PCBKit opens the board in the browser, with nothing to install.
Its repository publishes it under the MIT licence: you may reuse it on that licence's terms (keep the author's notice, and for a copyleft licence share your changes alike).
aaronds/access-control-manufacture
Access Control Manufacturing Artefacts

rajeev2705/PROJECTS
Welcome to my PCB projects repository! This space is dedicated to documenting my journey in designing, creating, and improving printed circuit boards (PCBs).

pablozg/freeds
Derivador de energía solar excedente creado por Pablo Zerón, Diseño PCB por Amcalo, Tester original por Aeizoon, Wiki por Zoilo Mora

jazzmonger/Traeger-PID-Controller
Traeger Smoker/Grill Controller based on an

HestiaPi/hestia-touch-pcb-dev
Testing release for the PCB files for HestiaPi Touch

cs2dsb/zcssr
A PCB and software for a SSR controller that monitors mains AC zero crossings to determine when to turn the SSR on.

milar111/HEAT
An open-source STM32 SMD assembly station for precision soldering. Uses a custom Smart Pulse & Coast algorithm to drive 400W mains heaters via SSR. Features OLED UI, NTC feedback, and safety cooling.

stasiselectronics/HotPlateController
A simple ESP32 connected controller for a SMD reflow hot plate