2 layers174 × 58 mm
Breakout 112pin Connector
rusefi/rusefi
rusefi - GPL internal combustion engine control unit
42 parts1.2k

 RadionaOrg/ZigZag3
RadionaOrg ZigZag badge
ZigZag is an open-source printed circuit board by RadionaOrg, from the RadionaOrg/ZigZag repository on GitHub, published under the GPL-3.0 licence. It is a 2-layer board of 79.9 × 29.7 mm with 42 parts on 25 nets, routed with 268 tracks and 32 vias.
Its parts include 13 resistors, 1 capacitor, 1 IC, 1 diode and 1 switch. It belongs with the lEDs and displays boards and the RISC-V boards of this library.
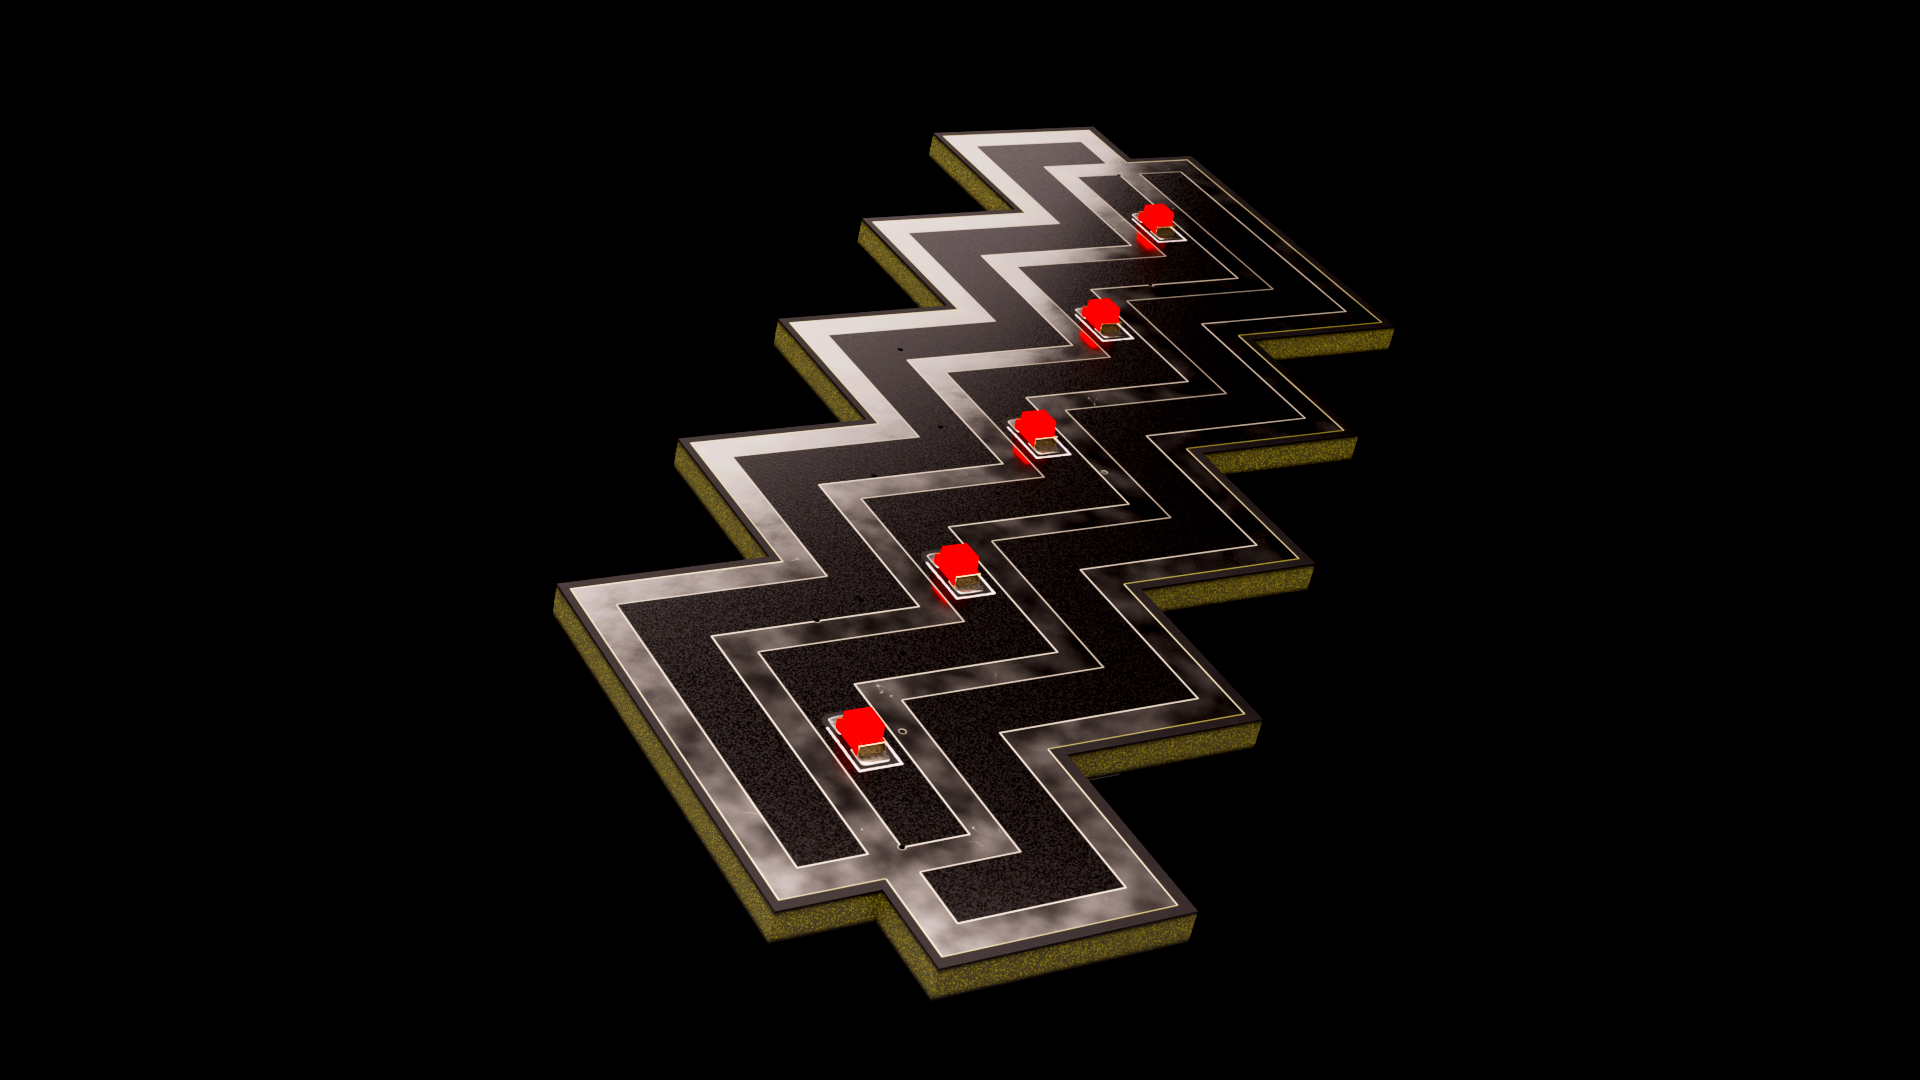
We got request from BSidesZG to design some blink LED badge with some interesting task to solve.
As badge may slightly change over time here is aditional README for BSidesZG
Starting point for our badge was RVPC from Olimex, we have preserved most of schematics, and added LEDs
The EURO 1.00 Risc-V personal computer with VGA and Keyboard and Woz like monitor. The purpose of this project is to make educational platform which people can use to learn RISCV assembler and experiment like in the old days in 1980s :)
https://www.olimex.com/Products/Retro-Computers/RVPC/open-source-hardware
We whare also inspired with BalCCon badge that is using same chip.
With less then 5 LEDs we could do blinky, but with 5 we can do PoV
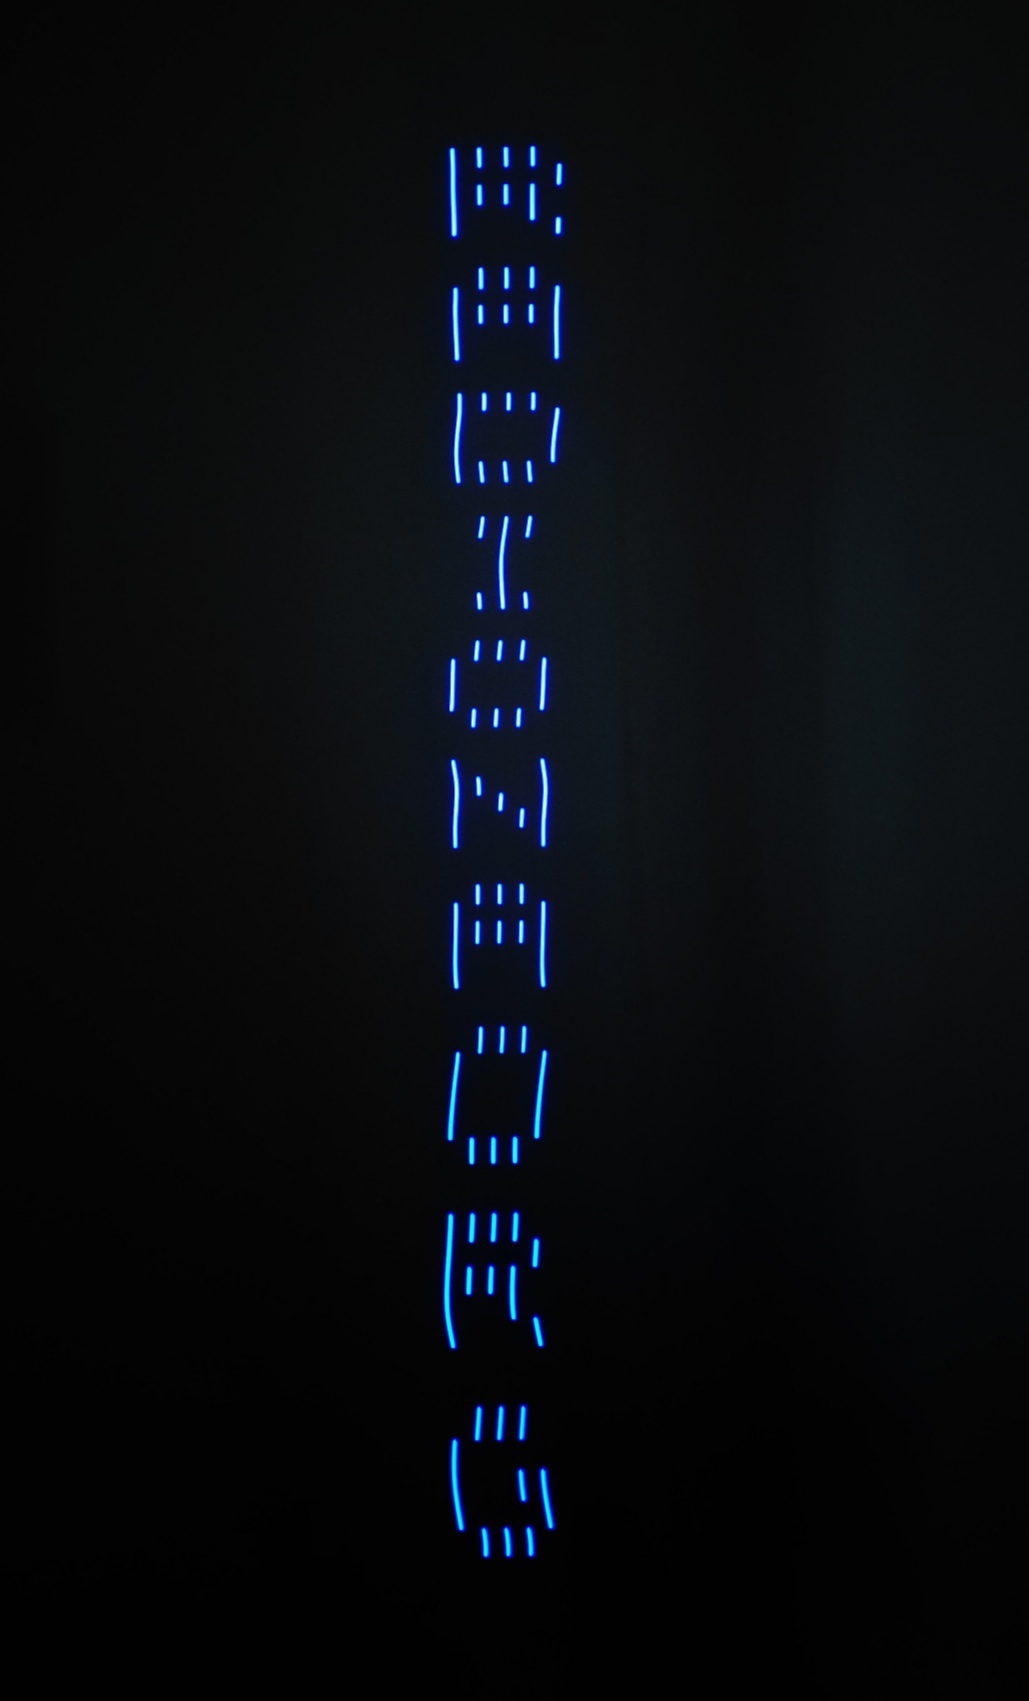
As we have BLUE and RED team, we have tested BLUE and RED LEDs.
RED LED are consuming less, and morse is better readable.
We only have 6 pins, and we did not want to intraduce any aditinal chip.
And there are many things we can do with one button.
Considerring that we can have short press, long press, longer press, double press, tripple press - you get the point that one button should be enough for everything...
We are using 0603 resistors and 0805 LEDs as they are still hand solderable, and we are using those on ULX3S so we can recycle components from scraped boards...
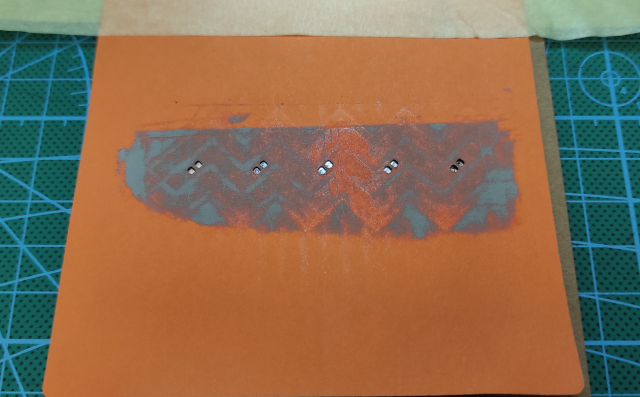
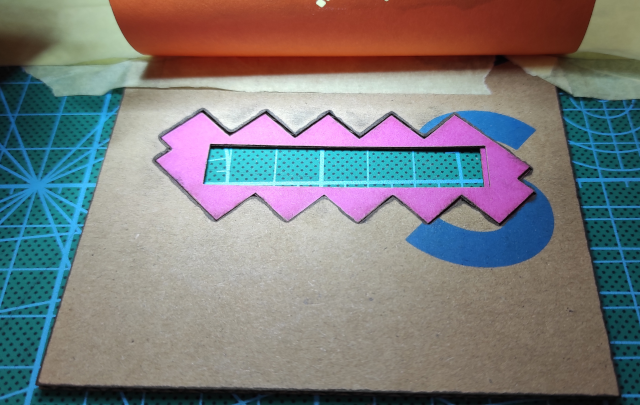
We wanted to confirm hand assembly, and low batch DIY assembly so we did first badge by hand, and rest of 69 badges with stencil. We baked first batch in oven but also checked paper stancil + hot air, and all works fine.
Paper is just 80g color paper. Diode laser cuts some colors better so we are using orange one.
For PCB holder we are using cuted cardboard
And for BOTTOM side we are using standoff cutter from hammer paper.
Applying paste to front side
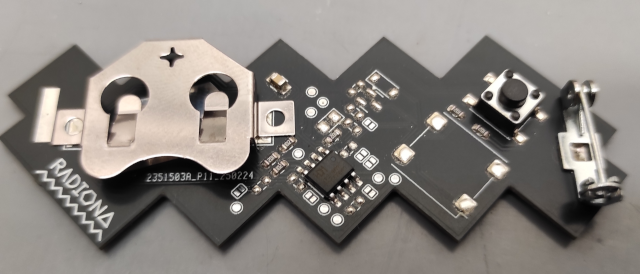
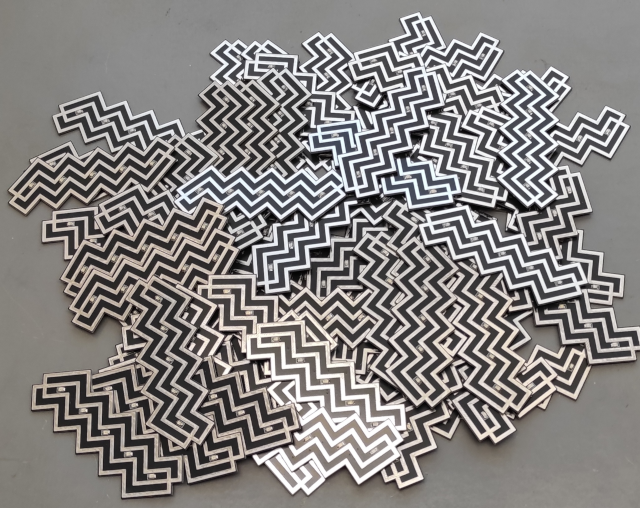
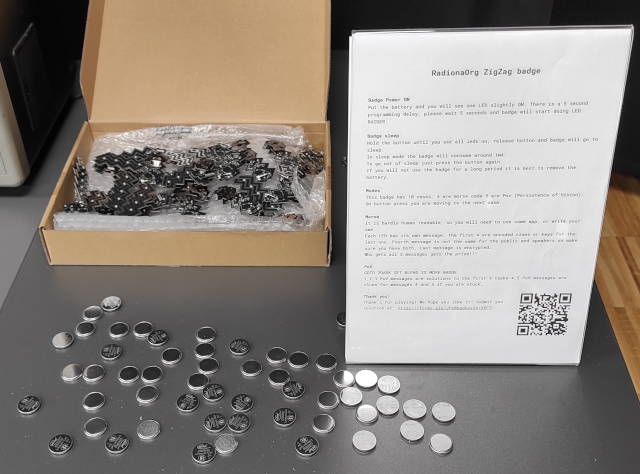
We did not want to remove any RVPC component so with moving few resistors and closing jumpers you could even have RVPC with VGA, PS2 and speaker...
https://github.com/RadionaOrg/ZigZag/tree/main/SOFTWARE/PlatformIO/ZigZag
We are using VScode + PlatformIO for building and flash.sh for flashing...
We are using raspberry pico and this software for programming https://github.com/aappleby/picorvd
Be warned not to remove initial 5 sec delay if you want to keep badge programmable with picorvd.
For programming you only need GND and PD6 test point.
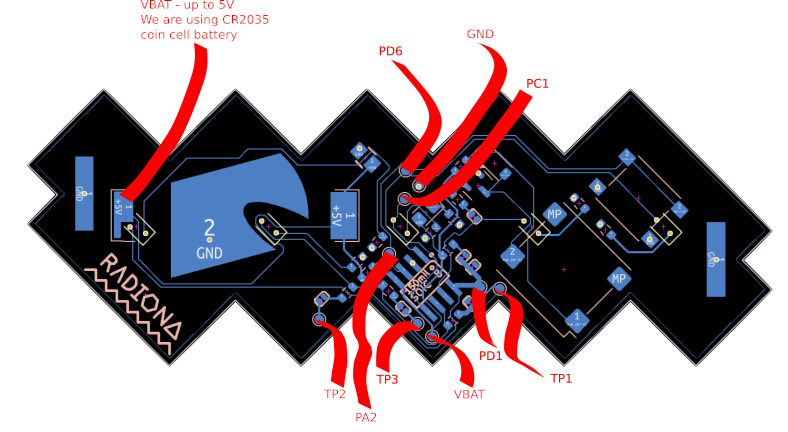
Top side PCB design by Damir Prizmić Back side PCB design by Goran Mahovlić
Idea: BSidesZG, Ante Jurjević, Damir Prizmić, Goran Mahovlić, kost, 1g0r, BalCCon Badge, Olimex RVPC
Code: Goran Mahovlić
Big thanks to Olimex for all RVPC code examples...
| Event | No. of badges | Offered Solutions | Accepted solutions |
|---|---|---|---|
| BSidesZG | 70 | 1 | 1 |
| Event | Date | Name | Needed time |
|---|---|---|---|
| BSidesZG | 07.03.2025. | Jurica Radović | ~4h |
| Qty | Value | Footprint | References |
|---|---|---|---|
| 9 | 2k/1/8W | Resistor_SMD:R_0603_1608Metric | R1, R5, R6, R8, R9, R10, R11, R12, R13 |
| 9 | TP | TestPoint:TestPoint_Pad_D1.0mm | TP1, TP2, TP3, TP4, TP5, TP6, TP7, TP8, TP9 |
| 5 | LED/SMD/0603 | LED_SMD:LED_0805_2012Metric_Pad1.15x1.40mm_HandSolder | F_LED1, F_LED2, F_LED3, F_LED4, F_LED5 |
| 5 | Opened | OLIMEX_Jumpers-FP:SJ_1_SMALLER | AUD/UP1, BLU1, KBC/UP1, PGM/DBG1, RED1 |
| 3 | 470R/1/8W | Resistor_SMD:R_0603_1608Metric | R2, R3, R4 |
| 1 | 100R/1/8W | Resistor_SMD:R_0603_1608Metric | R7 |
| 1 | 100nF/25V/2010 | OLIMEX_RLC-FP:C_0805_5MIL_DWS | C1 |
| 1 | 1N4148/DO35 | Diode_SMD:D_SOD-123 | D1 |
| 1 | 2N3904 | Package_TO_SOT_SMD:SOT-23 | T1 |
| 1 | Battery_Cell | Battery:BatteryHolder_Keystone_3002_1x2032 | BT1 |
| 1 | CH32V003J4M6(SOP8) | OLIMEX_IC-FP:SOIC-8_150mil | U1 |
| 1 | LED/SMD/0805 | LED_SMD:LED_0805_2012Metric_Pad1.15x1.40mm_HandSolder | PWR_LED1 |
| 1 | SW_Push | Button_Switch_SMD:SW_SPST_PTS645 | SW1 |
| 1 | Soldered | OLIMEX_Jumpers-FP:SJ_1_SMALLER | GRN1 |
| 1 | Speaker_QMB-09B-03(1.5-5.0V_2.7kHz_F9.0mm*H5.5mm) | Buzzer_Beeper:MagneticBuzzer_PUI_SMT-1028-T-2-R | SPK1 |
| 1 | TESTPAD | Custom:arc_90_0.5 | PAD2 |
It measures 79.9 × 29.7 mm and has 2 copper layers, 1.6 mm thick.
42 parts. The full list of its parts is on this page, with links to each part's symbol and footprint where PCBKit's library has them.
From the RadionaOrg/ZigZag repository on GitHub, at the commit this page was made from: the board is HARDWARE/ZigZag/ZigZag.kicad_pcb and its schematic HARDWARE/ZigZag/ZigZag.kicad_sch. PCBKit opens the board in the browser, with nothing to install.
Its repository publishes it under the GPL-3.0 licence: you may reuse it on that licence's terms (keep the author's notice, and for a copyleft licence share your changes alike).
rusefi/rusefi
rusefi - GPL internal combustion engine control unit


hackclub/sprig
🍃 Learn to code by making games in a JavaScript web-based game editor.

jamro/tiny-engineer
A small desktop robot that brings an AI coding assistant to life, physically acting out when it reads files, thinks, writes code, and finishes work.

hoglet67/RGBtoHDMI
Bare-metal Raspberry Pi project that provides pixel-perfect sampling of Retro Computer RGB/YUV video and conversion to HDMI

hackclub/OnBoard
💡 Join 1,000 teenagers and make your first PCB with a $100 grant!

