2 layers82.3 × 35.5 mm

 purdeaandrei/MiniRazz14
MiniRazz - open hardware controller replacement for the Unicomp Mini M keyboard
Controller is an open-source printed circuit board by purdeaandrei, from the purdeaandrei/MiniRazz repository on GitHub, published under the CERN-OHL-P-2.0 licence. It is a 4-layer board of 142.2 × 48 mm with 74 parts on 76 nets, routed with 899 tracks and 152 vias.
It is built around the RP2040, 74HC165D and USBLC6-2SC6, with the XC6206P332MR among its other parts. Its parts include 23 capacitors, 17 resistors, 13 connectors, 6 ICs and 1 switch. It belongs with the keyboards and input boards and the RP2040 boards of this library.


This is a replacement keyboard controller, for the Unicomp Mini M keyboard, this is an independent community project that is not endorsed by Unicomp, and it is not related to any official controller sold by them.
Licensed under CERN-OHL-P v2 or later
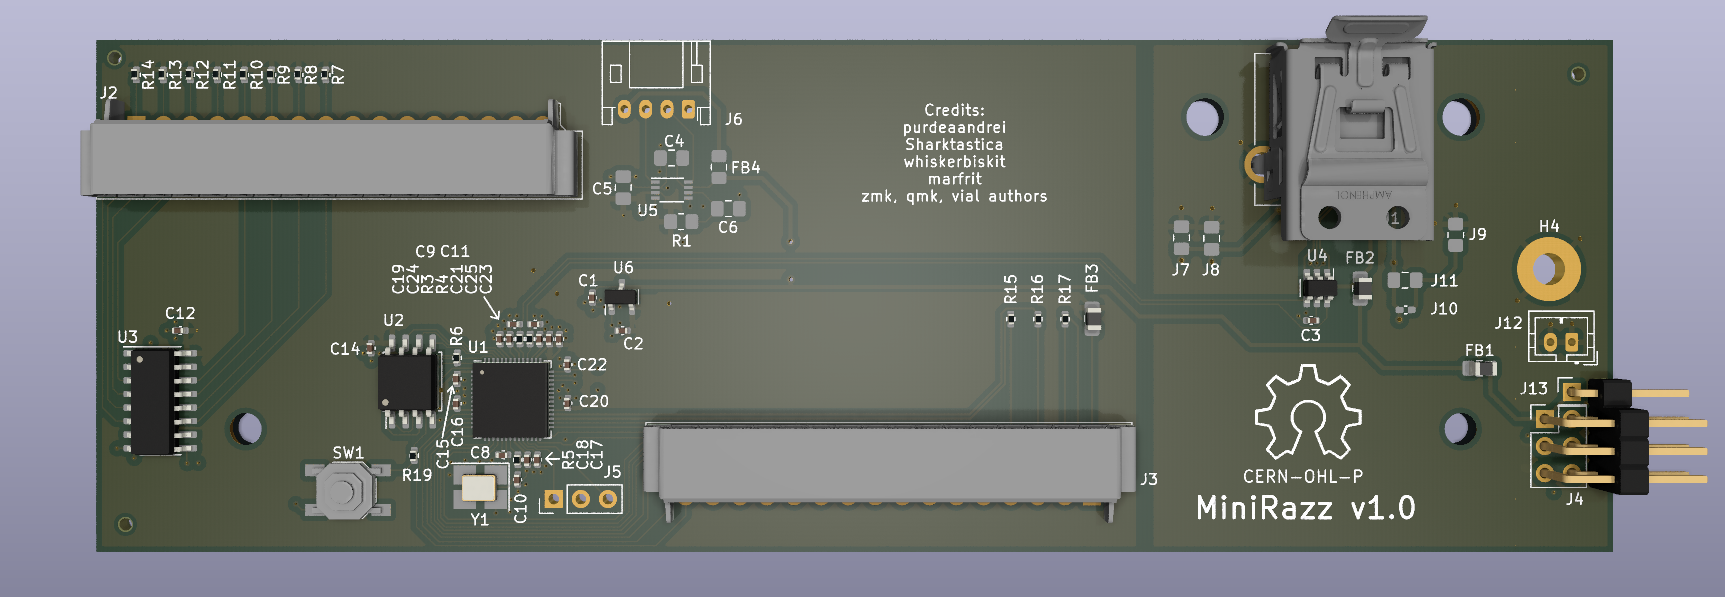
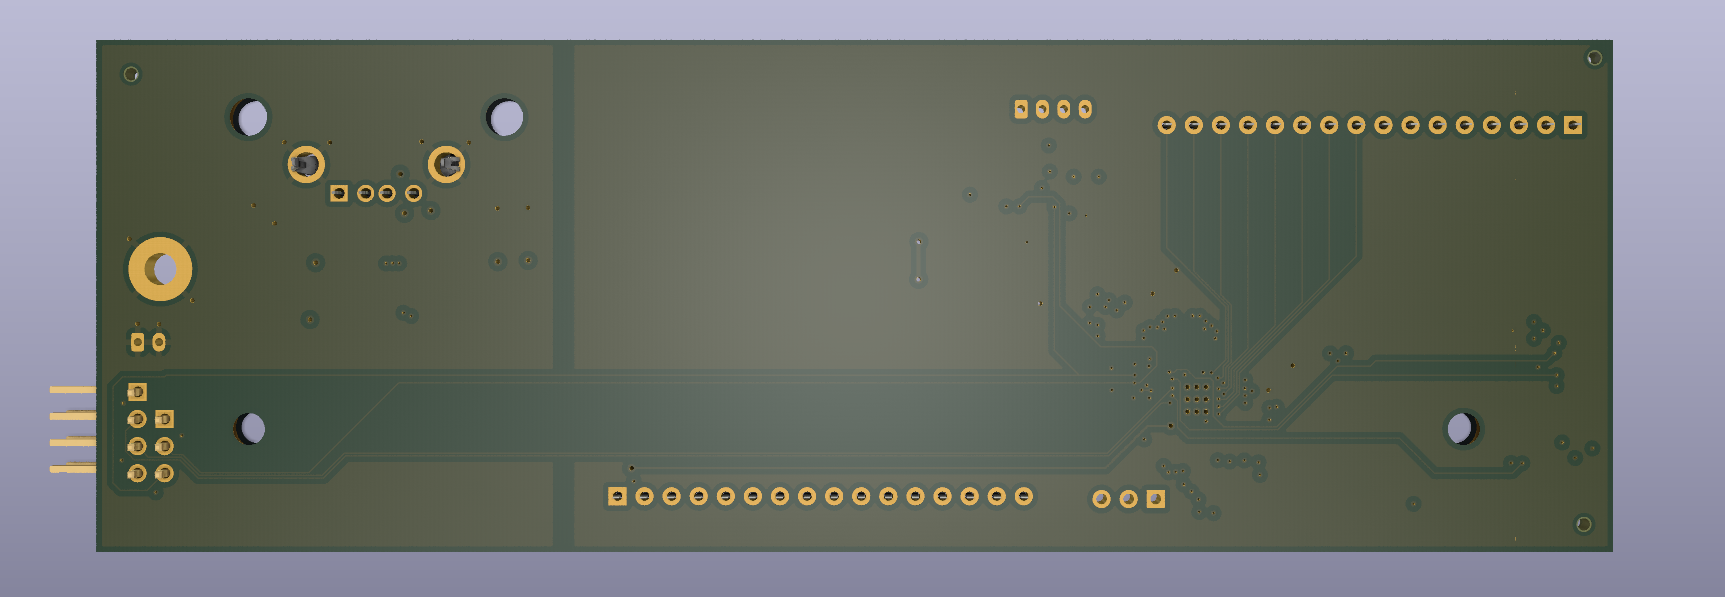
Cost analysis at the time of writing (2024 Aug 11):
| Qty | JLCPCB (USD) | JLC shipping est. (USD) | Digikey Triomates (USD) | Digikey shipping est. (USD) | VAT (19%) USD | Total (USD) | Coast per Board (USD) |
|---|---|---|---|---|---|---|---|
| 5 | 84.34 | 23.80 | 14.66 | 30 | 29.03 | 181.83 | 36.37 |
| 10 | 106.13 | 29.80 | 29.32 | 30 | 37.10 | 232.35 | 23.24 |
| 15 | 130.10 | 55.54 | 43.76 | 30 | 49.29 | 308.69 | 20.58 |
| 20 | 154.18 | 57.74 | 58.35 | 30 | 57.05 | 357.32 | 17.87 |
6-520314-6 (TE Connectivity AMP Connectors)6-520315-6)
VIAL-QMK and ZMK firmwares are available, (plain QMK upstreaming will also be attempted).
Download from here: https://github.com/purdeaandrei/vial-qmk-minirazz/releases
Use unicomp_mini_m_minirazz_vial.uf2 or unicomp_mini_m_minirazz_vial_debug.uf2
The ZMK firmware can be downloaded by clicking Releases here: https://github.com/purdeaandrei/minirazz-zmk-config The keymap can be customized by forking this repository, and editing the keymap. The firmware will be automatically rebuilt by github, and will be available on the "Actions" tab. If you want to keep your keymap secret, you can copy the content of this repository into a private github repository.
| Qty | Value | Footprint | References |
|---|---|---|---|
| 12 | 100nF | Capacitor_SMD:C_0402_1005Metric | C3, C12, C14, C15, C16, C17, C18, C19, C20, C22, C23, C24 |
| 8 | 68k | Resistor_SMD:R_0402_1005Metric | R7, R8, R9, R10, R11, R12, R13, R14 |
| 4 | 1uF | Capacitor_SMD:C_0402_1005Metric | C1, C2, C21, C25 |
| 3 | 196 | Resistor_SMD:R_0402_1005Metric | R15, R16, R17 |
| 3 | Conn_02x01 | Capacitor_SMD:C_0805_2012Metric_Pad1.18x1.45mm_HandSolder | J7, J8, J11 |
| 3 | Ferrite_Bead | Inductor_SMD:L_0805_2012Metric_Pad1.15x1.40mm_HandSolder | FB1, FB2, FB3 |
| 3 | SMTAssemblyMountingHole | footprint:tooling_hole | H1, H2, H3 |
| 2 | 1k | Resistor_SMD:R_0402_1005Metric | R5, R19 |
| 2 | 27.4 | Resistor_SMD:R_0402_1005Metric | R3, R4 |
| 2 | 30pF | Capacitor_SMD:C_0402_1005Metric | C8, C10 |
| 2 | 43pF | Capacitor_SMD:C_0402_1005Metric | C9, C11 |
| 2 | AroundUsbPortMountingHole | MountingHole:MountingHole_3.5mm | H7, H8 |
| 2 | Conn_01x16 | footprint:TE_connectivity_AMP_6-520314-6 | J2, J3 |
| 2 | DNP 100nF | Capacitor_SMD:C_0805_2012Metric_Pad1.18x1.45mm_HandSolder | C4, C5 |
| 2 | MountingHole | MountingHole:MountingHole_3mm | H5, H6 |
| 1 | 10k | Resistor_SMD:R_0402_1005Metric | R6 |
| 1 | 12MHz | Crystal:Crystal_SMD_3225-4Pin_3.2x2.5mm_HandSoldering | Y1 |
| 1 | 3.3V IO EXPANSION HEADER | footprint:PinHeader_2x03_P2.54mm_Vertical_3dhorizontal | J4 |
| 1 | 74HC165 | Package_SO:SOIC-16_3.9x9.9mm_P1.27mm | U3 |
| 1 | Conn_01x01 | footprint:PinHeader_1x01_P2.54mm_Vertical_3dhorizontal | J13 |
| 1 | Conn_01x02 | Connector_JST:JST_PH_B2B-PH-K_1x02_P2.00mm_Vertical | J12 |
| 1 | Conn_01x03 | Connector_PinHeader_2.54mm:PinHeader_1x03_P2.54mm_Vertical | J5 |
| 1 | Conn_02x01 | Resistor_SMD:R_0805_2012Metric_Pad1.20x1.40mm_HandSolder | J9 |
| 1 | Conn_02x01 | Capacitor_SMD:C_0402_1005Metric_Pad0.74x0.62mm_HandSolder | J10 |
| 1 | DNP 10k | Resistor_SMD:R_0805_2012Metric_Pad1.20x1.40mm_HandSolder | R1 |
| 1 | DNP 1uF | Capacitor_SMD:C_0805_2012Metric_Pad1.18x1.45mm_HandSolder | C6 |
| 1 | DNP Conn_01x04 | Connector_JST:JST_PH_S4B-PH-K_1x04_P2.00mm_Horizontal | J6 |
| 1 | DNP Ferrite_Bead | Inductor_SMD:L_0805_2012Metric_Pad1.15x1.40mm_HandSolder | FB4 |
| 1 | DNP TXS0102DCU | Package_SO:VSSOP-8_2.3x2mm_P0.5mm | U5 |
| 1 | LOGO | footprint:oshw_outline | G*** |
| 1 | MountingHole_Pad | MountingHole:MountingHole_3mm_Pad | H4 |
| 1 | RP2040 | Package_DFN_QFN:QFN-56-1EP_7x7mm_P0.4mm_EP3.2x3.2mm | U1 |
| 1 | SW_Push | footprint:switch_K2-1187SQ-A4SW-06 | SW1 |
| 1 | USBLC6-2SC6 | Package_TO_SOT_SMD:SOT-23-6 | U4 |
| 1 | USB_A | footprint:LUSB_A111_00 | J1 |
| 1 | W25Q16JV | Package_SO:SOIC-8_5.275x5.275mm_P1.27mm | U2 |
| 1 | XC6206P332MR | Package_TO_SOT_SMD:SOT-23 | U6 |
It measures 142.2 × 48 mm and has 4 copper layers, 1.61 mm thick.
74 parts, built around the RP2040, 74HC165D, USBLC6-2SC6 and XC6206P332MR. The full list of its parts is on this page, with links to each part's symbol and footprint where PCBKit's library has them.
From the purdeaandrei/MiniRazz repository on GitHub, at the commit this page was made from: the board is controller/controller.kicad_pcb and its schematic controller/controller.kicad_sch. PCBKit opens the board in the browser, with nothing to install.
Its repository publishes it under the CERN-OHL-P-2.0 licence: you may reuse it on that licence's terms (keep the author's notice, and for a copyleft licence share your changes alike).


Taran-the-Idiot/Horizons-Badges
E-ink badges for Horizons Crux! Made in Kicad. They use 2.66" E-ink screens with an RP2040 mcu. And they are made in the shape of a mantaray :D

luantty2/akeypad
8khz polling rate keypad, uses STM32F405 and USB3300, powered by QMK.

shanteacontrols/OpenDeck
A platform for building interactive control and sensing devices using MIDI and OSC built with Zephyr RTOS.


gianluca-rainis/Z80DevBoard
An advanced development board for the Z80 microprocessor, powered by an RP2040.

RustyCircuit/grid-devkit
KiCad PCB designed to interoperate with the Intech Studio Grid ecosystem. This devkit is a fork of Intech's VSNX hardware design, adapted to fill a gap between fully-developed hardware and breadboard/DIY controller…