



2 layers18.5 × 11.1 mm
Switch
byrantech/laptop
anyon_e, a highly integrated, high end, open source laptop. Attempt the impossible.
6 parts4.3kMIT

 nikolak/releaf1
Open source, €5 Nanoleaf Shapes compatible controller. WLED based, fully local.
Releaf is an open-source printed circuit board by nikolak, from the nikolak/releaf repository on GitHub, published under the MIT licence. It is a 2-layer board of 80 × 20 mm with 6 parts on 18 nets, routed with 71 tracks and 4 vias.
It is built around the ESP1010. Its parts include 2 ICs, 1 capacitor, 1 resistor, 1 connector and 1 switch. It belongs with the ESP32 and RISC-V boards of this library.
My Nanoleaf Shapes controller died, and I wasn't about to drop €40 just to turn on my perfectly good light panels. So I built Releaf: a cheap, fully local WLED controller based on the C3 SuperMini.
I kept the goals simple:
I went a step further and made an optional PCB that keeps the footprint small. Technically, you just need a C3 SuperMini (about 2 bucks), a resistor (cents), some wire (cents), and either a step-down converter to power the C3 SuperMini via the panel power, or just power it via USB-C if you don't mind the extra cable. The full build with the PCB and everything comes to about €7-€9 depending on where you source your hardware, shipping costs, etc.
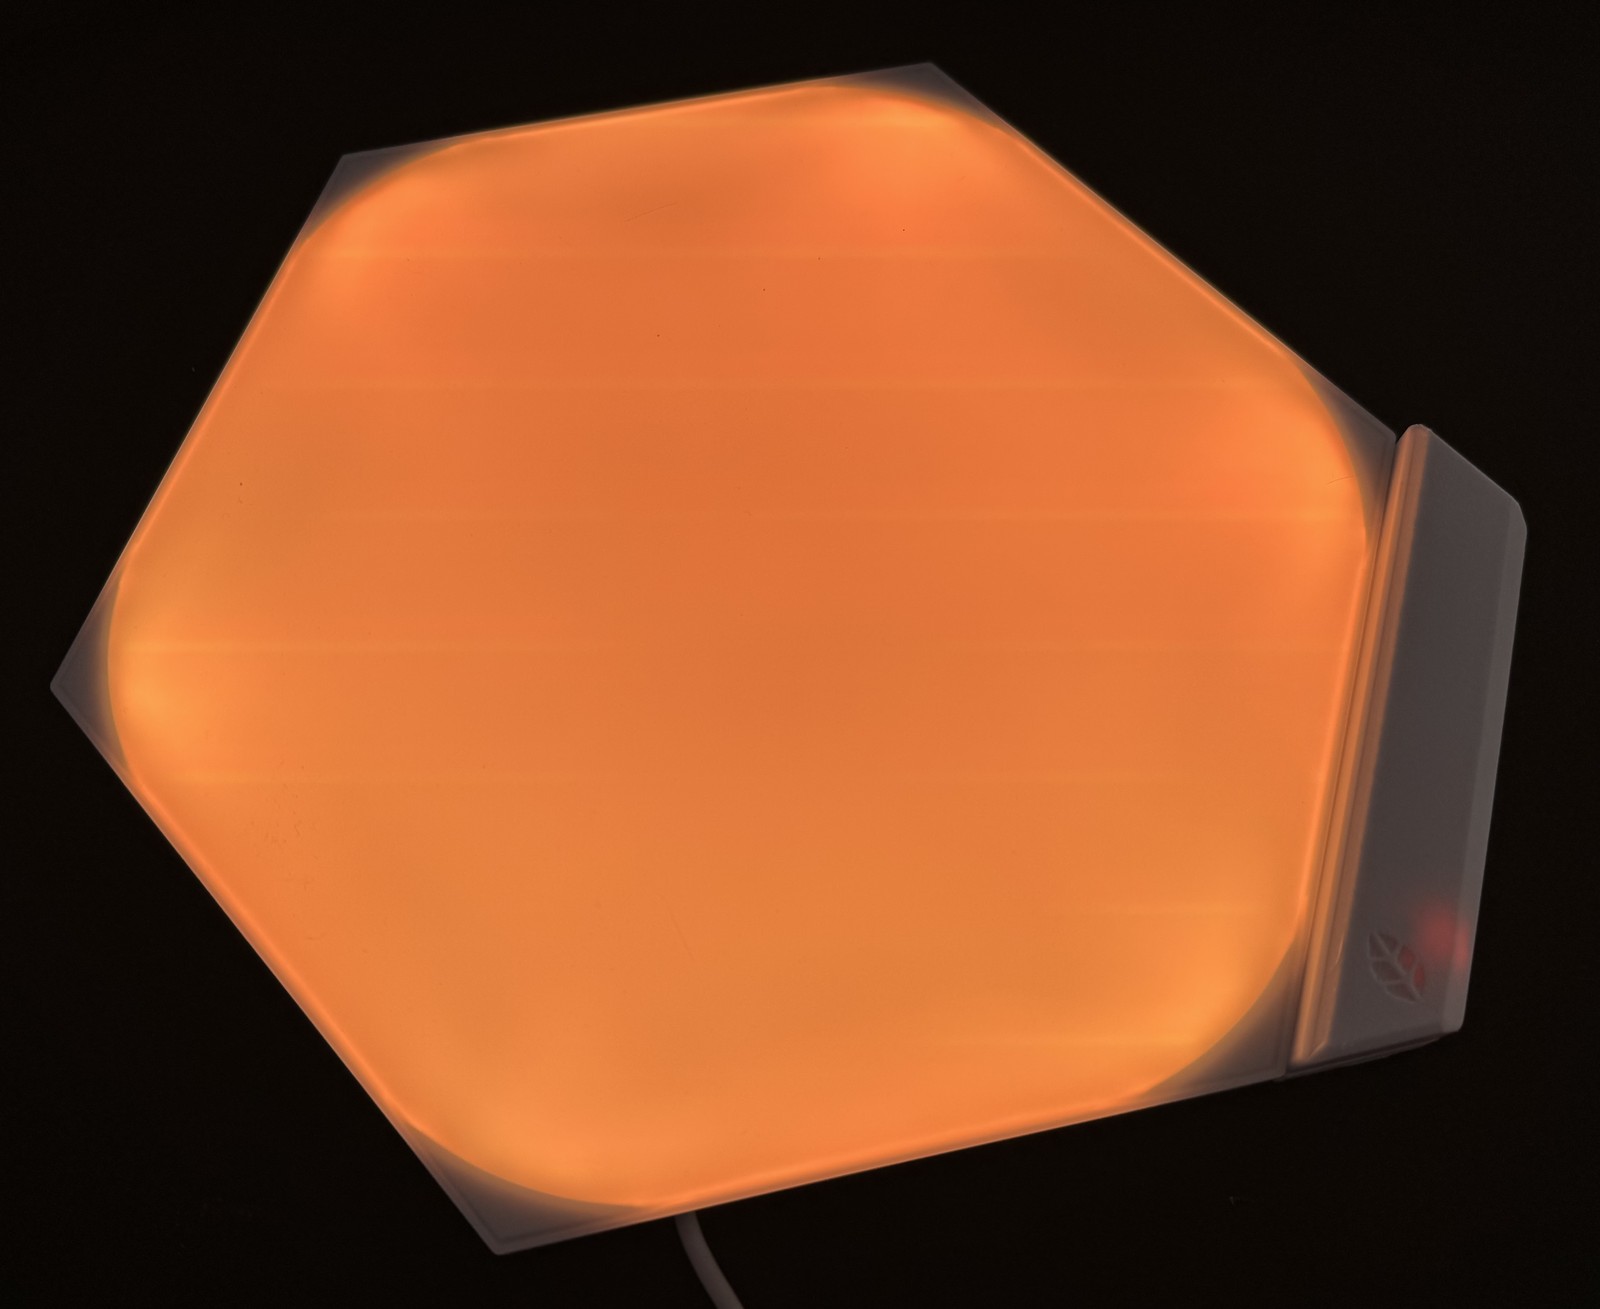 | 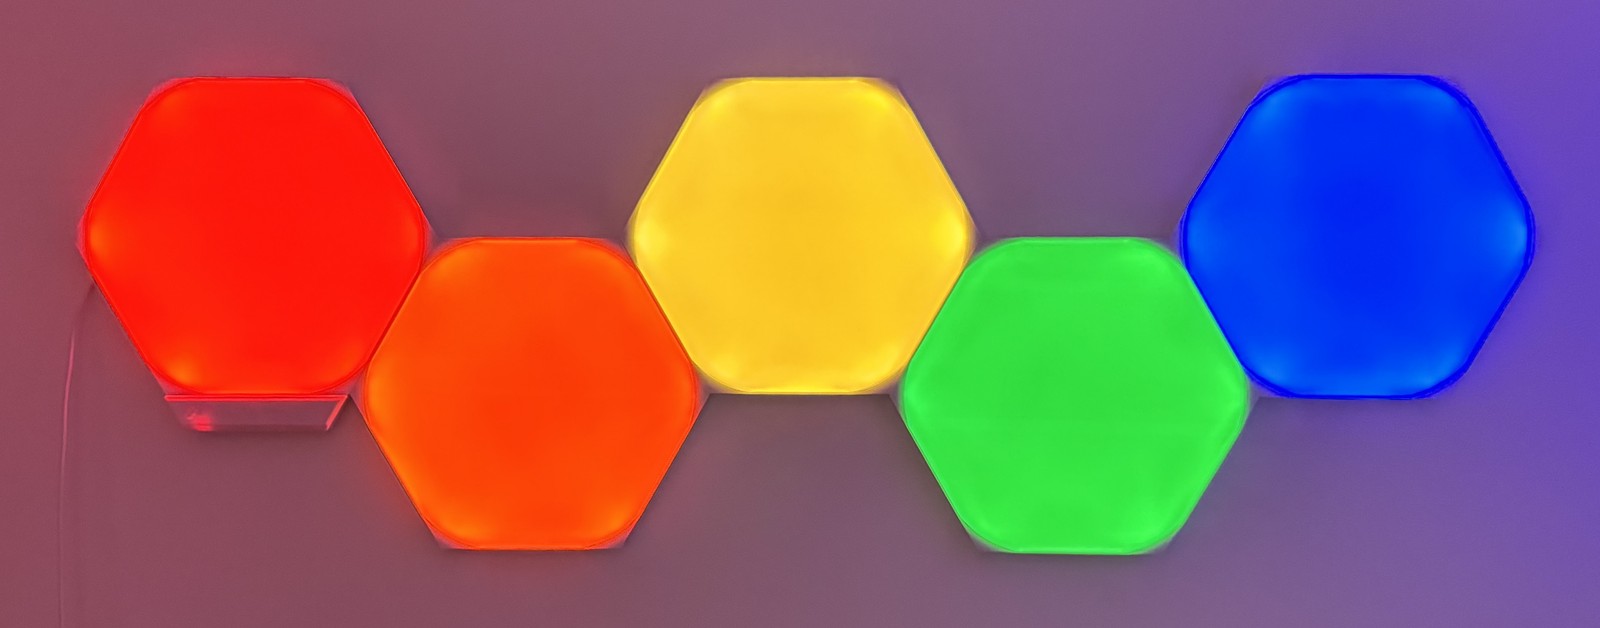 |
No need to compile the firmware yourself—just grab the binaries from the latest releases:
| File | What it's for |
|---|---|
releaf-esp32c3-factory.bin | First installation over USB, including the bootloader and partition table |
releaf-esp32c3.bin | Updating an existing Releaf installation through WLED |
releaf-gerbers.zip | Ordering the optional PCB |
releaf-shell.3mf | 3D printing the shell (Bambu Studio project with both halves). The STEP files are in hardware/shell. |
The firmware instructions cover flashing the downloaded files. Changes between versions are in the changelog.
You can wire this directly, use a breadboard, or make the controller board below. The firmware is the same for all three.
wled1234). Open 4.3.2.1 and enter your Wi-Fi details.Connect the C3 to the panels like this:
| C3 connection | Panel connection |
|---|---|
| GPIO4 (TX) and GPIO5 (RX) | Both connect to DATA |
| 3.3 V through a 10 kΩ resistor | DATA (the pull-up resistor) |
| GND | GND |
WLED still needs a configured LED output, so GPIO10 is used as a dummy output. Leave it unconnected; the panels communicate through GPIO4 and GPIO5.
You can power the C3 through USB-C, or use a step down converter to get 5 V from the panel supply. Crucial: Do not connect the panel's 41–42 V supply directly to the C3. Double-check the pinout as the linkers swap the 41v and DATA positions.
The PCB integrates the C3 and power management into one board. It draws power directly from the panels, converting it to 5V for the C3 so you don't need an extra USB cable. All five components are through-hole and can be soldered by hand:
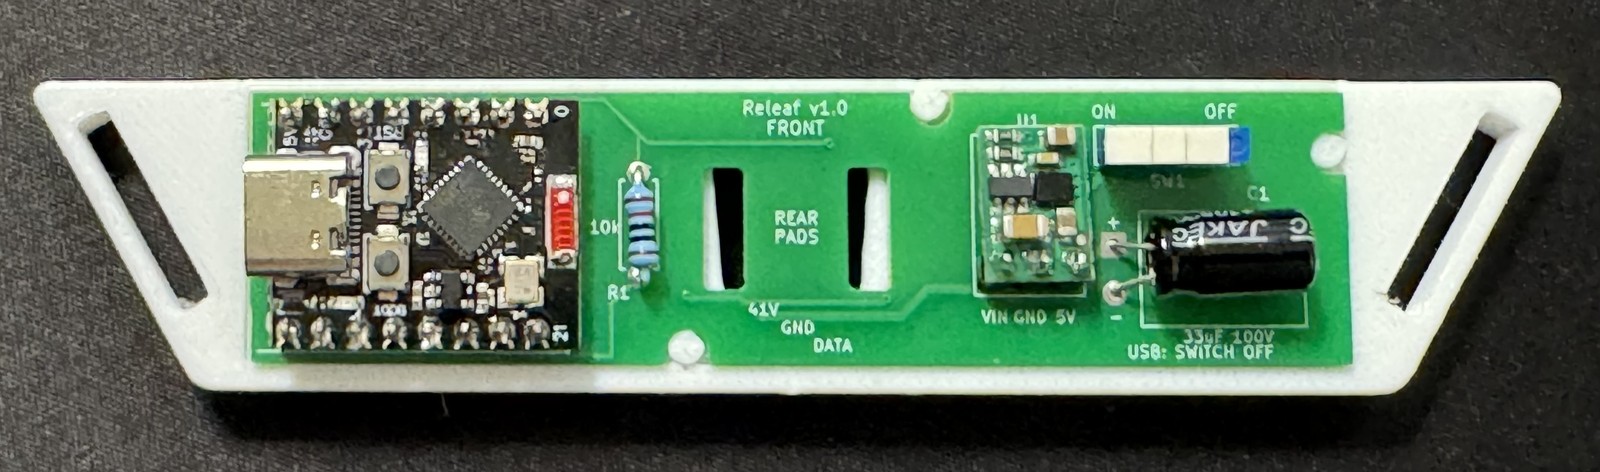
The Gerber files are ready for production. The board is 80 × 20 mm, two layers, and 1.6 mm thick. If you want to change the design, open releaf.kicad_pro in KiCad 10.
When using the board, switch it OFF before connecting USB, and unplug USB before switching it back ON.
A two-part printed shell holds the board and clips onto a panel with a standard linker. The files and print notes are in hardware/shell.
| Front | Back |
|---|---|
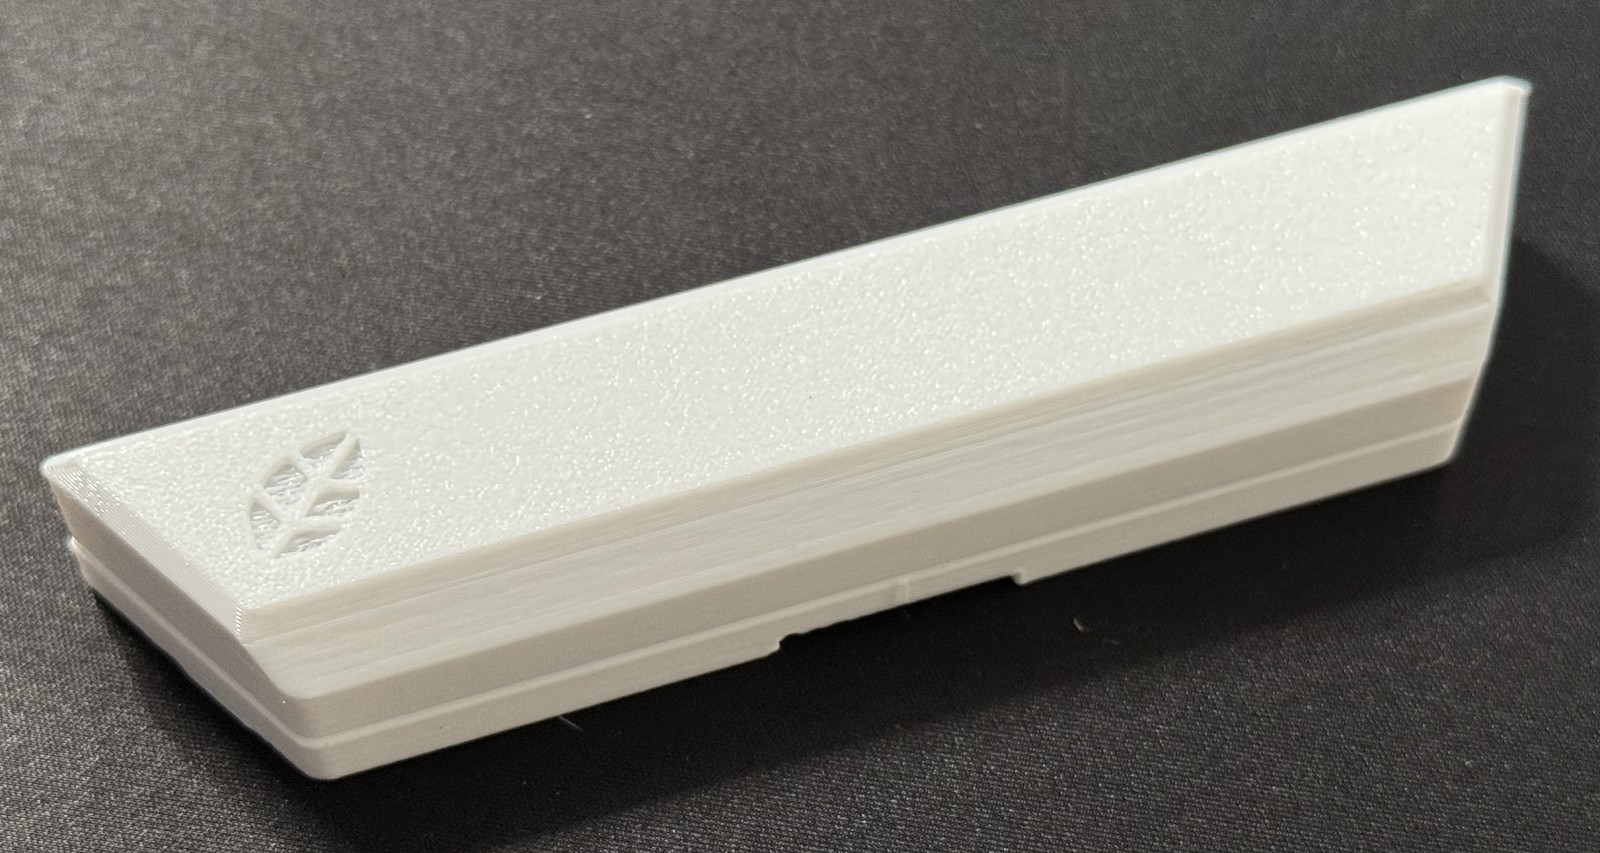 | 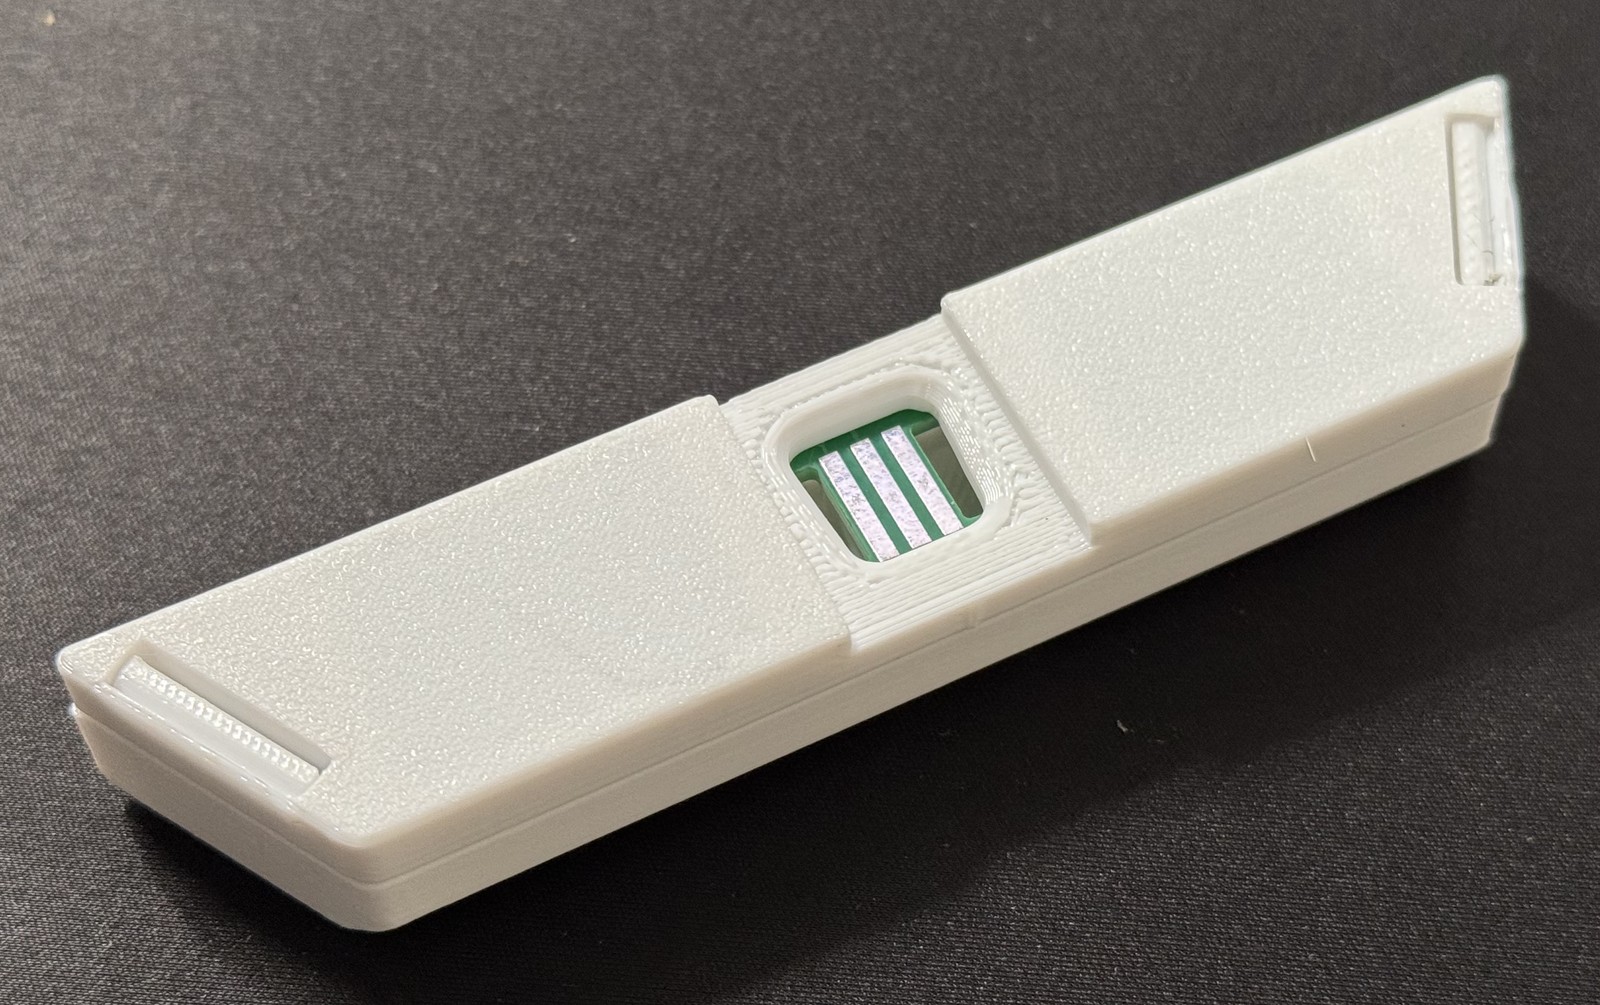 |
Next to the original Nanoleaf controller (top):
| From the front | At an angle | From the side |
|---|---|---|
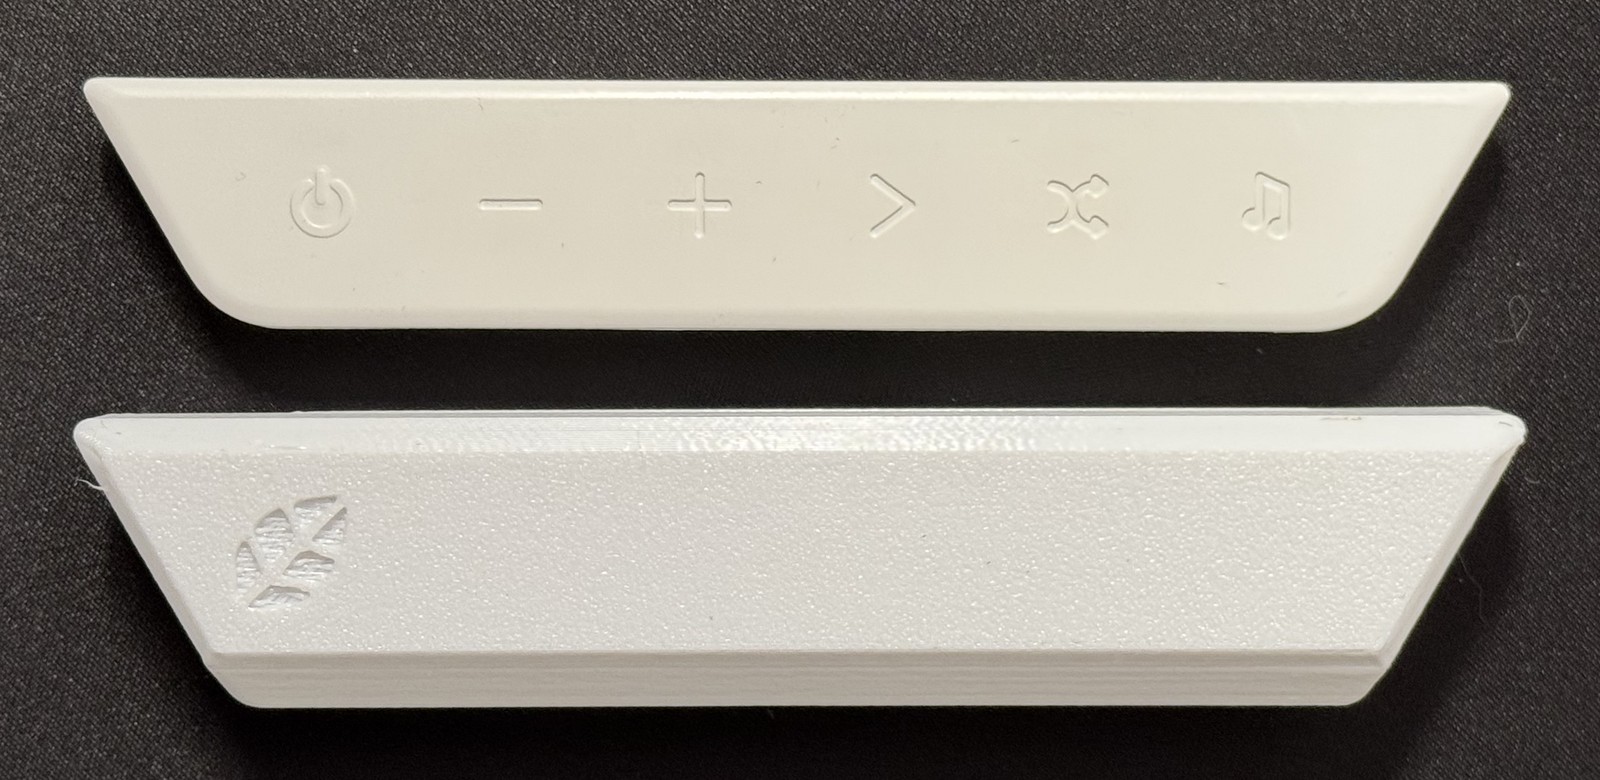 | 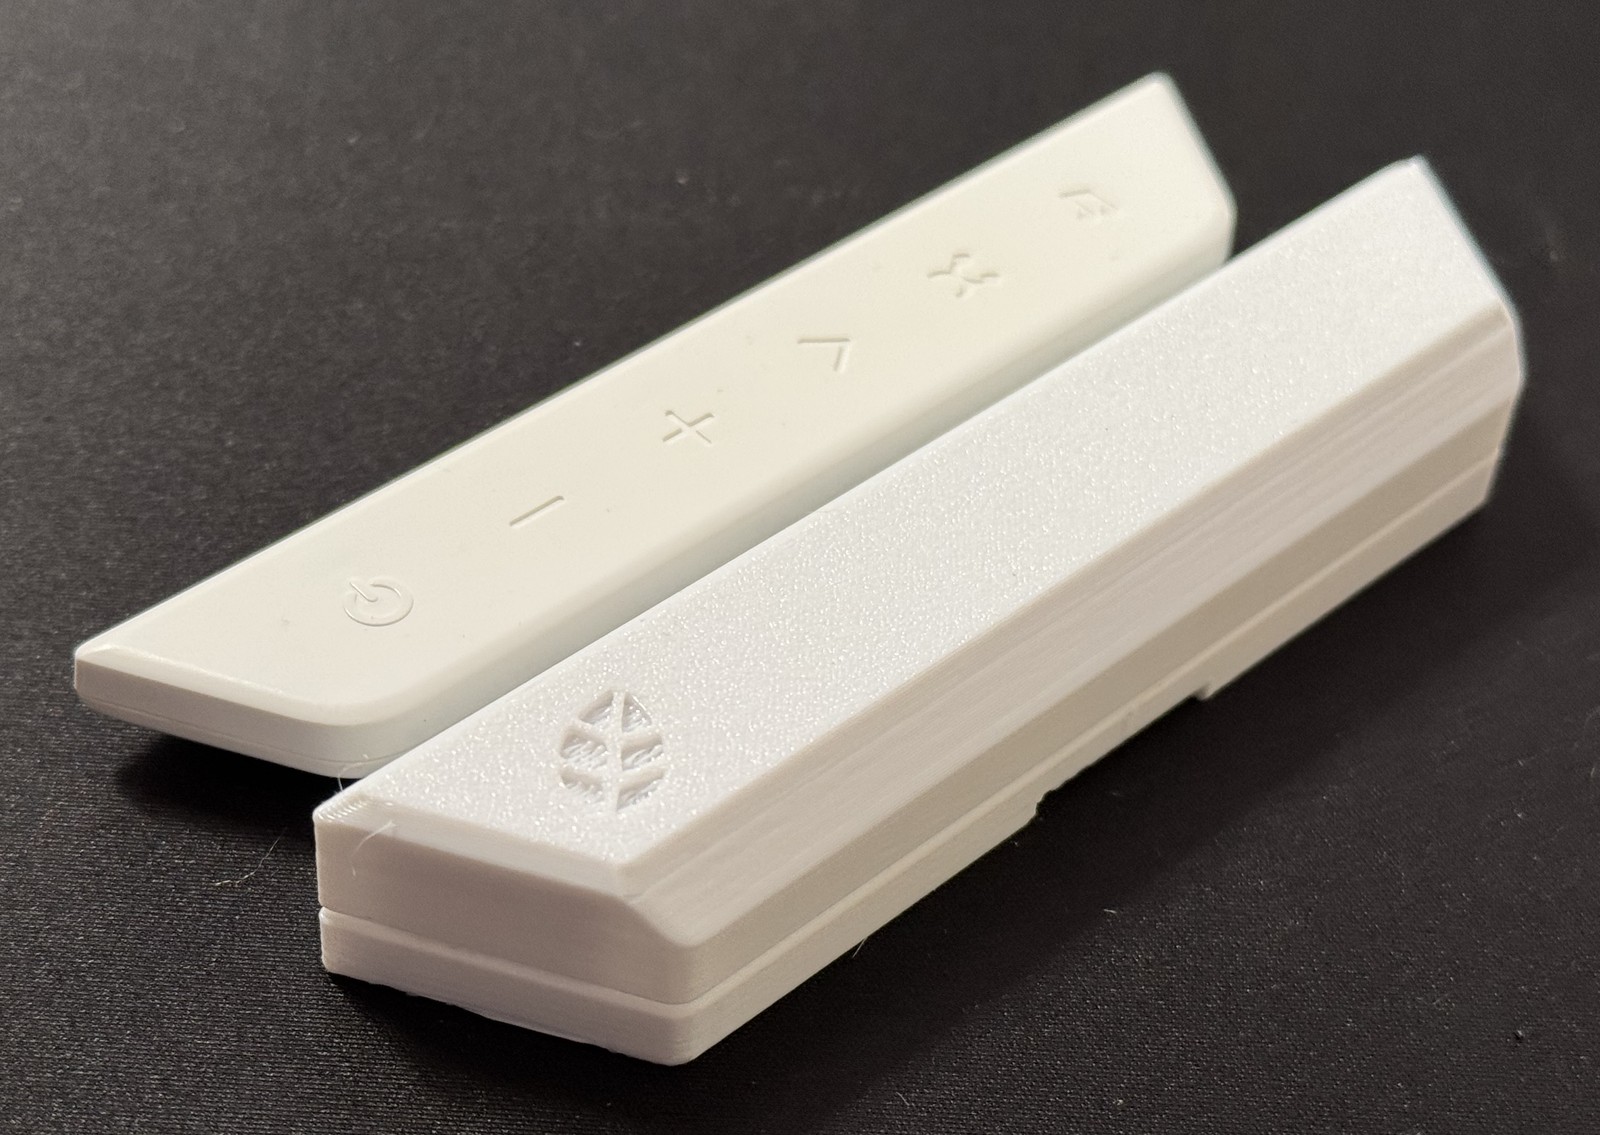 | 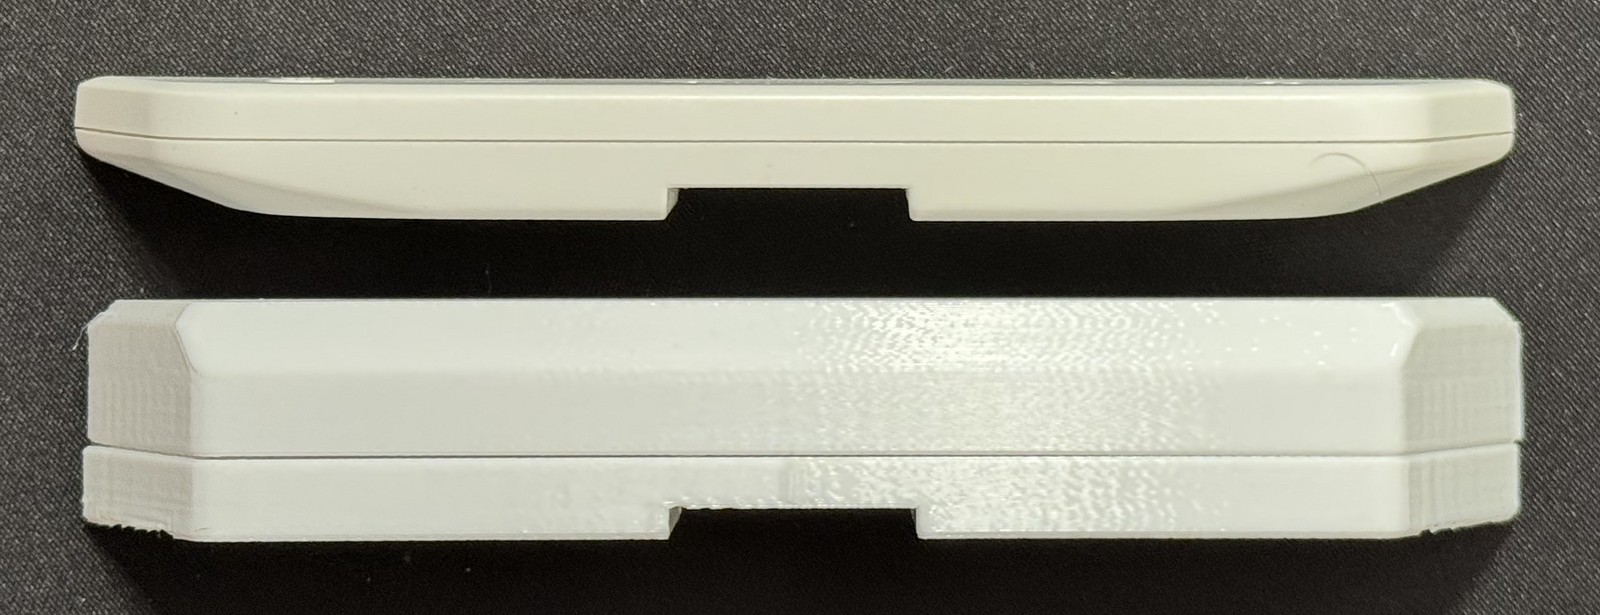 |
The firmware is WLED, with a Shapes usermod adapted from Cptmeme's Nanoleaf Shapes controller for the ESP32-C3 SuperMini. WLED provides the effects, presets and web interface.
MyrikLD's LeafBus documents the panel communication in PROTOCOL.md.
The original Releaf hardware and project files are MIT licensed. The Shapes usermod keeps its upstream GPL-3.0 license.
| Qty | Value | Footprint | References |
|---|---|---|---|
| 1 | 10k | Resistor_THT:R_Axial_DIN0207_L6.3mm_D2.5mm_P7.62mm_Horizontal | R1 |
| 1 | 33uF / 100V | Nanoleaf:CP_Radial_D8_L11.5_Horizontal | C1 |
| 1 | ESP1010 | Nanoleaf:ESP1010 | SW1 |
| 1 | ESP32-C3 SuperMini | Nanoleaf:ESP32_C3_SuperMini | U2 |
| 1 | PCB contacts | Nanoleaf:Panel_Contacts | J1 |
| 1 | Pololu D45V5F5 | Nanoleaf:D45V5F5 | U1 |
It measures 80 × 20 mm and has 2 copper layers, 1.6 mm thick.
6 parts, built around the ESP1010. The full list of its parts is on this page, with links to each part's symbol and footprint where PCBKit's library has them.
From the nikolak/releaf repository on GitHub, at the commit this page was made from: the board is hardware/releaf.kicad_pcb and its schematic hardware/releaf.kicad_sch. PCBKit opens the board in the browser, with nothing to install.
Its repository publishes it under the MIT licence: you may reuse it on that licence's terms (keep the author's notice, and for a copyleft licence share your changes alike).
byrantech/laptop
anyon_e, a highly integrated, high end, open source laptop. Attempt the impossible.


Jcparkyn/dpoint
Open-source digital stylus using camera tracking and inertial measurements

VoronDesign/Voron-Hardware
Cool Hardware designed by the Voron Design group

hoglet67/RGBtoHDMI
Bare-metal Raspberry Pi project that provides pixel-perfect sampling of Retro Computer RGB/YUV video and conversion to HDMI

hackclub/OnBoard
💡 Join 1,000 teenagers and make your first PCB with a $100 grant!

Luos-io/luos_engine
Open-source and real-time orchestrator for cyber-physical-systems, to easily design, test and deploy embedded applications and digital twins.
