

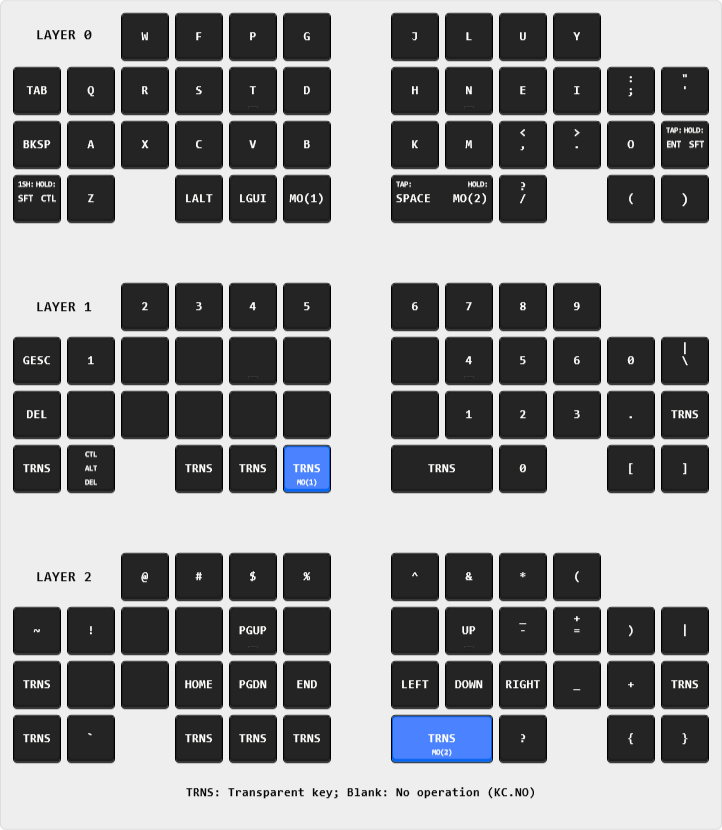


4 layers99 × 53.3 mm
PSLab
fossasia/pslab-hardware
PSLab Hardware Design and Schematics https://pslab.io
199 parts1.7kApache-2.0

 JRiggles/DELPHI-kbd14
Dual Ergolinear Low-Profile Human Interface
DELPHI kbd is an open-source printed circuit board by JRiggles, from the JRiggles/DELPHI-kbd repository on GitHub, published under the MIT licence. It is a 2-layer board of 237.5 × 80 mm with 112 parts on 70 nets, routed with 385 tracks and 43 vias.
It is built around the 1N4148W. Its parts include 44 switches, 42 diodes and 2 ICs. It belongs with the RP2040 boards of this library.

Hardware v1.0.2, Software v1.2.0 © 2022-251
Current version runs the latest KMK as of July 13th '25, and CircuitPython version 9.2.8
DELPHI is a minimal split mechanical keyboard designed to combine ergonomics and an ortholinear layout into a small form factor.
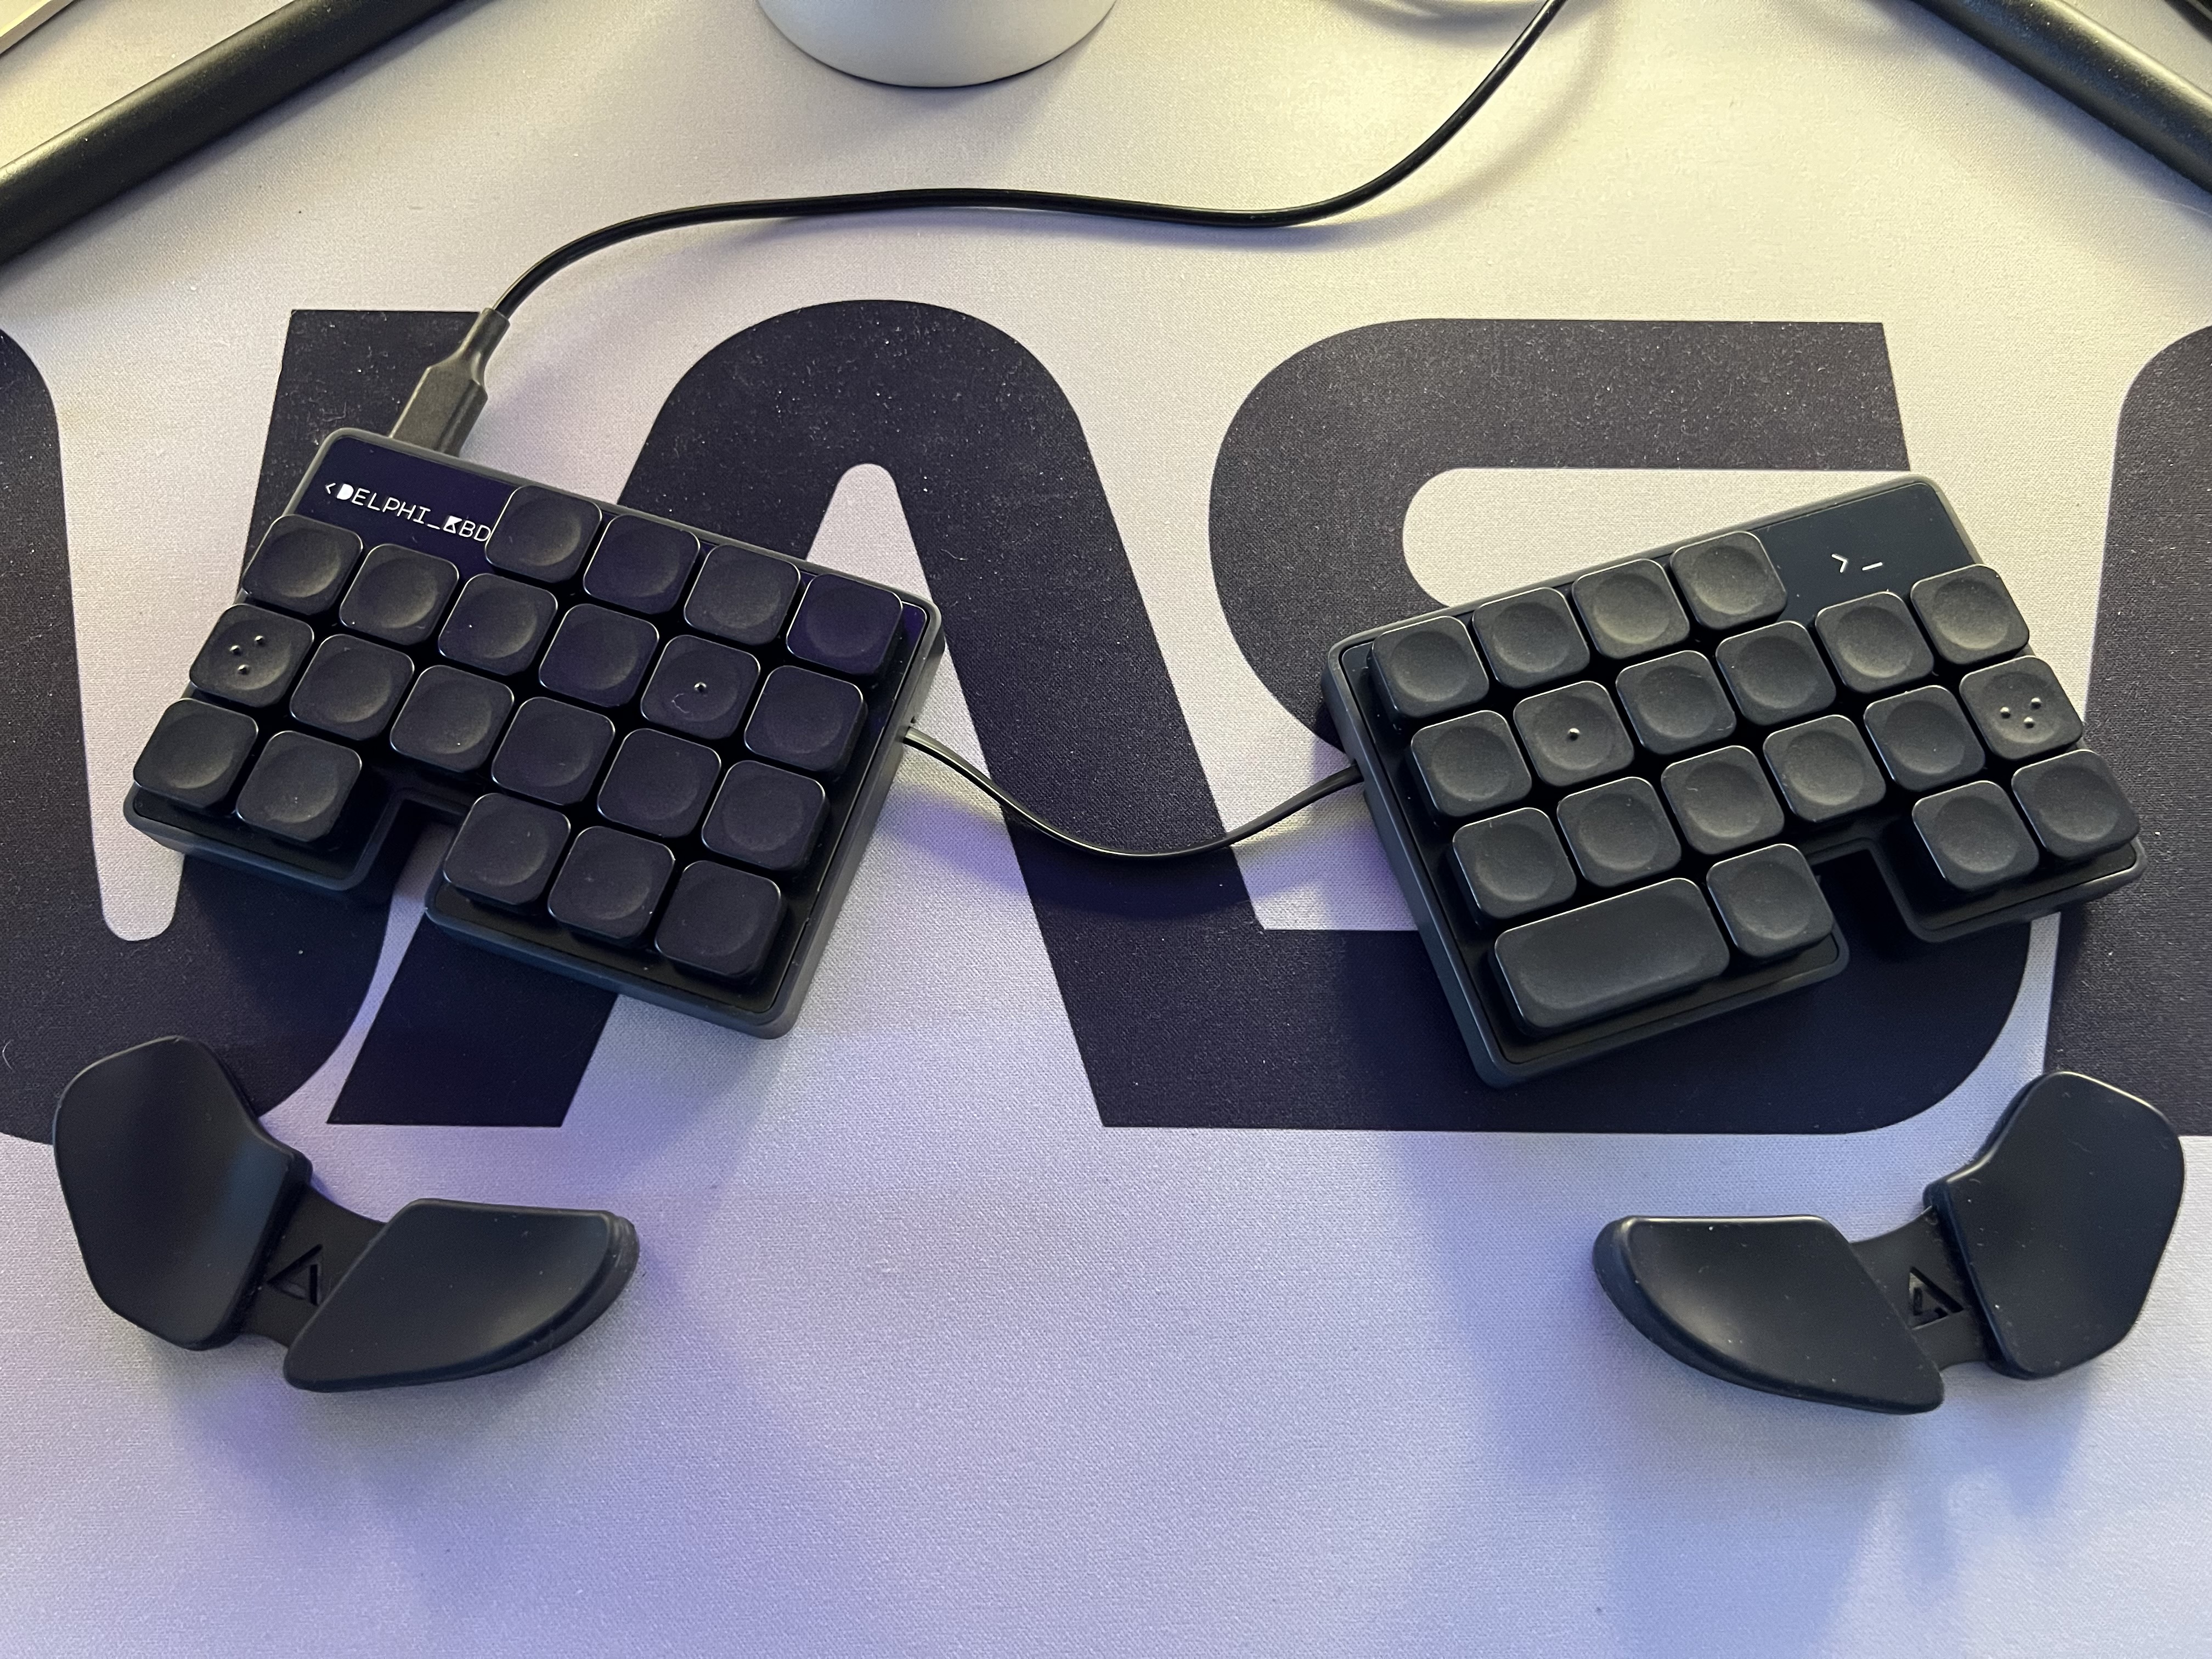
[!IMPORTANT] A STEMMA QT cable (or compatible equivalent, such as a SparkFun Qwiic cable) is required to connect the halves
300mm or 400mm length is recommended. The cable pictured above is 300mm long.
DELPHI might also work with the SAMD21 Adafruit QT PY as long as you solder on the "optional"* 2MB SPI Flash IC, but I haven't been able to get this board to work on Windows 11 (YMMV).
*KMK firmware will not fit on this board without the extra Flash memory.
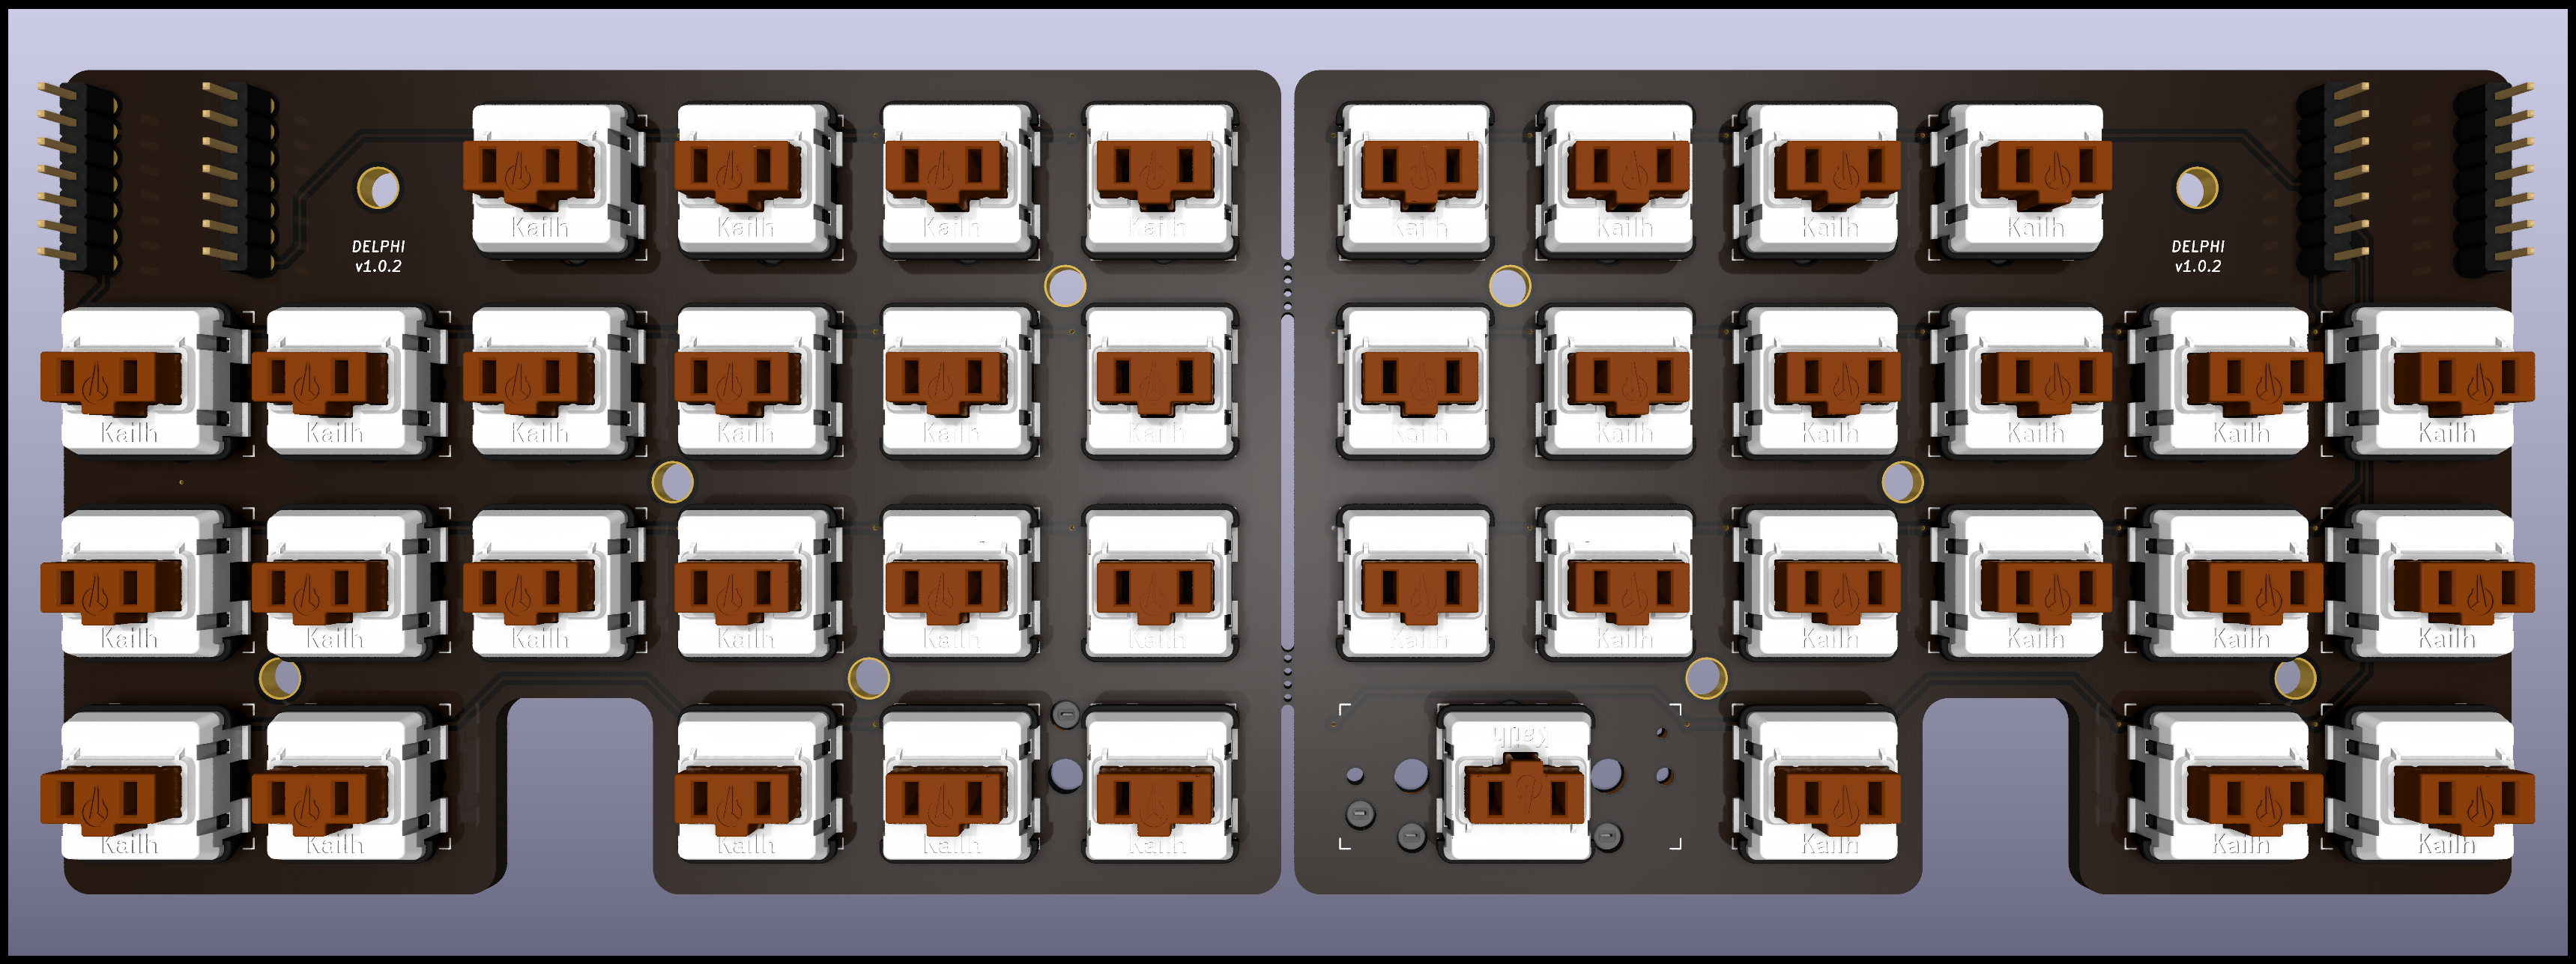
PCB top view
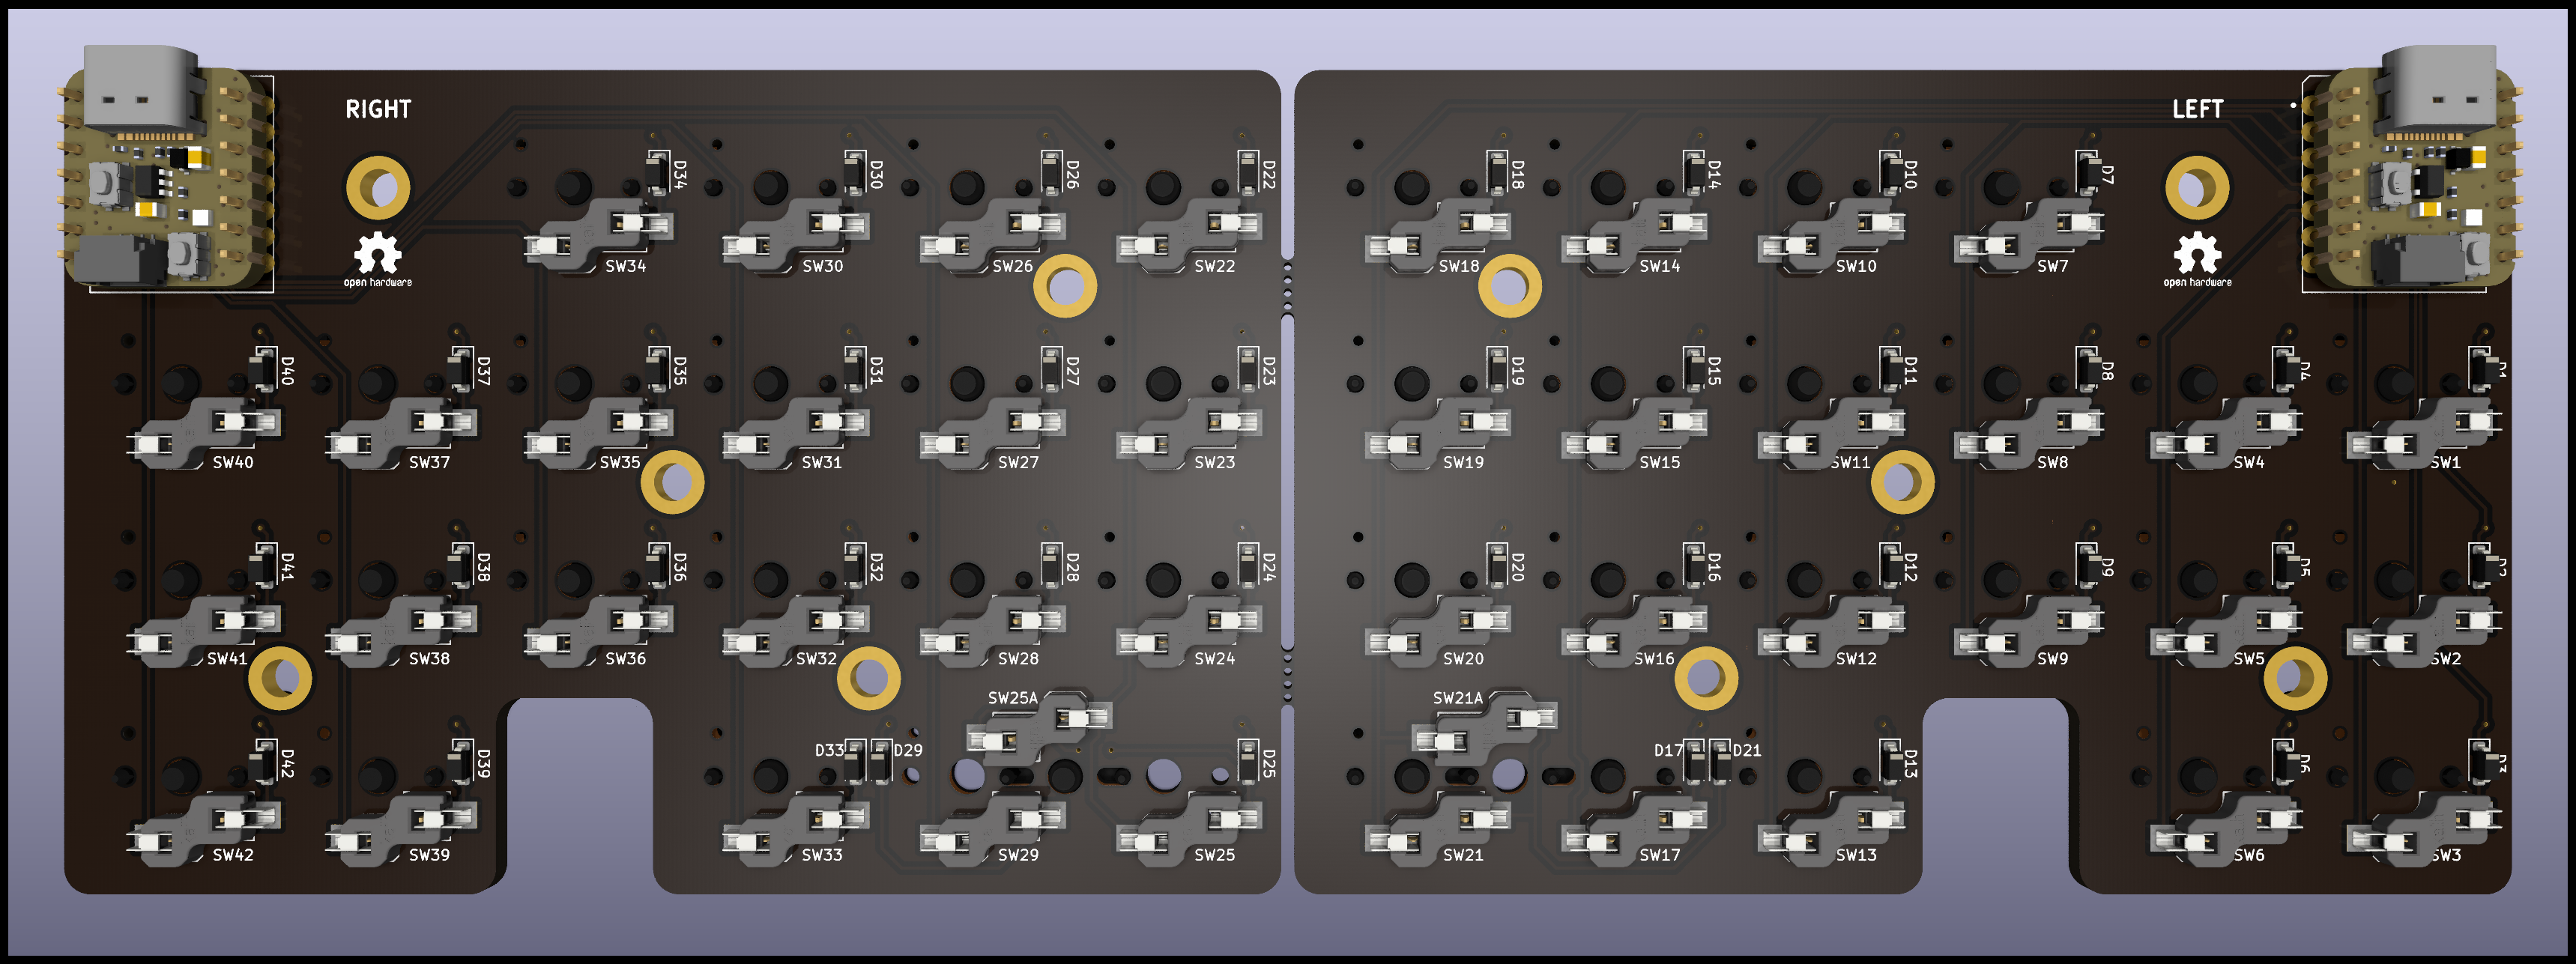
PCB bottom view
[!NOTE]
- One plate set covers one half of DELPHI - you'll need to use two sets to cover both halves
- The main PCB mounts to bottom plate via qty. 5 M2×6mm standoffs per-half
- It's recommended that you use at least the bottom plate on each half of DELPHI in order to protect the components and avoid hitting the microcontroller's reset / boot buttons
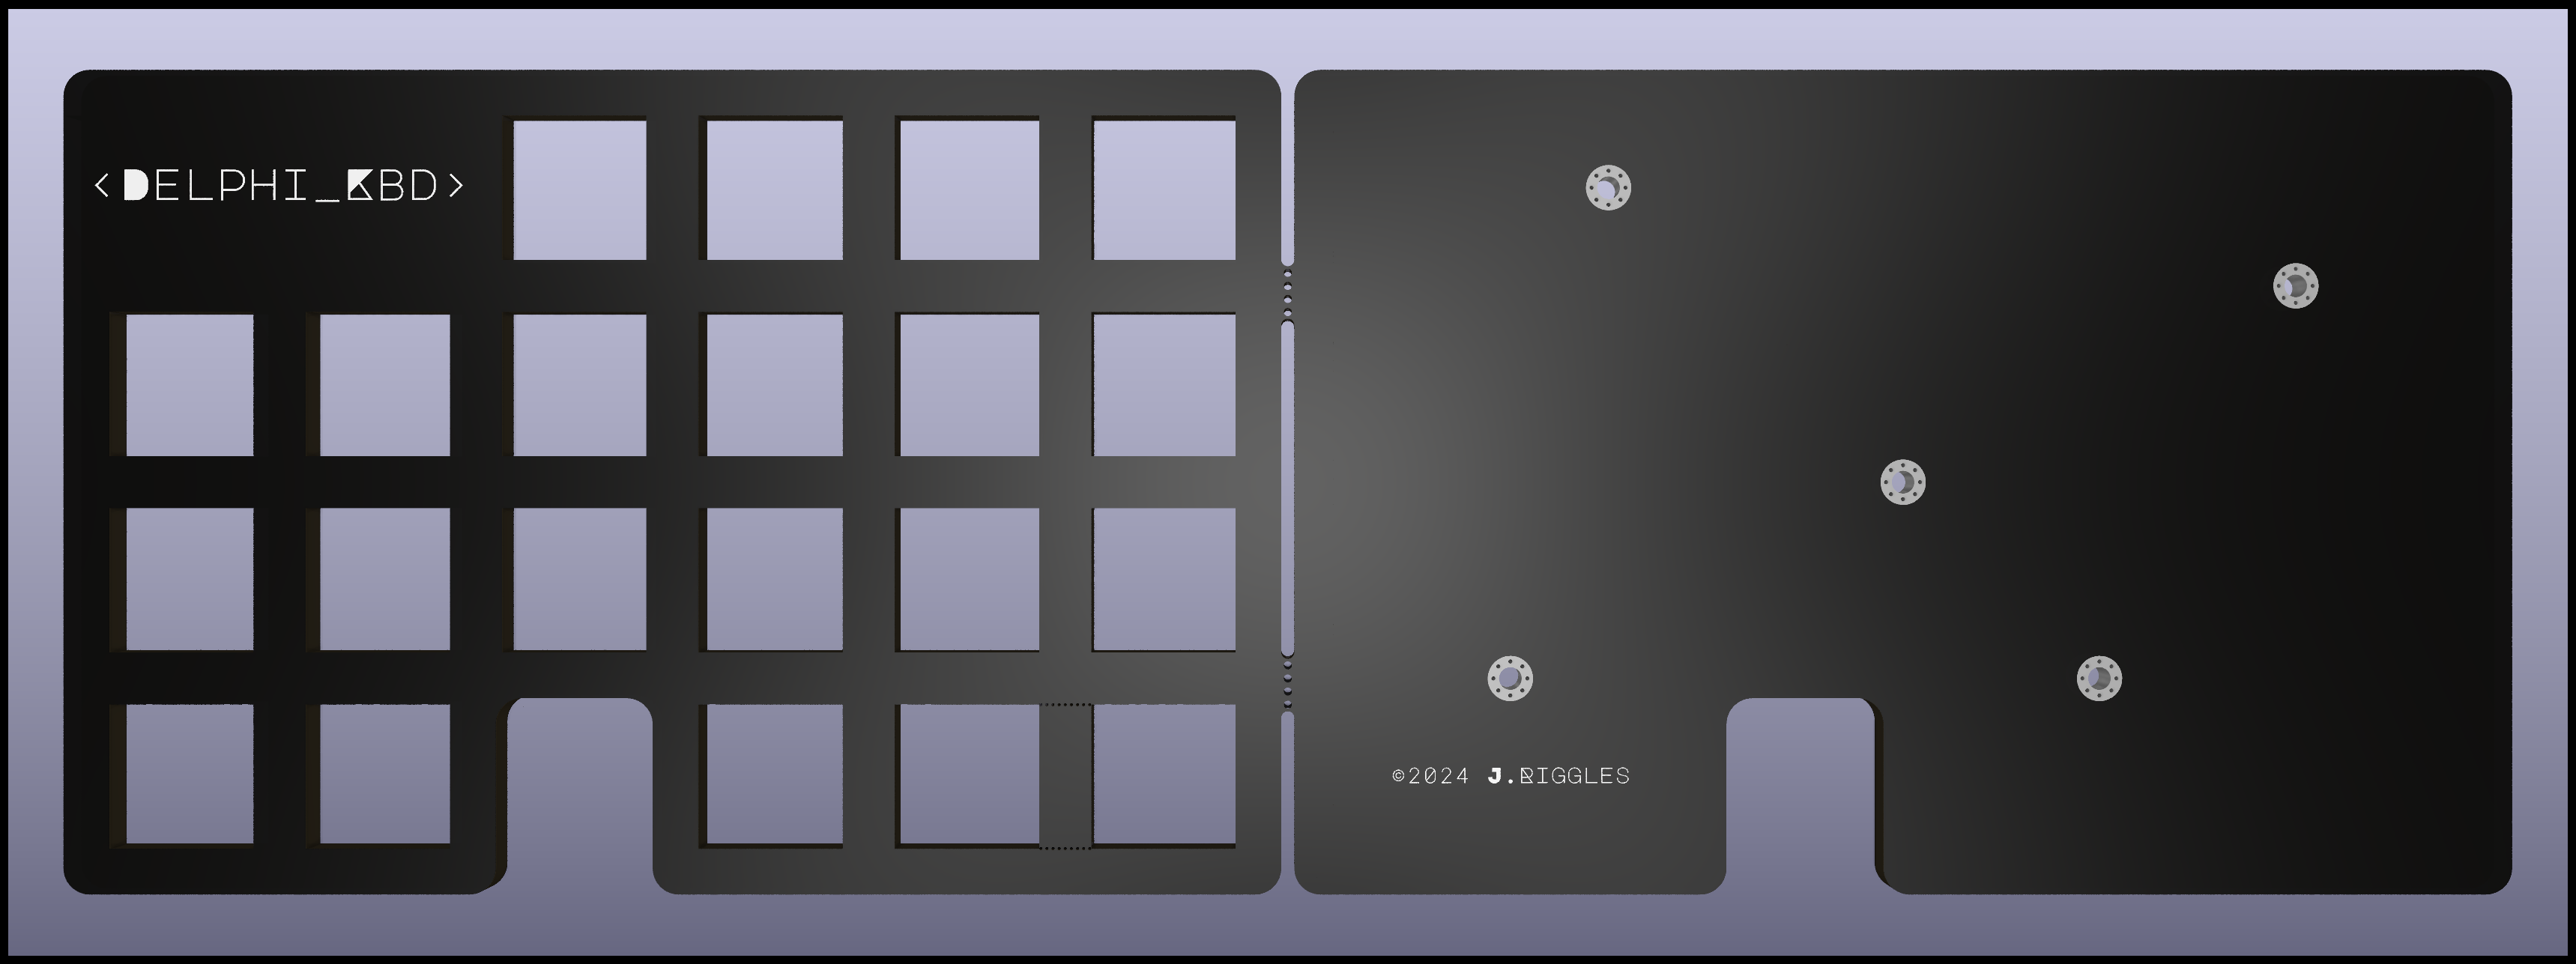
Plates front view (i.e., left side top and bottom plates) - photo here
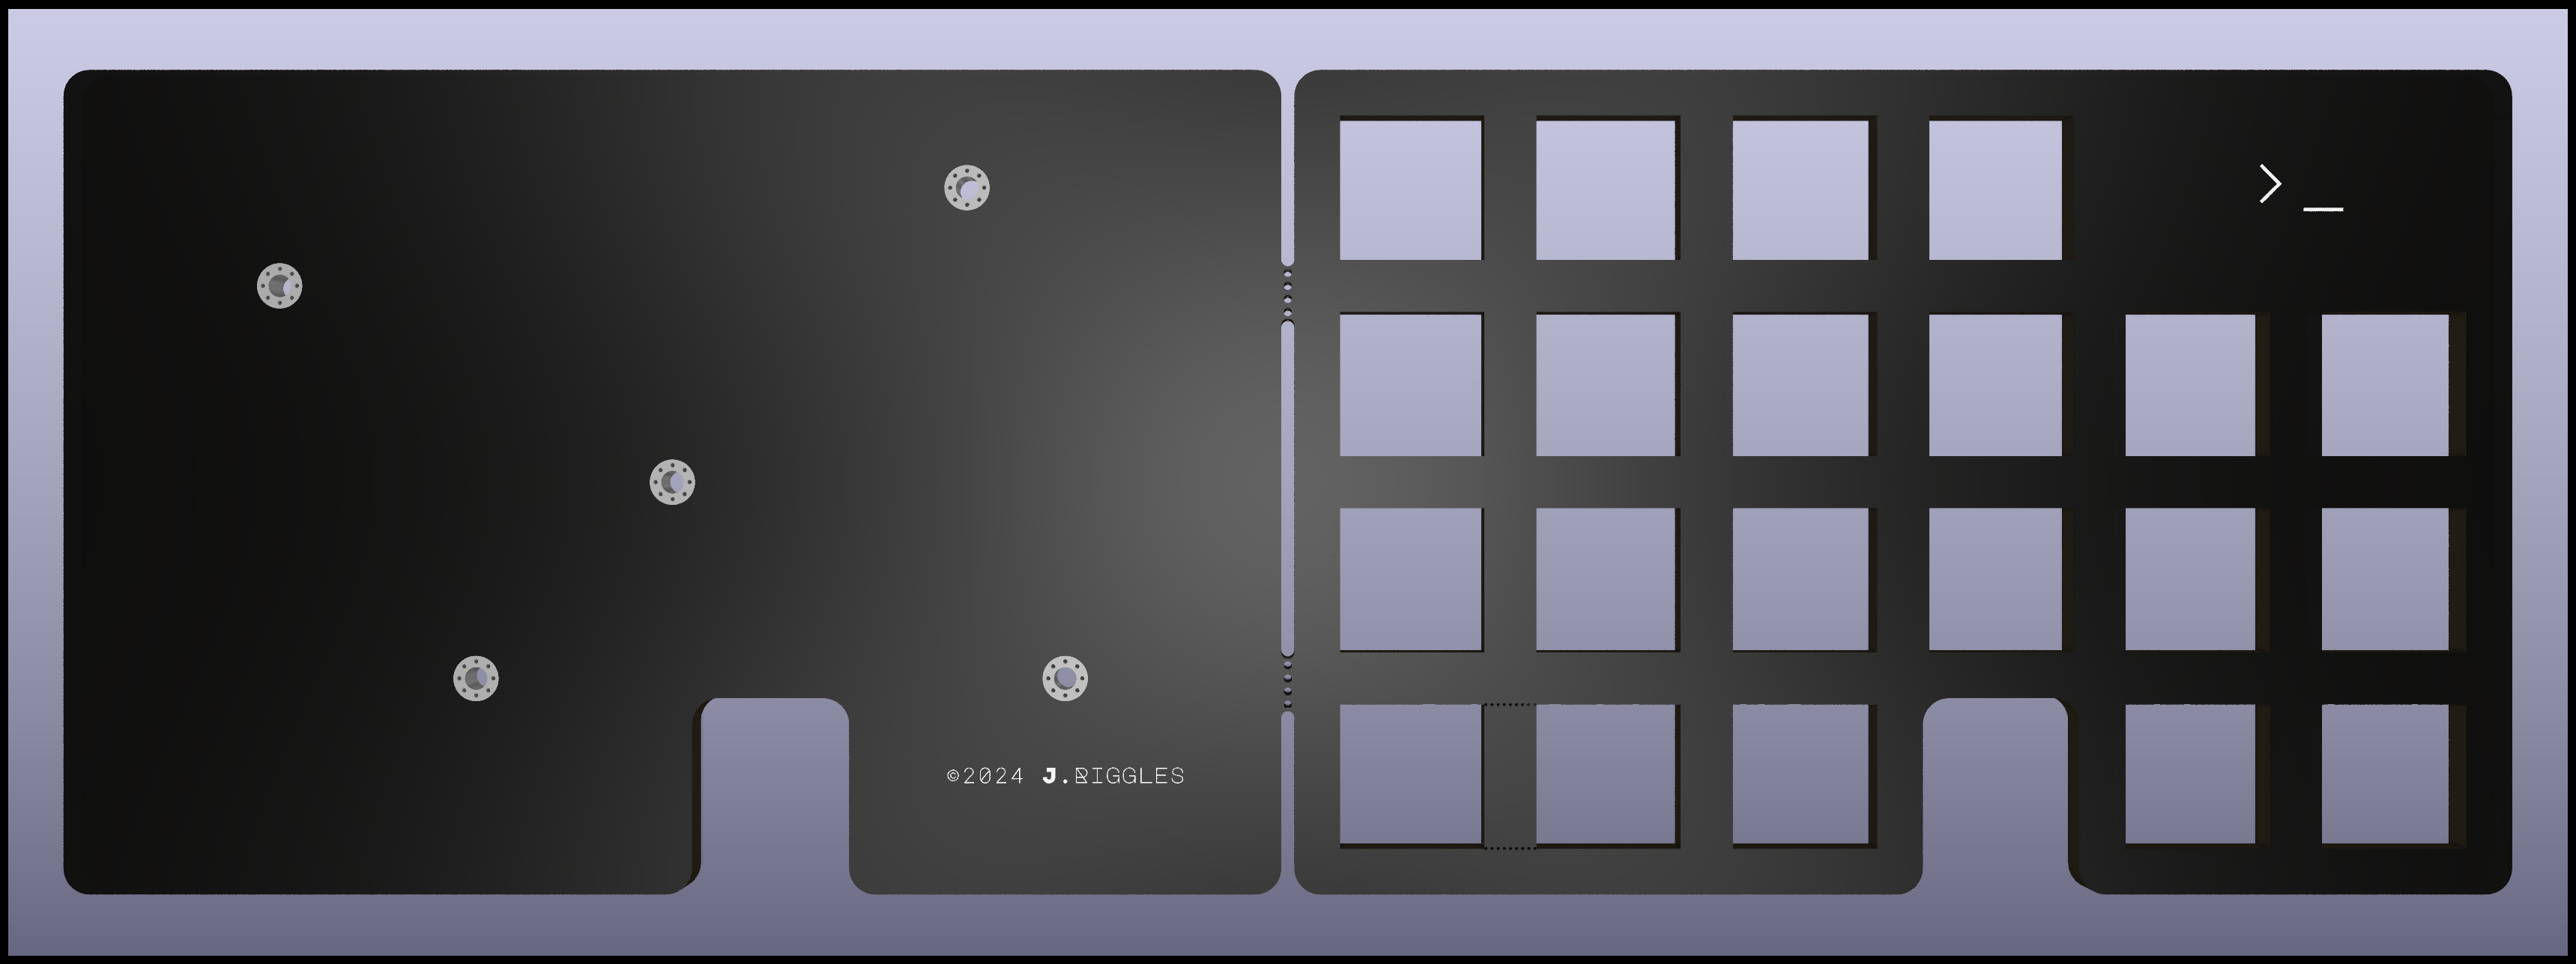
Plates rear view (i.e., right side bottom and top plates) - photo here
[!NOTE]
- This case assumes you're using at least the bottom PCB plate (in addition to the main PCB)
- The STL is for the LEFT side; it will need to be mirrored in your slicer of choice to accommodate the RIGHT side
There are two case variants:
Presupported Lychee Slicer scene files (*.lys) are included for each case variant
The setup for DELPHI essentially follows the TL;DR Quick start guide for KMK, with some changes:
CIRCUITPY USB drive to DELPHI_L (must be exactly this!)kmk folder to the root of the DELPHI_L drive2boot.py to the root of the DELPHI_L drivemain.py to the root of the DELPHI_L driveDELPHI_L USB drive and disconnect it from your computerRepeat these steps for the RIGHT half of DELPHI, being sure to rename the CIRCUITPY drive to DELPHI_R at step 3 (must be exactly this!)
Hardware/software versions will (try to) adhere to SEMVER. It is my intention that hardware and software which share a MAJOR version will be compatible with one another (e.g., hardware version 1.2.3 will still be compatible with software version 1.0.0) ↩
As of firmware v1.1.0, DELPHI hides the CircuitPython USB drive by default. To mount the drive, hold the corresponding homing key (e.g. "T" on the left half or "N" on the right half) while connecting the board. To disable this feature, simply leave the boot.py file empty. ↩
| Qty | Value | Footprint | References |
|---|---|---|---|
| 42 | 1N4148W | Diode_SMD:D_SOD-123 | D1, D2, D10, D11, D12, D13, D14, D15, D16, D17, D18, D19, D20, D21, D22, D23 +26 |
| 42 | SW_Push_45deg | keyswitches.pretty-2:Kailh_socket_PG1350 | SW1, SW2, SW10, SW11, SW12, SW13, SW14, SW15, SW16, SW17, SW18, SW19, SW20, SW21, SW22, SW23 +26 |
| 12 | , , , , , , , , , , , | ||
| 10 | MountingHole_3.7mm_Pad_TopOnly | MountingHole:MountingHole_3.7mm_Pad_TopOnly | MS1, MS2, MS3, MS4, MS5, MS6, MS7, MS8, MS9, MS10 |
| 2 | Adafruit QT Py RP2040 | Mech Keys:Adafruit QT Py RP2040 | U1, U2 |
| 2 | SW_Push_45deg | keyswitches:Kailh_socket_PG1350 | SW21A, SW25A |
The 110 most common of 112 parts.
It measures 237.5 × 80 mm and has 2 copper layers, 1.6 mm thick.
112 parts, built around the 1N4148W. The full list of its parts is on this page, with links to each part's symbol and footprint where PCBKit's library has them.
From the JRiggles/DELPHI-kbd repository on GitHub, at the commit this page was made from: the board is DELPHI/DELPHI kbd.kicad_pcb and its schematic DELPHI/DELPHI kbd.kicad_sch. PCBKit opens the board in the browser, with nothing to install.
Its repository publishes it under the MIT licence: you may reuse it on that licence's terms (keep the author's notice, and for a copyleft licence share your changes alike).
fossasia/pslab-hardware
PSLab Hardware Design and Schematics https://pslab.io

pierrechevalier83/ferris
A low profile split keyboard designed to satisfy one single use case elegantly


MickiusMousius/Rolio46Keyboard
A split wireless keyboard based on the Corne and Sofle


sadekbaroudi/bgkeeb
This is a reversible 100mm x 100mm pcb with support for mx or choc switches (no hotswap), per key led, rotary encoders, and exposes the SDA/SCL/GND/VCC lines in the form of the pimoroni trackball pins (meaning you can…
