6 layers160 × 160.1 mm
ChromaDeck
FBIopeningUPP/ChromaDeck
ChromaDeck is a massive, open-source, fully custom USB MIDI Control Surface designed for streaming, video editing, and live audio mixing.
152 partsMIT

 ZeusyBoy98/ZHub-V2
Feeling brave, so I want to make a high speed USB hub.
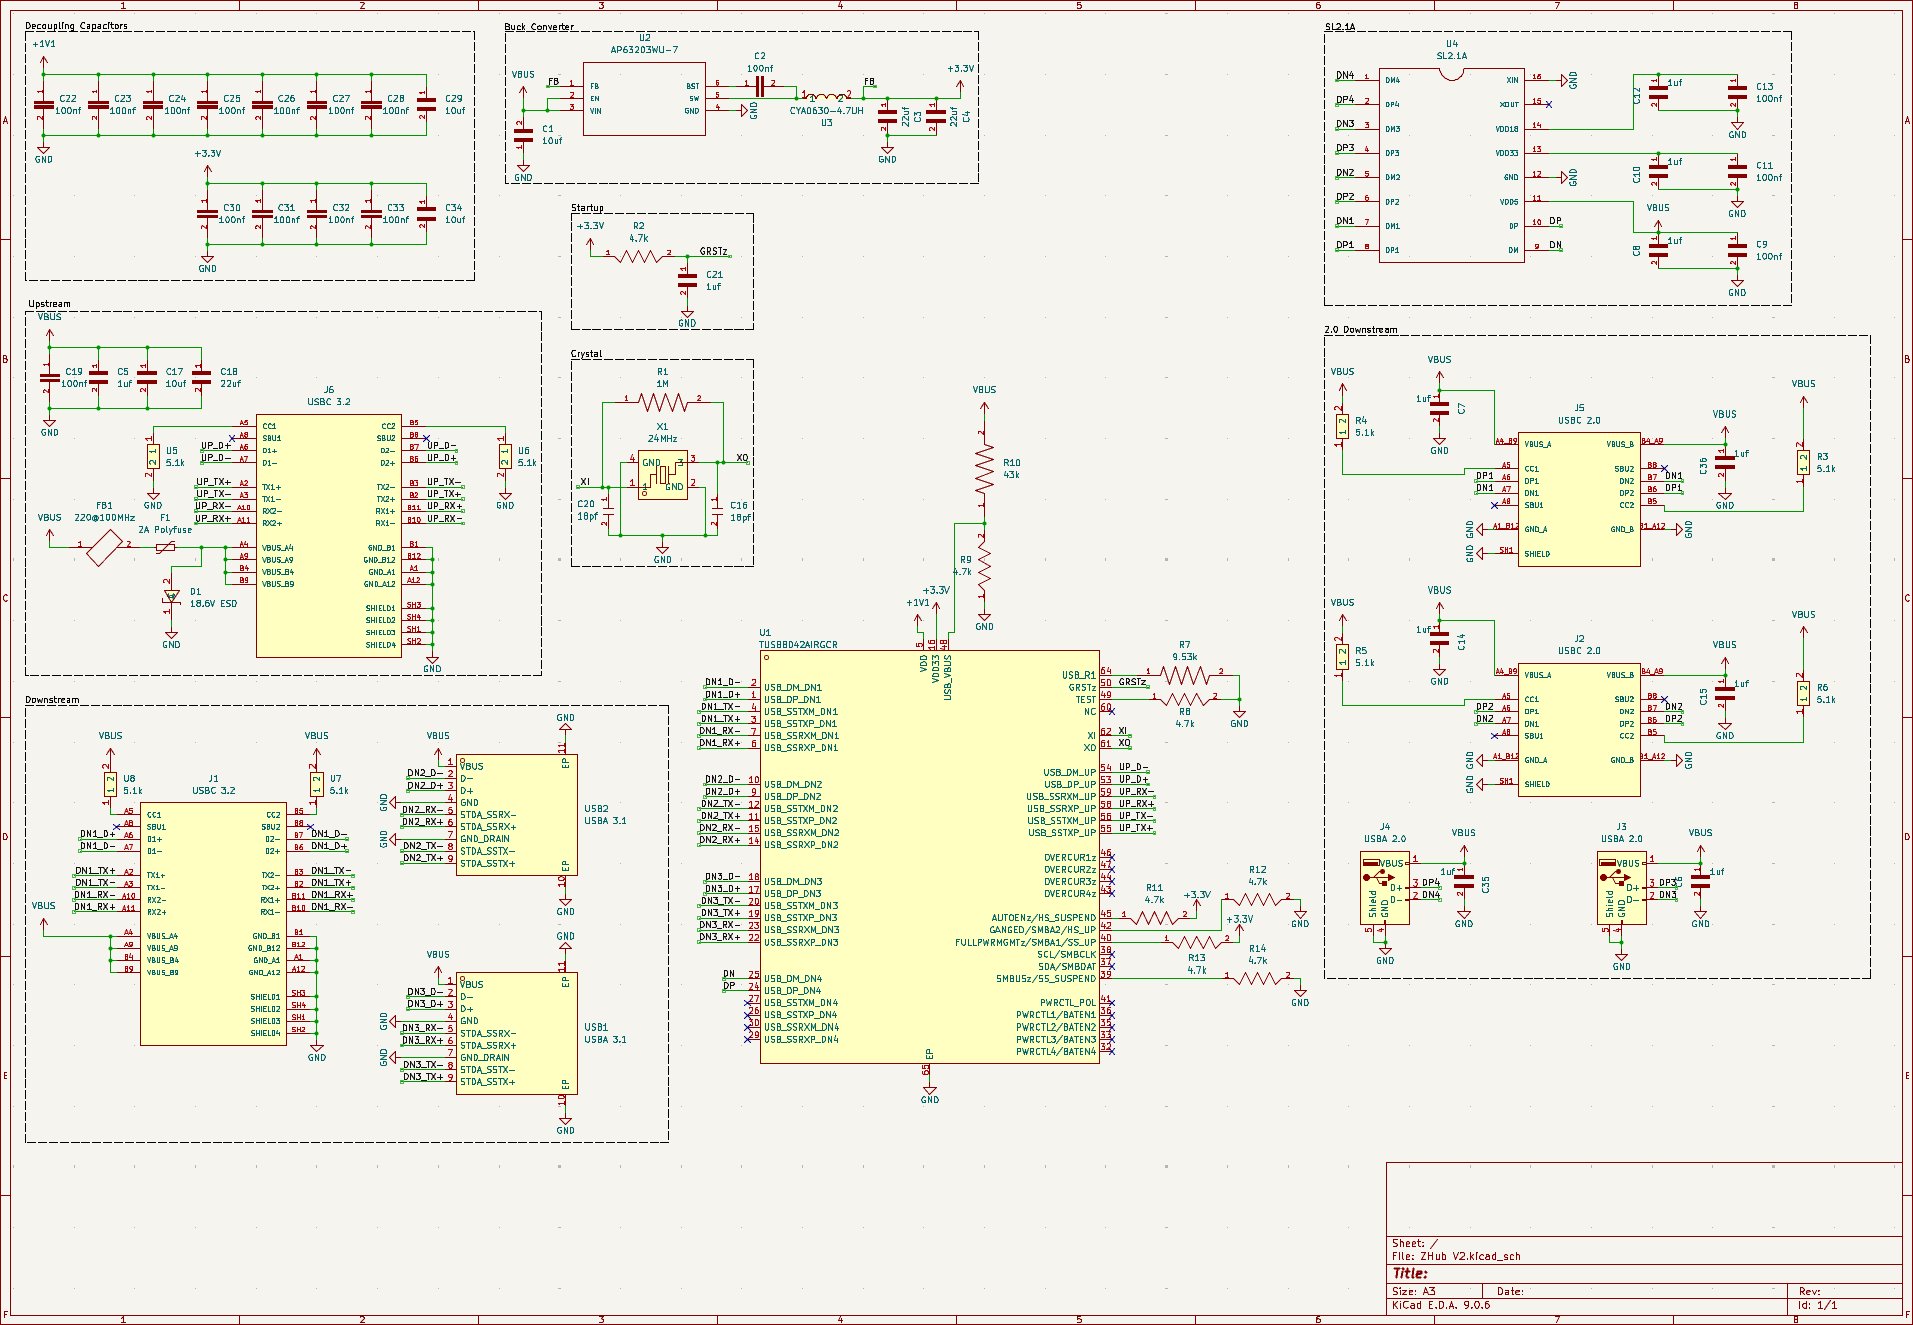
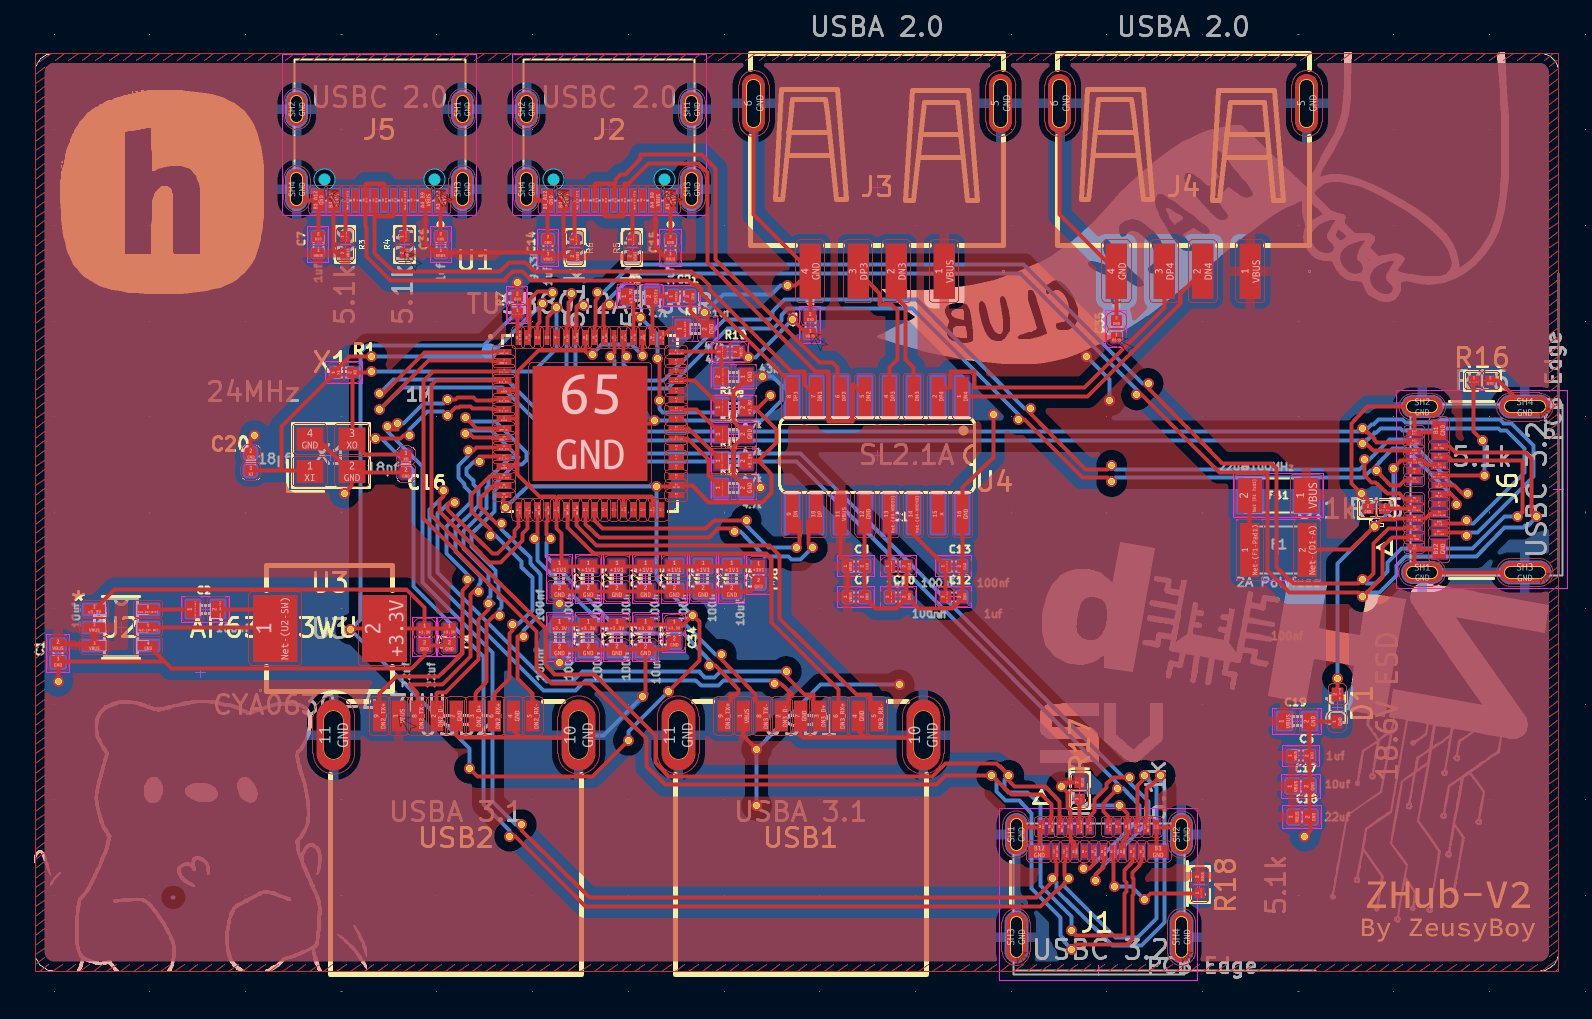
ZHub V2 is an open-source printed circuit board by ZeusyBoy98, from the ZeusyBoy98/ZHub-V2 repository on GitHub, published under the GPL-3.0 licence. It is a 2-layer board of 79.6 × 48 mm with 74 parts on 87 nets, routed with 1,366 tracks and 119 vias.
It is built around the SL2.1A, TUSB8042AIRGCR and CYA0630-4.7UH, with the CC0402JRNPO9BN180 among its other parts. Its parts include 36 capacitors, 18 resistors, 6 connectors, 4 ICs and 1 diode.


A complex USB 3.2 Hub to suite my needs. Made for Hack Club Fallout
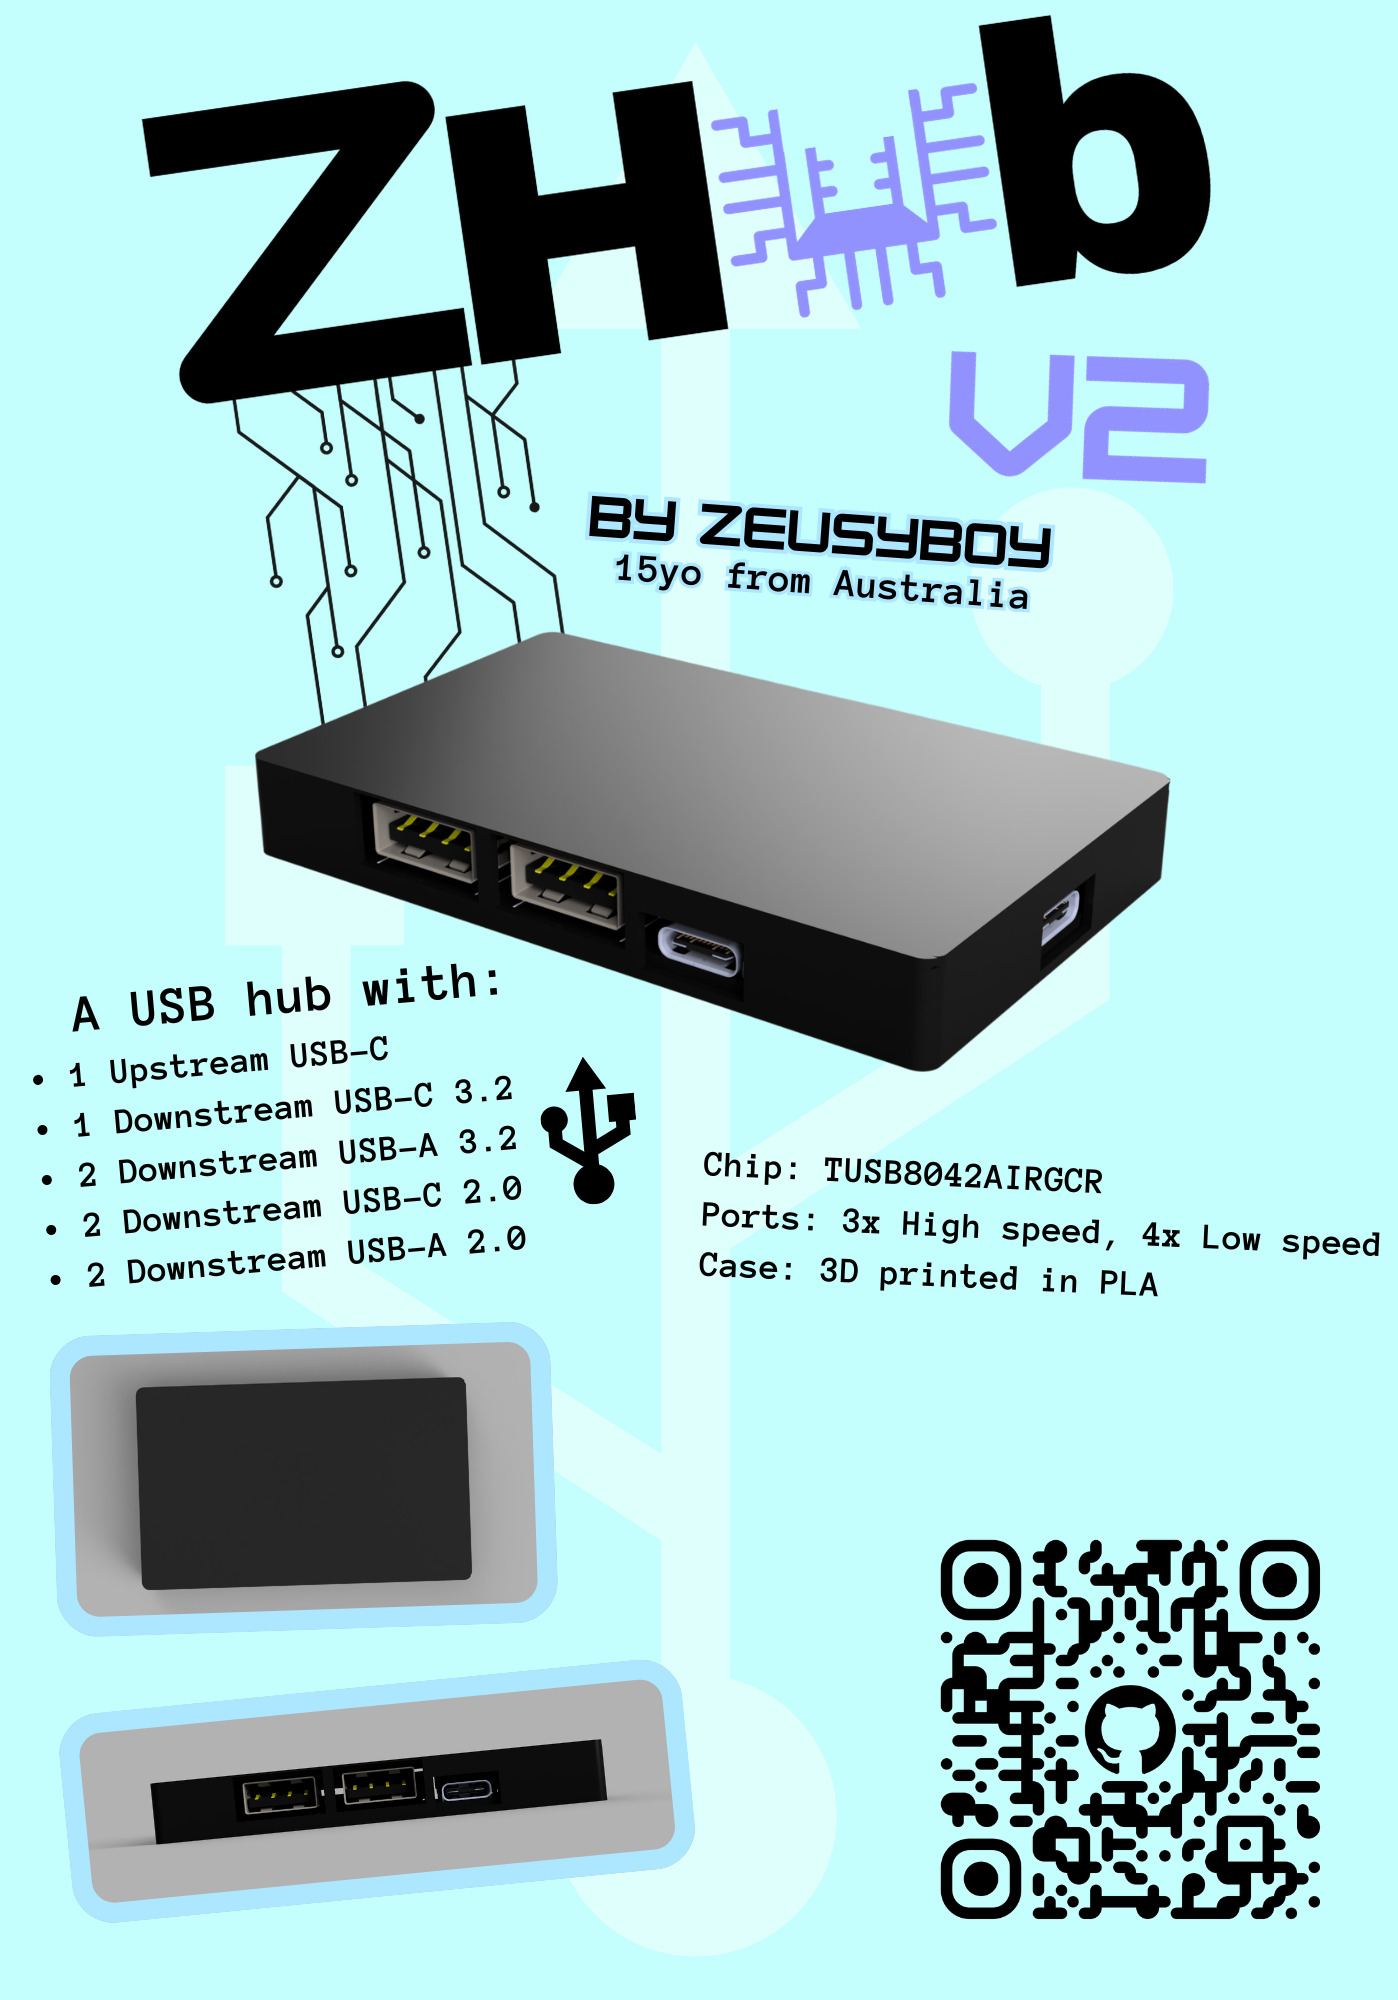
A basic USB hub with:
Because I don't have any USB-C USB hubs and A to C adapters are annoying. If I can just have one good USB hub on me at all times, that can allow me to plug all the stuff I could possibly need in, then that achieves my goal.
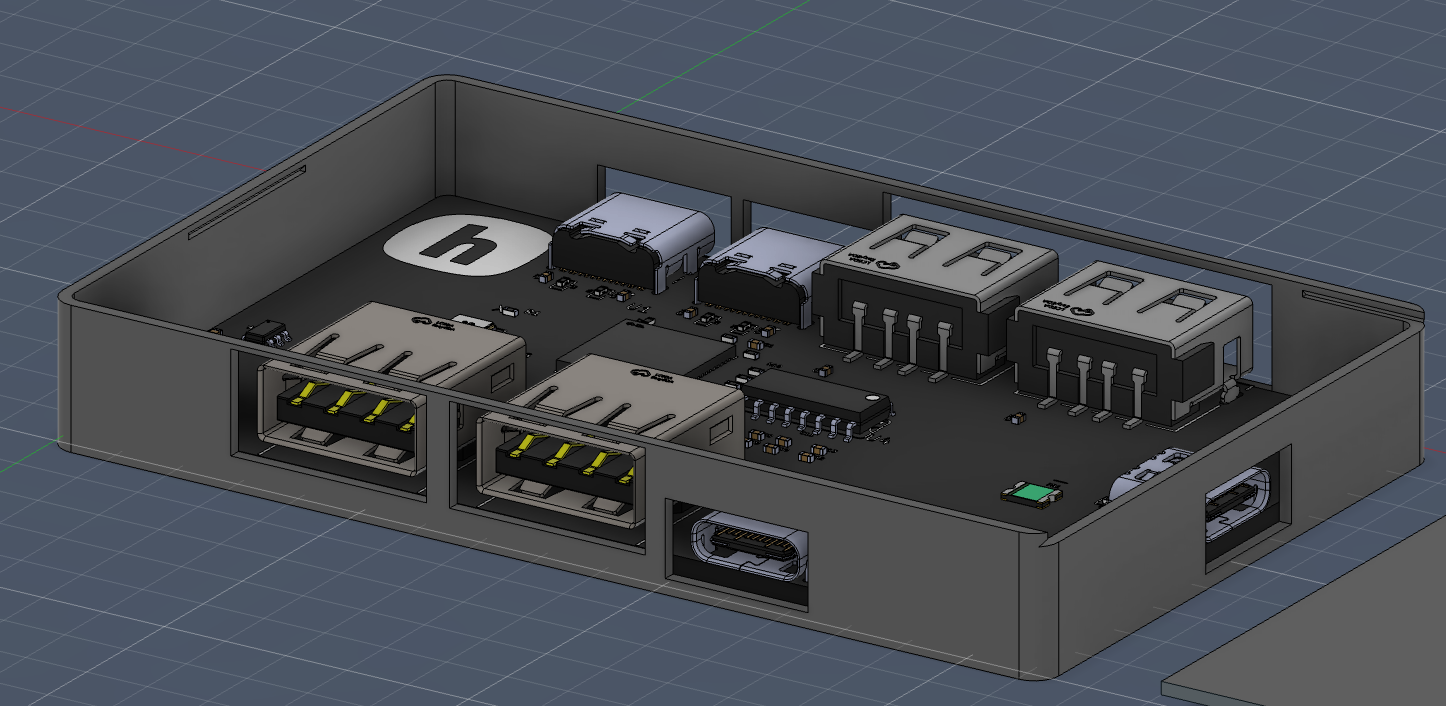
In order to make this project for yourself, you'll need to purchase the board and get it assembled through PCBA with all the components below (PCB manufacturer-acceptable BOM at PCB/Gerbers/bom.csv). You'll also have to 3D print the case.
Before starting, make sure you have:
Go to your PCB manufacturer of choice (Make sure they have PCBA) and follow their instructions on how to order.
3D print the print file, CAD/ZHub-V2-Print.3mf
This has all the case parts you need (top and bottom)
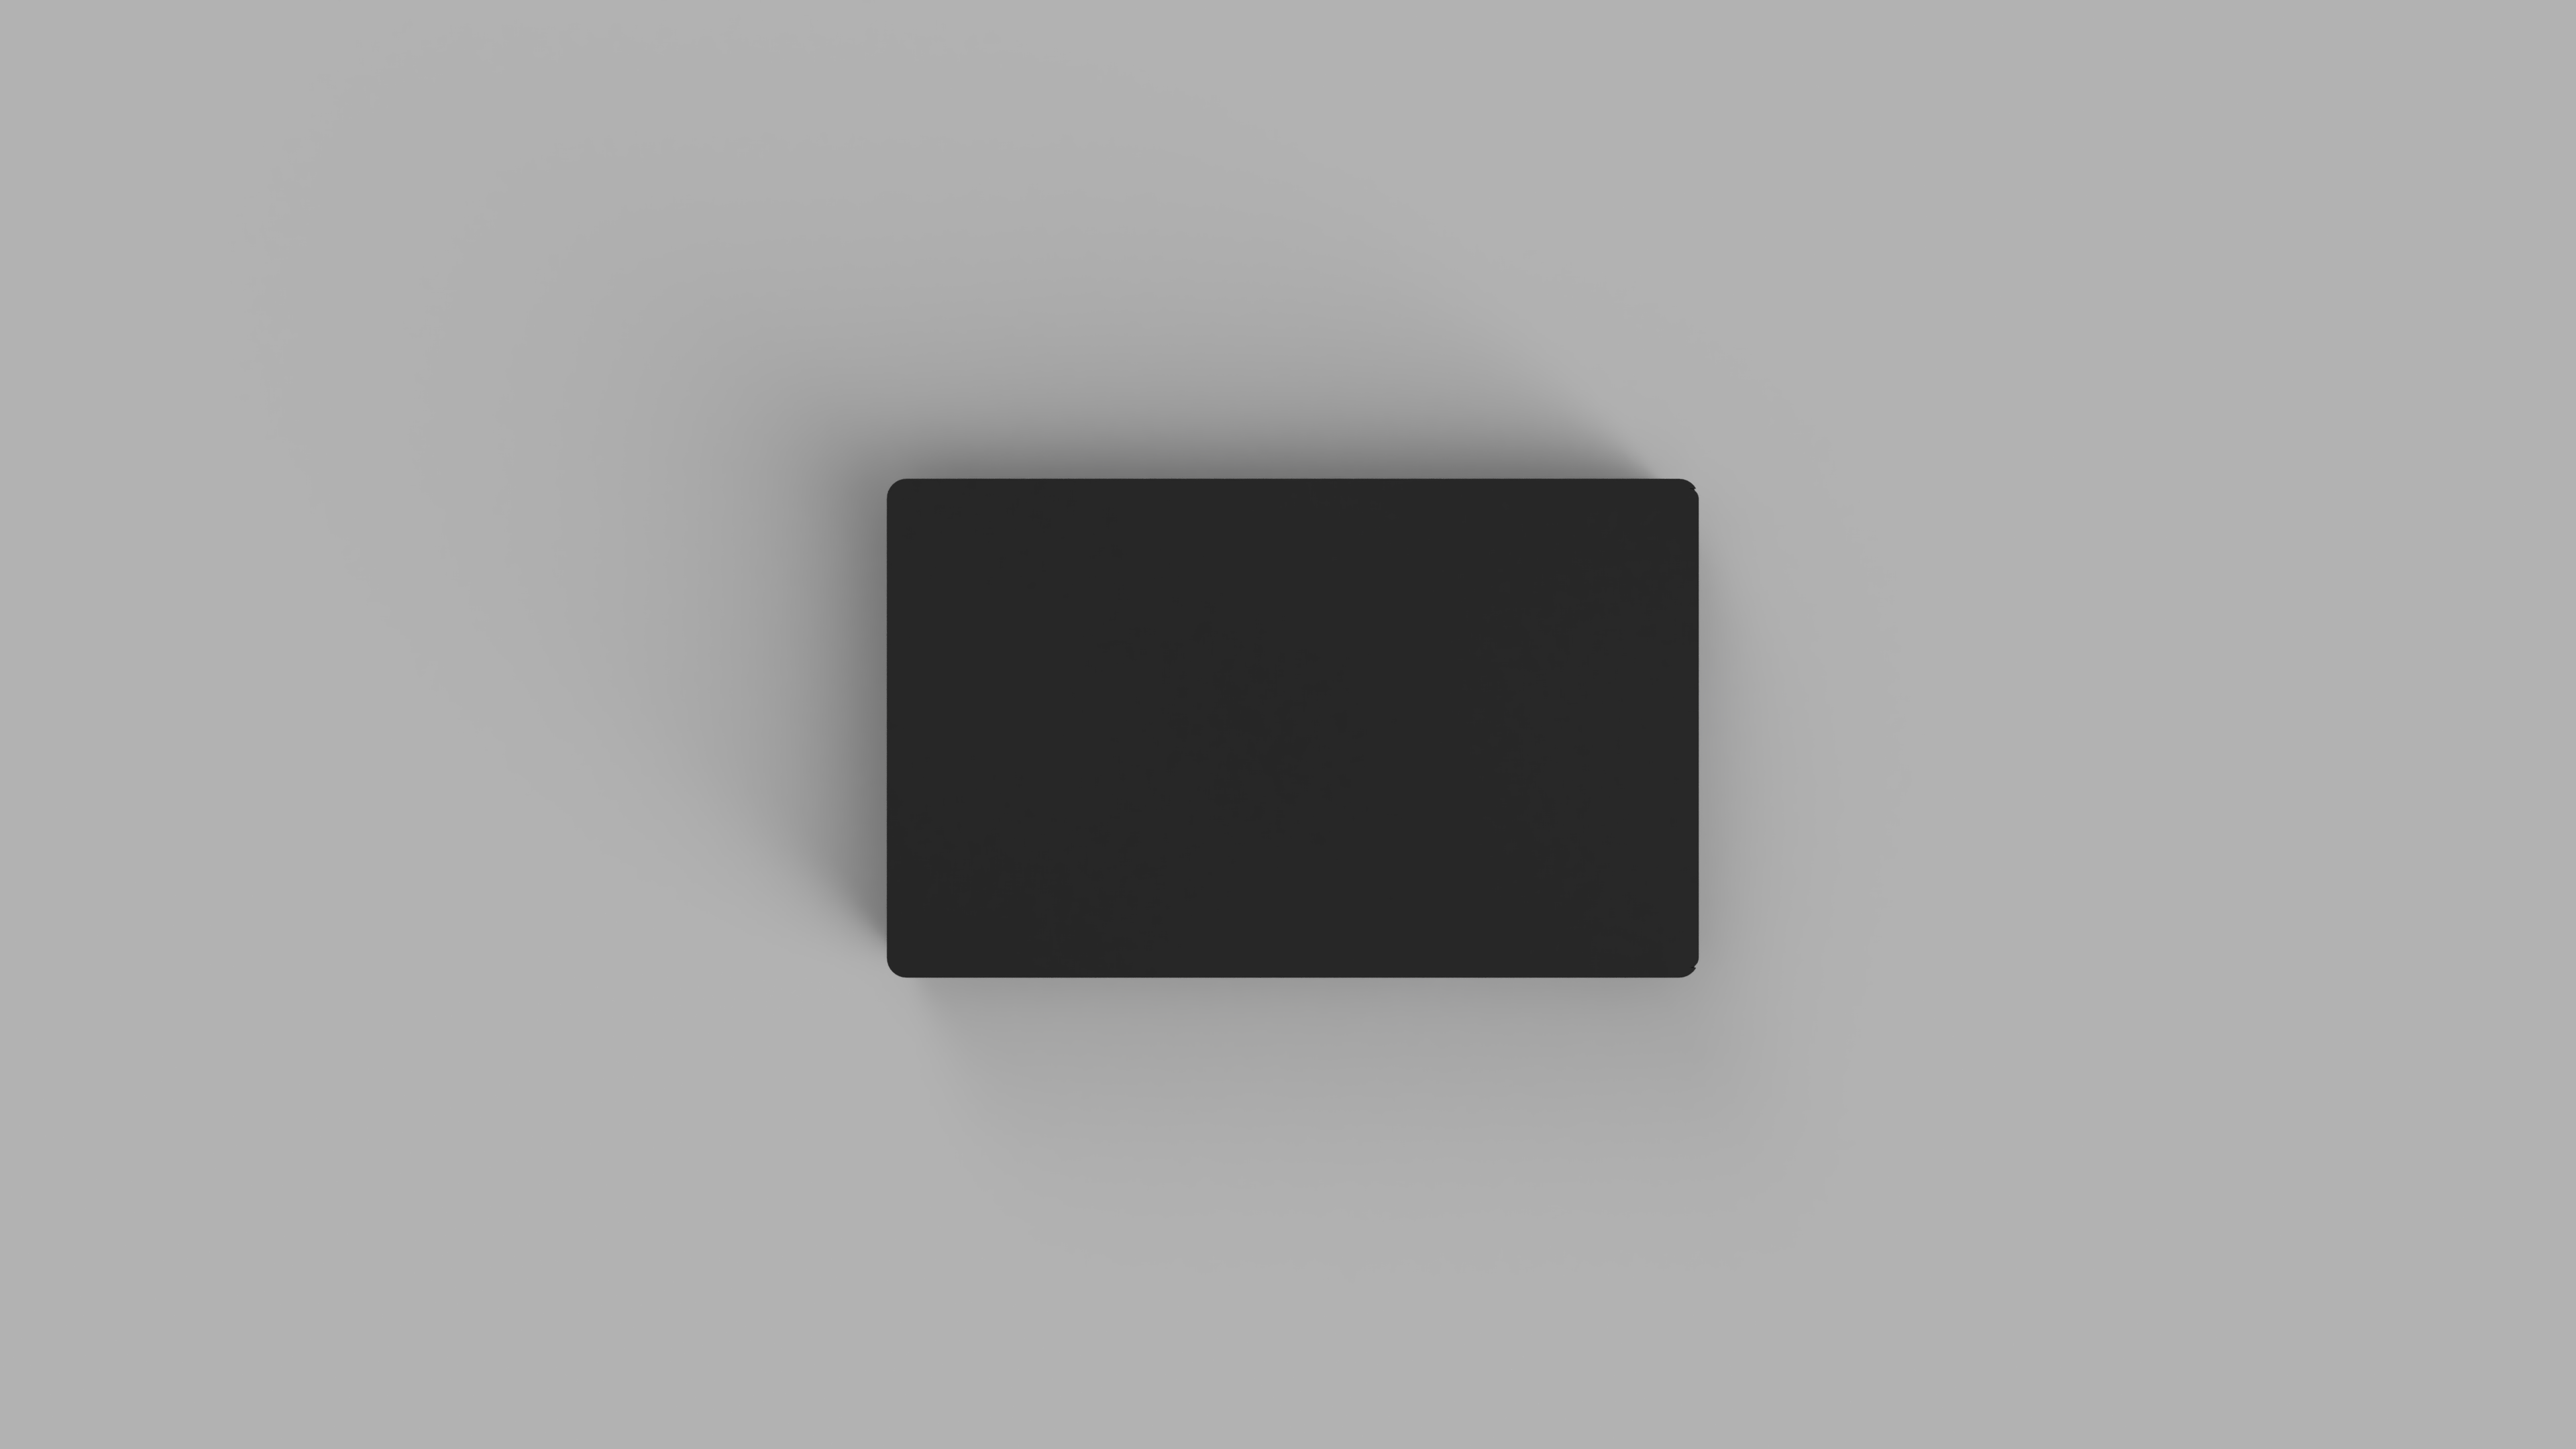
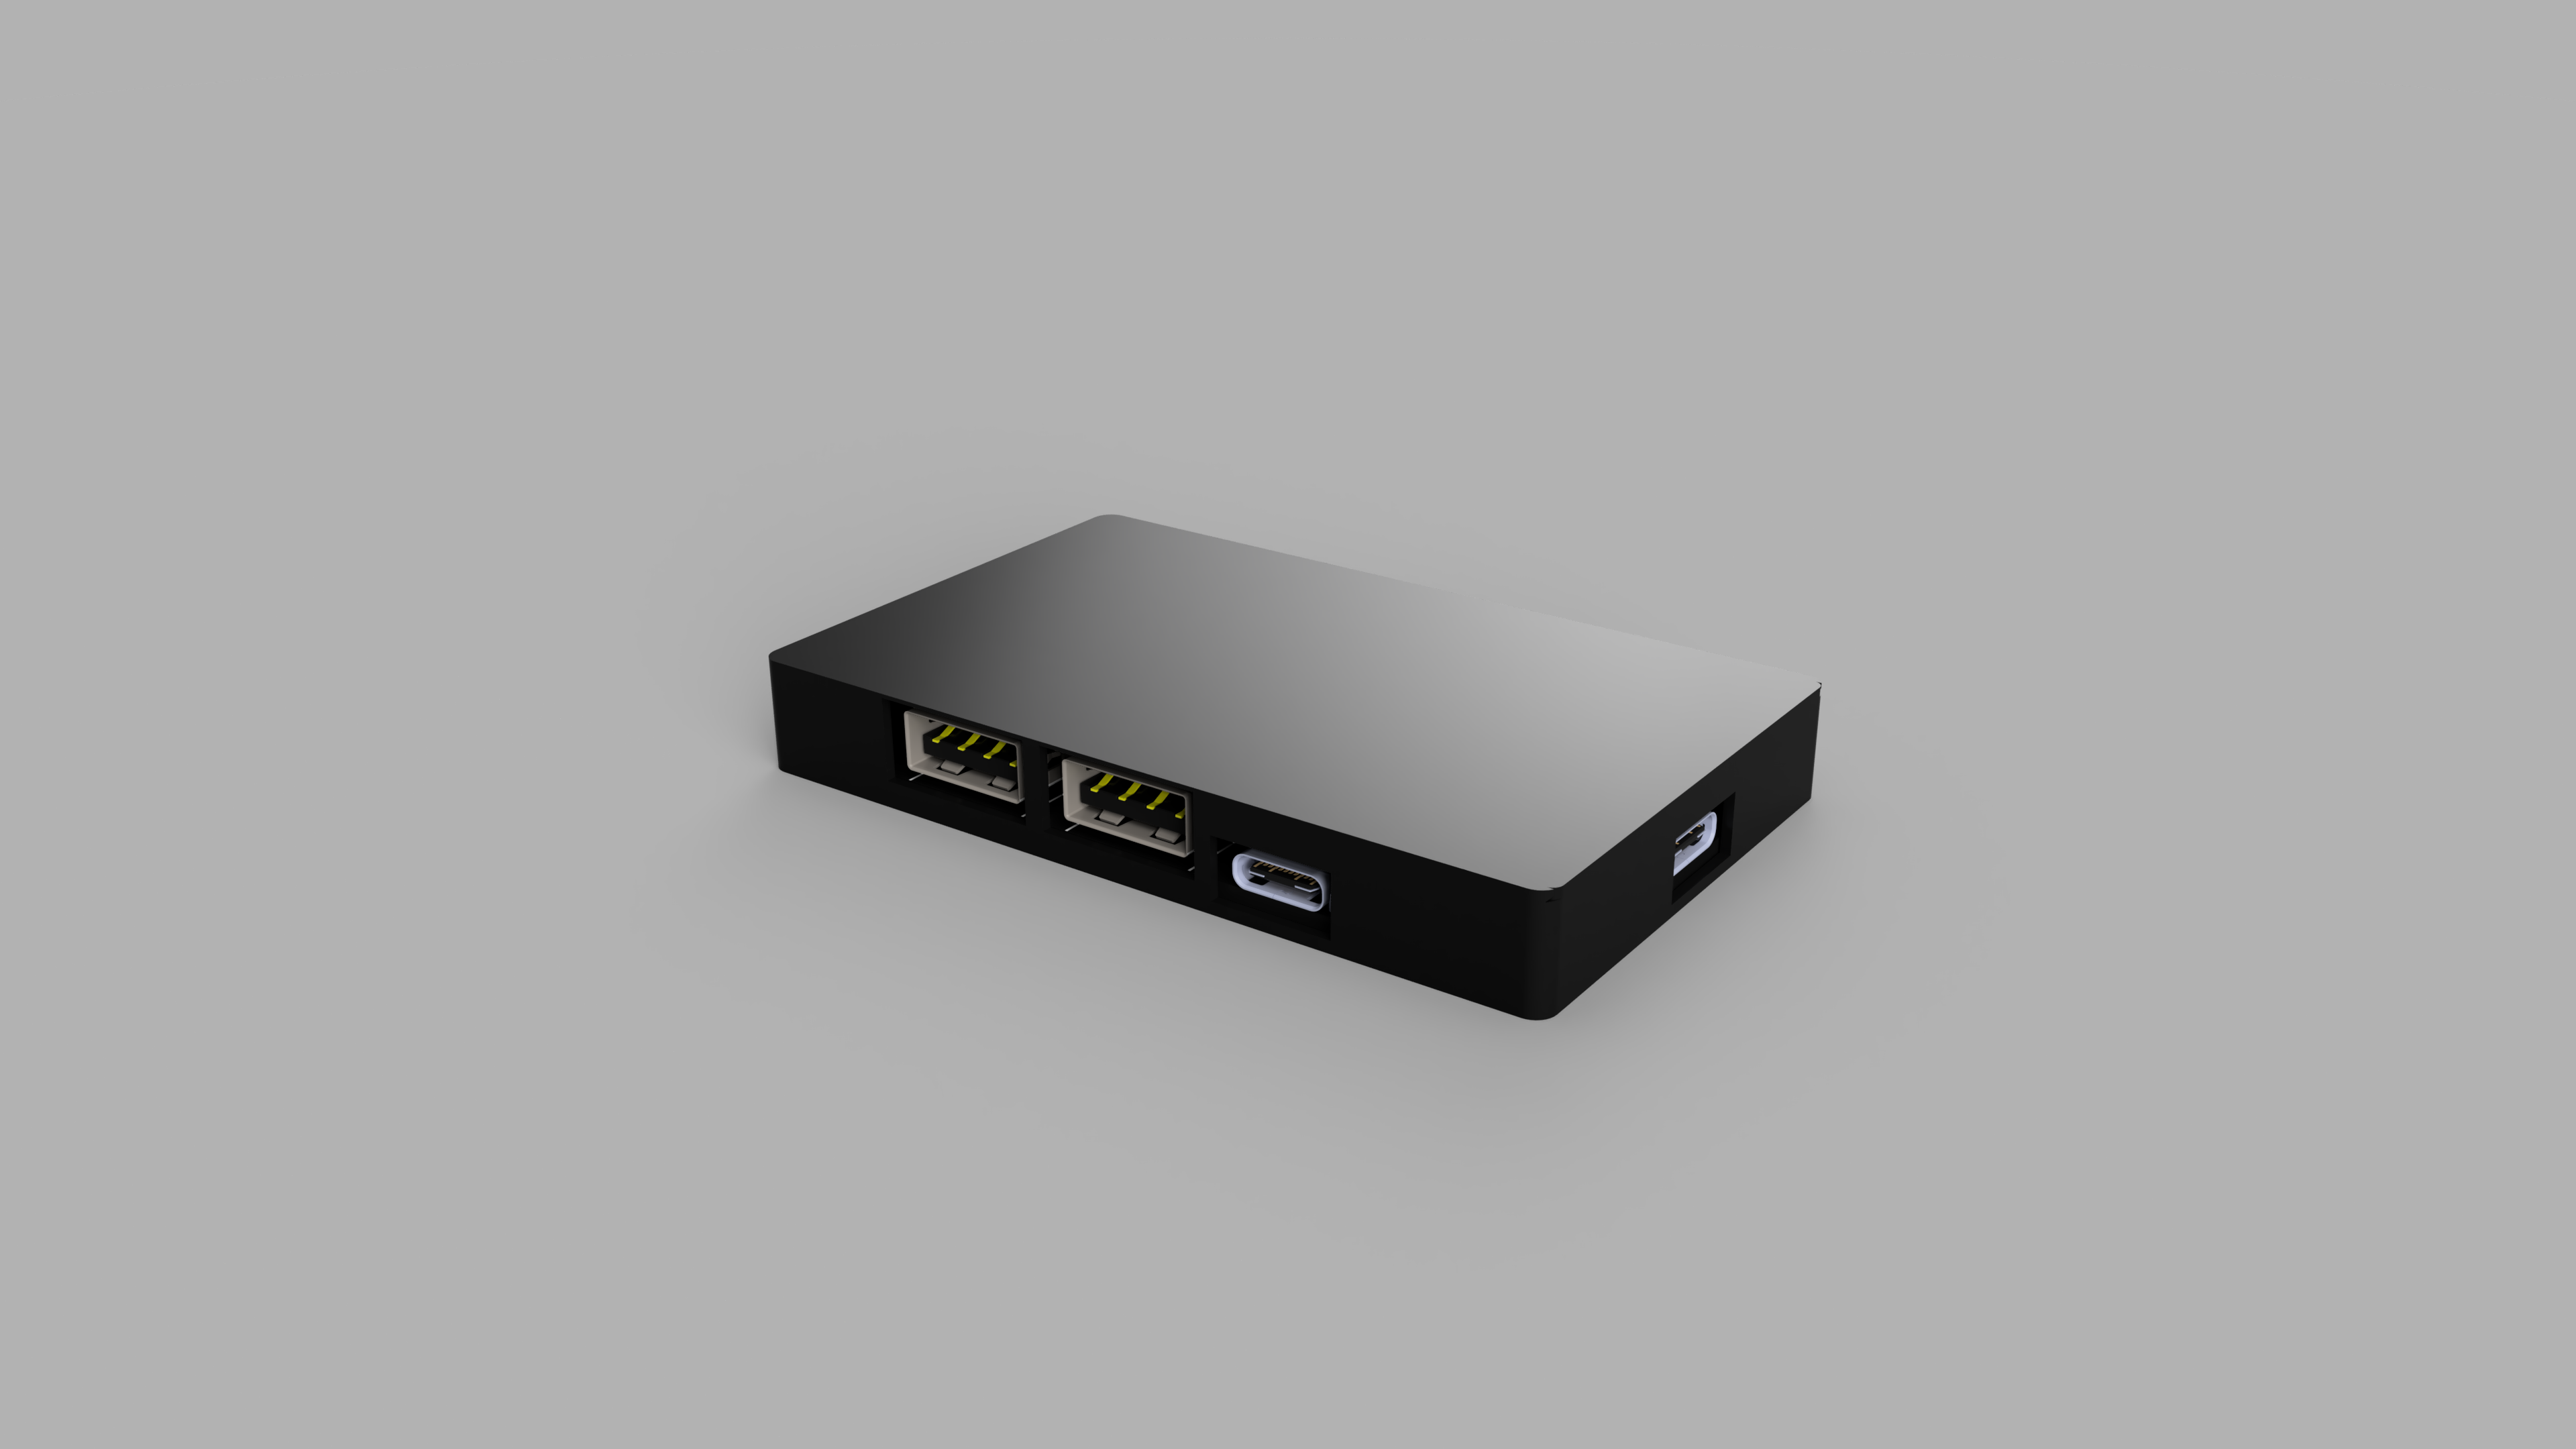
Once the case has finished printing, place the assembled PCB into said case, then get the lid and slide it into the grooves of the bottom half of the case to close it.
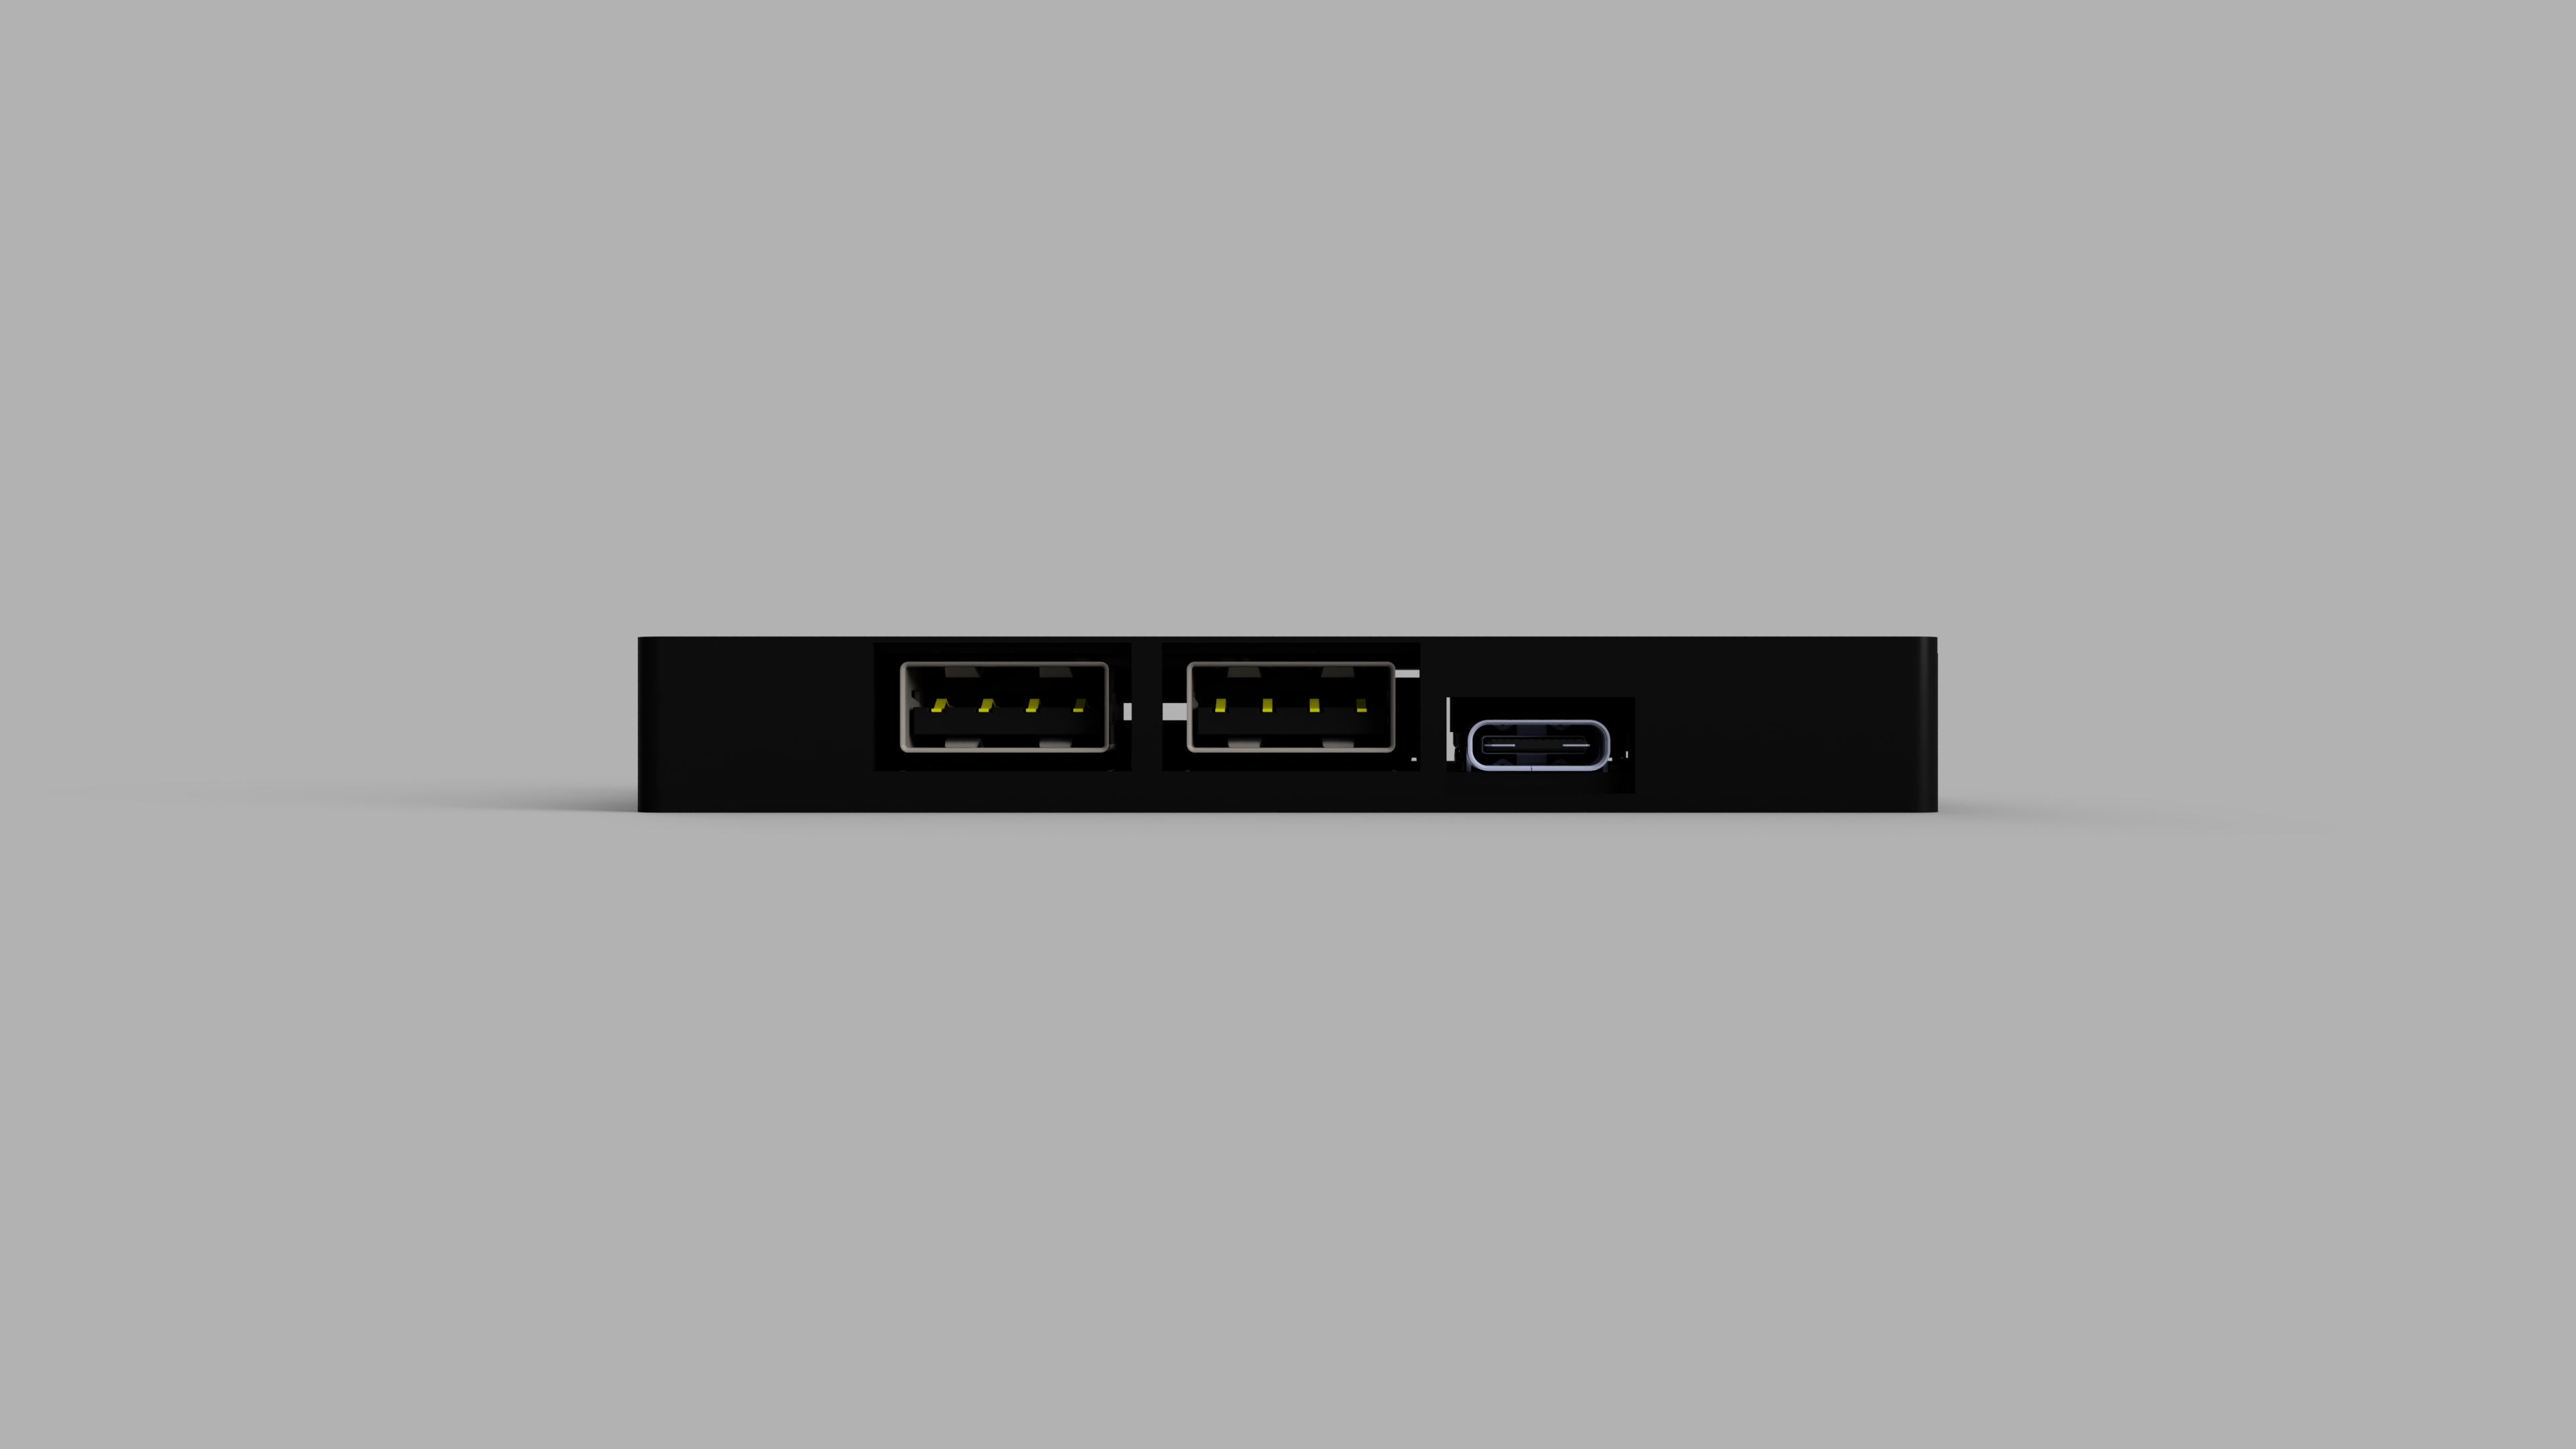
Plug a USB-C to C cable into the upstream port of the hub (the one not next to any other ports), and plug the other end of that cable into your computer. Then plug whatever USB devices into the downstream ports and...
This project does not need firmware, so you're good to go!
Enjoy your ZHub!!!
| Qty | Value | Footprint | References |
|---|---|---|---|
| 13 | 100nf | 100nf_10V_0402:100nf_10V_0402 | C2, C19, C22, C23, C24, C25, C26, C27, C28, C30, C31, C32, C33 |
| 9 | 1uf | 1uf_0402:1uf_0402 | C6, C7, C8, C10, C12, C14, C15, C35, C36 |
| 8 | 5.1k | 5.1k_0402:R0402 | R3, R4, R5, R6, R15, R16, R17, R18 |
| 7 | 4.7k | 4.7k_50V_0402:4.7k_50V_0402 | R2, R8, R9, R11, R12, R13, R14 |
| 4 | 10uf | 10uf_10V_0402:10uf_10V_0402 | C1, C17, C29, C34 |
| 3 | 100nf | 100nf_0402:100nf_0402 | C9, C11, C13 |
| 3 | 22uf | 22uf_6.3V_0402:22uf_6.3V_0402 | C3, C4, C18 |
| 2 | 18pf | 18pf_15V_0402:18pf_15V_0402 | C16, C20 |
| 2 | 1uf | 1uf_6.3V_0402:1uf_6.3V_0402 | C5, C21 |
| 2 | USBA 2.0 | USB-A-TH_10.0QHHTZB6.3:USB-A-TH_10.0QHHTZB6.3 | J3, J4 |
| 2 | USBA 3.1 | ZHub-V2:USB-A-SMD_U-A-39WD-W-1 | USB1, USB2 |
| 2 | USBC 2.0 | TYPE-C_16PIN_2MD_073:SHOUHAN_TYPE-C_16PIN_2MD__073_ | J2, J5 |
| 2 | USBC 3.2 | MOLEX_3.2_TYPEC:MOLEX_3.2_TYPEC | J1, J6 |
| 1 | 18.6V ESD | ZHub-V2:SOD-523F_L1.2-W0.8-LS1.7-RD | D1 |
| 1 | 1M | 1M_50V_0402:1M_50V_0402 | R1 |
| 1 | 220@100MHz | 220_100MHz_bead:220_100MHz_bead | FB1 |
| 1 | 24MHz | ZHub-V2:CRYSTAL-SMD_4P-L3.2-W2.5-BL | X1 |
| 1 | 2A Polyfuse | PCM_SparkFun-Fuse:1210 | F1 |
| 1 | 43k | 43k_50V_0402:43k_50V_0402 | R10 |
| 1 | 9.53k | 9.53k_0402:9.53k_0402 | R7 |
| 1 | AP63203WU-7 | 3.3V_buck:3.3V_buck | U2 |
| 1 | CYA0630-4.7UH | 5A_4.7uH_Inductor:5A_4.7uH_Inductor | U3 |
| 1 | LOGO | Silkscreen-Main:hackclub-square | G*** |
| 1 | LOGO | Silkscreen:ZHub-V2-Logo | G*** |
| 1 | LOGO | Silkscreen:soup | G*** |
| 1 | LOGO | Silkscreen:hackclub-logo | G*** |
| 1 | SL2.1A | SL2.1S:SLA2.1s | U4 |
| 1 | TUSB8042AIRGCR | ZHub-V2:VQFN-64_L9.0-W9.0-P0.50-TL-EP6.0 | U1 |
FBIopeningUPP/ChromaDeck
ChromaDeck is a massive, open-source, fully custom USB MIDI Control Surface designed for streaming, video editing, and live audio mixing.


OpenIPC/hardware
A collection of hardware developments by the OpenIPC team

Pwnsat/PWNCUBE
PWNCUBE v1.0 is a Cubesat hardware based platform for aerospace cybersecurity research

thatoddmailbox/kvm-base
The main board for the open-source HDMI KVM switch I built.
It measures 79.6 × 48 mm and has 2 copper layers, 1.6 mm thick.
74 parts, built around the SL2.1A, TUSB8042AIRGCR, CYA0630-4.7UH and CC0402JRNPO9BN180. The full list of its parts is on this page, with links to each part's symbol and footprint where PCBKit's library has them.
From the ZeusyBoy98/ZHub-V2 repository on GitHub, at the commit this page was made from: the board is PCB/ZHub V2.kicad_pcb and its schematic PCB/ZHub V2.kicad_sch. PCBKit opens the board in the browser, with nothing to install.
Its repository publishes it under the GPL-3.0 licence: you may reuse it on that licence's terms (keep the author's notice, and for a copyleft licence share your changes alike).