2 layers80.8 × 99.1 mm

 MartinVerges/womolin-waterlevel17
DIY project to build a smart fuel sensor for RVs or in other projects. It is based on air pressure and is able to measure fresh water as well as grey and black water levels with high precision.
Caravansensor is an open-source printed circuit board by MartinVerges, from the MartinVerges/womolin-waterlevel repository on GitHub. It is a 2-layer board of 112 × 57 mm with 226 parts on 175 nets, routed with 2,118 tracks and 226 vias.
It is built around the ESP32-WROOM-32D, TJA1021T/10/C and HX711, with the LMV321, BMP388 and TPS54331D among its other parts. Its parts include 91 resistors, 53 capacitors, 43 diodes, 16 transistors and 11 ICs. It belongs with the sensors and measurement boards and the ESP32 boards of this library.


DIY project to build a smart tank level sensor for RVs or in other projects. It is based on air pressure and is able to measure fresh water as well as grey and black water levels with high precision.
This project is still in development, it's a working sensor and I'm happy about pull requests to add more functionality, improve existing ones or just feedback.
After I have long found on the market for camping nothing that is on the one hand affordable and on the other hand also technically good, I have started the development of my own tank sensor.
Thanks to the ESP32 this can be queried directly via WLAN or Bluetooth. In addition MQTT, the sensor value can be pushed into an MQTT broker.
The following aspects are the focus of this project:
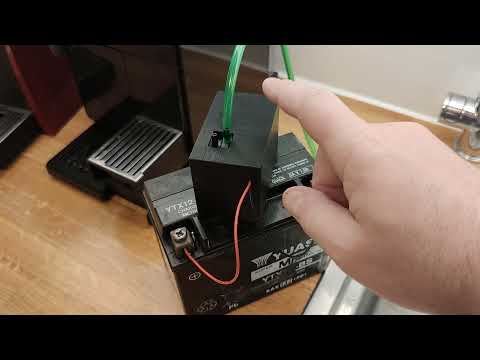
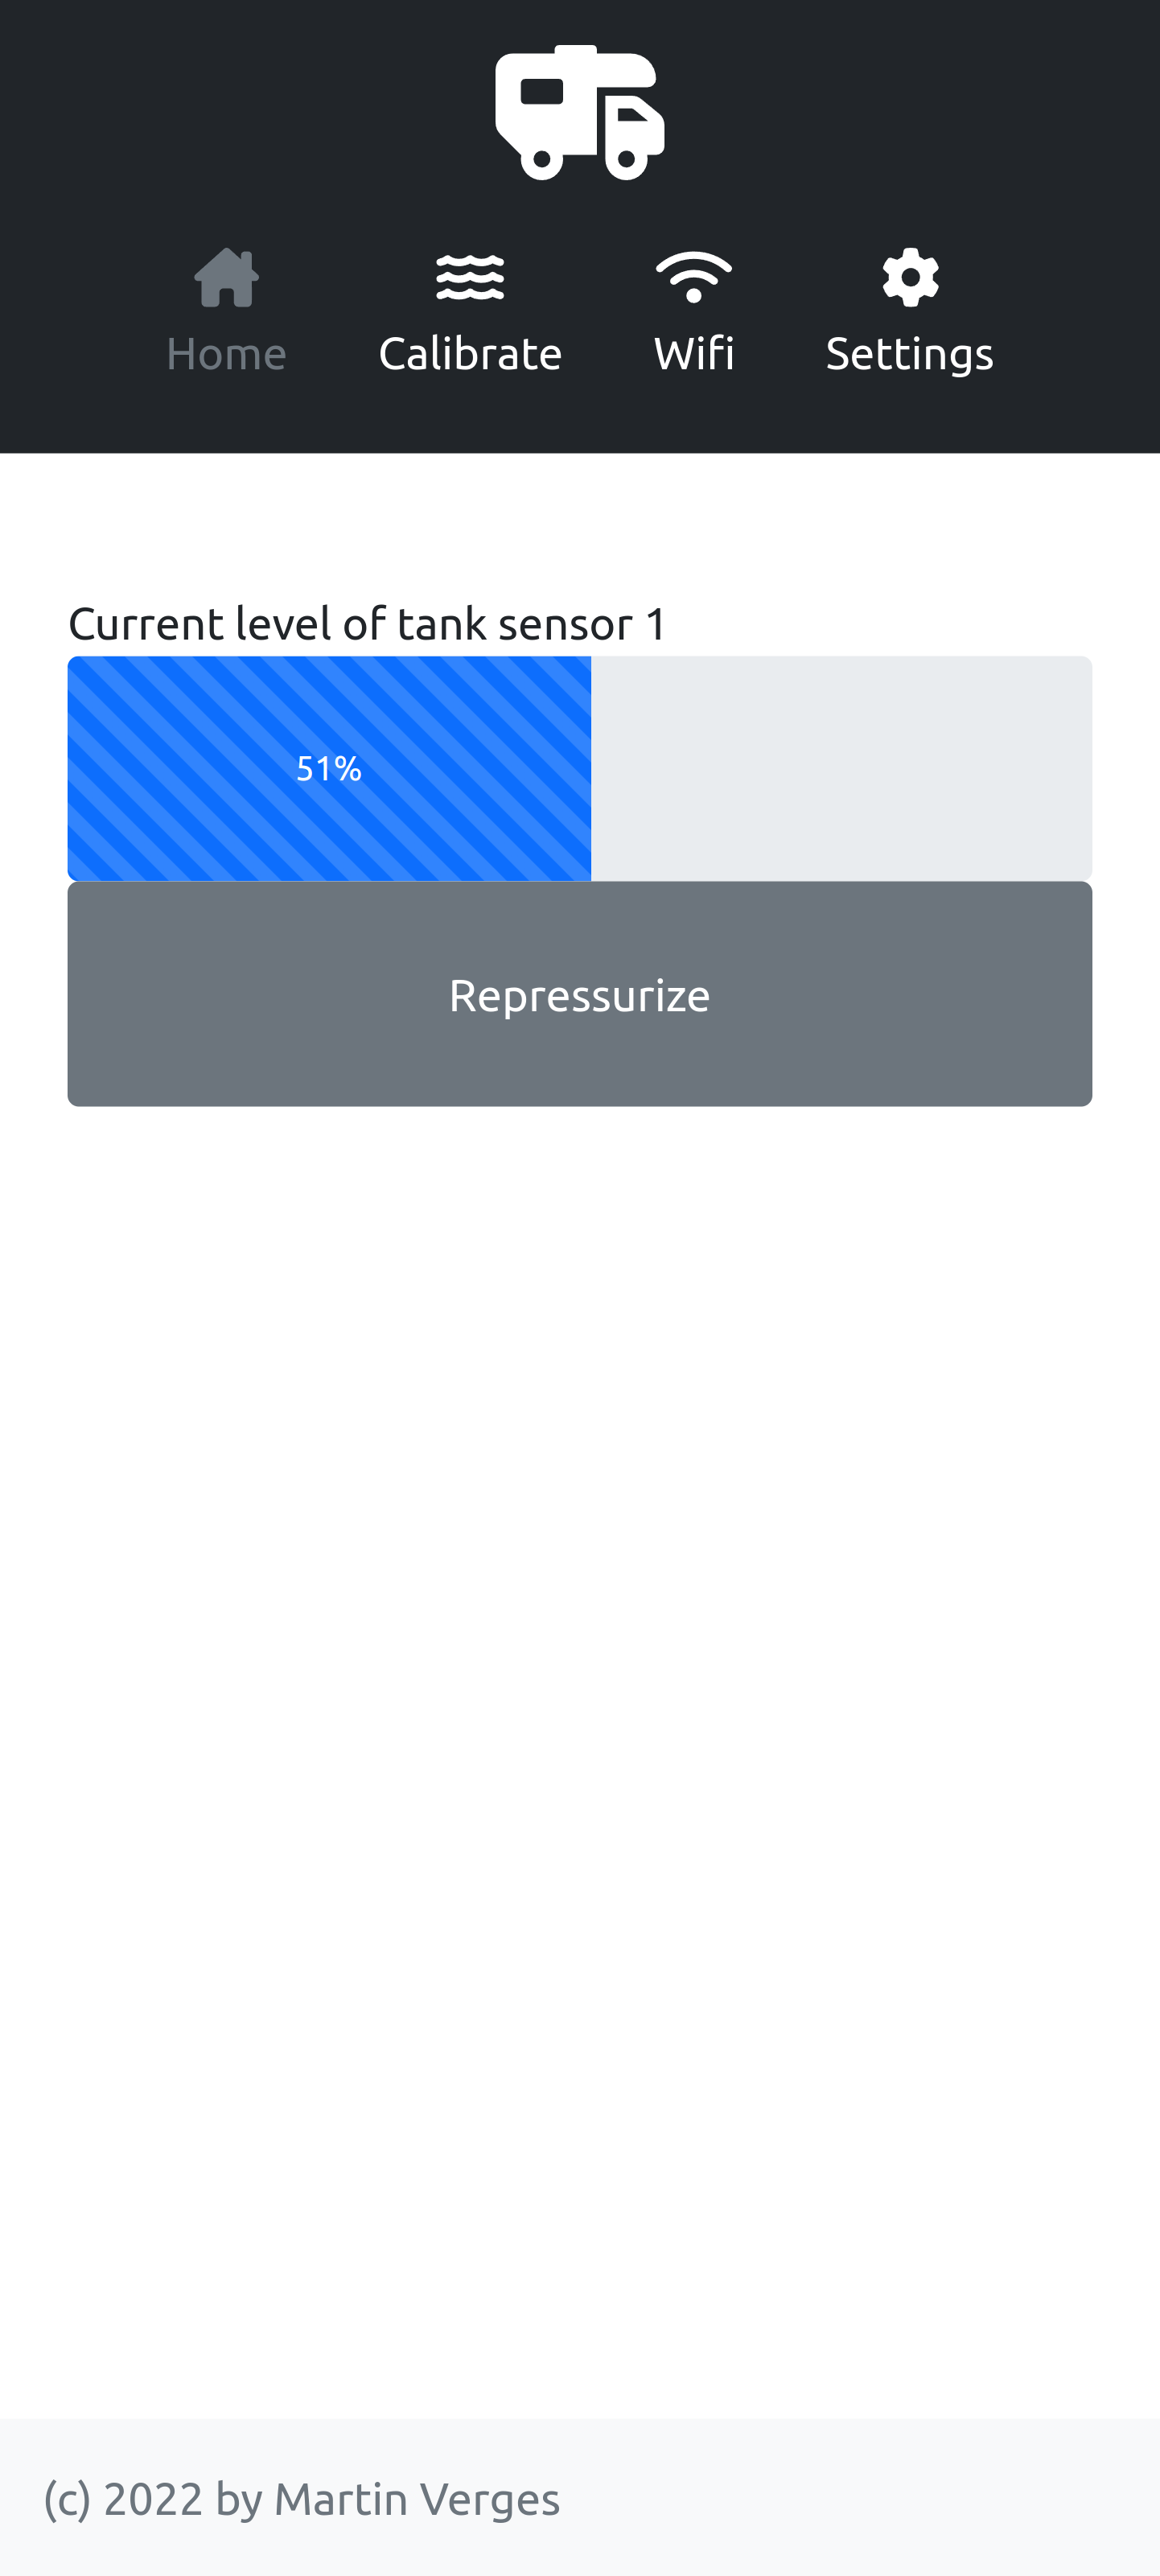
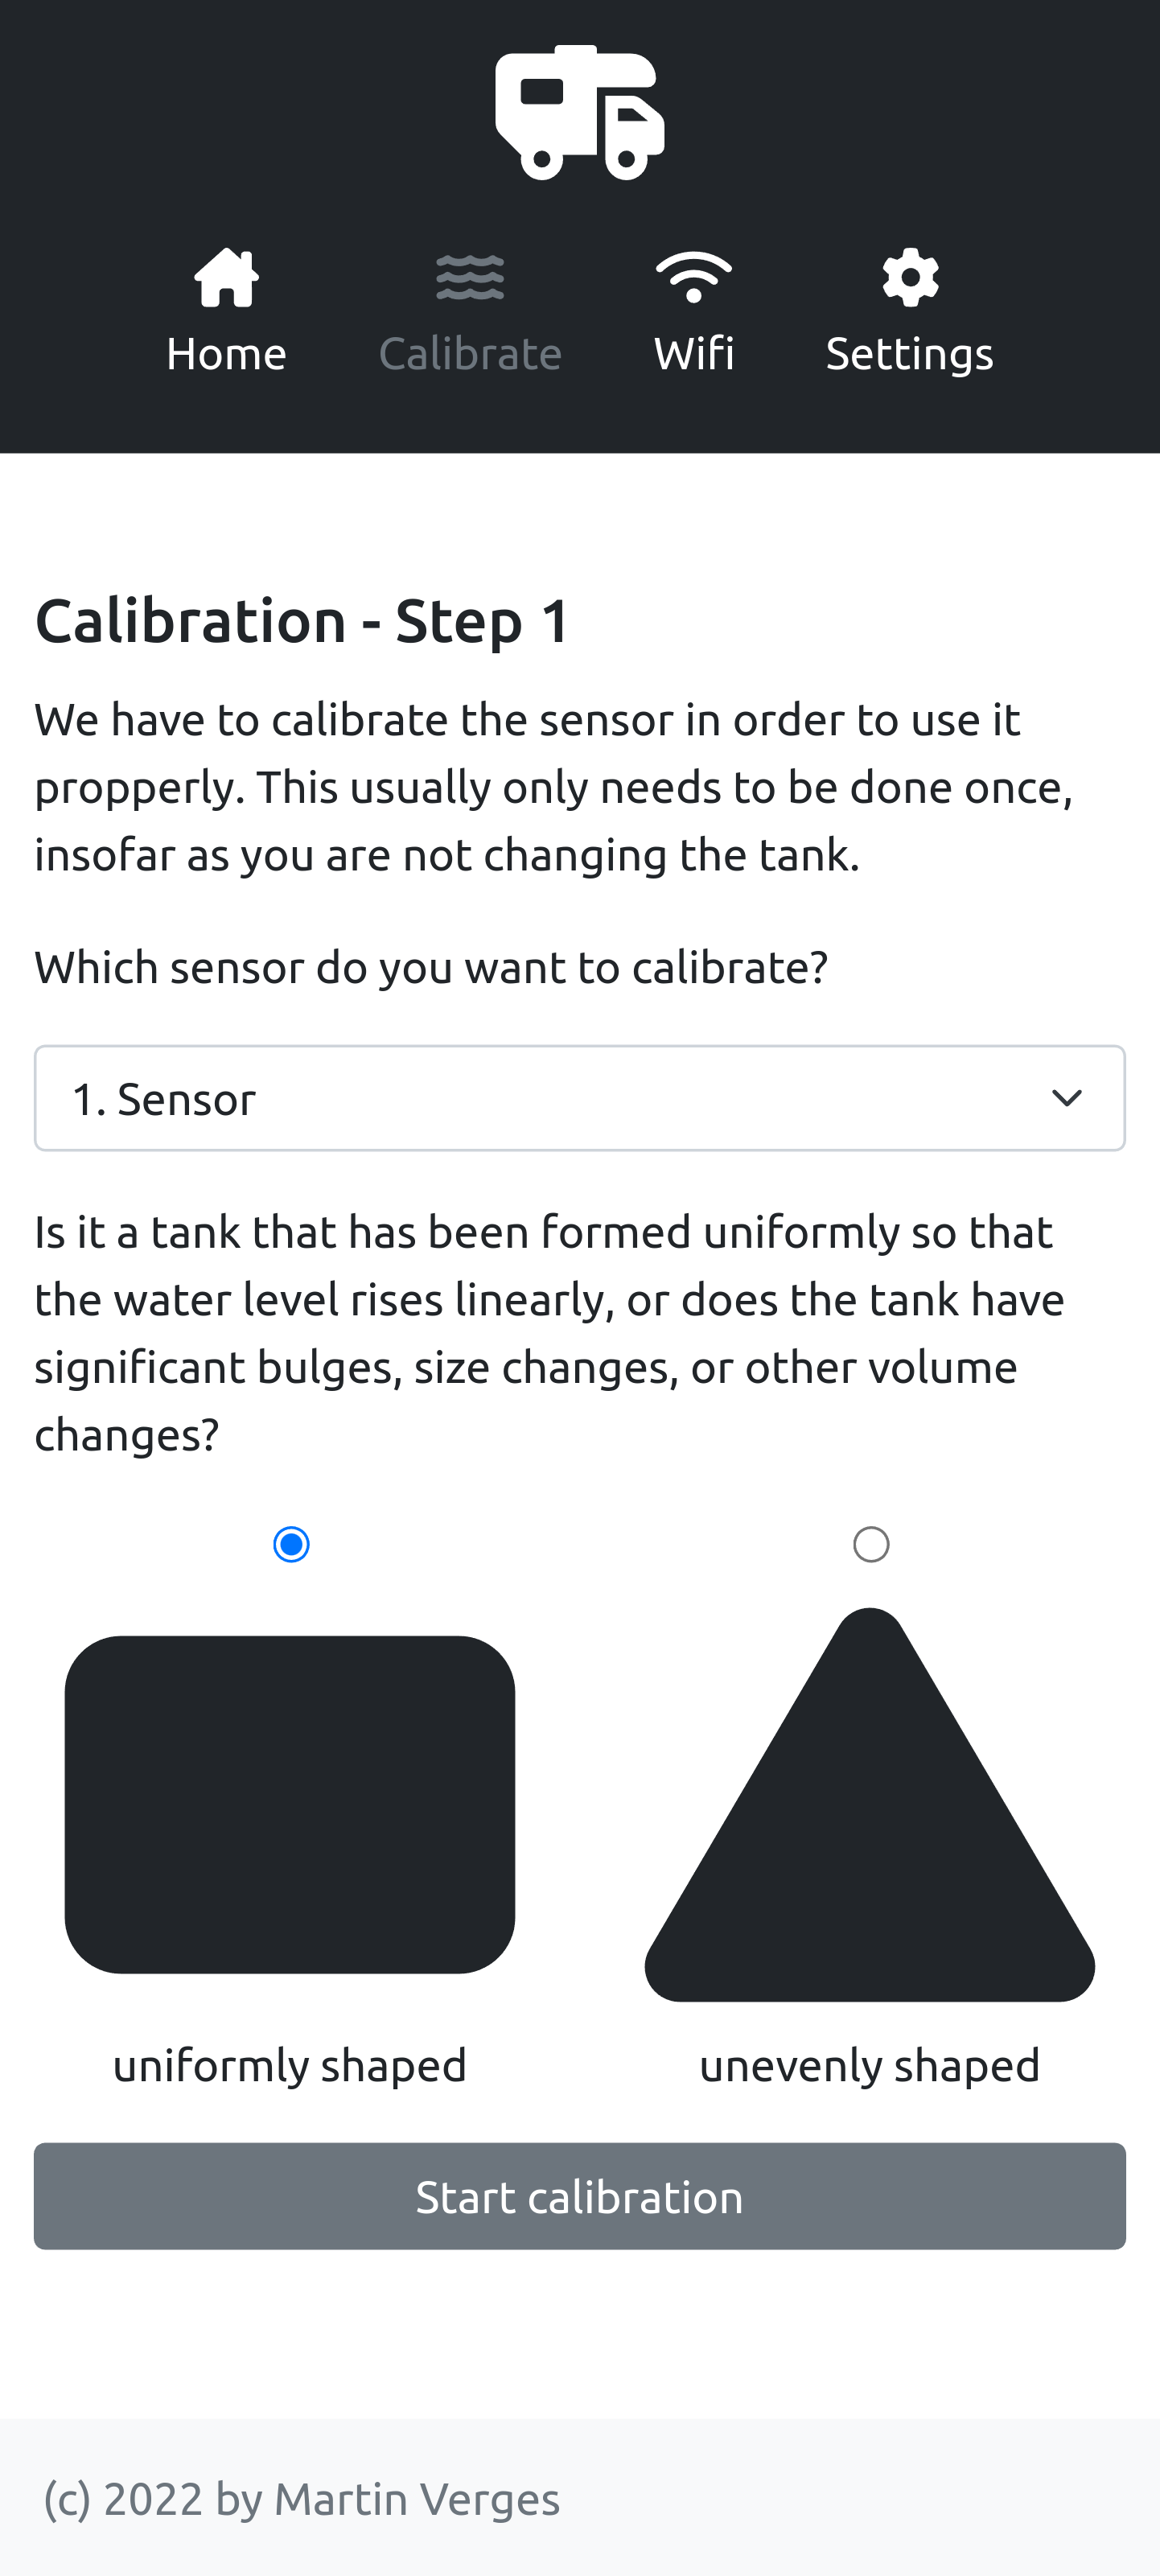
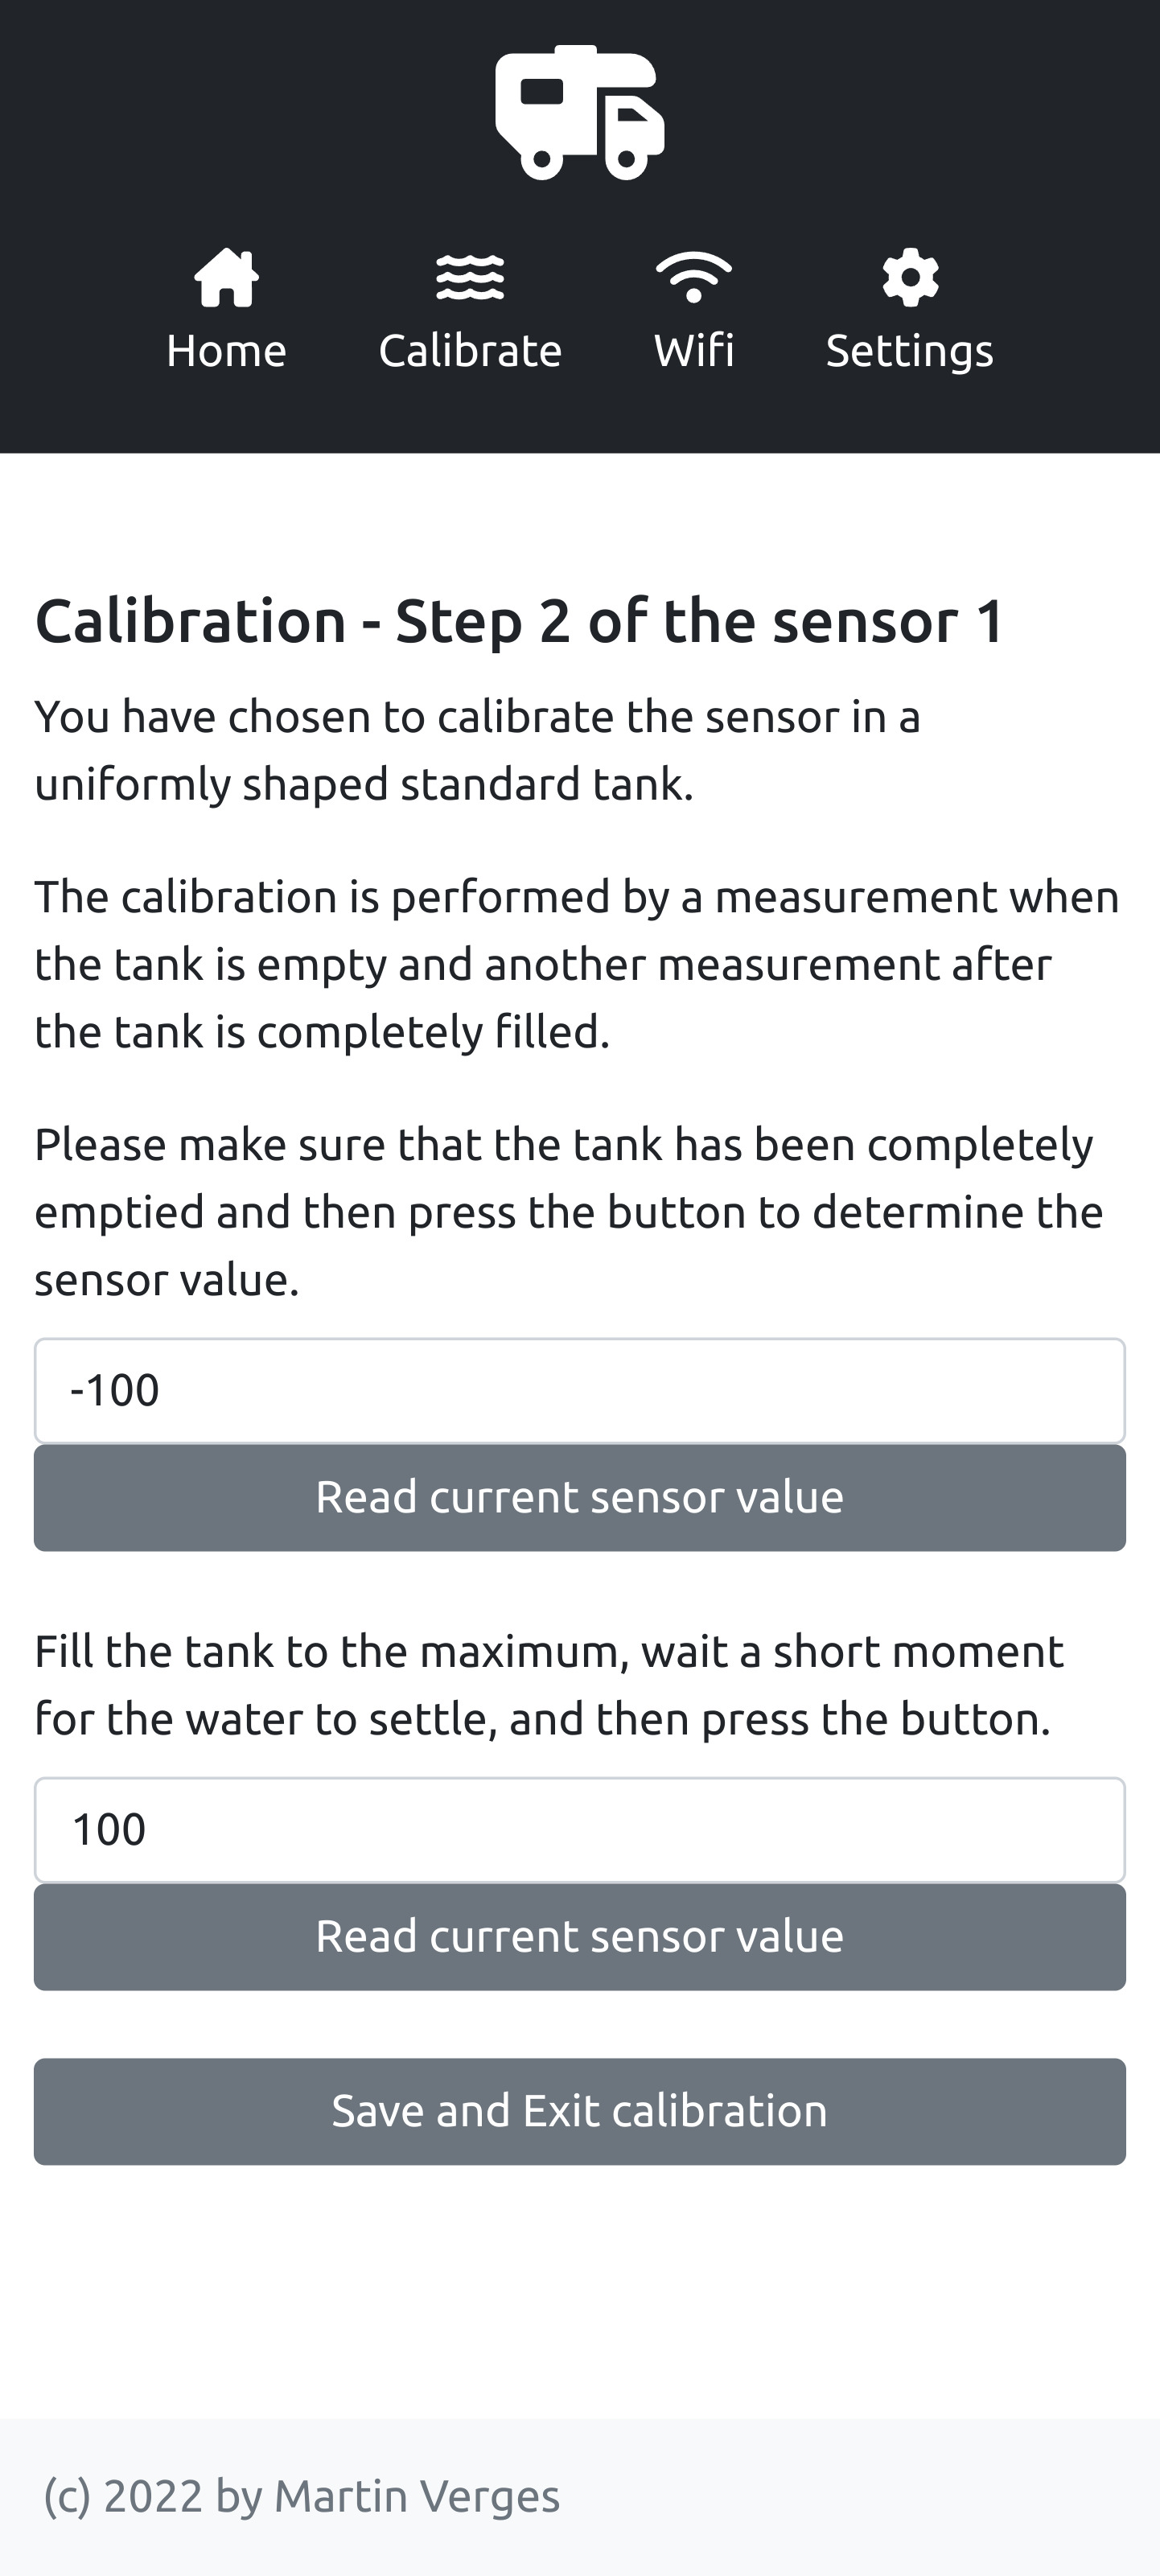
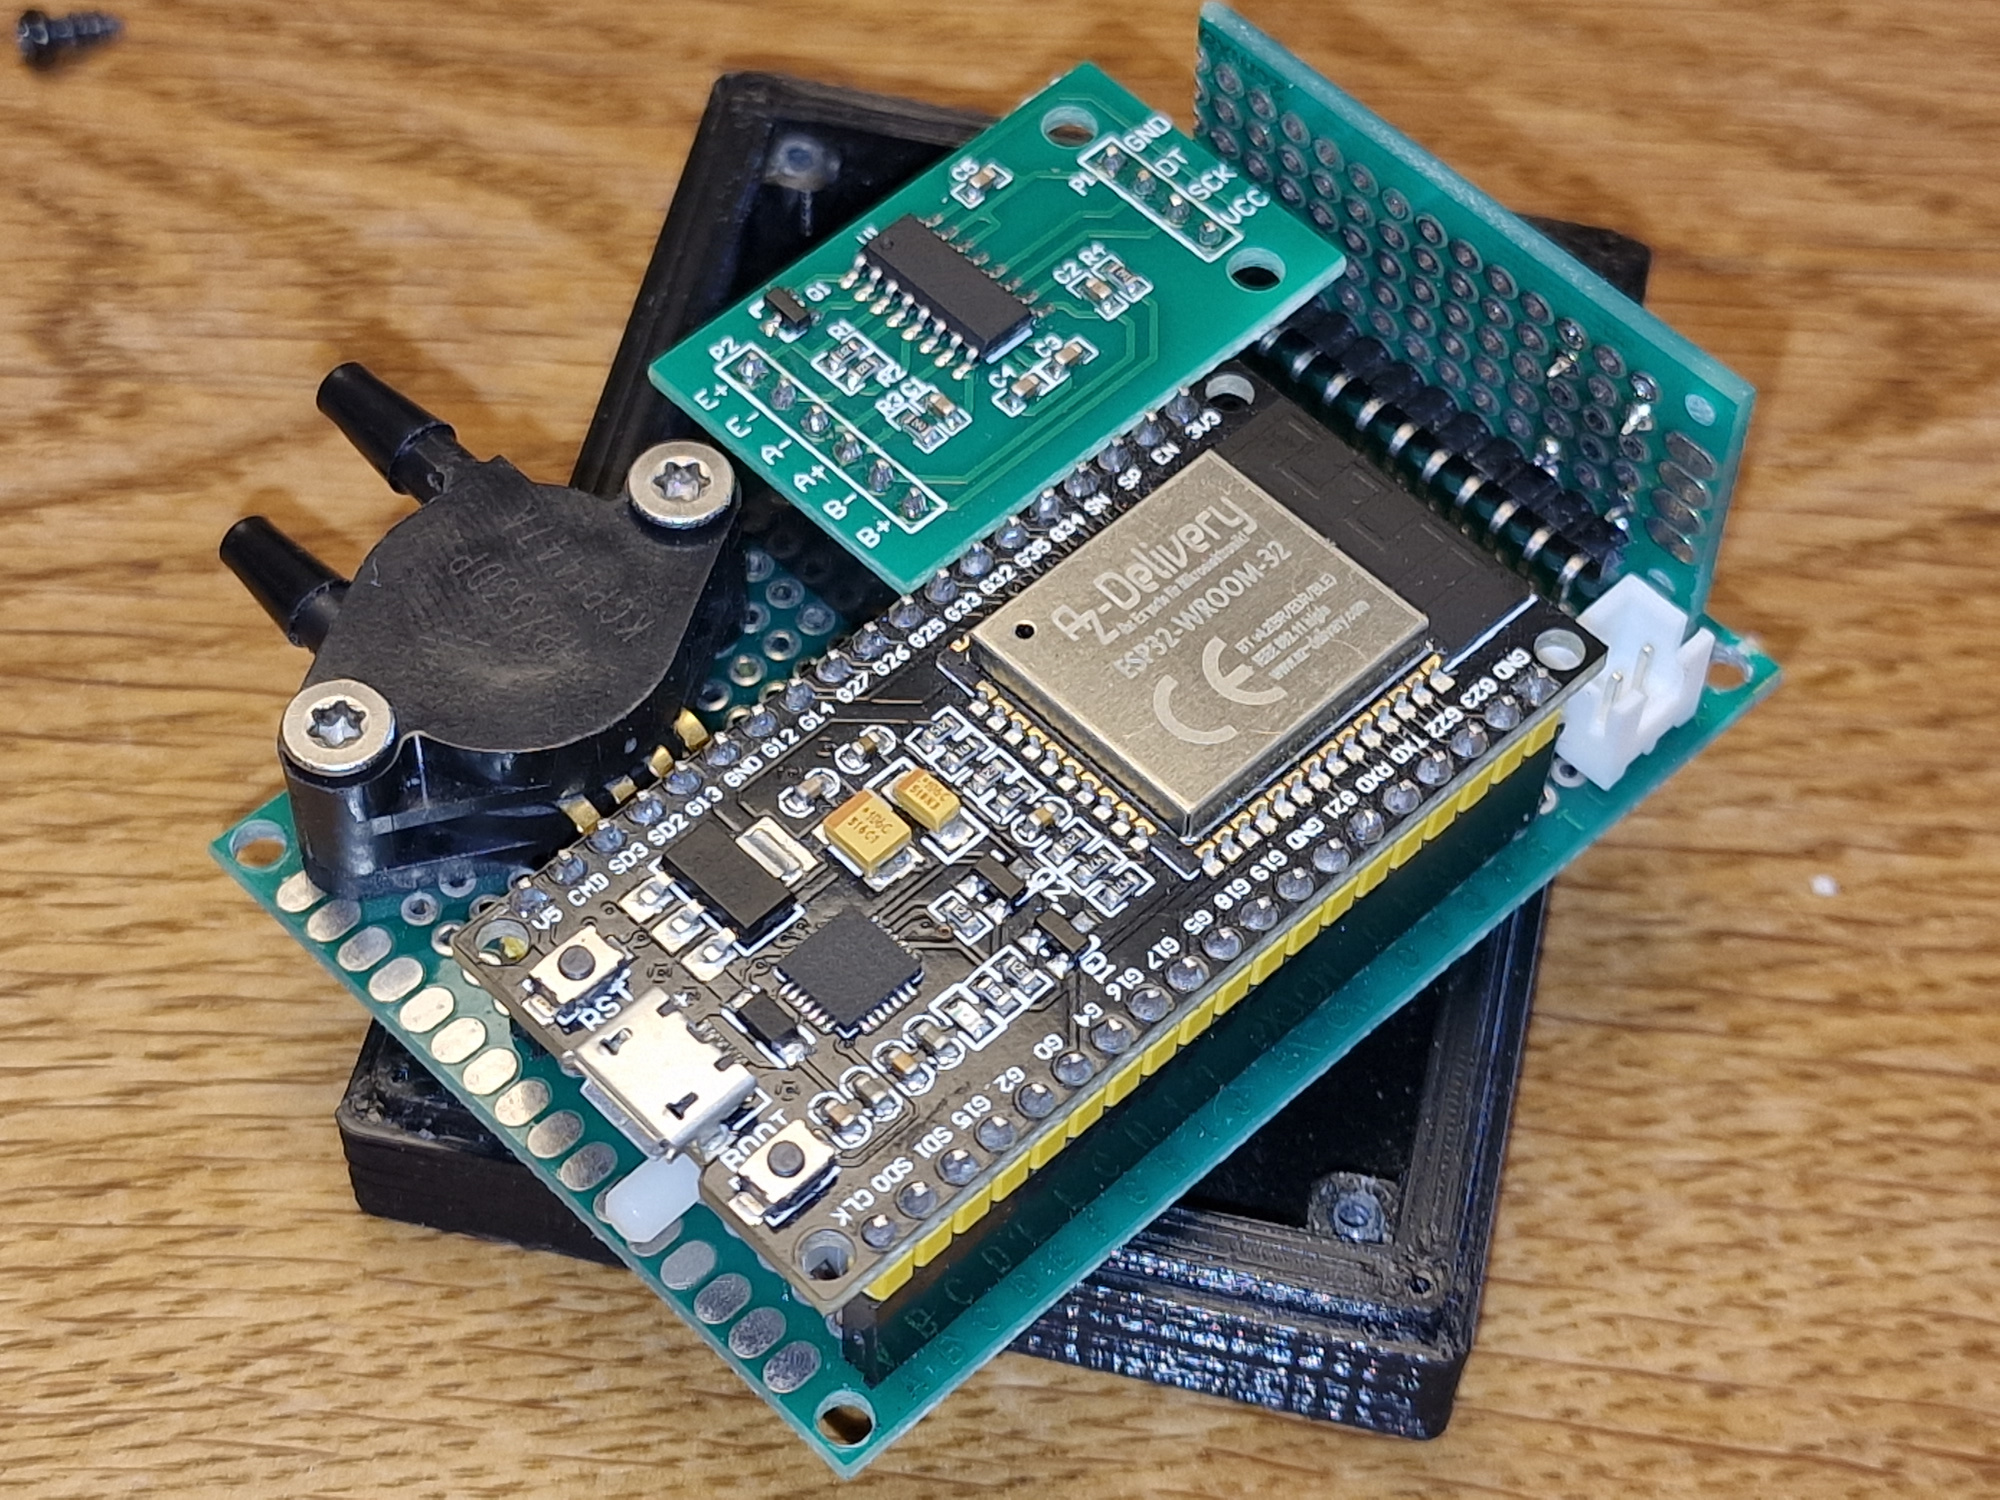
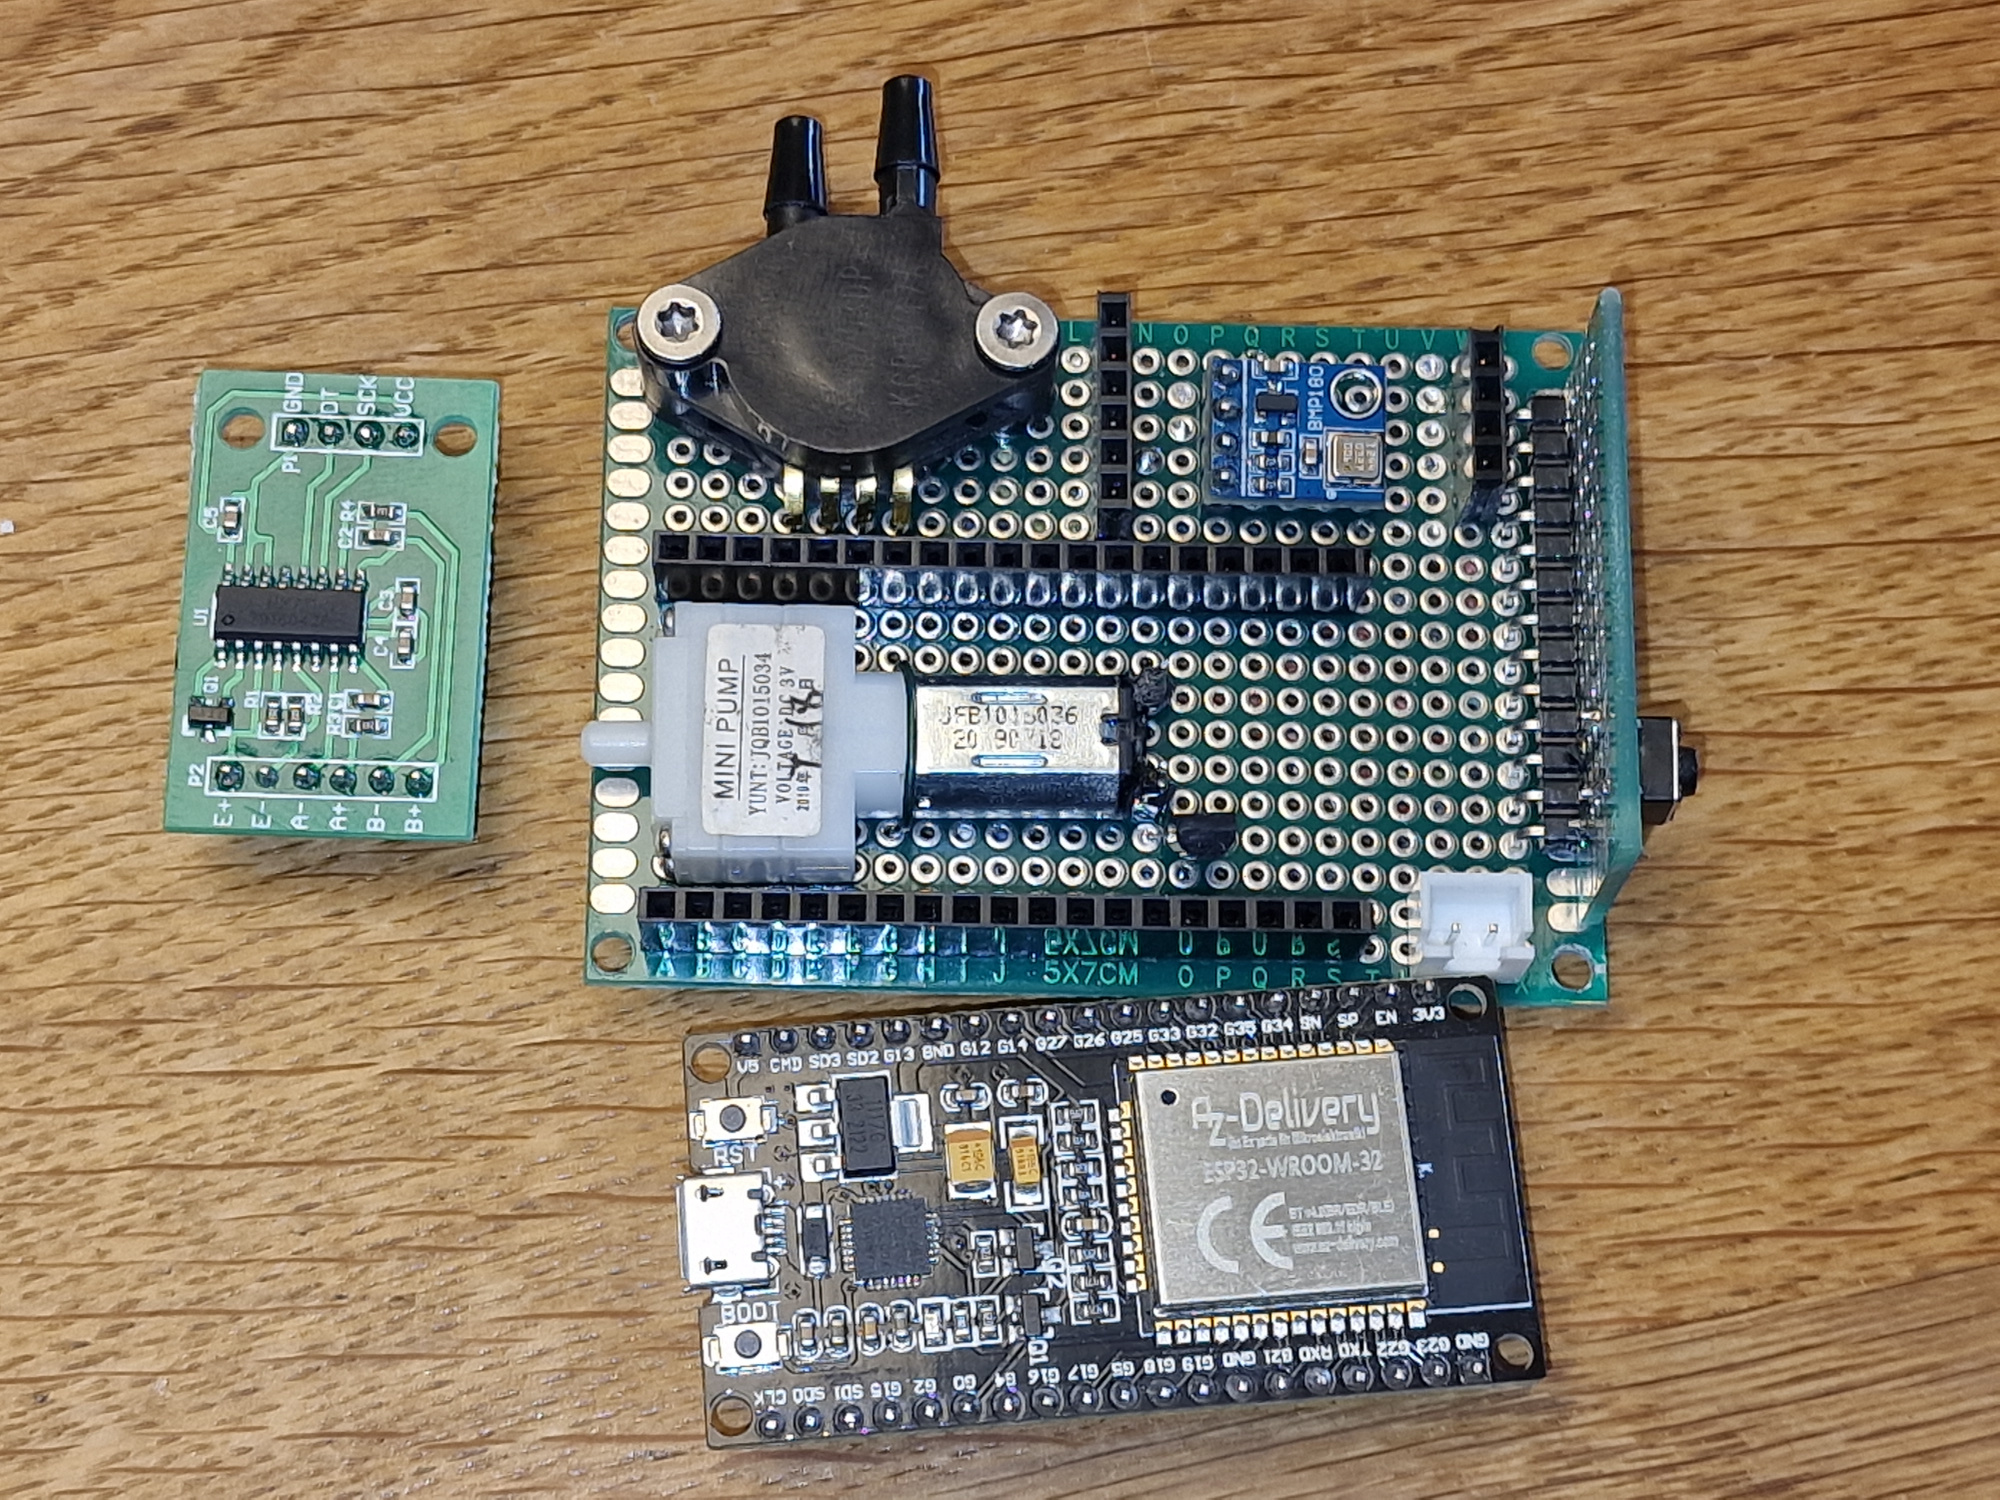
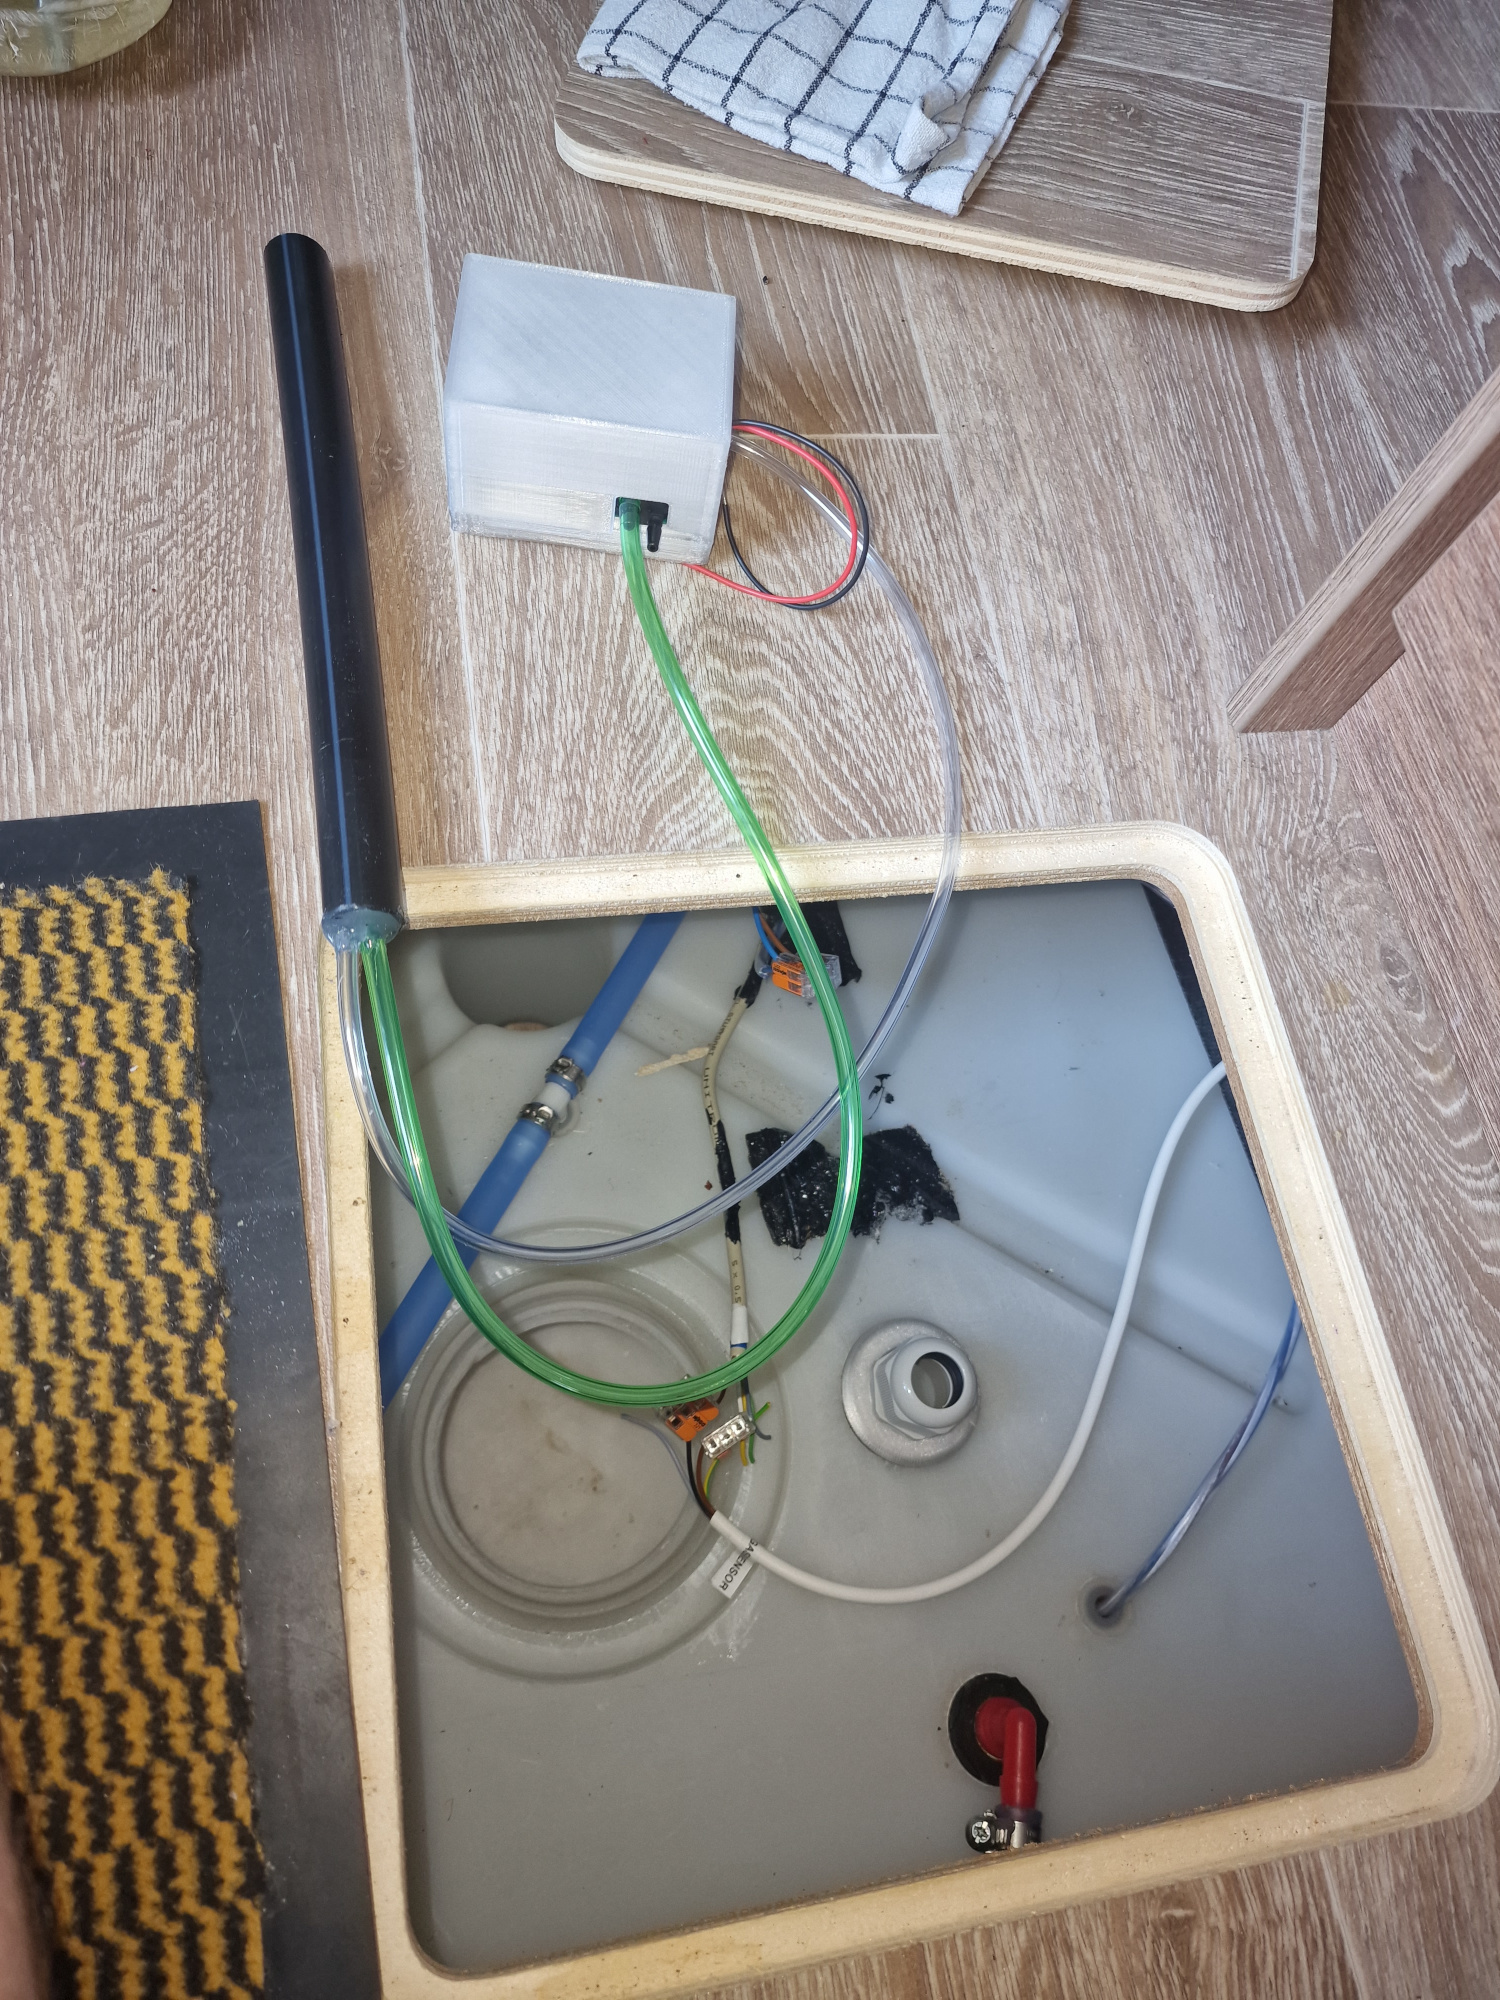
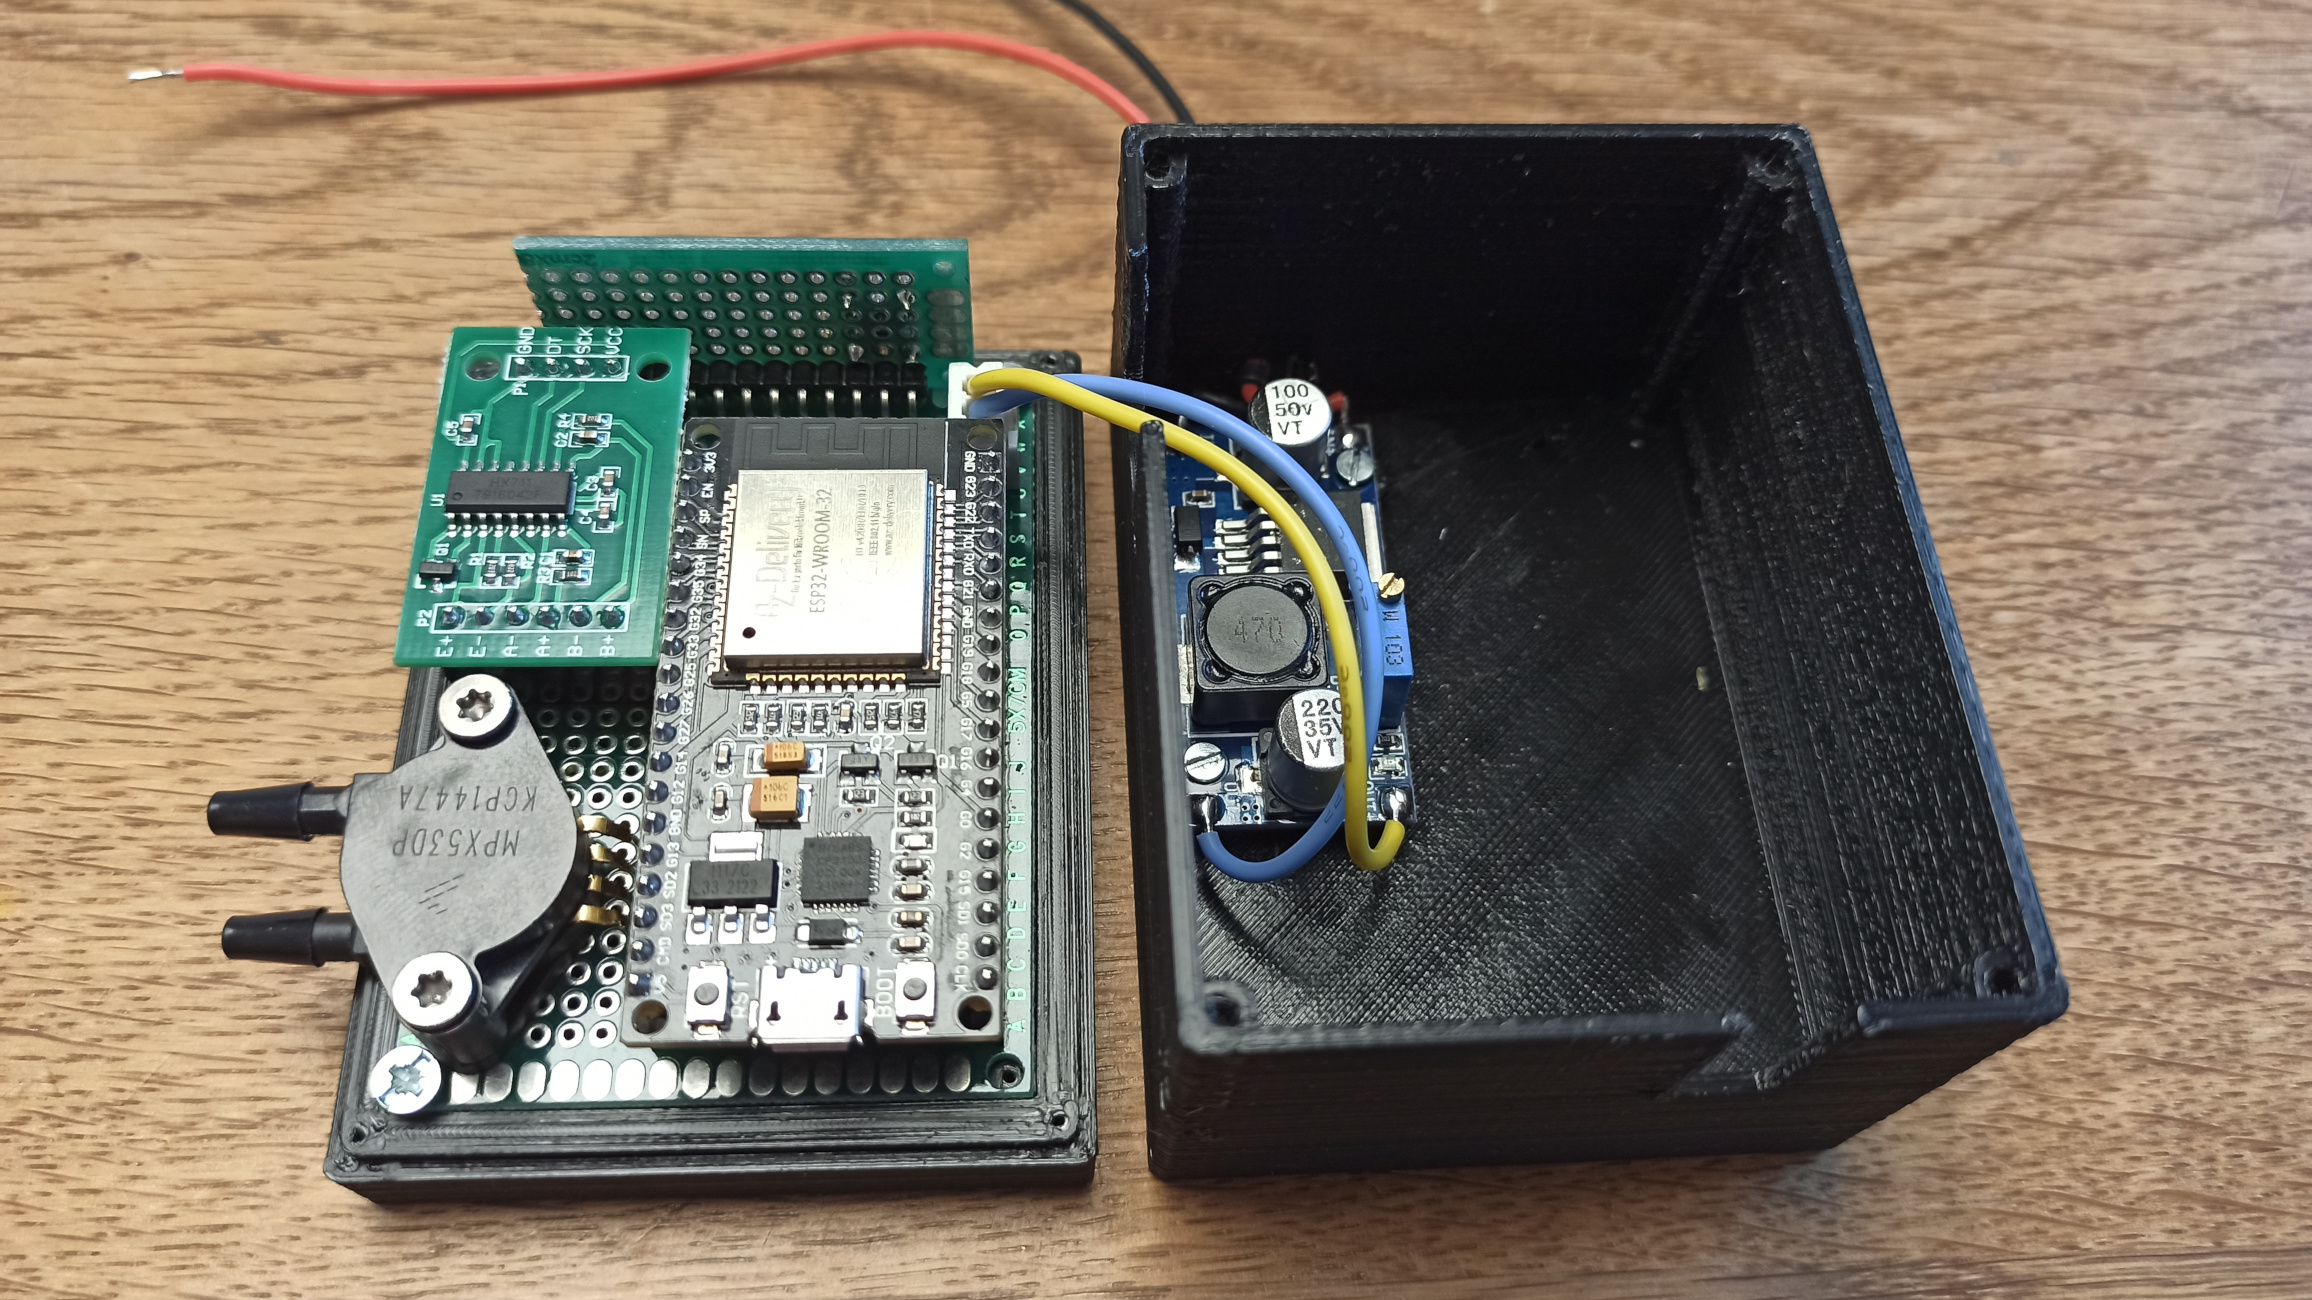
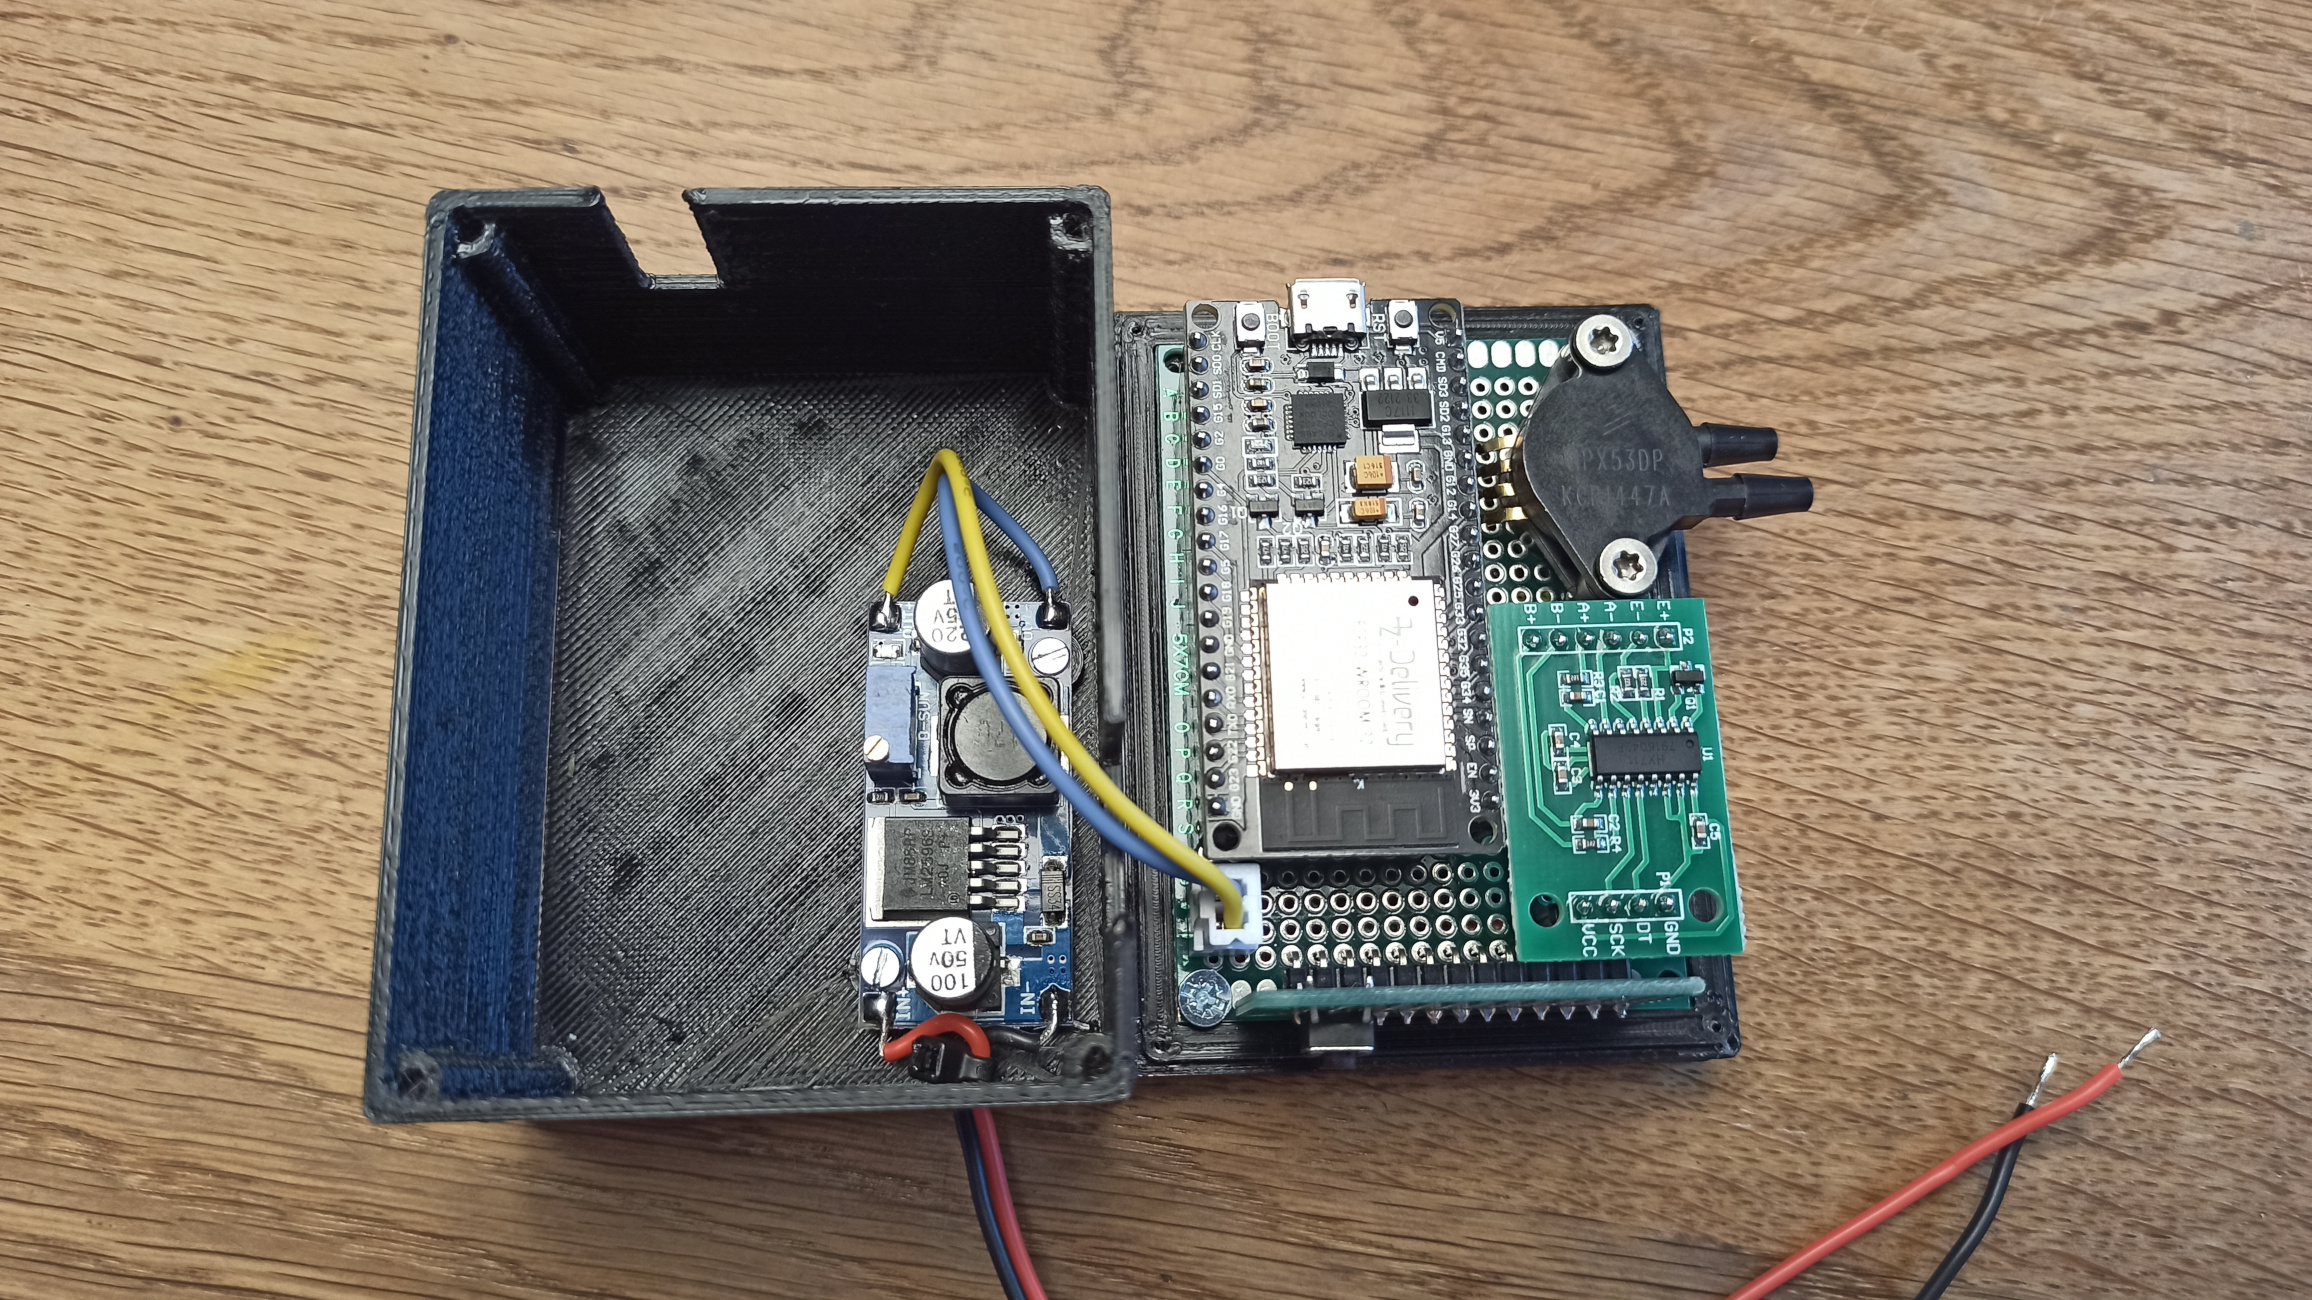
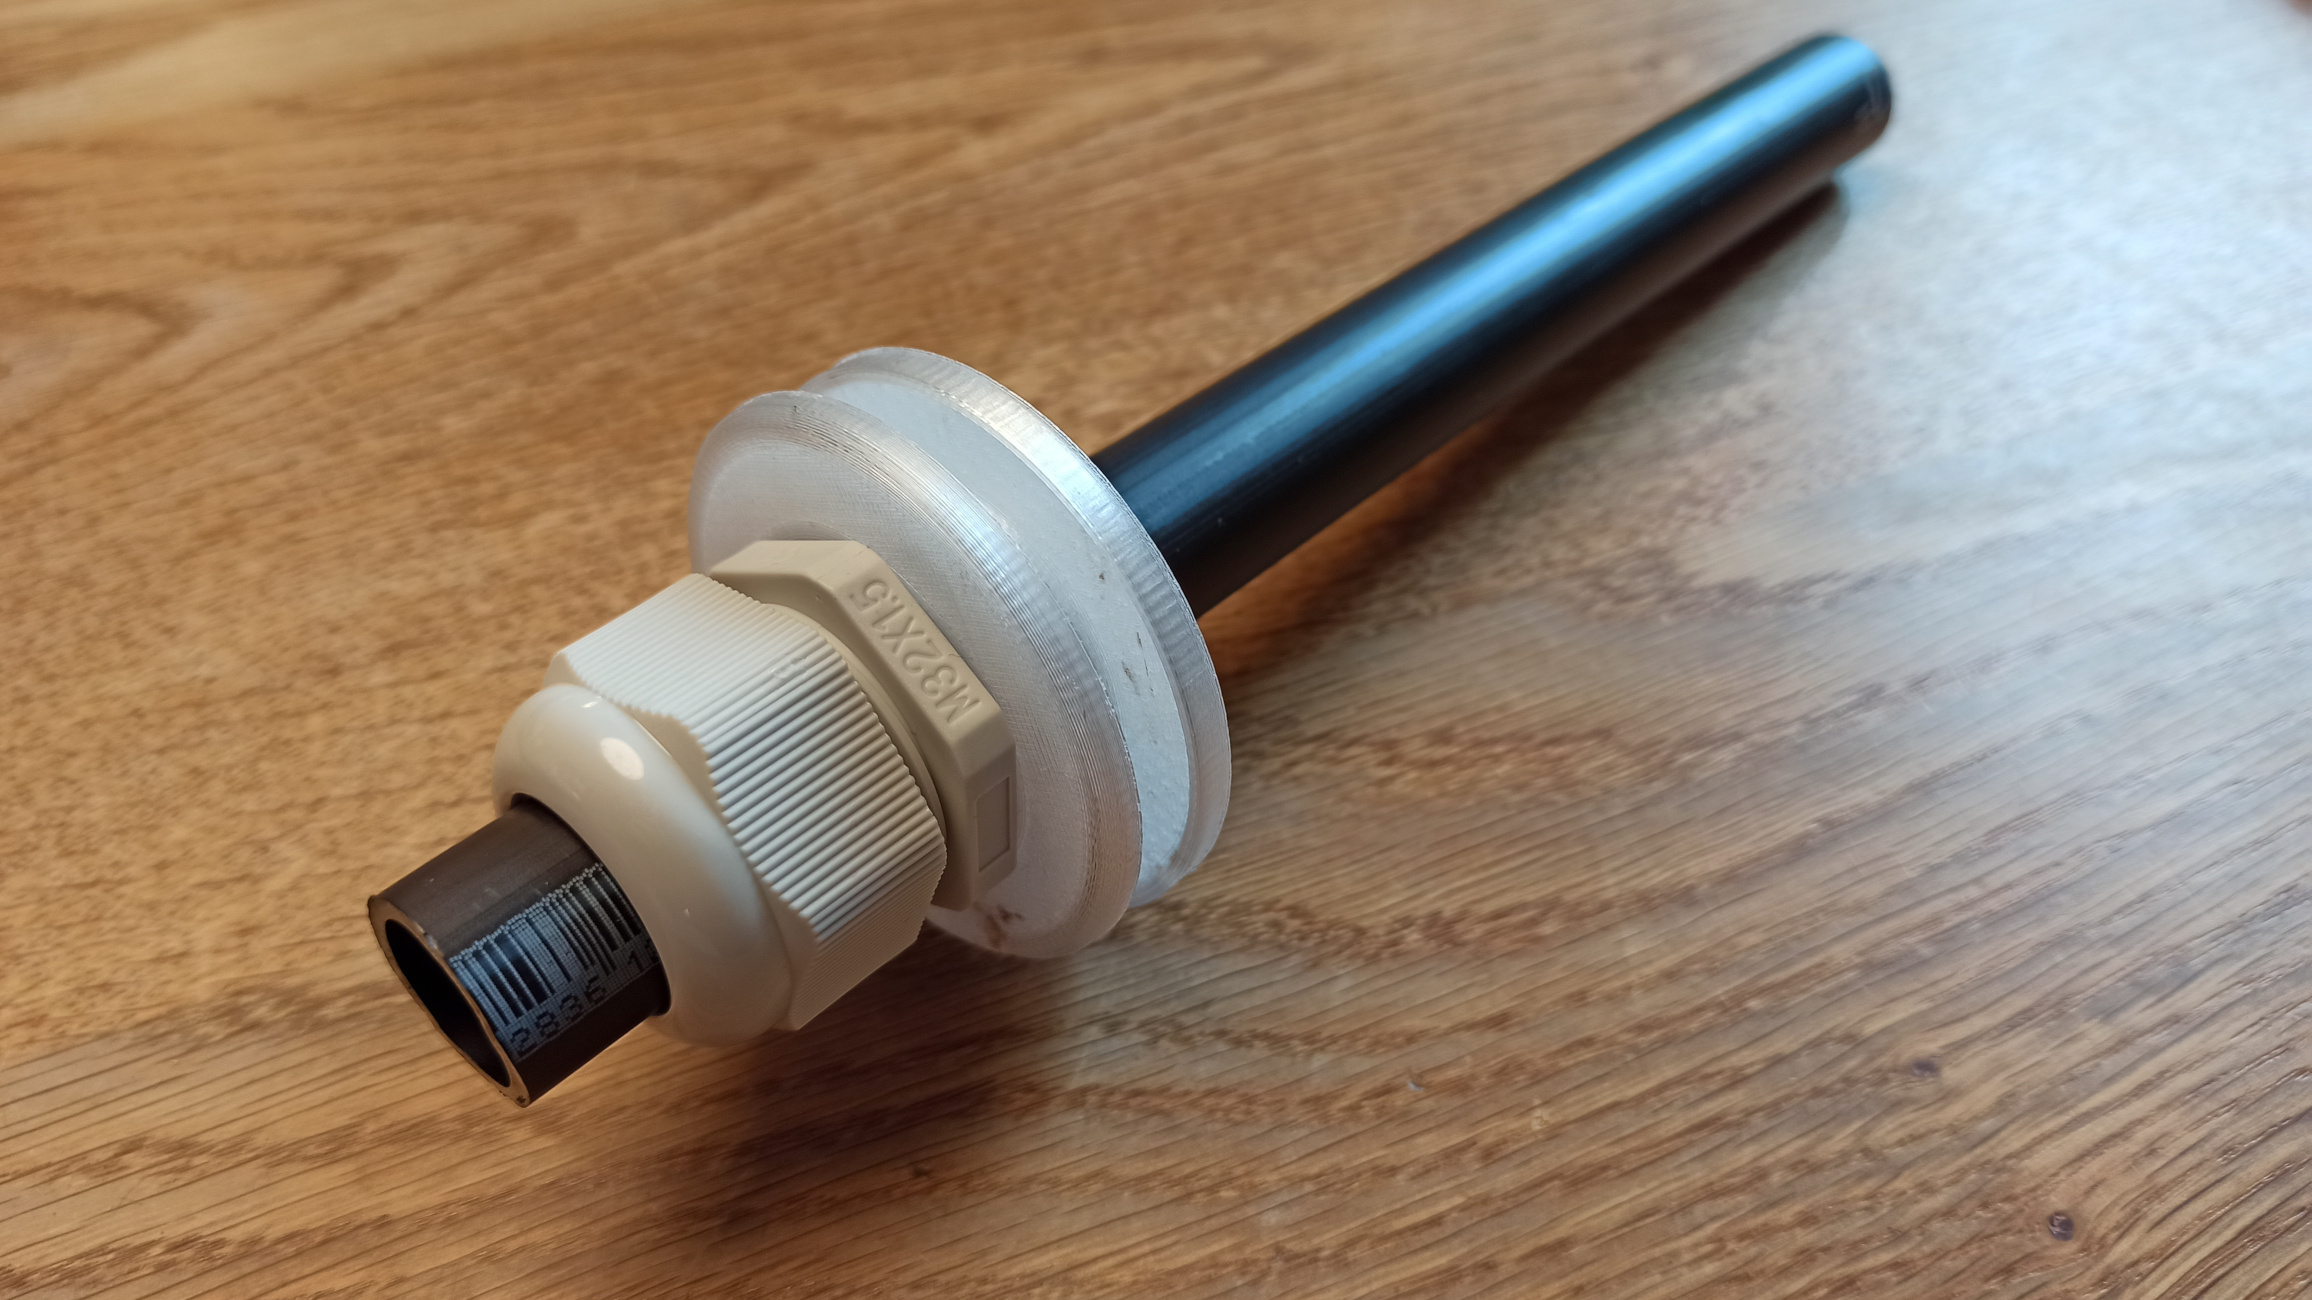
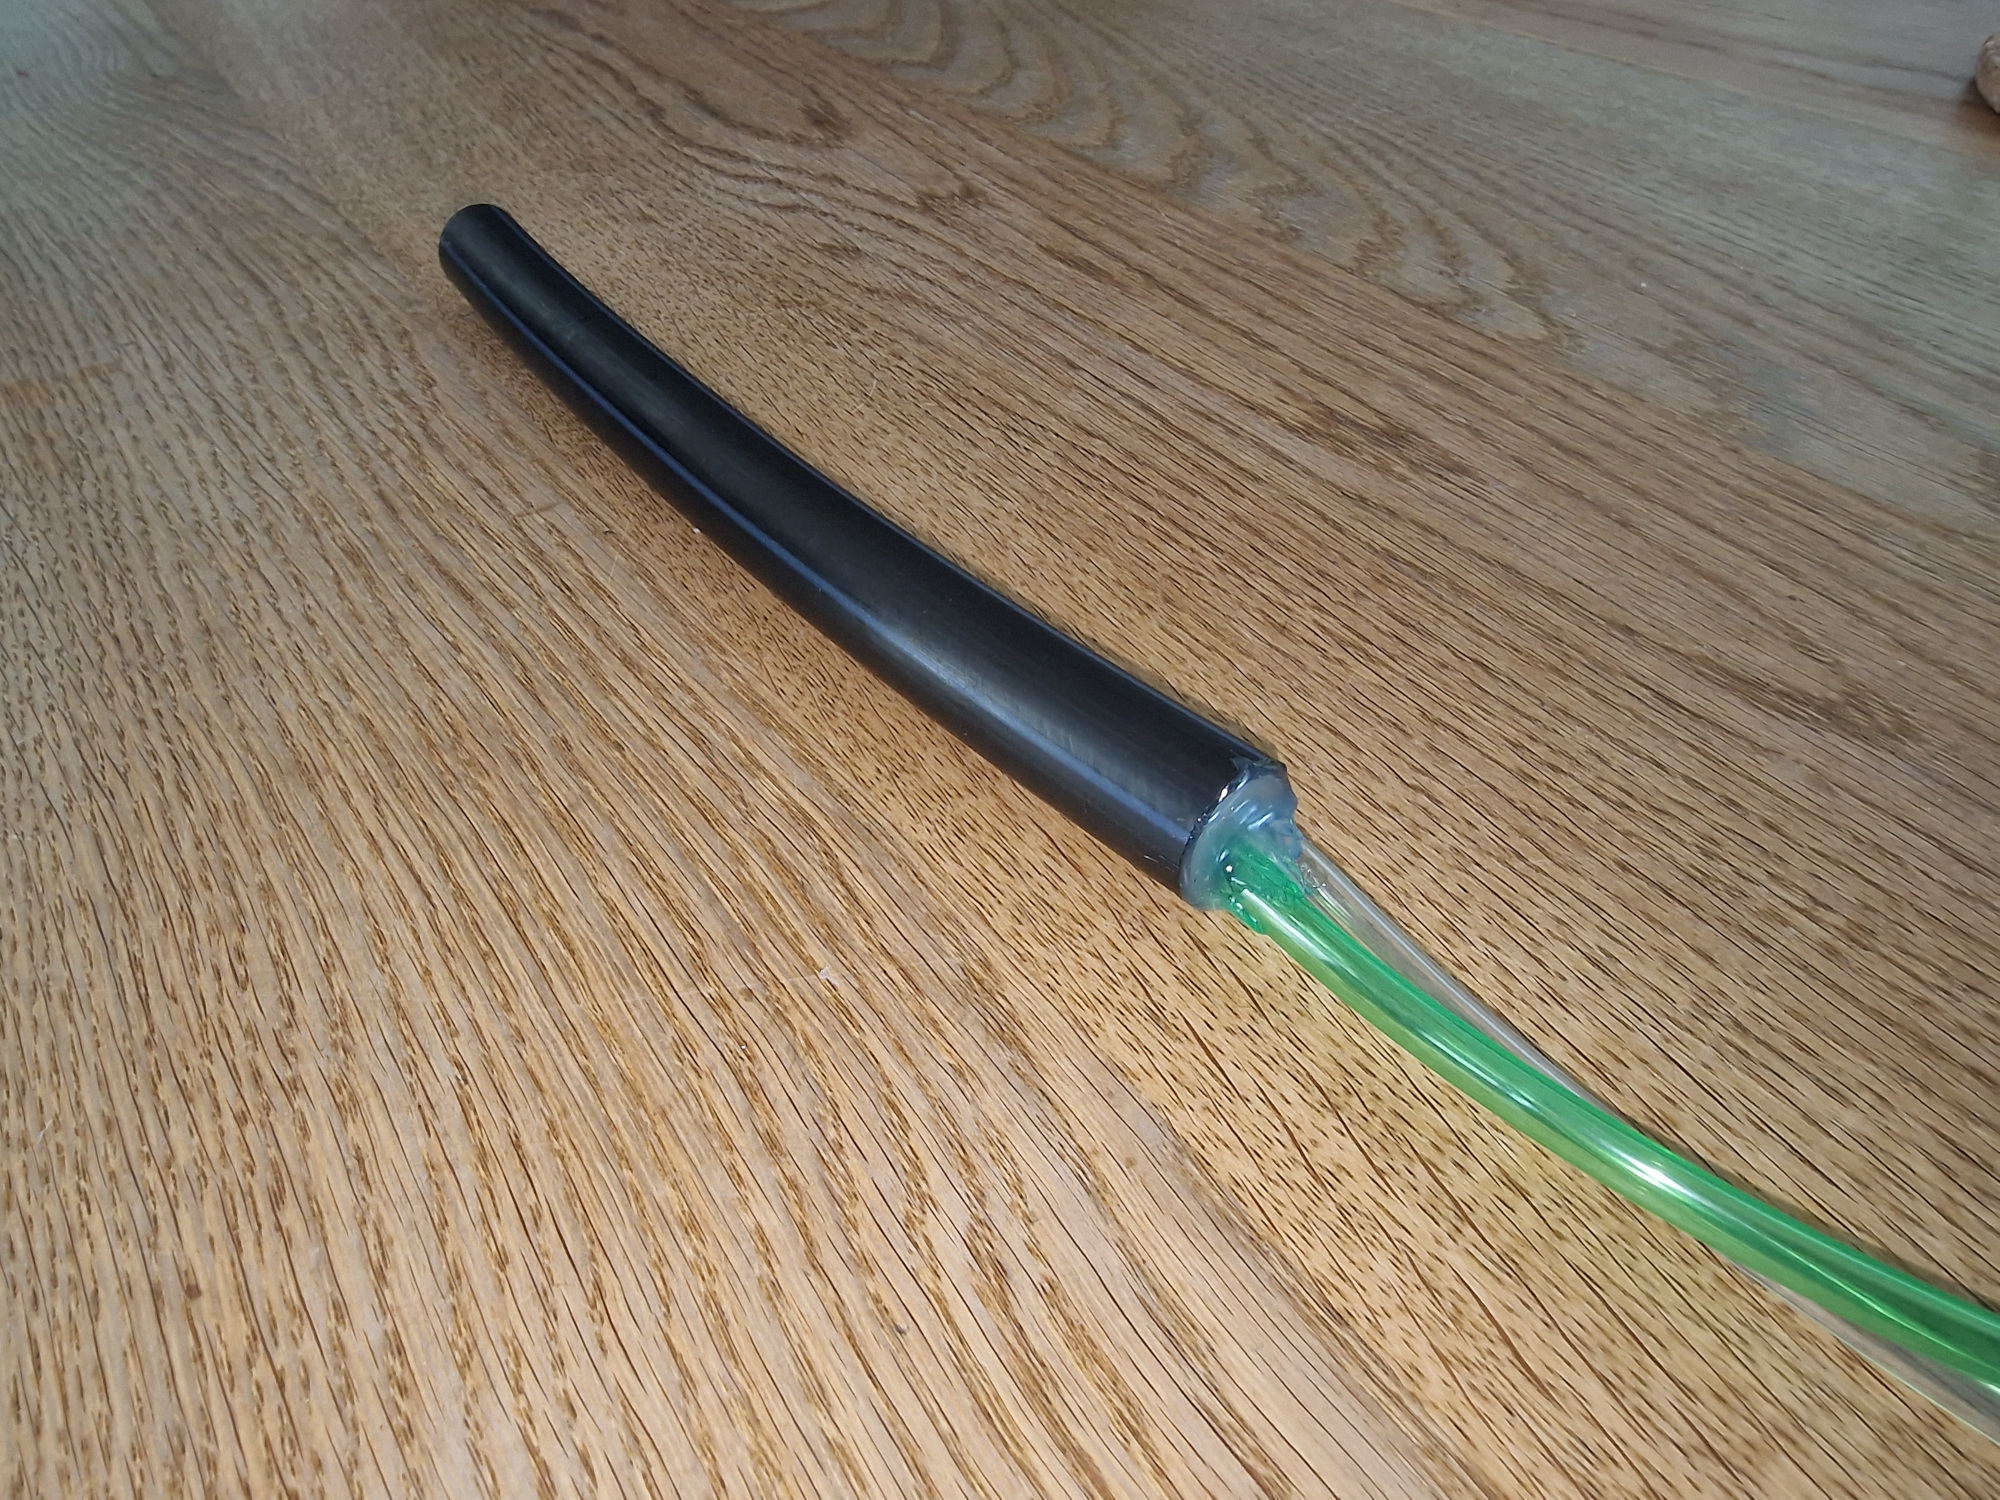
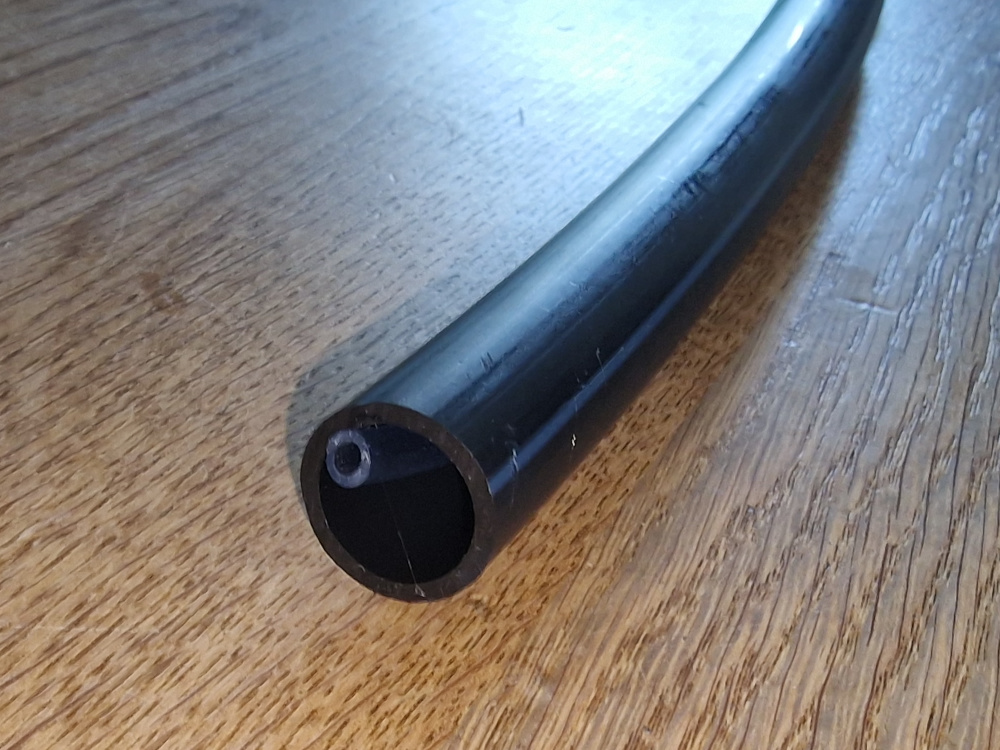
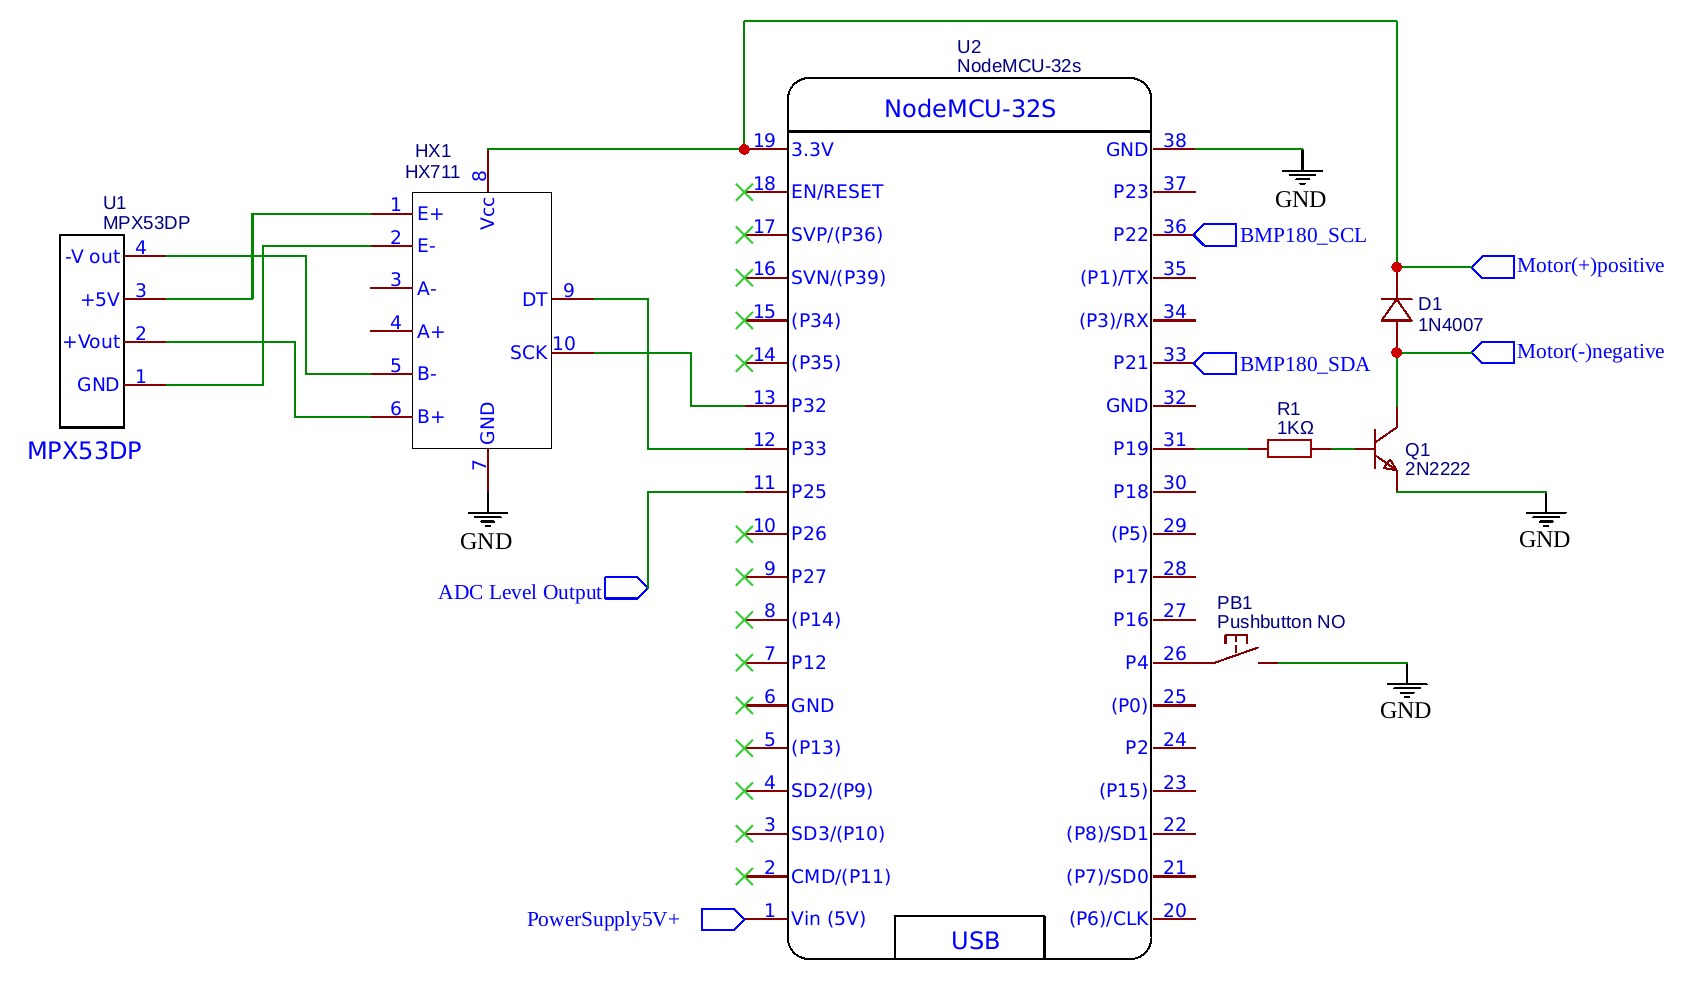
The 3D printed housing can be found on onshape as a editable document, or inside the folder housing/* as STL files.
To build this sensor yourself, you need:
In addition you need some few small cables and soldering equipment to build the circuit.
To make it super simple, our pre build firmware can be uploaded to your ESP32 using our Webinstaller. You can find it at https://webinstaller.womolin.de.
If you want to update an already installed Sensor, you can upload the binarys directly to the sensor using the Web UI. The latest version (current git main branch) is available at https://s3.womolin.de/webinstaller/waterlevel-latest/firmware.bin and https://s3.womolin.de/webinstaller/waterlevel-latest/littlefs.bin.
    # Change directory into the code folder
    > cd womolin.tanklevel

    # Build project
    > platformio run -e esp32dev

    # Upload firmware
> platformio run -e esp32dev --target uploadHere is a example command to upload existing firmware files.
/path/to/esptool.py --chip esp32 --port "/dev/ttyUSB0" --baud 921600 --before default_reset --after hard_reset \
    write_flash -z --flash_mode dio --flash_freq 80m --flash_size 4MB \
    0x1000 bootloader_dio_80m.bin \
    0x8000 partitions.bin \
    0xe000 boot_app0.bin \
    0x10000 firmware.bin \
    0x190000 firmware.bin \
    0x310000 littlefs.bin
Please make sure that your ESP32 runs with these settings before uploading it.
As the UI requires a valid FontAweSome License, you can find a generated littlefs.bin with my subscription.
It's automatically uploaded to our S3 at https://s3.womolin.de/webinstaller/gaslevel-latest/littlefs.bin.
Please feel free to take this one for your sensor.
As I haven't found good icons with a free license, I choosed the pro version of fontawesome. Therefore it's required to have a valid subscription in order to build the UI yourself.
Set your FontAweSome key:
npm config set "@fortawesome:registry" https://npm.fontawesome.com/
npm config set "//npm.fontawesome.com/:_authToken" XXXXXXXXXXXXXXXXXXXX
Build the UI:
cd ui
npm install
npm run build
cd ..
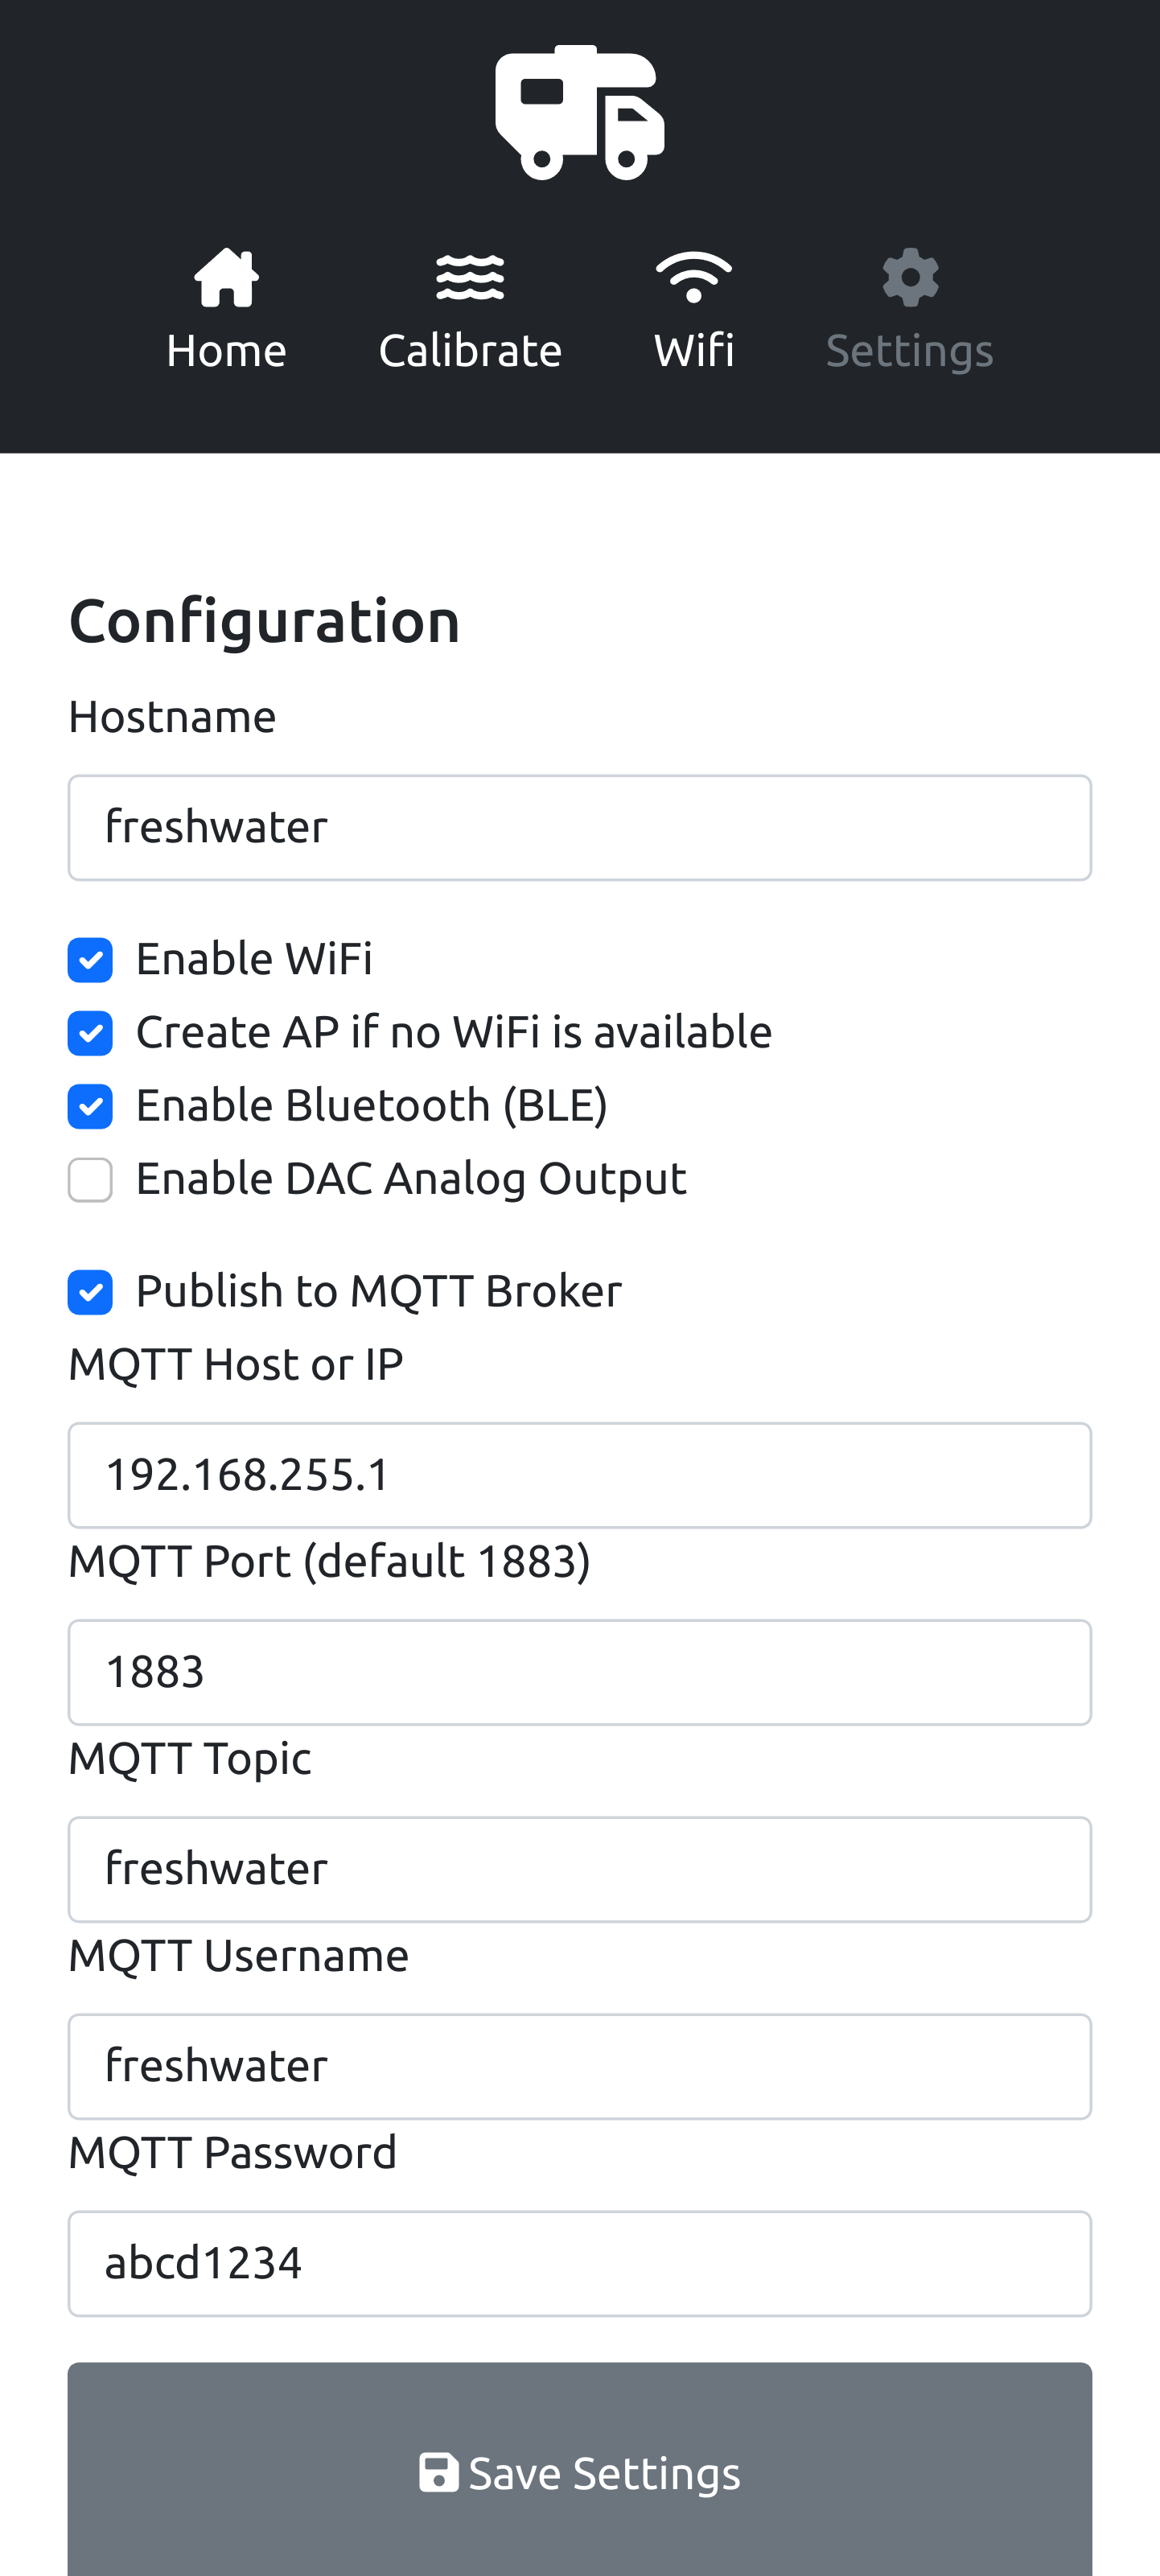
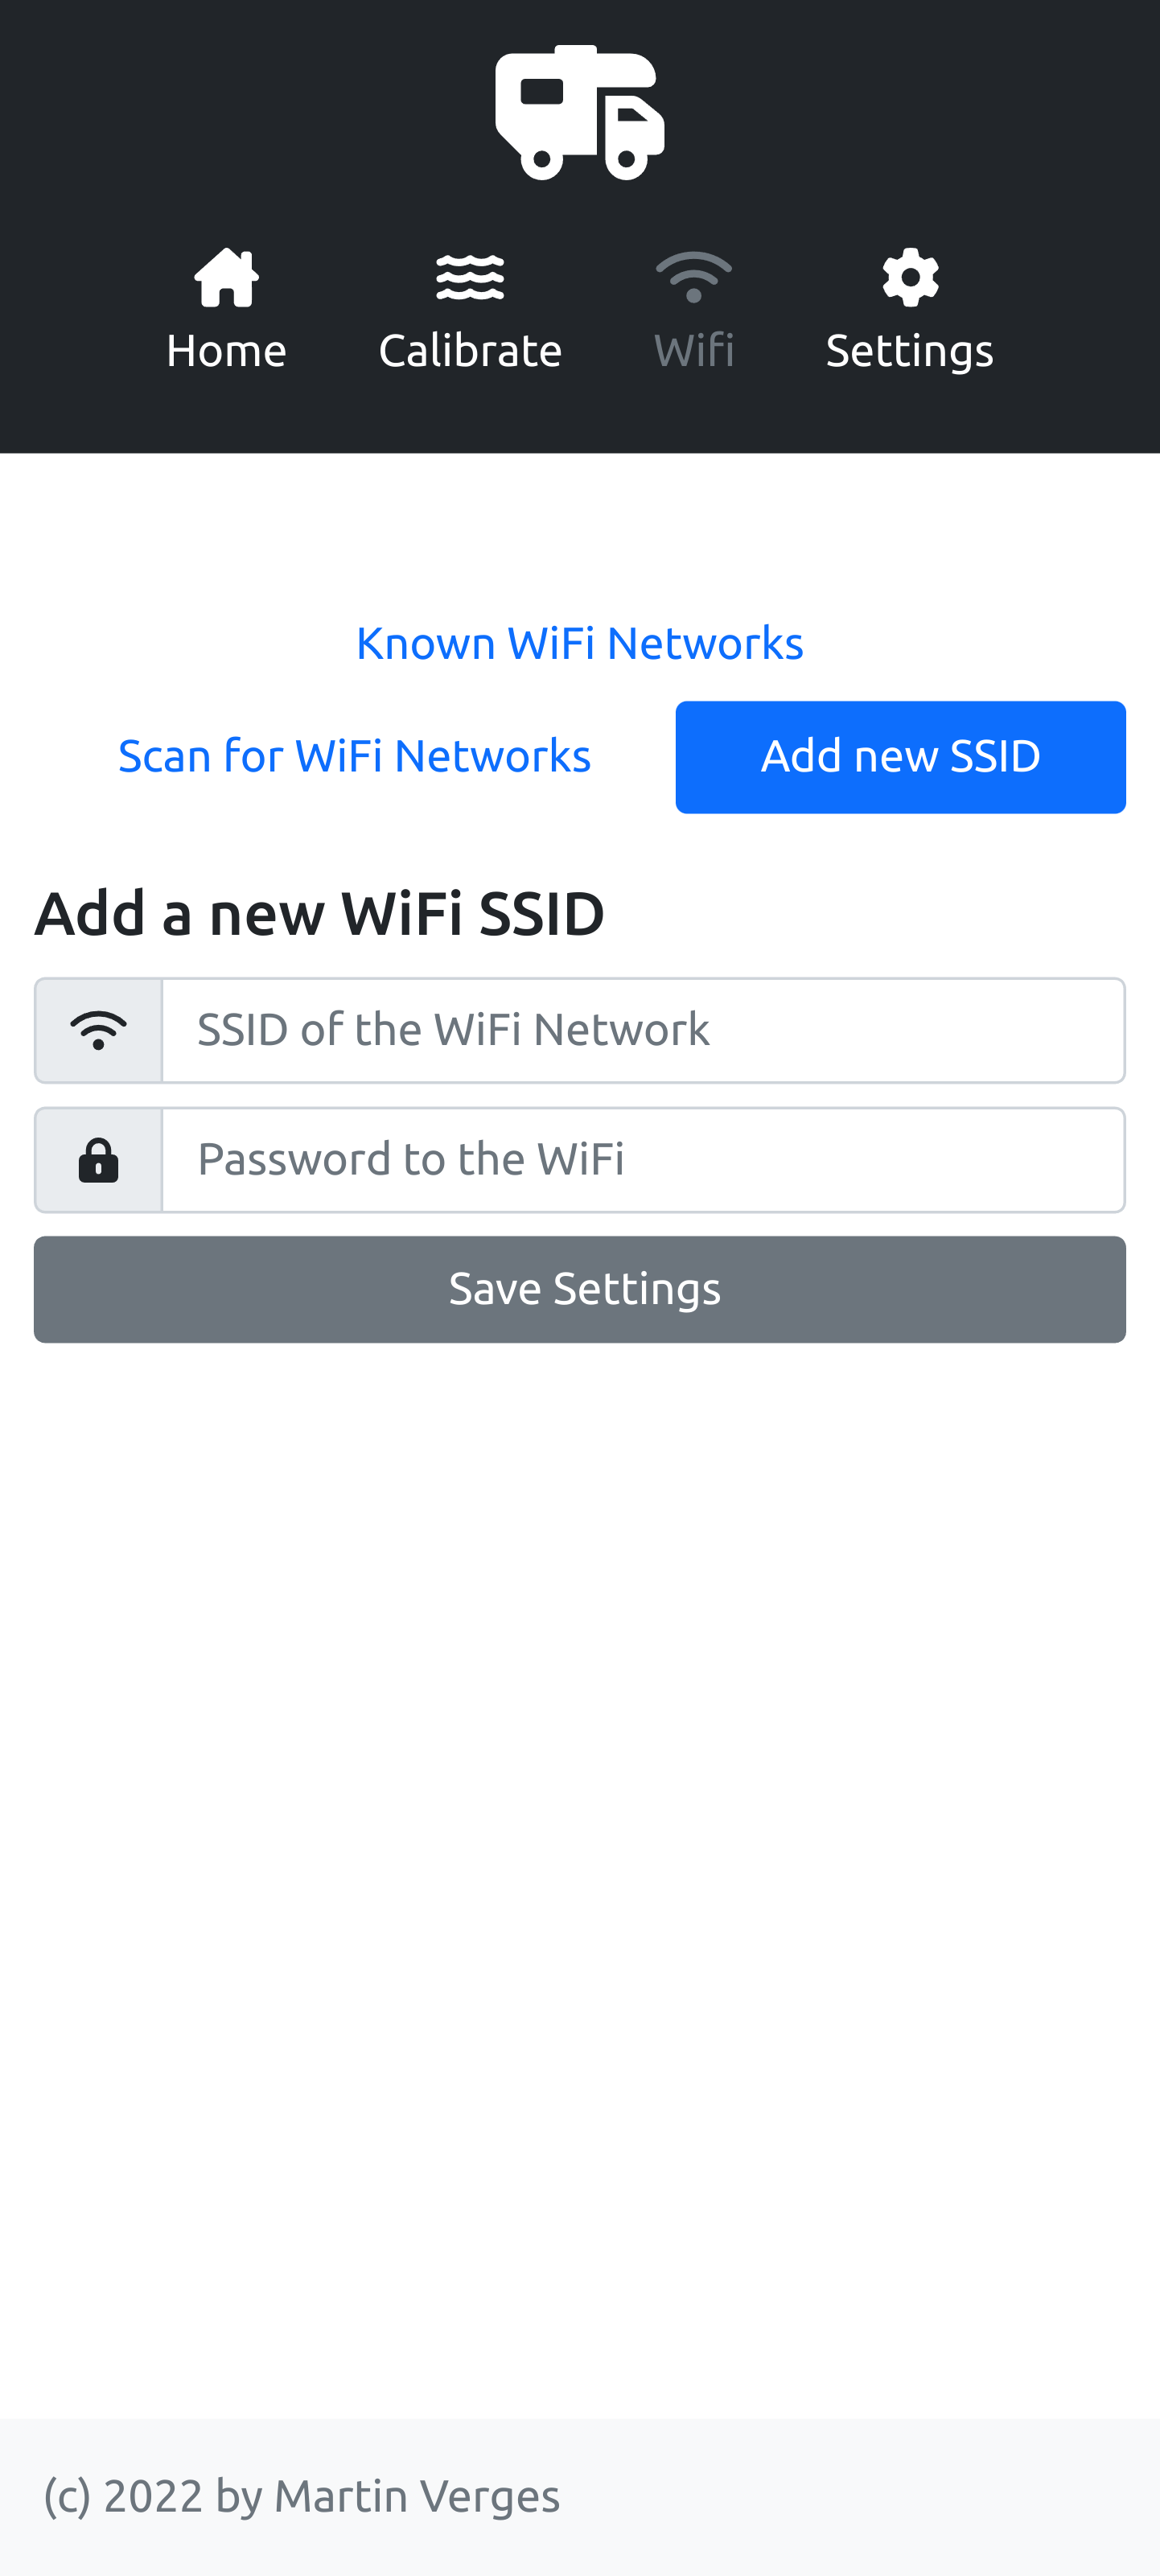
pio run -e esp32dev -t buildfsWhen the sensor is started for the first time, a WiFi configuration portal opens via which a connection to the central access point can be established. As soon as the connection has been established, the sensor is available on the IP assigned by the DHCP and the hostname tanklevel.local provided by MDNS. You can now log in to the webobverface and proceed with the sensor setup. To obtain a tank level, it is necessary to measure the tank. This can be done in 2 different ways:
Install the Sensor in an empty Tank, navigate to the setup. Press the button to determine the lower value of the tank. The value then appears in the input field.
Install the Sensor in an empty Tank, navigate to the setup. Prepare everything to achieve a constant inflow into the tank. The best way to do this is to use water connections to city networks with a larger cross-section. Refueling through this water connection should be done within about 3 minutes.
Once you have prepared everything, start the setup and now turn on the water tap. The sensor now determines the increase in water level and calculates the percentage distribution in the tank at the end of the process. Once the tank is completely filled, turn off the water supply and wait about 5 seconds before completing the setup via the web interface so that the pressure can normalize.
This sensor can be displayed using my Android App.
This sensor is equipped with various techniques to save power. Unfortunately, the operation of WiFi causes relatively high power consumption (45~55mA idle, up to 250mA during transmission). This is not a problem in RVs with larger batteries or solar panels, but may be too high in small installations. Therefore, the WiFi module can be easily and conveniently switched off via the web interface, putting the sensor into a deep sleep mode. Here, the consumption of the esp32 officially drops to about 10μA. Including the used step down power supply it will still consume 12.2mA in this sleep mode with RTC ADC enabled, so around 1/4 of full featured wifi enabled consumtion. At regular intervals, the sensor switches on briefly, checks the tank level and updates the analog output of the sensor.
Since the WiFi portal is not available in this mode, you can reactivate the WiFi by pressing the button on the device once.
The button on the device switches from Powersave to Wifi Mode. When the button is pressed again, the sensor restarts and opens its own access point. Here you can correct the WLAN data.
The only know alternative SuperSense tank sensor is available at around 259€ for purchase, but the price is extremely high and the data cannot be accessed digitally as it's proprietary.
There are a lot of cheapest probes which all show only rough and mostly wrong data. These are mostly based on measuring the resistance or continuity between two or more conductive rods that come into contact with water.
These probes usually cost more than the components in this project, but are extremely inaccurate, prone to calcification and malfunction.
To use the data of the sensor in the best possible way from the MQTT in HomeAssistant, here is an example configuration.
Please put it into your configuration.yaml file.
mqtt:
  sensor:
    - name: "Freshwater Level"
      unique_id: "freshwaterlevel"
      state_topic: "freshwater/tanklevel1"
      unit_of_measurement: "%"
      icon: "mdi:water-percent"

    - name: "Freshwater sensor temperature"
      unique_id: "freshwatertemp"
      state_topic: "freshwater/temperature1"
      unit_of_measurement: "°C"
      icon: "mdi:temperature-celsius"

    - name: "Freshwater sensor air pressure"
      unique_id: "freshwaterpressure"
      state_topic: "freshwater/airPressure1"
      unit_of_measurement: "hPa"
      icon: "mdi:gauge"
Your dashboard configuration could look like that:
square: false
columns: 2
type: grid
cards:
  - type: vertical-stack
    cards:
      - type: gauge
        entity: sensor.freshwater_level
        severity:
          green: 50
          yellow: 20
          red: 0
        needle: false
        min: 0
        max: 100
      - type: entities
        entities:
          - entity: sensor.freshwater_sensor_temperature
            name: Temp.
          - entity: sensor.freshwater_sensor_air_pressure
            name: Airpres.
show_header_toggle: falsewomolin.tanklevel (c) by Martin Verges.
This Project is licensed under a Creative Commons Attribution-NonCommercial-ShareAlike 4.0 International License.
You should have received a copy of the license along with this work. If not, see http://creativecommons.org/licenses/by-nc-sa/4.0/.
| Qty | Value | Footprint | References |
|---|---|---|---|
| 38 | 10k | Resistor_SMD:R_0402_1005Metric | R19, R20, R21, R22, R23, R24, R25, R26, R27, R28, R29, R30, R31, R32, R33, R34 +22 |
| 23 | 100n | Capacitor_SMD:C_0402_1005Metric | C1, C2, C10, C11, C12, C13, C14, C20, C21, C40, C41, C42, C43, C44, C47, C48 +7 |
| 21 | RCLAMP0521P-N | Diode_SMD:D_0402_1005Metric | D17, D18, D19, D20, D31, D32, D33, D34, D35, D36, D37, D38, D39, D40, D41, D42 +5 |
| 20 | 1k | Resistor_SMD:R_0402_1005Metric | R35, R36, R37, R38, R39, R40, R41, R42, R59, R60, R61, R62, R63, R64, R65, R66 +4 |
| 18 | 10n | Capacitor_SMD:C_0402_1005Metric | C24, C25, C26, C27, C28, C29, C30, C31, C32, C33, C34, C35, C36, C37, C38, C39 +2 |
| 17 | 100r | Resistor_SMD:R_0402_1005Metric | R7, R13, R14, R15, R16, R71, R72, R77, R78, R79, R80, R81, R82, R83, R84, R85 +1 |
| 10 | ESD5Z15V | Diode_SMD:D_SOD-523 | D13, D14, D15, D16, D25, D26, D27, D28, D29, D30 |
| 8 | 1N4148WS | Diode_SMD:D_SOD-323F | D9, D10, D11, D12, D21, D22, D23, D24 |
| 8 | LBSS260DW | Package_TO_SOT_SMD:SOT-363_SC-70-6 | Q5, Q6, Q7, Q8, Q11, Q12, Q13, Q14 |
| 4 | LBSS84DW | Package_TO_SOT_SMD:SOT-363_SC-70-6 | Q9, Q10, Q15, Q16 |
| 3 | 47u | Capacitor_SMD:C_0805_2012Metric | C22, C23, C50 |
| 2 | 100k | Resistor_SMD:R_0402_1005Metric | R73, R74 |
| 2 | 100p | Capacitor_SMD:C_0402_1005Metric | C15, C52 |
| 2 | 10u | Capacitor_SMD:C_1206_3216Metric | C3, C4 |
| 2 | 1n | Capacitor_SMD:C_0402_1005Metric | C18, C51 |
| 2 | 200k | Resistor_SMD:R_0402_1005Metric | R68, R70 |
| 2 | 20k | Resistor_SMD:R_0402_1005Metric | R1, R3 |
| 2 | 4k7 | Resistor_SMD:R_0402_1005Metric | R86, R87 |
| 2 | 4u7 | Capacitor_SMD:C_0805_2012Metric | C16, C17 |
| 2 | 8k2 | Resistor_SMD:R_0402_1005Metric | R2, R4 |
| 2 | B340A | Diode_SMD:D_SMA | D2, D4 |
| 2 | Conn_01x04 | Connector_Phoenix_MC:PhoenixContact_MC_1,5_4-G-3.81_1x04_P3.81mm_Horizontal | J9, J10 |
| 2 | HX711 | Package_SO:SOIC-16_3.9x9.9mm_P1.27mm | U3, U4 |
| 2 | Jumper_2_Open | Jumper:SolderJumper-2_P1.3mm_Open_RoundedPad1.0x1.5mm | JP2, JP3 |
| 2 | L | Inductor_SMD:L_0402_1005Metric | L2, L3 |
| 2 | LMV321 | Package_TO_SOT_SMD:SOT-23-5 | U8, U9 |
| 2 | MMBT5401 | Package_TO_SOT_SMD:SOT-23 | Q3, Q4 |
| 2 | MMBTA92-Transistor_BJT | Package_TO_SOT_SMD:SOT-23 | Q1, Q2 |
| 2 | MPX53 | Caravansensor:344C | U1, U2 |
| 2 | SMF16A | Diode_SMD:D_SOD-123 | D1, D3 |
| 1 | 10k2 | Resistor_SMD:R_0402_1005Metric | R17 |
| 1 | 12k | Resistor_SMD:R_0402_1005Metric | R88 |
| 1 | 29k4 | Resistor_SMD:R_0402_1005Metric | R12 |
| 1 | 332k | Resistor_SMD:R_0402_1005Metric | R10 |
| 1 | 3k24 | Resistor_SMD:R_0402_1005Metric | R18 |
| 1 | 47p | Capacitor_SMD:C_0402_1005Metric | C19 |
| 1 | 68k1 | Resistor_SMD:R_0402_1005Metric | R11 |
| 1 | BMP388 | Caravansensor:PQFN50P200X200X80-10N | U10 |
| 1 | Conn_01x05 | Connector_Phoenix_MC:PhoenixContact_MC_1,5_5-G-3.81_1x05_P3.81mm_Horizontal | J11 |
| 1 | Conn_02x03_Odd_Even | Connector_PinHeader_2.54mm:PinHeader_2x03_P2.54mm_Vertical | J1 |
| 1 | DB25_Female | Connector_Dsub:DSUB-25_Female_Horizontal_P2.77x2.84mm_EdgePinOffset7.70mm_Housed_MountingHolesOffset9.12mm | J8 |
| 1 | ESP32-WROOM-32D | RF_Module:ESP32-WROOM-32 | U5 |
| 1 | ME6209A50M3G | Package_TO_SOT_SMD:SOT-23 | U11 |
| 1 | Polyfuse | Fuse:Fuse_1806_4516Metric | F1 |
| 1 | SLO0630H6R8MTT | Inductor_SMD:L_Neosid_SM-PIC0512H | L1 |
| 1 | TJA1021T | Package_SO:SOIC-8_3.9x4.9mm_P1.27mm | U6 |
| 1 | TPS54331D | Package_SO:SOIC-8_3.9x4.9mm_P1.27mm | U7 |
| 1 | TS-1093A-A12B3-D2 | Button_Switch_THT:SW_Tactile_SKHH_Angled | SW1 |

acha666/RP2040_ToolheadPCB_SB
A Toolhead PCB for VORON StealthBurner based on RP2040


ha-y-z/Diplom-Thesis-Smart-Solar-Seeker
My high school diploma thesis about a solar panel which seeks to the sun by itself.

mekatrol/electronics
This repository contains the electronics, embedded firmware, support software, and reference material for a collection of home-automation and workshop projects.

xmyoot/esp32-c3-smart-scale
A low-power Wi-Fi/BLE smart-scale main board, designed natively in KiCad 10. It has a 24-bit load-cell front end, USB-C Li-ion charging, an external antenna and a 35 µA standby budget.

It measures 112 × 57 mm and has 2 copper layers, 1.6 mm thick.
226 parts, built around the ESP32-WROOM-32D, TJA1021T/10/C, HX711 and LMV321. The full list of its parts is on this page, with links to each part's symbol and footprint where PCBKit's library has them.
From the MartinVerges/womolin-waterlevel repository on GitHub, at the commit this page was made from: the board is PCB/Caravansensor.kicad_pcb. PCBKit opens the board in the browser, with nothing to install.
Its repository states no licence, so its author keeps all rights: ask MartinVerges before reusing the design.