2 layers88.4 × 46.1 mm

 JanBurp/VeloDashboard3
Bicycle computer for a velomobile
VeloDashboard is an open-source printed circuit board by JanBurp, from the JanBurp/VeloDashboard repository on GitHub. It is a 2-layer board with 58 parts on 96 nets.
It is built around the SN74AHCT125N and LDD-700L. Its parts include 24 resistors, 14 connectors, 9 ICs, 7 switches and 2 diodes. It belongs with the lEDs and displays boards and the NXP (LPC, Kinetis, i.MX RT) boards of this library.

A bicycle computer made for velomobiles.
Walkthrough videos (dutch):
In the summer of 2022 i bought a second hand Quest velomobile. It was in very good shape, had only driven 8000km while only 10 years old, and it fits my budget.
But it was missing blinkers, had a 6V system on board, and two headlights which could be turned on independent from eachother. Which results in my Quest looking cross-eyed :-( That could be done better.
I also struggled finding the 'perfect' bicycle computer to keep track of at least my current speed, average speed, maximum speed, time, time of the trip, distance, and at least two seperate distance counters. The most anoying things of these computers are the small screens, the not so ideal combination of functions, button combo's etc. And a GPS one took too long to recognise my location (possibly due to the carbon body).
I took some inspiration found online from other velonauts. Such as:
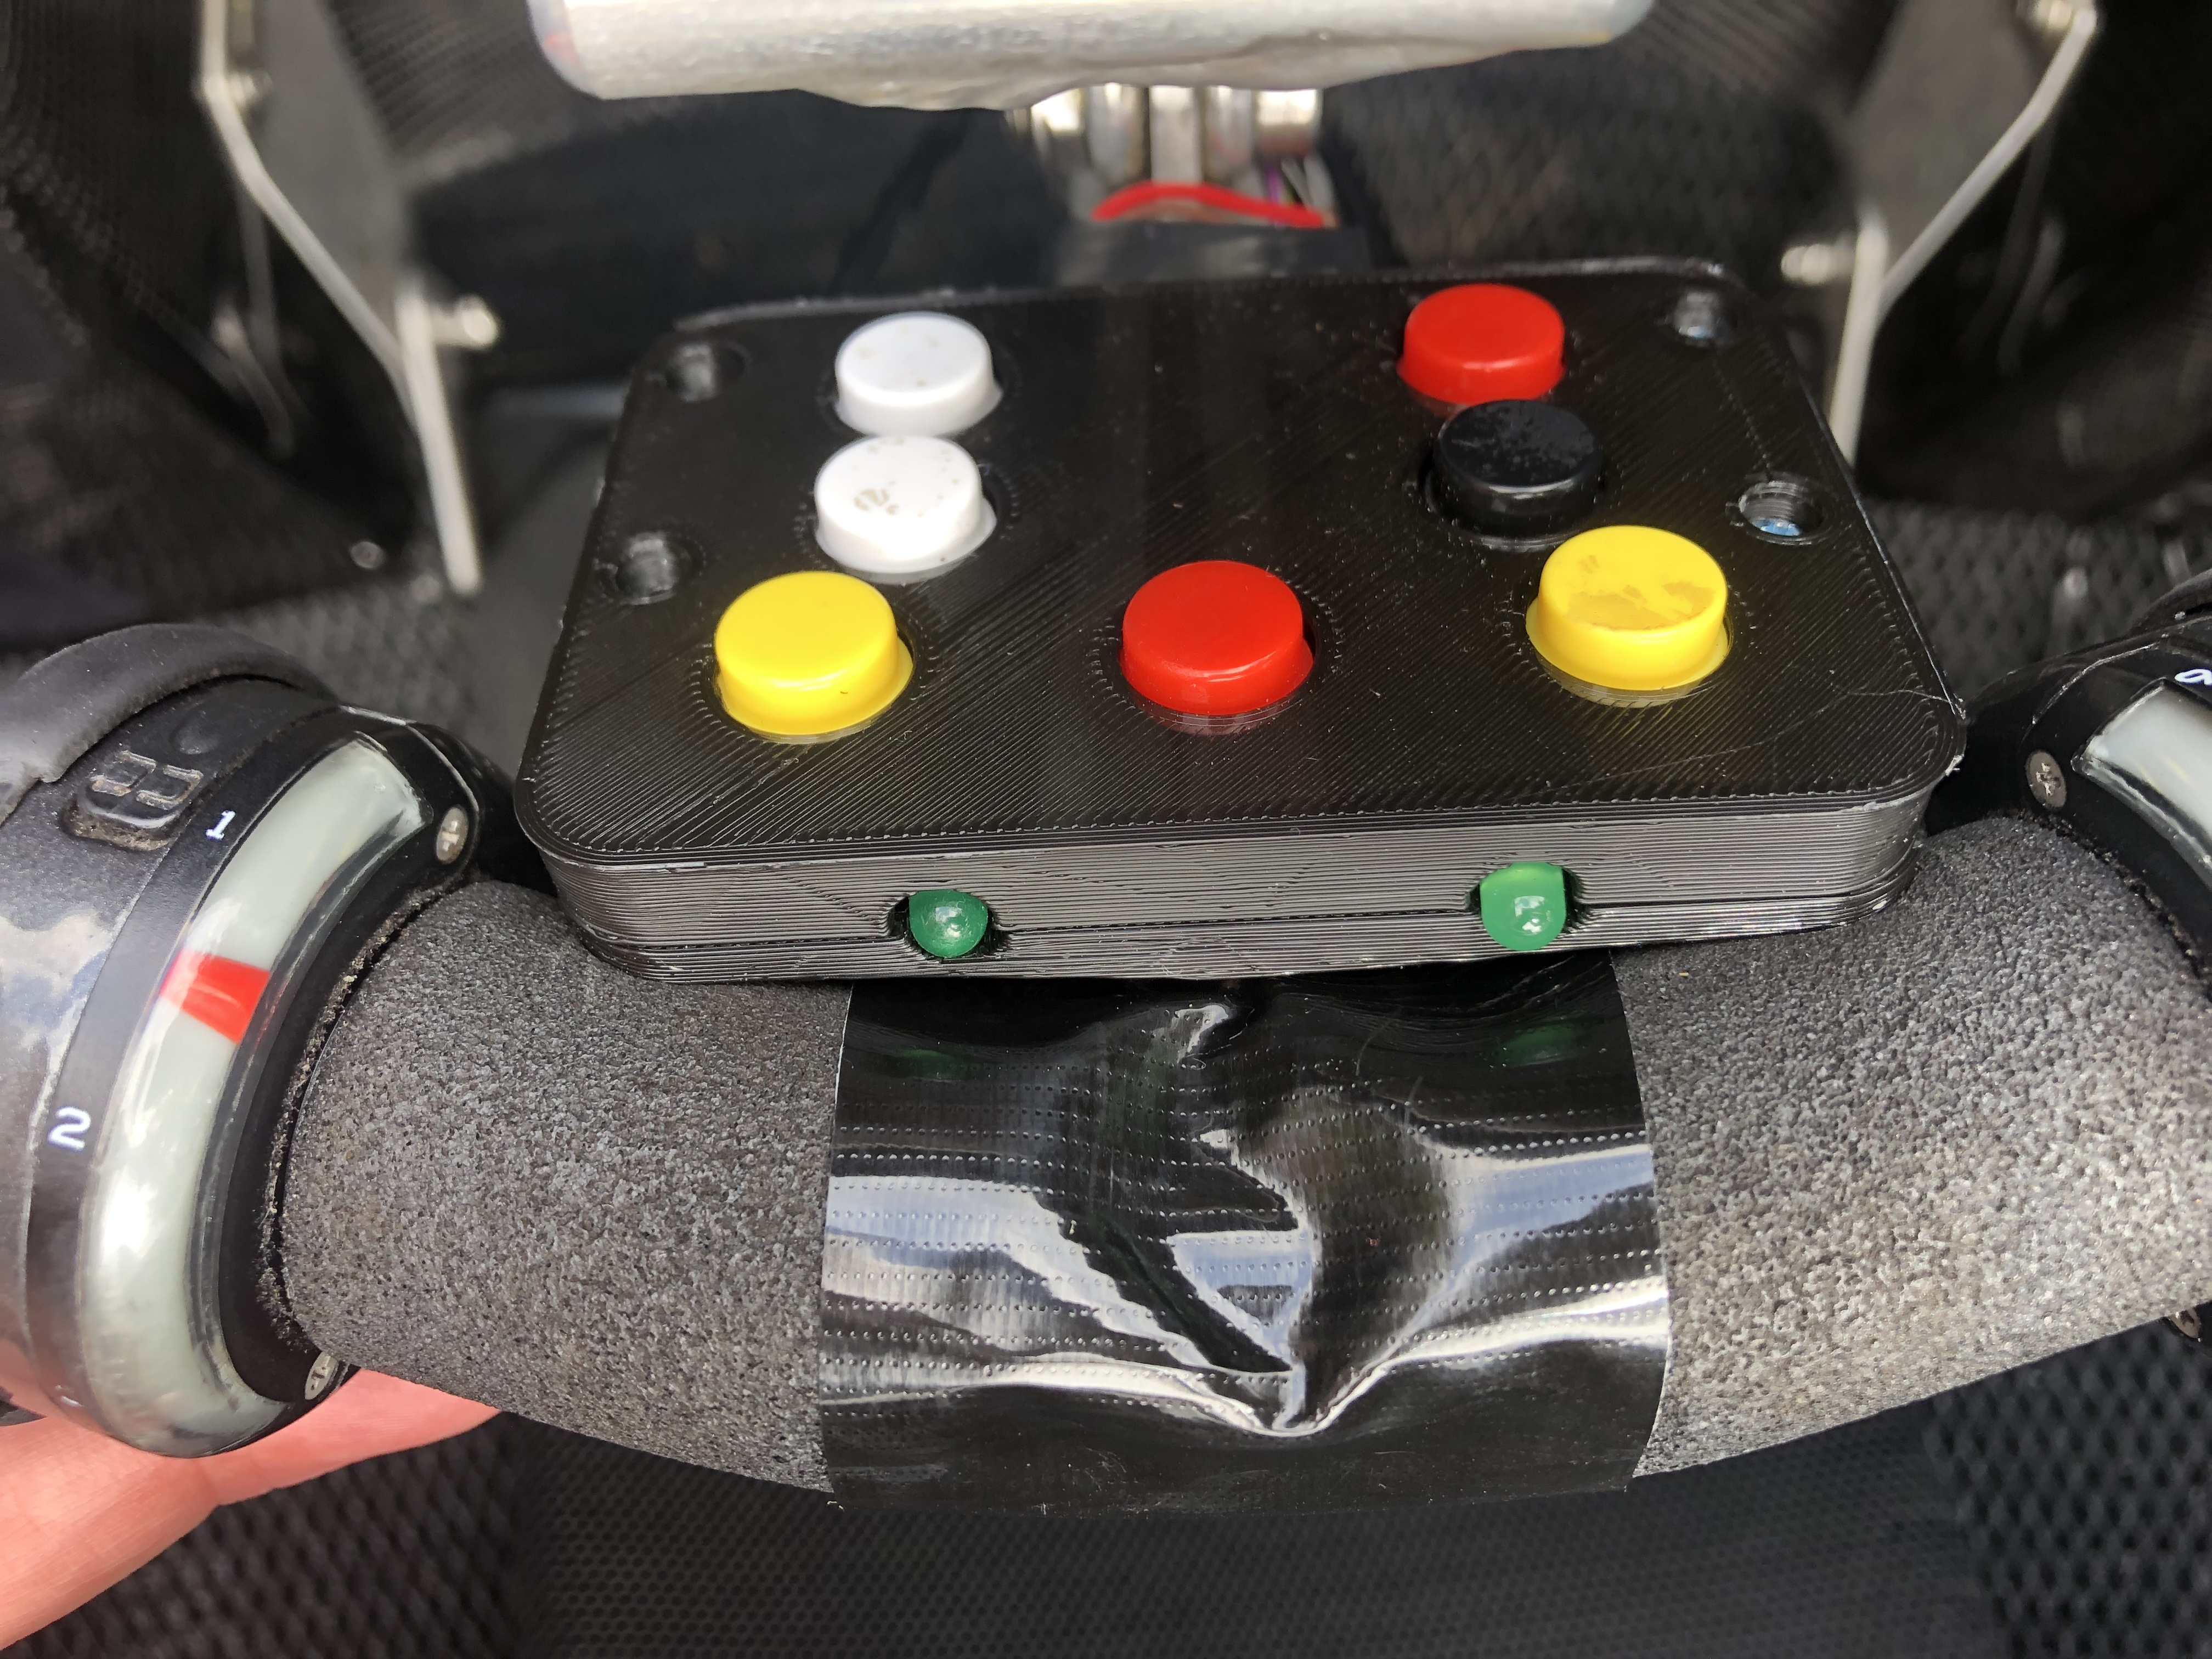
This bicycle computer for a velomibile has these features:
Lighting:
Knobs & Display:
Speed & Distance:
Time:
Others:
I have a working prototype since december 2022, with several improvements and new featuers since then.
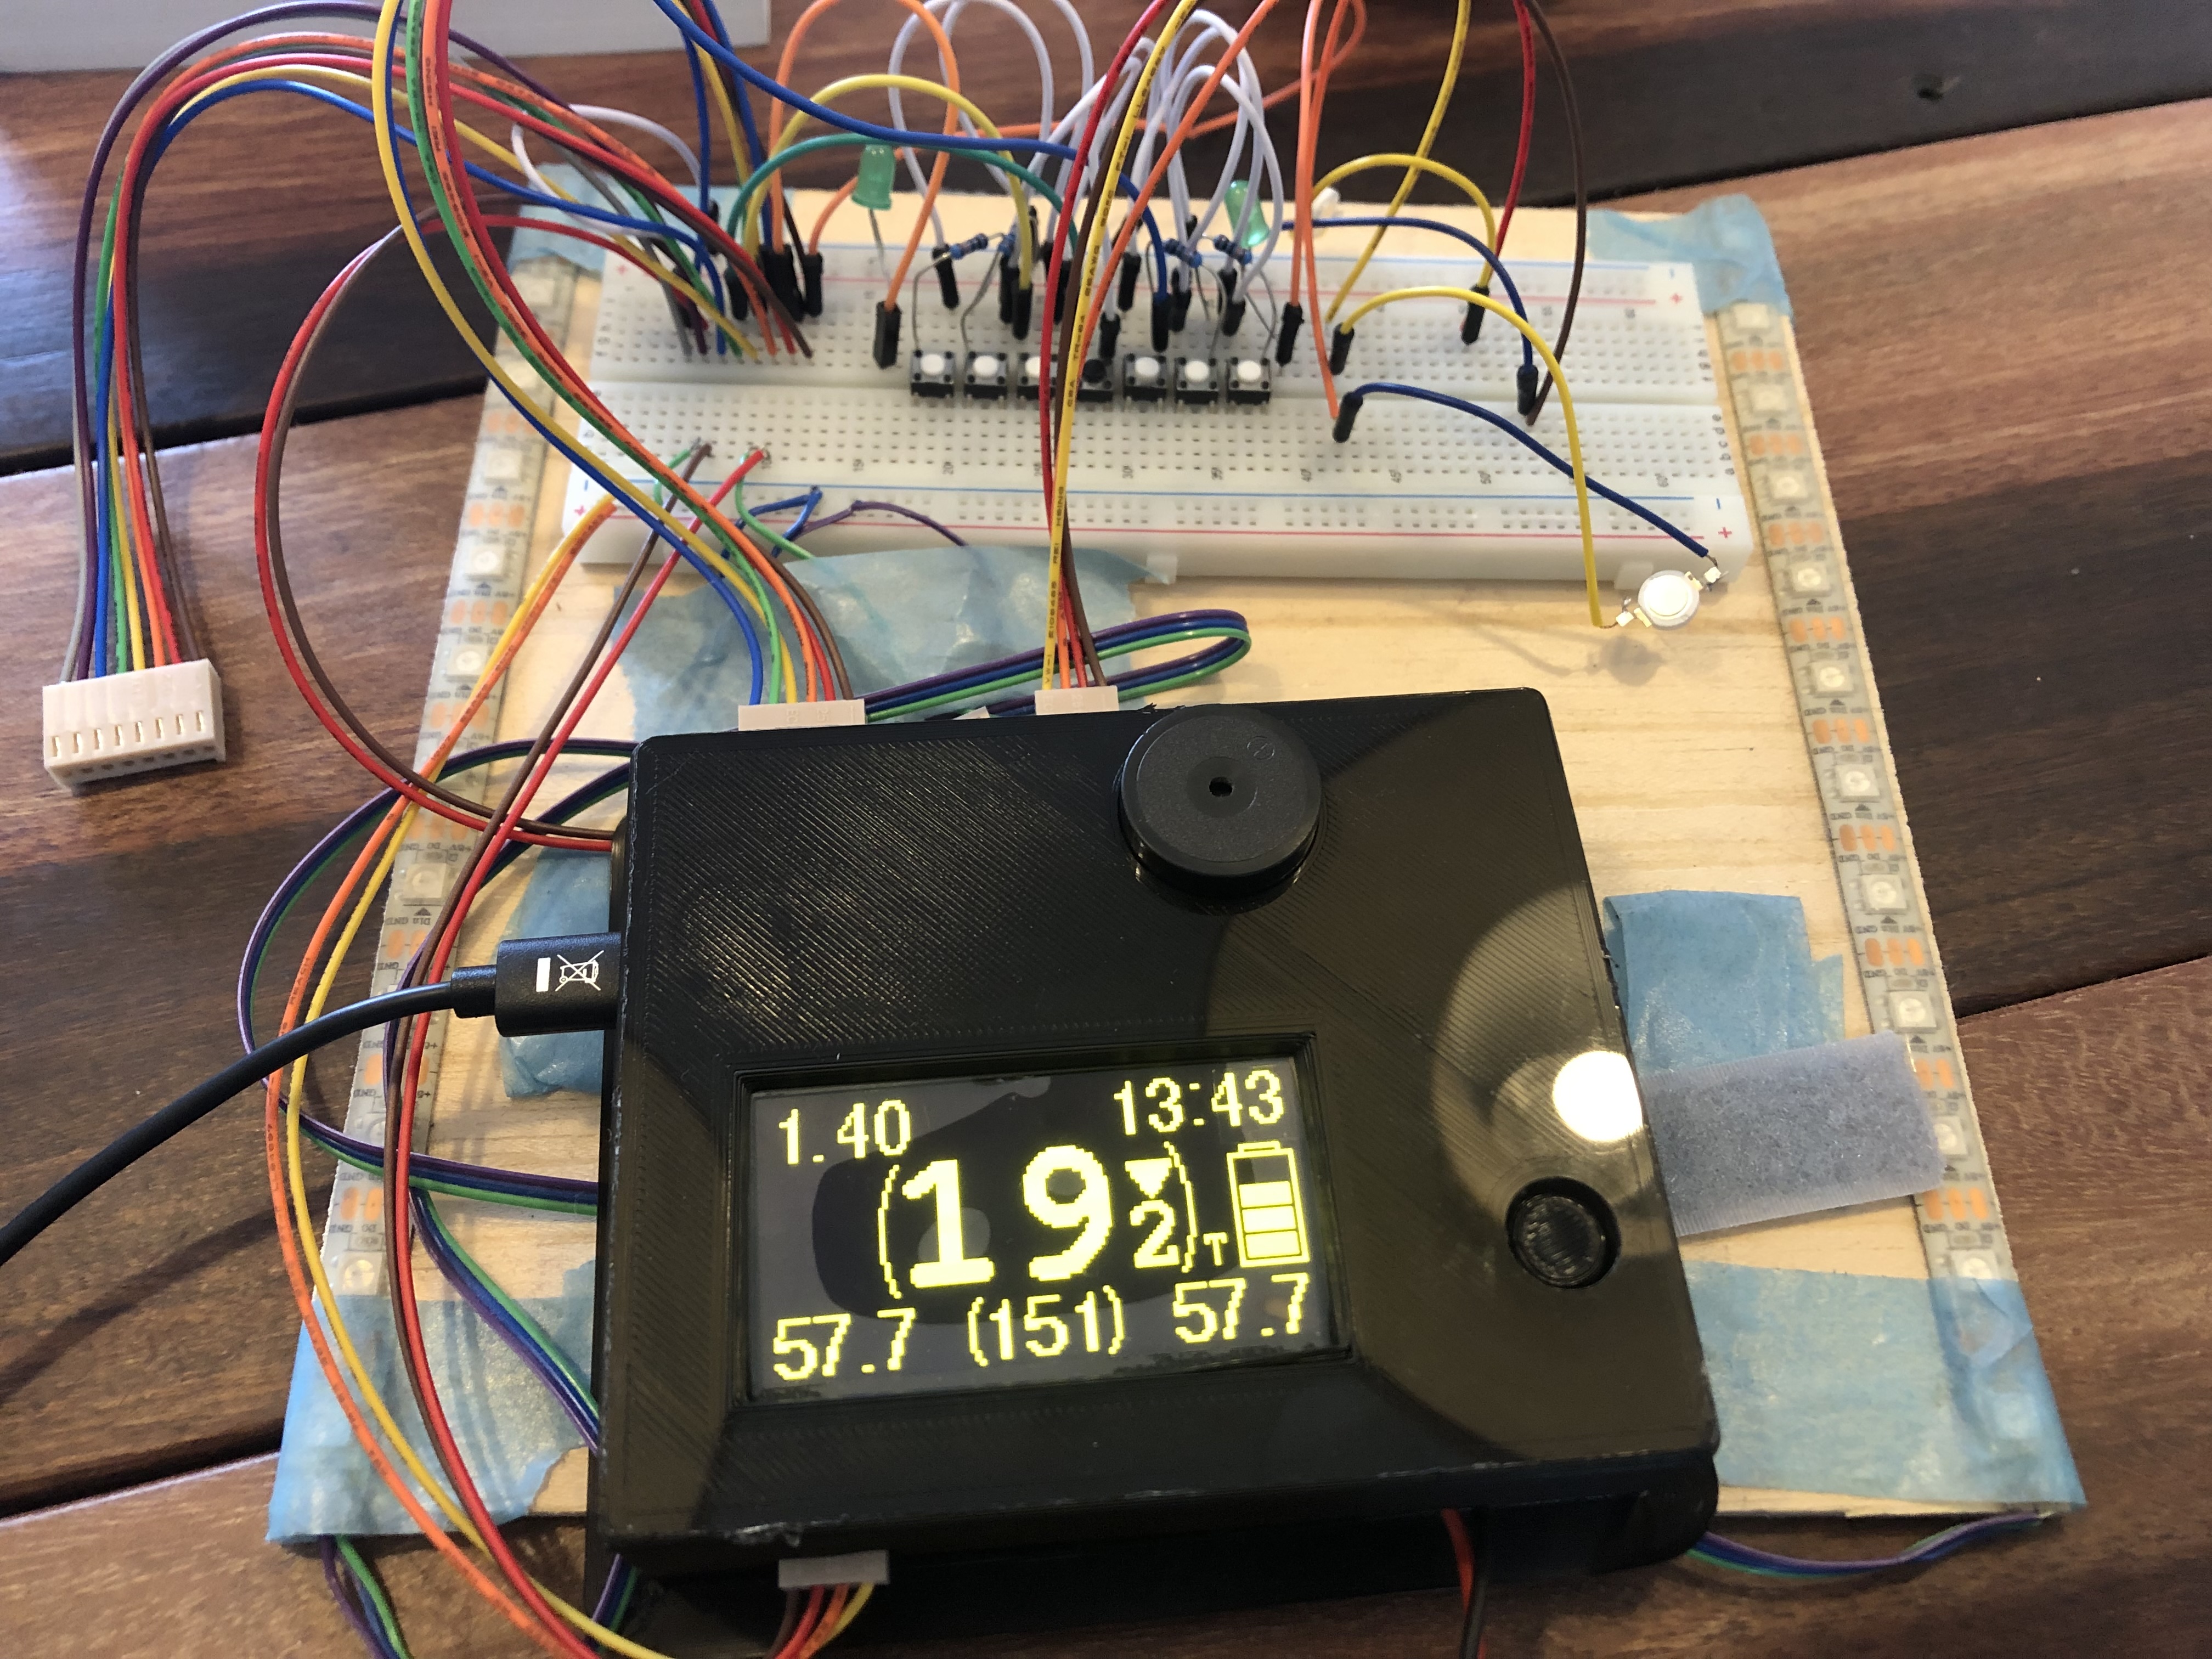
Normal pages of the display (cycles through with the blank button):
A long press on the blank button switches to the setup screens. And pressing normal cycles to the setup screens. Long pressing again switches to normal screens. Of the screens there is some help of how to setup the several options.
These are the setup pages:
The computer keeps track of battery status. If the battery is becoming low it will decreases the brightness of the LEDstrips the battery icon on the display starts to blink.
If the battery is very low/almost dead, it will spare itself by turning everything off.
If you forgot to switch the computer off, if will auto power off after three minutes. The last 20 seconds will be shown in the display. If you press a button or start cycling again, the auto-power-off timer will stop.
The computer is based around a Teensy 4.0. My first attempt was made with a Arduino nano, which is cheaper and uses less power. But i wanted a clock. And the combination of driving LED strips and having an OLED screen was impossible (as far as i know) with te Arduino. The Teensy 4.0 has multiple i2c (OLED) and interrupts. And it also has a build in RTC (Real Time Clock) with power options for a small coin battery to keep the state of the clock. The Teensy has also lots of room for improvements or future additions (SD card storage for example).
IP67 means rainproof. And WS2812B means it just has three wires to connect (5V, GND & Data). I have two of them, one for each side of the velomobile. But the computer can also run four of them in case you want four small ones instead of two large ones. I choose the large ones because of easier assembling on my Quest. Downside is it user more power. Here is a guide for using WS2812B LEDstrips
For driving the front, rear, brake (and maybe blinker) LED's i use Meanwell LDD Led drivers (LDD-700 for now).
The raw schematics can be found in the kicad folder
For developing i used VScode with PlatformIO. Once setup, i found this much easier for developling compared the Arduino IDE. But thats a software developer speaking ;-)
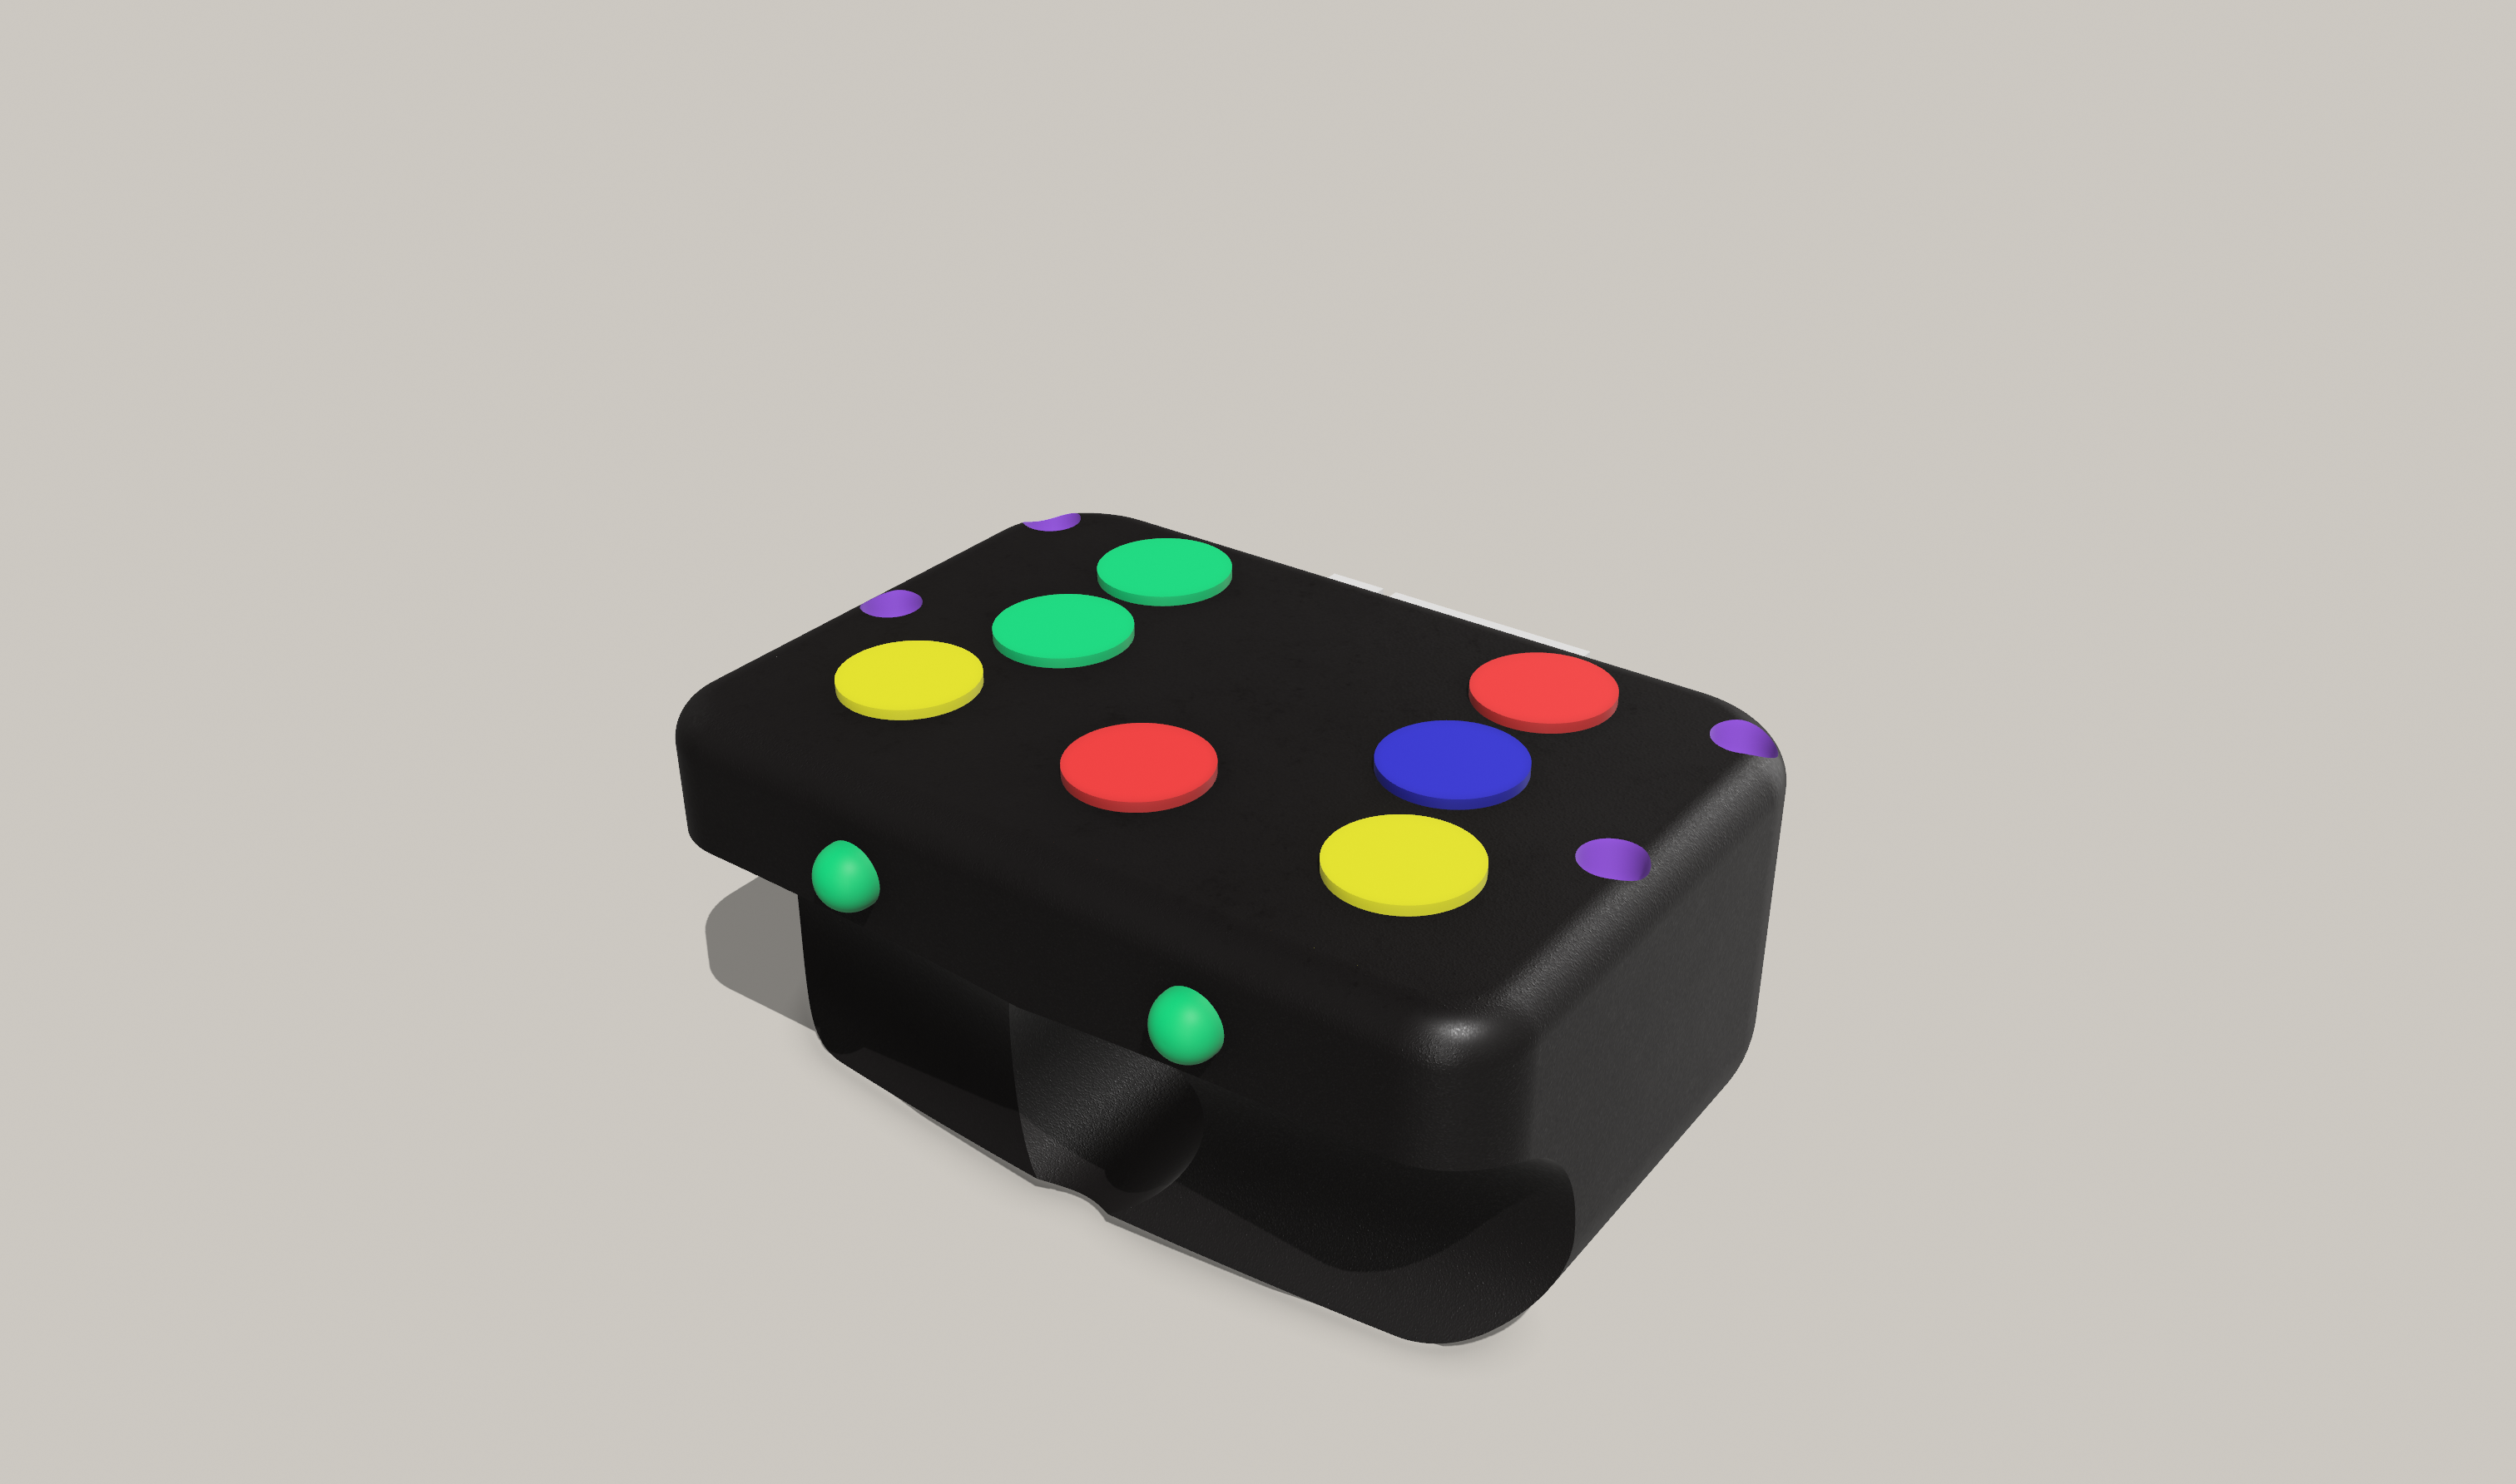
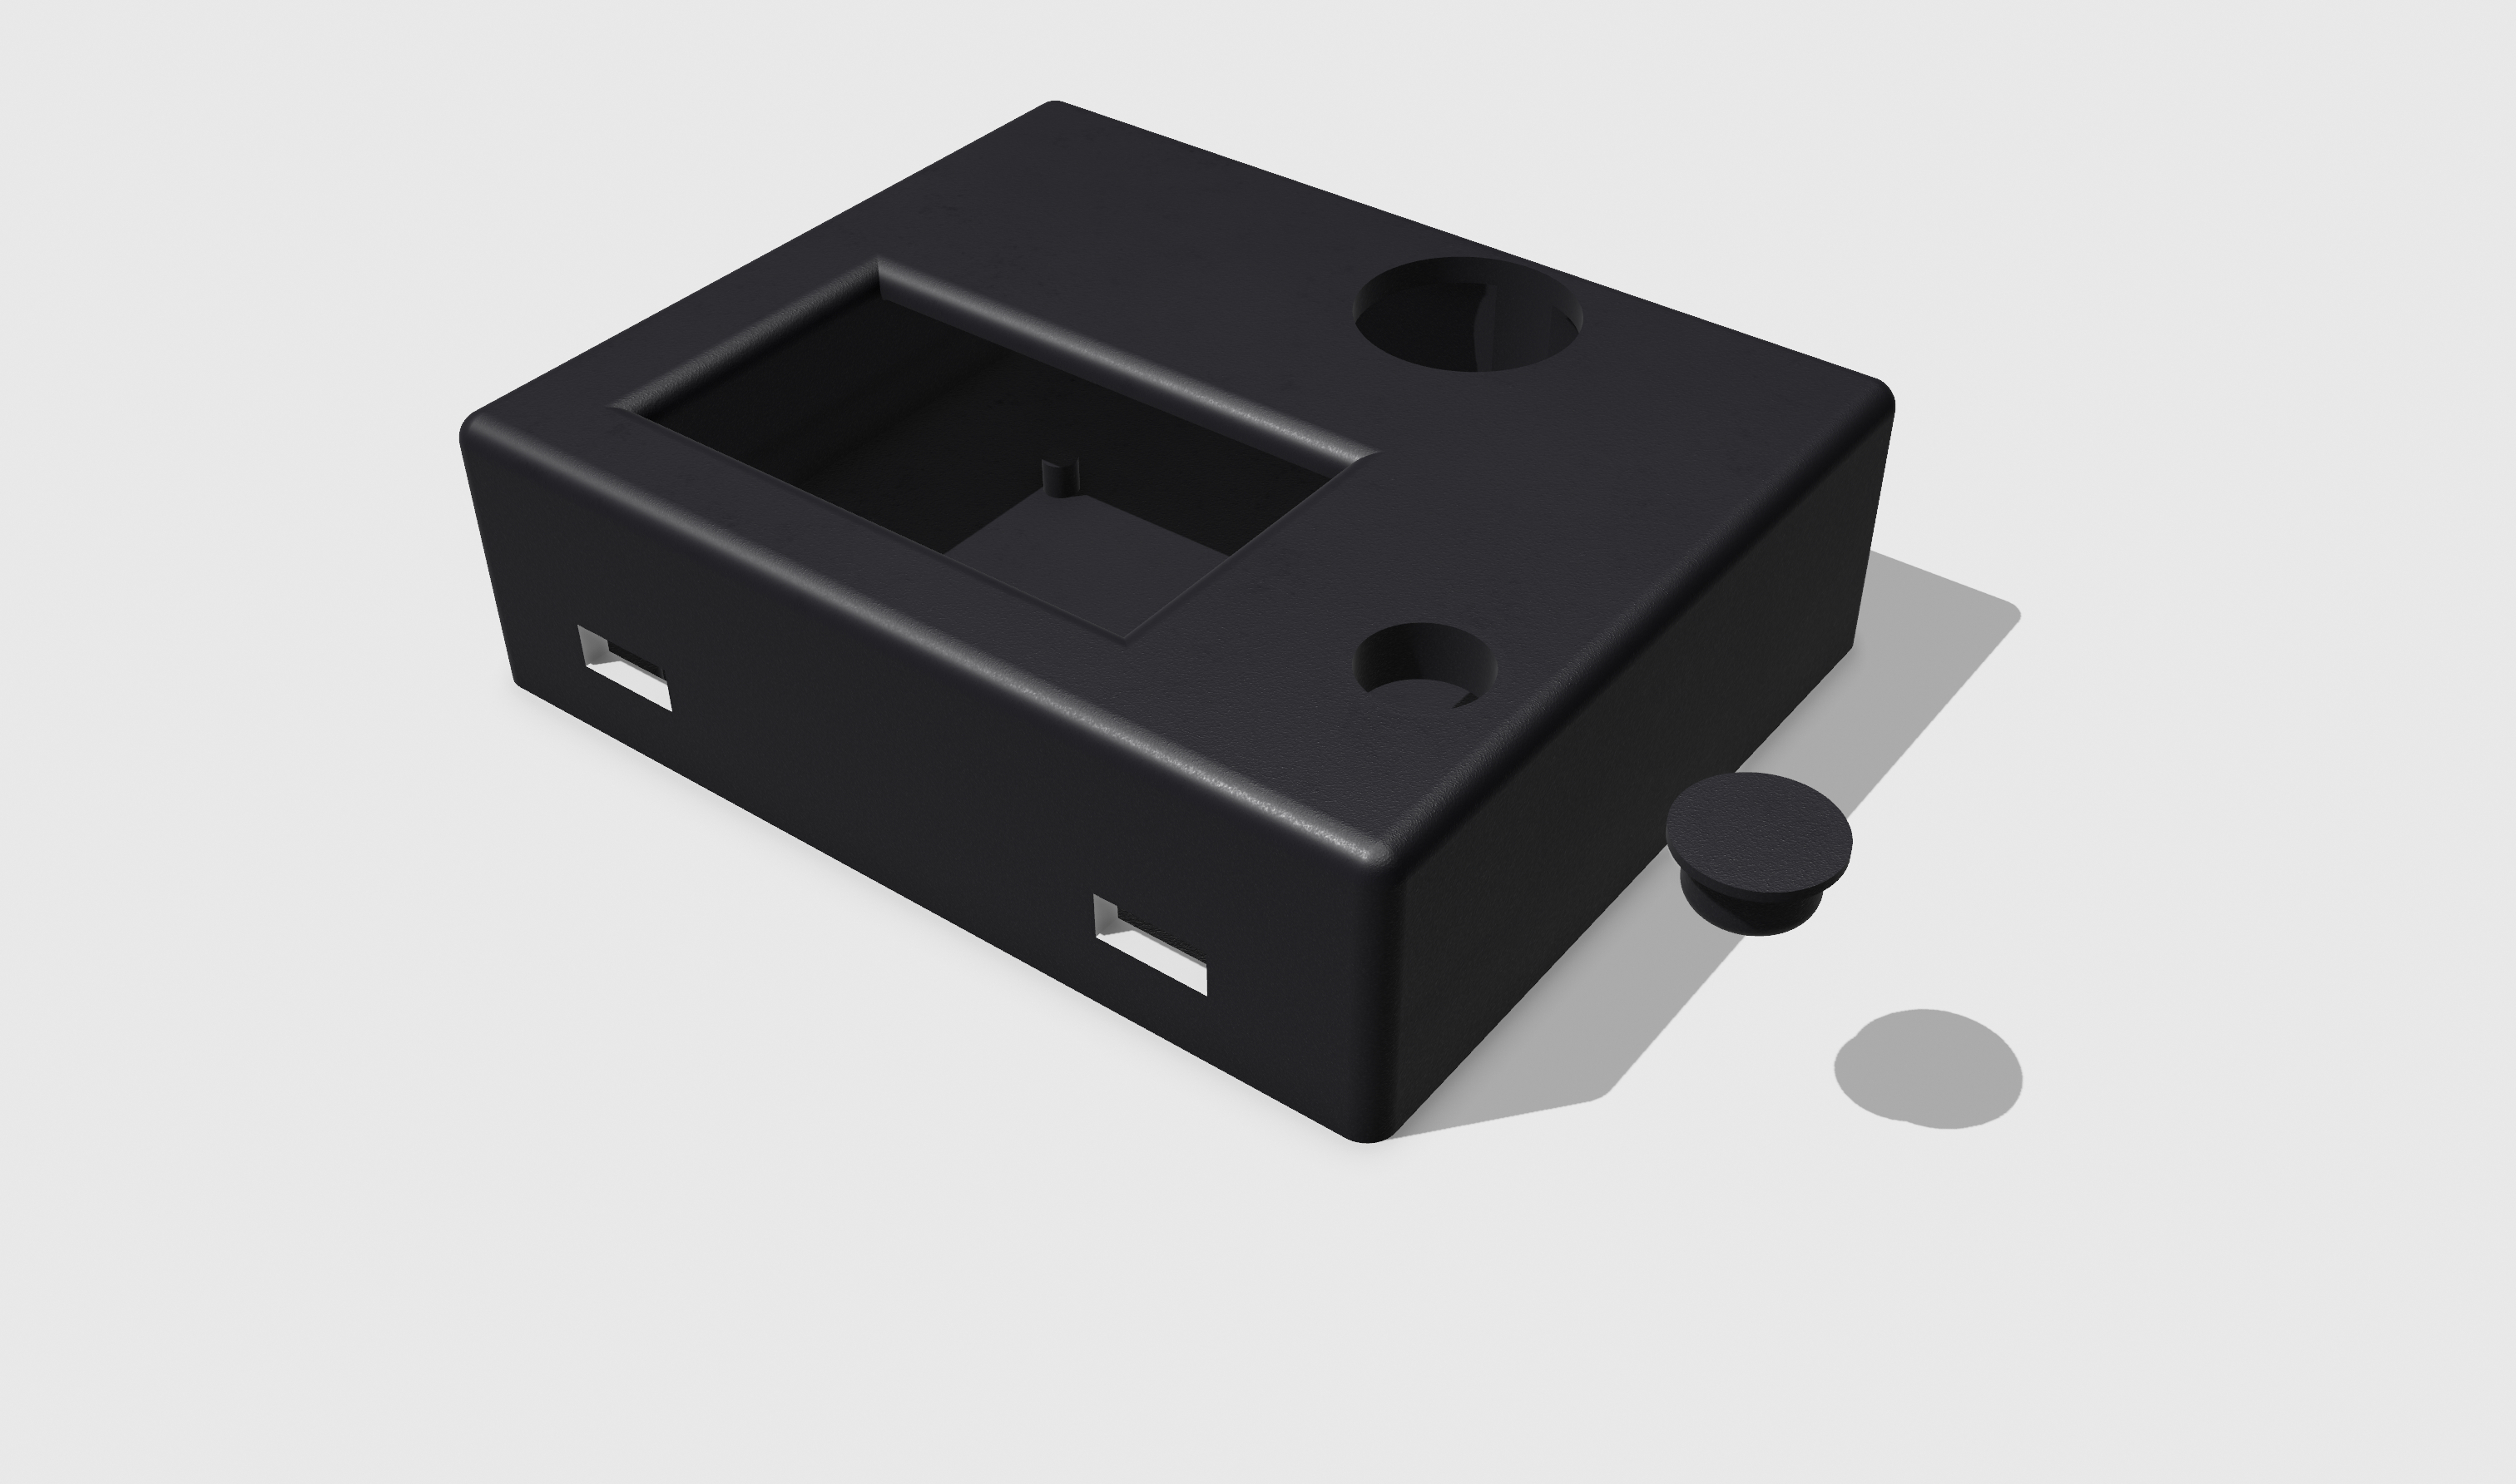
A STL file for 3D printing the console can be found in the 3D folder.
| Qty | Value | Footprint | References |
|---|---|---|---|
| 7 | 100k | Resistor_THT:R_Axial_DIN0207_L6.3mm_D2.5mm_P10.16mm_Horizontal | R3, R4, R5, R11, R12, R17, R18 |
| 6 | 47k | Resistor_THT:R_Axial_DIN0207_L6.3mm_D2.5mm_P10.16mm_Horizontal | R13, R14, R15, R16, R19, R20 |
| 6 | LDD-700L | LDD:LDD-XXXL | IC1, IC2, IC3, IC4, IC5, IC6 |
| 4 | 370 | Resistor_THT:R_Axial_DIN0207_L6.3mm_D2.5mm_P10.16mm_Horizontal | R21, R22, R23, R24 |
| 3 | 220k | Resistor_THT:R_Axial_DIN0207_L6.3mm_D2.5mm_P10.16mm_Horizontal | R6, R7, R8 |
| 2 | 220 | Resistor_THT:R_Axial_DIN0207_L6.3mm_D2.5mm_P10.16mm_Horizontal | R9, R10 |
| 1 | 1M | Resistor_THT:R_Axial_DIN0207_L6.3mm_D2.5mm_P10.16mm_Horizontal | R2 |
| 1 | 22µF | Capacitor_THT:CP_Radial_D10.0mm_P7.50mm | C1 |
| 1 | 4M | Resistor_THT:R_Axial_DIN0207_L6.3mm_D2.5mm_P10.16mm_Horizontal | R1 |
| 1 | Addon 2 | Connector_PinHeader_2.54mm:PinHeader_1x03_P2.54mm_Horizontal | J11 |
| 1 | Battery Cell 3.3V | Battery:Battery_Panasonic_CR2032-HFN_Horizontal_CircularHoles | BT1 |
| 1 | Blinkers | Connector_PinHeader_2.54mm:PinHeader_1x04_P2.54mm_Horizontal | J8 |
| 1 | Brake | Button_Switch_THT:SW_PUSH-12mm | SW5 |
| 1 | Cadans sensor | Connector_PinHeader_2.54mm:PinHeader_1x03_P2.54mm_Horizontal | J10 |
| 1 | Display | Button_Switch_THT:SW_PUSH-12mm | SW7 |
| 1 | Down (lights) | Button_Switch_THT:SW_PUSH-12mm | SW3 |
| 1 | Headlights | Connector_PinHeader_2.54mm:PinHeader_1x04_P2.54mm_Horizontal | J6 |
| 1 | Horn | Button_Switch_THT:SW_PUSH-12mm | SW6 |
| 1 | LC78_05 2.0 | Package_TO_SOT_THT:TO-220-3_Vertical | U2 |
| 1 | LED STRIPS | Connector_PinHeader_2.54mm:PinHeader_1x04_P2.54mm_Horizontal | J2 |
| 1 | LEFT | LED_THT:LED_D5.0mm_Clear | D1 |
| 1 | Left | Button_Switch_THT:SW_PUSH-12mm | SW2 |
| 1 | OLED | Connector_PinHeader_2.54mm:PinHeader_1x04_P2.54mm_Horizontal | J1 |
| 1 | Polulu Power | Connector_PinHeader_2.54mm:PinHeader_1x06_P2.54mm_Horizontal | J1.out1 |
| 1 | PowerSwitch | Connector_PinHeader_2.54mm:PinHeader_1x02_P2.54mm_Horizontal | J9 |
| 1 | RIGHT | LED_THT:LED_D5.0mm_Clear | D2 |
| 1 | Rearlights | Connector_PinHeader_2.54mm:PinHeader_1x04_P2.54mm_Horizontal | J7 |
| 1 | Right | Button_Switch_THT:SW_PUSH-12mm | SW8 |
| 1 | SN74AHCT125N | Package_DIP:DIP-14_W7.62mm_Socket_LongPads | U1 |
| 1 | Speed Sensor | Connector_PinHeader_2.54mm:PinHeader_1x03_P2.54mm_Horizontal | J5 |
| 1 | Teensy4.0 | Teensy:Teensy40_SMT | U3 |
| 1 | To Computer | Connector_PinHeader_2.54mm:PinHeader_1x08_P2.54mm_Horizontal | J4 |
| 1 | To Dashboard | Connector_PinHeader_2.54mm:PinHeader_1x08_P2.54mm_Horizontal | J3 |
| 1 | Up (lights) | Button_Switch_THT:SW_PUSH-12mm | SW4 |
| 1 | extra led strips | Connector_PinHeader_2.54mm:PinHeader_1x04_P2.54mm_Horizontal | J12 |
| 1 | ~ | Connector_PinHeader_2.54mm:PinHeader_1x07_P2.54mm_Horizontal | J1.in1 |

klein0r/pcb-ws2812-wifi-controller
WiFi Controller for WS2812 LED Stripes


klein0r/pcb-ws2812-ethernet-controller
Ethernet Controller for WS2812 LED Stripes

f2daz/WLED_PCB_D1_Mini
PCB for WLED with WeMos D1 Mini and SN74AHCT125N level shifter

andrekuehne/openradfan
An ESPHome-driven controller for radiator fans to improve heat output

afoxinsocks/foxie-clock
A Nixie-like, retro, RGB LED, Arduino-powered clock

58 parts, built around the SN74AHCT125N and LDD-700L. The full list of its parts is on this page, with links to each part's symbol and footprint where PCBKit's library has them.
From the JanBurp/VeloDashboard repository on GitHub, at the commit this page was made from: the board is kicad/VeloDashboard/VeloDashboard.kicad_pcb and its schematic kicad/VeloDashboard/VeloDashboard.kicad_sch. PCBKit opens the board in the browser, with nothing to install.
Its repository states no licence, so its author keeps all rights: ask JanBurp before reusing the design.