4 layers51 × 77 mm

 Glasshalfwater/solia
Compact tamagotchi with additional useful features
Tamagotchi maiah is an open-source printed circuit board by Glasshalfwater, from the Glasshalfwater/solia repository on GitHub, published under the MIT licence. It is a 2-layer board of 39.5 × 70 mm with 11 parts on 21 nets, routed with 28 tracks and 1 via.
It is built around the HS96L03W2C03, 1404-P7.5MM and B2B-PH-K-S(LF)(SN). Its parts include 3 switches, 2 ICs and 1 connector. It belongs with the ESP32 and RISC-V boards of this library.


This originally started off as an idea for a birthday gift, however I realized that the timeline in which I had hoped to accomplish it was quite unrealistic. It also served as a fun way to learn KiCad (my previous projects were designed in EasyEDA Pro). The actual tamagotchi guided project took maybe 3-4 days to finish, but I wanted to make it, frankly, cooler. I decided to add a full-color TFT display, Kailh Choc keys for a more satisfying user experience, and a LiPO battery (of course along with temperature monitoring, fuse, etc.) for improved battery life. Soooo, it's been about a month and a half since I started this, said person's birthday passed a month ago, but hopefully it will be finally built soon. Another reason why I wanted to build something more complex than a basic tamagotchi (other than making it more interesting as a gift) was so it would be more fun to update later down the line. I could create "DLCs" or expansions to serve as further iterations or updates. (I had wanted to make a full color tamagotchi, so I was thinking of continuously adding new creatures with better graphics.)
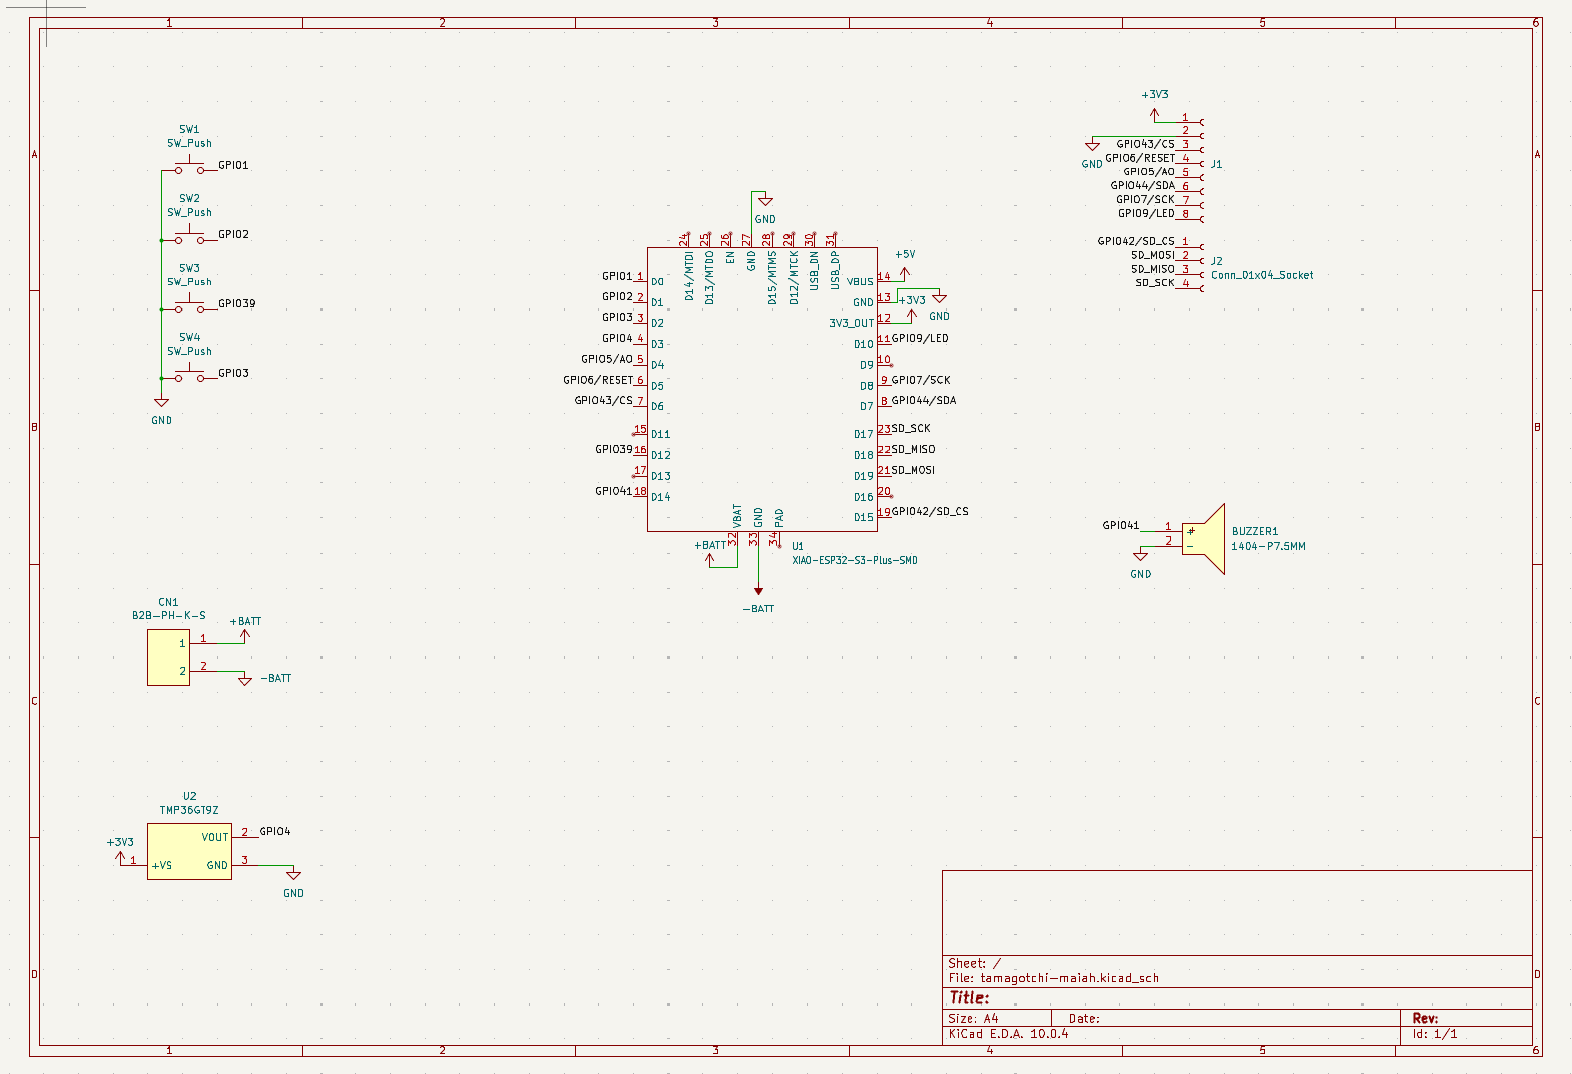
Wiring Schematic:
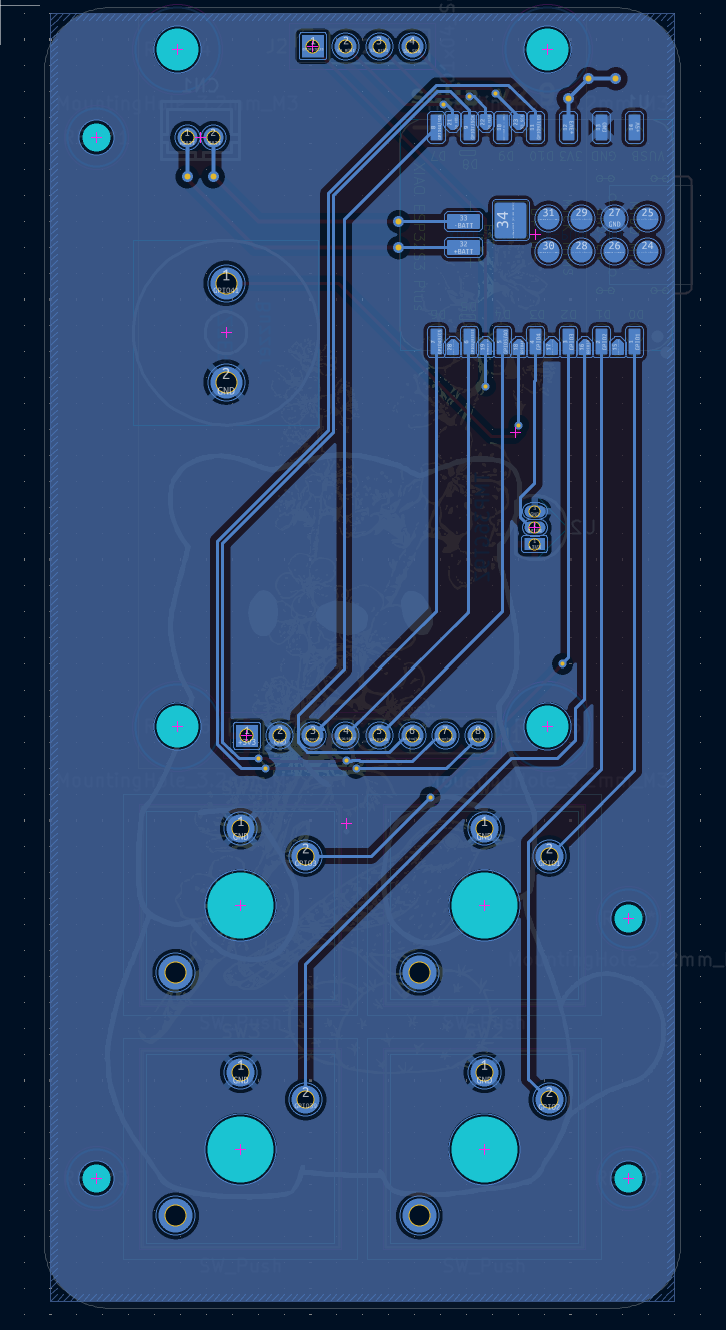
PCB Bottom Layer:
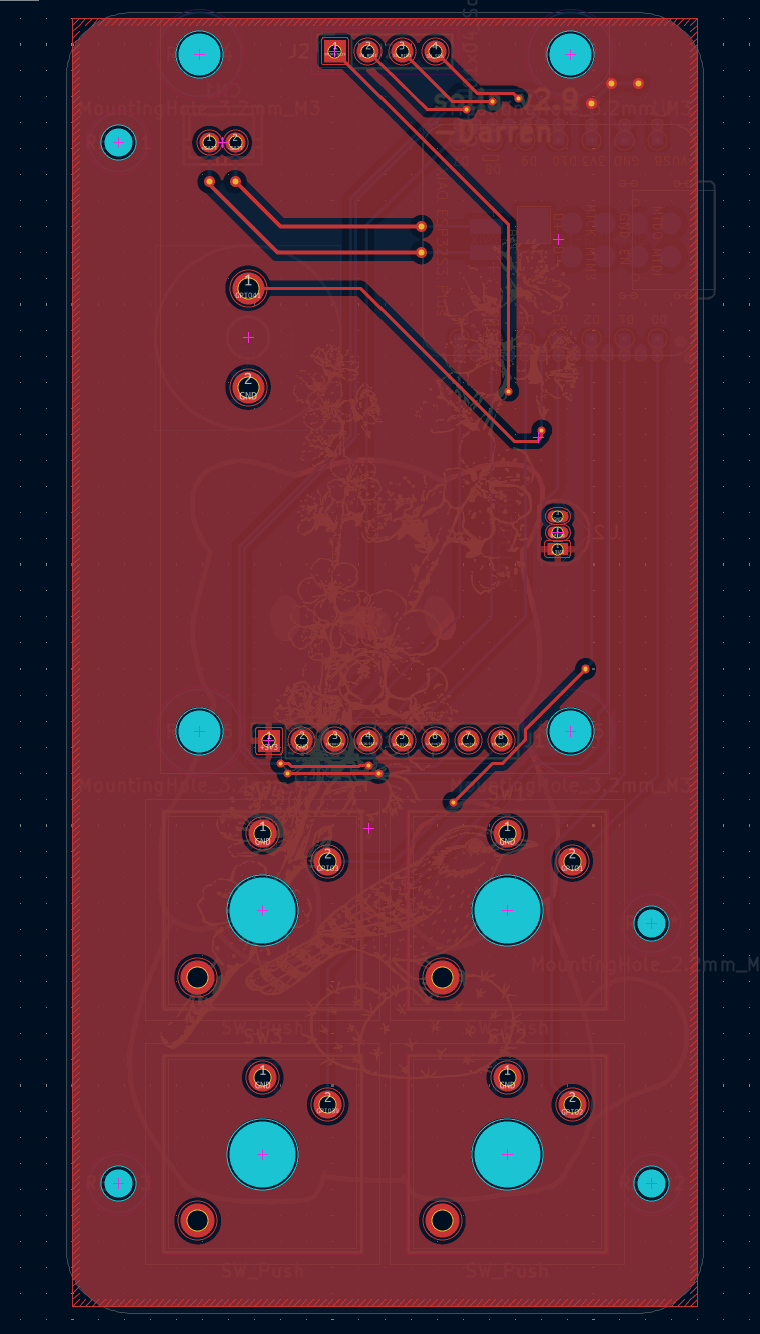
PCB Top Layer:
PCB Bottom View:
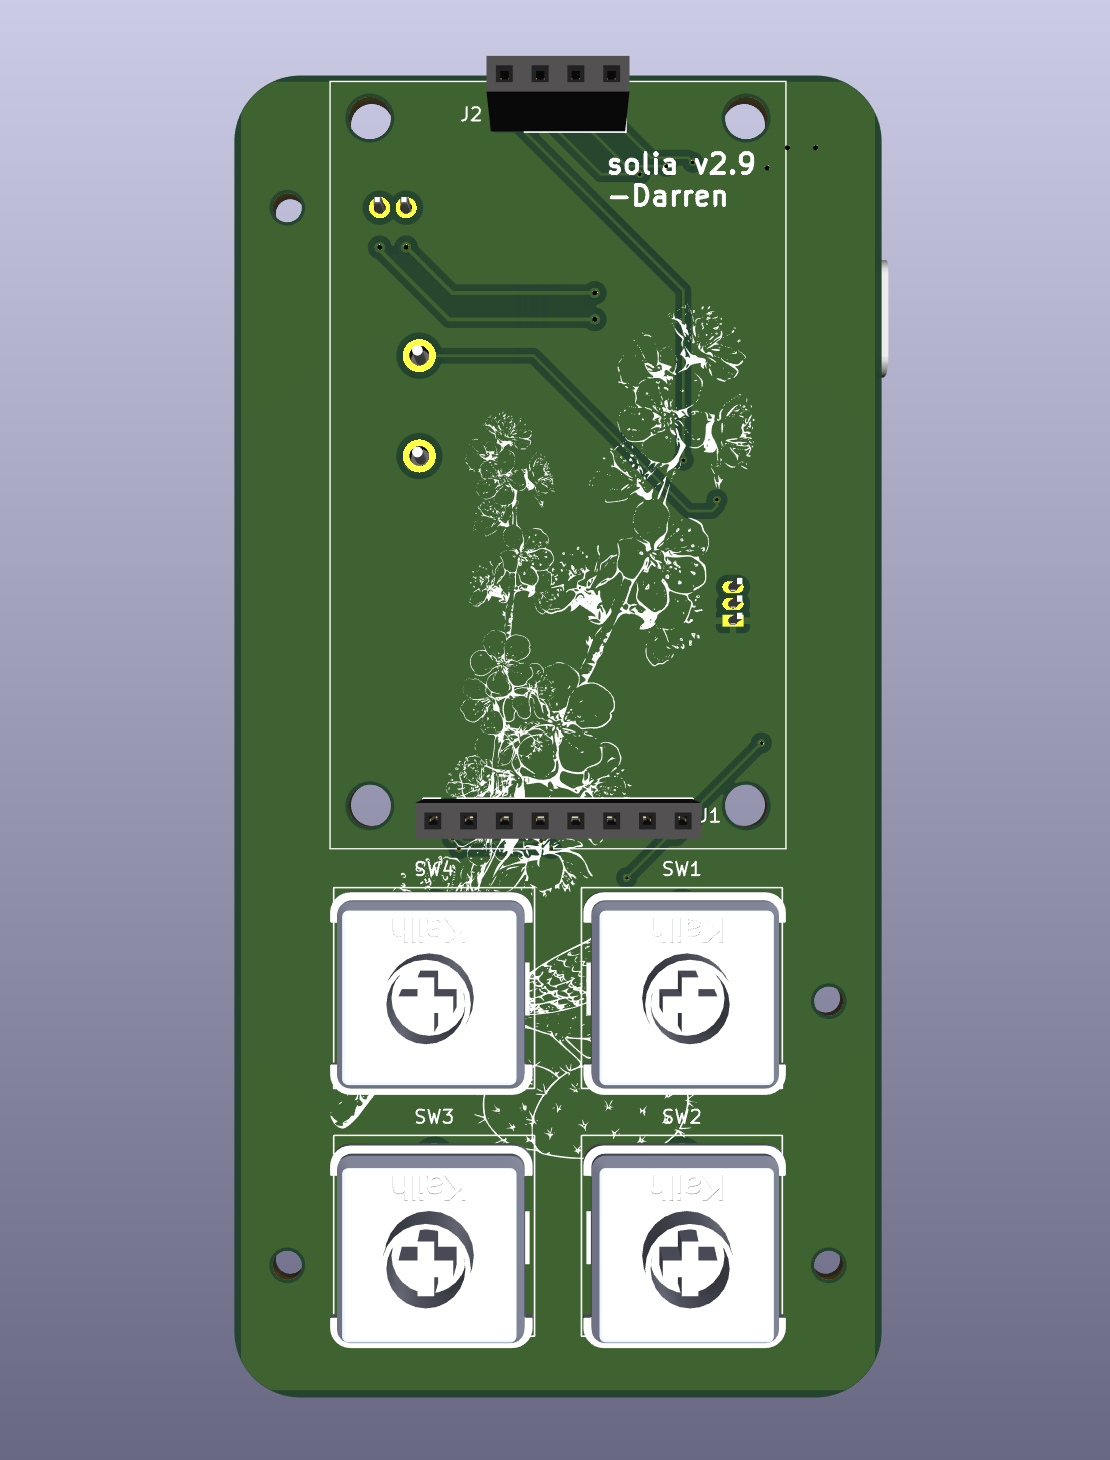
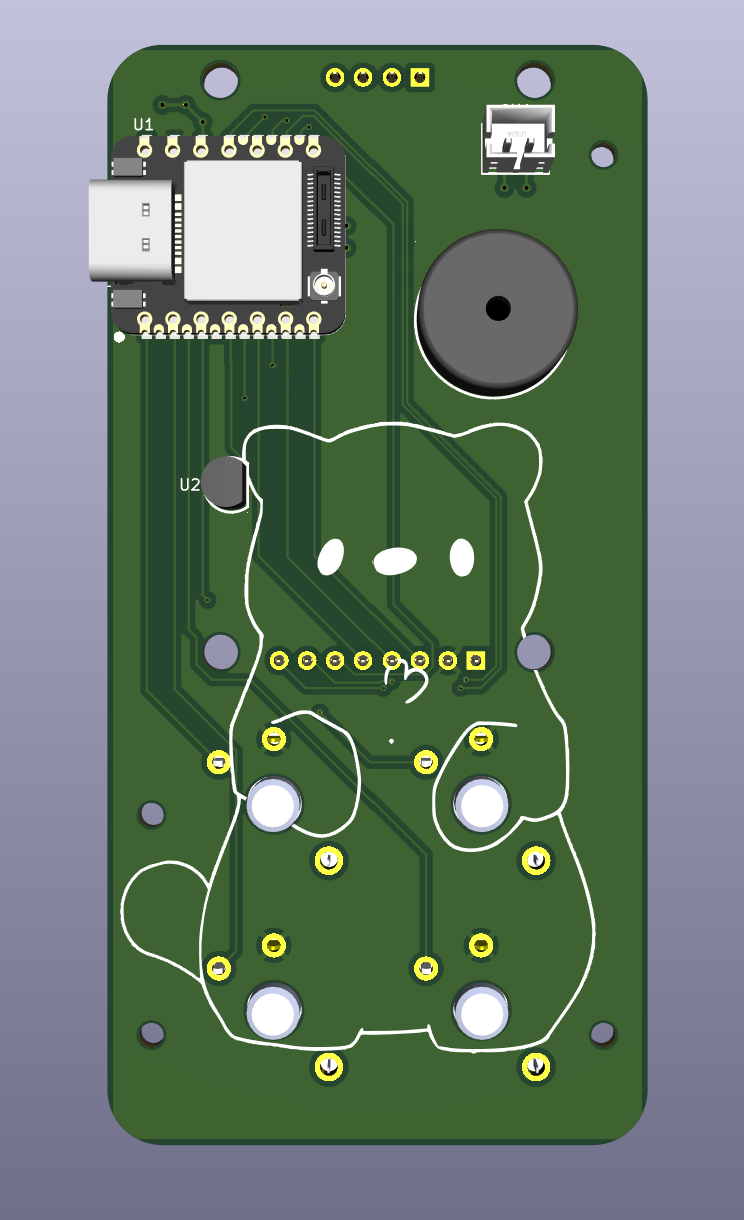
PCB Top View:
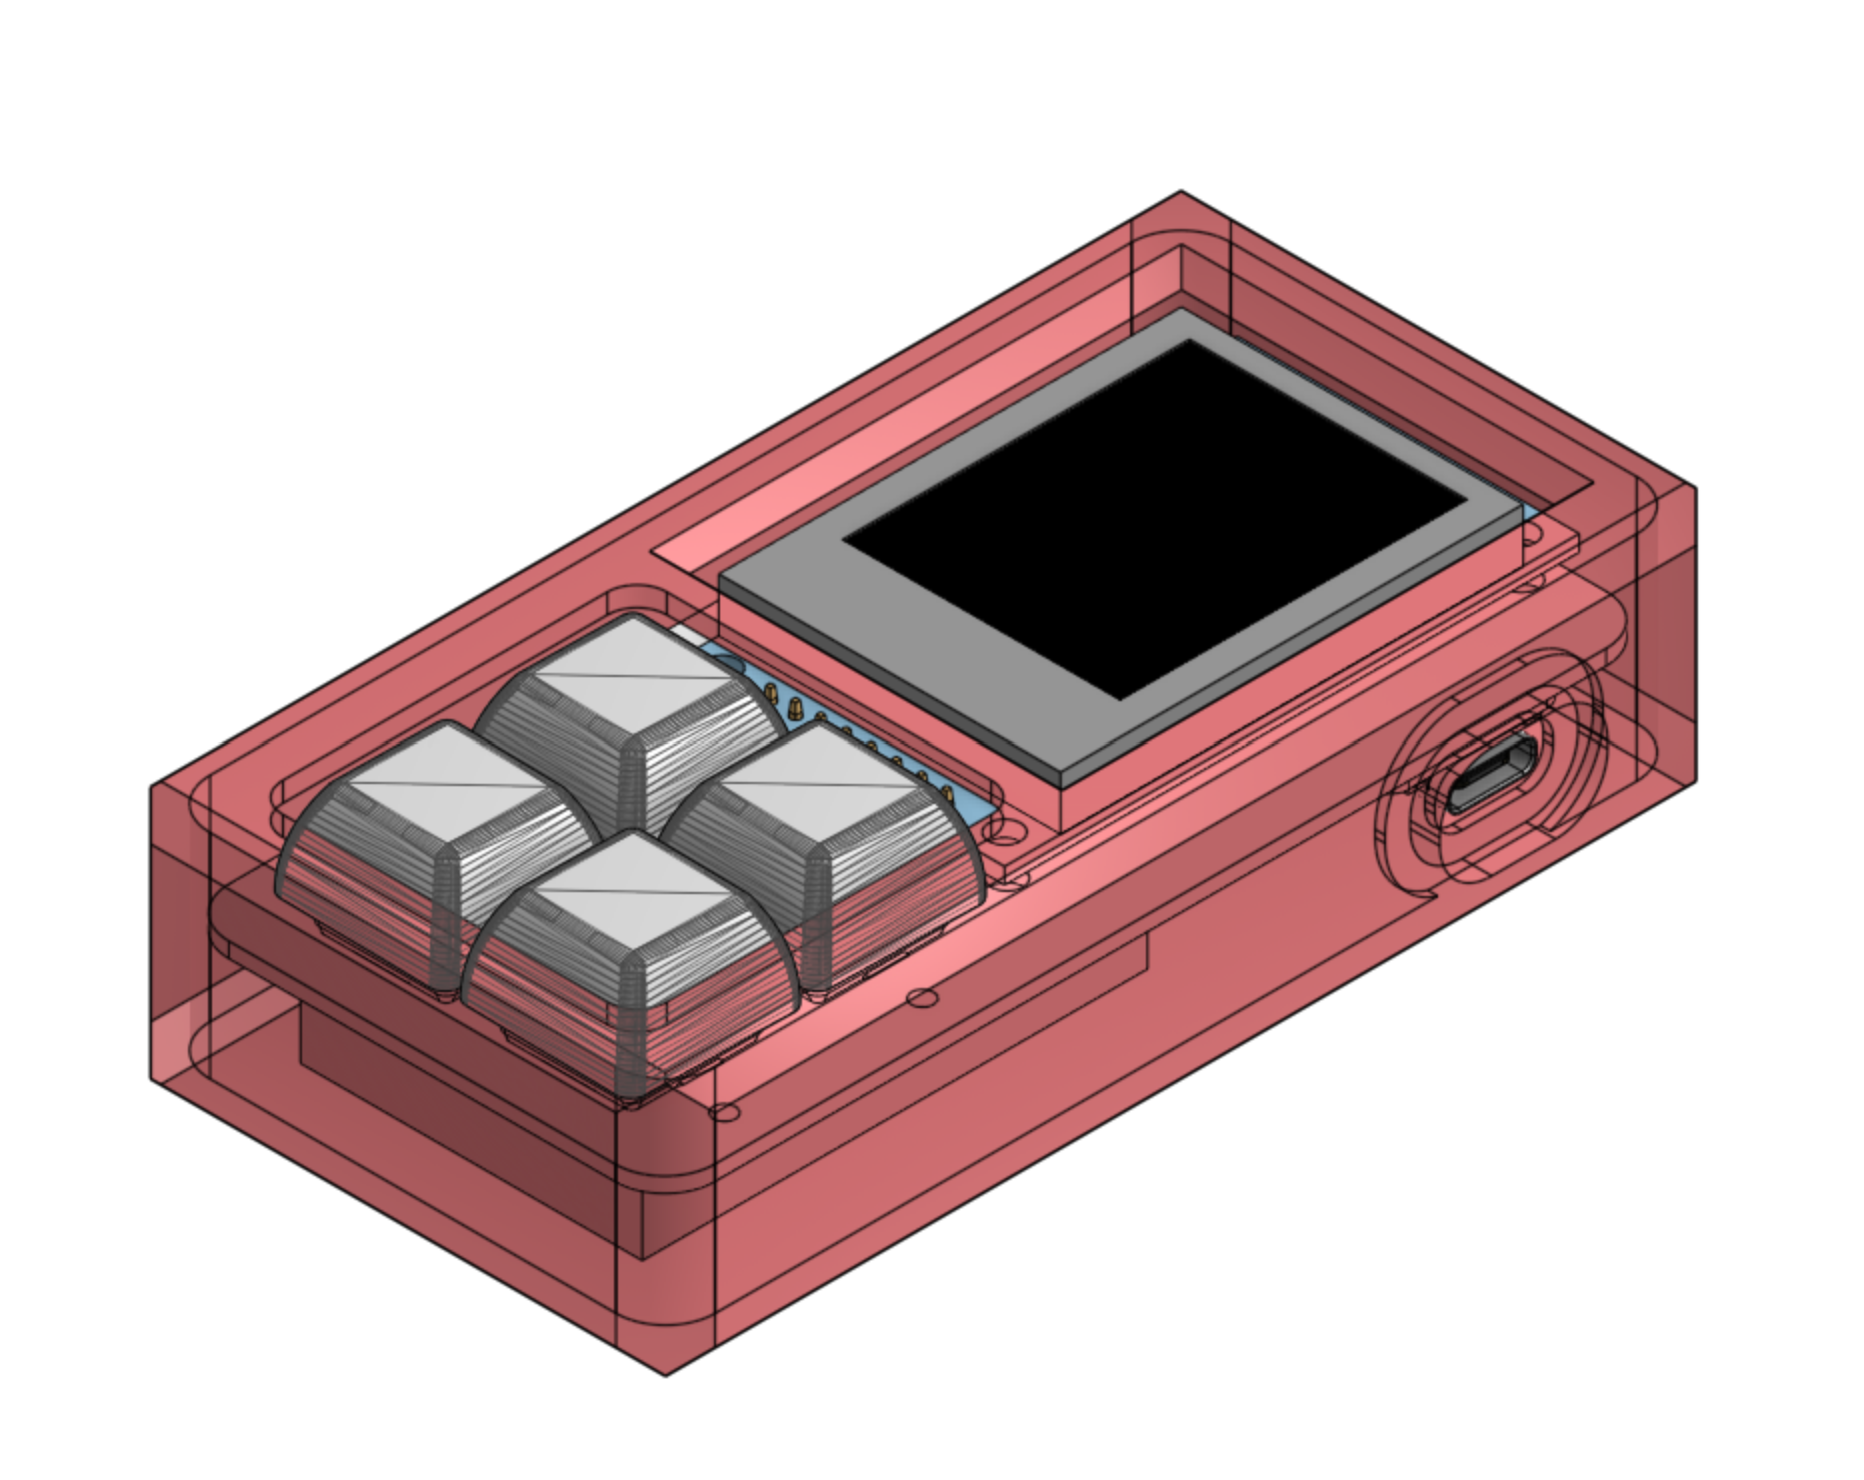
Assembly Isometric View:
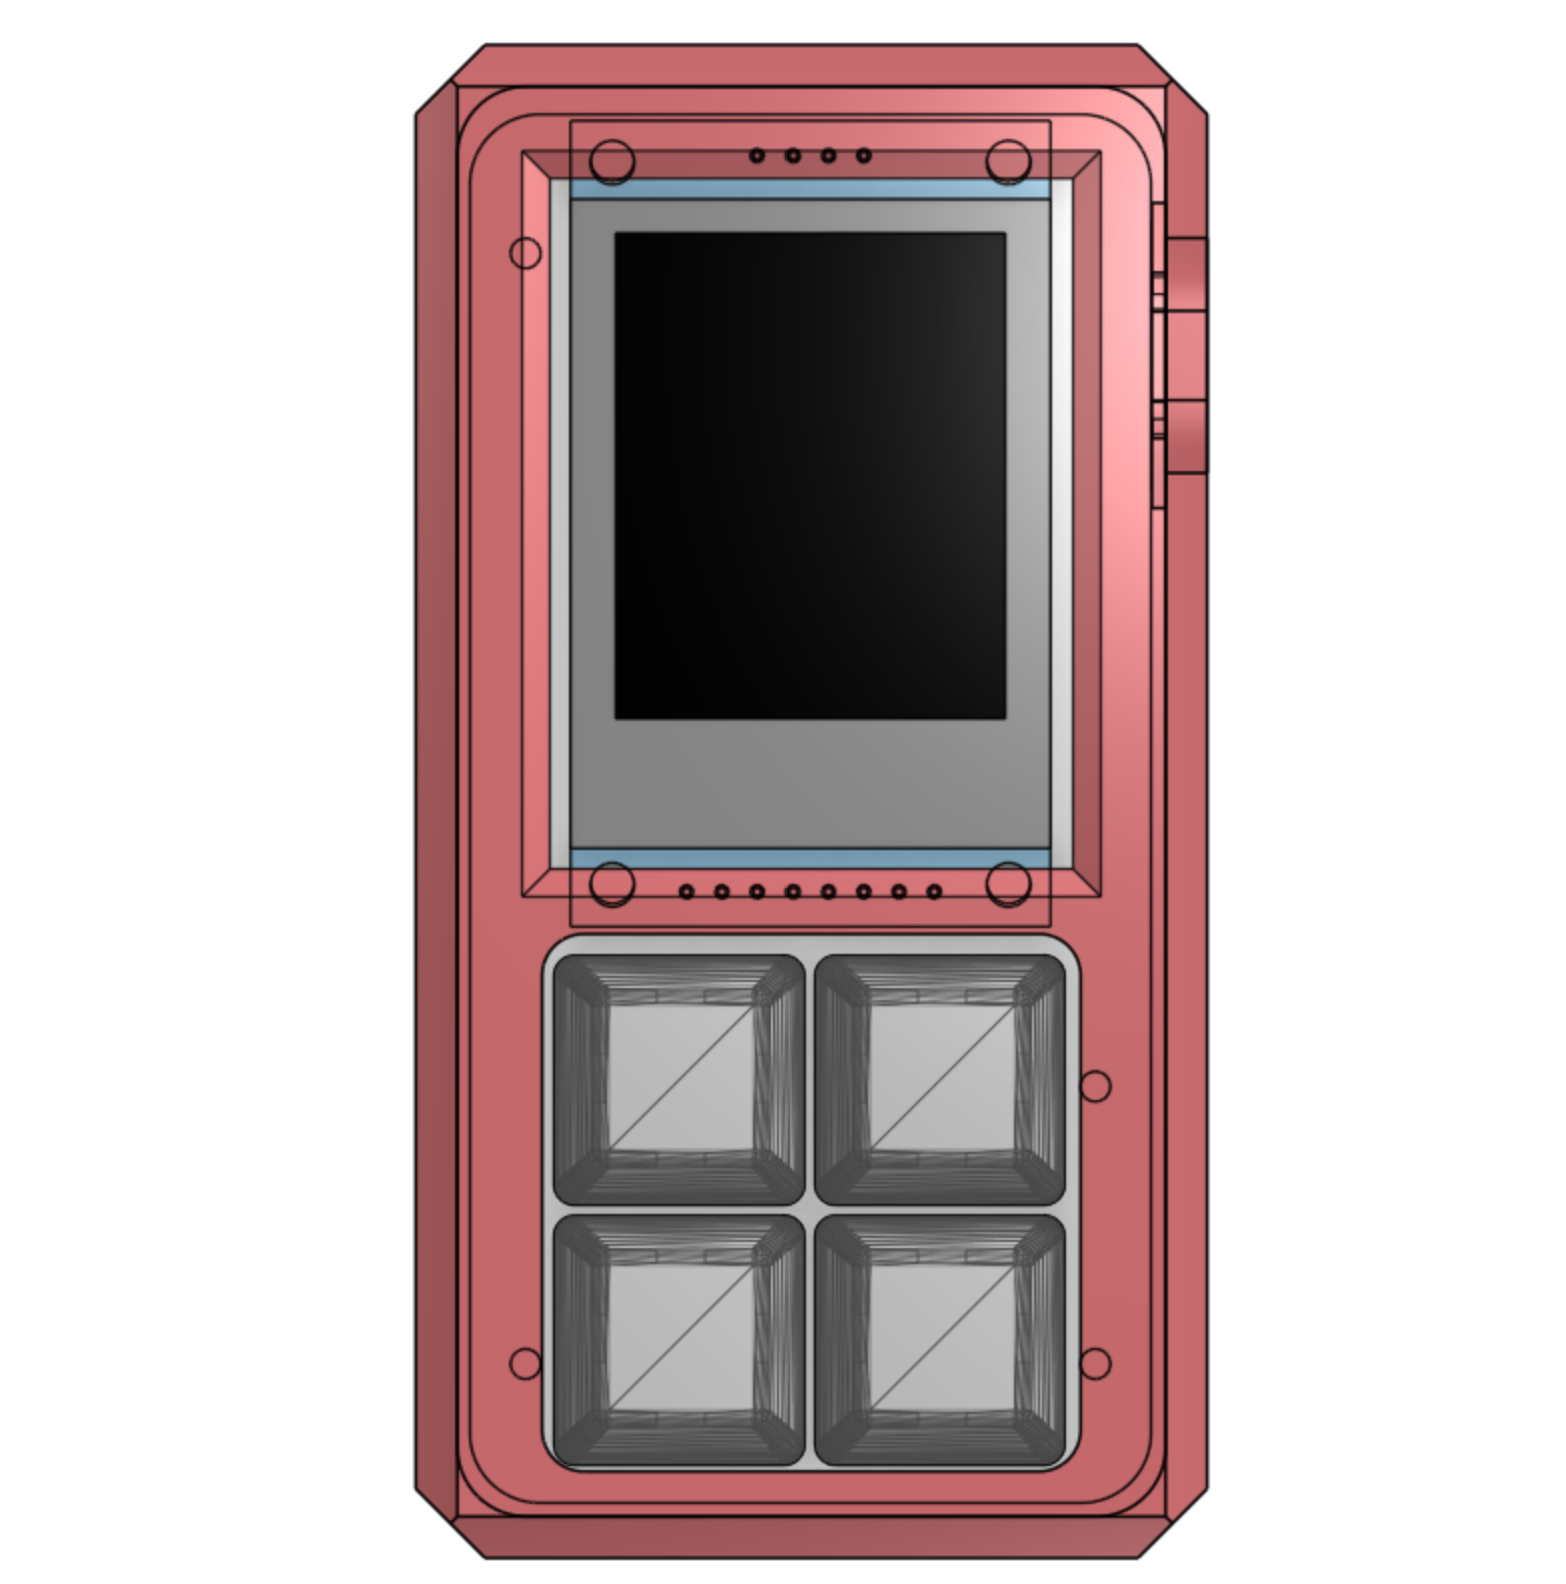
Assembly Top View:
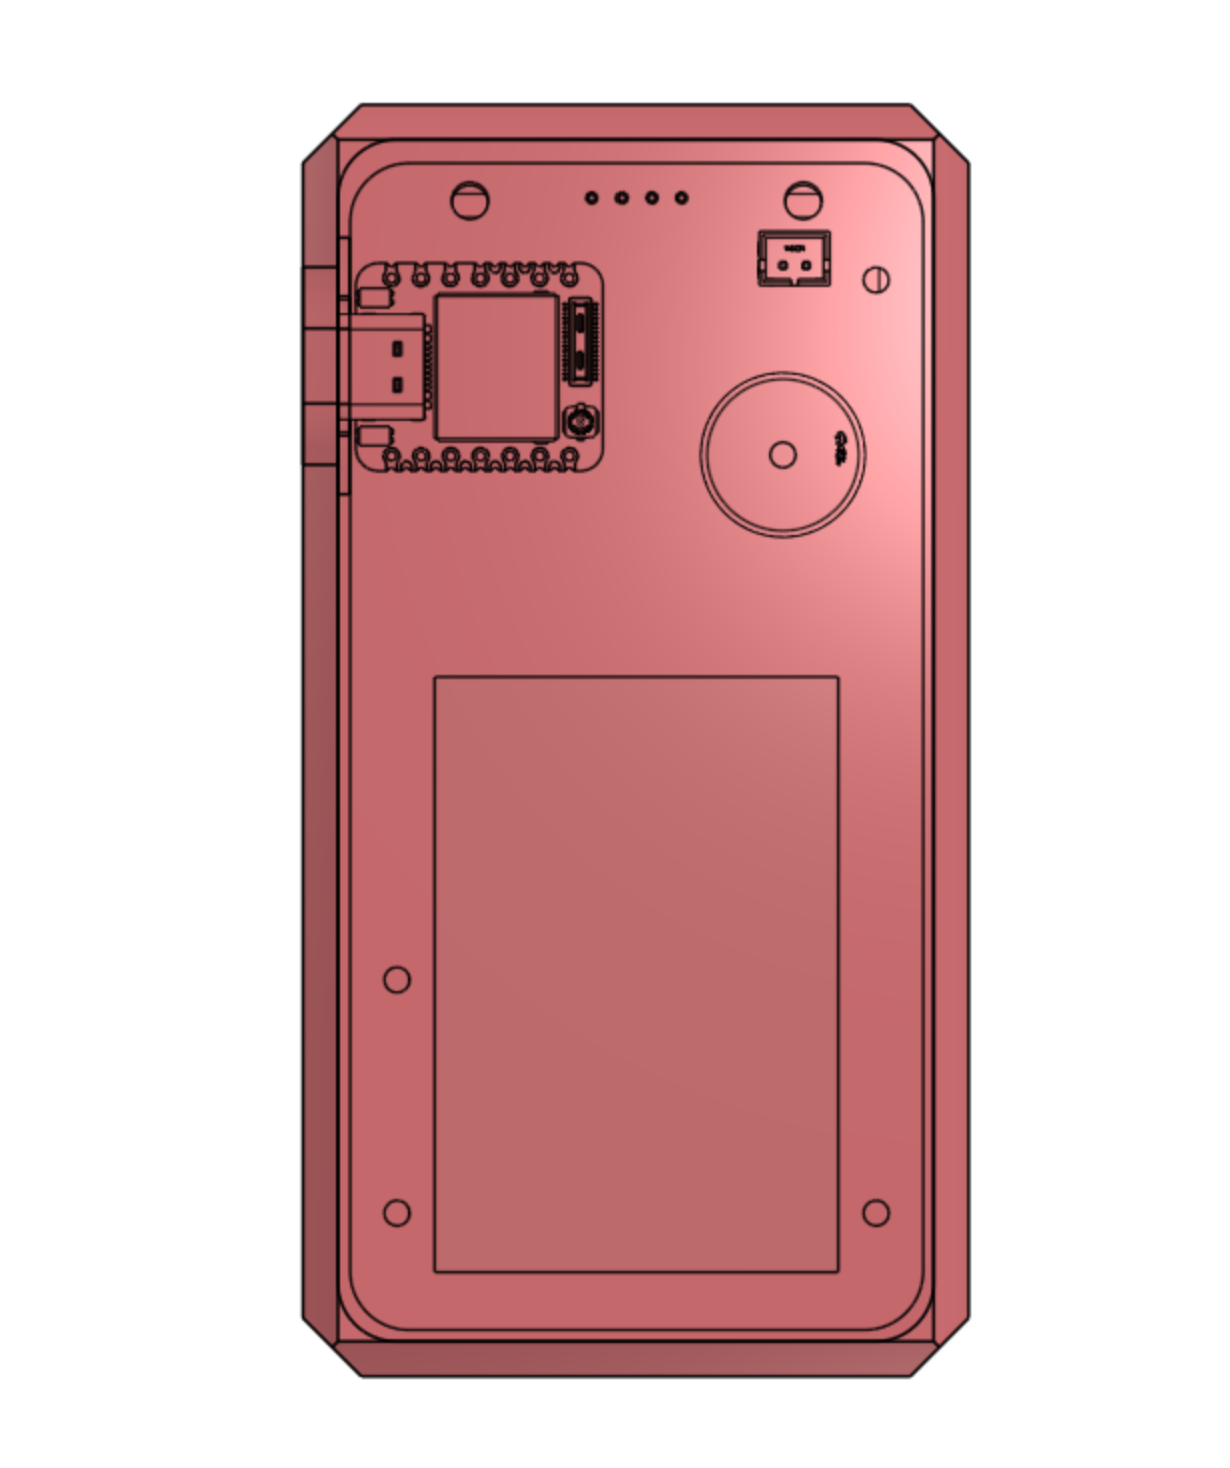
Assembly Bottom View:
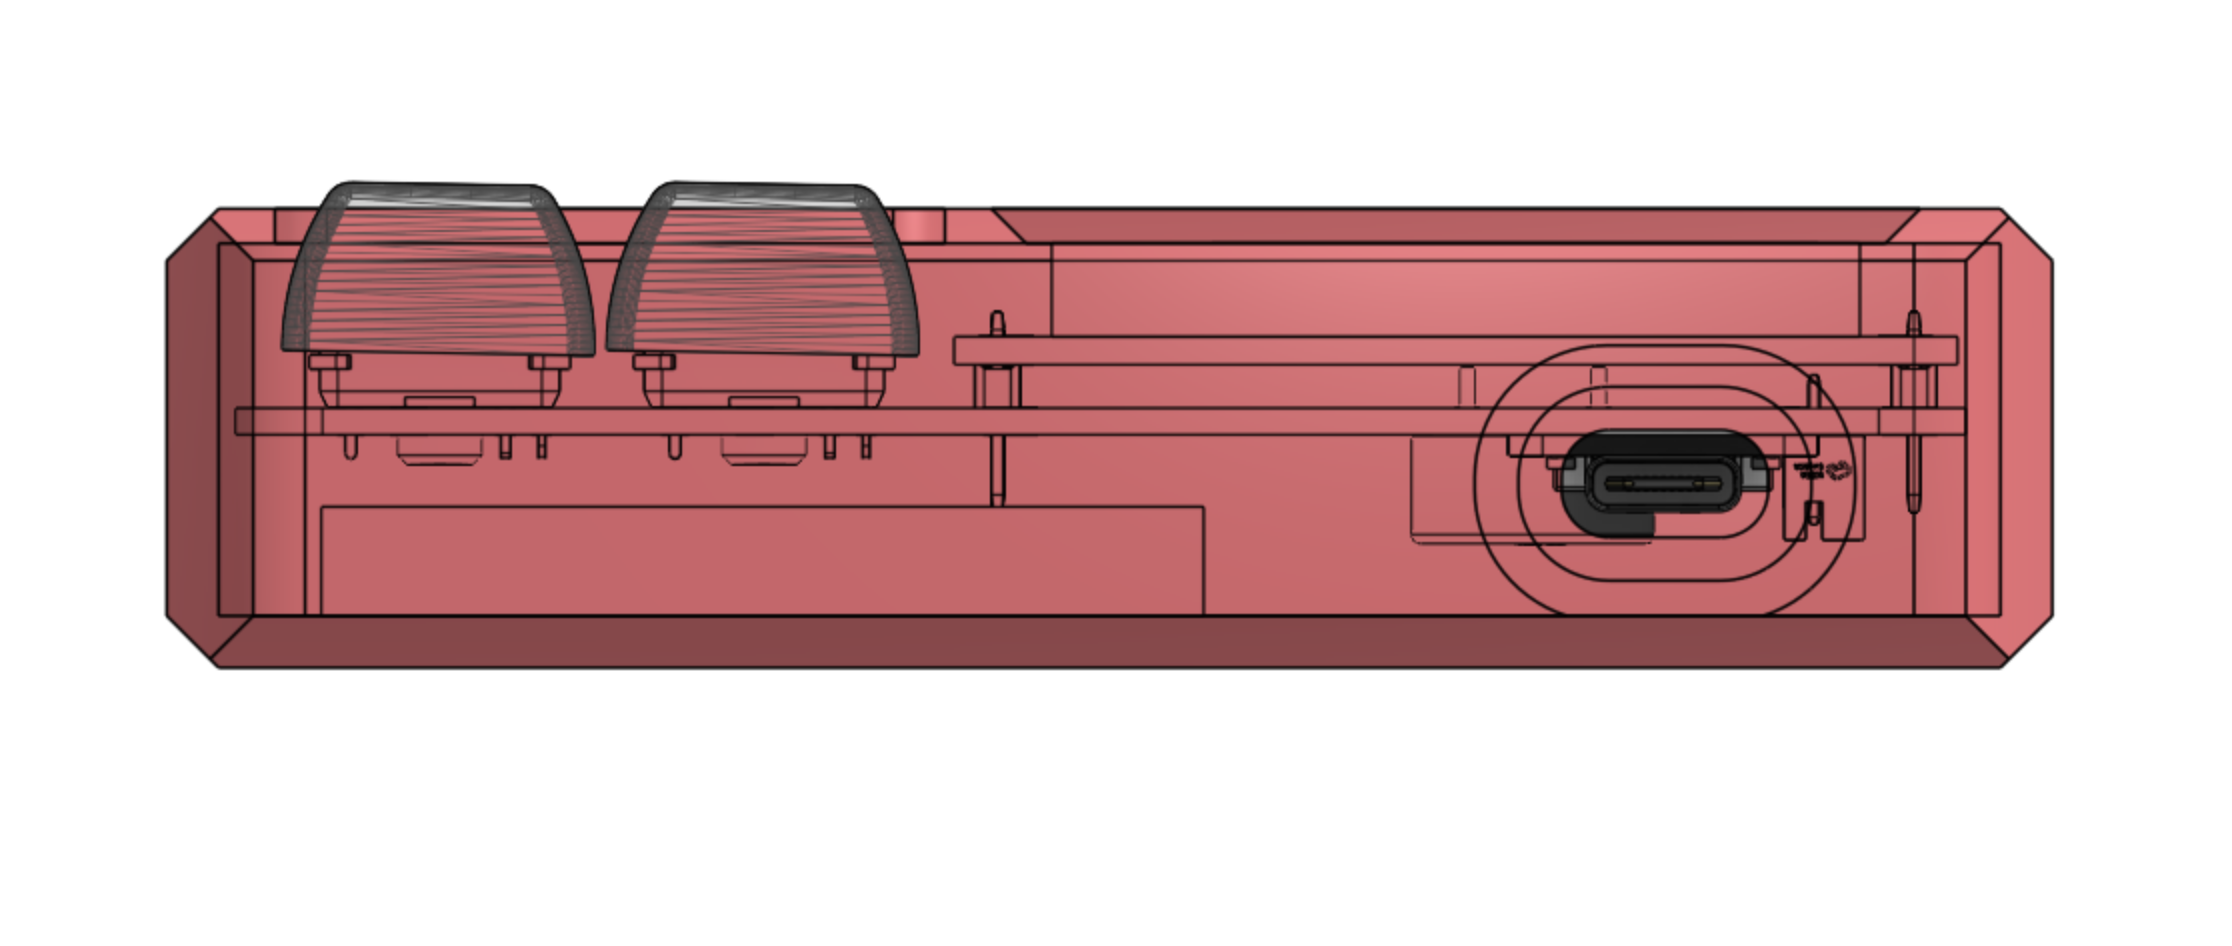
Assembly Side View:
Once your PCBs, case, and components arrive (list of used components), attach the XIAO via USB-C data cable to a computer capable of flashing firmware. There are multiple ways of doing so, but given that the firmware is already a .ino file, one could simply install Arduino IDE and use the built in flashing tool (just google Arduino IDE install and docs). Afterwards, assemble the PCB components, where you will likely need a hot plate for the XIAO board. Or, if you didn't screw up like me, I highly recommend editing the PCB files to include holes underneat the XIAO battery pads, so you don't have to only use solder paste and hope (if you're editing the PCB, I also recommend swapping the placement of the buzzer and the XIAO, as I didn't realize that the pins from the buzzer would hit the SD card slot attached to the screen). There is a very specific order to which the components need not to be assembled, but essentially just solder the XIAO first and confirm that nothing is shorted (multimeter, etc.), then the buzzer and temperature sensor, then the keys, and lastly the screen (as long as the XIAO is first and the screen is left to last it should be fine). Afterwards, solder the temperature fuse in between one of the battery wires (I chose positive) and the female JST connector on the board and tape the fuse onto the battery's back (adjust the postition so it slots into the hole in the case). Once you've assembled everything onto the board, place foam around the bottom of the case except for in the cutout for the fuse, and nestle the battery in. Plug the battery into the board, place everything in and seal the top of the case, and you should be good to go!
| Qty | Value | Footprint | References |
|---|---|---|---|
| 3 | SW_Push | easyeda2kicad:SW-TH_4P-L4.5-W4.5-P3.00-LS4.8 | SW1, SW2, SW3 |
| 1 | 1404-P7.5MM | easyeda2kicad:BUZ-TH_BD14.0-P7.60-D0.8-L | BUZZER1 |
| 1 | B2B-PH-K-S | easyeda2kicad:CONN-TH_B2B-PH-K-S | CN1 |
| 1 | HS96L03W2C03 | easyeda2kicad:OLED-TH_L27.8-W27.2-P2.54_C9900033791 | U2 |
| 1 | LOGO | personal_art:soup_on_silkscreen(50x58.2) | . |
| 1 | LOGO | personal_art:cherry_blossoms_on_branch_solia | G*** |
| 1 | LOGO | personal_art:cactus_wren_solia | G*** |
| 1 | LOGO | personal_art:cherry_blossoms_on_branch_large_solia | G*** |
| 1 | XIAO-ESP32-C3-SMD | Seeed_Studio_XIAO_Series:XIAO-ESP32-C3-SMD | U1 |


PubInv/krake
The Krake™ is a Wi-Fi–enabled server using an MQTT broker, which means it can be controlled remotely by other devices ("clients") via the internet.

Taialt97/OPENBLOCK-Keyboard-Hitbox
Open-source, modular, and easy-to-understand design for a Hit Box layout using the Raspberry Pi (RP2040) as the core.


It measures 39.5 × 70 mm and has 2 copper layers, 1.6 mm thick.
11 parts, built around the HS96L03W2C03, 1404-P7.5MM and B2B-PH-K-S(LF)(SN). The full list of its parts is on this page, with links to each part's symbol and footprint where PCBKit's library has them.
From the Glasshalfwater/solia repository on GitHub, at the commit this page was made from: the board is hardware/tamagotchi-maiah.kicad_pcb and its schematic hardware/tamagotchi-maiah.kicad_sch. PCBKit opens the board in the browser, with nothing to install.
Its repository publishes it under the MIT licence: you may reuse it on that licence's terms (keep the author's notice, and for a copyleft licence share your changes alike).