6 layers450 × 235 mm
Baseline
DeadlySIn777/Controller
Unfinished CNC controller motherboard: native KiCad sources, rules, DSN and global routing review
2,723 parts

 wolkstein/minimal-esp32-ble-midi-ctrl1
A simple Bluthooth Midi DAW transport control unit based on an esp32 mc
Little Helper is an open-source printed circuit board by wolkstein, from the wolkstein/minimal-esp32-ble-midi-ctrl repository on GitHub, published under the GPL-3.0 licence. It is a 4-layer board of 84 × 25.6 mm with 41 parts on 56 nets, routed with 276 tracks and 66 vias.
It is built around the ESP32-S3-MINI-1-N8, AP2112K-3.3 and TS-1088-AR02016, with the WS2812B, BAS16,215-CN and DMG3415U among its other parts. Its parts include 12 resistors, 8 capacitors, 8 switches, 5 diodes and 3 ICs. It belongs with the audio and music boards and the ESP32 and NXP (LPC, Kinetis, i.MX RT) boards of this library.


This project is a minimal ESP32 BLE MIDI controller. It allows you to control MIDI devices wirelessly using Bluetooth Low Energy (BLE) technology. The controller is designed to be compact and easy to use, making it ideal for musicians and performers.
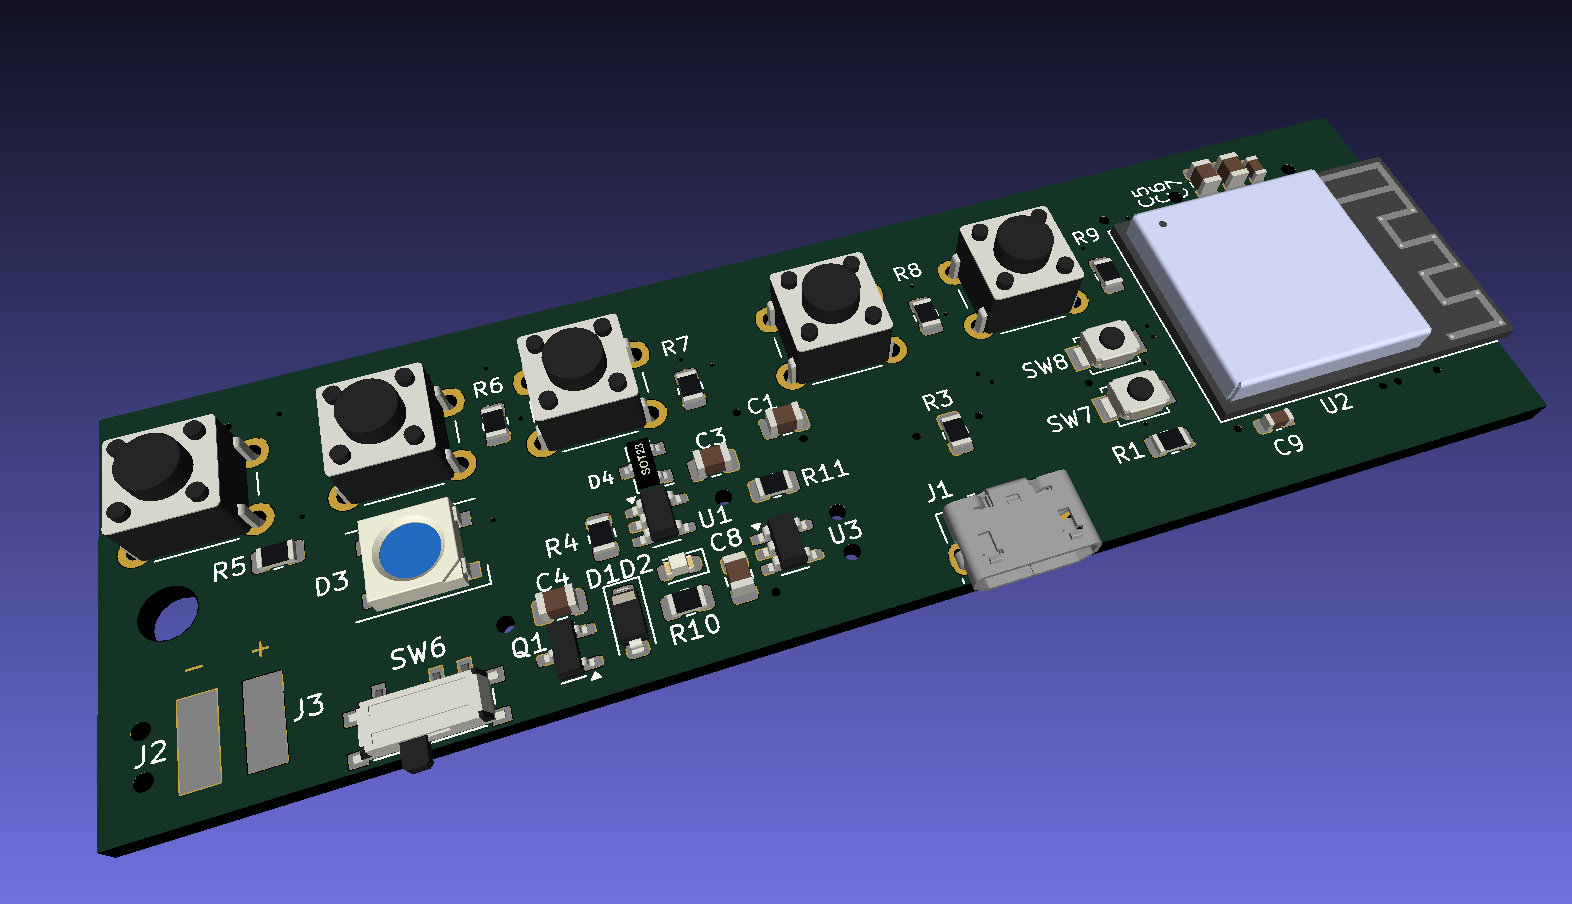
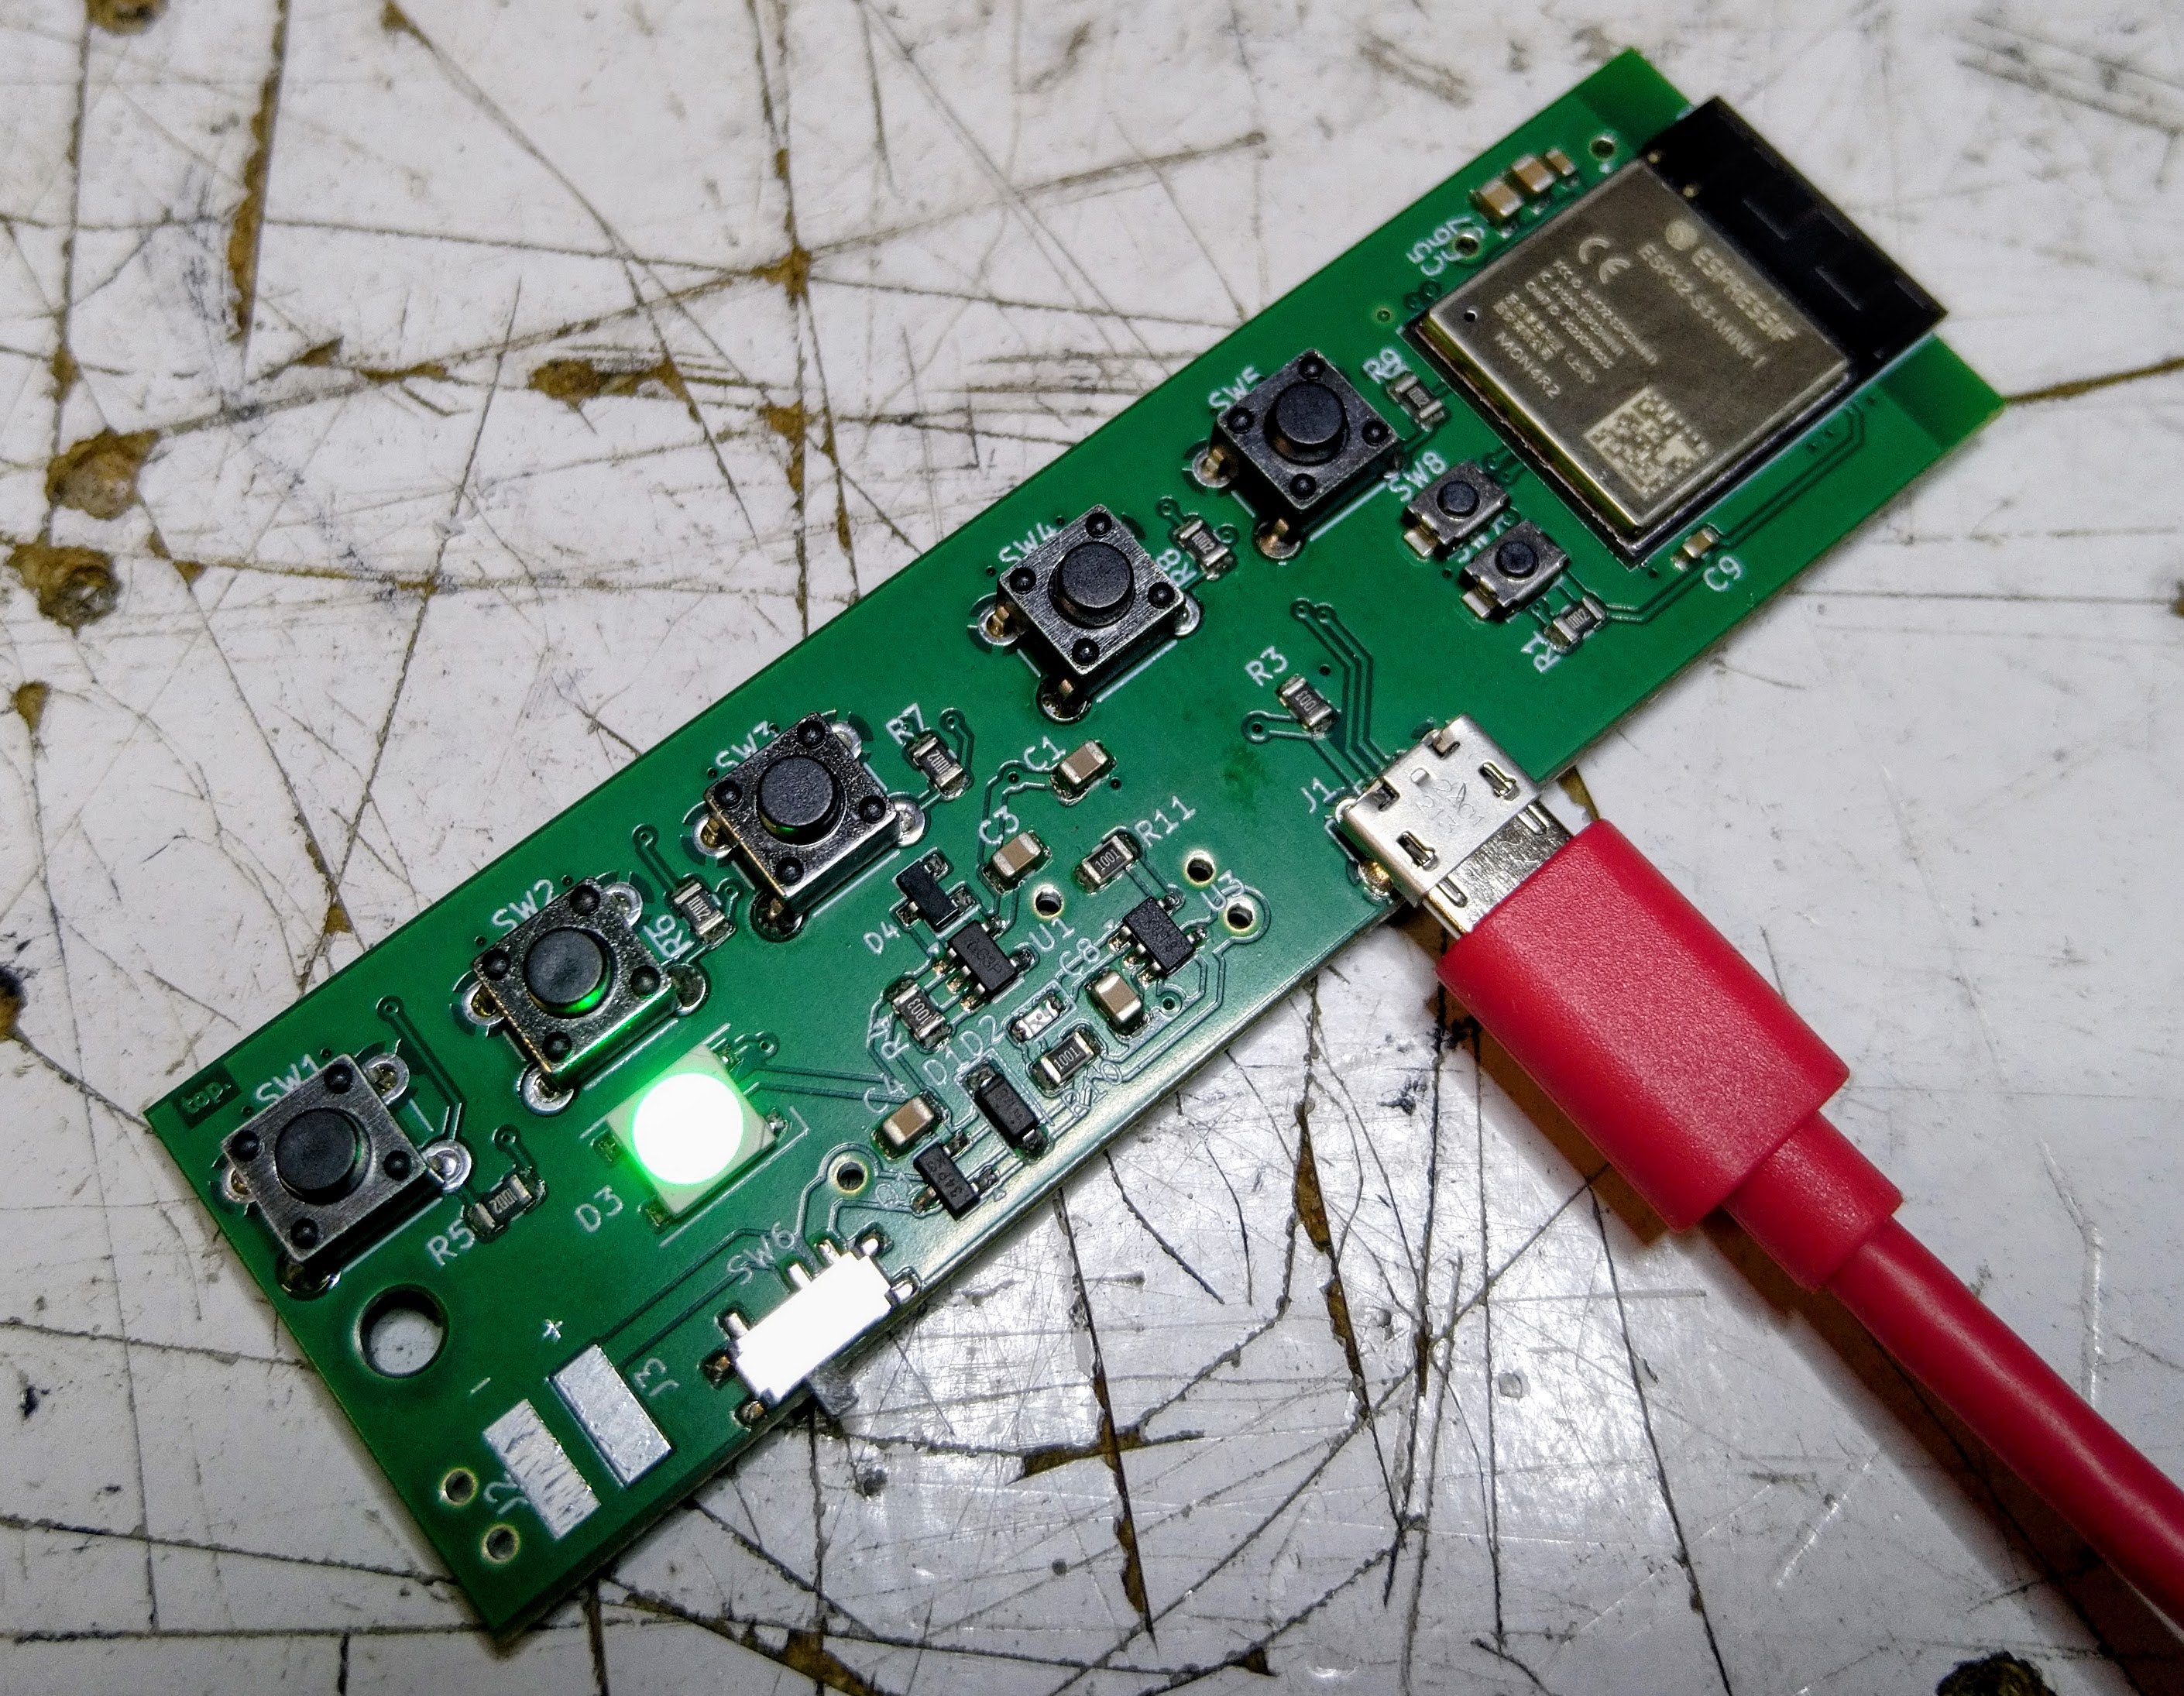
PCB:
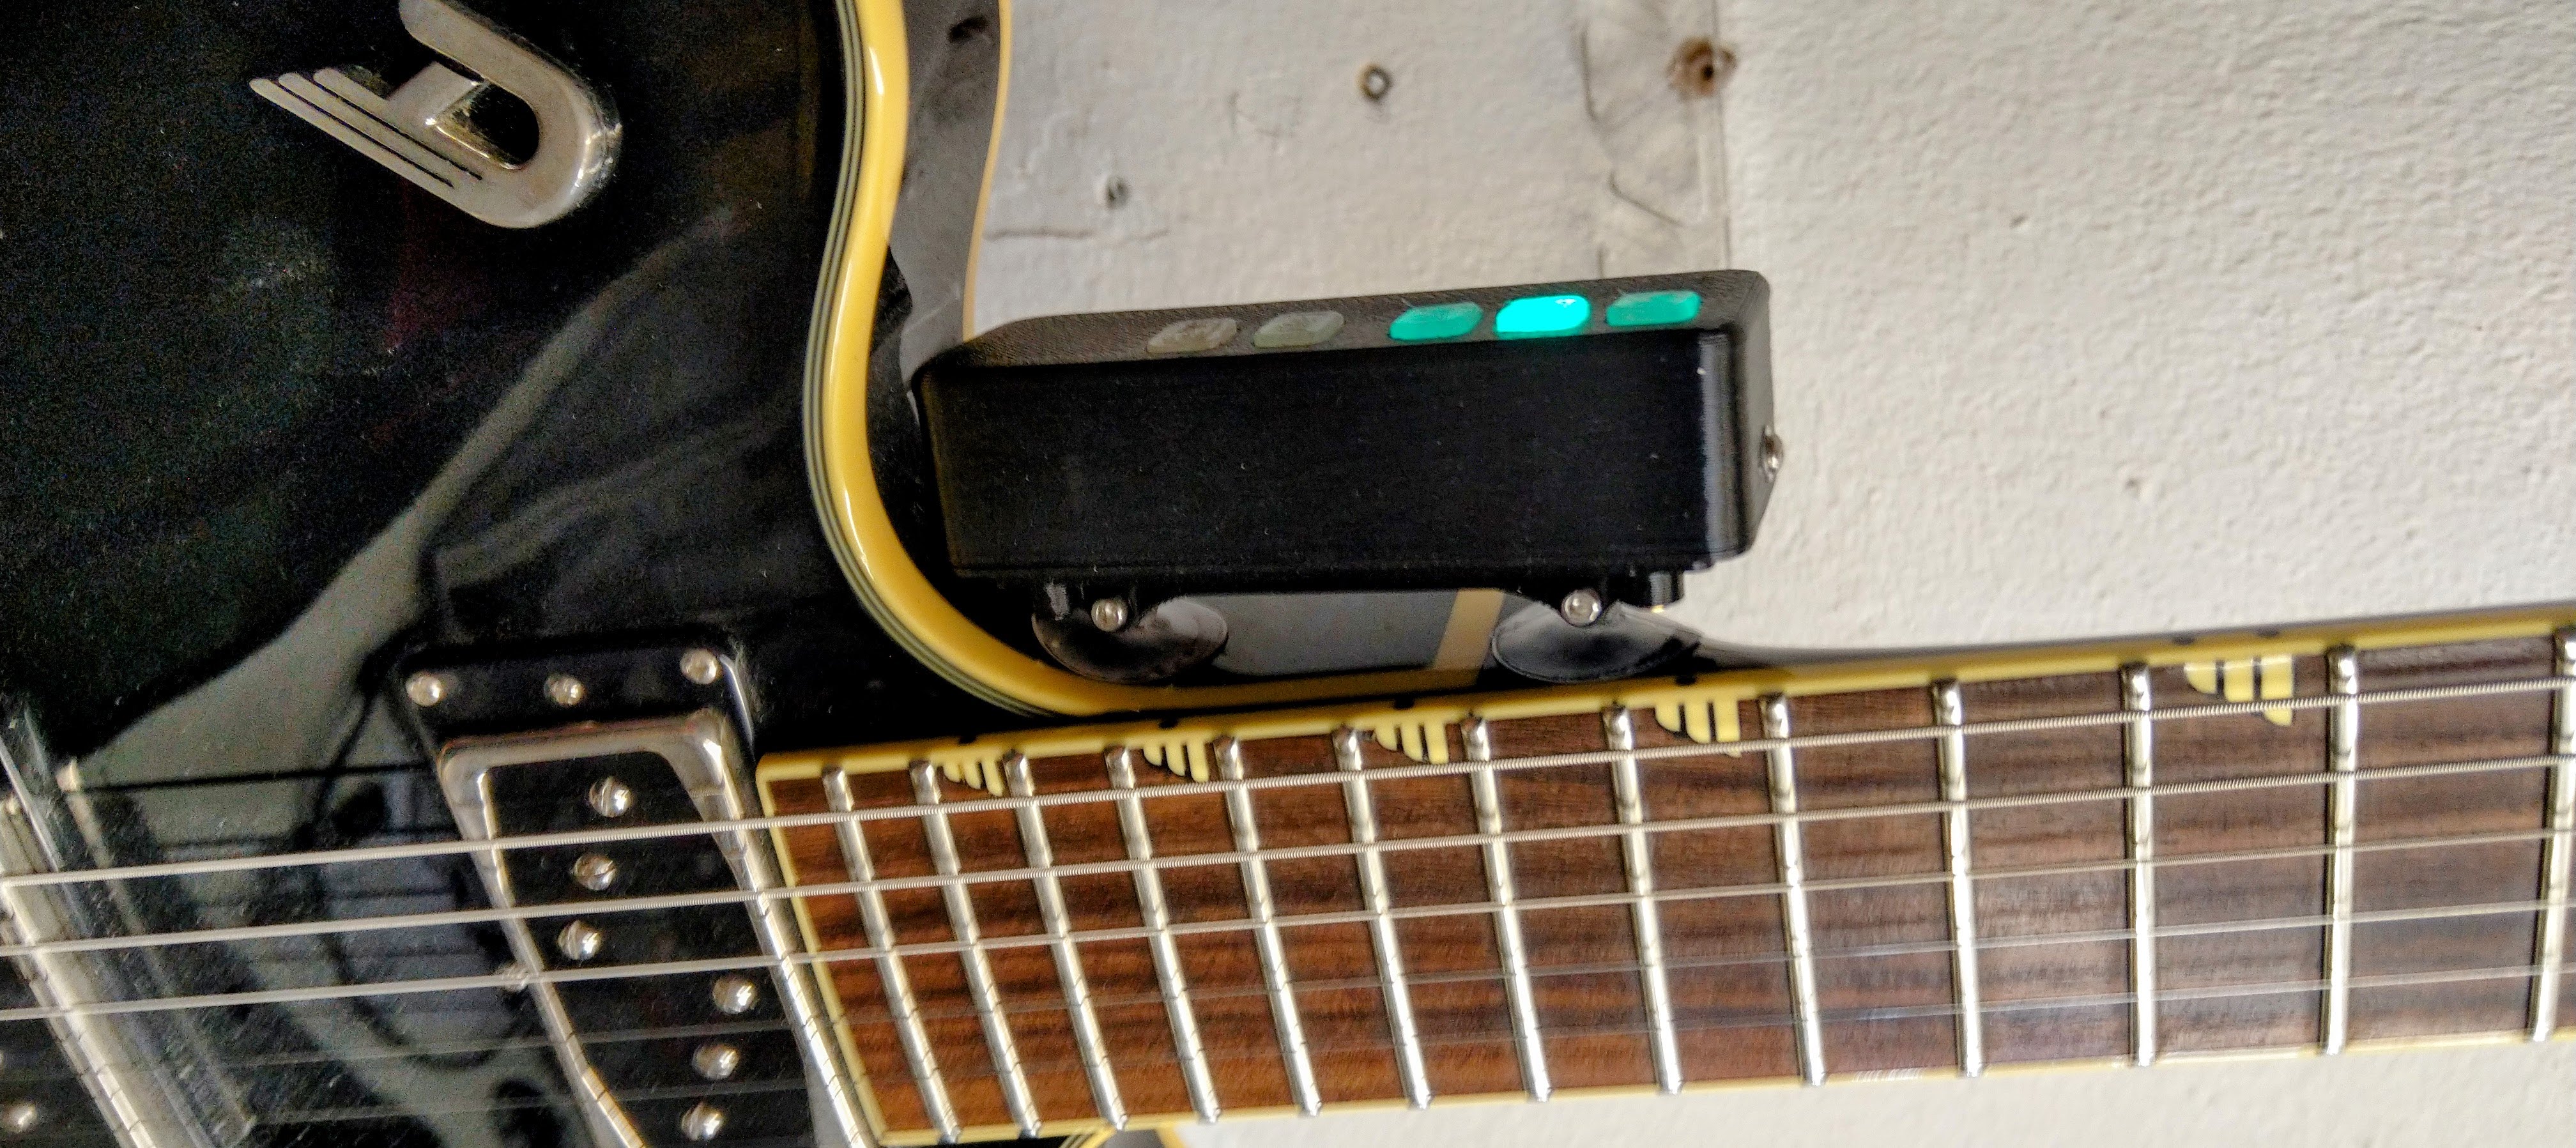
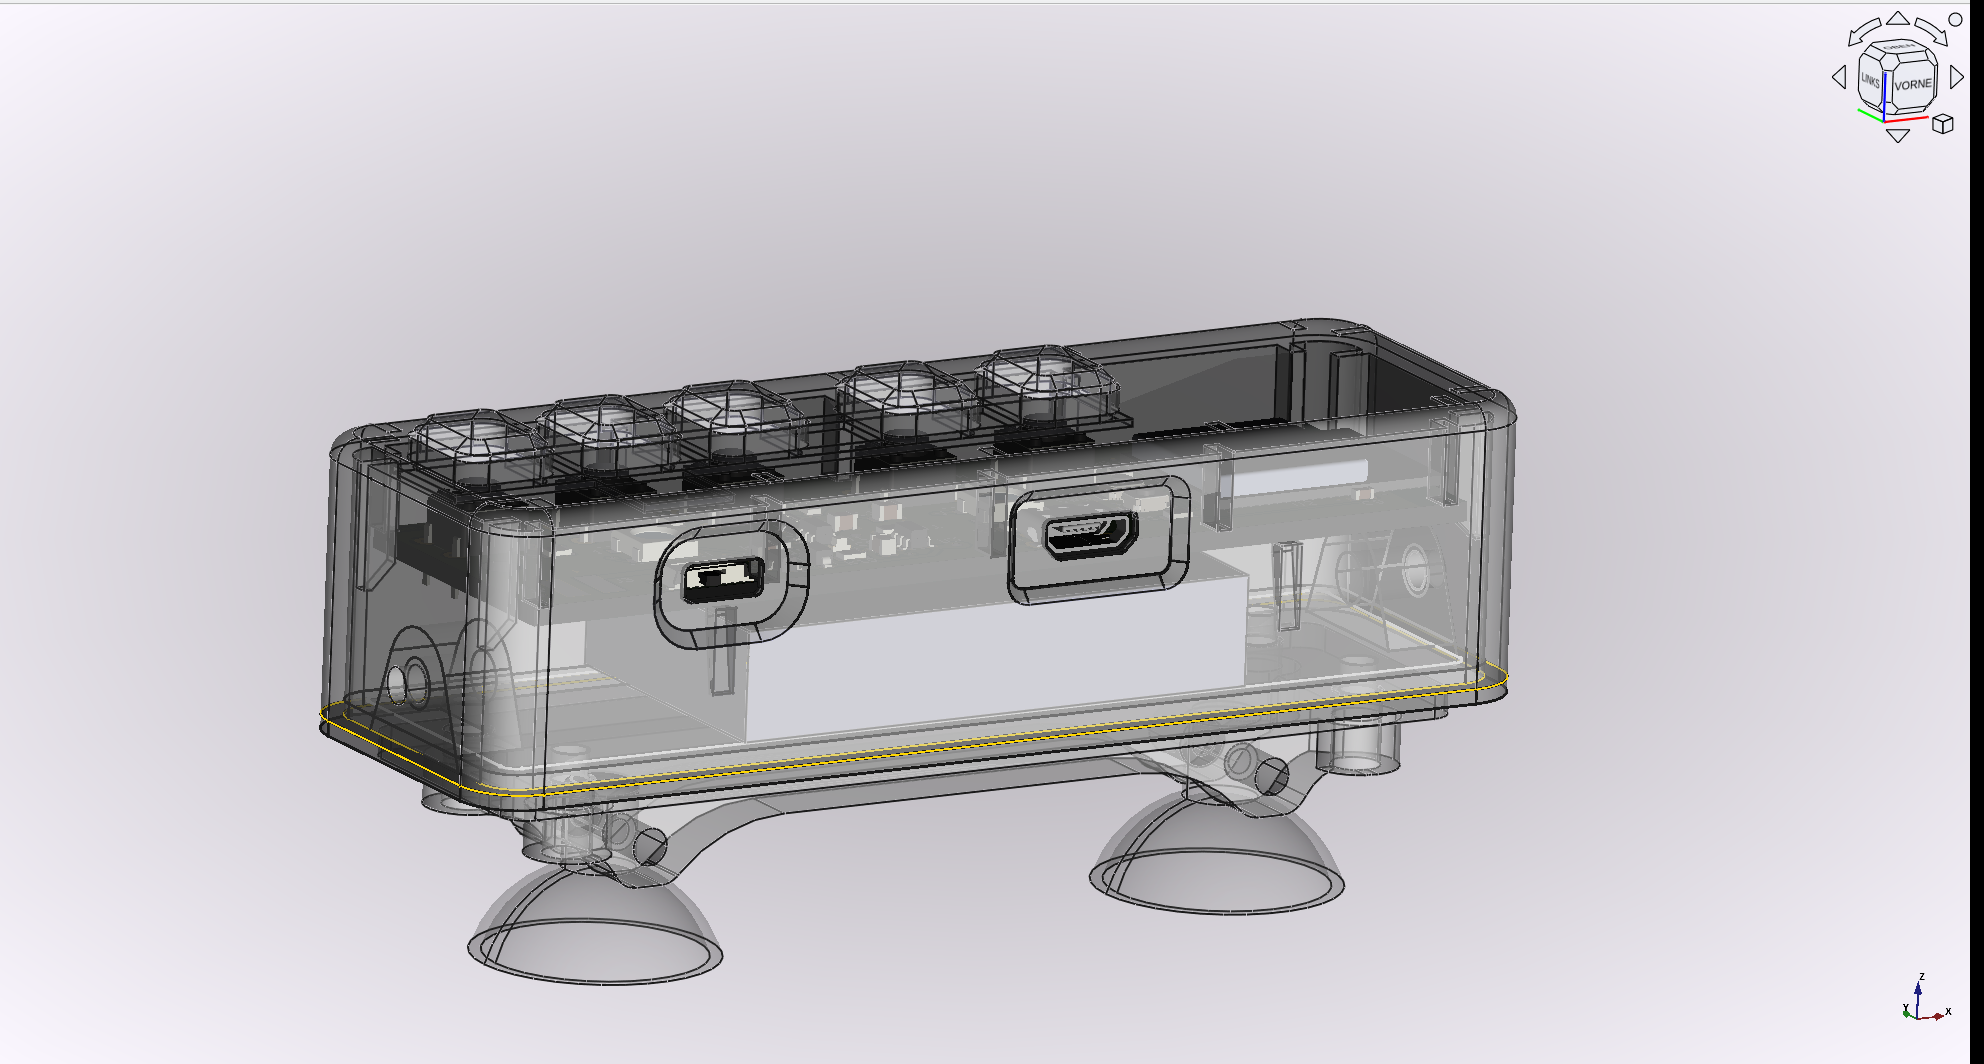
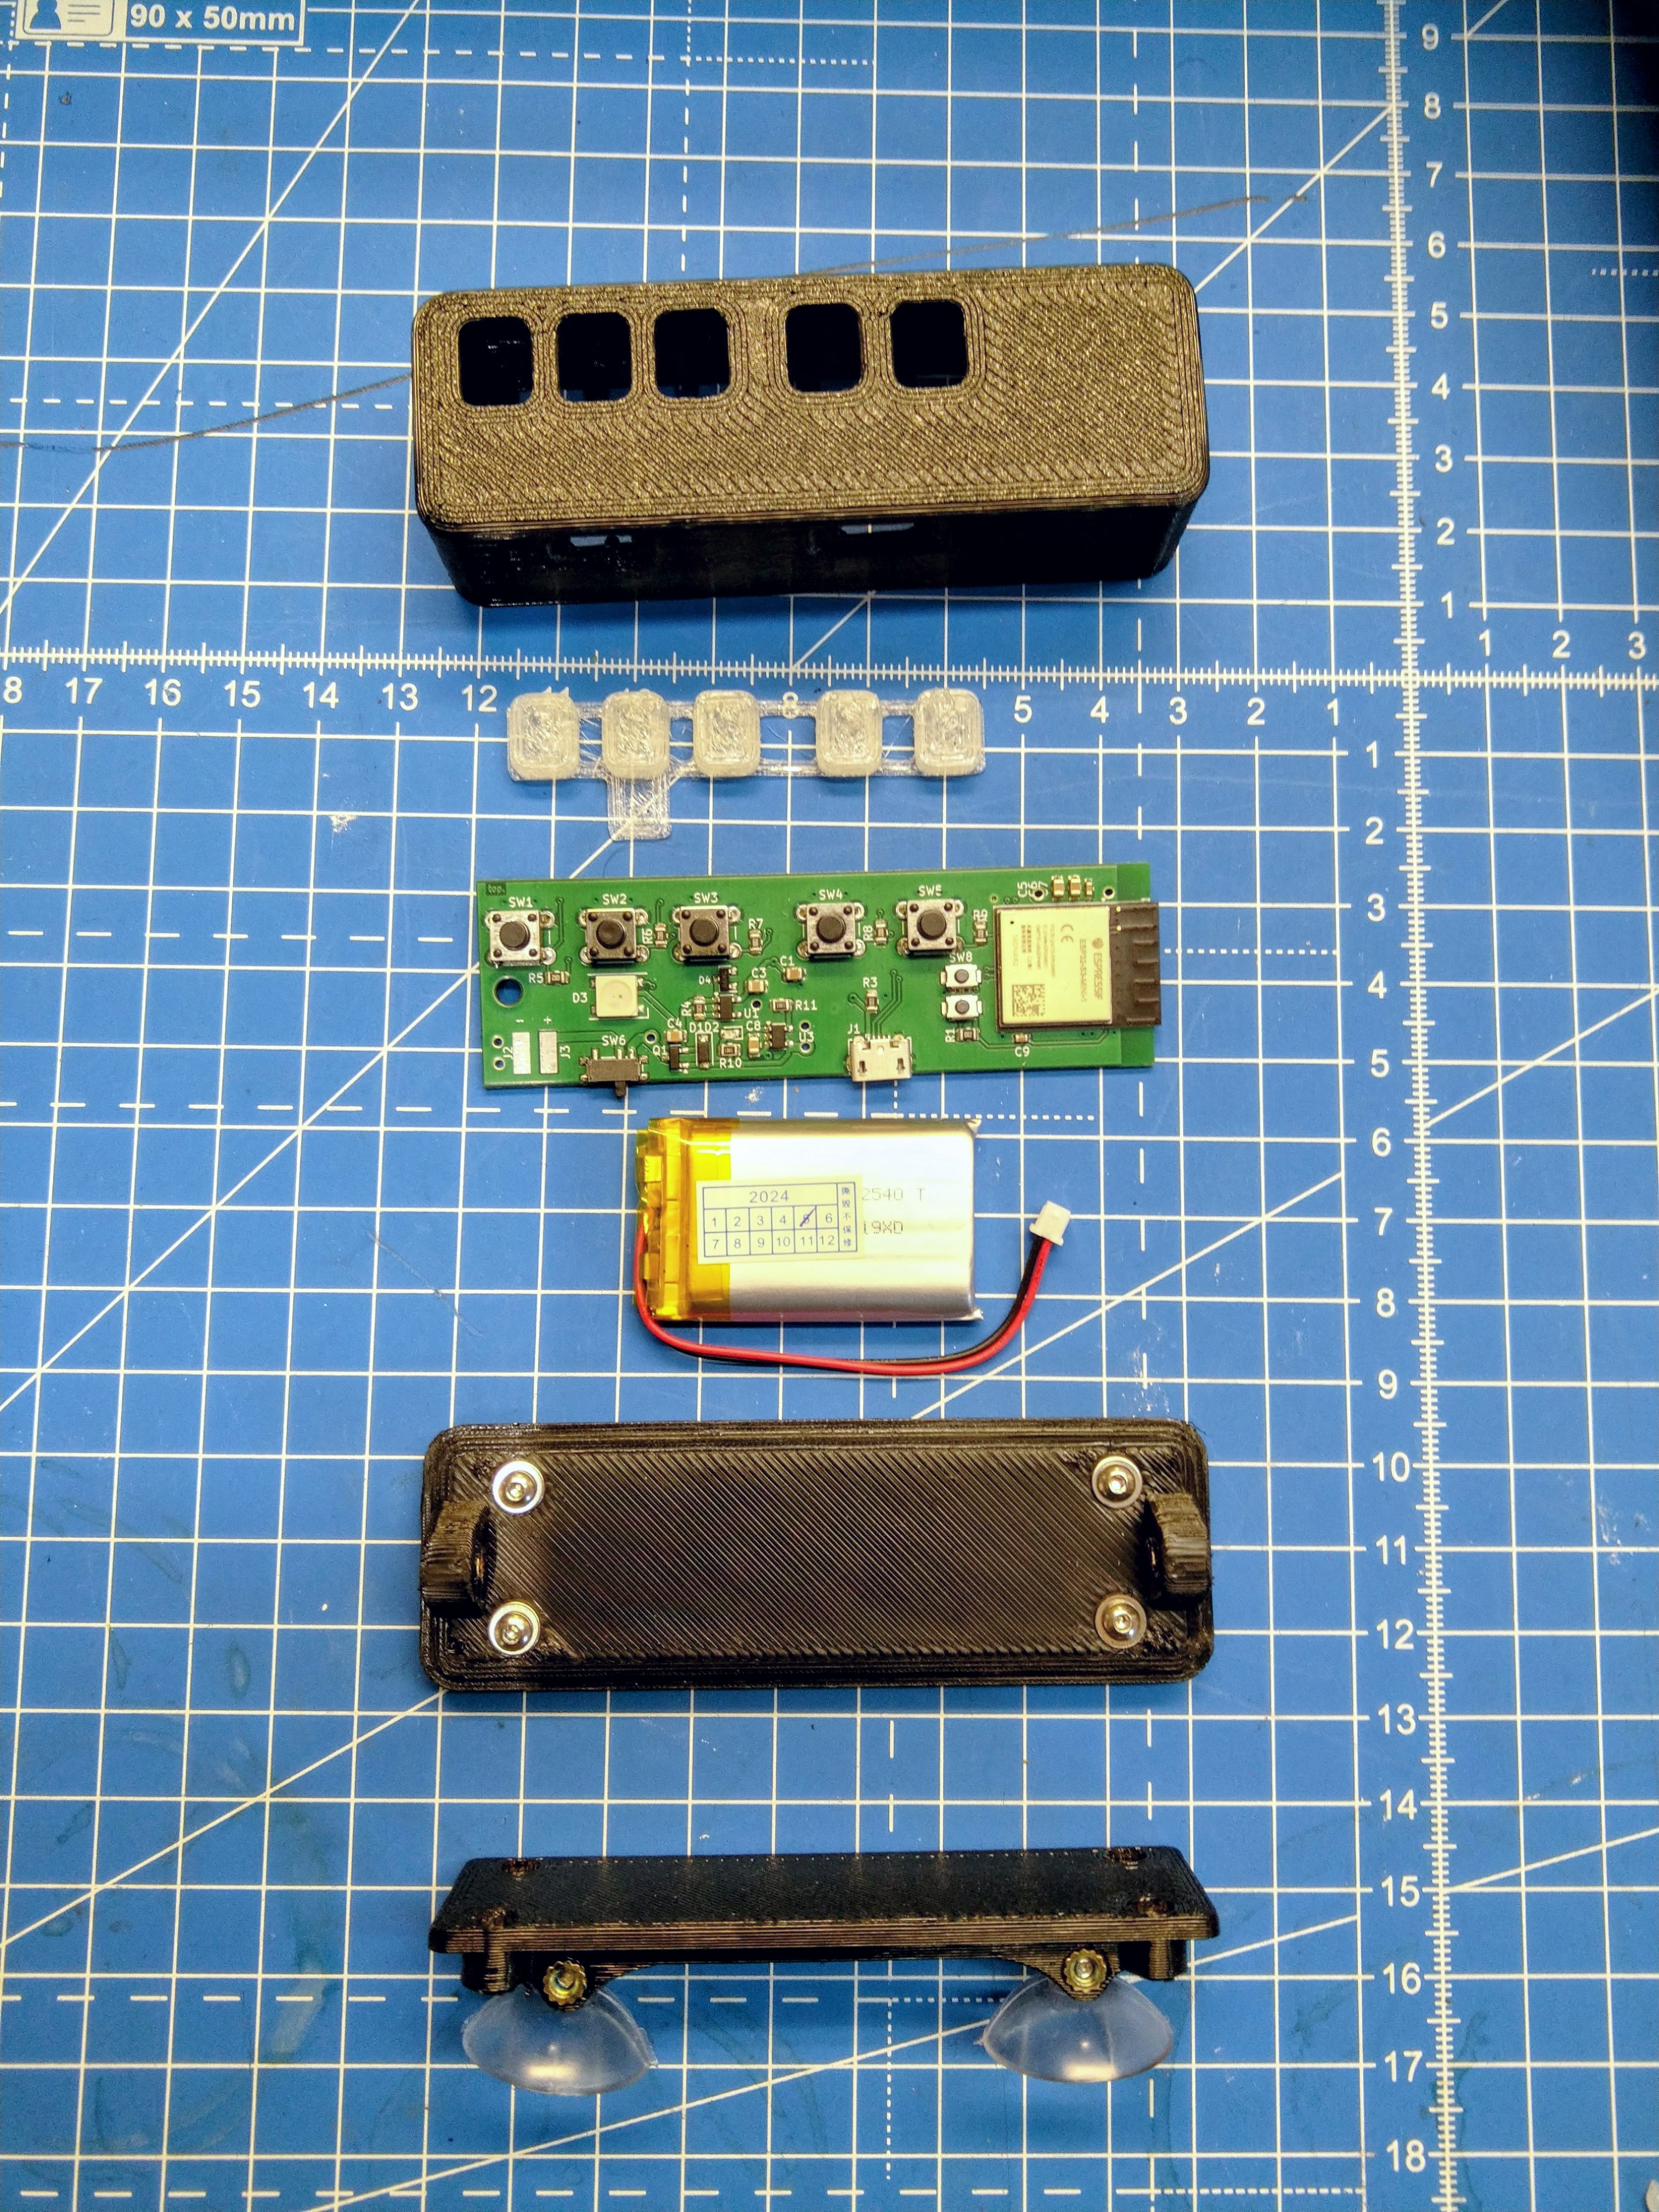
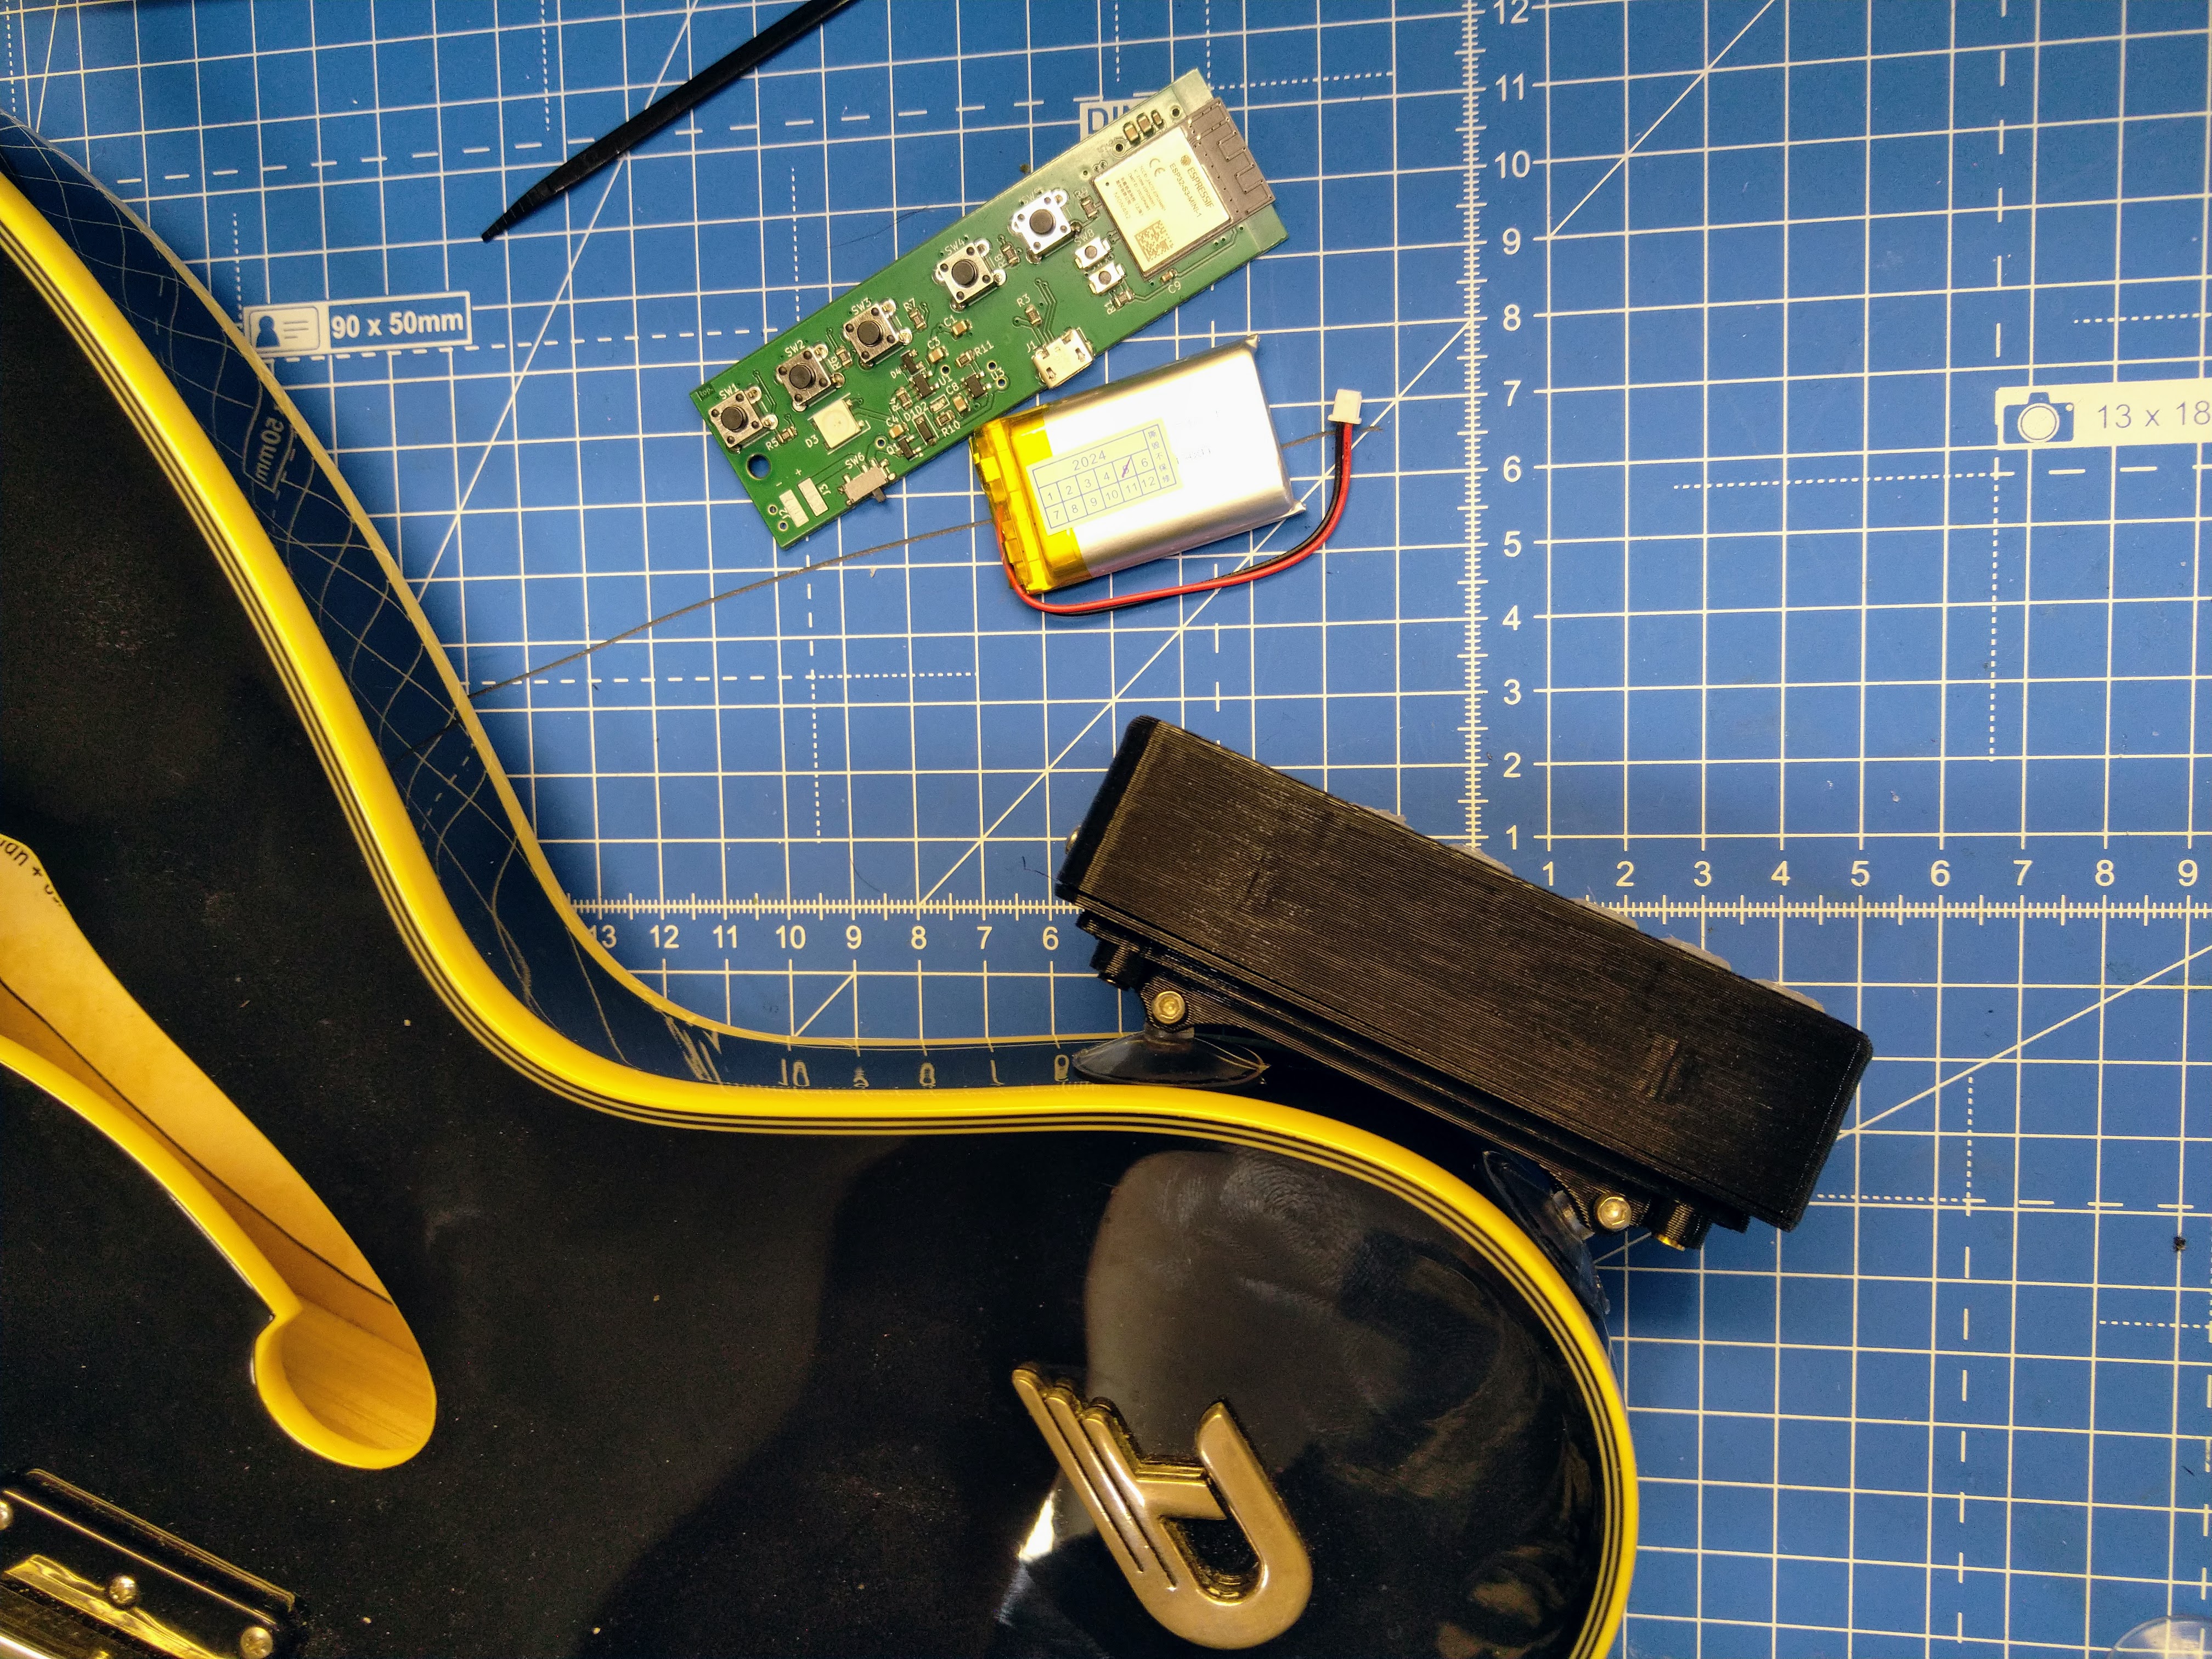
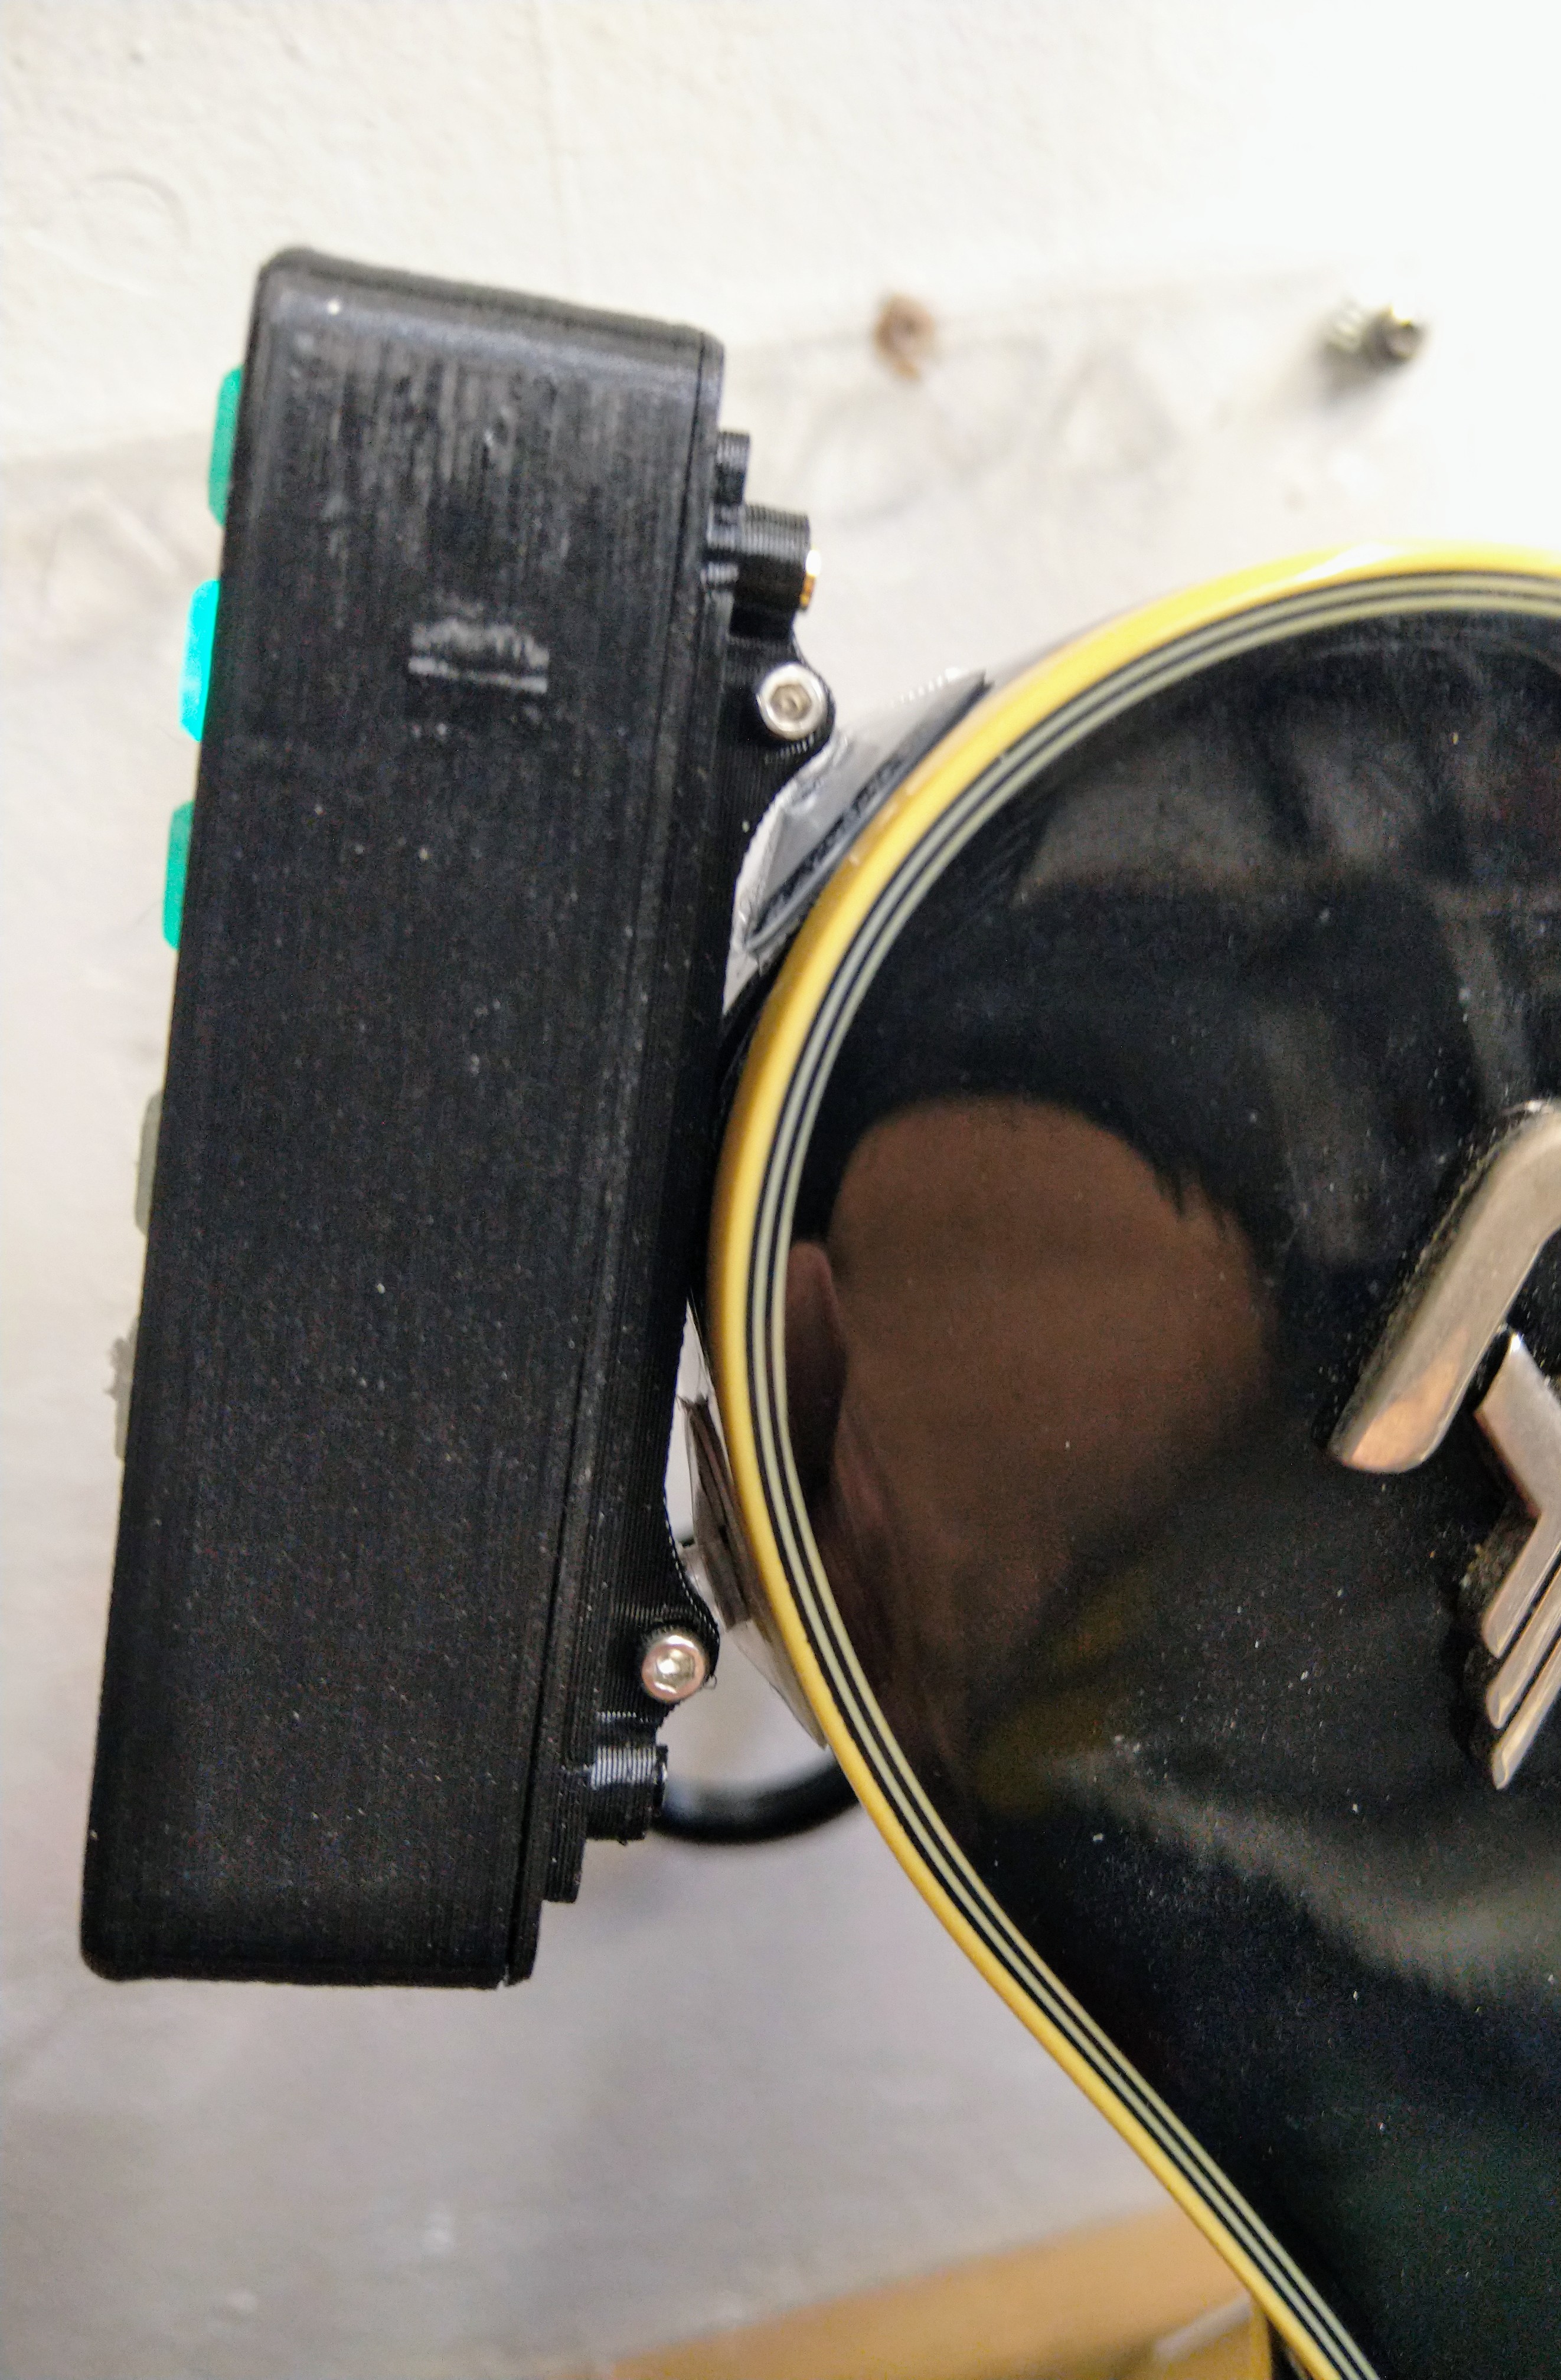
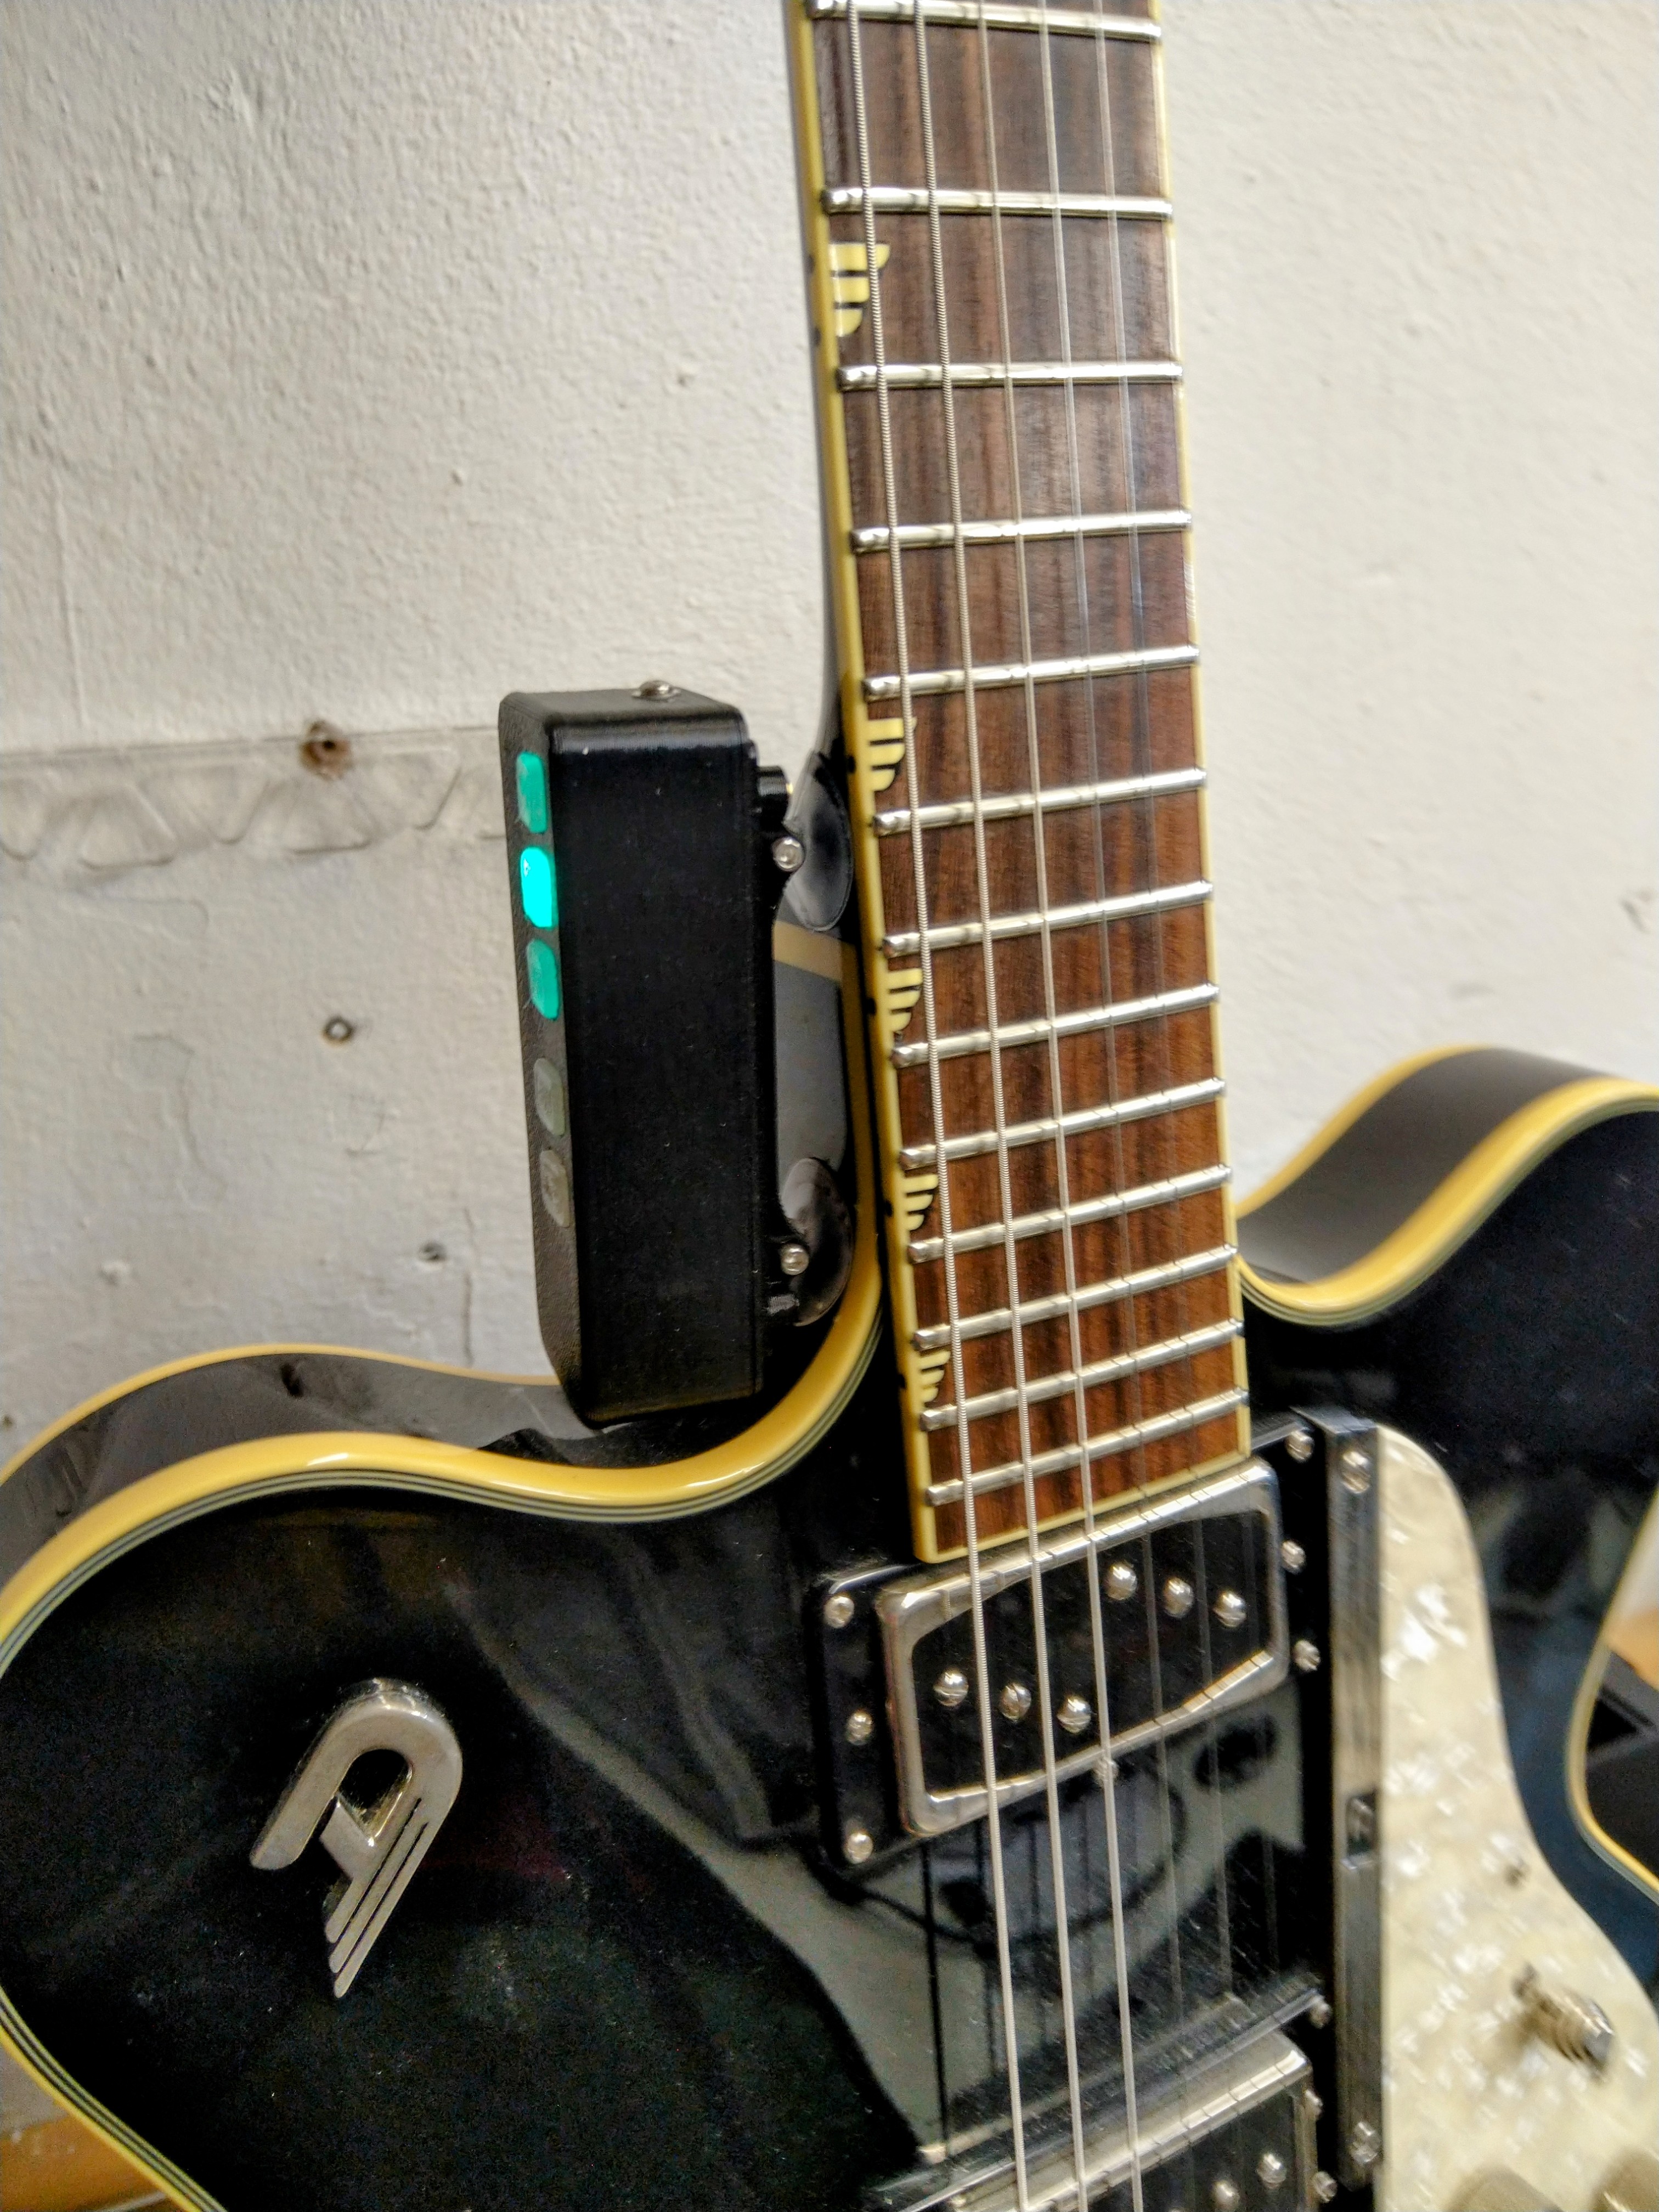
Housing:
To get started with the project, follow these steps:
$ git clone https://github.com/wolkstein/minimal-esp32-ble-midi-ctrlContributions are welcome! If you have any ideas, suggestions, or bug reports, please open an issue or submit a pull request.
This project is licensed under the GNU General Public License v3.0. See the LICENSE file for more information.
Nice Howto from Peter P:
https://tttapa.github.io/Pages/Ubuntu/Software-Installation/BlueZ.html
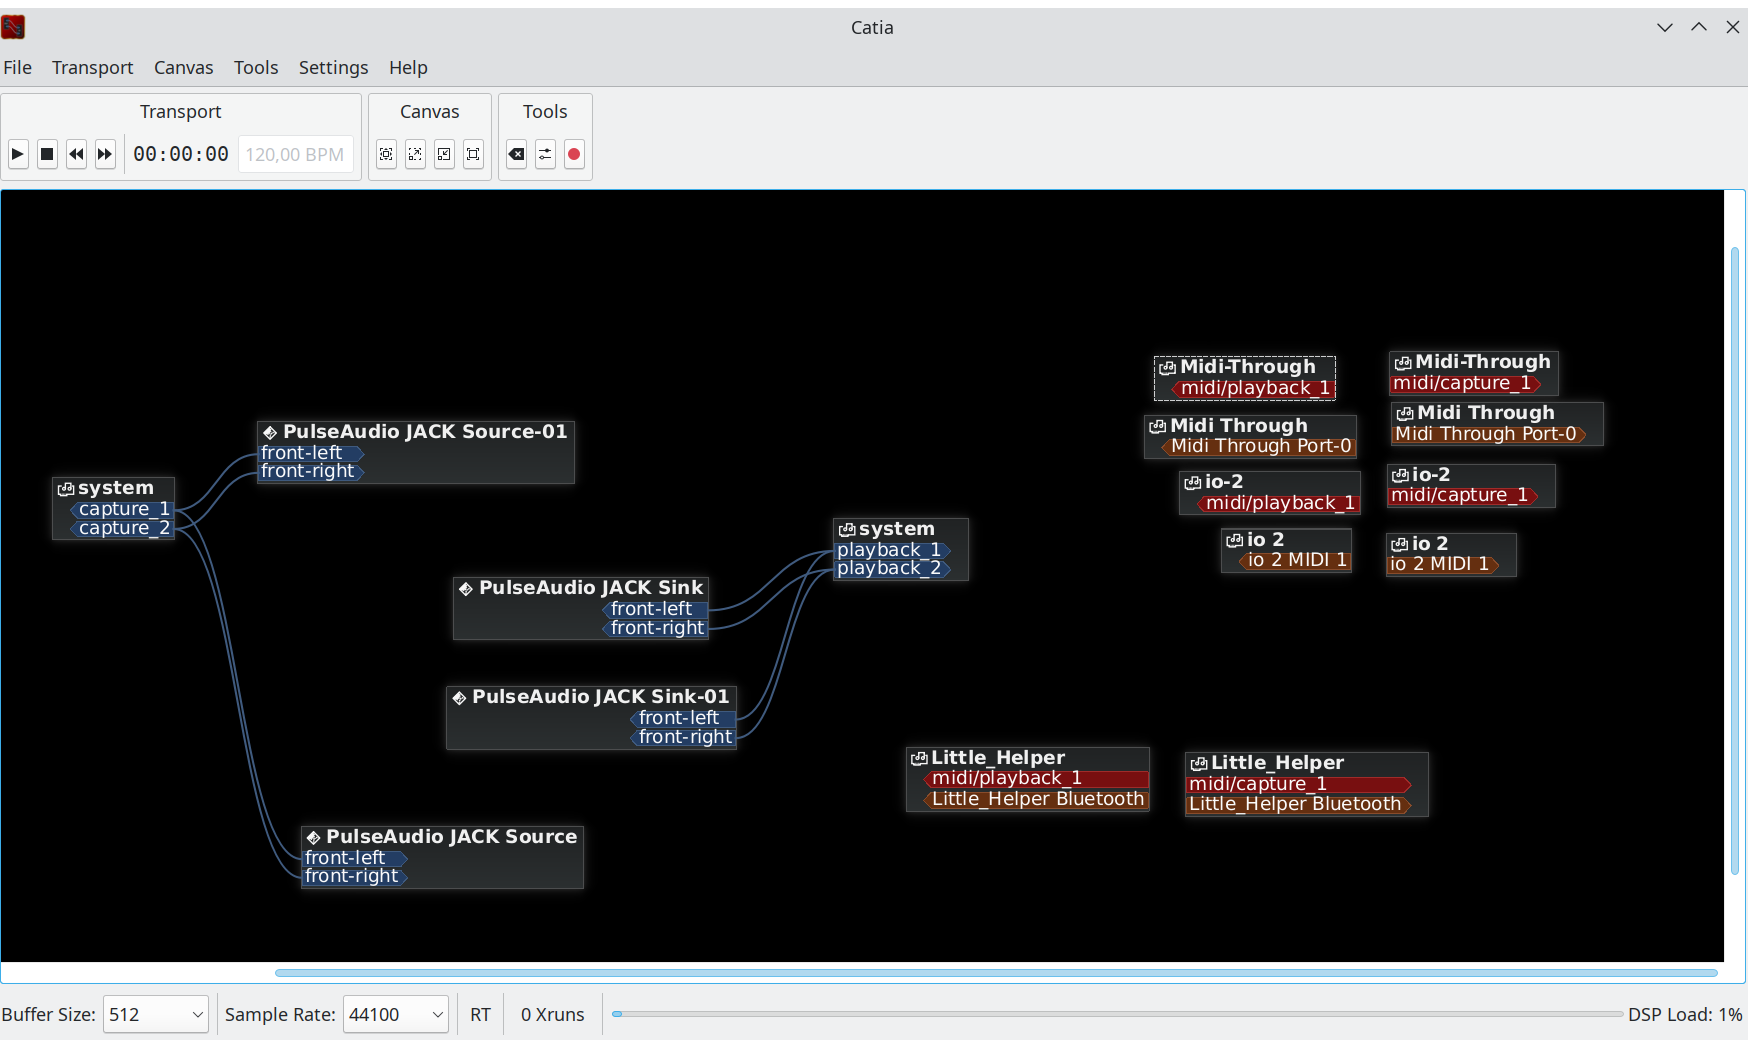
After compiling BlueZ, Little Helper shown in Catja App
cp DAW_MIDI_MAPS/ArdourAndHarrisonMixbus/midi_mapsLittle_Helper.map ~/.config/ardour6/midi_maps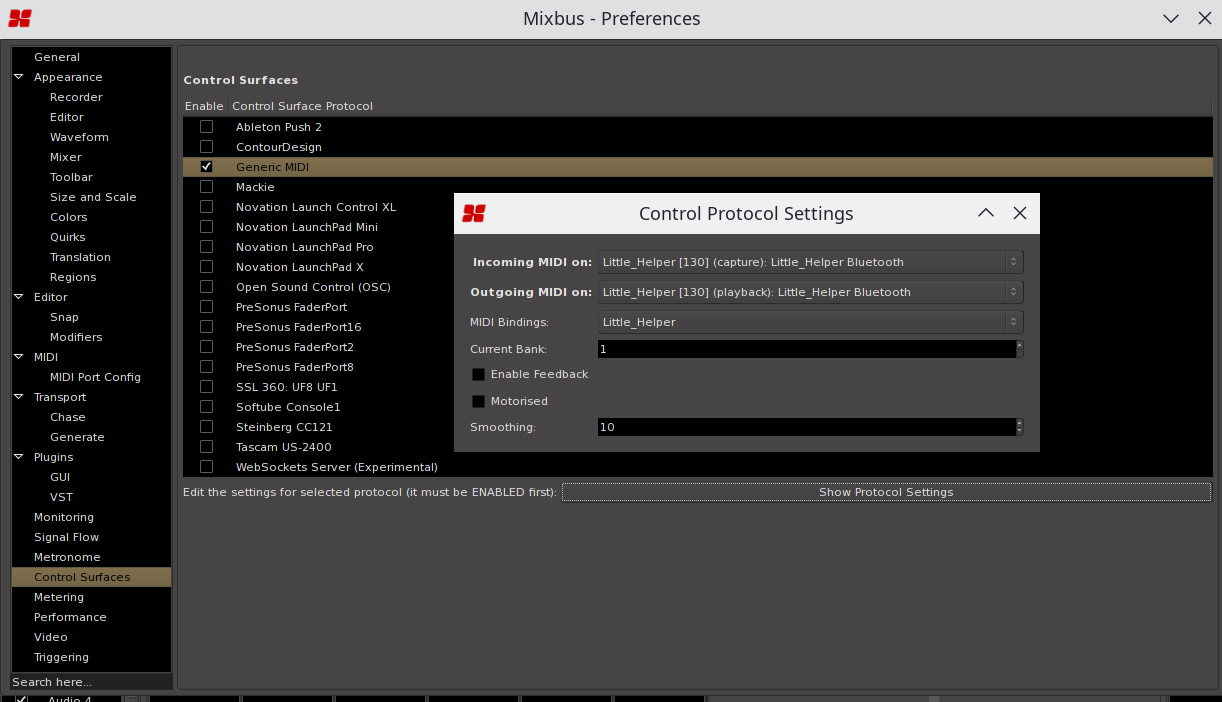
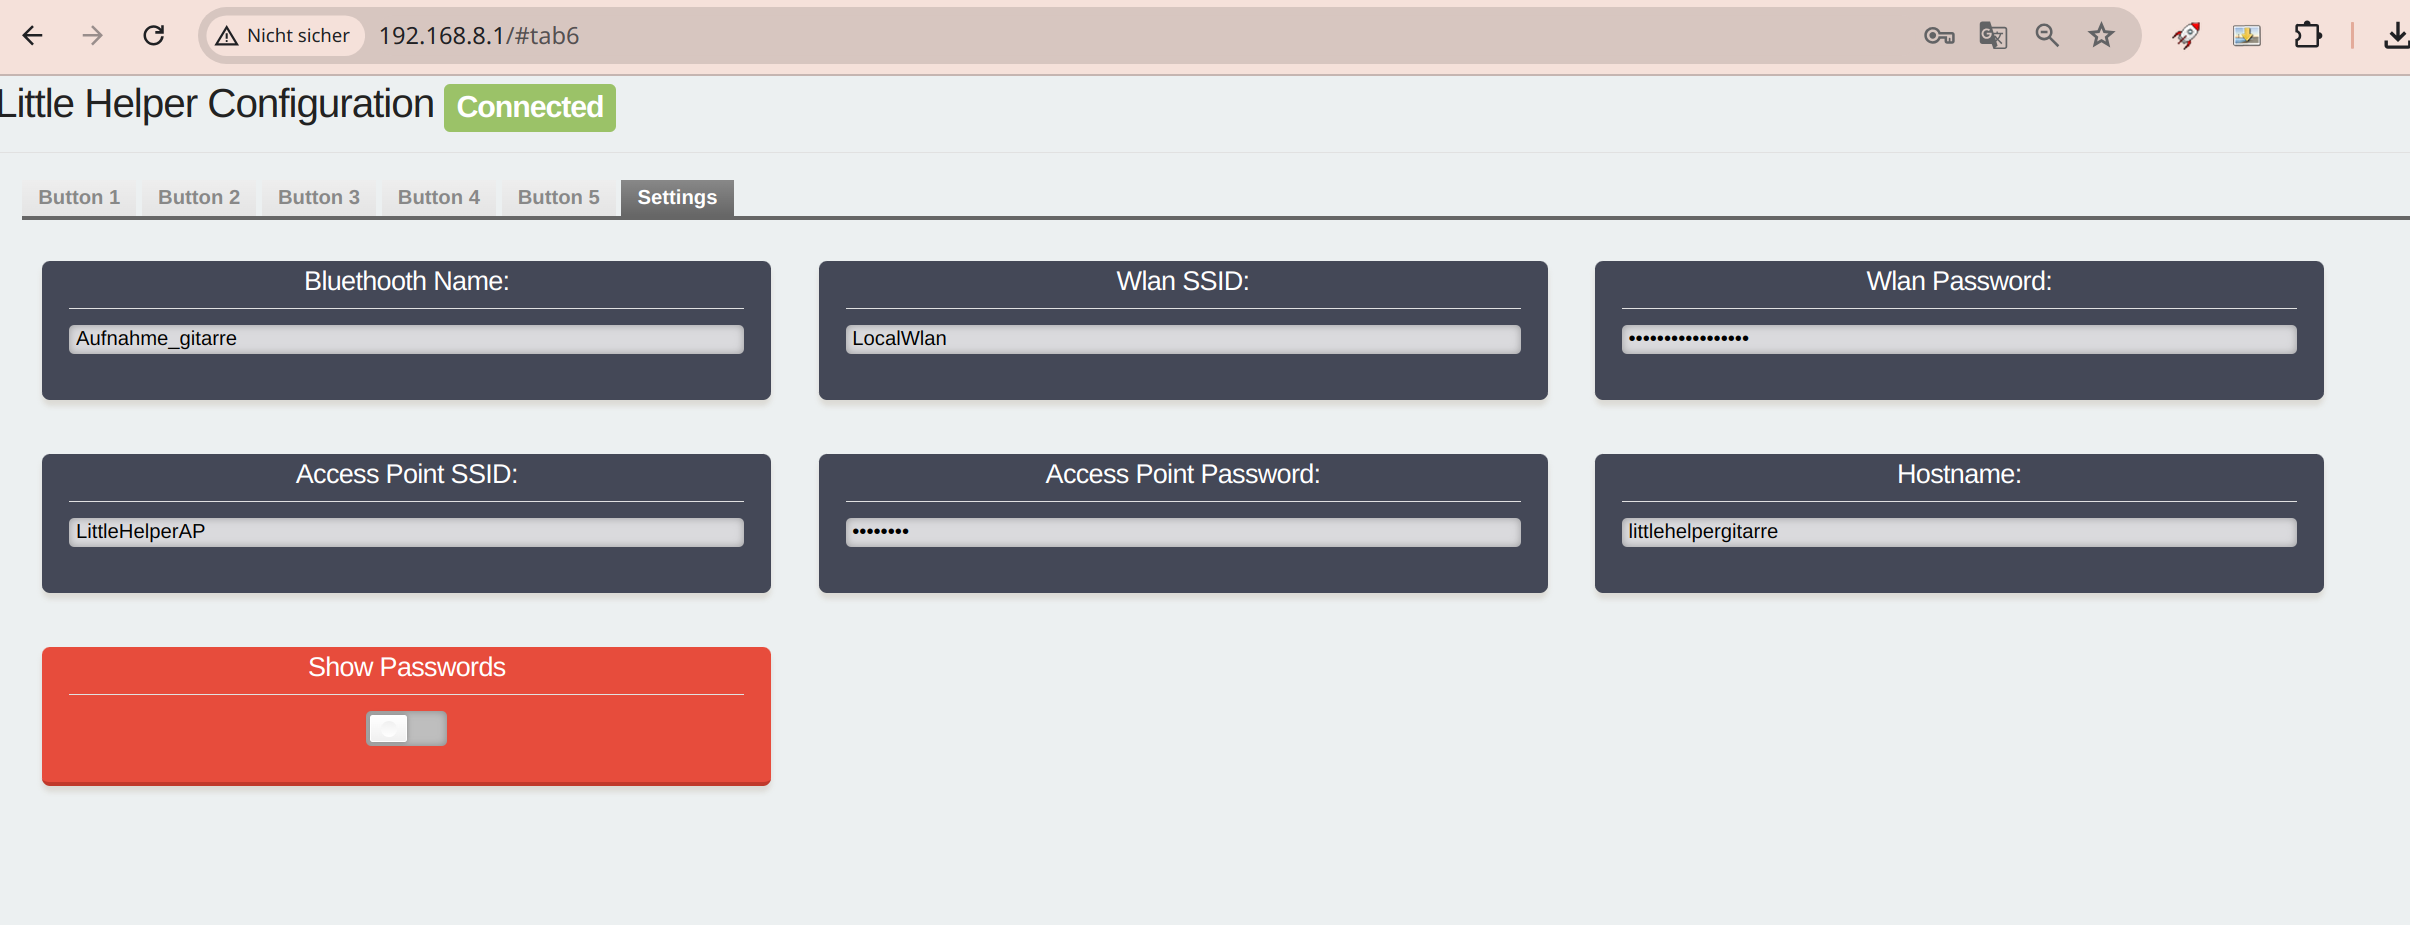
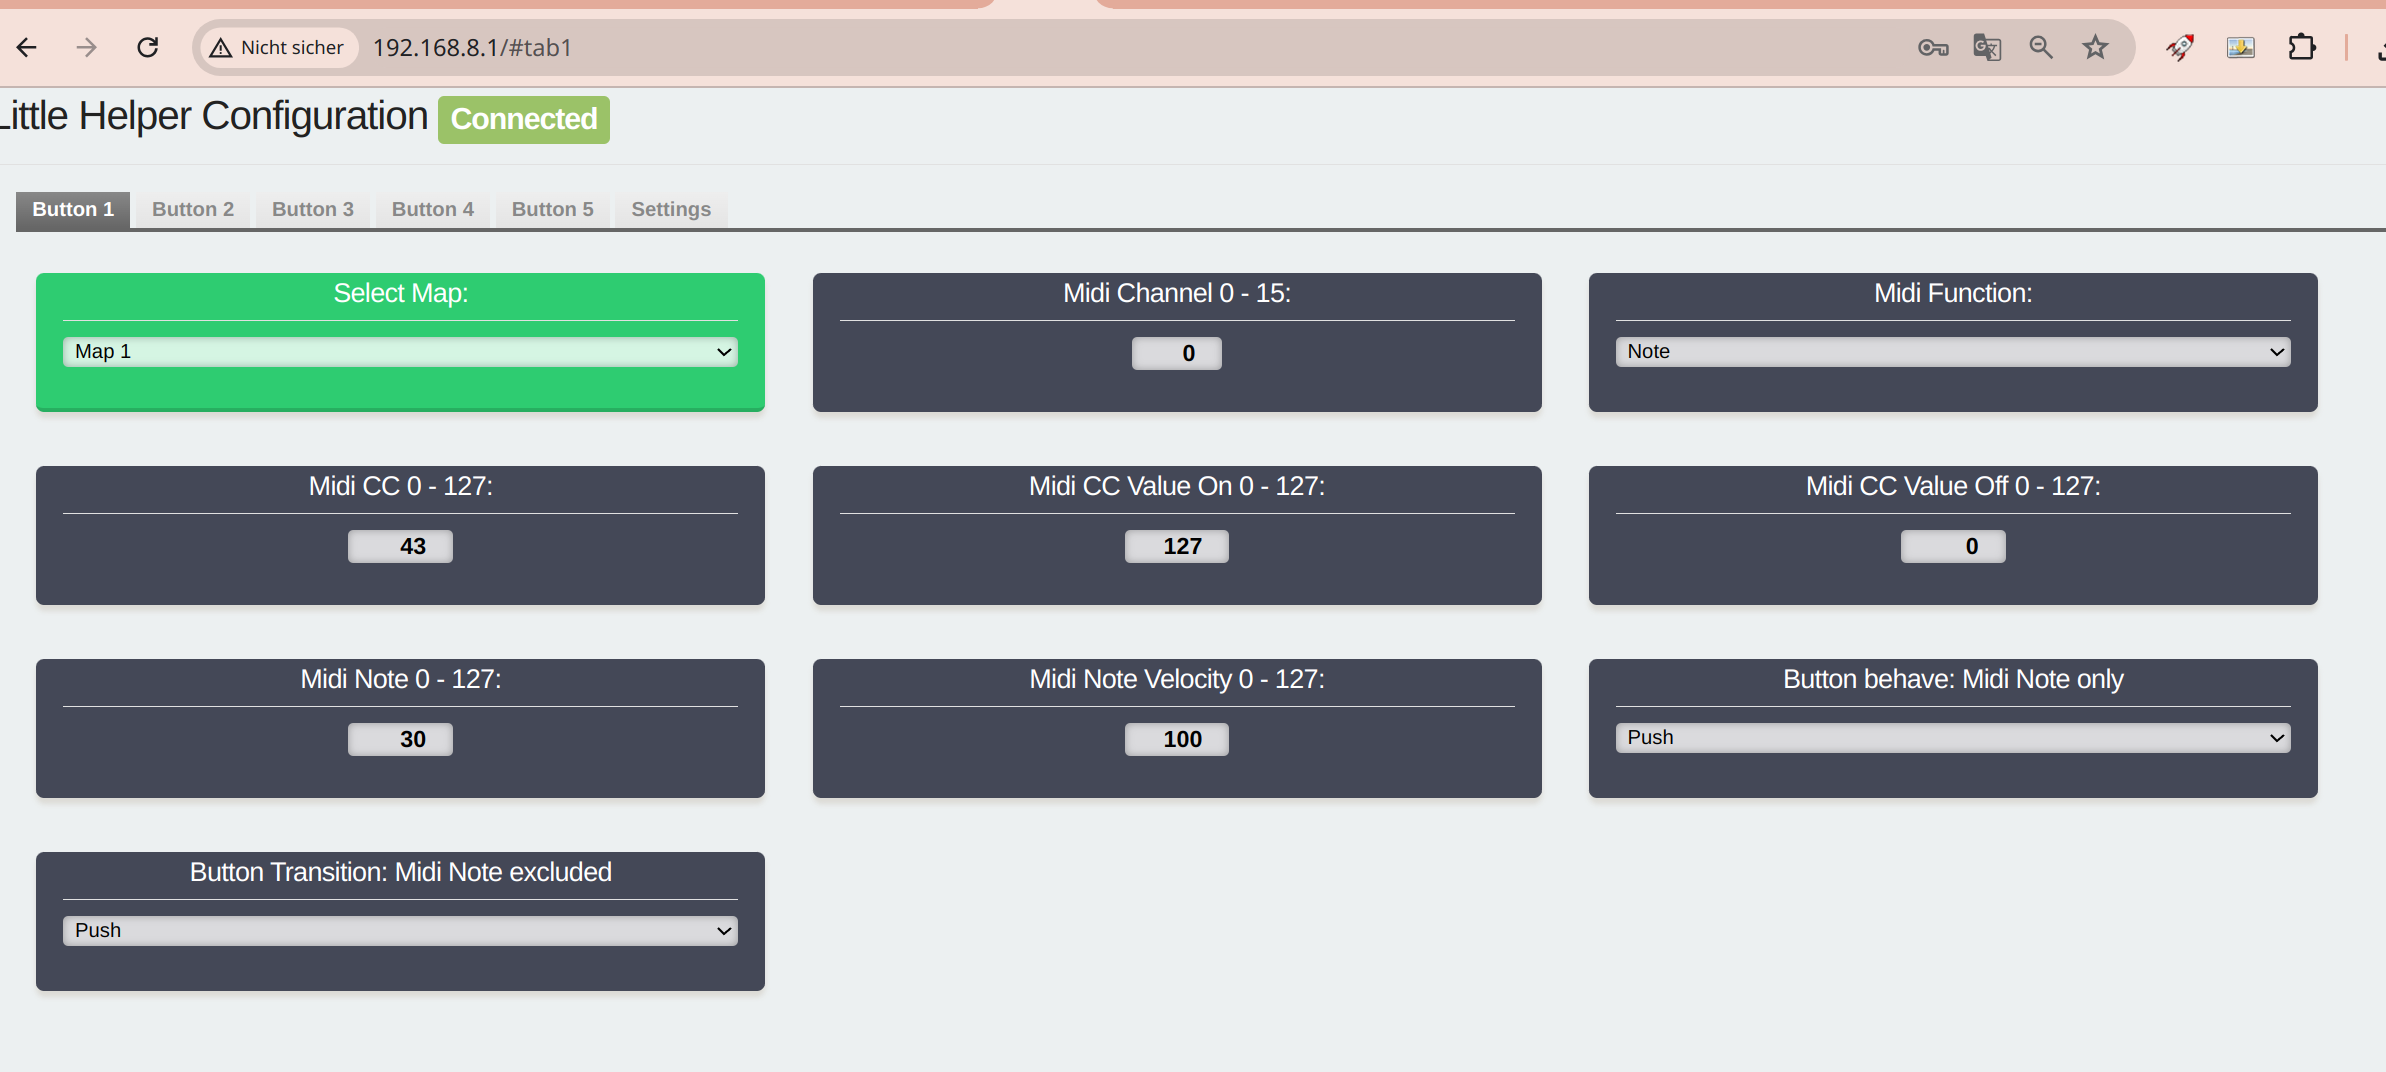
http://192.168.8.1.After completing the initial steps, the device is now capable of connecting to a local network. If the user desires, they can hold down buttons 4 and 5 while powering down the device. This will allow the device to connect to a local Wi-Fi network and start the web UI for making MIDI settings, if necessary.
To update the firmware of your ESP32 BLE MIDI controller over a WiFi connection, follow these steps:
Ensure that your ESP32 BLE MIDI controller is connected to your local WiFi network. You can do this by navigating to the "Settings" tab in the controller's web interface and entering your WiFi credentials.
Once connected, go to the Settings Tab and check the label that displays the current firmware version (e.g., s3miniVx).
Visit the GitHub project page for Little Helper and go to the "Binary" folder (https://github.com/wolkstein/minimal-esp32-ble-midi-ctrl/tree/main/bin) to check if there is a newer firmware available. Look for a firmware version number that is higher than the one displayed in the firmware label.
If a newer firmware is available, you can proceed with the update.
In the Settings Tab, click the "Try Update" button to request the firmware update.
After clicking the button, you will see a message saying "Update Requested, need Reboot".
Turn off the power to your ESP32 BLE MIDI controller by switching the power switch to the "off" position and removing the USB cable.
Power on the device again either by switching the power switch back on or by connecting the USB cable.
Wait for the LED on the device to turn yellow. This indicates that the device is in update mode and is connected to your local network.
If the LED starts blinking purple, it means that the update process is running. Wait until the LED switches back to its normal red or green light. If the LED does not blink purple, it means that the device has rebooted without performing the update.
If the update fails, you can simply try again. If something goes wrong during the update, the previous firmware will be automatically recovered.
If the update is successful, you can reconnect to the web interface and check the firmware version label to confirm the update.
This section describes the button combinations and their corresponding functions that can be used during power up. Btn 1 to btn 5 from left to right.
| Button Combination | Function |
|---|---|
| o o o x x | Connect To Local Wifi Network and enable Web UI |
| o o x x x | Start AP Mode and enable Web UI |
| x x o o o | Reset Midi Settings to Default |
| x o x o o | Reset Midi Settings and Wifi Settings to Default |
x = pressed, o = released
| Qty | Value | Footprint | References |
|---|---|---|---|
| 6 | 10k | Resistor_SMD:R_0805_2012Metric | R1, R5, R6, R7, R8, R9 |
| 6 | 10uF | Capacitor_SMD:C_0805_2012Metric | C1, C3, C4, C5, C6, C8 |
| 5 | SW_Push | Button_Switch_THT:SW_PUSH_6mm_H5mm | SW1, SW2, SW3, SW4, SW5 |
| 2 | 100k | Resistor_SMD:R_0805_2012Metric | R3, R4 |
| 2 | 1uF | Capacitor_SMD:C_0603_1608Metric | C7, C9 |
| 2 | 5k1 | Resistor_SMD:R_0805_2012Metric | R10, R11 |
| 2 | SOLDER_CON_5x2_TOP | ba_connector:solder_con_5x2_top | J2, J3 |
| 2 | SW_Tactile_Small | Button_Switch_SMD_JLCPCB:SW_SPST_TS-1088-AR02016 | SW7, SW8 |
| 2 | WS2812B | led_smd_JLCPCB:LED_WS2812B_JLCPCB_5.0x5.0mm_P3.2mm | D3, D5 |
| 1 | 18K | ba_res:r2012 | R13 |
| 1 | 47K | ba_res:r2012 | R12 |
| 1 | AP2112K-3.3 | Package_TO_SOT_SMD:SOT-23-5 | U1 |
| 1 | BAS16 | ba_sot:sot_23 | D4 |
| 1 | DMG3415U | Package_TO_SOT_SMD:SOT-23 | Q1 |
| 1 | ESP32-S3-MINI-1 | RF_Module:ESP32-S2-MINI-1 | U2 |
| 1 | LED | LED_SMD:LED_0603_1608Metric | D2 |
| 1 | MBR0540 | Diode_SMD:D_SOD-123 | D1 |
| 1 | MCP73831-2-OT | Package_TO_SOT_SMD:SOT-23-5 | U3 |
| 1 | SW_On_On | Button_Switch_SMD:SW_SPDT_PCM12 | SW6 |
| 1 | USB_B_Micro_Molex_1050171001_JLCPCB_C505111 | Connector_USB:USB_Micro-B_Molex-105017-0001 | J1 |
| 1 | fit_3_1 | ba_mechanic:fit_3_1 | MH1 |
DeadlySIn777/Controller
Unfinished CNC controller motherboard: native KiCad sources, rules, DSN and global routing review


techy-robot/JoyKey
A small macropad that simultaneously acts as game controller and an entertainment device.

3pnguyen/esp32-bluetooth-media-keyboard
Electronic project that provides the same control as wireless earbuds.


Cyber-Professionals-Enthusiast-Club/DC-34-Badge
CPEC Badge Kicad design files for DEFCON 34
It measures 84 × 25.6 mm and has 4 copper layers, 1.6 mm thick.
41 parts, built around the ESP32-S3-MINI-1-N8, AP2112K-3.3, TS-1088-AR02016 and WS2812B. The full list of its parts is on this page, with links to each part's symbol and footprint where PCBKit's library has them.
From the wolkstein/minimal-esp32-ble-midi-ctrl repository on GitHub, at the commit this page was made from: the board is Hardware/KicadProject/Little_Helper/Little_Helper.kicad_pcb and its schematic Hardware/KicadProject/Little_Helper/Little_Helper.kicad_sch. PCBKit opens the board in the browser, with nothing to install.
Its repository publishes it under the GPL-3.0 licence: you may reuse it on that licence's terms (keep the author's notice, and for a copyleft licence share your changes alike).