2 layers57 × 55.2 mm
LogicAnalyzer
gusmanb/logicanalyzer
24 channel, 100Msps logic analyzer hardware and software
10 parts5.1kGPL-3.0

 wmarshall/CANTERM
CAN junction with optional termination for FRC
CANTERM is an open-source printed circuit board by wmarshall, from the wmarshall/CANTERM repository on GitHub. It is a 2-layer board of 23.4 × 48.3 mm with 10 parts on 4 nets, routed with 38 tracks and 0 vias.
Its parts include 3 connectors, 1 resistor and 1 switch.
A single SKU for FRC teams providing the following features:
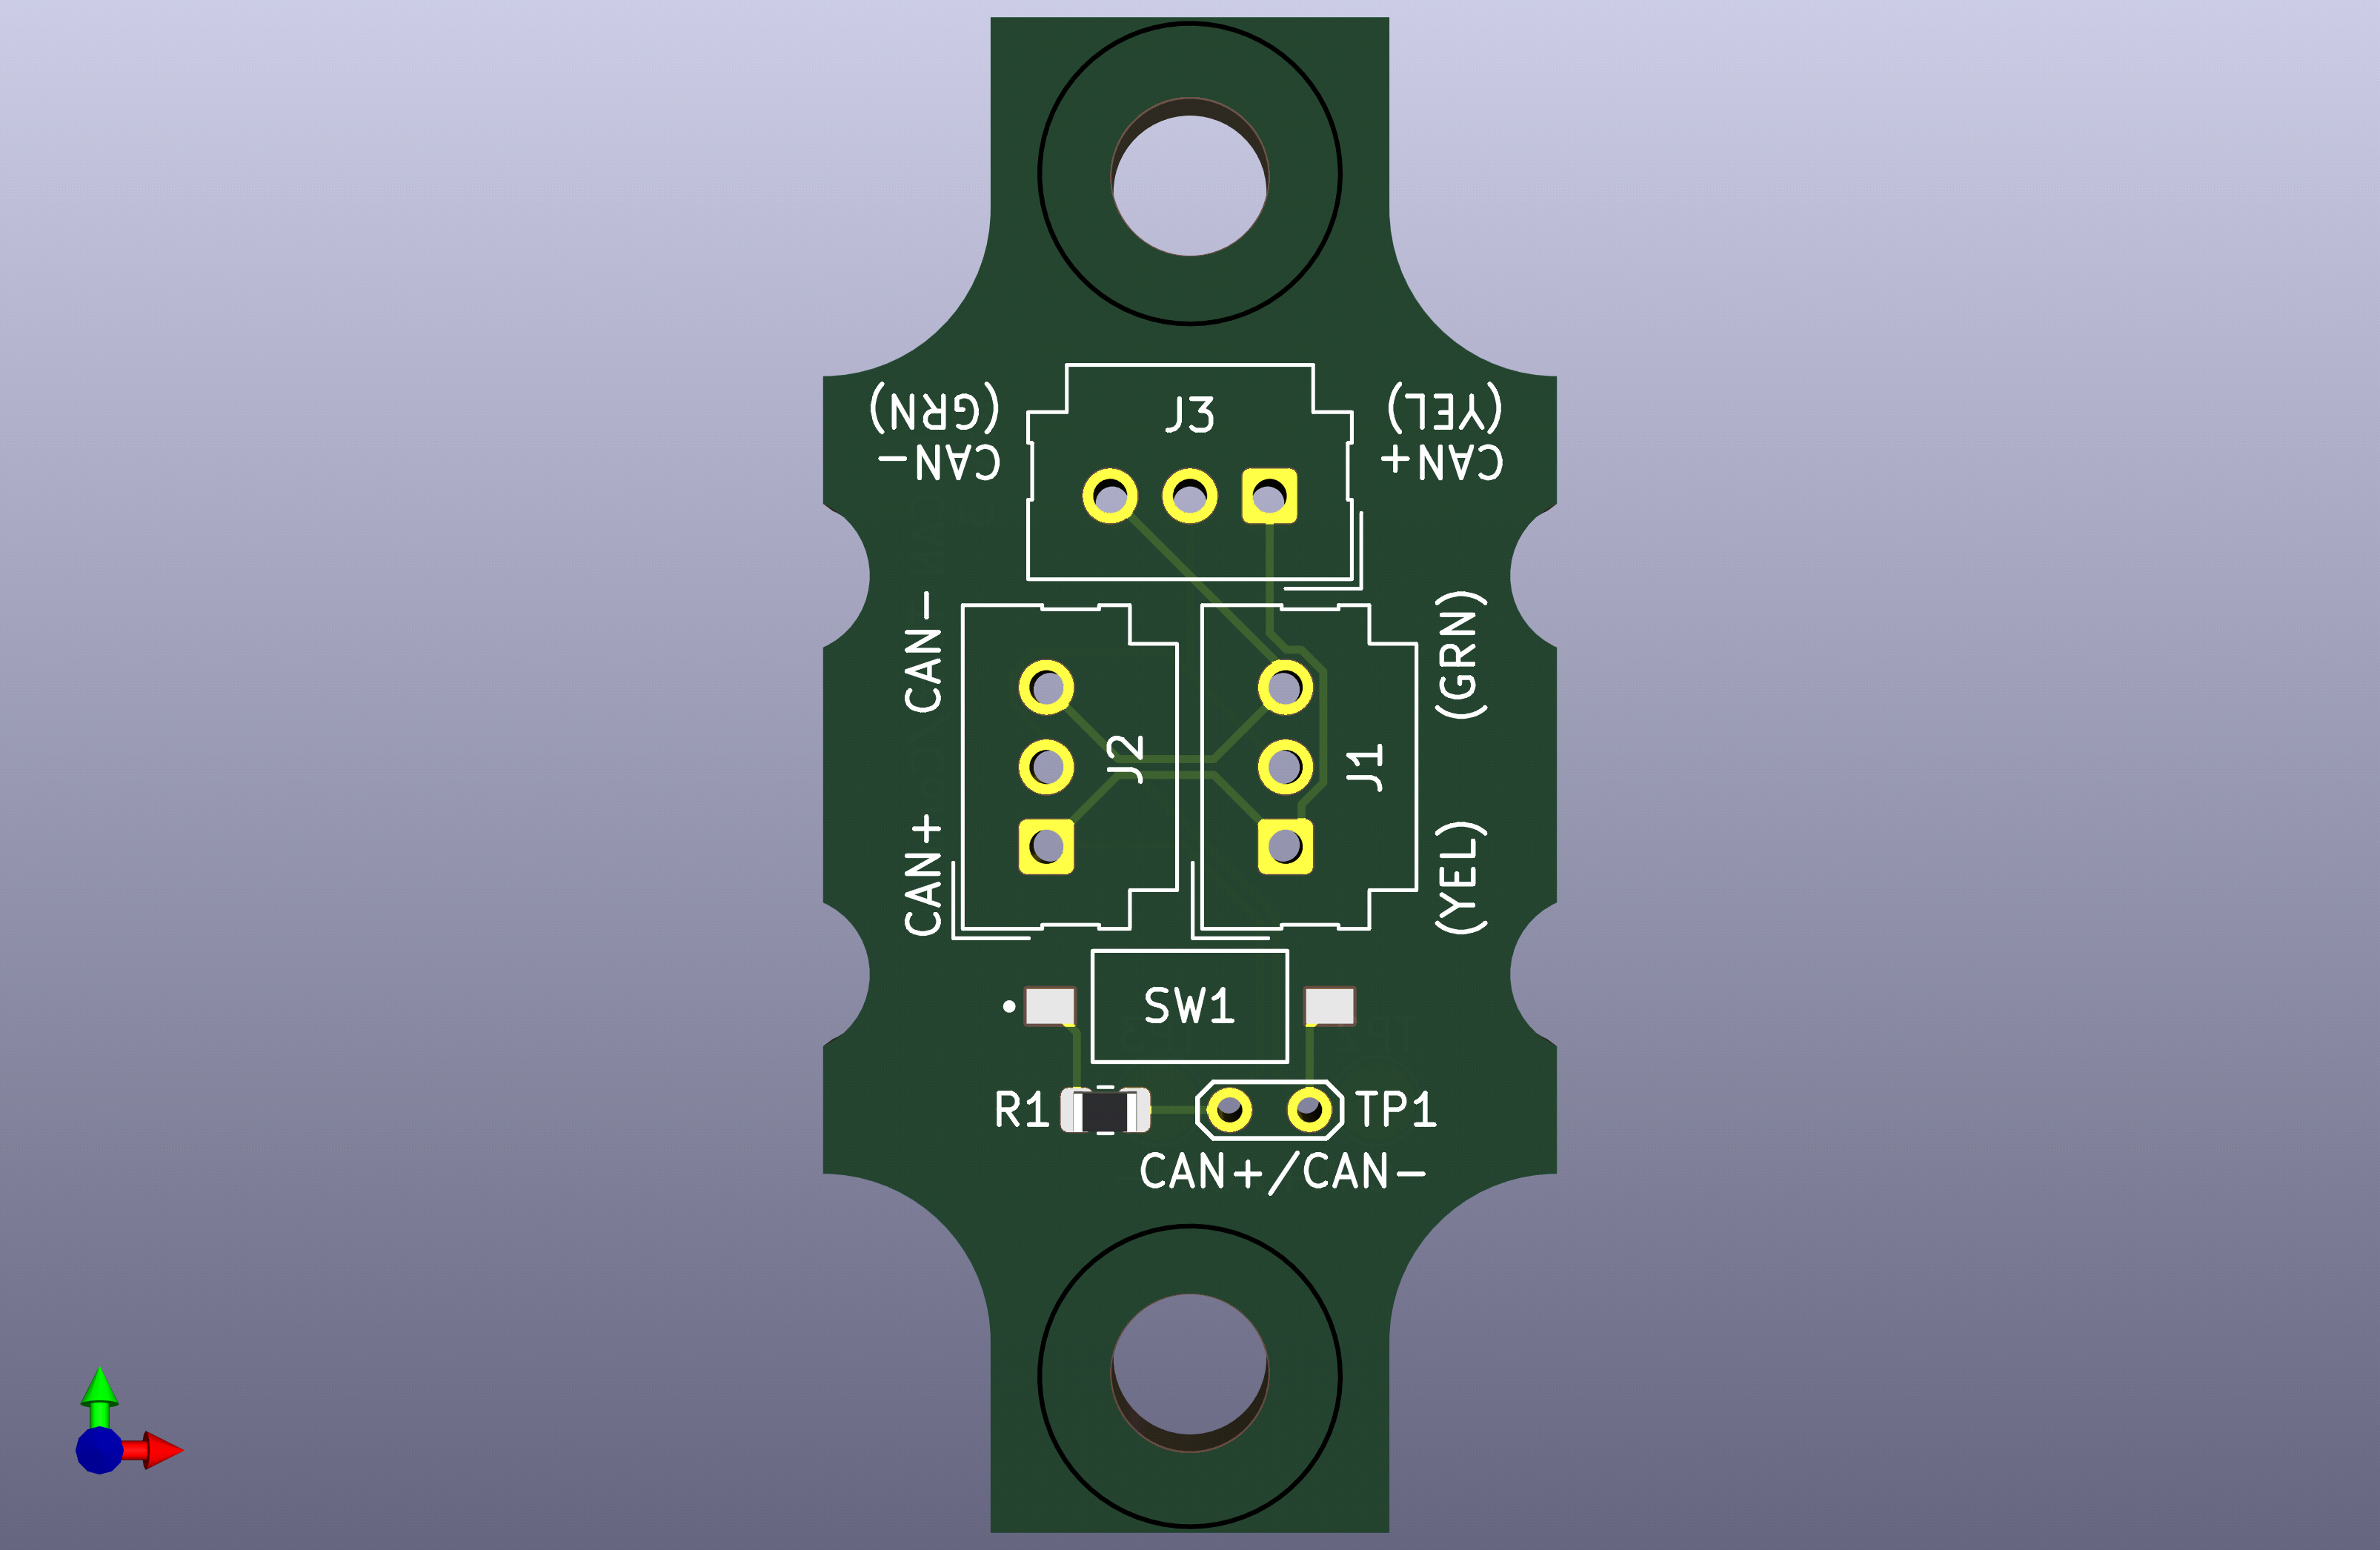
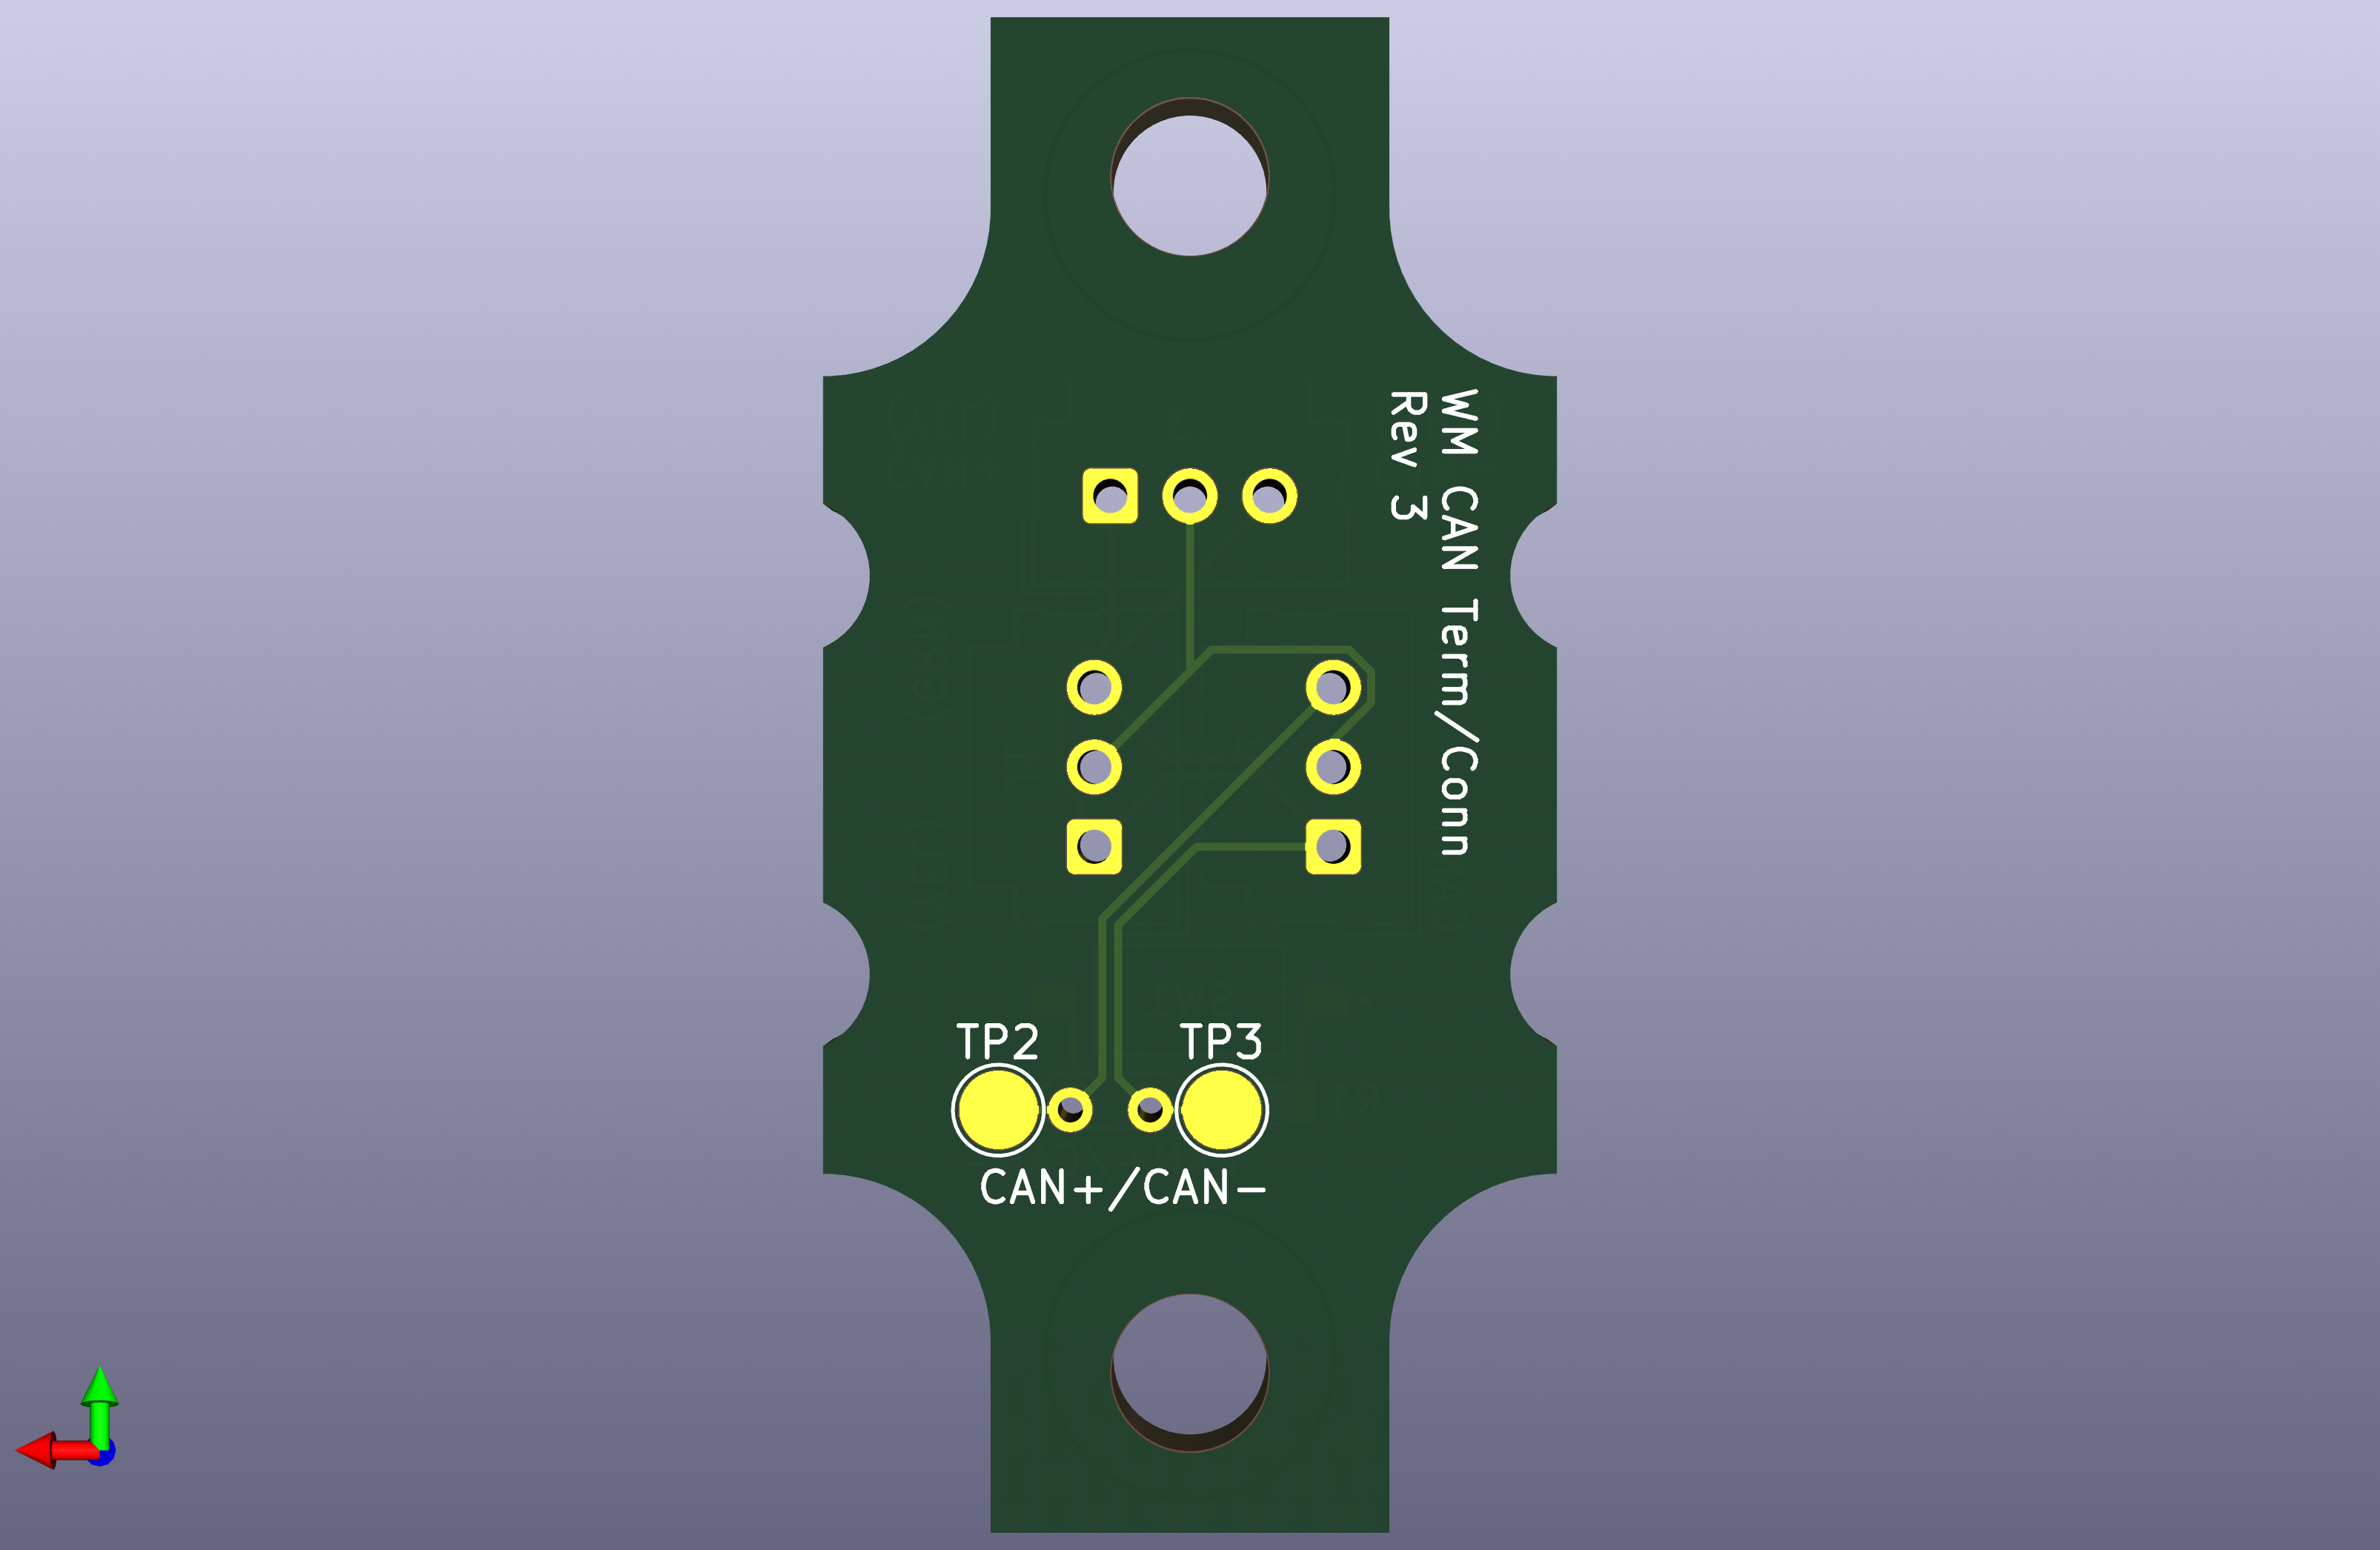
Apologies for the flux slime + sharpied out silkscreen where I labeled things backwards in rev 1.
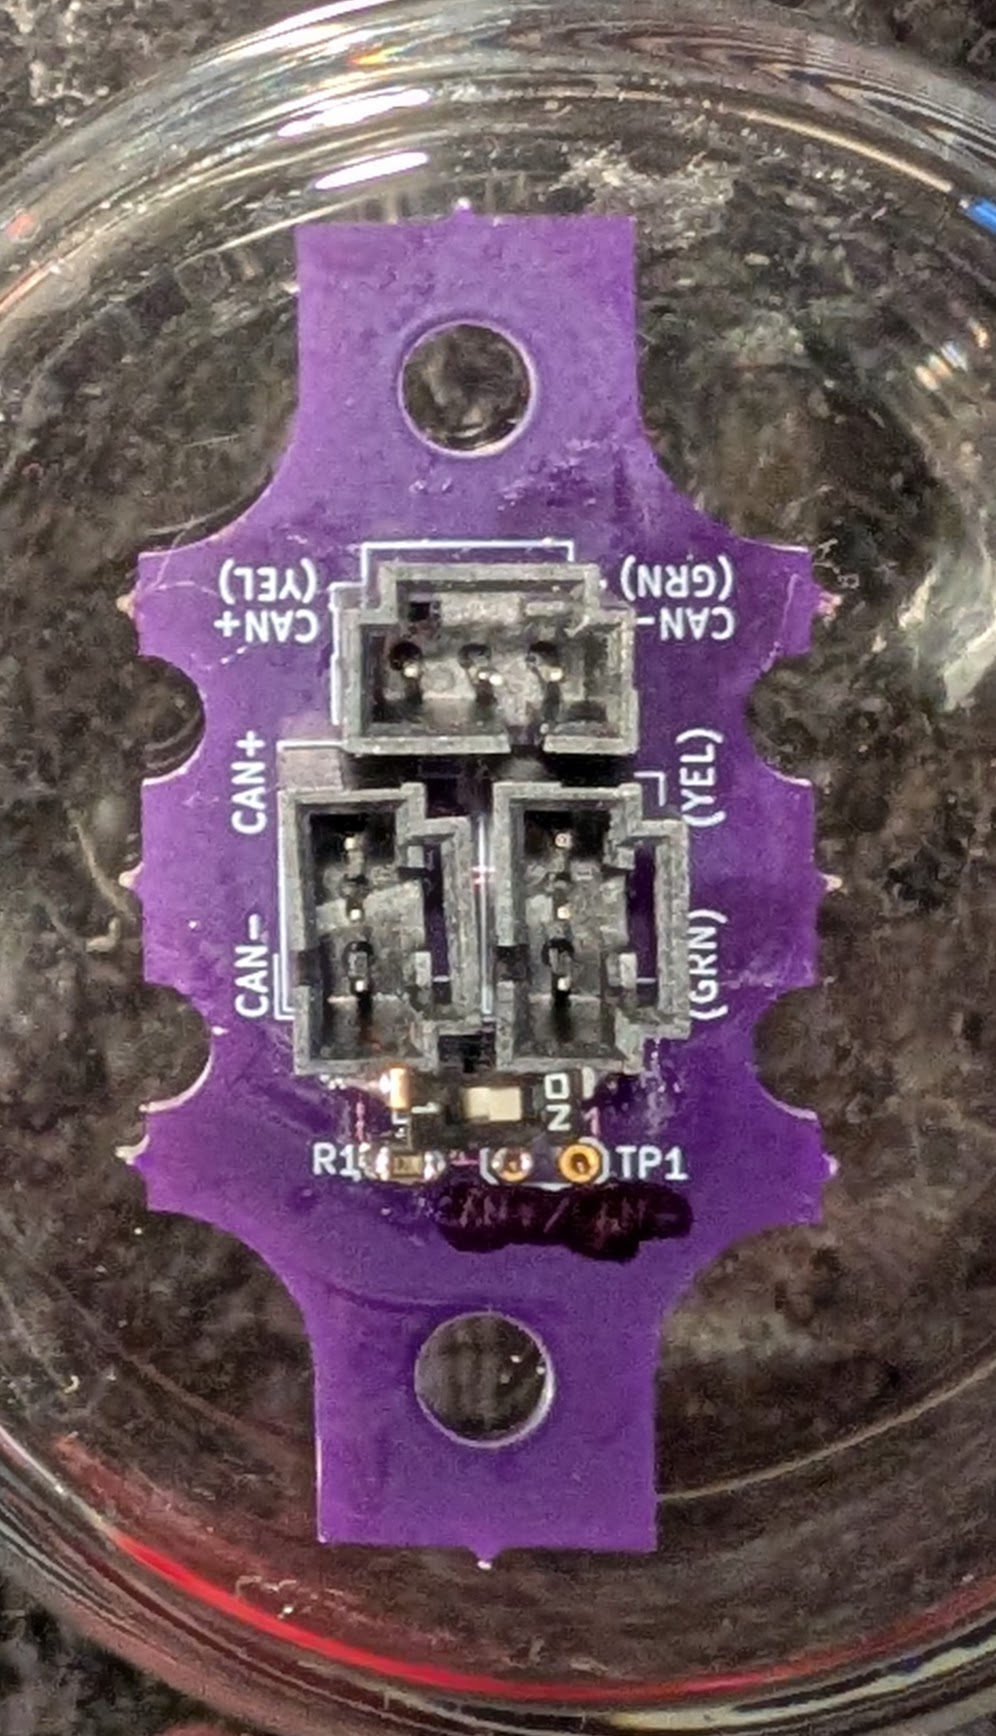
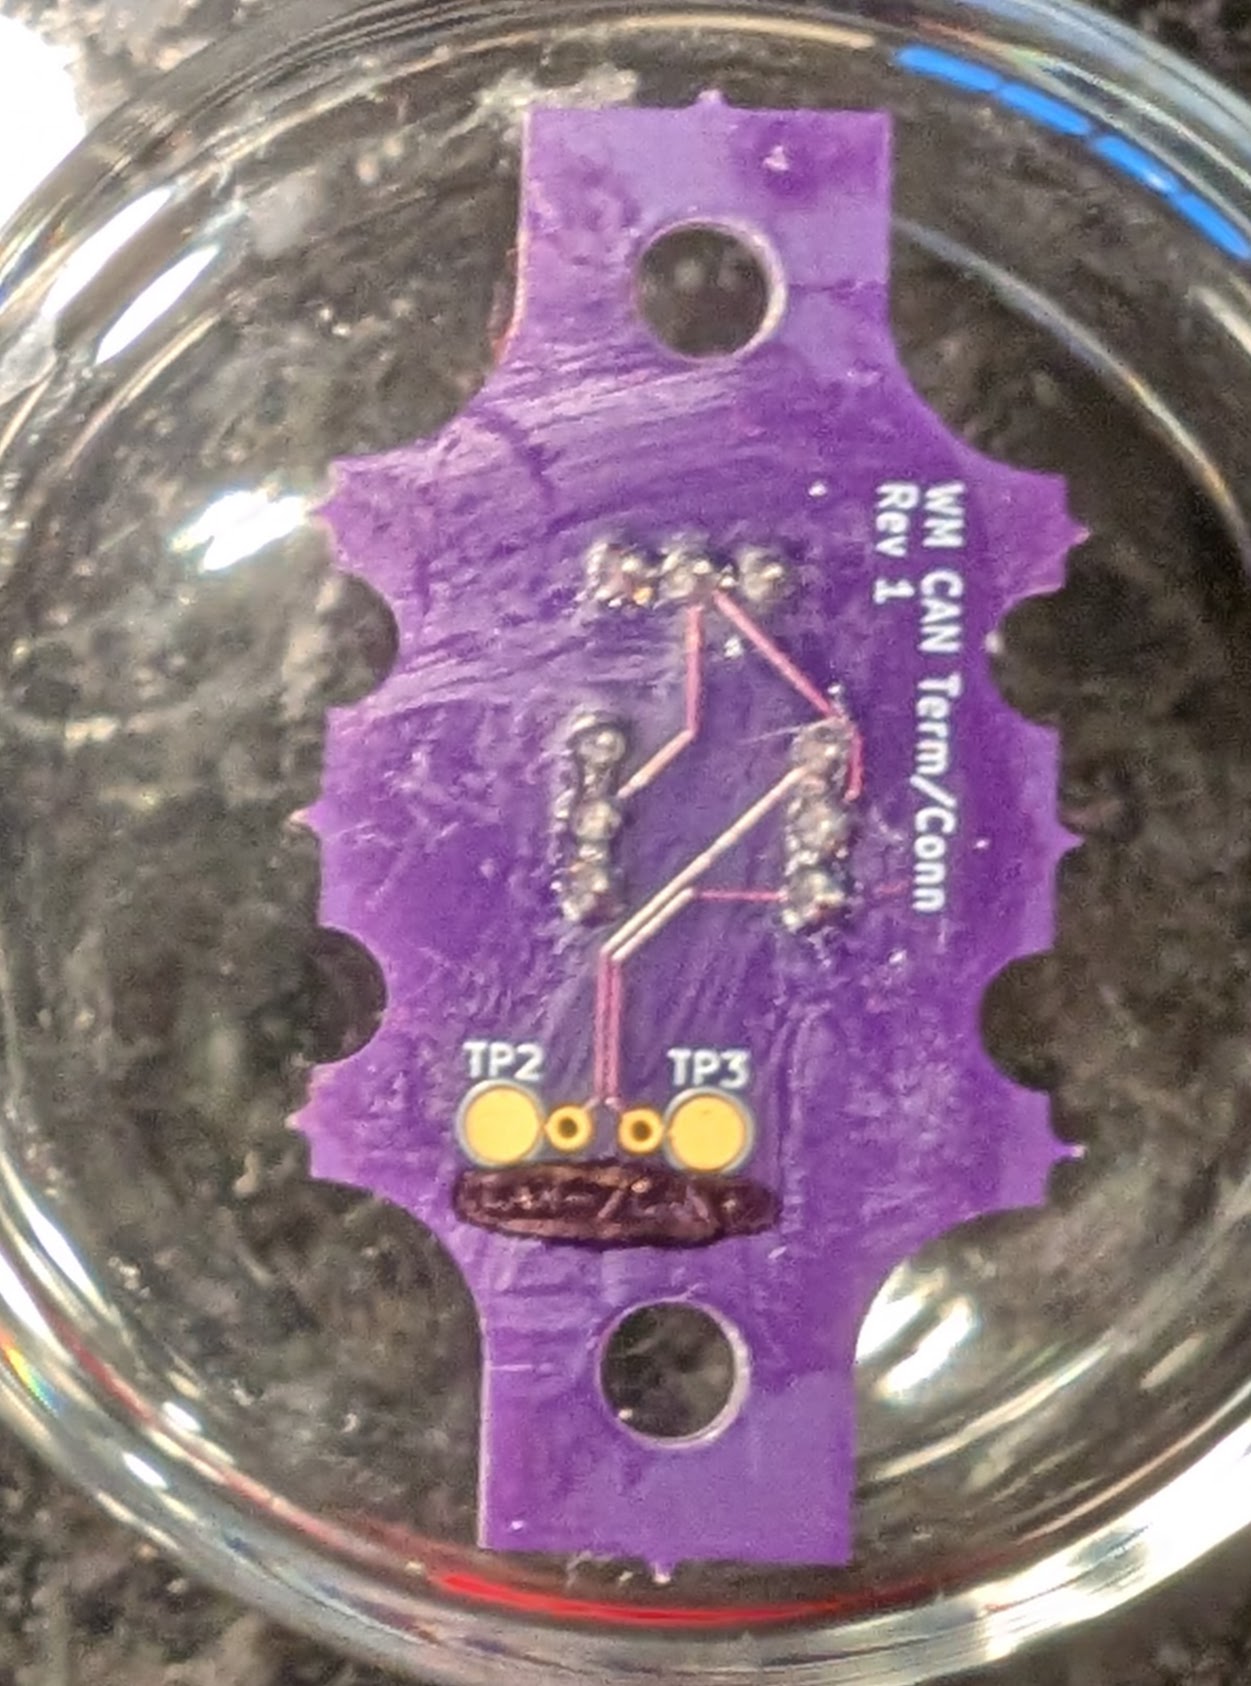
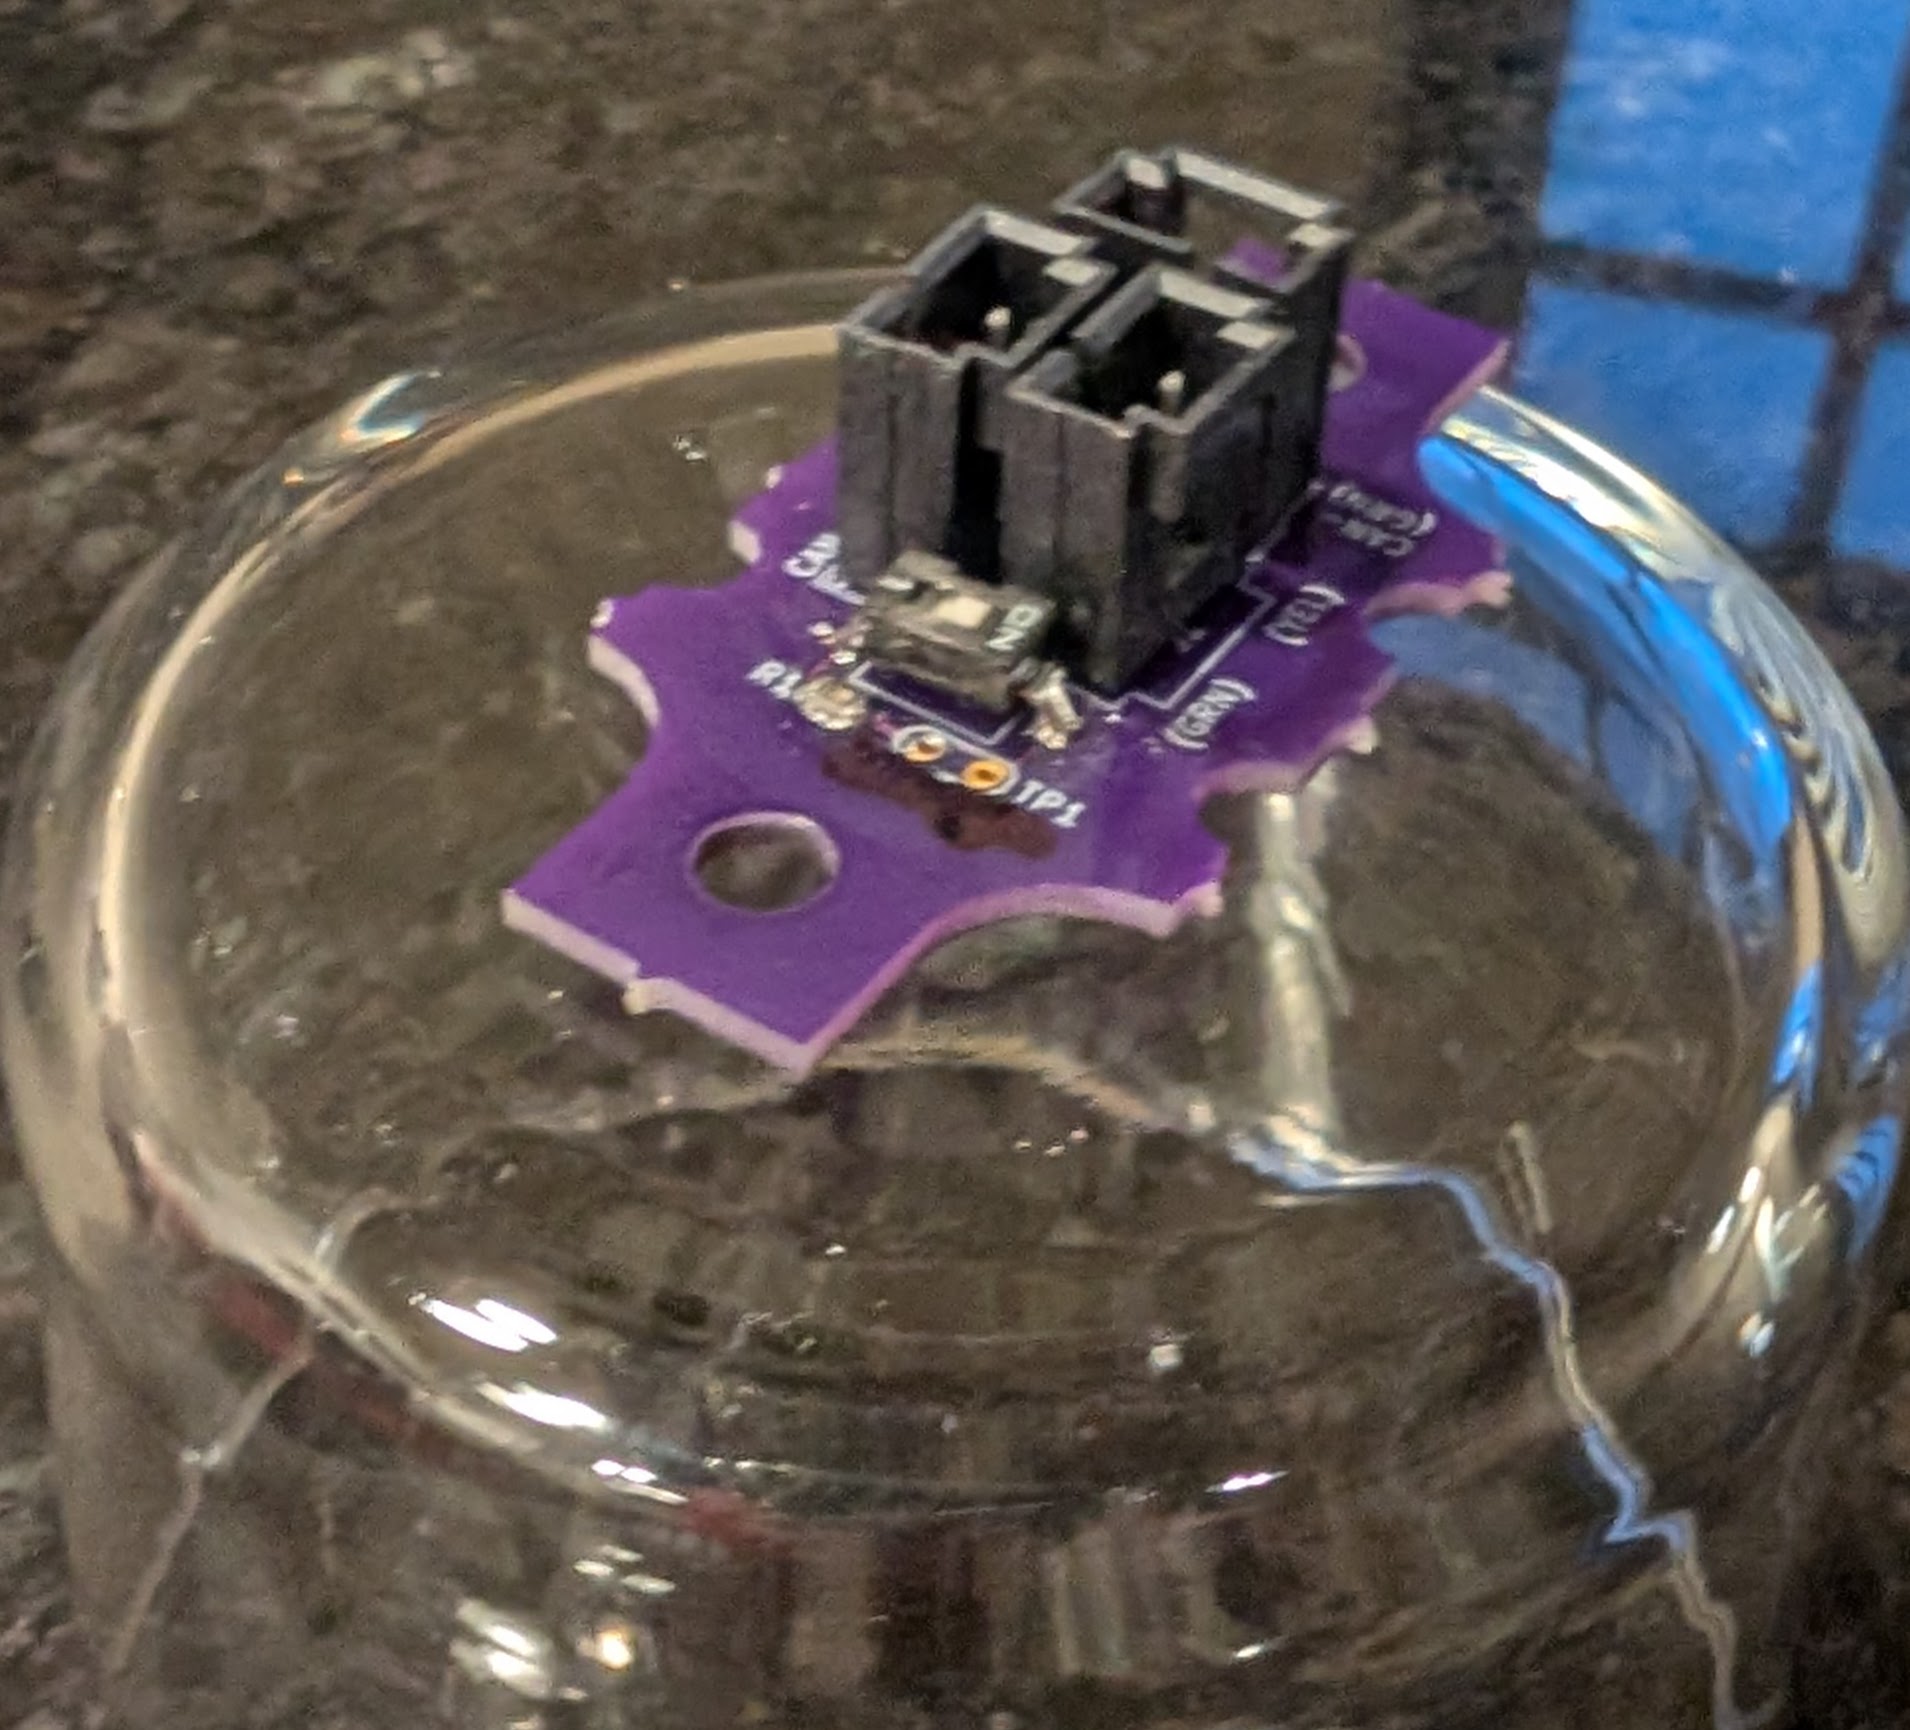
I recommend a fixed connection to a hard surface, with padding behind to prevent the through-hole pins from making electrical contact.
Here is a WIP Case CAD that accomplishes this.
OFF (away from ON)Have a break in your CAN chain but don't know where it is? Use the switchable termination feature to find out where
ONOFFONOFF (away from ON)ONMolex_SL_171971-0003 (only 2 needed if not making stubs)| Qty | Value | Footprint | References |
|---|---|---|---|
| 3 | Conn_01x03_Pin | Connector_Molex:Molex_SL_171971-0003_1x03_P2.54mm_Vertical | J1, J2, J3 |
| 2 | MountingHole_10 | Library:MountingHole_10 | M1, M2 |
| 2 | TestPoint | TestPoint:TestPoint_Pad_D2.5mm | TP2, TP3 |
| 1 | 120 | Resistor_SMD:R_0805_2012Metric | R1 |
| 1 | SW_DIP_x01 | Library:SW_DS04-254-2-01BK-SMT | SW1 |
| 1 | TestPoint_2Pole | TestPoint:TestPoint_2Pads_Pitch2.54mm_Drill0.8mm | TP1 |
It measures 23.4 × 48.3 mm and has 2 copper layers, 1.6 mm thick.
10 parts. The full list of its parts is on this page, with links to each part's symbol and footprint where PCBKit's library has them.
From the wmarshall/CANTERM repository on GitHub, at the commit this page was made from: the board is CANTERM.kicad_pcb and its schematic CANTERM.kicad_sch. PCBKit opens the board in the browser, with nothing to install.
Its repository states no licence, so its author keeps all rights: ask wmarshall before reusing the design.
gusmanb/logicanalyzer
24 channel, 100Msps logic analyzer hardware and software

byrantech/laptop
anyon_e, a highly integrated, high end, open source laptop. Attempt the impossible.

joeycastillo/Sensor-Watch
A board replacement for the classic Casio F-91W wristwatch


OLIMEX/OLINUXINO
OLINUXINO is Open Source / Open Hardware, low cost from EUR 24 Linux Industrial grade Single Board Computer capable to operate -25+85C

rusefi/rusefi
rusefi - GPL internal combustion engine control unit

VoronDesign/Voron-Hardware
Cool Hardware designed by the Voron Design group

hoglet67/RGBtoHDMI
Bare-metal Raspberry Pi project that provides pixel-perfect sampling of Retro Computer RGB/YUV video and conversion to HDMI