

2 layers220 × 10.1 mm

 whowechina/chu_pico196
Pico controller for Chunithm-type rhythm game
Chu main is an open-source printed circuit board by whowechina, from the whowechina/chu_pico repository on GitHub. It is a 2-layer board of 294 × 100 mm with 113 parts on 132 nets, routed with 870 tracks and 108 vias.
It is built around the PCA9548APW and U262-161N-4BVC11. Its parts include 36 diodes, 35 switches, 12 resistors, 8 capacitors and 6 ICs.
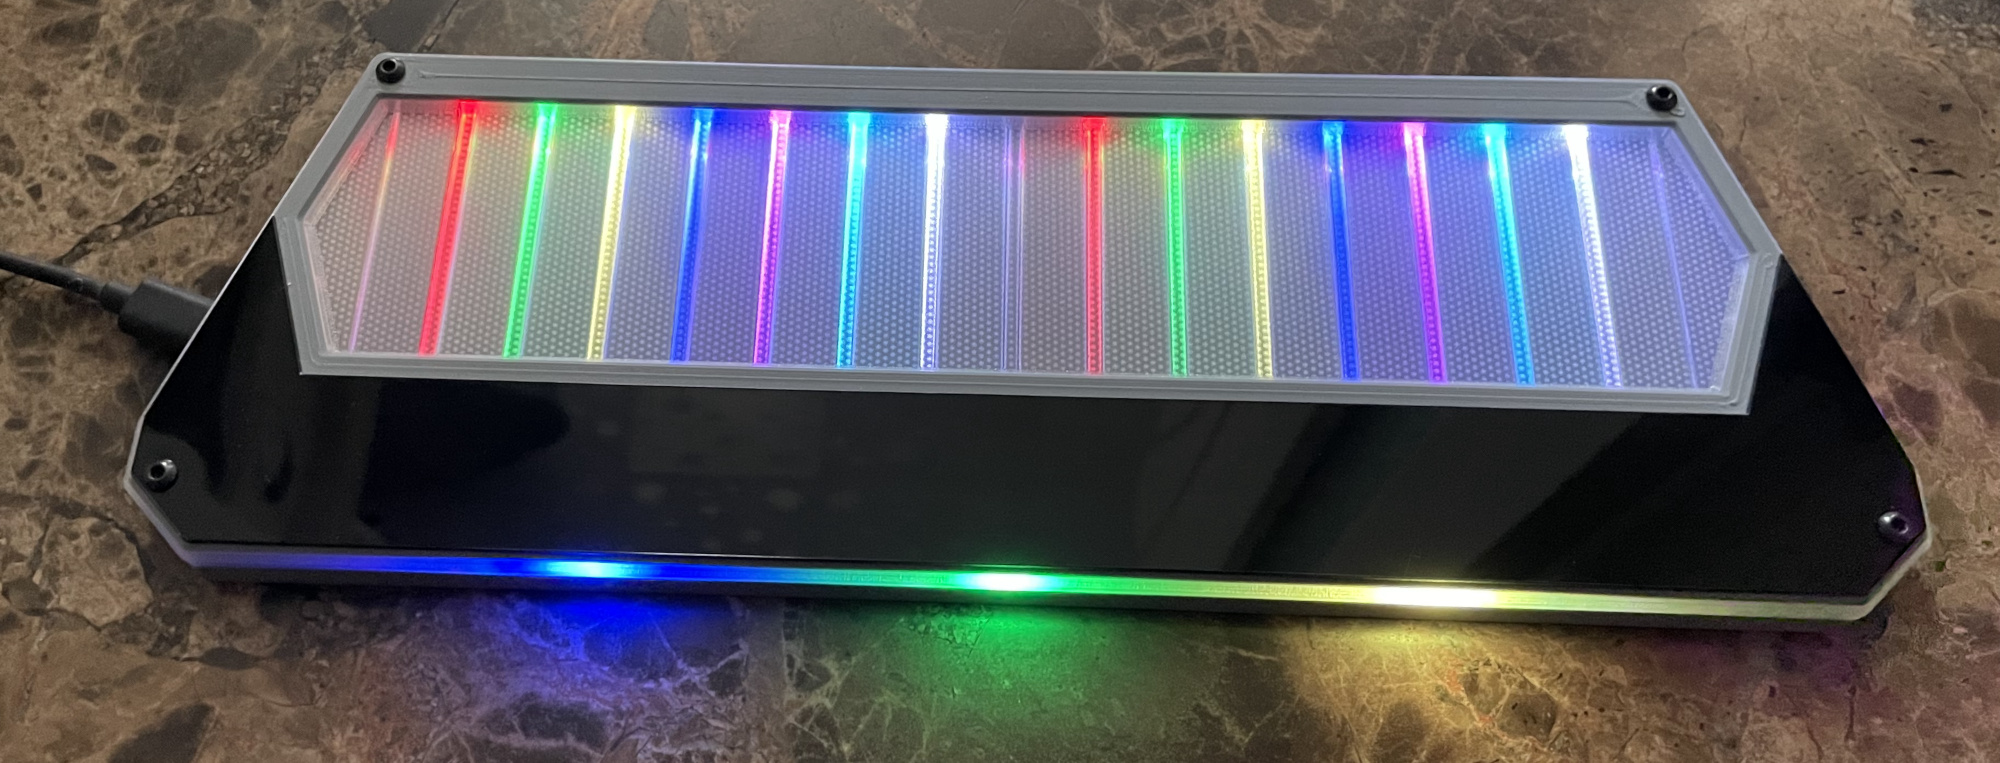
Features:
Thanks to many respectful guys/companies who made their tools or materials free or open source (KiCad, OnShape, InkScape, Raspberry things).
And thanks to community developers that inspired me and helped me: CrazyRedMachine (https://github.com/CrazyRedMachine), SpeedyPotato (https://github.com/speedypotato).
And also:
You can check out my other cool projects.


I made this project in my personal time with no financial benefit or sponsorship. I will continue to improve the project. I have done my best to ensure that everything is accurate and functional, there's always a chance that mistakes may occur. I cannot be held responsible for any loss of your time or money that may result from using this open source project. Thank you for your understanding.
It's CC-NC. So DIY for yourself and for your friend, don't make money from it. And plagiarism that doesn’t even dare to mention the original author is not acceptable. Please note that pooling orders and group buying for raw materials is acceptable.Selling any leftover components at cost (without profit) is also acceptable.
If you're interested in buying from me, or for commercial use, please contact me (Discord, QQ group, Goofish).
Many DIY enthusiasts commonly make certain mistakes during the building process. Please proceed with extra caution to avoid these.
Go JLCPCB and make order with the gerber zip file (latest Production\PCB\chu_main_xxx.zip), regular FR-4 board, black color, thickness is 1.6mm.
1x Rasberry Pico Pi Pico or Pico W.
https://www.raspberrypi.com/products/raspberry-pi-pico
Becareful of 3 pins that are at the other side, they're difficult to solder and may leave air bubbles.
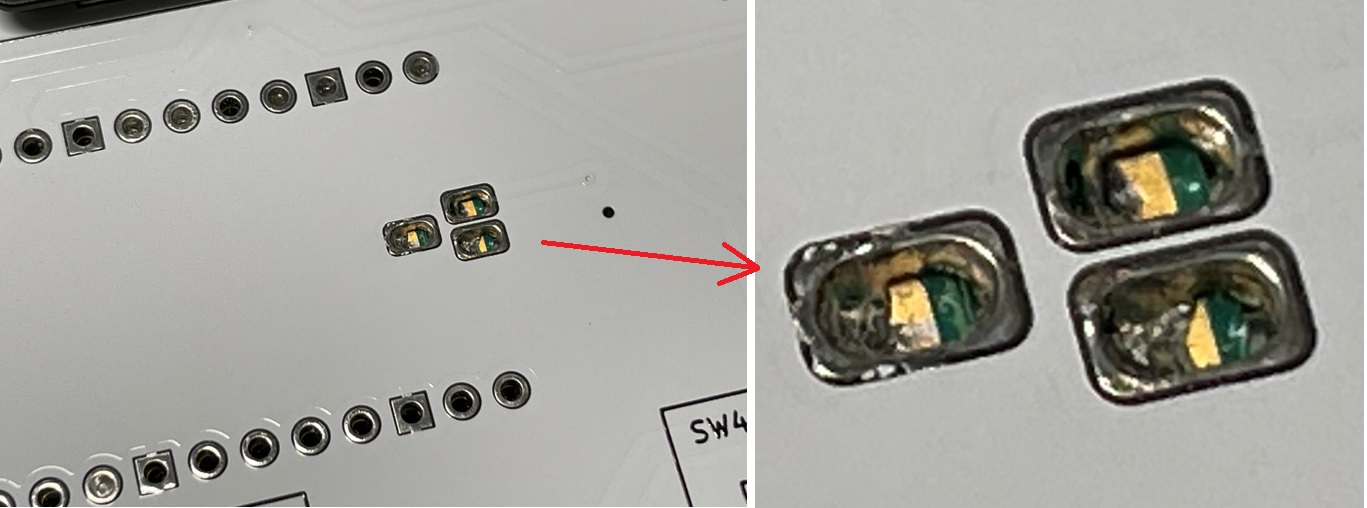
1x USB Type-C socket (918-418K2023S40001 or KH-TYPE-C-16P)
36x WS2812B-4020 side-facing RGB LEDs.
https://www.lcsc.com/product-detail/Light-Emitting-Diodes-LED_Worldsemi-WS2812B-4020_C965557.html
TCA9548APWR (TSSOP-24) I2C multiplexer.
https://www.lcsc.com/product-detail/Signal-Switches-Encoders-Decoders-Multiplexers_Texas-Instruments-TCA9548APWR_C130026.html
3x MPR121 modules, there're many types in the market, choose ones like this.
https://www.sparkfun.com/products/retired/9695
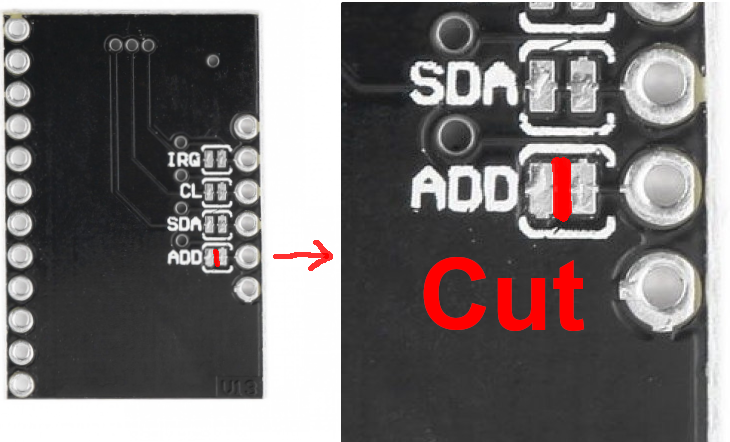
Before solder MP121 module to the main PCB board, remember to use a knife to cut (unshort) the tiny trace that connects ADDR to the GND. Please be careful not to cut more than necessary.
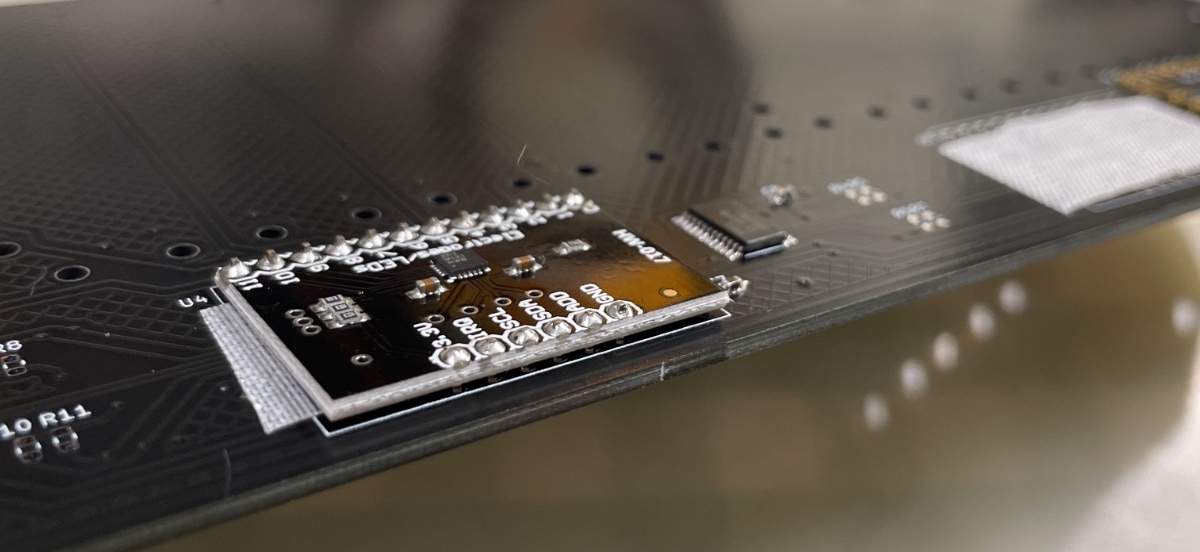
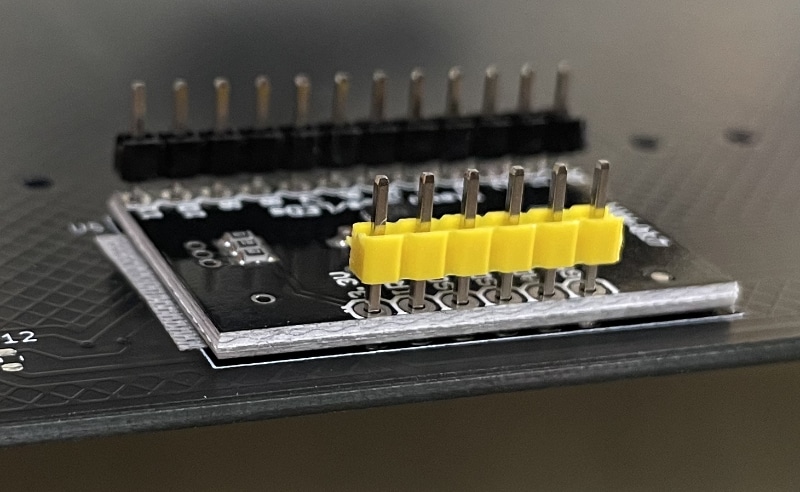
There's not enough space for the whole height of MPR121 module plus the lead pads. So you need to solder the module like the picture shows below.
First apply some insulation tape.
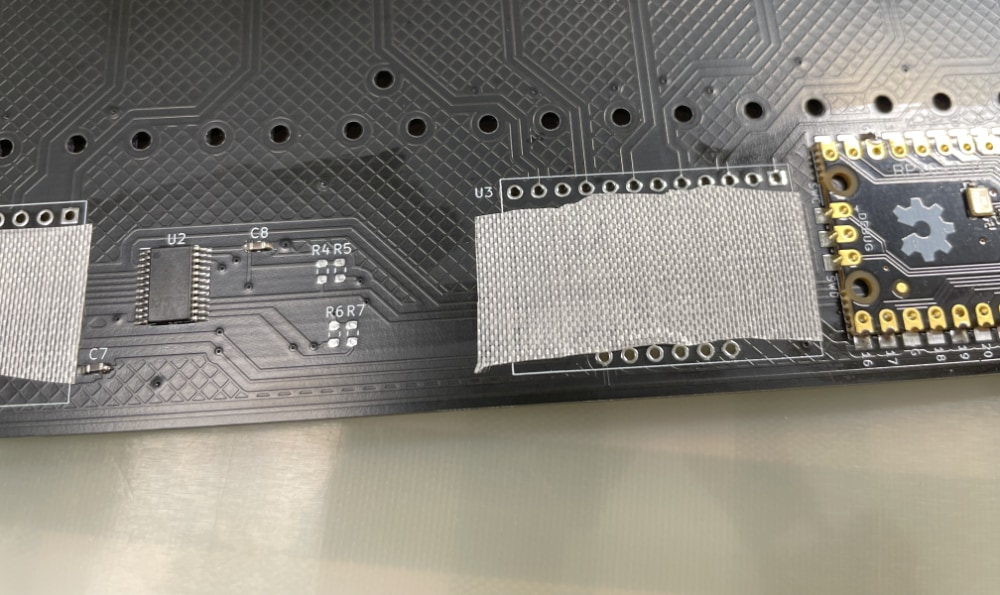
Then solder the module directly against the PCB.
You can use the pins comes with the module, but you need to cut away the plastic pads.
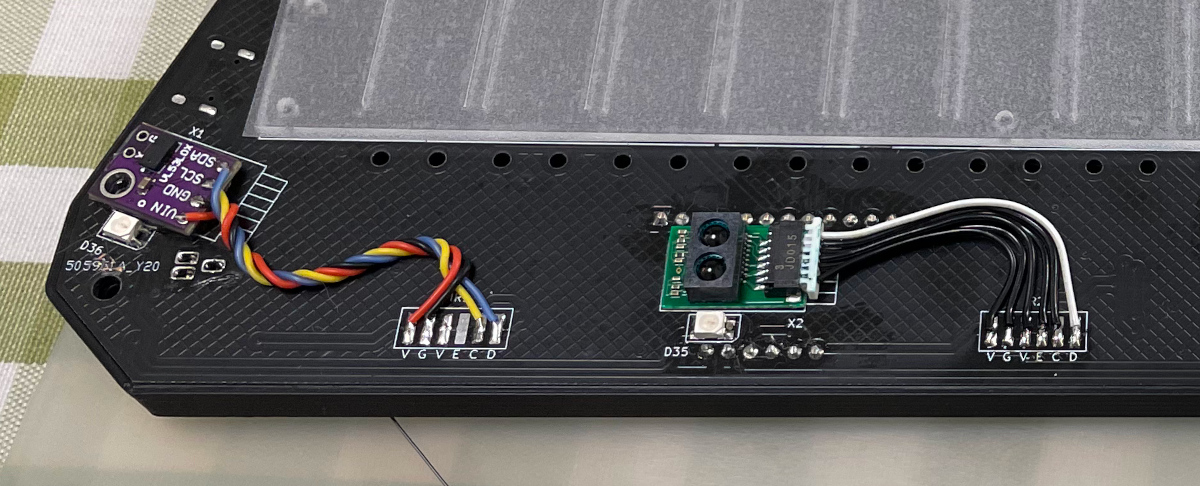
5x Sharp GP2Y0E03 or ST VL53L0X ToF sensor modules, you need cables as well. Please note that the pictures are taken from older version of PCB, the LEDs have been changed to side-facing ones.
https://www.lcsc.com/product-detail/Angle-Linear-Position-Sensors_Sharp-Microelectronics-GP2Y0E03_C920270.html
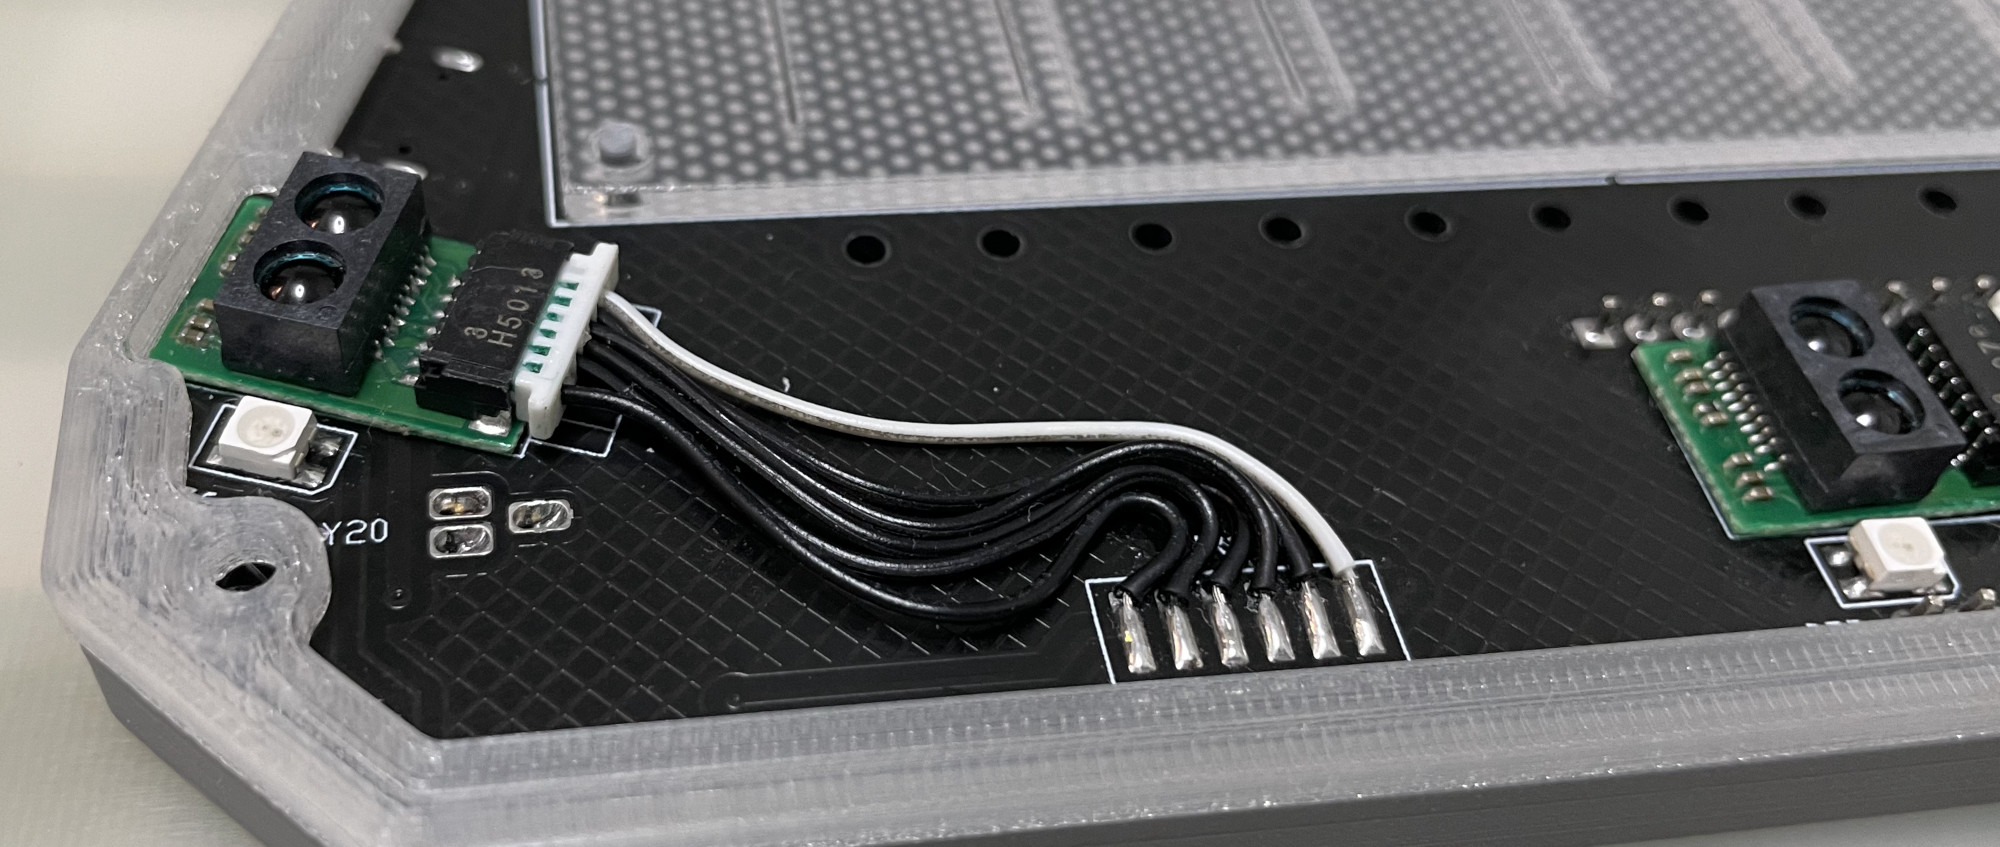
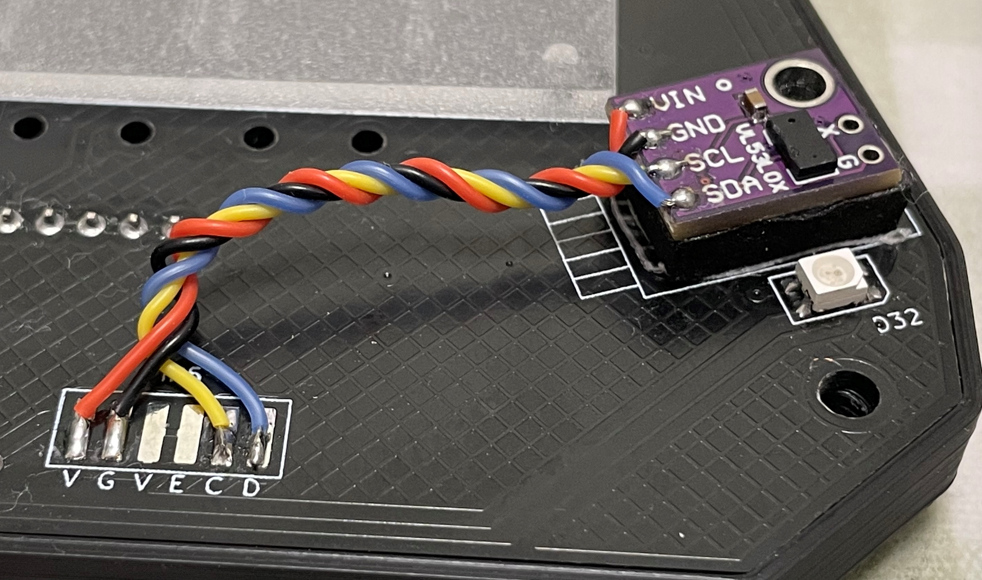
You can use both of them in a same PCB, the firmware will identify each of them automatically.
12x 0603 5.1kohm resistors for all the resistors on PCB.
8x 0603 1uF (0.1~1uF all fine) capacitors (C1 to C8), OPTIONAL, recommended.
3x Panasonic EVQP46B3M tiny tactile switches.
https://industry.panasonic.com/global/en/products/control/switch/light-touch/number/evqp46b3m
Production\CAD\chu_pico_lgp.*, the size is 256mm*60mm, 1.8mm to 2.0mm thickness, thinner is better for sensitivity. 2.0mm is easy to find, 1.8mm is rare. I used 1.8mm for my build.
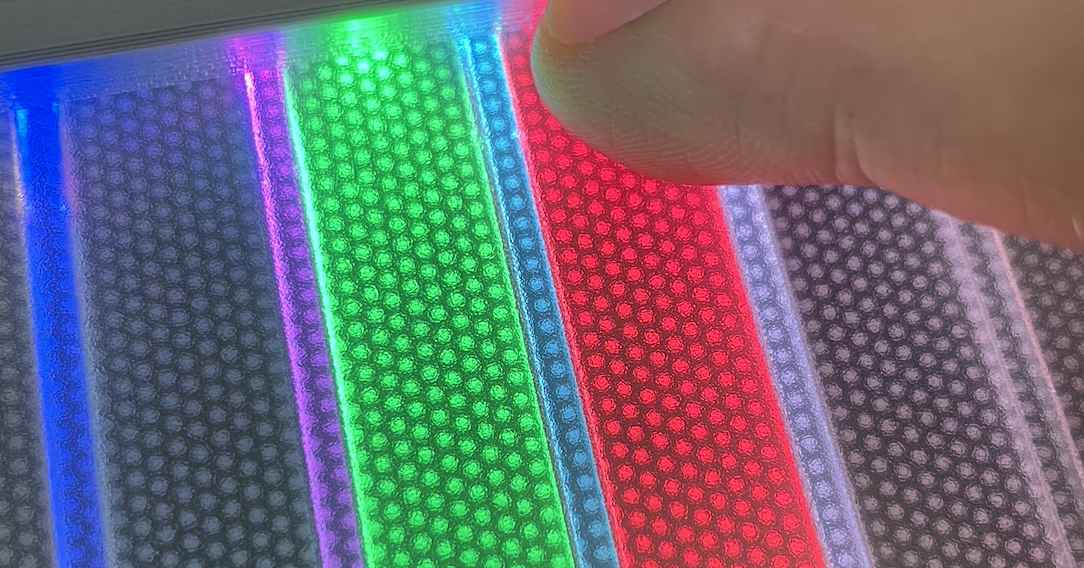
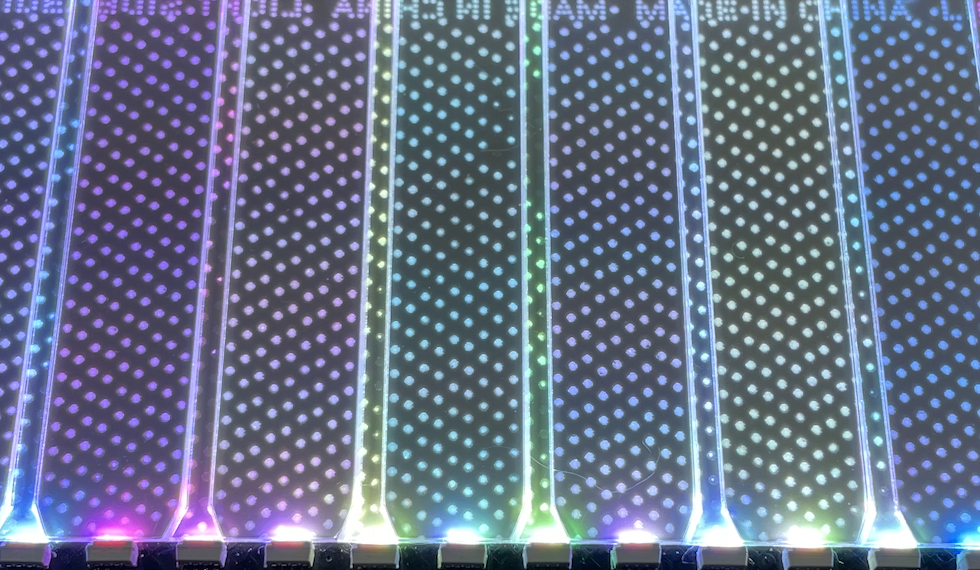
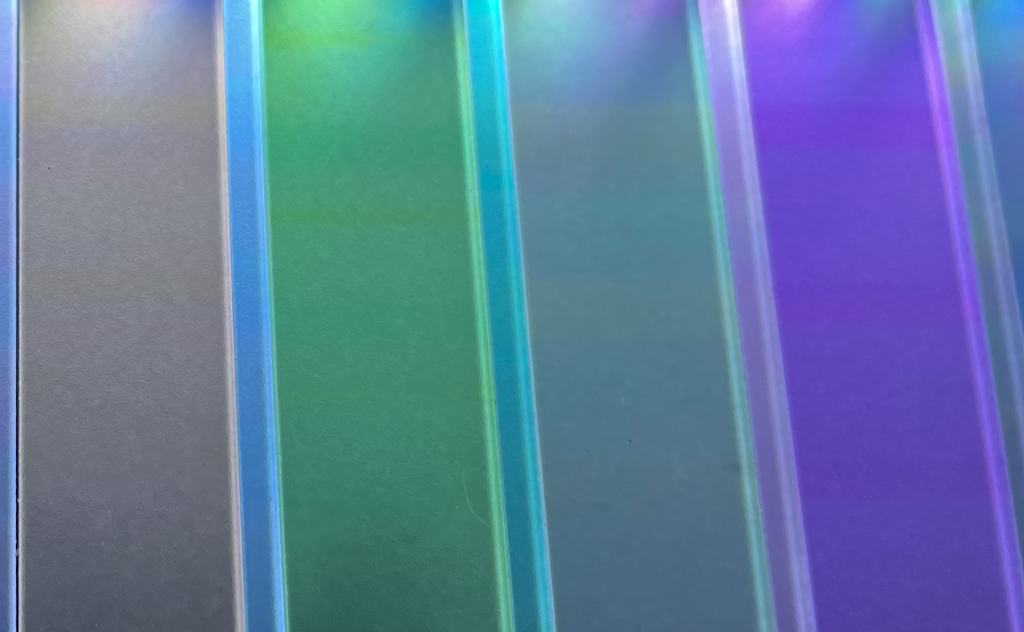
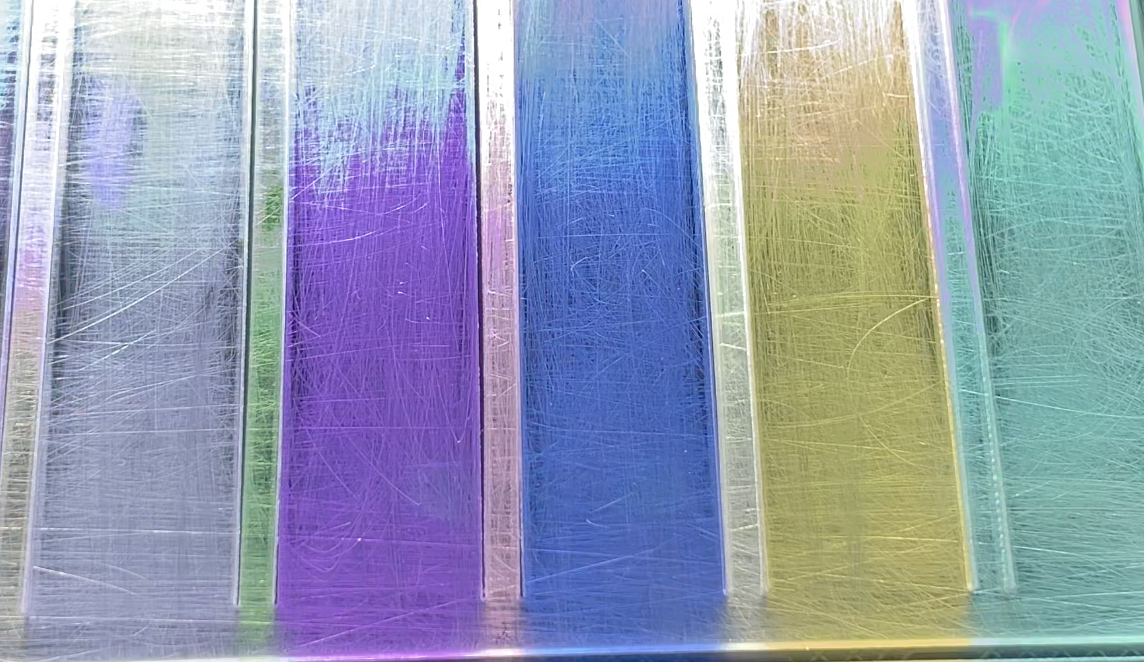
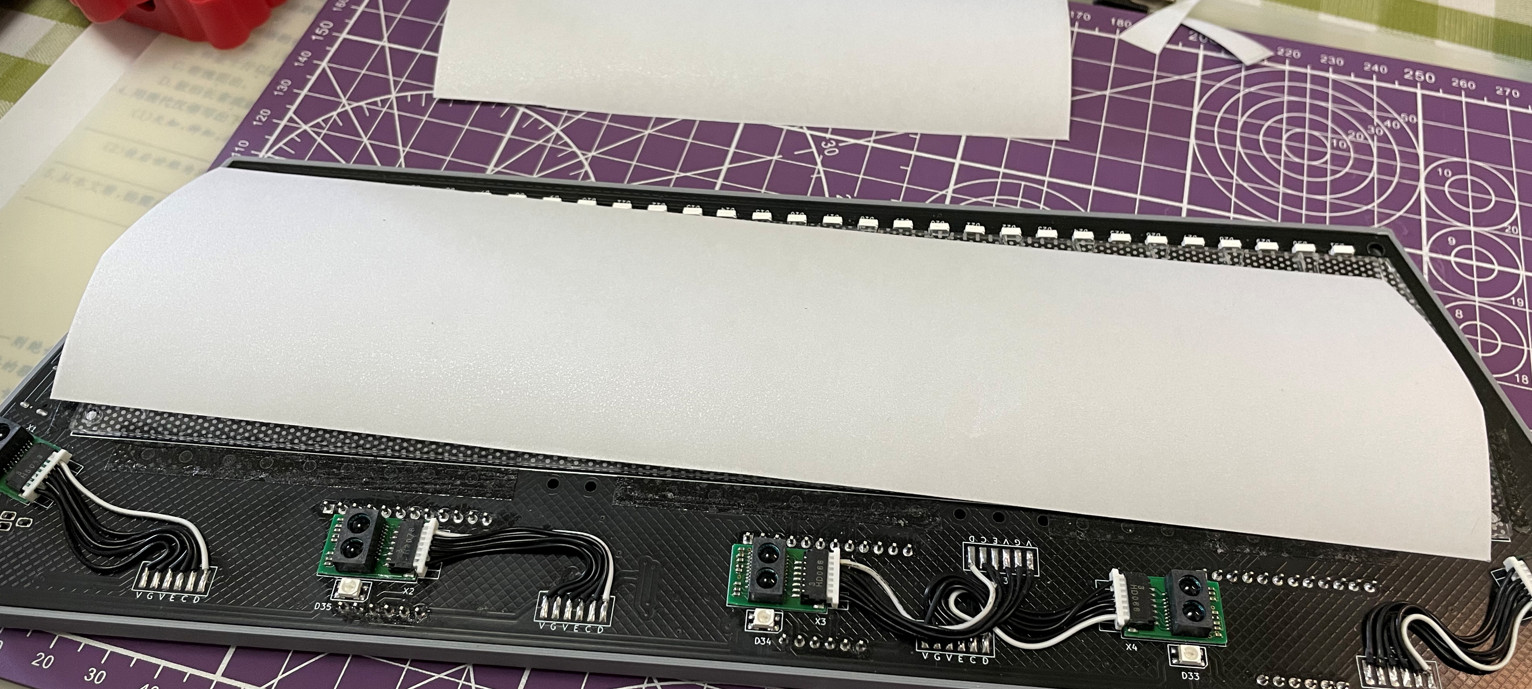
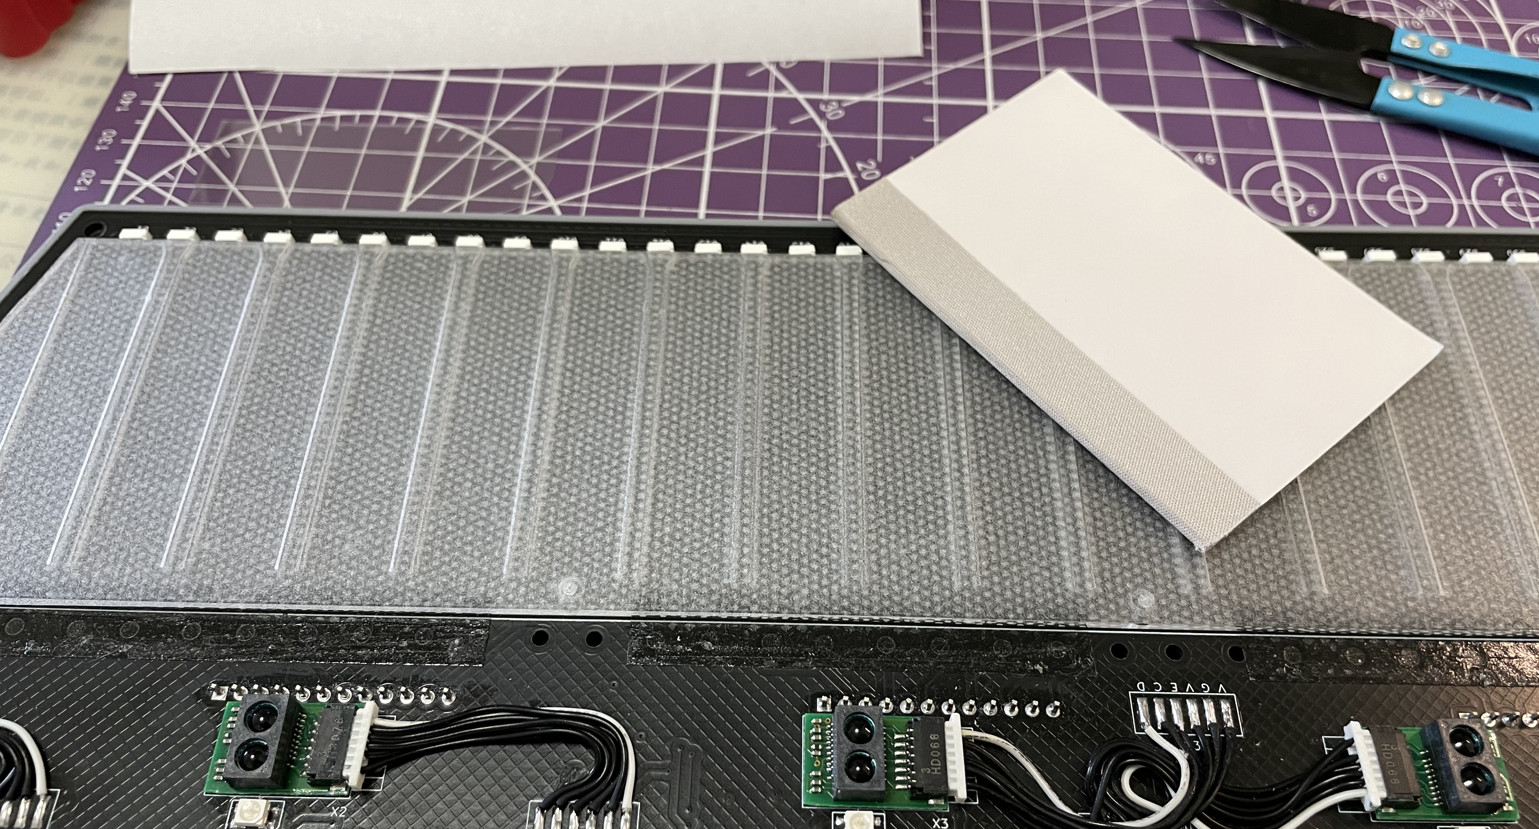
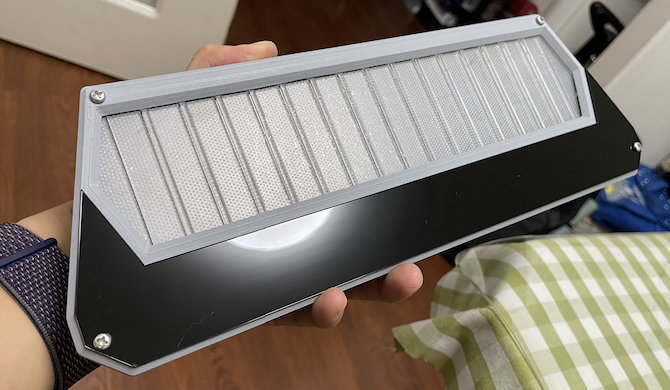
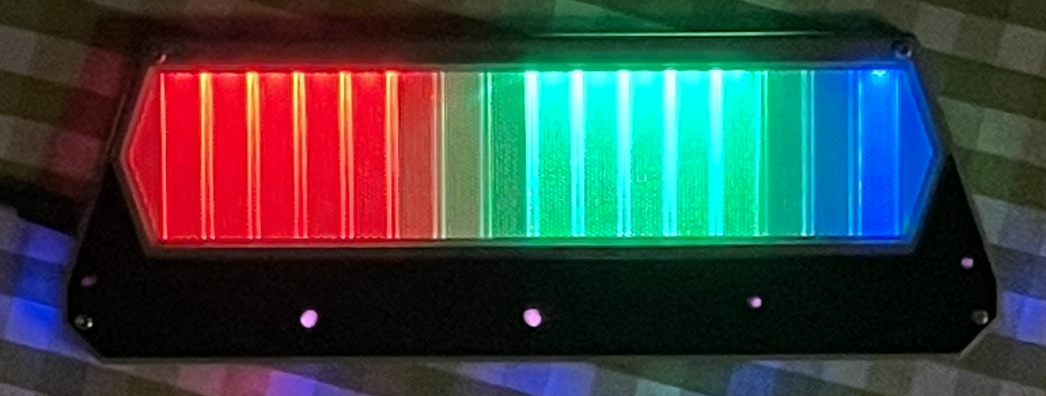
Production\CAD\chu_pico_ir_cover.*, the size is 293.2mm*63.5mm, 1mm thickness. The material must be "Infrared Transmitting Acrylic Sheet" which can block visible lights (so it looks black) while letting IR lights go through.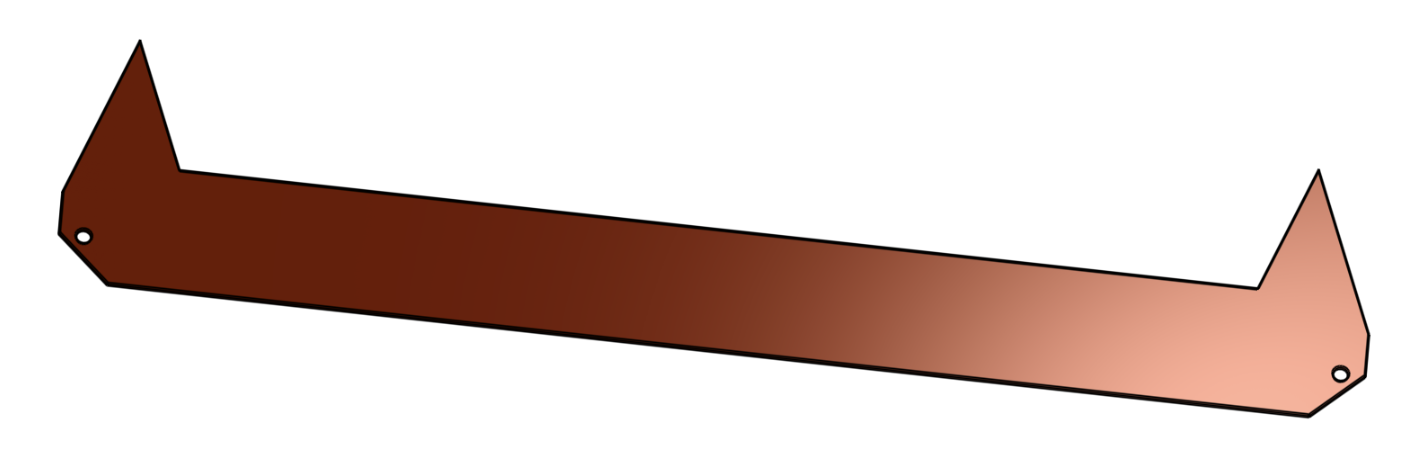
You need a Bambu 3D printer for 2 reasons:
For all the following prints:
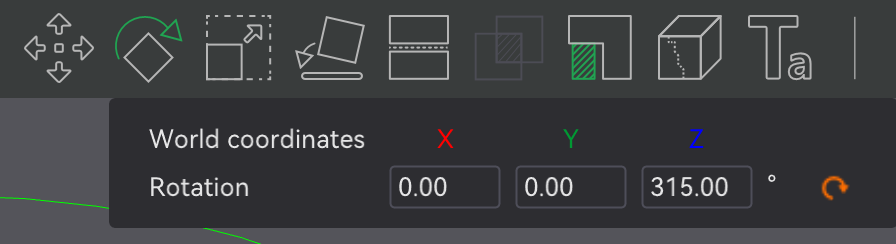
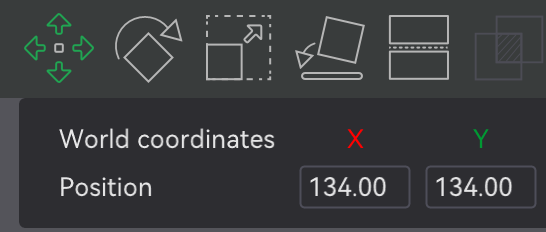
To fit object in the bed, Z rotate: 315 degree, X, Y move to: 134mm
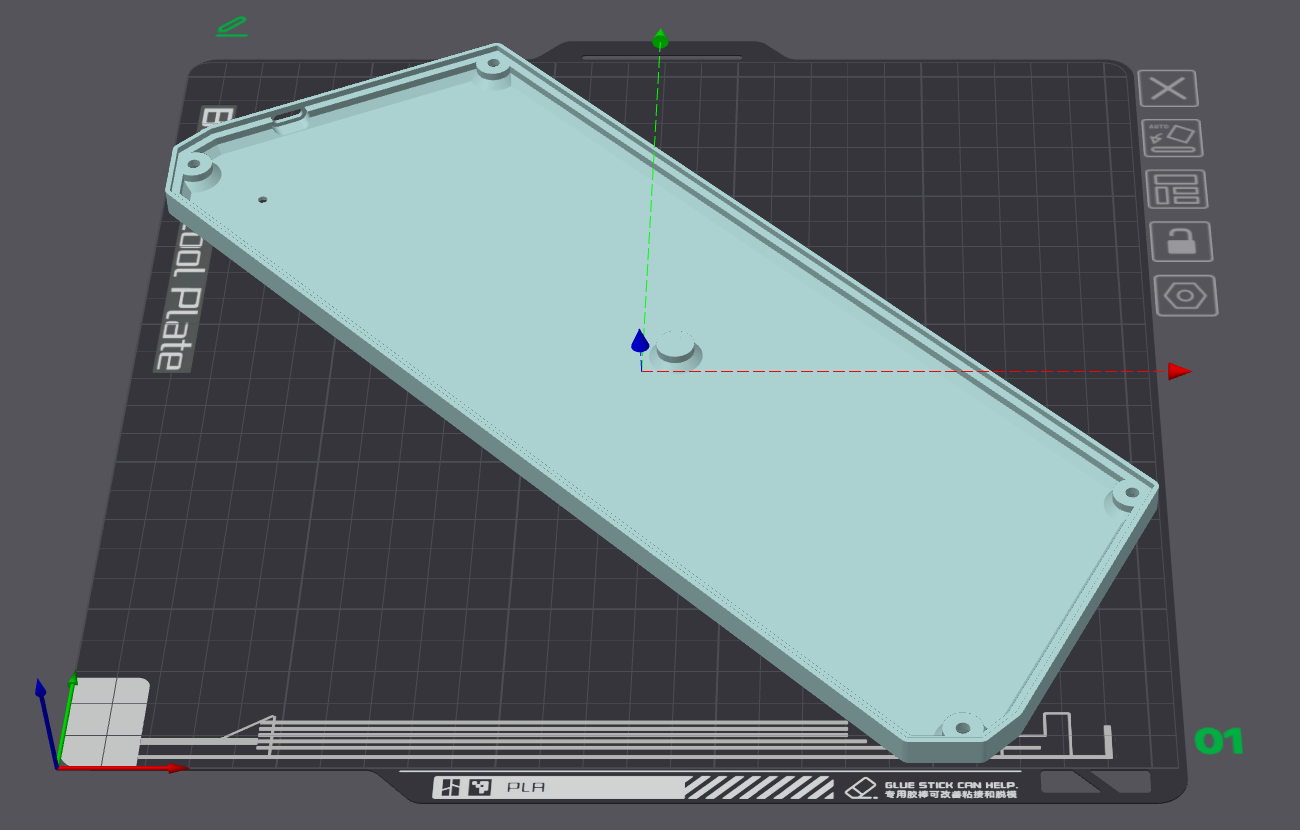
PLA, PETG, ABS are all OK.
Layer height: 0.2mm
4-6 walls, 50+% infill
Support: No (unless specified).
Base: Production\3D\chu_pico_base.stl, dark gray filament, turn on support to have better screw holes.
Cover: Production\3D\chu_pico_cover(_aime).stl, dark gray filament, print up-side down.
Cover Base: Production\3D\chu_pico_cover_base.stl, clear transparent (IMPORTANT) filament.
Light Guide Panel Fixer: Production\3D\chu_pico_lgp_fixer.stl, color doesn't matter. Note that in newer revisions, it has been integrated into the base.
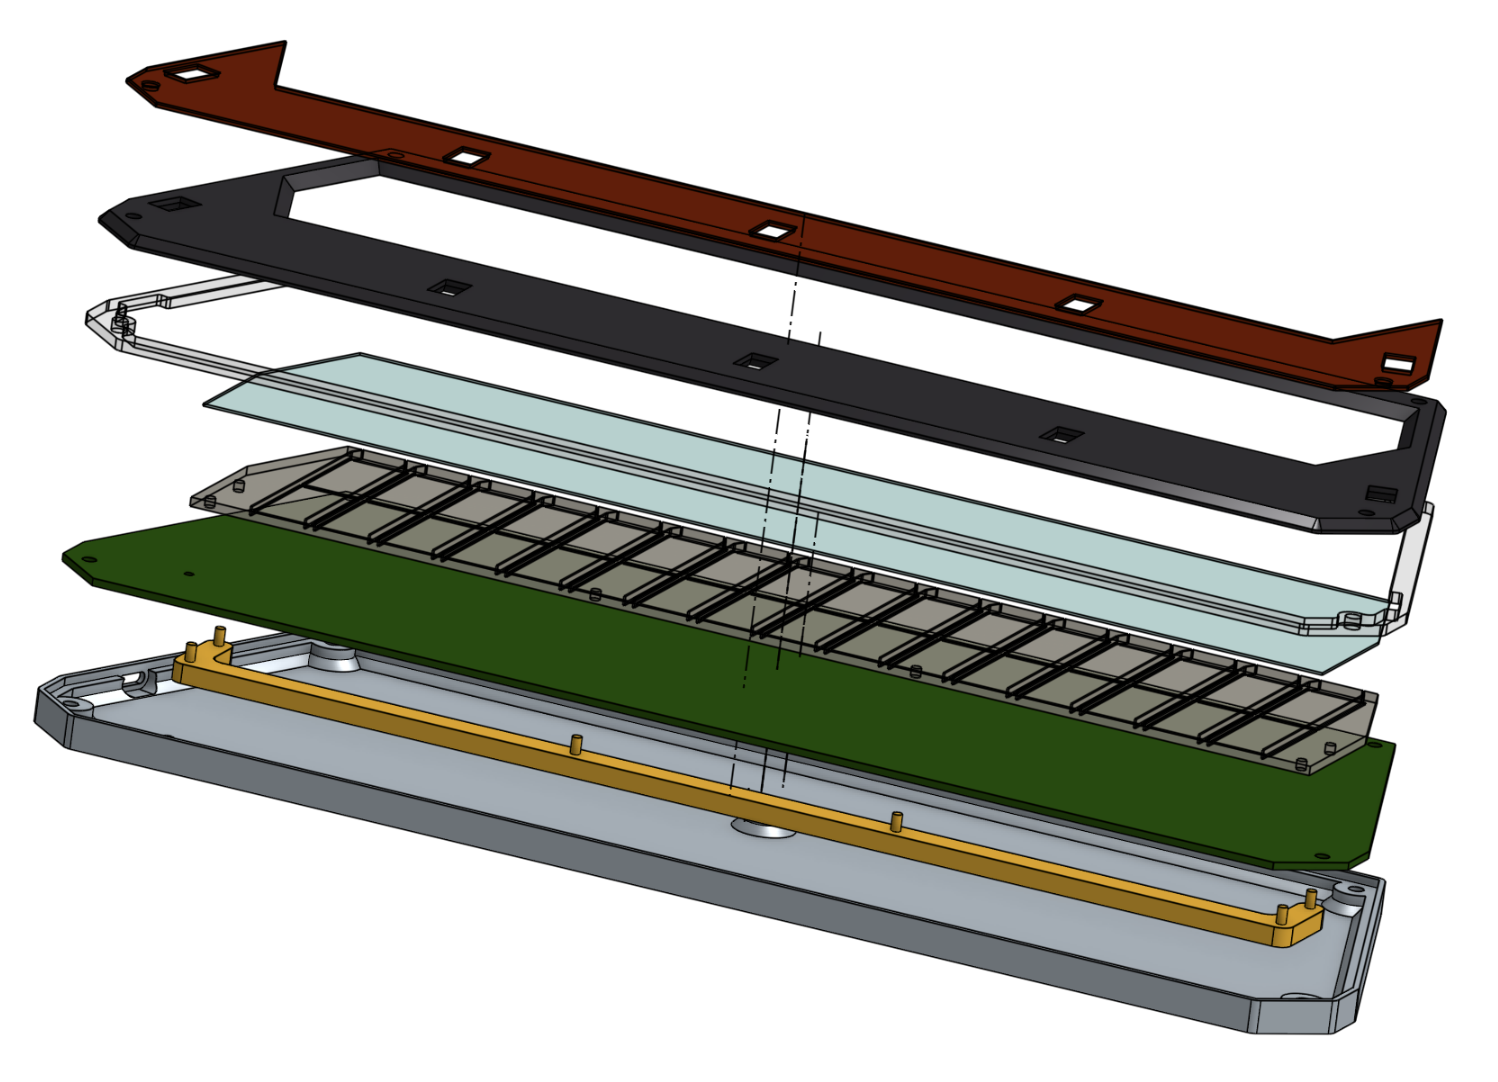
From top to bottom:
Notes:
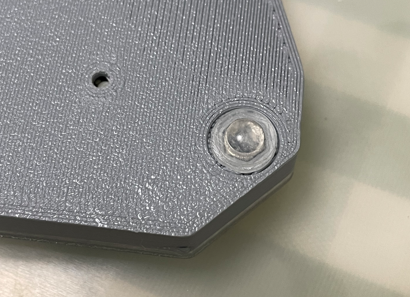
_insert version of the cover, you also need 4x M2*3mm*3mm heatset inserts.7x silicone anti-slip pads can be applied to the bottom side of the base to provide stability when playing.
This is not necessary for Chu Pico. But some people may prefer the traditional IR air tower, especially when they're using Chu Pico design for a full-sized controller. So hereby I provide the IR air tower design, with a pair of air tower PCBs and the firmware support.
First, you need to order the sensor PCBs, the gerber file is Production\PCB\chu_air_v*.zip. It's for both sides of the air tower.
Solder components to the PCB following the silkscreen. About the components, see the notes below.
For left side PCB, use J1 to connect to the Raspberry Pi Pico, and for the right side PCB, use J2. GPIO 3 -> A, GPIO 4 -> B, GPIO 5 -> C, ADC 0 (GPIO 26) -> Right S, ADC 1 (GPIO 27) -> Left S.
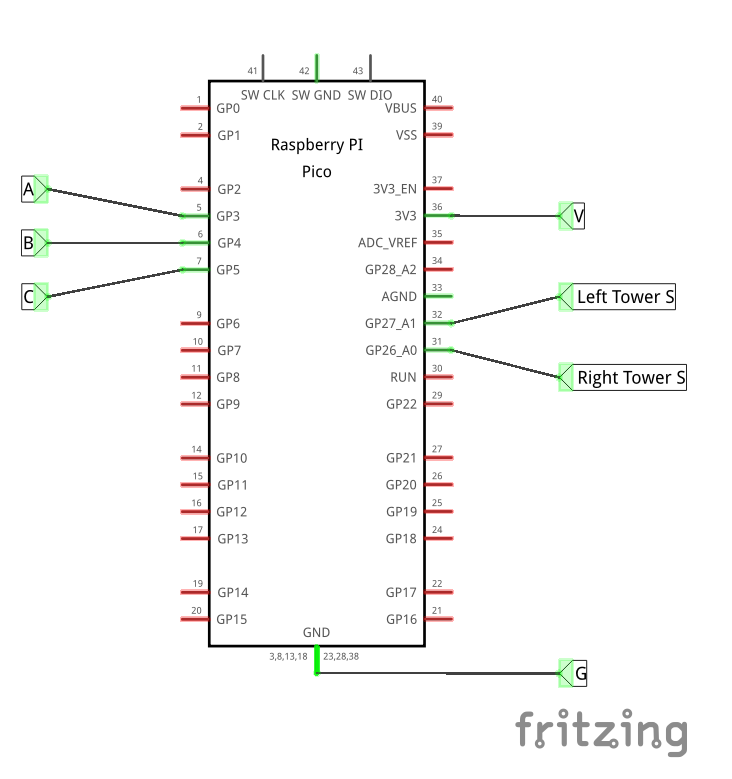
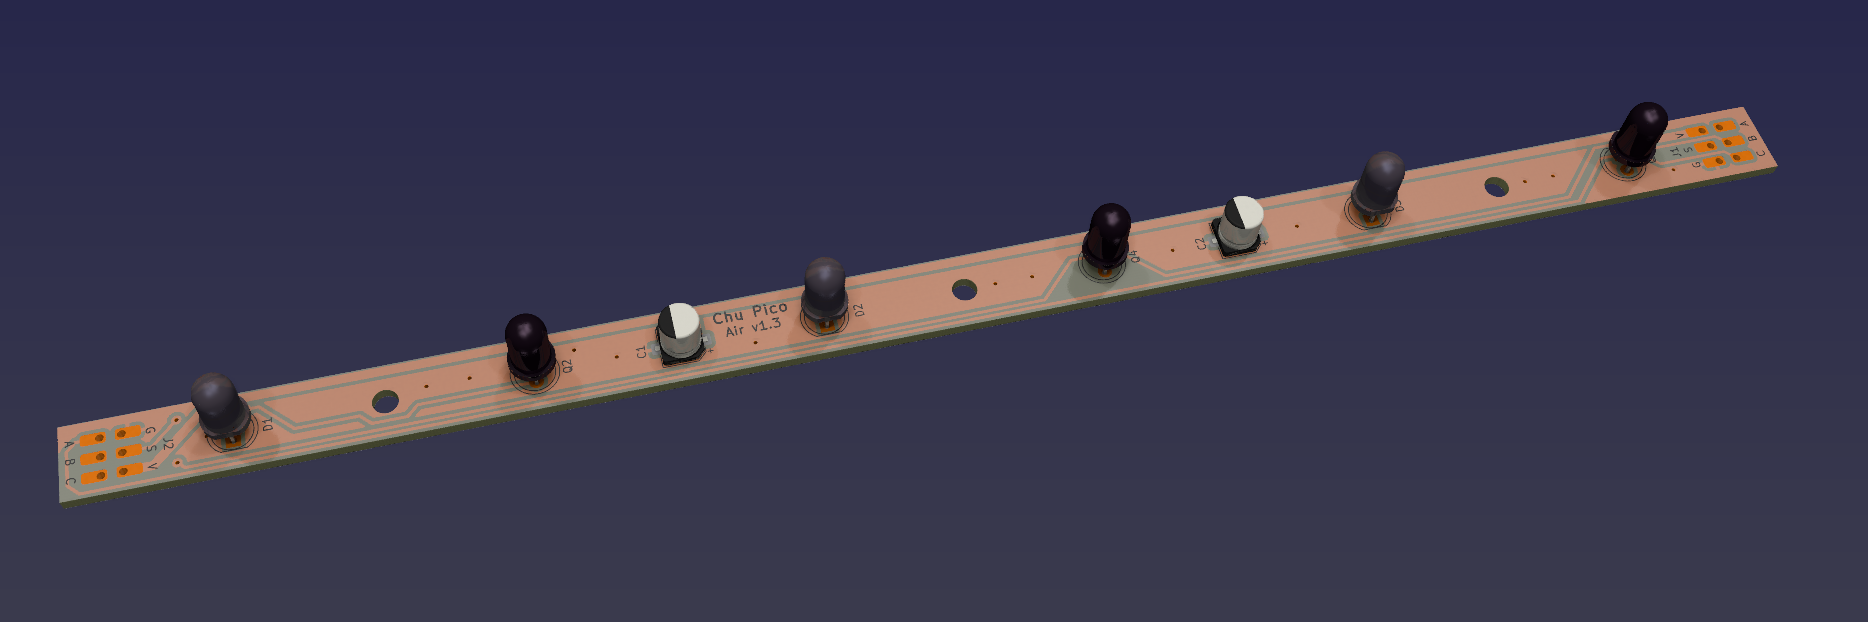
Steps for deployment.
ir enable), this will disable ToF.ir diagnostic).ir baseline).ir trigger <1..100>).D1, D2, D3 are IR333C-A IR LEDs;
Q2, Q4, Q6 are PT333-3B phototransistors.
Q1, Q3, Q5 are N-Channel MOSFETs with low Rds, such as AO3400, see calculations below.
R2, R4, R6 are current limiting resistors, see calculations below.
R1, R3, R5 are mosfet gate resistors, 10ohm is fine.
R7, R8, R9 are pull-up resistors, 2Kohm is fine.
R10 is a pull-down resistor, 10Kohm is fine.
Let's do the calculation for D1 as an example. To get proper signal strength, we want about 1A current for it.
The current for D1 is calculated by I = (Vcc - Vf) / (Rds + R2). Vcc is 3.3V, Vf is the forward voltage of D1 (about 2.6V@1A). For a low Rds N-Channel MOSFET such as AO3400, Rds is about 0.047ohm, so R2 should be about 0.7ohm to get 1A current. You can use other N-Channel MOSFETs, but you need to calculate the values accordingly.
Production\Firmware folder.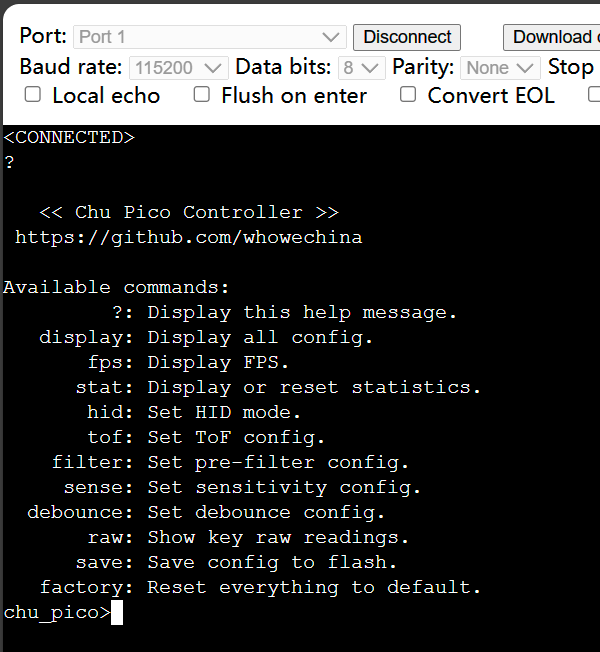
I'm using OnShape free subscription. It's powerful but it can't archive original designs to local, so I can only share the link here. STL/DXF/DWG files are exported from this online document.
https://cad.onshape.com/documents/8b9d0fe6ff1bfa4da17d33ee/w/5c7c980a282a19e7ba1db795/e/56ee65492584a3f709c23c49?renderMode=1&uiState=64fd606f17393c0e6f9b19a4
| Qty | Value | Footprint | References |
|---|---|---|---|
| 36 | WS2812B_Unified | chu_main:WS2812B-4020 | D1, D2, D10, D11, D12, D13, D14, D15, D16, D17, D18, D19, D20, D21, D22, D23 +20 |
| 24 | Conn_01x01_Female | chu_main:ChuKey | K1, K2, K3, K10, K15, K16, K17, K18, K19, K20, K21, K22, K27, K28, K29, K30 +8 |
| 10 | 4.7K | Resistor_SMD:R_0603_1608Metric_Pad0.98x0.95mm_HandSolder | R4, R5, R6, R7, R8, R9, R10, R11, R12, R13 |
| 8 | 0.1uF | Capacitor_SMD:C_0603_1608Metric_Pad1.08x0.95mm_HandSolder | C1, C2, C3, C4, C5, C6, C7, C8 |
| 6 | TOF_I2C | chu_main:SH1.0_4P_Solder_Combo | PN532, TOF1, TOF2, TOF3, TOF4, TOF5 |
| 5 | GP2Y0E03_REAL | chu_main:GP2Y0E03_REAL | X1, X2, X3, X4, X5 |
| 4 | Conn_01x01_Female | chu_main:ChuKeyBiasRight | K12, K13, K24, K25 |
| 4 | Conn_01x01_Female | chu_main:ChuKeyBiasLeft | K11, K14, K23, K26 |
| 4 | ScrewHole | chu_main:MountingHole_3.2mm_M3 | SCR1, SCR2, SCR3, SCR4 |
| 3 | MPR121QR2_BOARD | chu_main:MPR121_BOARD | U3, U4, U5 |
| 3 | SPST_EVQP4 | chu_main:SW_EVQ-P46B3M | SW1, SW2, SW3 |
| 2 | 5K1 | Resistor_SMD:R_0603_1608Metric_Pad0.98x0.95mm_HandSolder | R1, R2 |
| 1 | ChuAcrylic | chu_main:ChuAcrylic | U0 |
| 1 | PCA9548APW | Package_SO:TSSOP-24_4.4x7.8mm_P0.65mm | U2 |
| 1 | PiPico_No_SWD | chu_main:RPi_Pico_SMD_Pins_No_SWD | U1 |
| 1 | U262-161N-4BVC11 | Type-C:HRO-TYPE-C-31-M-12-Assembly | USB1 |

samguns/chu_pico_clone
Features: It's small, made for 15-17 inch screen. Air towers are replaced with built-in ToF sensors. Traditional IR Air mechanism is also provided for DIYers. HID lights, of course! 32 keys (upper and lower rows).

stefanofinetti/MF_OverHead_Panel
Complete project for the Airbus A319/320/321/330 OverHead Panel


stefanofinetti/MF_A320_Glareshield
Complete project for the MobiFlight FCU/EFIS Mainboard


K-0hm/Chessboard
Code for a chessboard with light and capacitance Touch Sensors.
It measures 294 × 100 mm and has 2 copper layers, 1.2 mm thick.
113 parts, built around the PCA9548APW and U262-161N-4BVC11. The full list of its parts is on this page, with links to each part's symbol and footprint where PCBKit's library has them.
From the whowechina/chu_pico repository on GitHub, at the commit this page was made from: the board is PCB/main/chu_main.kicad_pcb and its schematic PCB/air/chu_air.kicad_sch. PCBKit opens the board in the browser, with nothing to install.
Its repository states no licence, so its author keeps all rights: ask whowechina before reusing the design.