2 layers108.7 × 79.2 mm

 umutnergis/Rp_Video_Looper_PCB
Rp_Video_Looper_Game
Rp project is an open-source printed circuit board by umutnergis, from the umutnergis/Rp_Video_Looper_PCB repository on GitHub. It is a 2-layer board with 9 parts on 33 nets, routed with 82 tracks and 5 vias.
It is built around the BC547BTA and SRD-03VDC-SL-C. Its parts include 4 connectors, 3 resistors, 1 transistor and 1 switch.


Bu proje, Raspberry Pi kullanarak bir kart okuma cihazı USB içinde money.txt klasöründeki int değeri kadar algılandığında USB üzerindeki bir videoyu oynatmayı ve bir fanın çalışmasını kontrol etmeyi amaçlar. Bu README dosyası, projenin nasıl kurulacağı, yapılandırılacağı ve kullanılacağı hakkında temel bilgileri içerir.
Bu projeyi başlatmak için aşağıdaki bileşenlere ihtiyacınız olacak:
Raspberry Pi'nizi ağa bağlayın ve gerekli güncellemeleri yapmak için bir terminal açın:
sudo apt update
sudo apt upgrade
Main.py dosyasını Raspberry Pi'nize yükleyin.
Eğer Raspberry pi'nızda otomatik başlatmak istiyorsanız AutoStart klasöründeki dosyayı inceleyebilirsiniz.
This project aims to use a Raspberry Pi to read a card reader device plugged into a USB port and, when an integer value is detected in the money.txt folder on the USB, play a video from the USB and control the operation of a fan. This README file contains basic information on how to set up, configure, and use the project.
Connect your Raspberry Pi to the network and open a terminal to perform the necessary updates:
sudo apt update
sudo apt upgrade
Upload the Main.py file to your Raspberry Pi.
If you want to auto-start the project on your Raspberry Pi, you can review the file in the AutoStart folder.
Place the files you want to load into your USB as first.mp4, second.mp4, and money.txt.
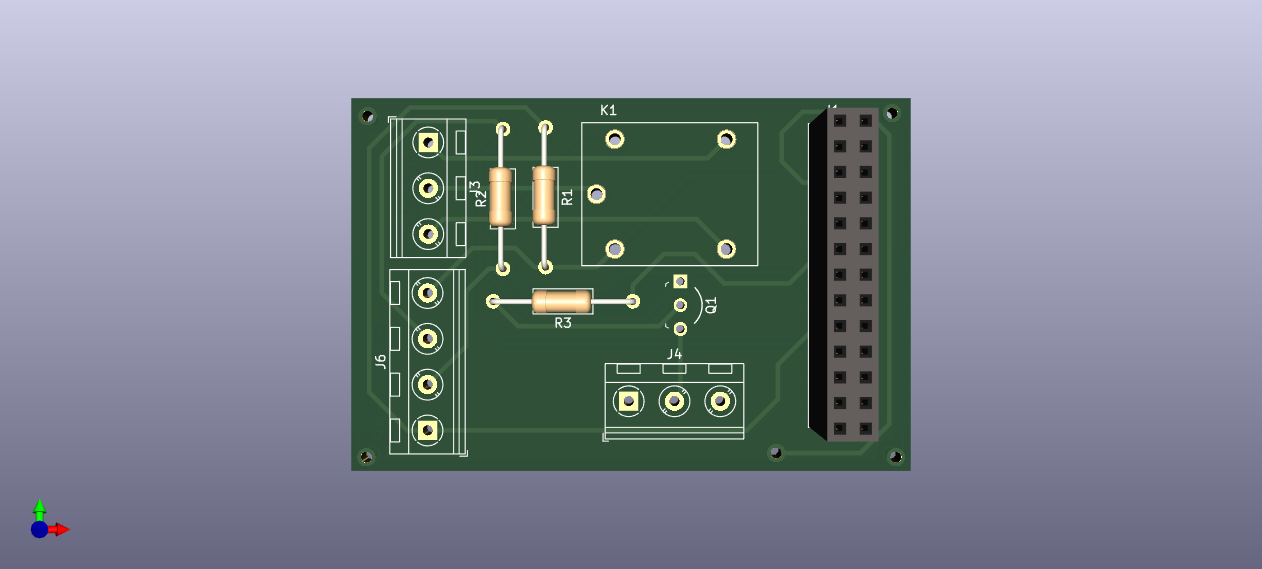
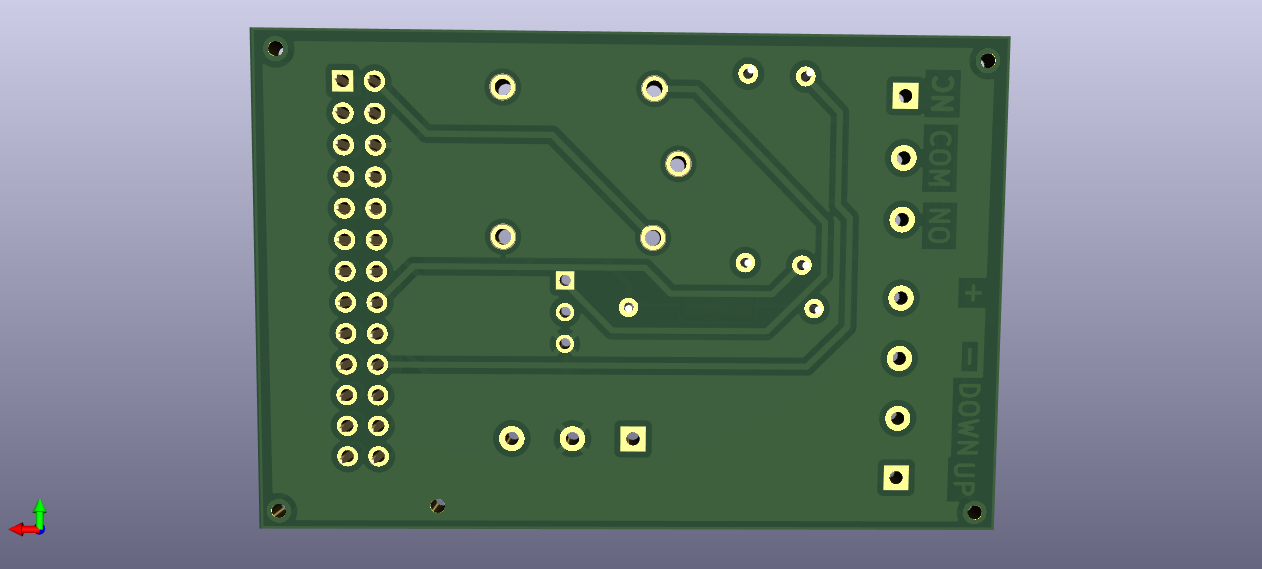
| Qty | Value | Footprint | References |
|---|---|---|---|
| 2 | 2.2k | Resistor_THT:R_Axial_DIN0207_L6.3mm_D2.5mm_P15.24mm_Horizontal | R1, R2 |
| 2 | Screw_Terminal_01x03 | TerminalBlock_RND:TerminalBlock_RND_205-00046_1x03_P5.00mm_Horizontal | J3, J4 |
| 1 | 330ohm | Resistor_THT:R_Axial_DIN0207_L6.3mm_D2.5mm_P15.24mm_Horizontal | R3 |
| 1 | BC547BTA | digikey-footprints:TO-92-3_Formed_Leads | Q1 |
| 1 | Conn_02x13_Odd_Even | Connector_PinSocket_2.54mm:PinSocket_2x13_P2.54mm_Vertical | J1 |
| 1 | SRD-03VDC-SL-C | SRD-03VDC-SL-C:RELAY_SRD-03VDC-SL-C | K1 |
| 1 | Screw_Terminal_01x04 | TerminalBlock_RND:TerminalBlock_RND_205-00047_1x04_P5.00mm_Horizontal | J6 |


mitchins/esp-hvac-controller
A simple relay based two zone low voltage AC damper controller. May also control other loads.


FrameworkComputer/ExpansionCards
Reference designs and documentation to create Expansion Cards for the Framework Laptop

VoronDesign/Voron-Hardware
Cool Hardware designed by the Voron Design group
9 parts, built around the BC547BTA and SRD-03VDC-SL-C. The full list of its parts is on this page, with links to each part's symbol and footprint where PCBKit's library has them.
From the umutnergis/Rp_Video_Looper_PCB repository on GitHub, at the commit this page was made from: the board is Pcb/Rp_project.kicad_pcb and its schematic Pcb/Rp_project.kicad_sch. PCBKit opens the board in the browser, with nothing to install.
Its repository states no licence, so its author keeps all rights: ask umutnergis before reusing the design.