2 layers110 × 90 mm

 swanmatch/SouthernCross
micro pad
SouthernCross is an open-source printed circuit board by swanmatch, from the swanmatch/SouthernCross repository on GitHub, published under the MIT licence. It is a 2-layer board of 99.1 × 90.2 mm with 68 parts on 15 nets, routed with 496 tracks and 24 vias.
Its parts include 36 switches, 16 inductors, 12 connectors and 4 ICs. It belongs with the AVR (ATmega, ATtiny) boards of this library.
| 品目 | 数量 |
|---|---|
| PCB | 1枚 |
| ボトムプレート | 1枚 |
| LED(SK6812mini) | 4個 |
| M2L7丸スペーサ | 3本 |
| M2L4ネジ | 6本 |
| タクトスイッチ(大) | 4個 |
| タクトスイッチ(小) | 1個 |
| ゴム足 | 3個 |
| 品目 | 数量 | 入手先 |
|---|---|---|
| ProMicro | 1個 | 遊舎工房(コンスルー付き) talpkeyboard |
| コンスルー | 2本 | 遊舎工房 talpkeyboard |
| MX互換スイッチ(5pin推奨) | 4個 | 遊舎工房 talpkeyboard |
| 1Uキーキャップ | 4個 | 遊舎工房 talpkeyboard |
| USBケーブル | 1本 | 100円ショップなど |
| 品目 | 入手先 |
|---|---|
| * 温度調整ハンダゴテ | Amazon、ホームセンターなど |
| * 低音はんだ | 100円ショップなど |
| ニッパー | 100円ショップなど |
| 2液混合接着剤 | 100円ショップなど |
| ピンセット | 100円ショップなど |
| テスター | Amazon、ホームセンターなど |
*印のものは必須で、その他はあったほうが便利なものです。
LEDをはんだ付けします。
三角のシルクマークが付いているパッドがLEDの欠けているタブに対応しています。
LEDは比較的熱に弱いので、温度調整はんだごてで220℃くらいで、手早くはんだ付けしてください。
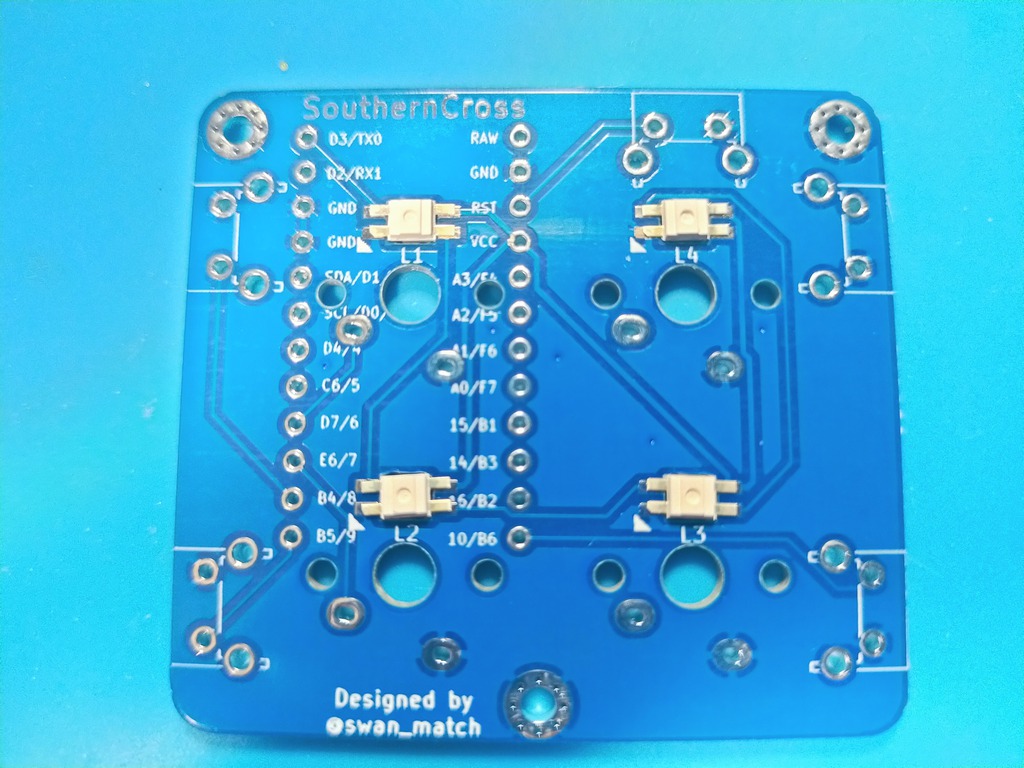
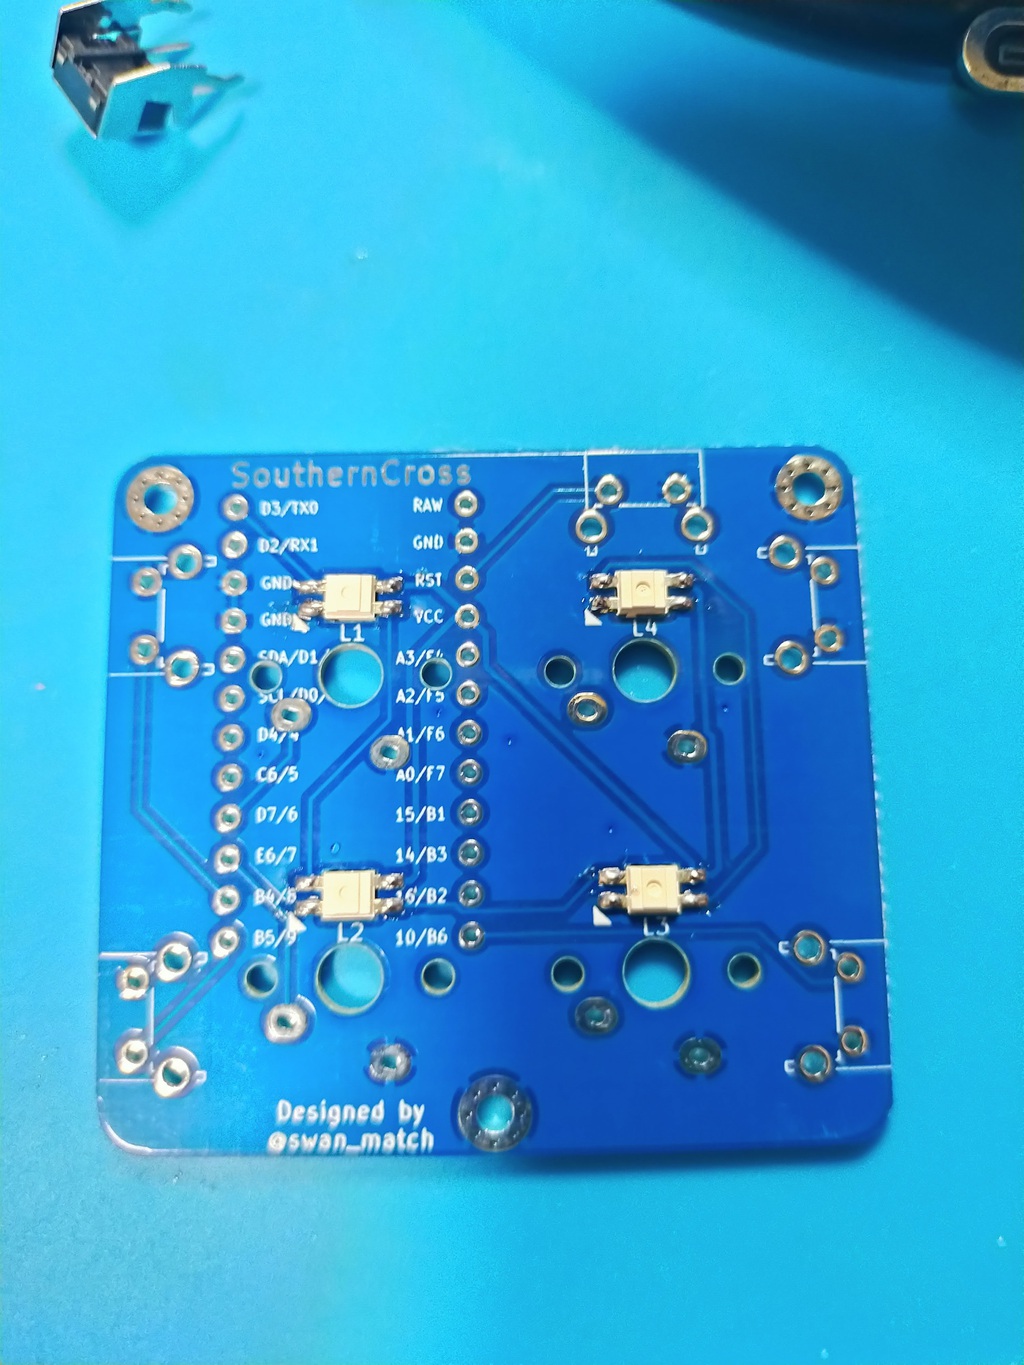
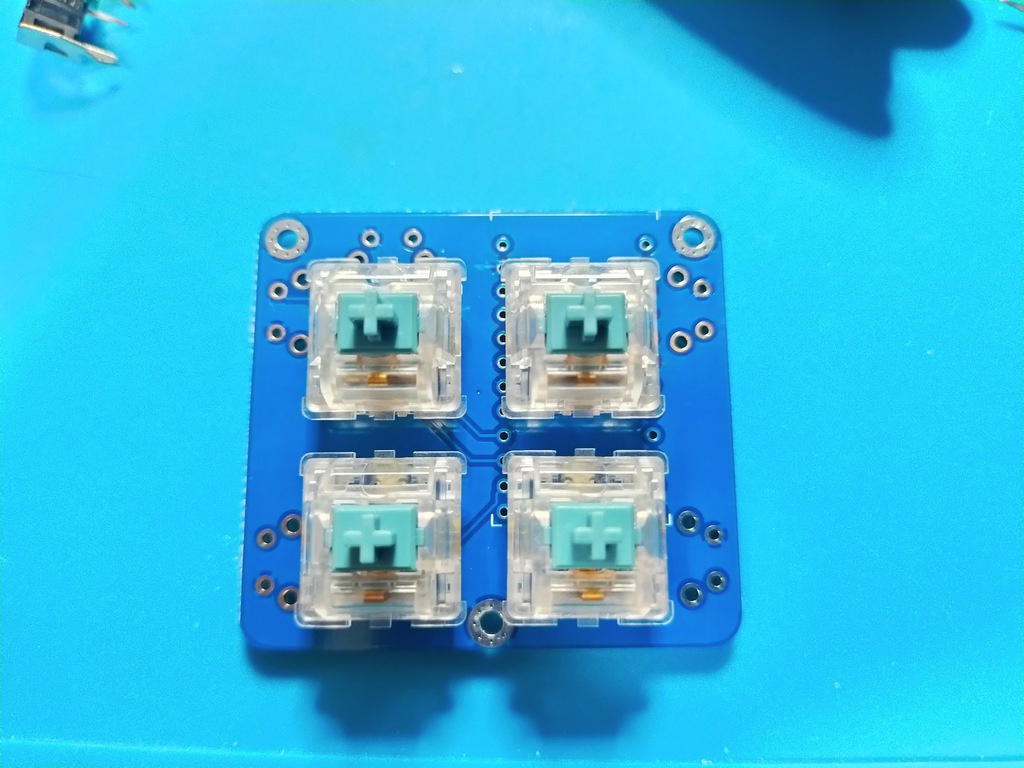
基板をひっくり返してスイッチをはめ込み、 再度裏面からスイッチをはんだ付けします。 差し込む際にピンを曲げてしまわないように気をつけてください。
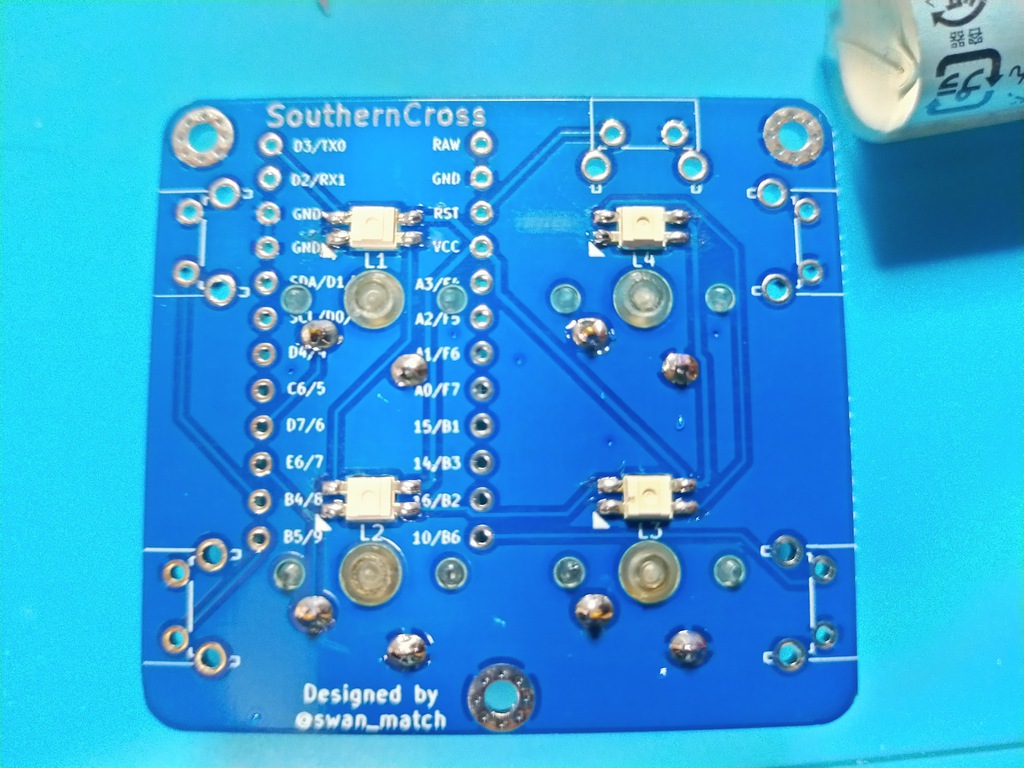
タクトスイッチを差し込み、 反対側(表、スイッチ側)に戻してはんだ付けします。
上部だけ小さいタクトスイッチを使います。
裏表間違えるとキーを押し込んだときにキーキャップが干渉する可能性があるので気をつけてください。
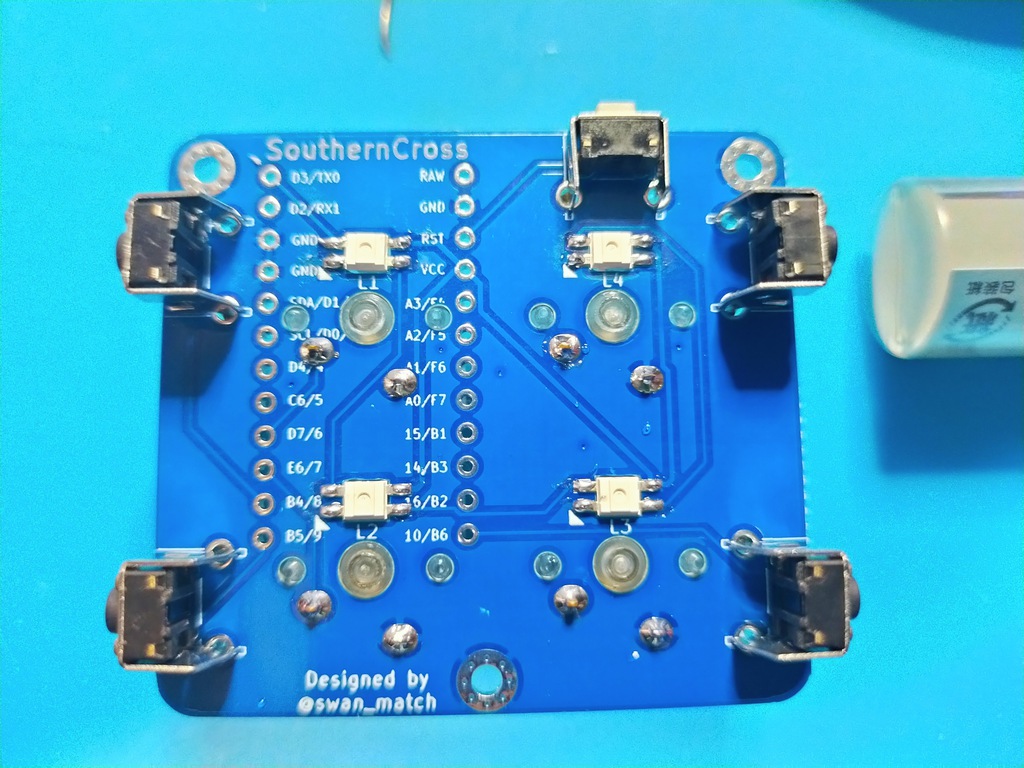
ここだけは間違えるとリカバリが面倒なので、細心の注意をして作業にあたってください
コンスルーの取り付け方は遊舎工房さんの記事を参考にしてください。
また、ProMicroはあらかじめいわゆる「モゲ対策」をしておくことをおすすめします。
まず、基板にコンスルーを差し込みます。
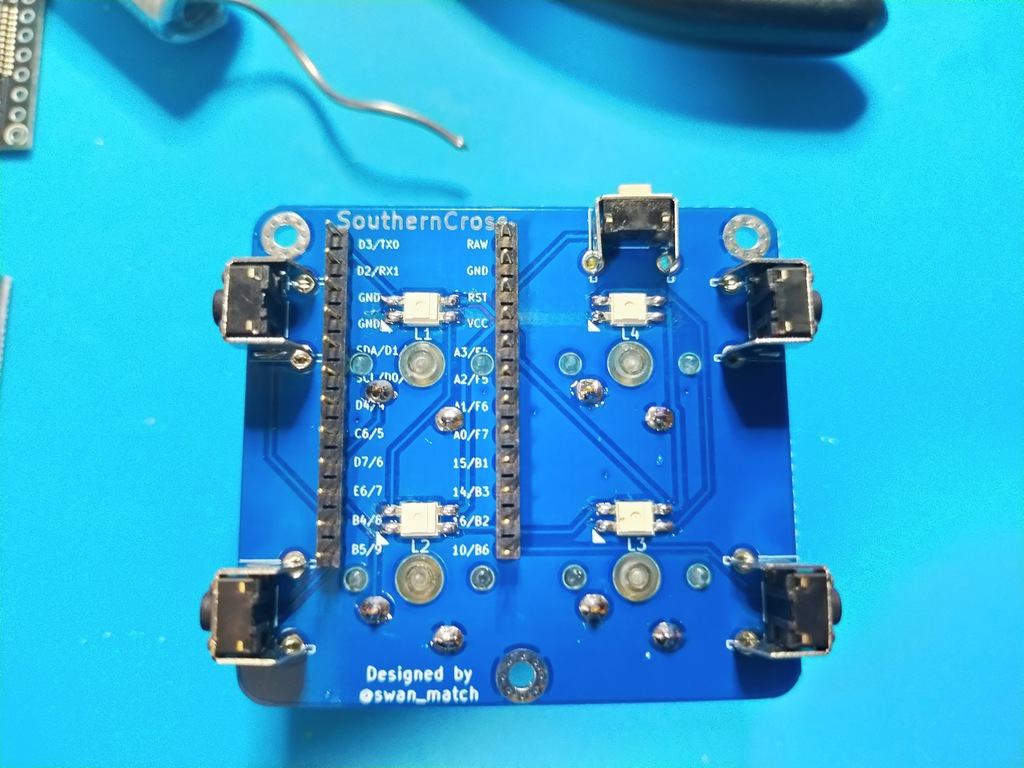
部品実装面が上になるようにPromicroを乗せます。
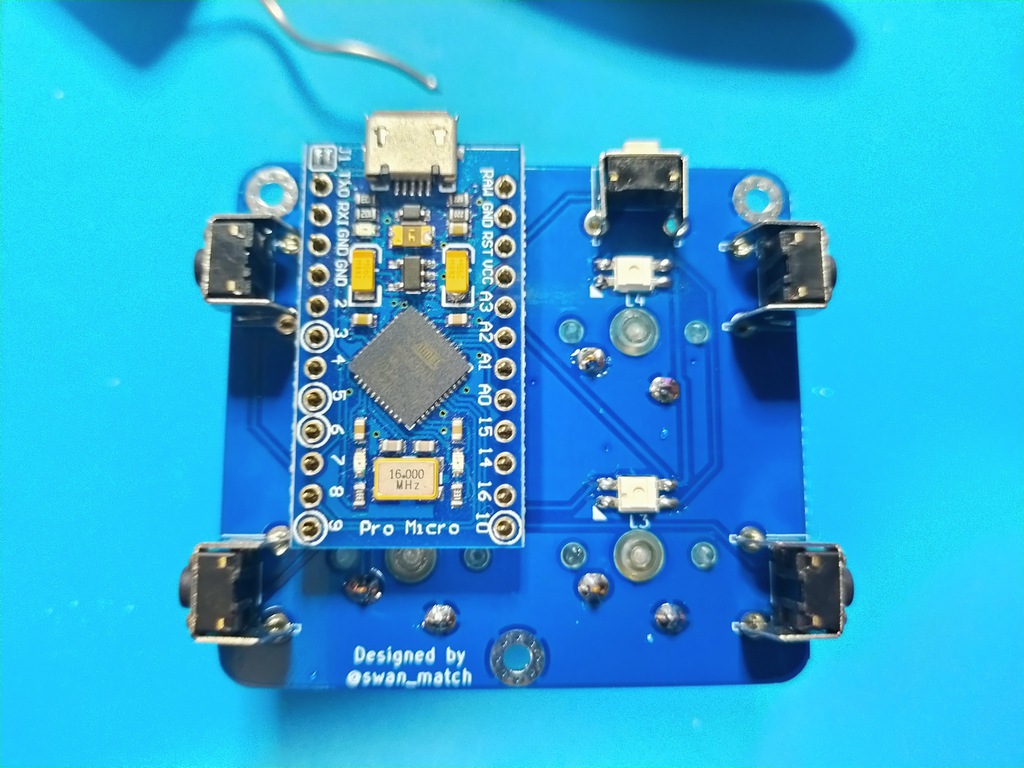
はんだ付けします。
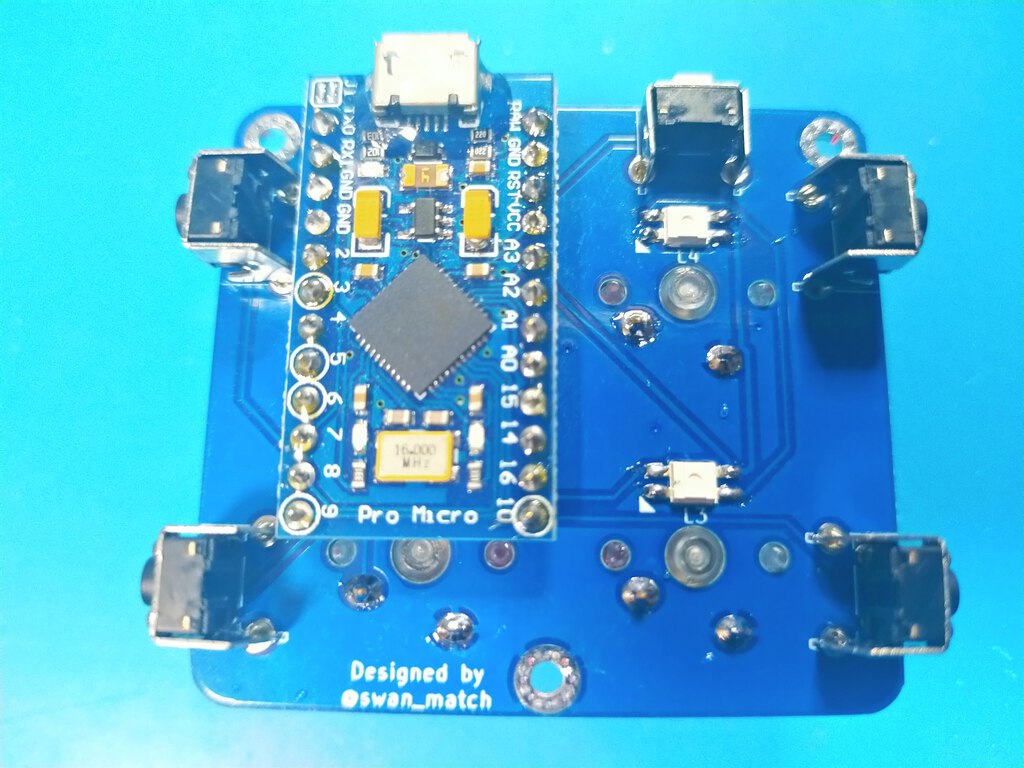
ボトムプレートをスペーサーでネジ止めして、 ゴム足を貼り付けます。
ボトムプレートはリバーシブルです。
ファームウェアの書き込みには、RemapというWebサイトでカスタマイズする方法と、
公開しているソースコードを元にカスタマイズする方法があります。
前者のほうが簡単ですが、後者のほうが柔軟性が高いです。
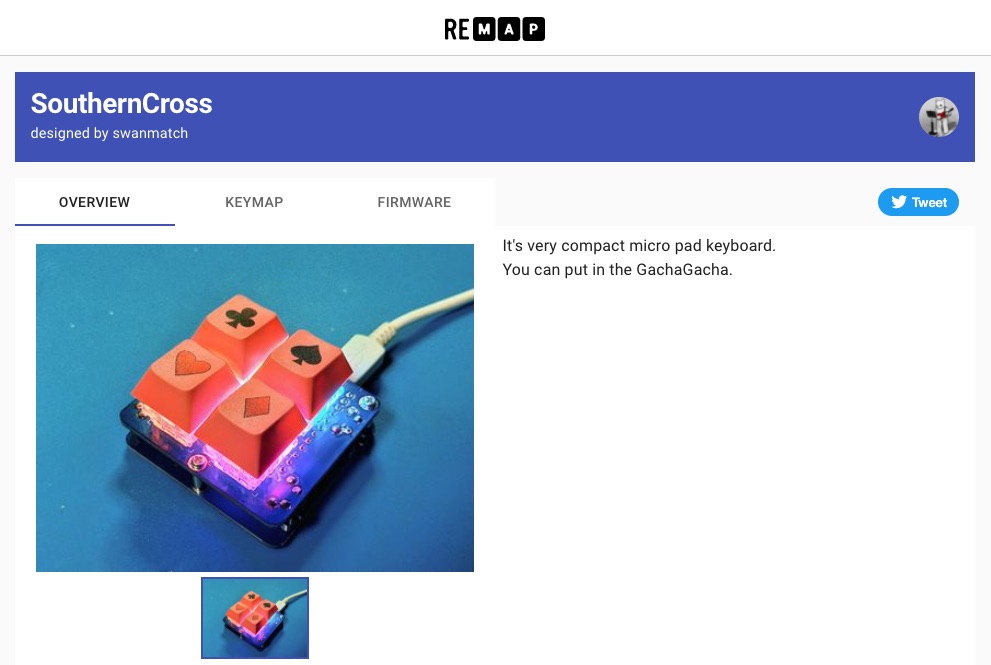
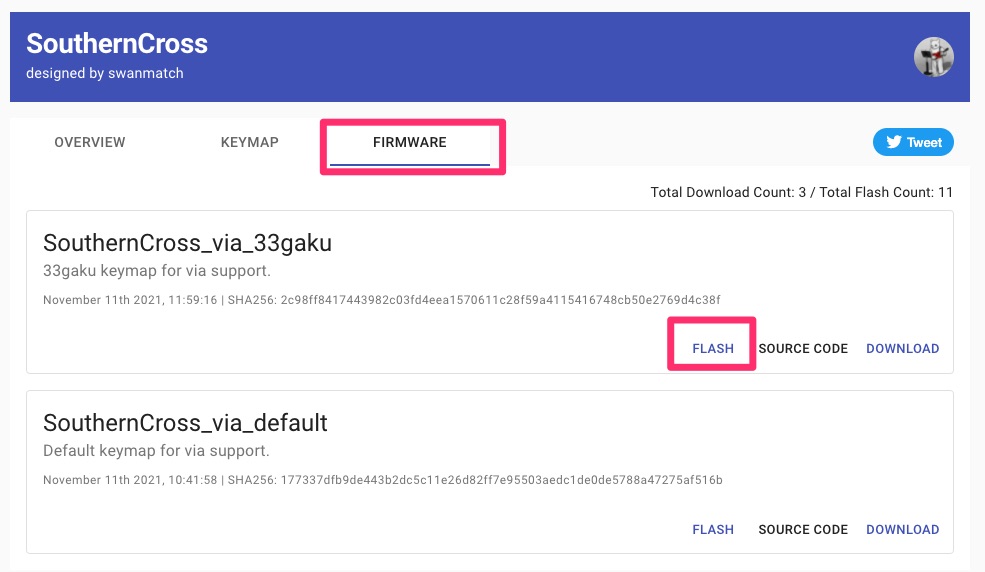
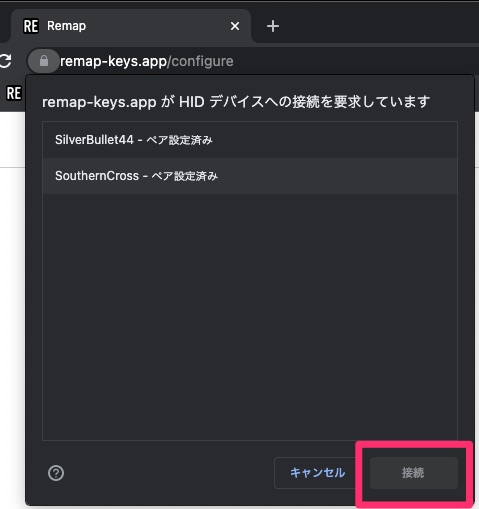
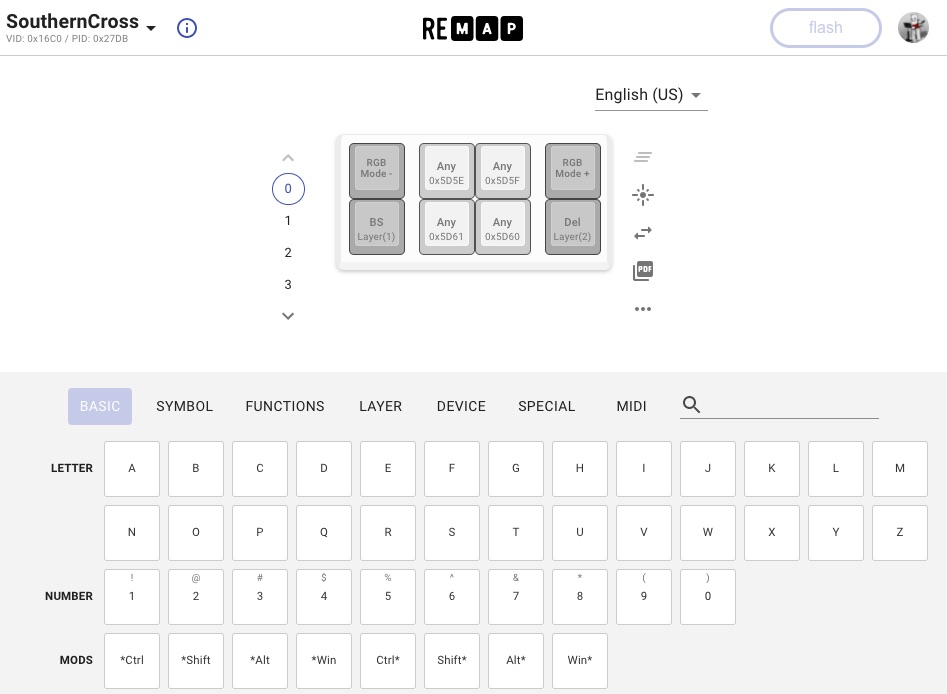
Repmapでも大概のことは実現できますが、 公開しているファームウェアをもとに、 完全にオリジナルのキーマップを作成することも可能です。
といってもKeymapの定義くらいならそれほど難しくはないです。こんなかんじ。
ファームウェアの書き込みは以下のコマンドを実行します。
QMKの環境構築についてはお使いのOSによって異なりなりますので、
公式ドキュメントを読んでください。
git clone https://github.com/swanmatch/qmk_firmware.git
cd qmk_firmware
make git-submodule
git checkout southerncross

# 書き込み
make southern_cross:default:avrdude
# via対応する場合
make southern_cross/via/:default:avrdude
# 33gakuキーマップを書き込むとき
make southern_cross:33gaku:avrdude
# via対応33gakuキーマップを書き込むとき
make southern_cross/via:33gaku:avrdude

# 自分のキーマップを作成する([your_name]部分は適宜変更)
cp keyboards/southern_cross/keymaps/default keyboards/southern_cross/keymaps/[your_name]
# 好きなエディタで `keyboards/southern_cross/keymaps/[your_name]/keymap.c`を編集する
make southern_cross:[your_name]:avrdude
Detecting USB port, reset your controller now...という表示になりましたら、
奥のサイドボタン(RESETボタン)を押し込みます。
数秒で書き込みが完了します。
| Qty | Value | Footprint | References |
|---|---|---|---|
| 20 | SW_PUSH | Button_Switch_THT:SW_Tactile_SPST_Angled_PTS645Vx39-2LFS | SW3, SW3, SW3, SW3, SW4, SW4, SW4, SW4, SW7, SW7, SW7, SW7, SW8, SW8, SW8, SW8 +4 |
| 16 | SW_PUSH | Keyboard:MX_1U | SW1, SW1, SW1, SW1, SW2, SW2, SW2, SW2, SW5, SW5, SW5, SW5, SW6, SW6, SW6, SW6 |
| 16 | YS-SK6812MINI | Keyboard:YS-SK6812MINI-E | L1, L1, L1, L1, L2, L2, L2, L2, L3, L3, L3, L3, L4, L4, L4, L4 |
| 12 | Conn_01x01 | MountingHole:MountingHole_2.2mm_M2_Pad_Via | J1, J1, J1, J1, J2, J2, J2, J2, J3, J3, J3, J3 |
| 4 | ProMicro | Keyboard:ProMicro_v3 | U1, U1, U1, U1 |


Ardumower/ardumower
Develop an open source robotic lawn mower (HW+SW reference platform)


pekkaroi/bldc-drive
Cheap and simple brushless DC motor driver designed for CNC applications using STM32 microcontroller


GregTurbo/Open-Frame1
An open-source rectangle hardware project for smash, prioritizing ease of assembly and cost
It measures 99.1 × 90.2 mm and has 2 copper layers, 1.6 mm thick.
68 parts. The full list of its parts is on this page, with links to each part's symbol and footprint where PCBKit's library has them.
From the swanmatch/SouthernCross repository on GitHub, at the commit this page was made from: the board is pcb/pcb.kicad_pcb. PCBKit opens the board in the browser, with nothing to install.
Its repository publishes it under the MIT licence: you may reuse it on that licence's terms (keep the author's notice, and for a copyleft licence share your changes alike).