
2 layers66 × 65 mm

 sokrasins/name-tag
SMD Nametag for Make Roanoke
Nametag back is an open-source printed circuit board by sokrasins, from the sokrasins/name-tag repository on GitHub, published under the MIT licence. It is a 2-layer board of 100 × 78 mm with 64 parts on 34 nets, routed with 158 tracks and 42 vias.
It is built around the TPS613221ADBV. Its parts include 27 resistors, 27 diodes, 2 capacitors, 1 IC and 1 switch.
A battery-powered, LED-lit "My name is" name tag for MAKE Roanoke, designed in KiCad 9.
It is made of two stacked PCBs:
The boards line up on four M3 mounting holes and are held together with standoffs. A slot at the top of the back board is for a clip.
This project has been designed explicitly to be built via reflow as part of a class.
Viewable links are here:
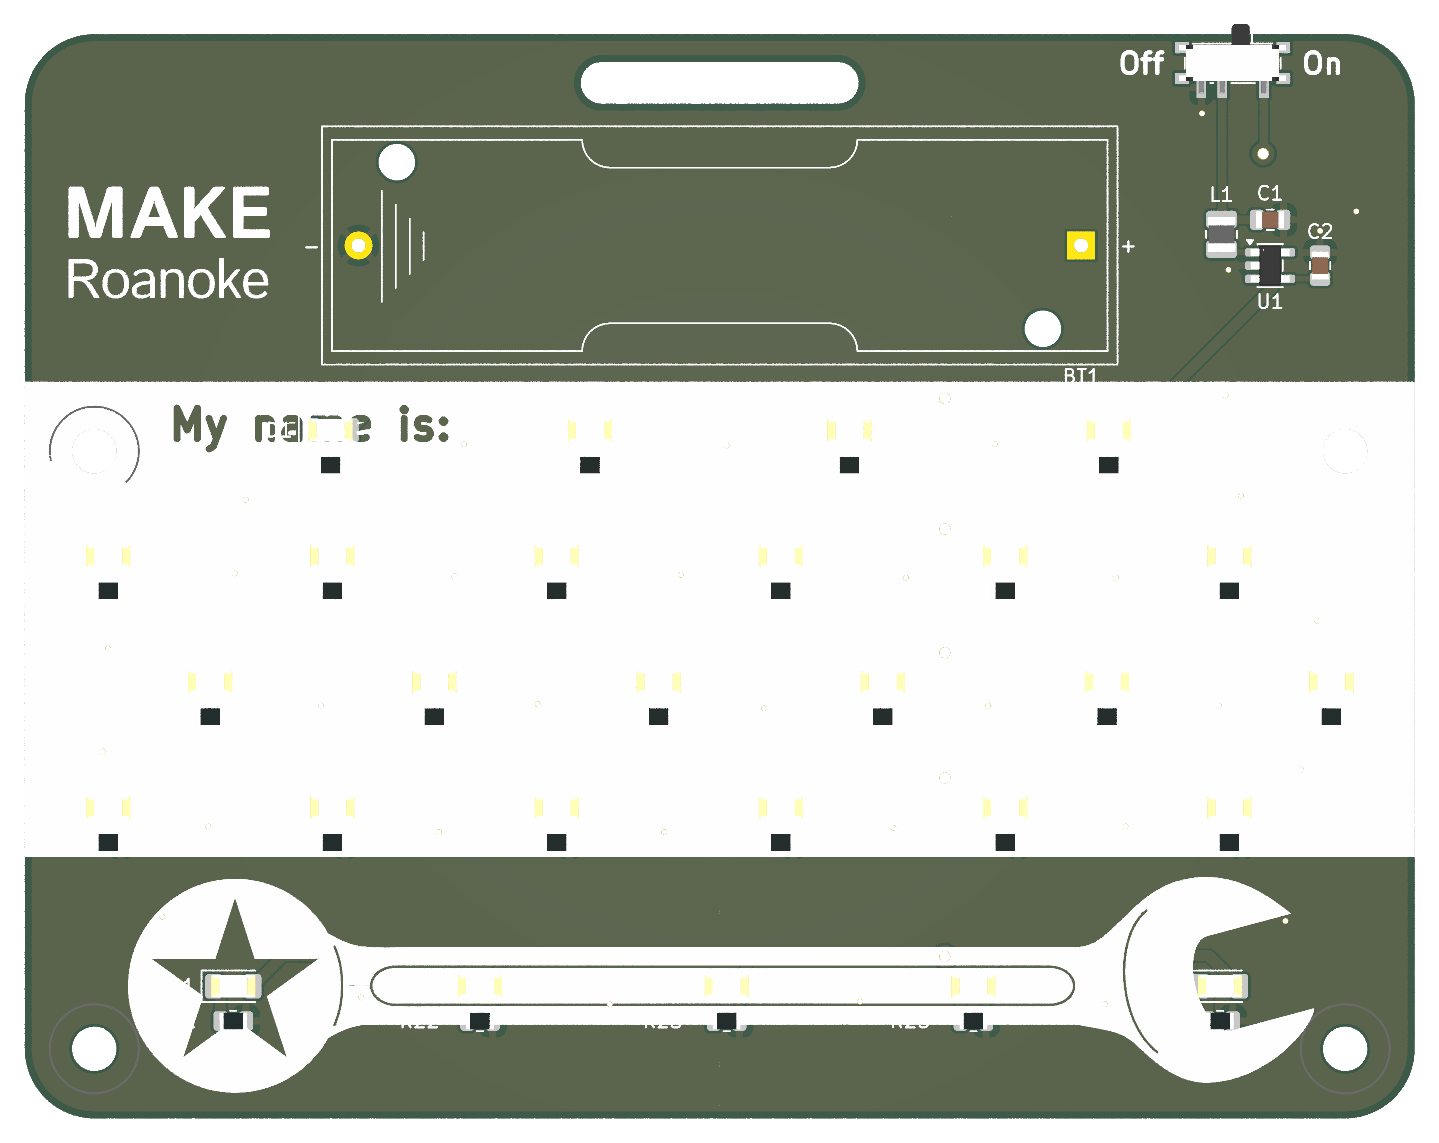
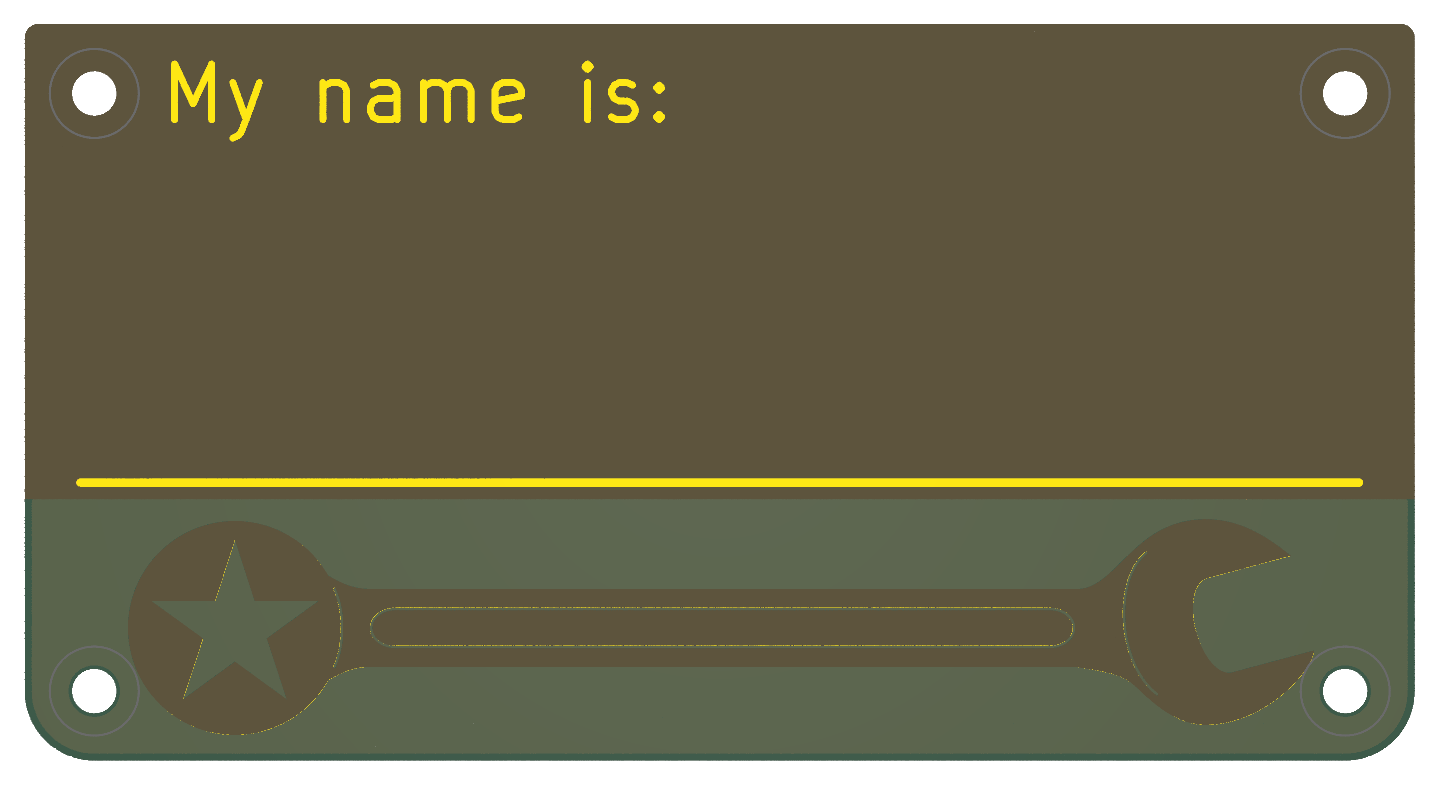
CTRL gate line, so turning it dims or brightens every LED together.| Back | Front | |
|---|---|---|
| Size | 100 × 75 mm | 100 × 53 mm |
| Layers / thickness | 2 / 1.6 mm | 2 / 1.6 mm |
| Components | All electronics | None (4× M3 holes) |
| Path | Contents |
|---|---|
pcbs/nametag_back/ | Back board KiCad project (schematic and layout) |
pcbs/nametag_back/gerbs/ | Back board Gerbers and drill files |
pcbs/nametag_front/ | Front board KiCad project (layout only, no schematic) |
pcbs/nametag_front/gerbs/ | Front board Gerbers and drill files |
docs/assembly.html | Interactive BOM for assembling the back board |
docs/bom.csv | Bill of materials for the back board, with LCSC part numbers |
With KiCad 9 or newer installed, run:
scripts/render_pcbs.sh          # top side (the images above)
scripts/render_pcbs.sh both     # also writes docs/renders/*_render_bottom.png
It calls kicad-cli pcb render for each board and kicad-cli sch export pdf
to write docs/nametag_back_schematic_rev<N>.pdf, where <N> is the
revision from the schematic's title block. Set KICAD_CLI if
kicad-cli isn't on your PATH. QUALITY, WIDTH, HEIGHT and BACKGROUND
change the output.
If the InteractiveHtmlBom
plugin is installed through KiCad's Plugin and Content Manager, it also writes
docs/assembly.html. Set IBOM to point at generate_interactive_bom.py if
the plugin lives elsewhere, and IBOM_PYTHON if the python that can import
KiCad's pcbnew module isn't found automatically.
| Qty | Value | Footprint | References |
|---|---|---|---|
| 27 | 330R | Resistor_SMD:R_0805_2012Metric | R1, R2, R10, R11, R12, R13, R14, R15, R16, R17, R18, R19, R20, R21, R22, R23 +11 |
| 22 | WHITE | LED_SMD:LED_1206_3216Metric | D1, D2, D3, D10, D11, D12, D13, D14, D15, D16, D17, D18, D19, D20, D26, D27 +6 |
| 5 | GREEN | LED_SMD:LED_1206_3216Metric | D21, D22, D23, D24, D25 |
| 4 | MountingHole | MountingHole:MountingHole_3.2mm_M3 | H1, H2, H3, H4 |
| 1 | 2.2 uF | Capacitor_SMD:C_0805_2012Metric | C1 |
| 1 | 22 uF | Capacitor_SMD:C_0805_2012Metric | C2 |
| 1 | 4.7 uH | Inductor_SMD:L_1008_2520Metric | L1 |
| 1 | AA (1.5V) | Battery:BatteryHolder_Keystone_2460_1xAA | BT1 |
| 1 | SW_SPDT | Button_Switch_SMD:SW_SPDT_PCM12 | SW2 |
| 1 | TPS613221ADBV | Package_TO_SOT_SMD:SOT-23-5 | U1 |

lucasnoce/IC-LevelSensor_v2
Water level sensor with NBIoT data transmission

rappet/ferris-badge
Small badge running on a coin cell using a STM32L031G6U with embassy.


RICCIARDI-Adrien/Chip8_Console
A Chip-8 / Super Chip-8 console powered by a 8-bit PIC18 microcontroller.


cnlohr/cnhardware
My dumping grounds for all my kicad projects and random hardware bringup.

OklahomaOpenSourceHardware/OKC-OSH-2024-Badge
2024 badge for Oklahoma PCB Tech Conferences
It measures 100 × 78 mm and has 2 copper layers, 1.6 mm thick.
64 parts, built around the TPS613221ADBV. The full list of its parts is on this page, with links to each part's symbol and footprint where PCBKit's library has them.
From the sokrasins/name-tag repository on GitHub, at the commit this page was made from: the board is pcbs/nametag_back/nametag_back.kicad_pcb and its schematic pcbs/nametag_back/leds.kicad_sch. PCBKit opens the board in the browser, with nothing to install.
Its repository publishes it under the MIT licence: you may reuse it on that licence's terms (keep the author's notice, and for a copyleft licence share your changes alike).