2 layers
Encoder
byrantech/laptop
anyon_e, a highly integrated, high end, open source laptop. Attempt the impossible.
7 parts4.3kMIT

 Simou28/Stepper-Motor-
This project automates the rotation of a polarization lenses in a microscope system. The polarization lens modifies the color of the observed sample by filtering specific light waves, allowing polarization microscopy to…
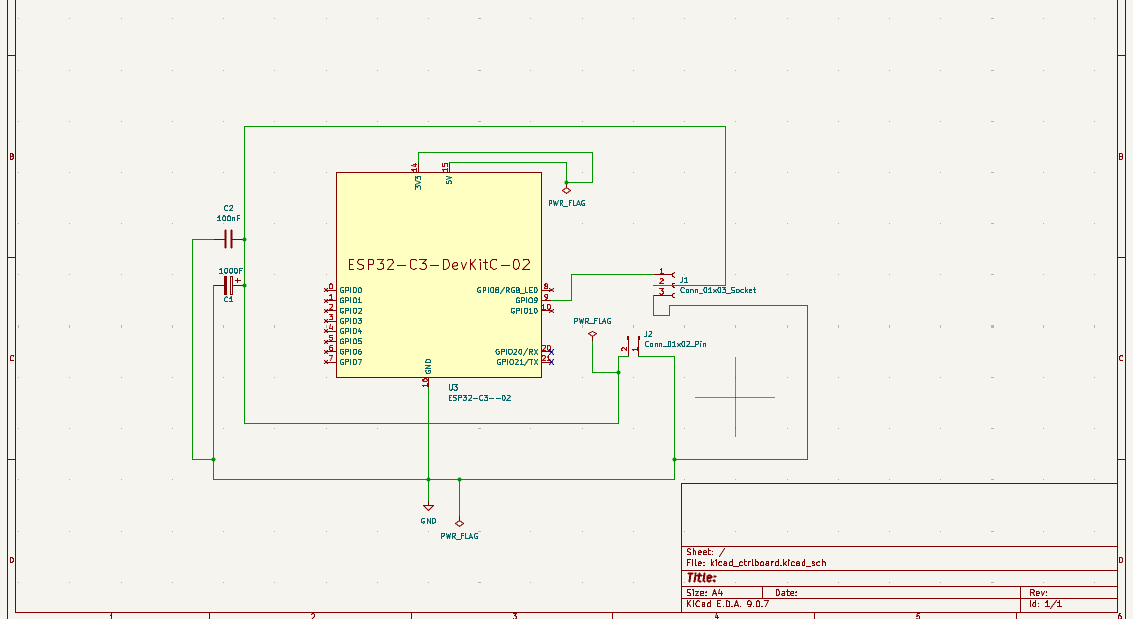
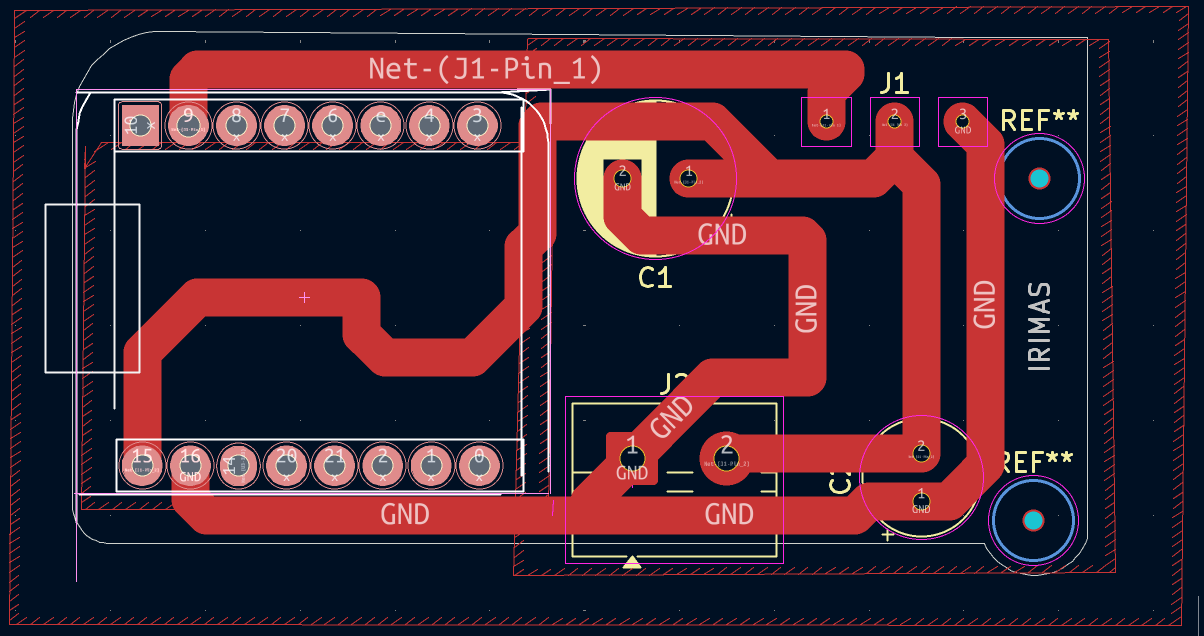
Kicad ctrlboard is an open-source printed circuit board by Simou28, from the Simou28/Stepper-Motor- repository on GitHub. It is a 2-layer board of 53.5 × 28.5 mm with 7 parts on 16 nets, routed with 48 tracks and 0 vias.
Its parts include 2 capacitors, 2 connectors and 1 IC. It belongs with the ESP32 and RISC-V boards of this library.
This project automates the rotation of a polarization lenses in a microscope system. The polarization lens modifies the color of the observed sample by filtering specific light waves, allowing polarization microscopy to enhance contrast and reveal structural and optical properties of the sample.
The project was developed during my internship at IRIMAS (Institut de Recherche en Informatique, Mathématiques, Automatique et Signal) in Mulhouse, France.
The main objectives of this project were :
| Marerial | DataSheets |
|---|---|
| Esp32-C3 oled 0.42 | Esp32-C3 oled 0.42 |
| Stepper_motor | Stepper Motor DataSheet |
| Capacitor 1000uF | Capacitor Datasheet |
| Capacitor 100 nF | Capacitor 100nF DataSheet |
void go_to_90() {
  for (pos=0; pos<=90; pos+=1) {
    int angle = map (pos,0, 90,500, 2500);
    servo.writeMicroseconds(angle);

    display.clearDisplay();
    display.setCursor(0, 0);
    display.println("Angle :");
    display.setTextSize(2);
    display.setCursor(0, 16);
    display.print(pos);
    display.print("°");
    display.display();

    delay(20);
  }

}

void go_to_0() {
  servo.write(0);

  display.clearDisplay();
display.setCursor(0, 0);import serial
import serial.tools.list_portsdef find_esp32_port():
ports = serial.tools.list_ports.comports()
for p in ports:
if "USB" in p.description or "CDC" in p.description:
return p.device
return None
def connect():
global ard
port = find_esp32_port()
if port is None:
status_label.configure(text="ESP32 not found !")
return False
try:
ard = serial.Serial(port, 115200, timeout=1)
sleep(2)
status_label.configure(text=f"Connected to port {port}")
return True
except serial.SerialException:
status_label.configure(text=f"Connection to {port} is not possible")
return Falseroot = customtkinter.CTk()
root.title("ESP32 OLED Controller")
root.geometry("300x500")
frame = customtkinter.CTkFrame(master=root)
frame.place(relx=0.5, rely=0.5, anchor="center")
status_label = customtkinter.CTkLabel(master=frame, text="Connexion...")
status_label.pack(pady=10)
btn_90 = customtkinter.CTkButton(master=frame, text="Turn to 90°", command=turn_to_90)
btn_90.pack(pady=5)
btn_0 = customtkinter.CTkButton(master=frame, text="Turn to 0°", command=turn_to_0)
btn_0.pack(pady=5)def turn_to_90():
try:
ard.write(b"1")
status_label.configure(text="Servo motor tuning to 90°")
except serial.SerialException:
status_label.configure(text="ESP32 disconnected")
def turn_to_0():
try:
ard.write(b"0")
status_label.configure(text="Servo motor tuning to 0°")
except serial.SerialException:
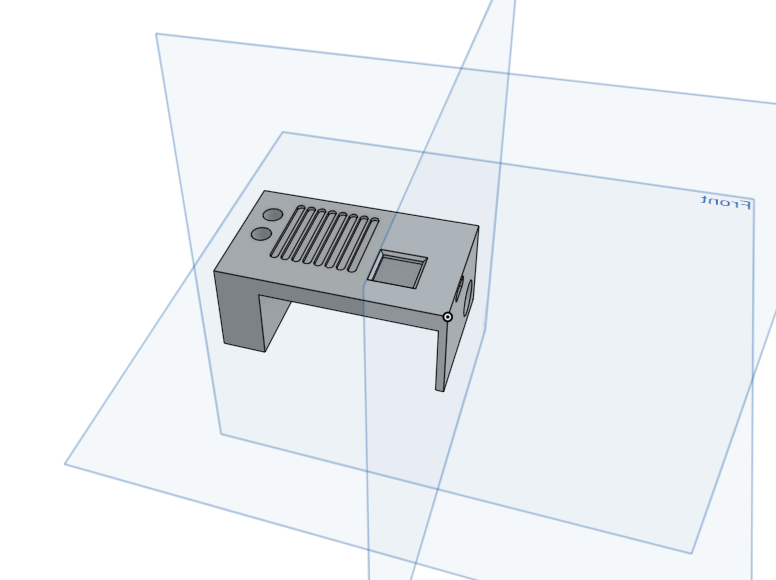
status_label.configure(text="")For my 3d designs I used the online software Onshape.com an easy software to use with a user freidly interface.
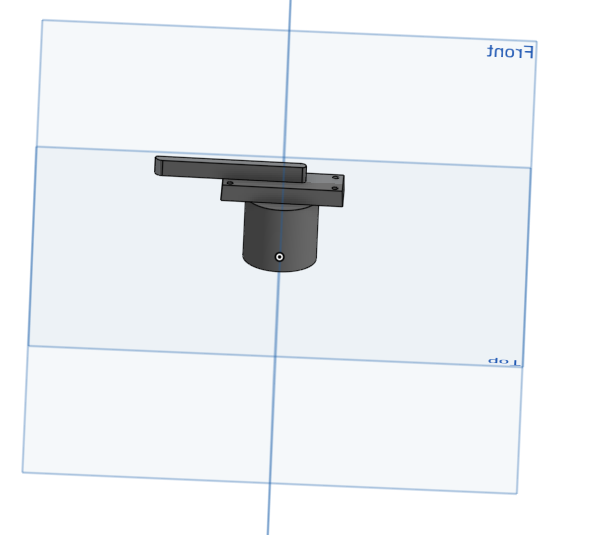
In order to enhance the ouput of the result, we need to study the
| Qty | Value | Footprint | References |
|---|---|---|---|
| 1 | 1000F | Capacitor_THT:CP_Radial_D8.0mm_P3.50mm | C1 |
| 1 | 100nF | Capacitor_THT:CP_Radial_Tantal_D6.0mm_P2.50mm | C2 |
| 1 | Conn_01x02_Pin | TerminalBlock:TerminalBlock_MaiXu_MX126-5.0-02P_1x02_P5.00mm | J2 |
| 1 | Conn_01x03_Socket | Connector_Wire:SolderWire-0.1sqmm_1x03_P3.6mm_D0.4mm_OD1mm | J1 |
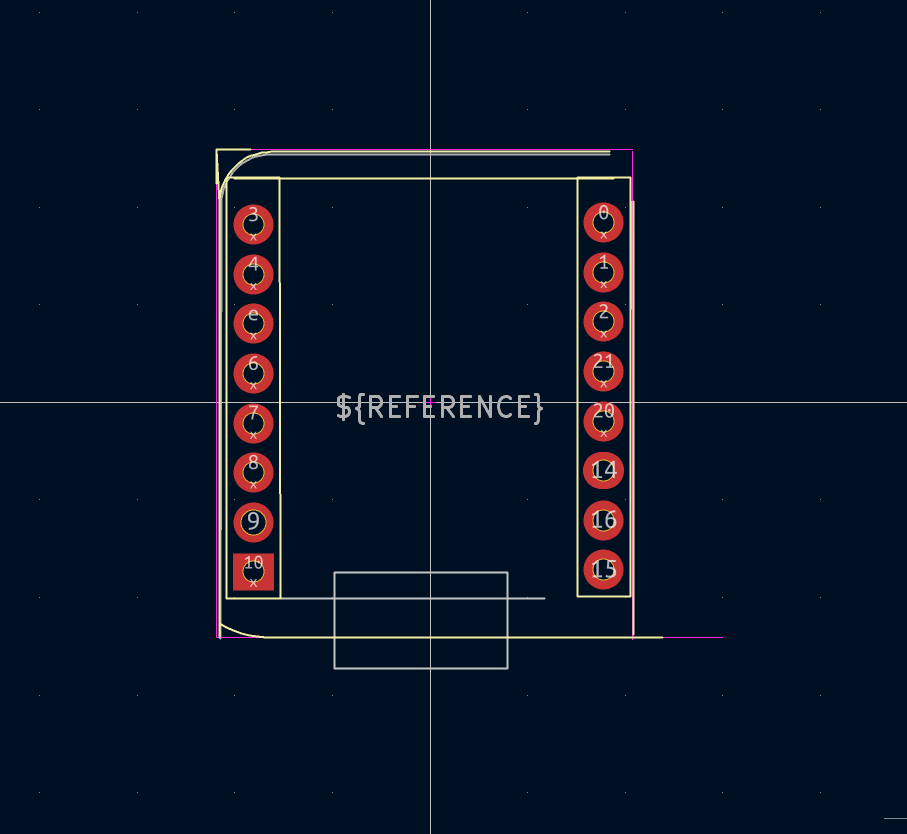
| 1 | ESP32-C3--02 | esp32_Github_Boards:ESP32-C3_oled0.4_2 | U3 |
The 5 most common of 7 parts.
It measures 53.5 × 28.5 mm and has 2 copper layers, 1.6 mm thick.
7 parts. The full list of its parts is on this page, with links to each part's symbol and footprint where PCBKit's library has them.
From the Simou28/Stepper-Motor- repository on GitHub, at the commit this page was made from: the board is Kicad/kicad_ctrlboard.kicad_pcb and its schematic Kicad/kicad_ctrlboard.kicad_sch. PCBKit opens the board in the browser, with nothing to install.
Its repository states no licence, so its author keeps all rights: ask Simou28 before reusing the design.
byrantech/laptop
anyon_e, a highly integrated, high end, open source laptop. Attempt the impossible.


AxxAxx/AxxSolder
STM32 Based soldering station for JBC cartridges, 9-24 VDC and USB-PD power


jamro/tiny-engineer
A small desktop robot that brings an AI coding assistant to life, physically acting out when it reads files, thinks, writes code, and finishes work.

hoglet67/RGBtoHDMI
Bare-metal Raspberry Pi project that provides pixel-perfect sampling of Retro Computer RGB/YUV video and conversion to HDMI
