2 layers251 × 148.4 mm

 shreeyuvan2020/ChillBoard
ChillBoard
ChillBoard is an open-source printed circuit board by shreeyuvan2020, from the shreeyuvan2020/ChillBoard repository on GitHub. It is a 2-layer board of 303.7 × 94 mm with 197 parts on 131 nets, routed with 2,213 tracks and 157 vias.
It is built around the PCF8574AP and SK6812MINI-E. Its parts include 84 diodes, 44 switches, 42 capacitors, 6 resistors and 4 ICs. It belongs with the nRF52 and nRF5x boards of this library.


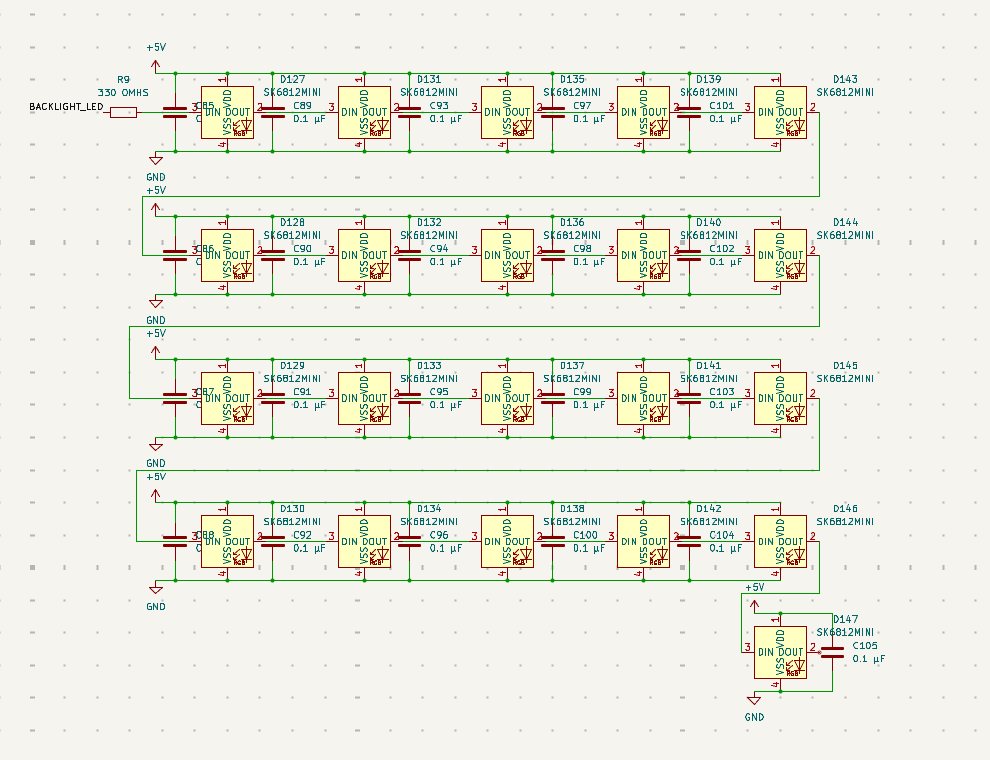
For the schematic, I used hierarchial sheets to organize everything. There are 2 hierarchial sheets for each side of the pcb, and a hierarchial sheet in each one of those for the large neopixel matrix.
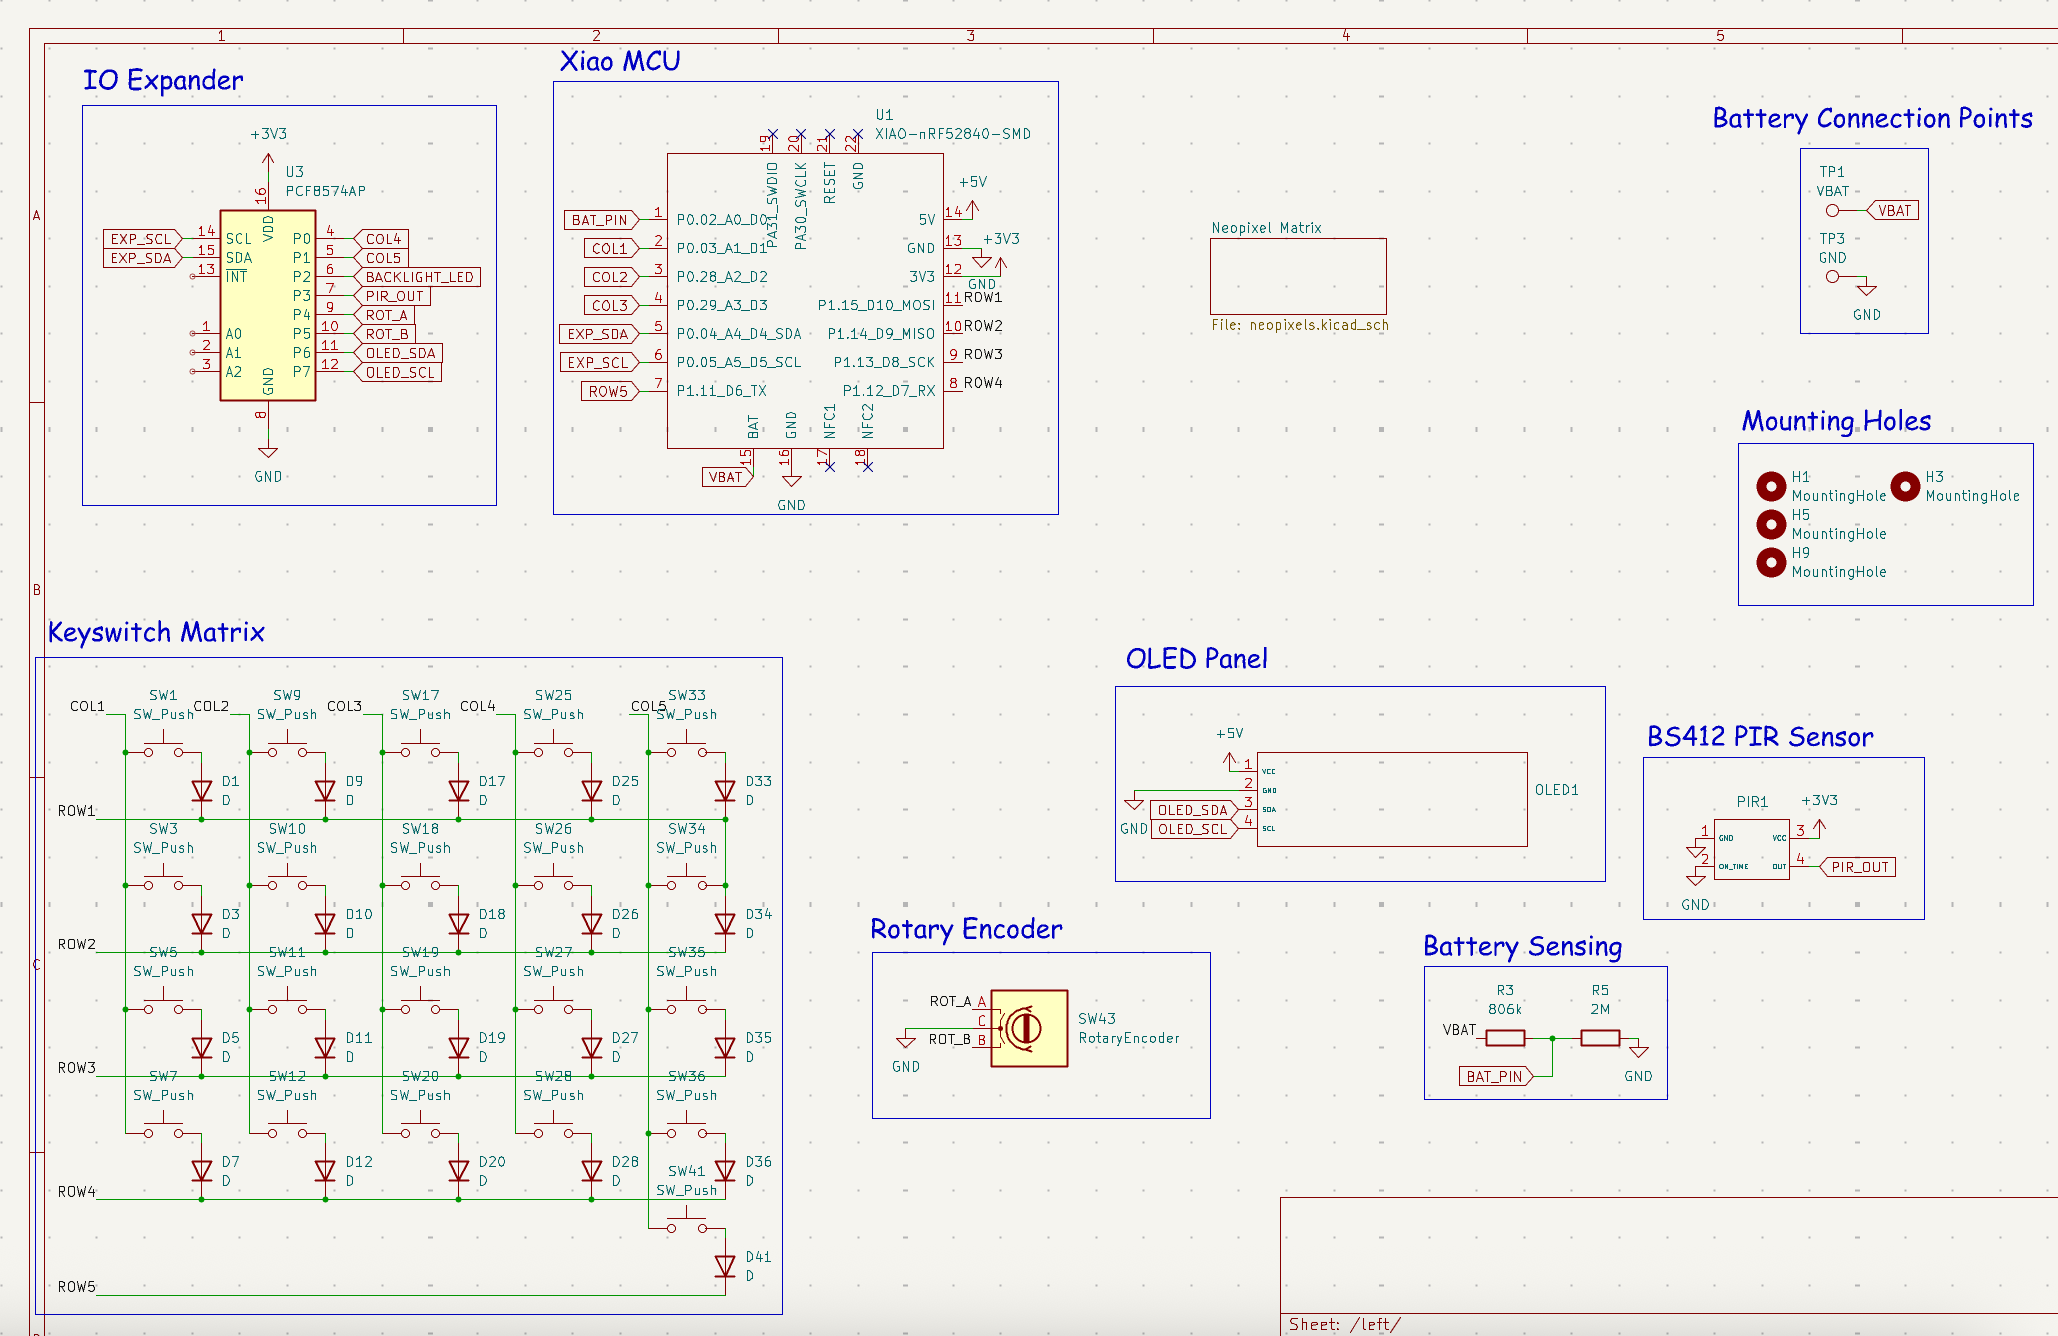
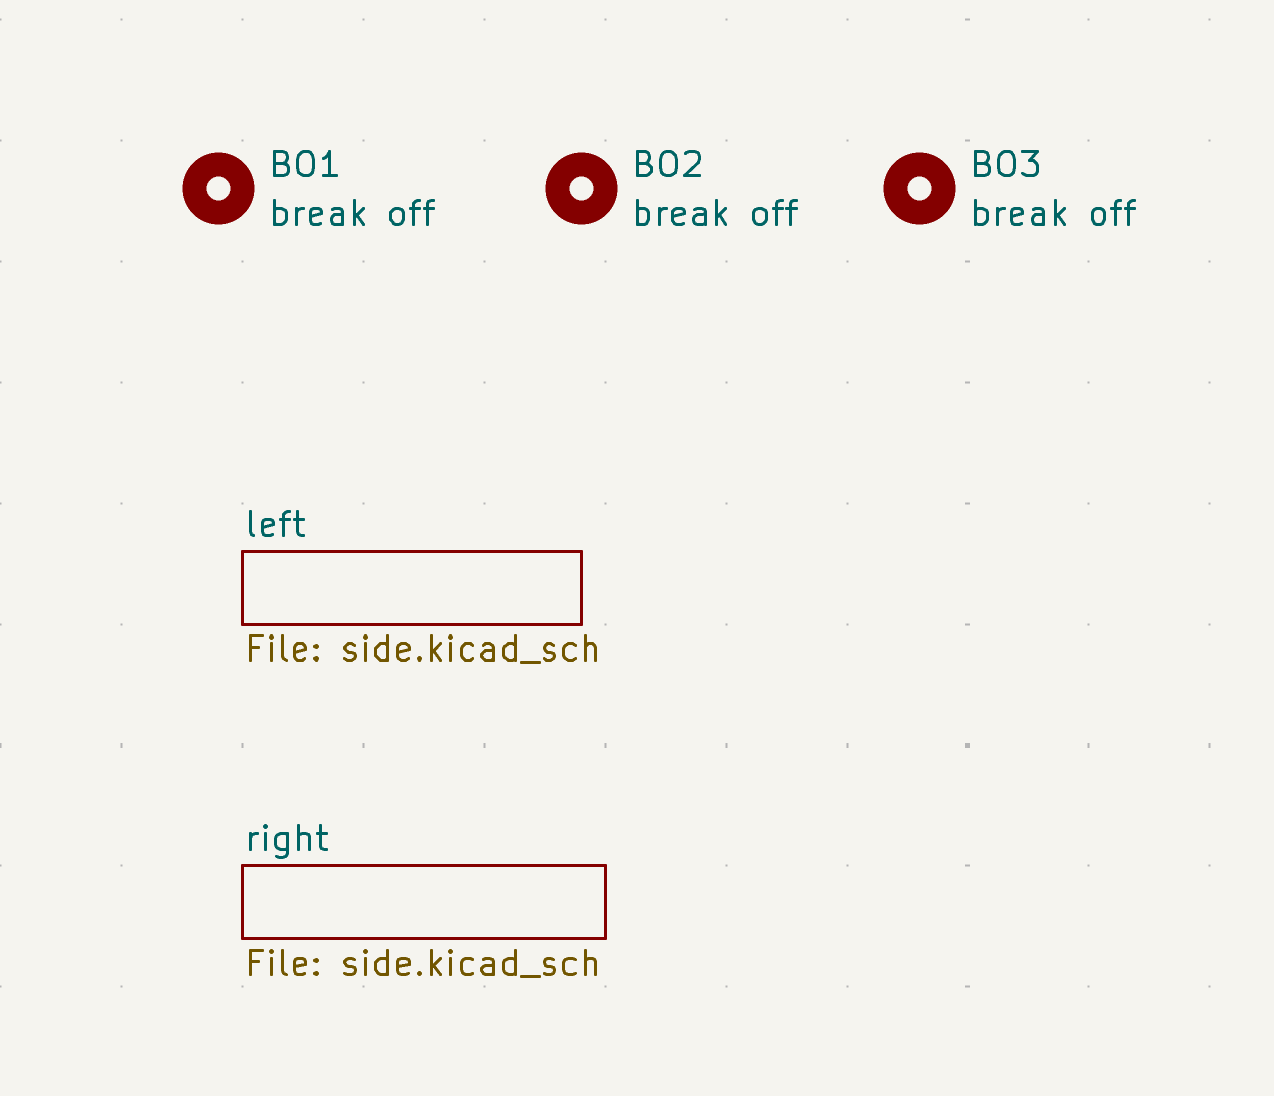
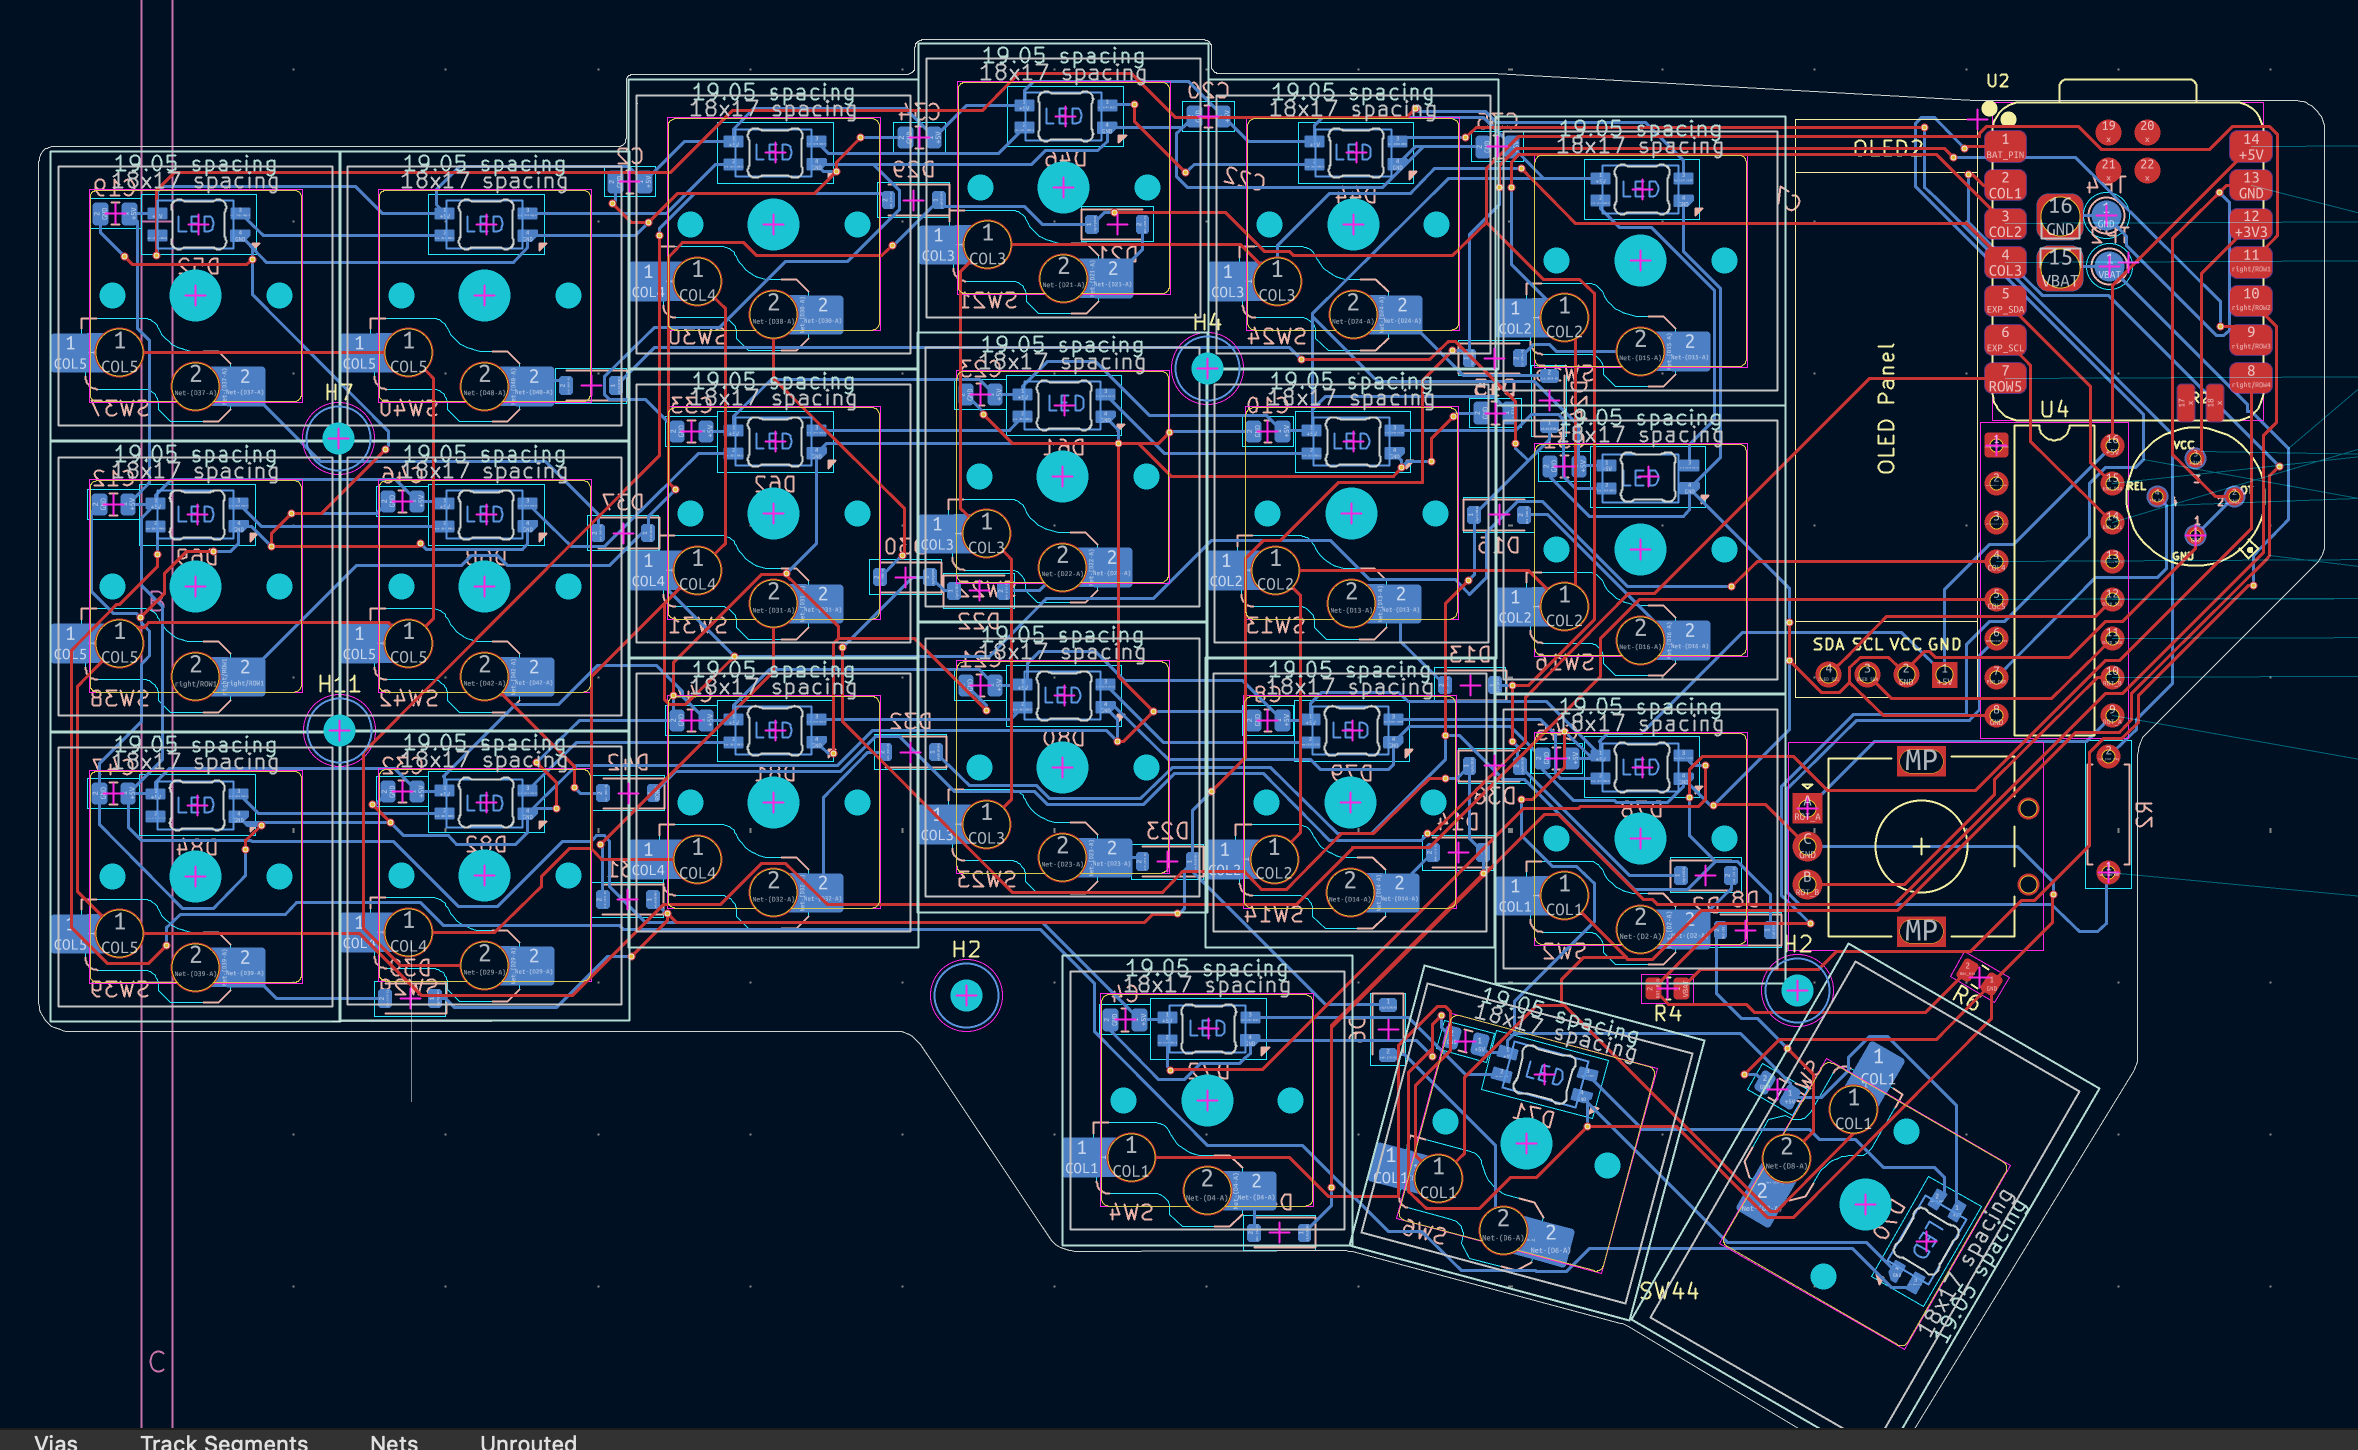
I designed the PCB with mousebites to make the split keyboard easy to manufacture. I thought of making a reversible PCB at first, but it would be very difficult with an OLED.
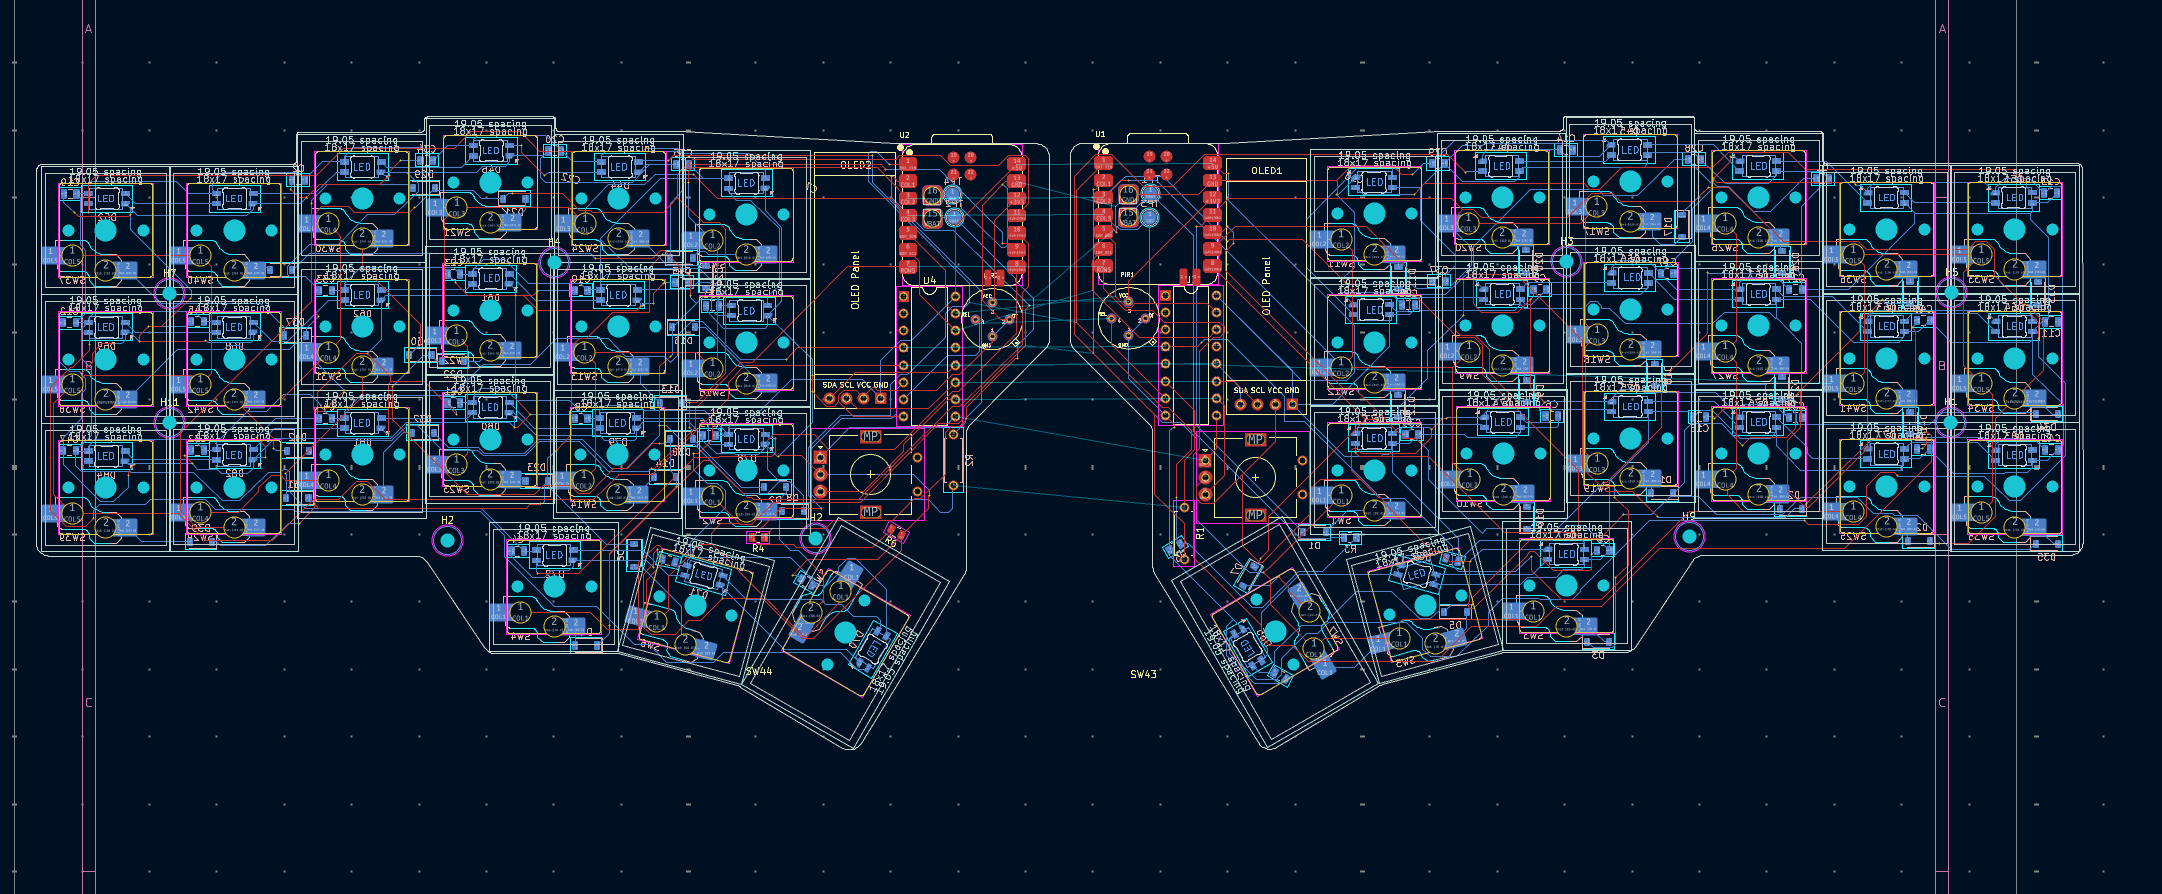
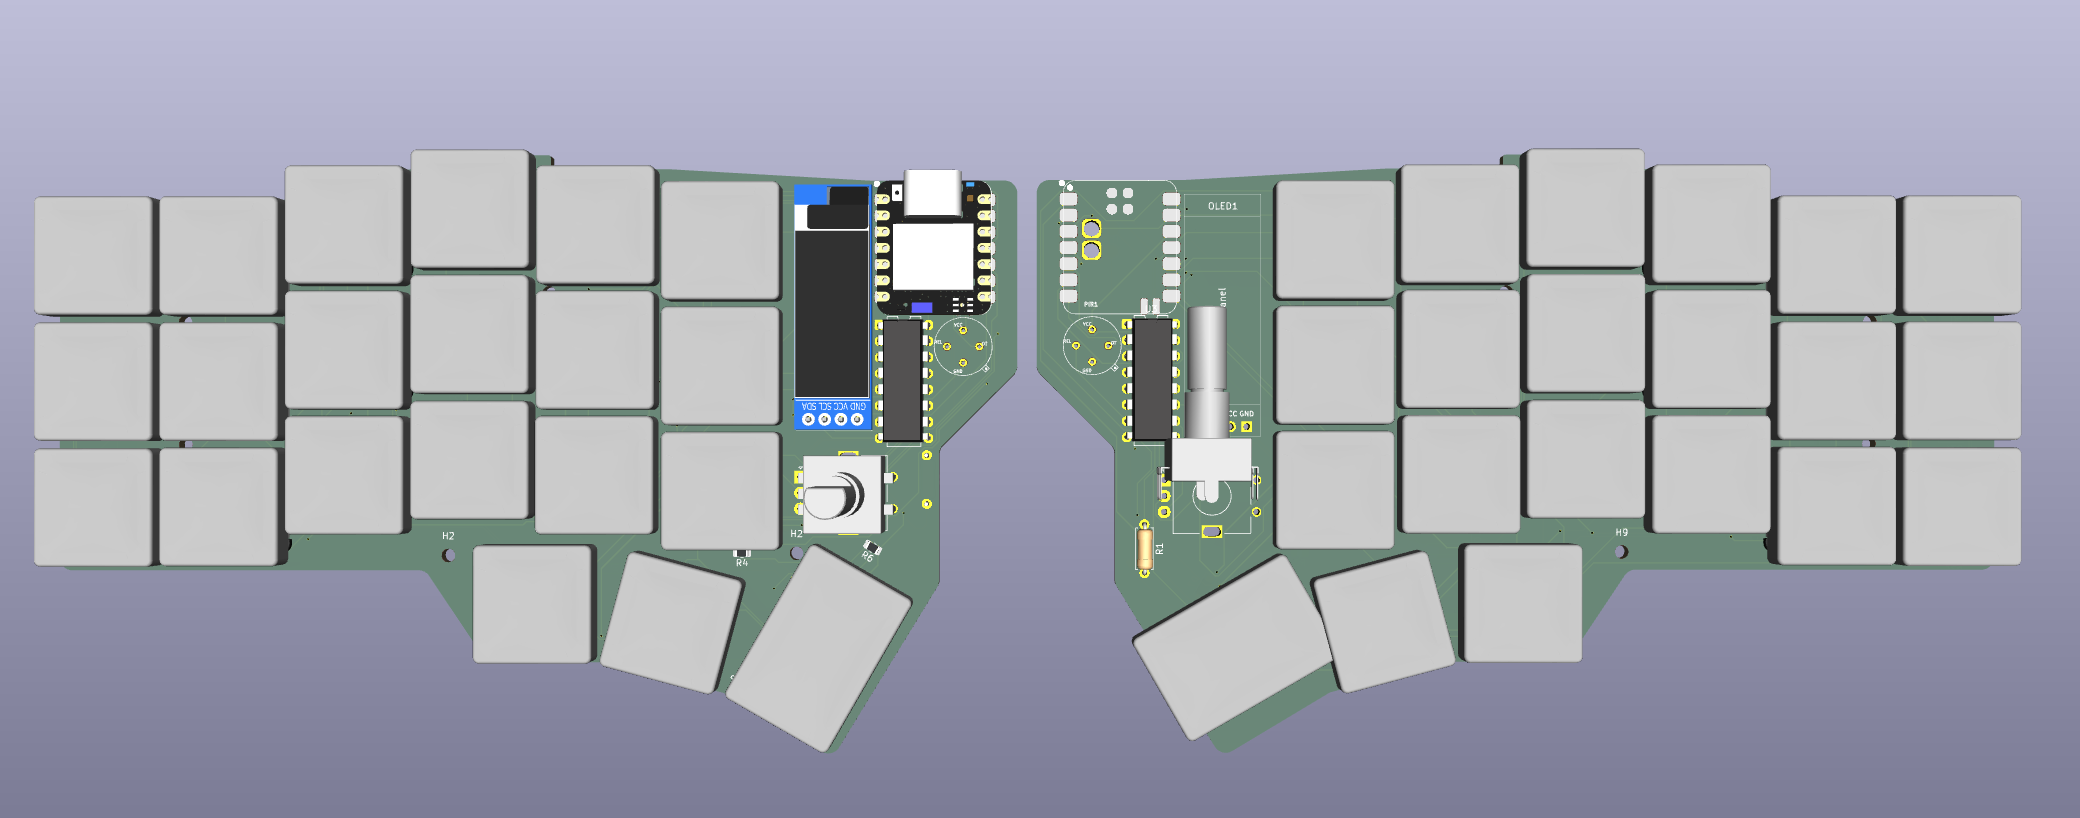
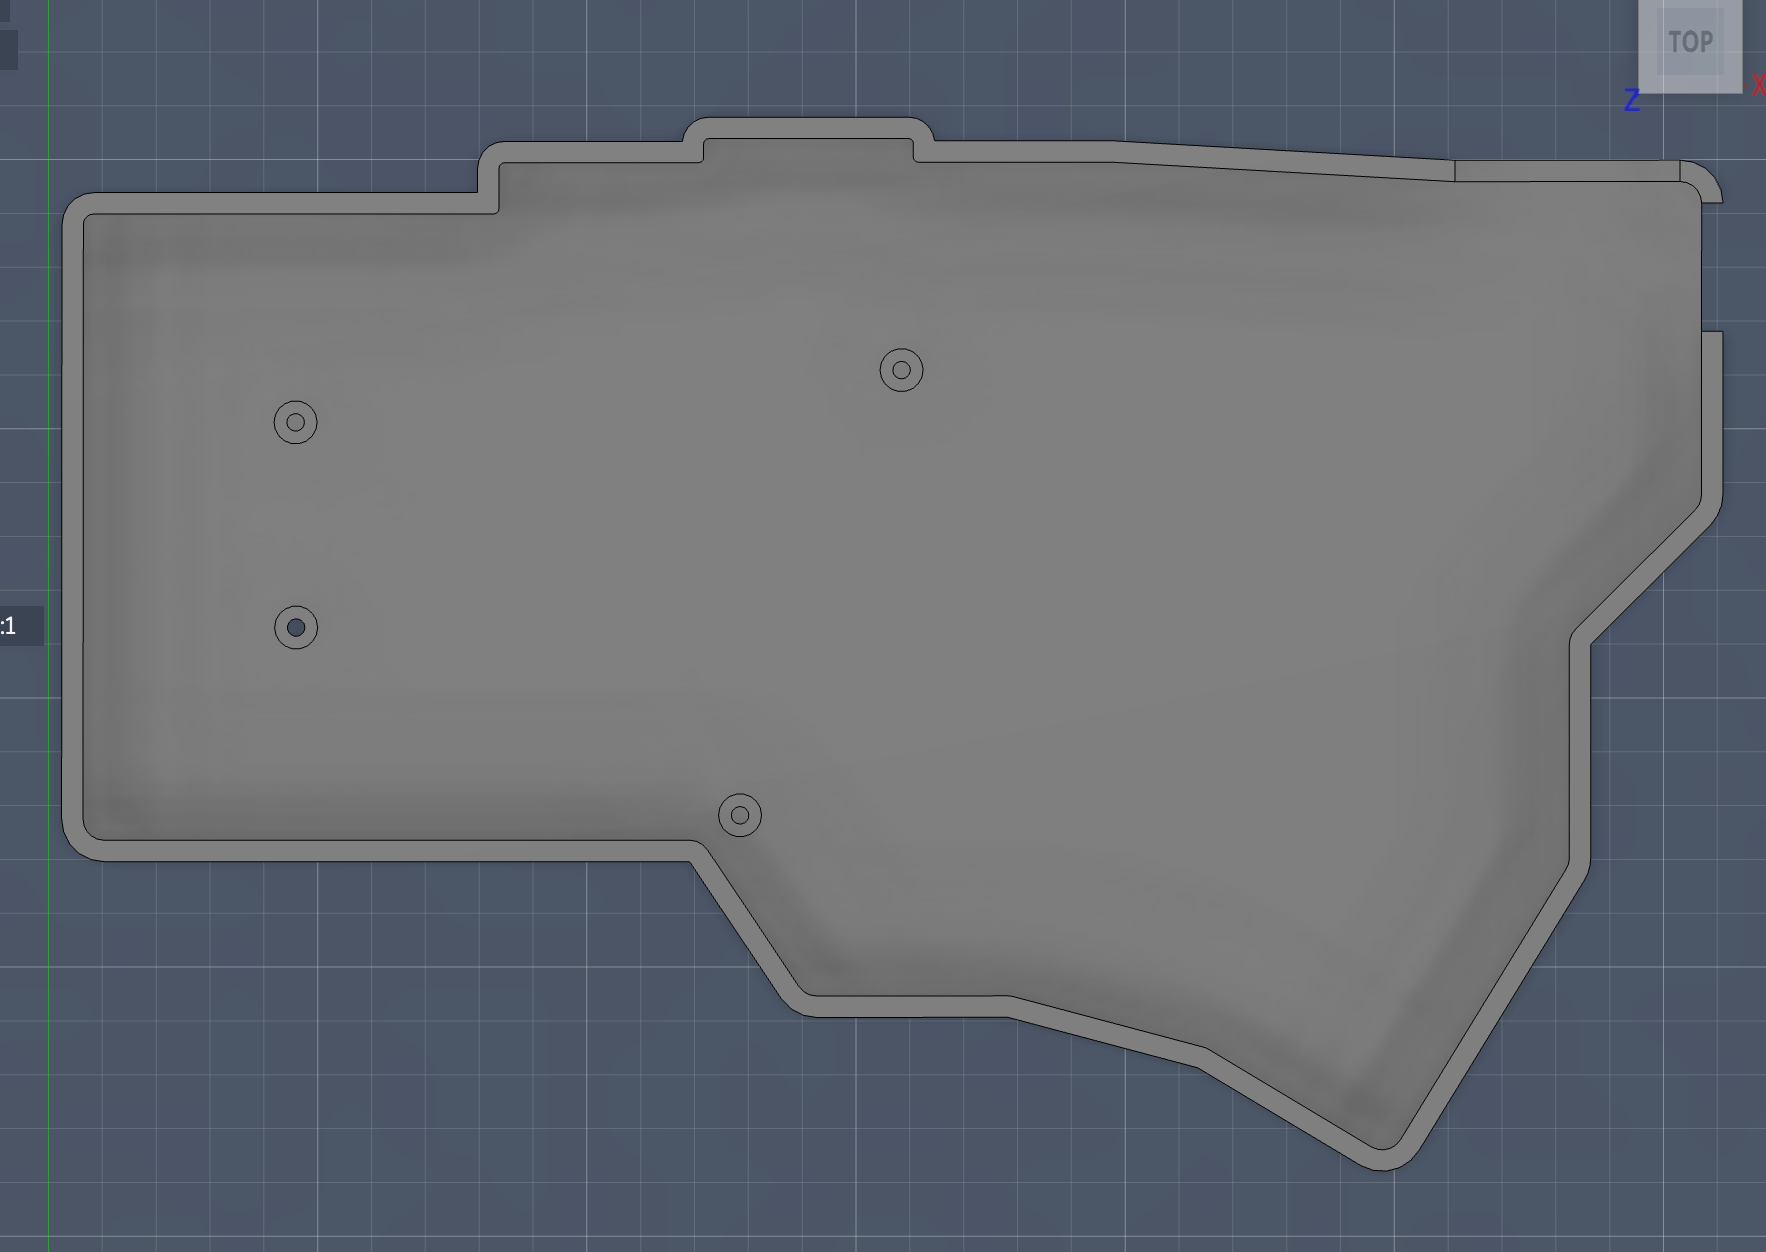
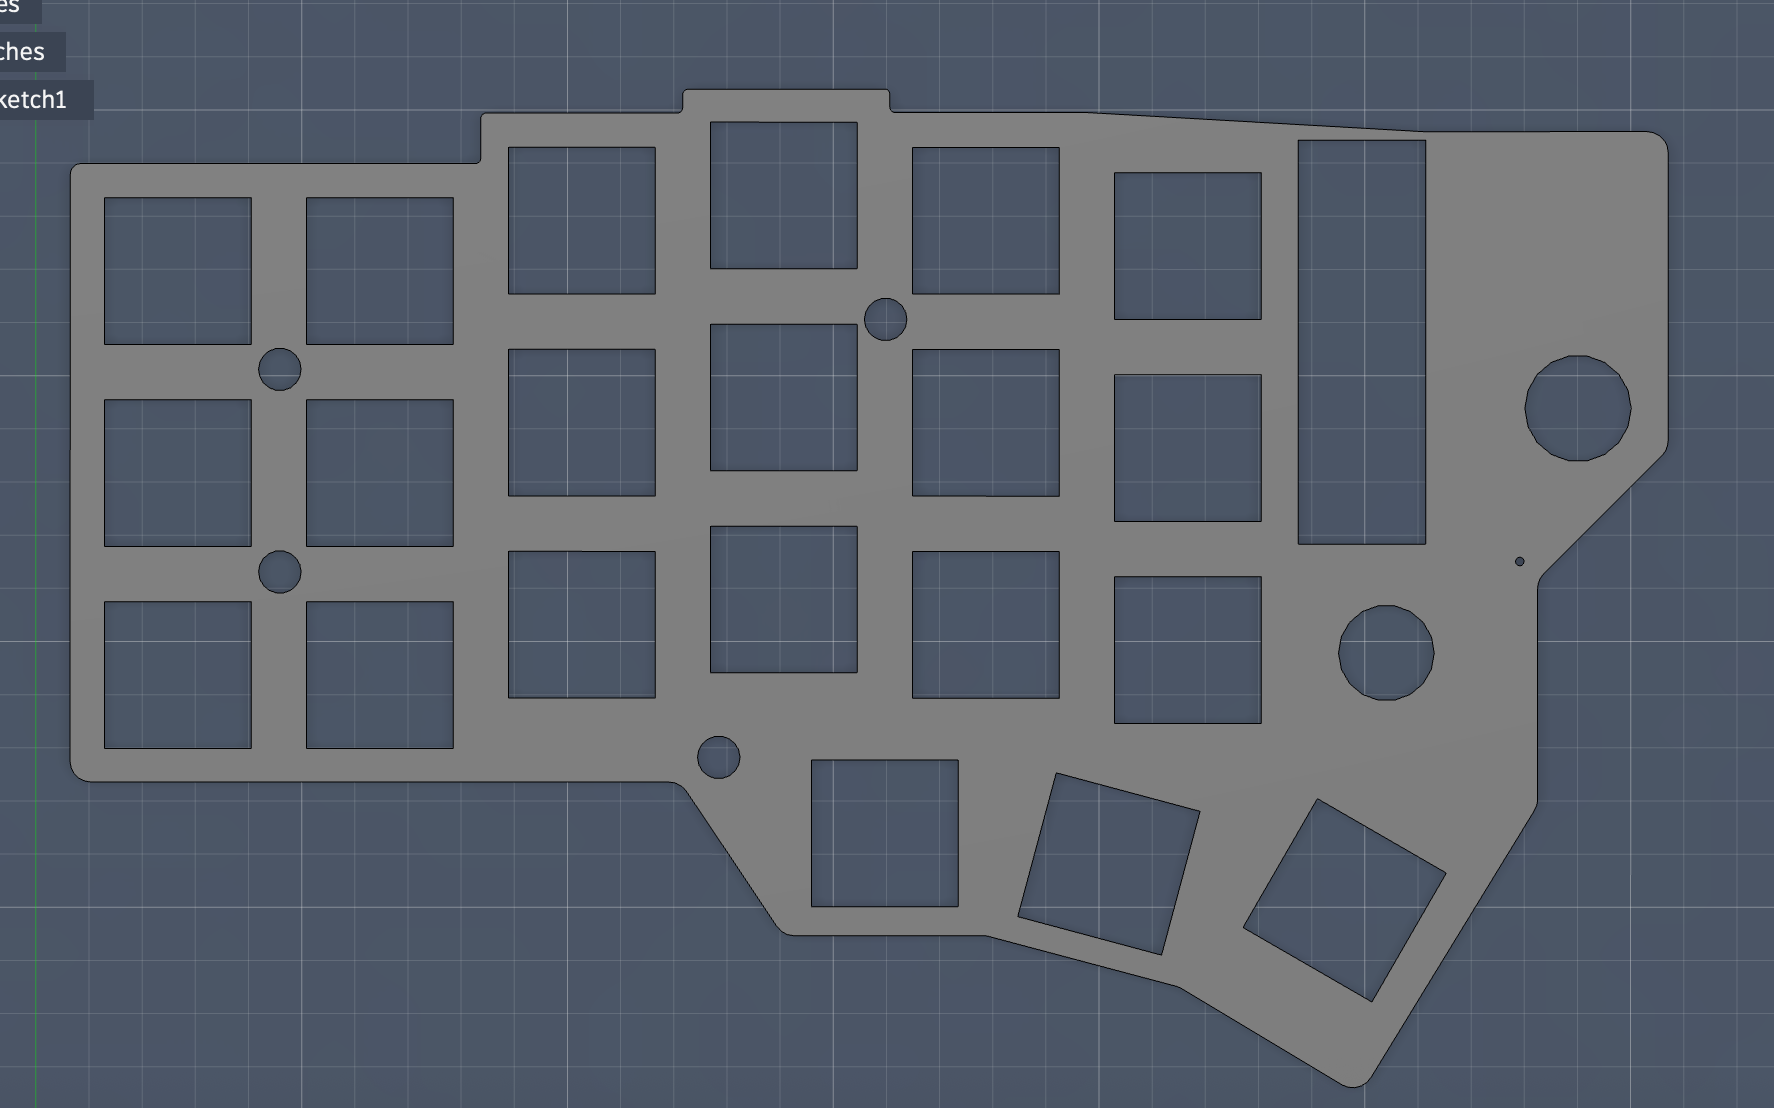
I designed the CAD with ease of assembly in mind. That is why I designed it with no tolerances, so that it could completely friction fit(I added screw holes for the worst case). I decided to print it with an extra fine setting on my Bambu Lab A1 Mini 3D printer, and it turned out great.
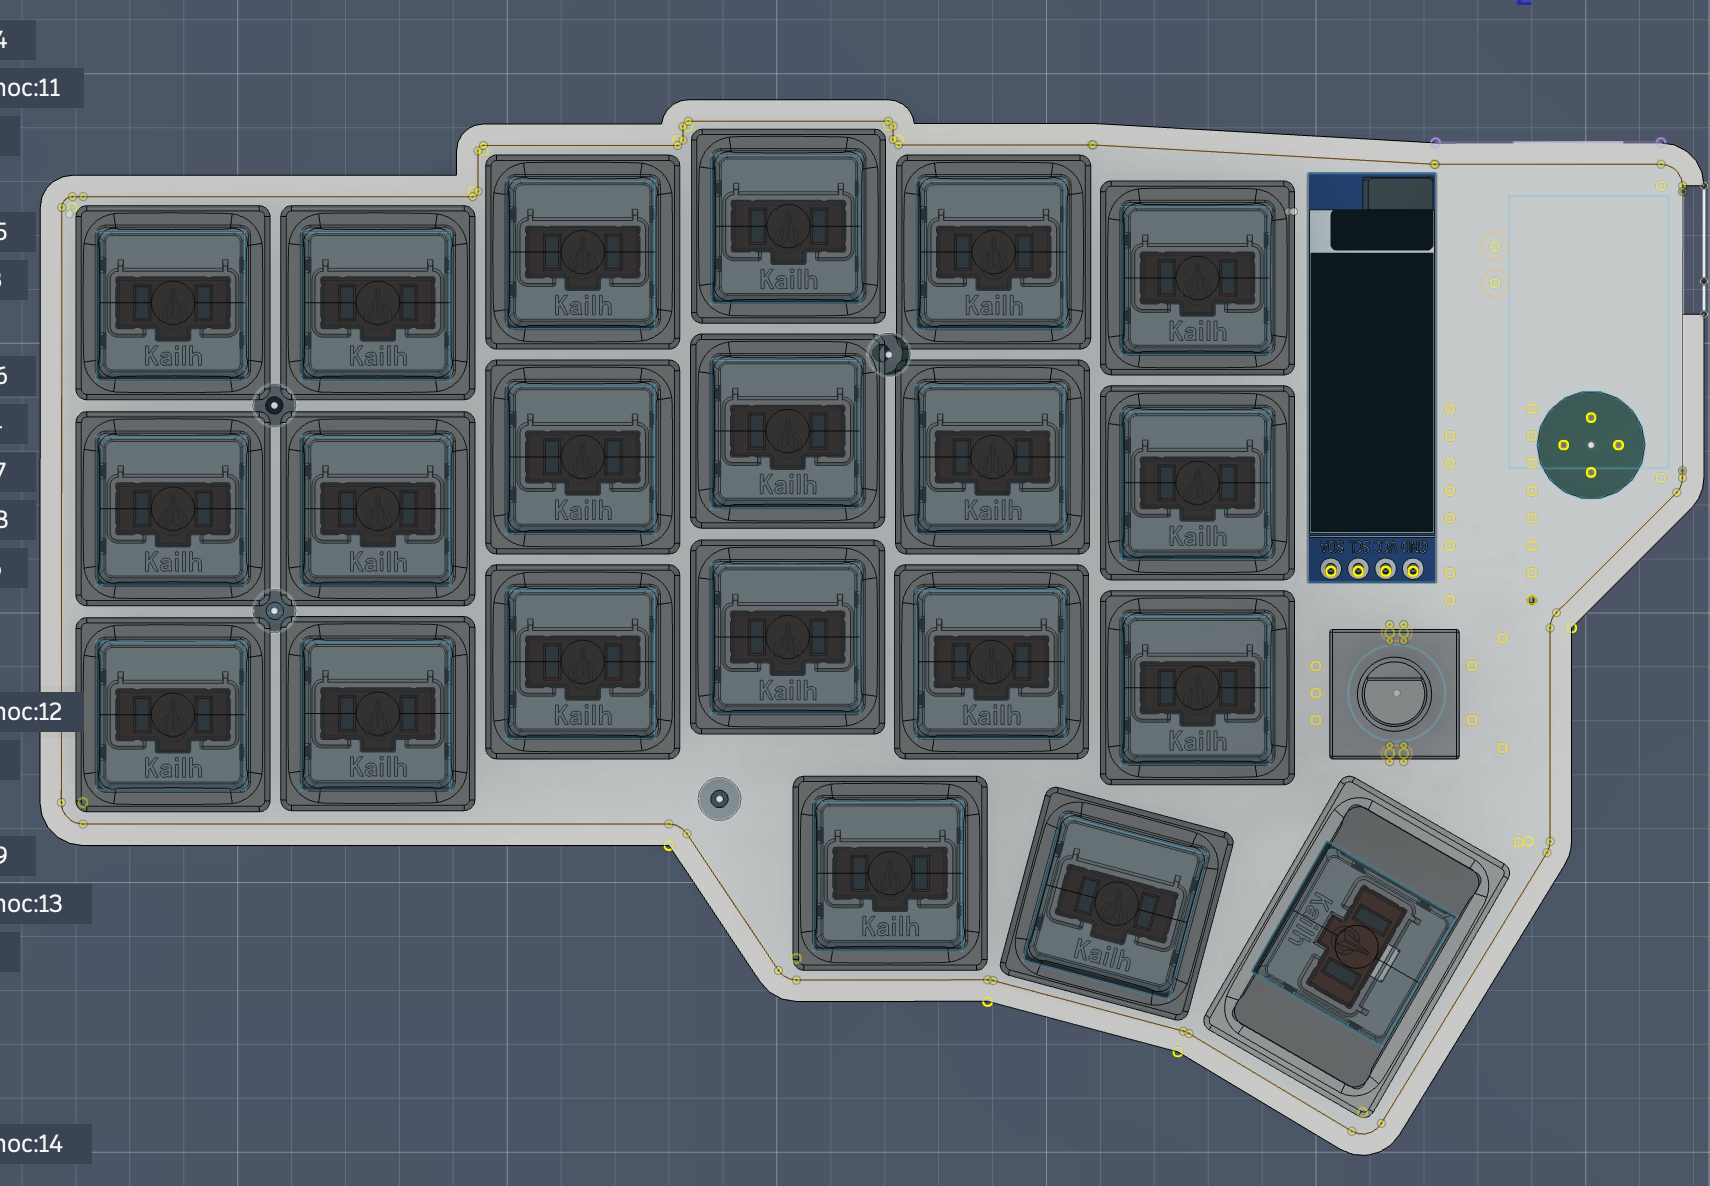
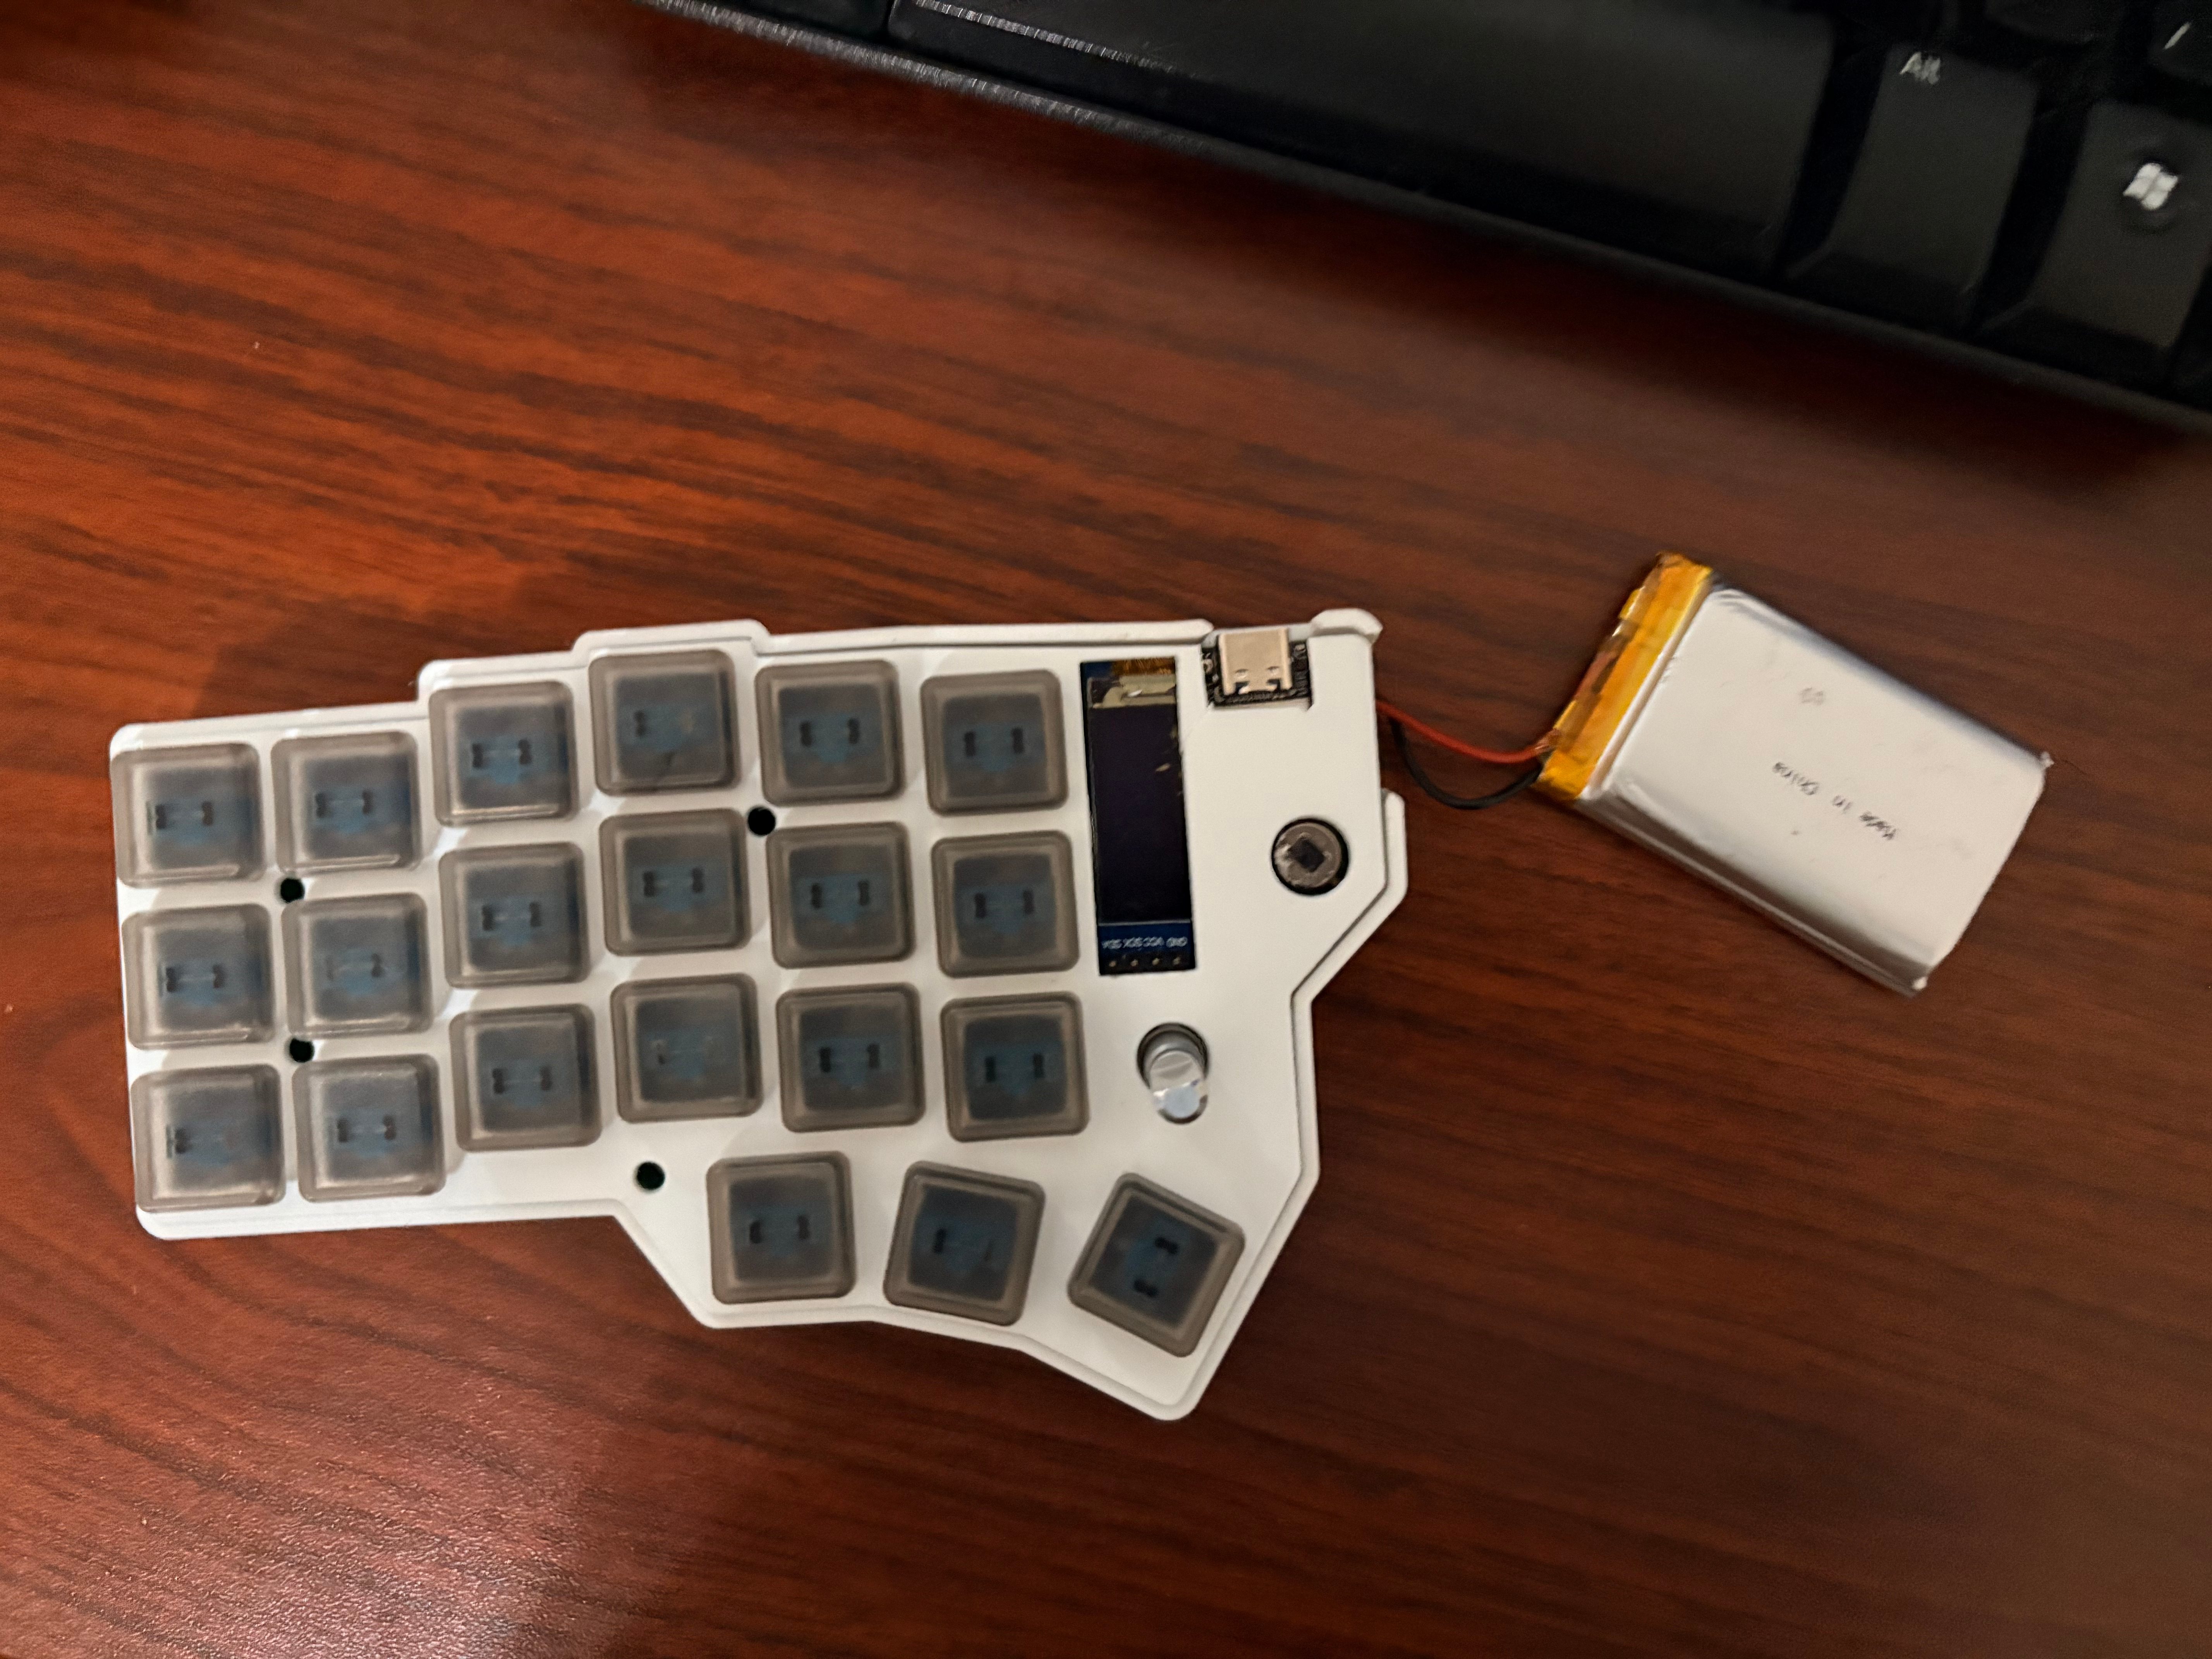
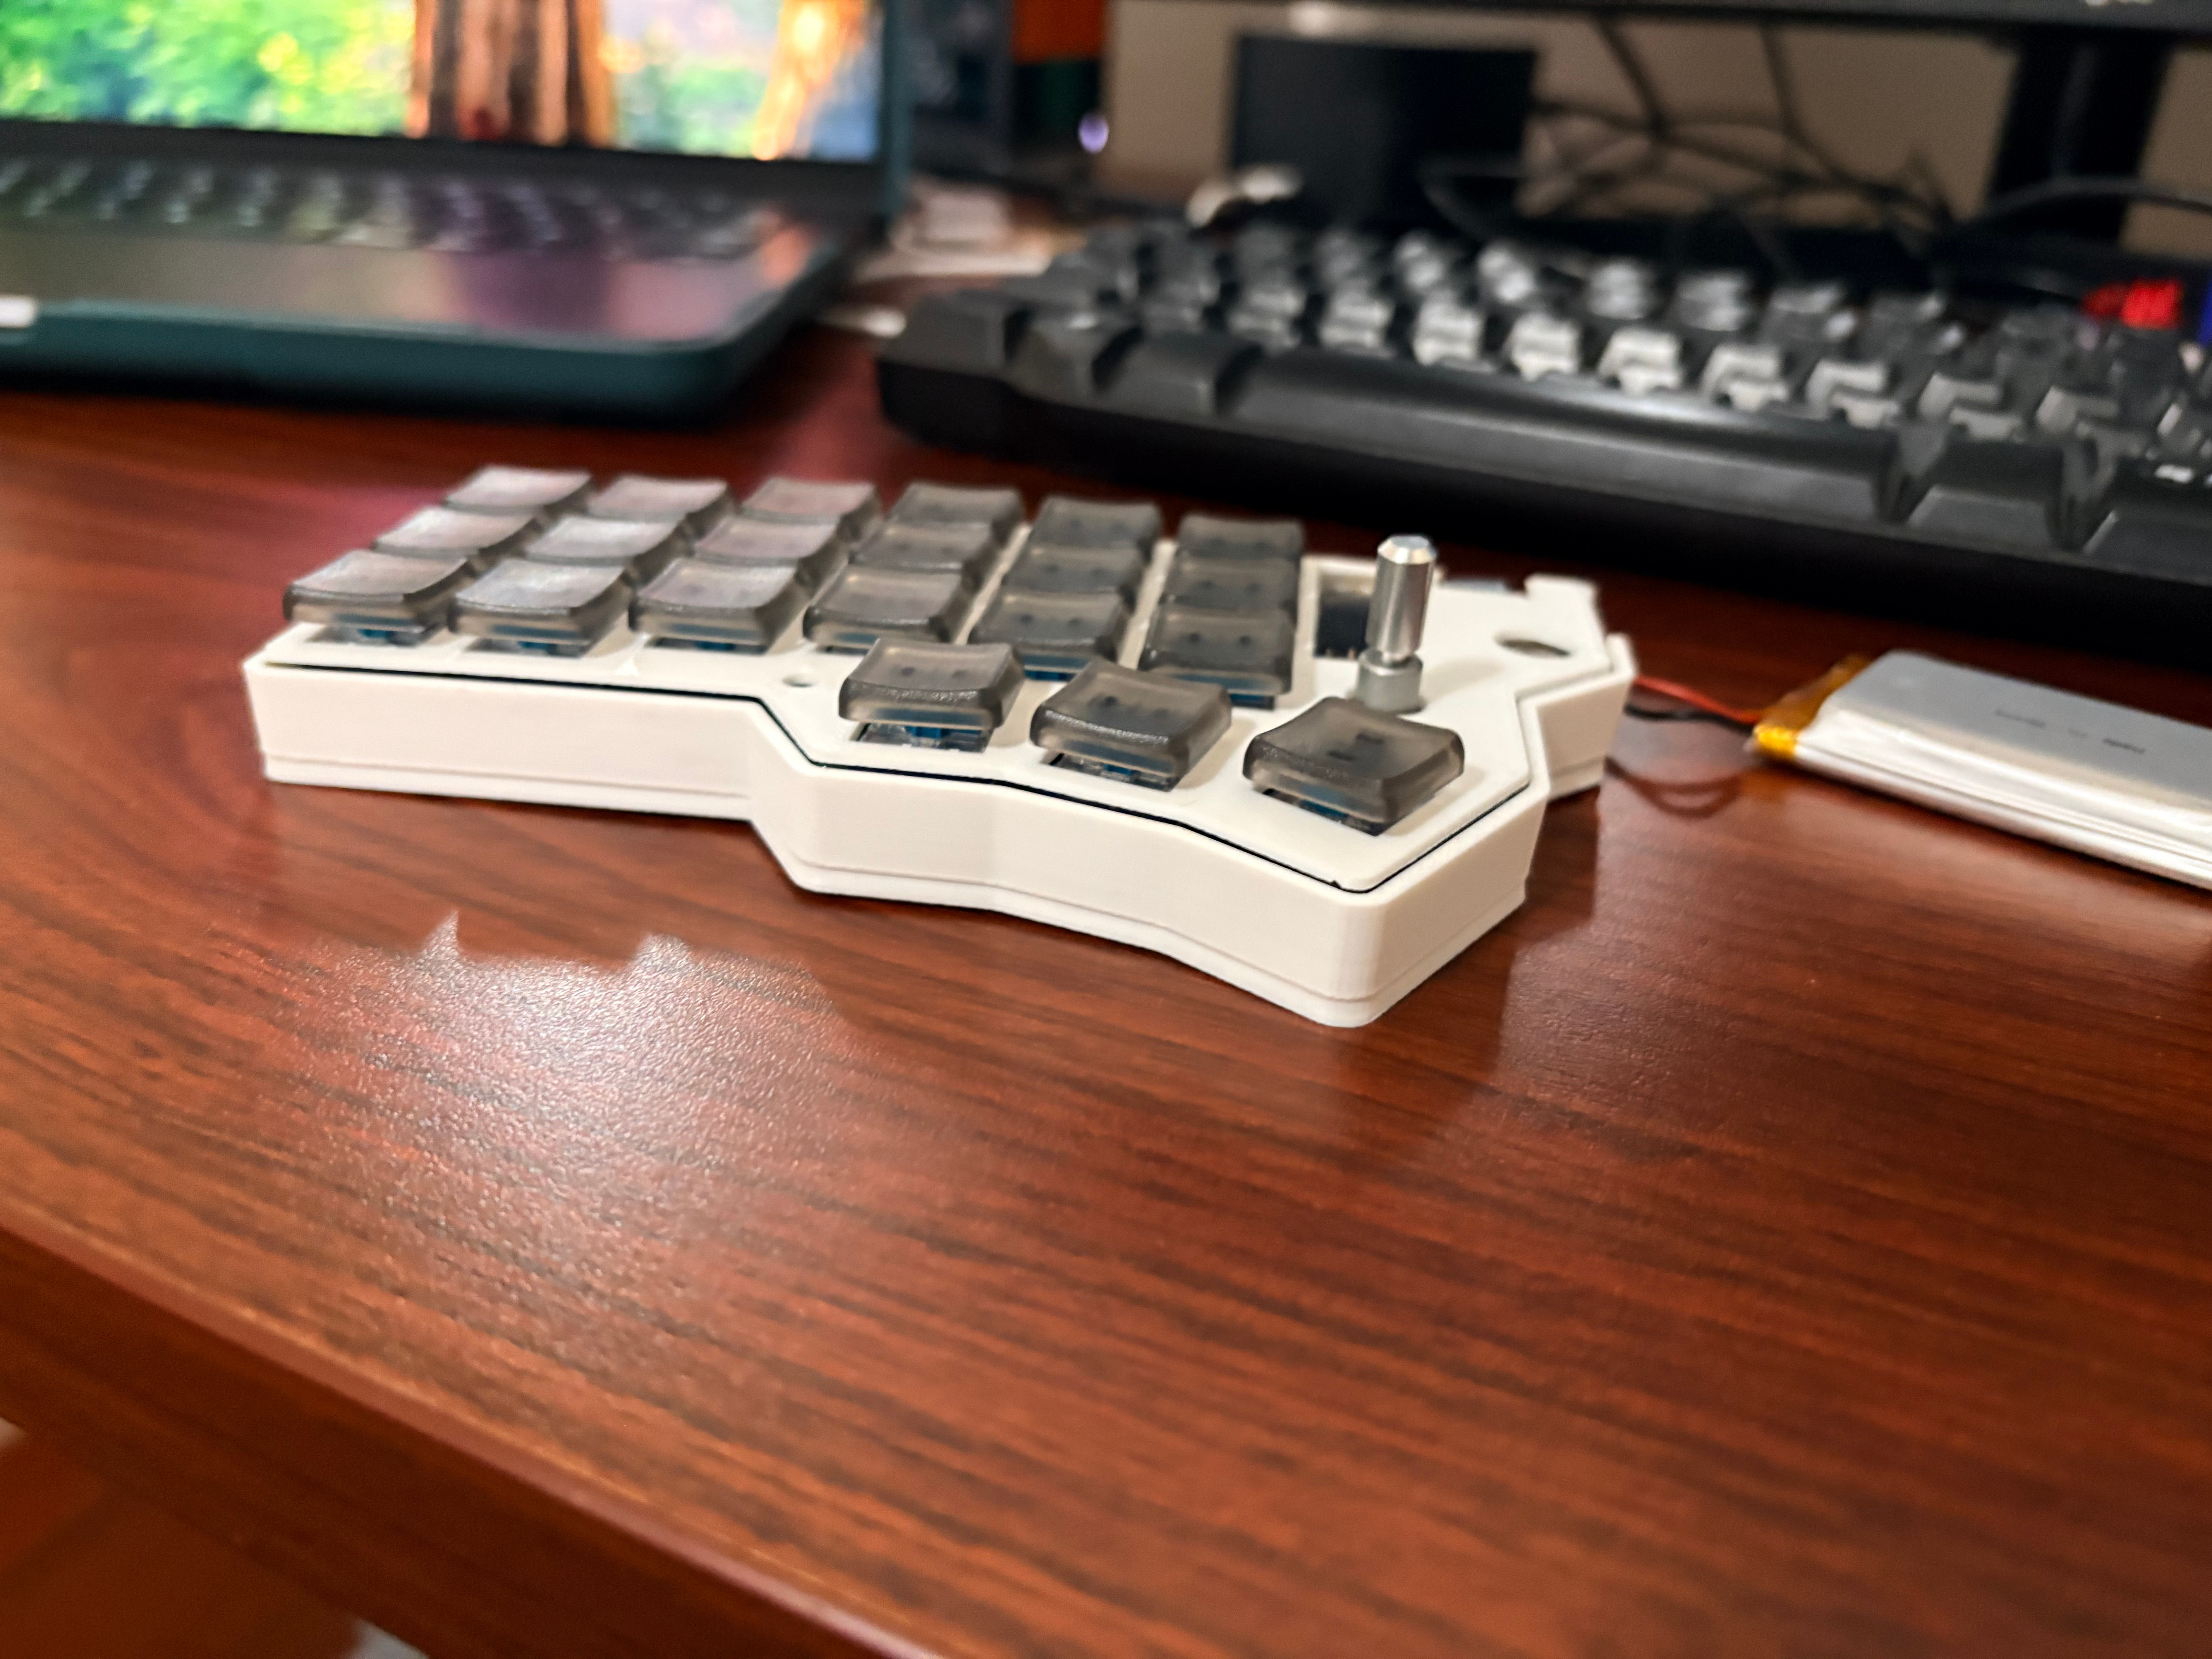
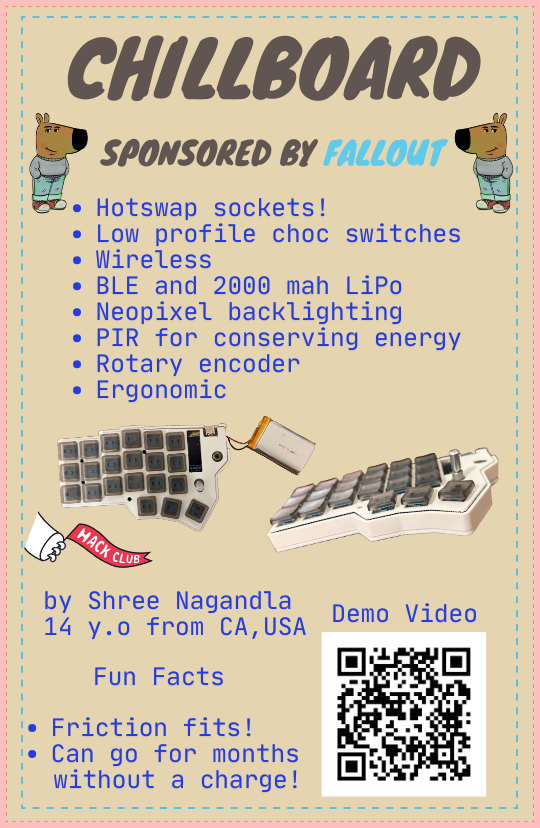 Zine is at zine.pdf too
This project is inspired by the Corneucopia project by @DynamicWhiteHat. It used Autodesk Fusion for CAD, Kicad 10 for the PCB, and is sponsored by Hack Club Fallout! Thanks to Hack Club for sponsoring this!
| Qty | Value | Footprint | References |
|---|---|---|---|
| 42 | D | Diode_SMD:D_SOD-123 | D1, D2, D10, D11, D12, D13, D14, D15, D16, D17, D18, D19, D20, D21, D22, D23 +26 |
| 42 | SK6812MINI | PCM_marbastlib-various:LED_6028R | D43, D44, D45, D46, D47, D48, D49, D50, D51, D52, D53, D54, D55, D56, D57, D58 +26 |
| 40 | SW_Push | marbastlib-choc:SW_choc_v1_HS_CPG135001S30_1u | SW1, SW2, SW10, SW11, SW12, SW13, SW14, SW15, SW16, SW17, SW18, SW19, SW20, SW21, SW22, SW23 +24 |
| 34 | 0.1 μF | Capacitor_SMD:C_0805_2012Metric | C1, C2, C3, C10, C14, C15, C16, C17, C20, C21, C22, C23, C26, C27, C28, C29 +18 |
| 9 | MountingHole | MountingHole:MountingHole_2.1mm | H1, H2, H2, H3, H4, H5, H7, H9, H11 |
| 8 | C | Capacitor_SMD:C_0805_2012Metric | C11, C12, C13, C19, C25, C31, C37, C43 |
| 2 | 2M | Resistor_SMD:R_0805_2012Metric | R5, R6 |
| 2 | 330 OMHS | Resistor_THT:R_Axial_DIN0207_L6.3mm_D2.5mm_P7.62mm_Horizontal | R1, R2 |
| 2 | 806k | Resistor_SMD:R_0805_2012Metric | R3, R4 |
| 2 | GND | TestPoint:TestPoint_Pad_D2.0mm | TP3, TP4 |
| 2 | PCF8574AP | Package_DIP:DIP-16_W7.62mm | U3, U4 |
| 2 | RotaryEncoder | Rotary_Encoder:RotaryEncoder_Alps_EC11E_Vertical_H20mm | SW43, SW44 |
| 2 | SW_Push | marbastlib-choc:SW_choc_v1_HS_CPG135001S30_1.5u | SW7, SW8 |
| 2 | VBAT | TestPoint:TestPoint_Pad_D2.0mm | TP1, TP2 |
| 2 | XIAO-nRF52840-SMD | modified-xiao:modified-XIAO-nRF52840-SMD | U1, U2 |
| 2 | ~ | BS412:BS412 | PIR1, PIR2 |
| 2 | ~ | KiCad-SSD1306-0.91-OLED-4pin-128x32.pretty-master:SSD1306-0.91-OLED-4pin-128x32 | OLED1, OLED2 |

huzi-ctrl/split-keyboard
Both the left and right halves share a modular hierarchical schematic (side.kicadsch):

AudioMorphology/Europi
Opensource sequencer software for Raspberry Pi equipped with Eurorack-compatible hardware

AaronC81/delta-pico
Powerful scientific calculator based on the Raspberry Pi Pico


cutec-chris/PiScope
Goto Telescope with Raspberry PI HQ Camera and exchangable Objective Holders for DSLR Objectives

kellerkindt/bluepill_sensor
Bluepill stm31f103 ethernet sensor extension board with SW written in Rust
It measures 303.7 × 94 mm and has 2 copper layers, 1.6 mm thick.
197 parts, built around the PCF8574AP and SK6812MINI-E. The full list of its parts is on this page, with links to each part's symbol and footprint where PCBKit's library has them.
From the shreeyuvan2020/ChillBoard repository on GitHub, at the commit this page was made from: the board is PCB/Chillboard.kicad_pcb and its schematic PCB/Chillboard.kicad_sch. PCBKit opens the board in the browser, with nothing to install.
Its repository states no licence, so its author keeps all rights: ask shreeyuvan2020 before reusing the design.