2 layers99.5 × 83.1 mm

 rosikur/keyboard
I dont know what to call it so lets call it "keeb" because thats the name of the guide
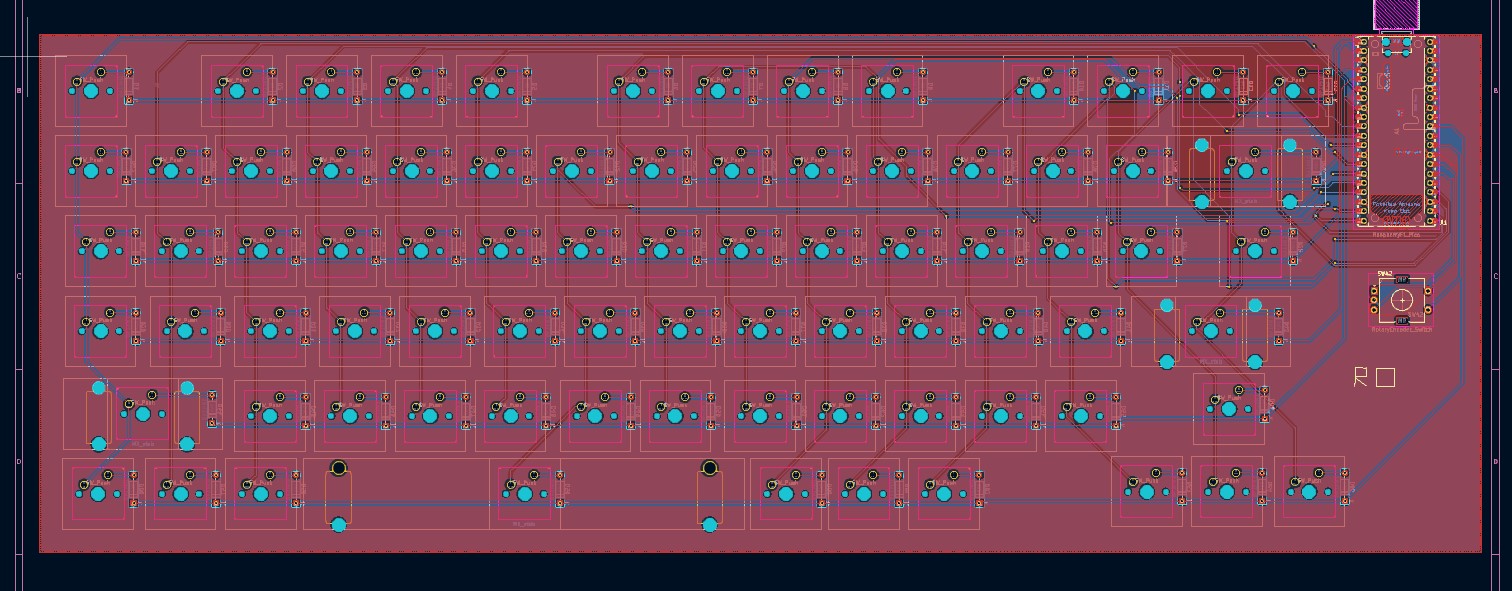
Project3 is an open-source printed circuit board by rosikur, from the rosikur/keyboard repository on GitHub. It is a 2-layer board of 388.6 × 139.7 mm with 166 parts on 114 nets, routed with 444 tracks and 25 vias.
Its parts include 85 switches and 80 diodes. It belongs with the RP2040 boards of this library.
I dont know what to call it so lets call it "keeb" because thats the name of the guide
This was my first keyboard , apart from my macropad ,the keyboard took 3 times , more on that on my Journal
First you go to jlcpcb and uplood the gerber files, i recommend black pcb colors Then you go to Aliexpress and order all the parts from the BOM
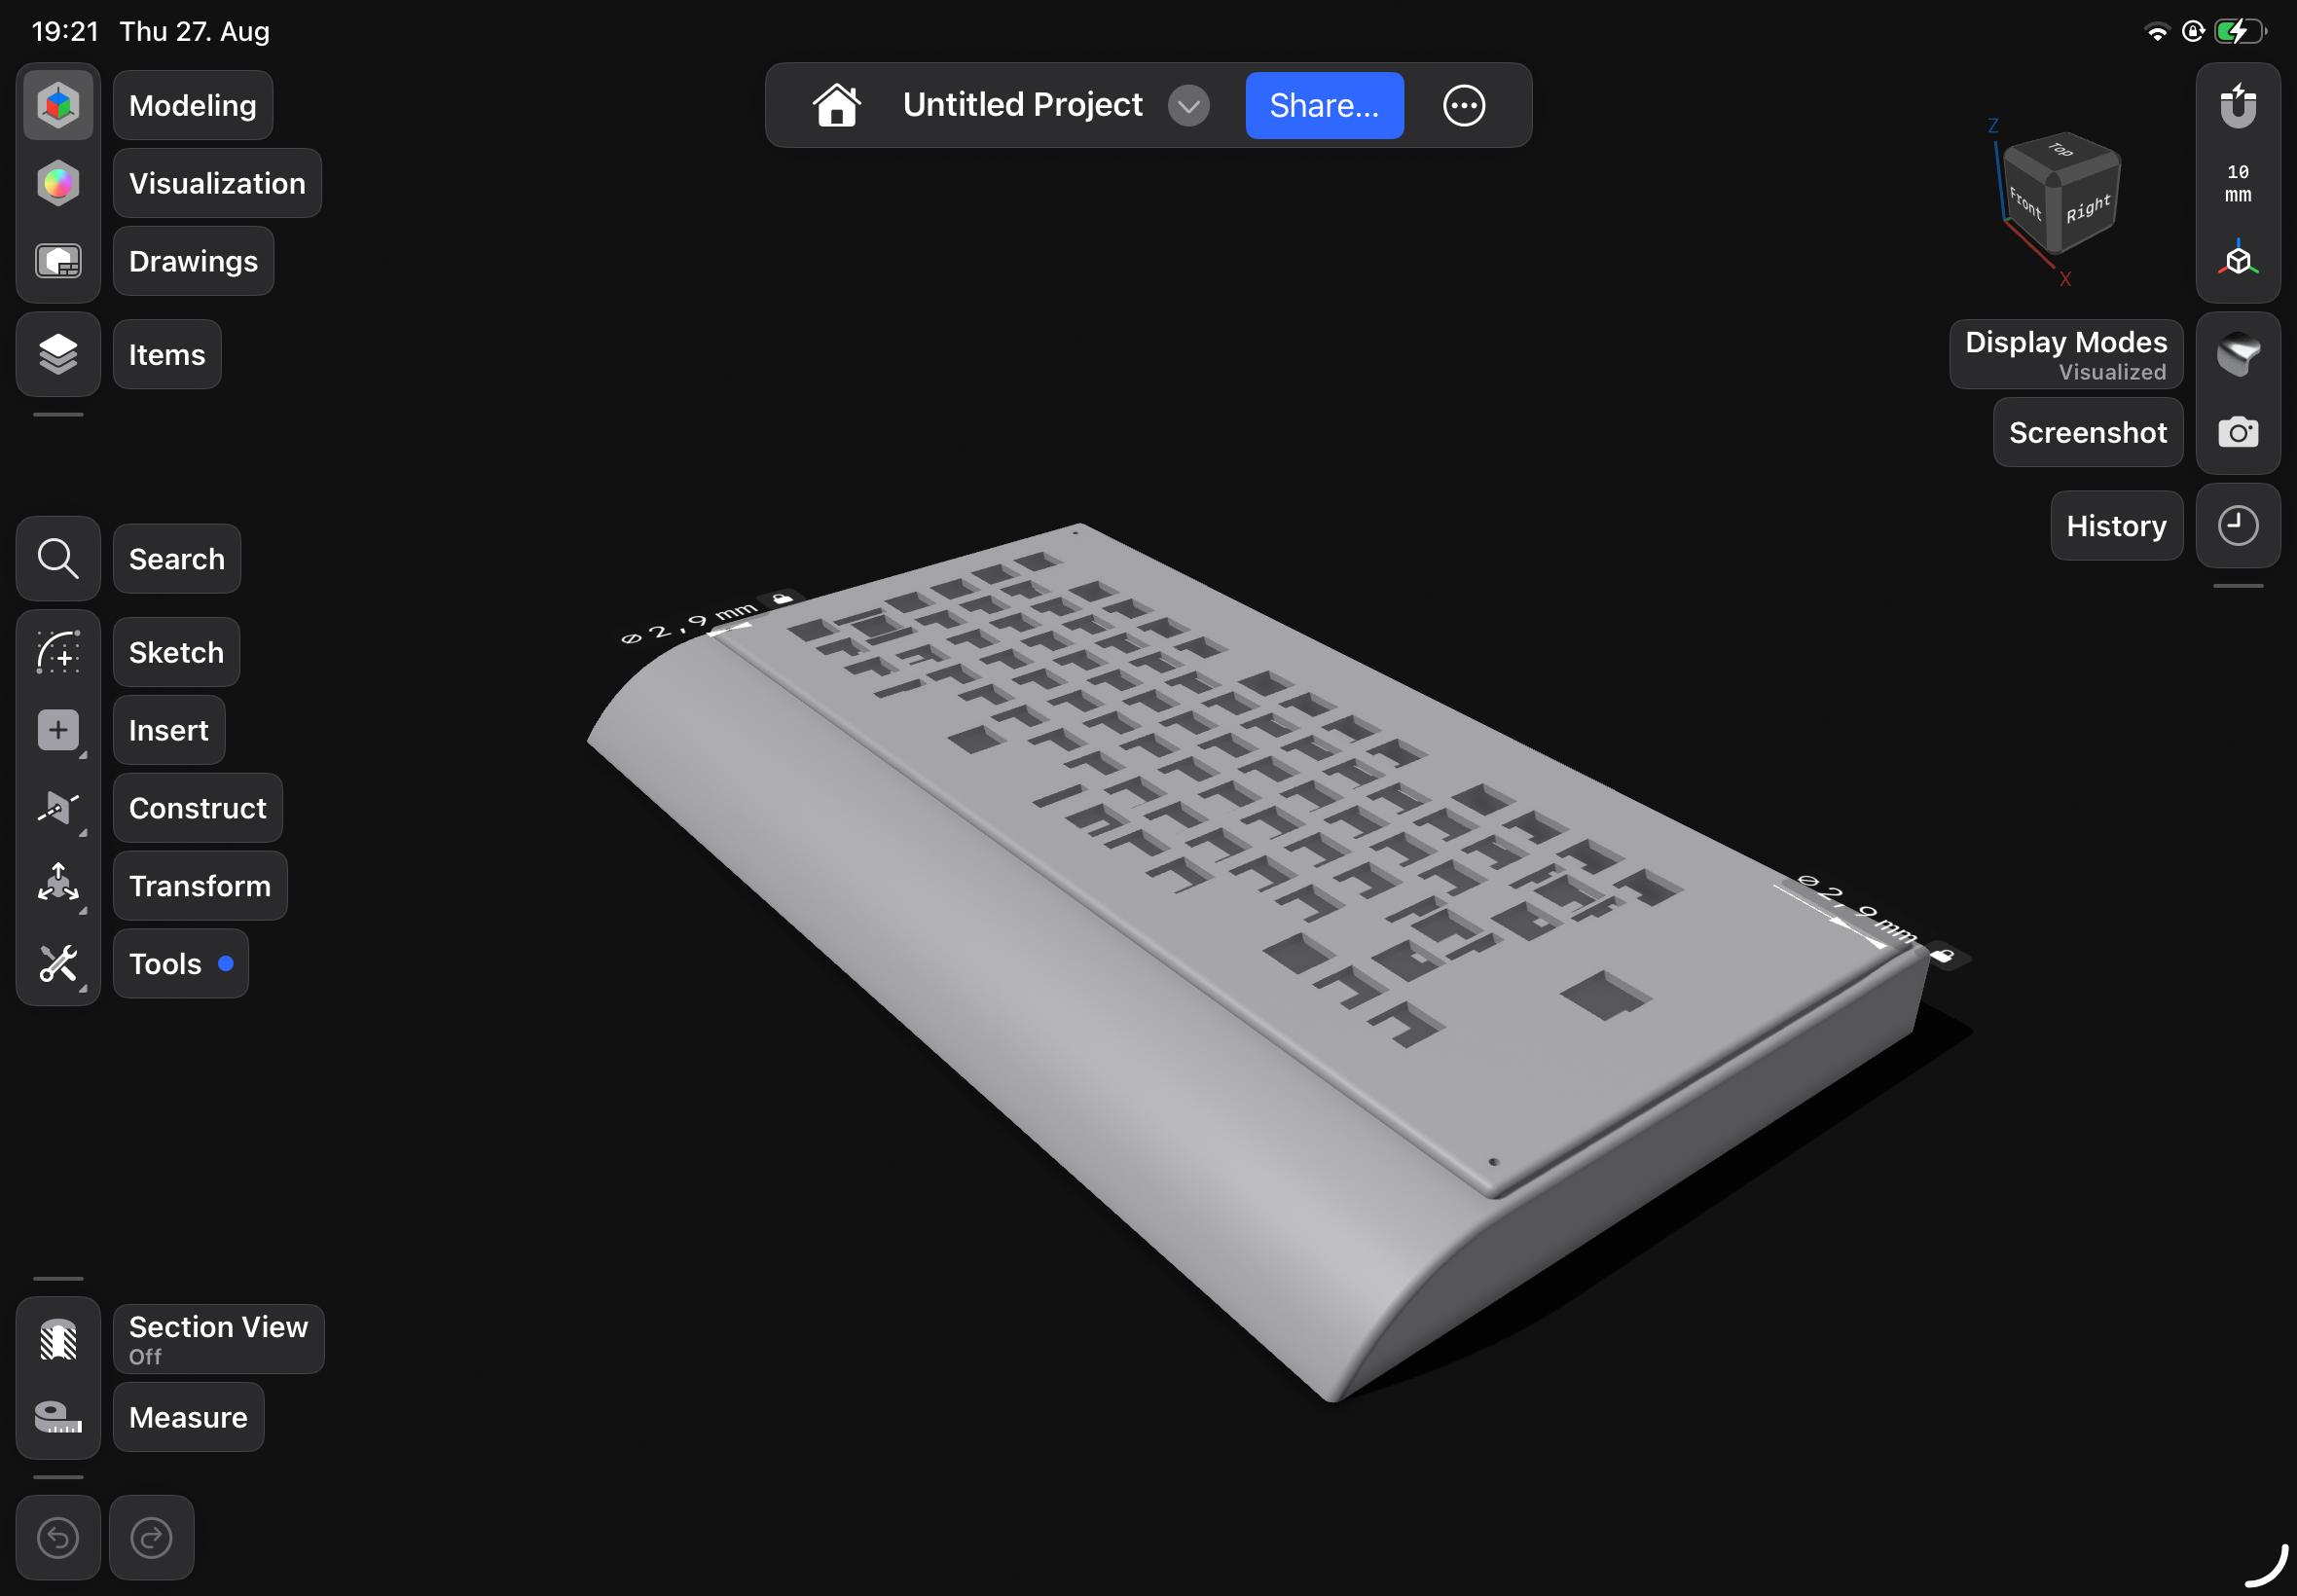
In the meantime while it ships you start printing the Case,if your Printer is too small , half it or you can order it off print legion
Once everything is ready , you grab some solder and an iron , i recommend leaded solder makes it easier,firstly take your pi pico and add the male pins,then put it trough and solder everything and snap off its legs outside
Then take your diodes,and turn the board around ,make sure the diodes are pointing down in orientation and solder them,snap off its legs
Then take your switchs,turn the board around and pit them all in and solder them one by one
Last but not least ,add the rotary encoder and solder it
Also add the Stabalizers , watch a tiktok to put them togehter
put the ready board in the case add heated inserts and screw it together
add the key caps and youre done with assembly:D
Set the Pi Pico to its Bootloader and connect it to your pc take the uf2 zip and unzip ,
move the file to the pi labelled usb driver
thats it have fun!
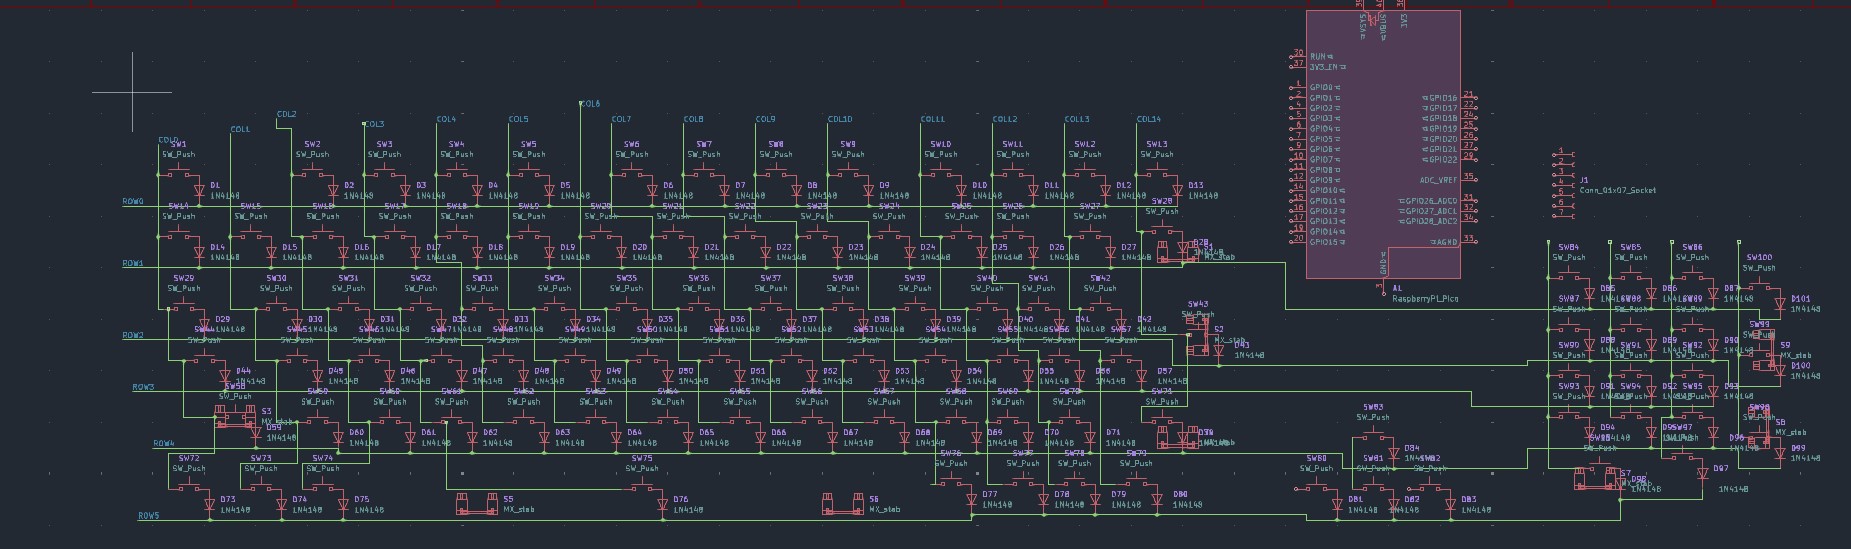
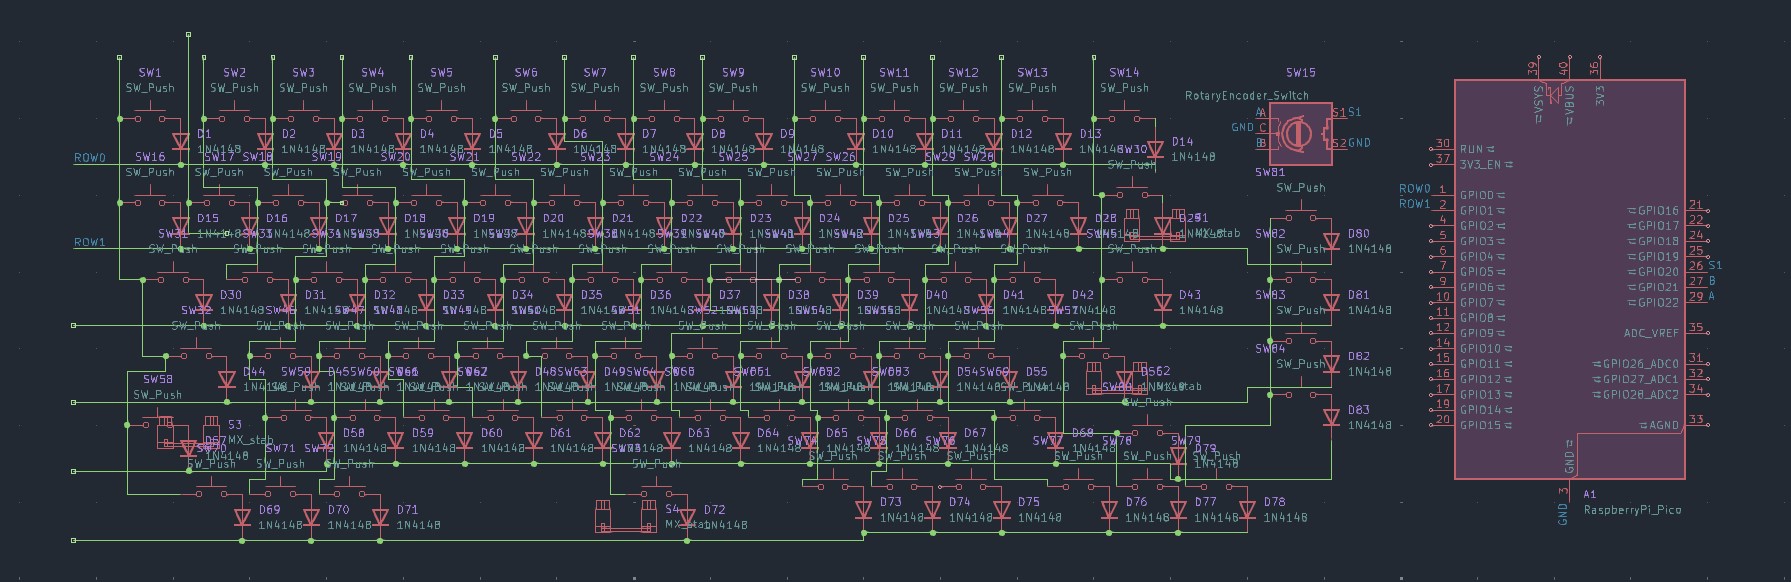
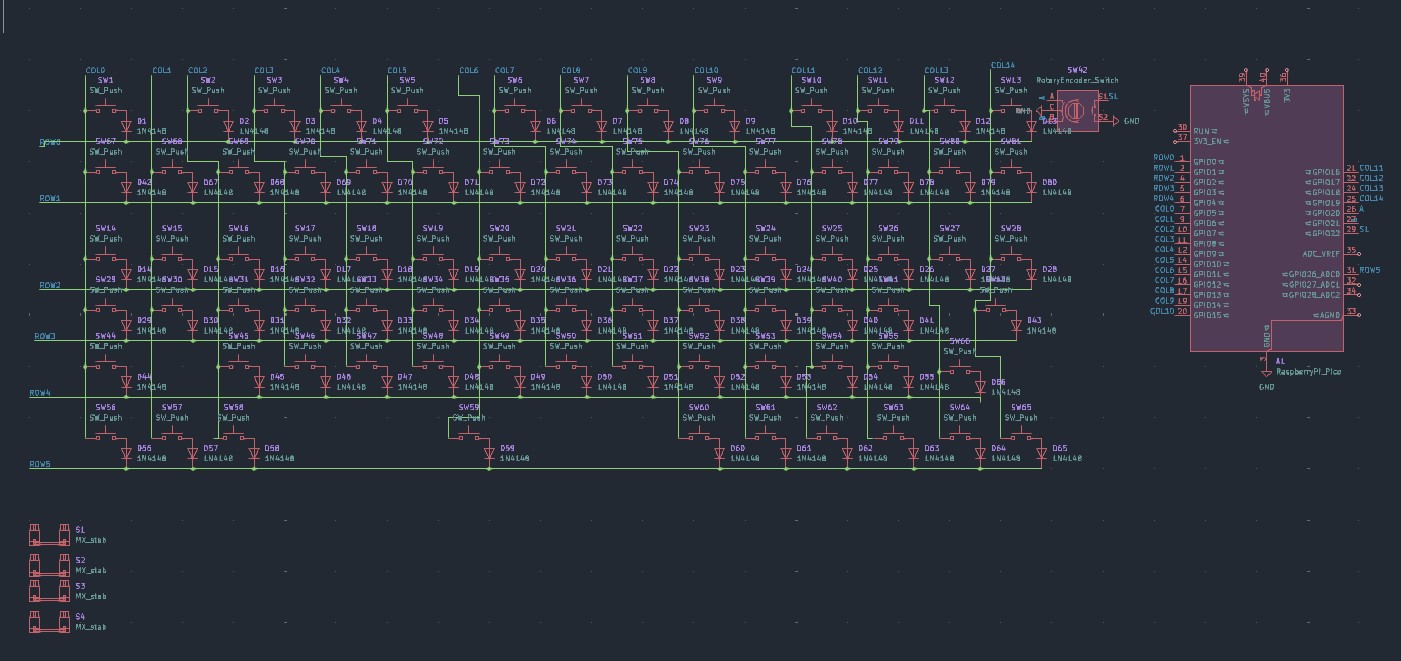

| Item | QNT | Price | Link | Details |
|---|---|---|---|---|
| Switches | 162 | 20.41 * 2 = 40.82 EUR + 5 EUR Duties = 51.57 USD | AliExpress | AKKO v3 pro cream blue |
| Keycaps | 1 set | 17.69 EUR + 5 EUR Duty = 22.96 EUR = 25.86 USD | AliExpress | Cuul MC keycaps |
| Diodes | 200 | €7.14 incl. 19% VAT + €6.88 shipping allocation = €14.02 = $15.80 | TME | Diotec Semiconductor 1N4148 |
| Rotary Encoder | 2 | €2.62 incl. 19% VAT + €2.52 shipping allocation = €5.14 = $5.79 | TME | SR Passives EC11E20-20P20C-SW |
| Orpheus Pico | 2 | 3.05 * 2 + duties 5 EUR = 9.10 | AliExpress | In reality, it is a knockoff Pi Pico |
| PCB | $37.39 USD = €33.19 | |||
| MX Stab | €4.29 + €5.00 EU duties = €9.29 = $10.47 USD | AliExpress | ||
| AliExpress Total | €78.39 = $88.30 USD | |||
| TME Total | €16.43 = $18.51 USD | |||
| JLCPCB Total | $37.39 USD = €33.19 | |||
| Grand Total | €128.01 = $144.20 USD |
| Qty | Value | Footprint | References |
|---|---|---|---|
| 80 | 1N4148 | Diode_THT:D_DO-35_SOD27_P7.62mm_Horizontal | D1, D2, D10, D11, D12, D13, D14, D15, D16, D17, D18, D19, D20, D21, D22, D23 +64 |
| 80 | SW_Push | PCM_marbastlib-mx:SW_MX_1u | SW1, SW2, SW10, SW11, SW12, SW13, SW14, SW15, SW16, SW17, SW18, SW19, SW20, SW21, SW22, SW23 +64 |
| 3 | MX_stab | PCM_marbastlib-mx:STAB_MX_2.25u | S2, S3, S4 |
| 1 | MX_stab | PCM_marbastlib-mx:STAB_MX_P_6.25u | S1 |
| 1 | RaspberryPi_Pico | Module:RaspberryPi_Pico_Common_Unspecified | A1 |
| 1 | RotaryEncoder_Switch | Rotary_Encoder:RotaryEncoder_Alps_EC11E-Switch_Vertical_H20mm | SW42 |
It measures 388.6 × 139.7 mm and has 2 copper layers, 1.6 mm thick.
166 parts. The full list of its parts is on this page, with links to each part's symbol and footprint where PCBKit's library has them.
From the rosikur/keyboard repository on GitHub, at the commit this page was made from: the board is PCB/project3.kicad_pcb and its schematic PCB/project3.kicad_sch. PCBKit opens the board in the browser, with nothing to install.
Its repository states no licence, so its author keeps all rights: ask rosikur before reusing the design.


schlae/HardDriveInfo
Repair info and schematics for mostly older MFM hard drives

Thorinair/Avalon-Harmonics
A collection of Avalon Harmonics branded synthesizer modules.

doppelhub/Honda_Insight_LiBCM
Replacement BCM for G1 Honda Insight Lithium Conversion

OpenLogicEFI/Hardware
Hardware is based off an open source project called Speeduino by Josh Stewart.
