
2 layers45.7 × 31.8 mm
LEDx16 board
tardate/LittleArduinoProjects
a collection of "Little Electronic & Arduino Projects", most involving electronics or an Arduino in one way or another!
36 parts803MIT

 pimdegroot/circledisplay16
A circle of LEDs
Circledisplay is an open-source printed circuit board by pimdegroot, from the pimdegroot/circledisplay repository on GitHub. It is a 2-layer board of 54.6 × 21.6 mm with 36 parts on 29 nets, routed with 399 tracks and 53 vias.
It is built around the 74HC595. Its parts include 16 diodes, 10 resistors, 3 capacitors, 2 transistors and 2 switches.
This repository contains all the design files, production files and example code for a simple circular LED display.
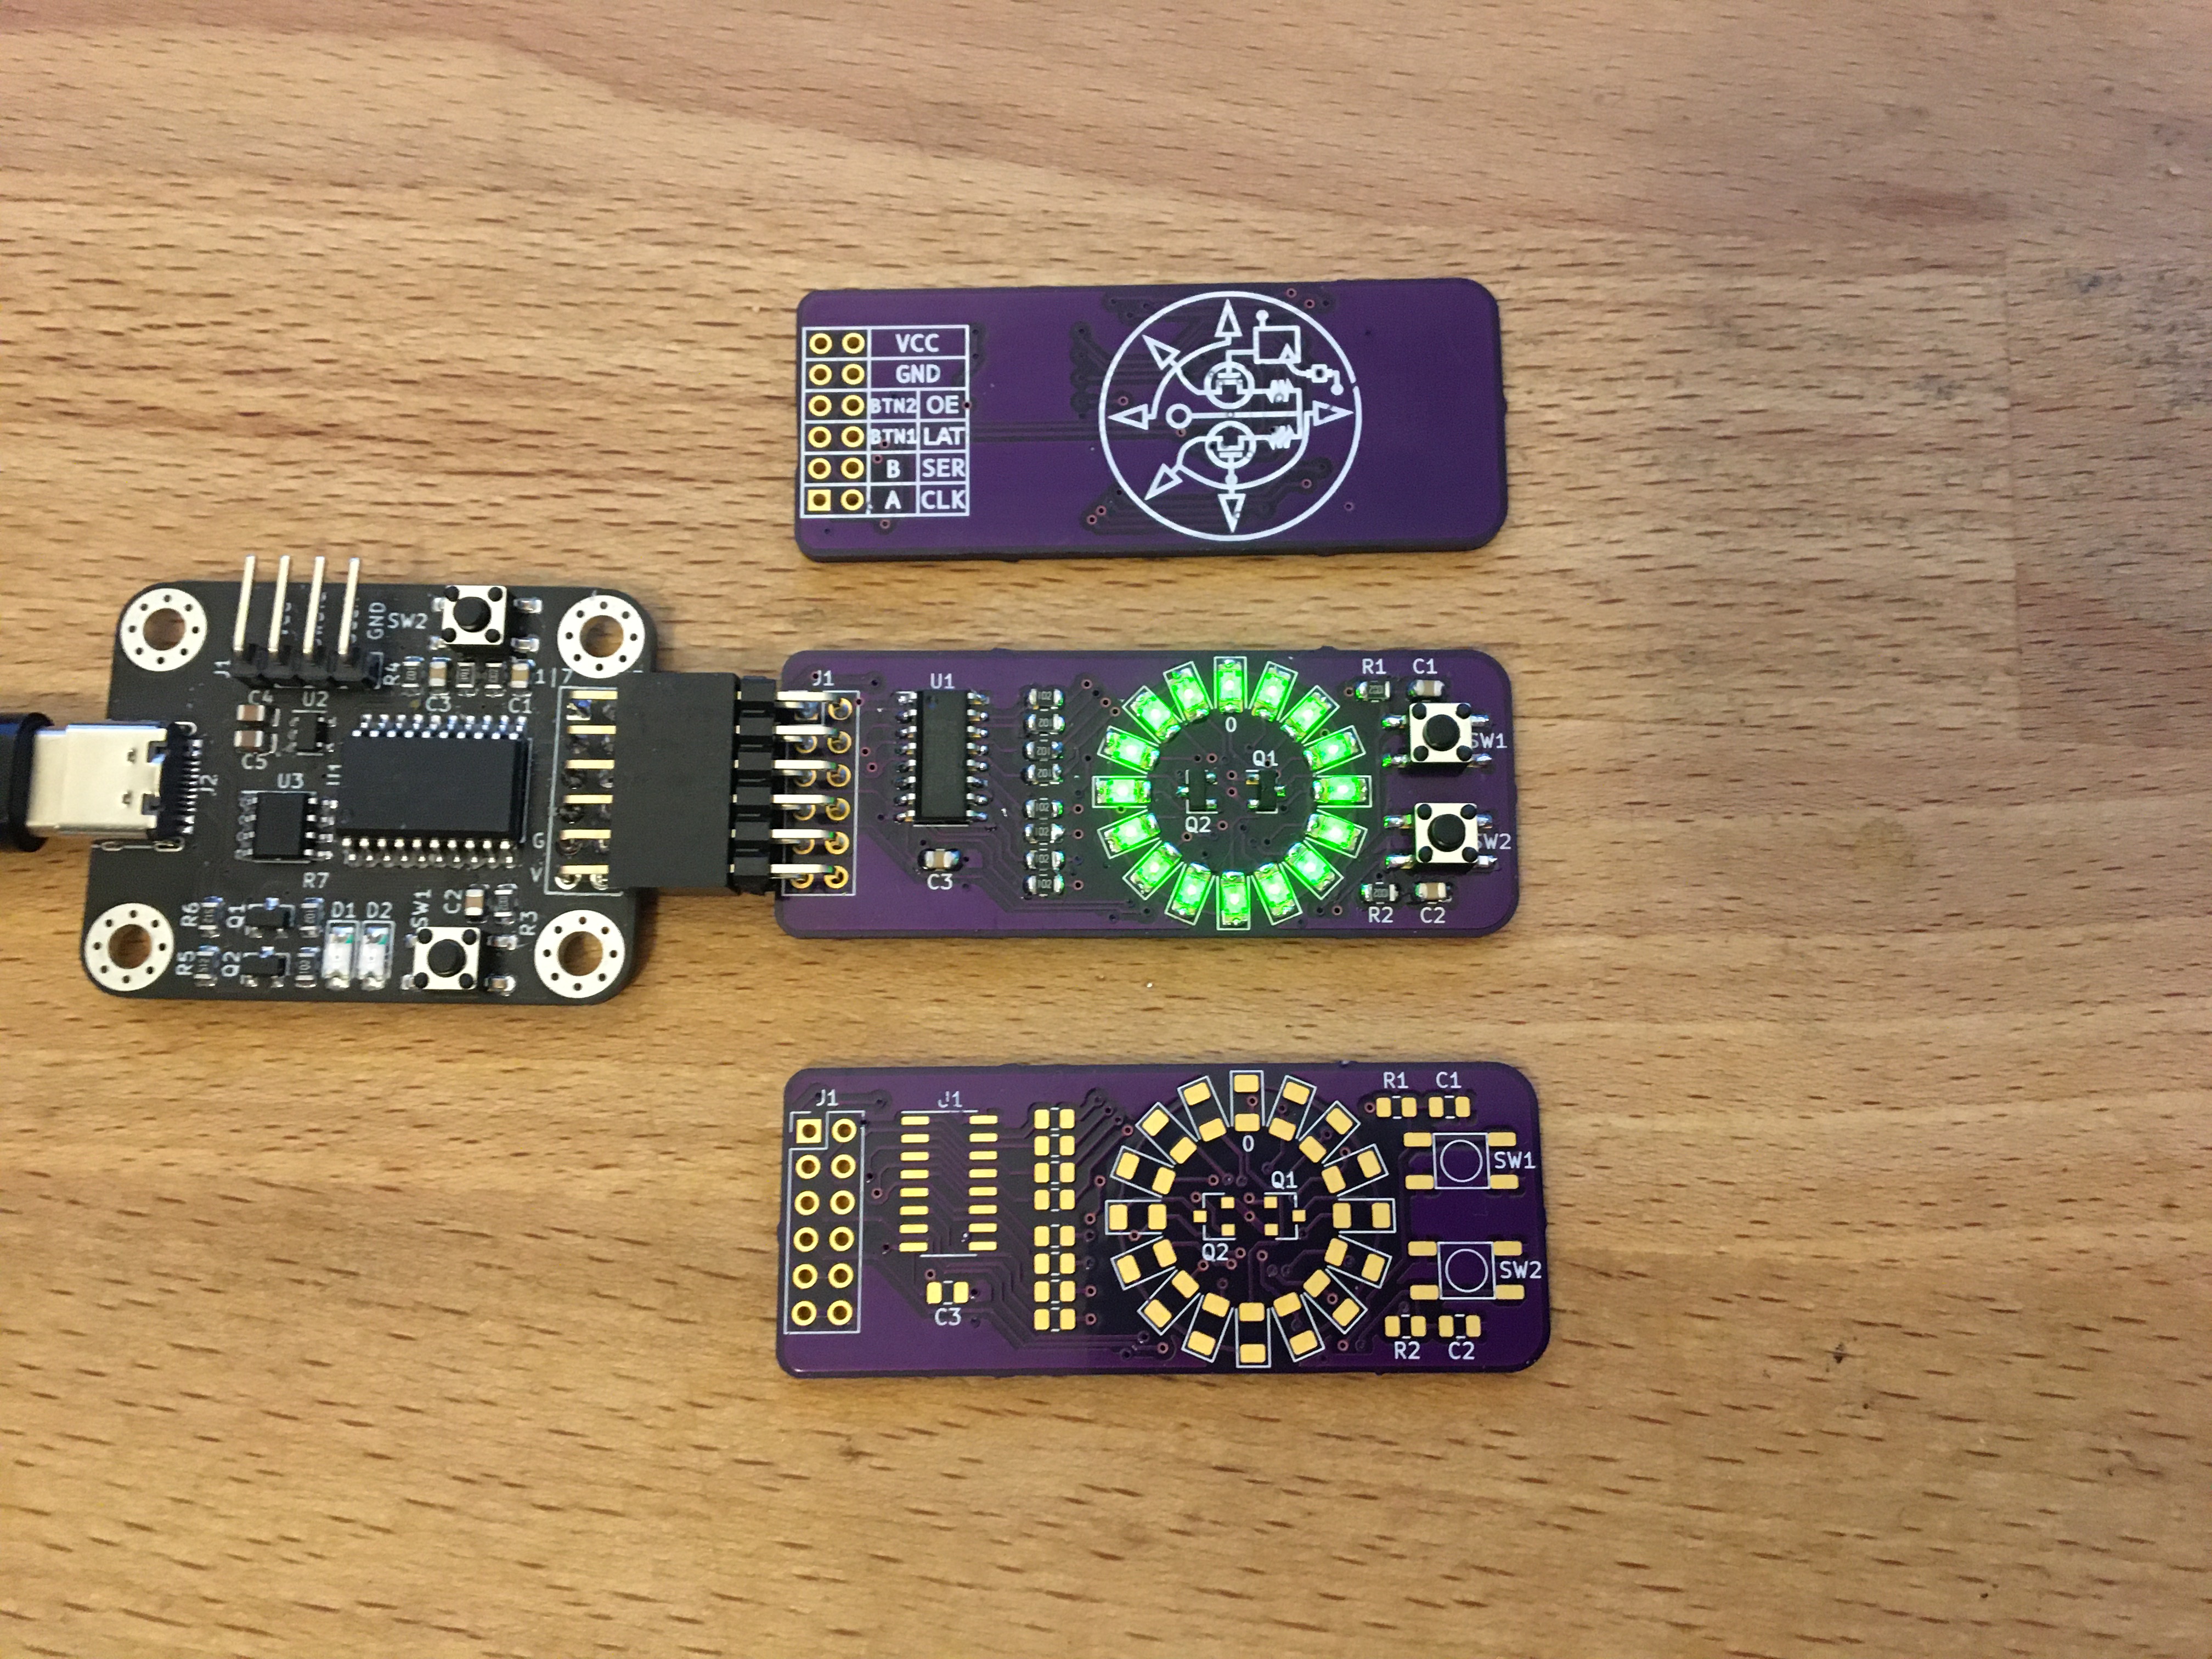
This readme assumes that you either know how to produce a board, source parts, and solder SMD components, or are willing to learn how to do these things. The production files have been tested using several production methods, so you shouldn't encounter issues making this board. The hints and instructions included should be enough to get you started.
The following components are needed:
Notes:
Production files can be found in the hardware/gerbers/ folder. Most vendors will accept the zip file with gerbers. Examples are Oshpark, JLCPCB, PCBWAY, and Dirtypcbs
Two vendors have been tested:
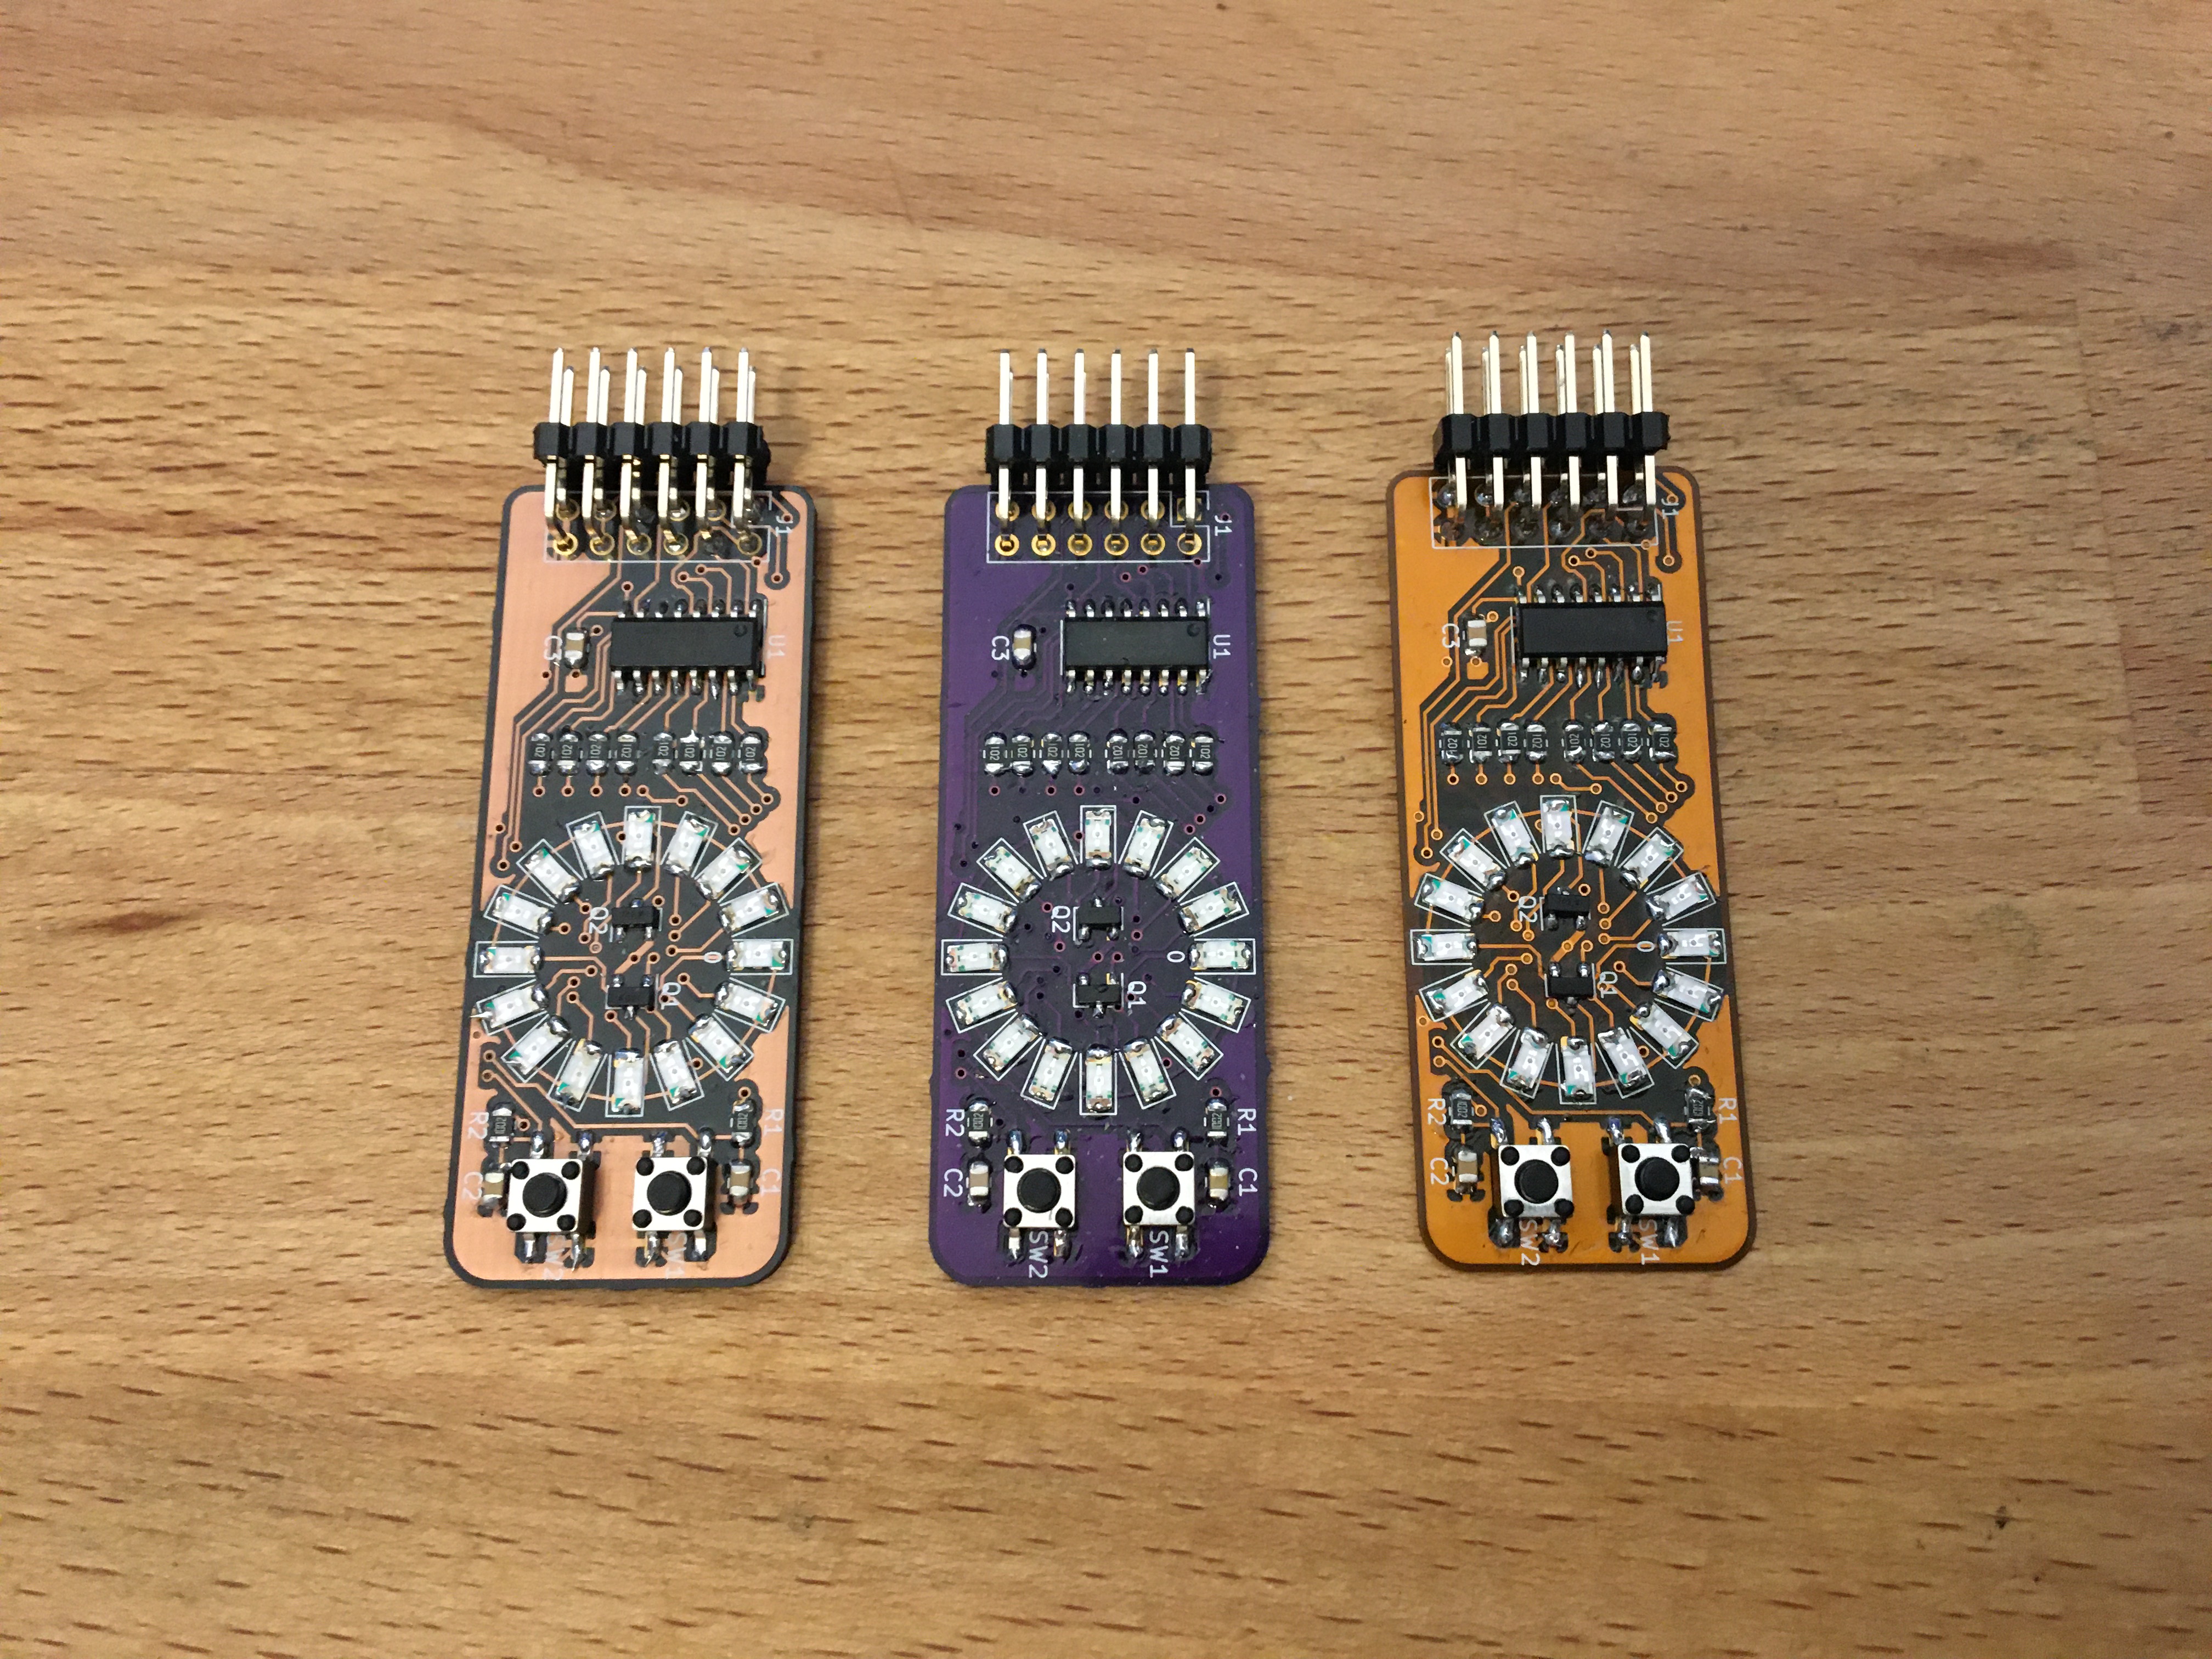 L to R: After dark, Purple, Flex
Oshpark is an American PCB manufacturer that specializes in small run prototype boards. They have decent prices for small orders and excellent customer service. They only do three types of boards: After dark, which is black substrate with clear solder mask. This shows the copper layers while also protecting them with a clear coat. Purple, which is their standard color. And flex, which are flexible pcbs. This design is not made for flex and it is not recommended to pick this option. All boards are made with gold plated solder pads and the default shipping option is free. You get three boards.
If you have never ordered pcb's you can't go wrong with Oshpark
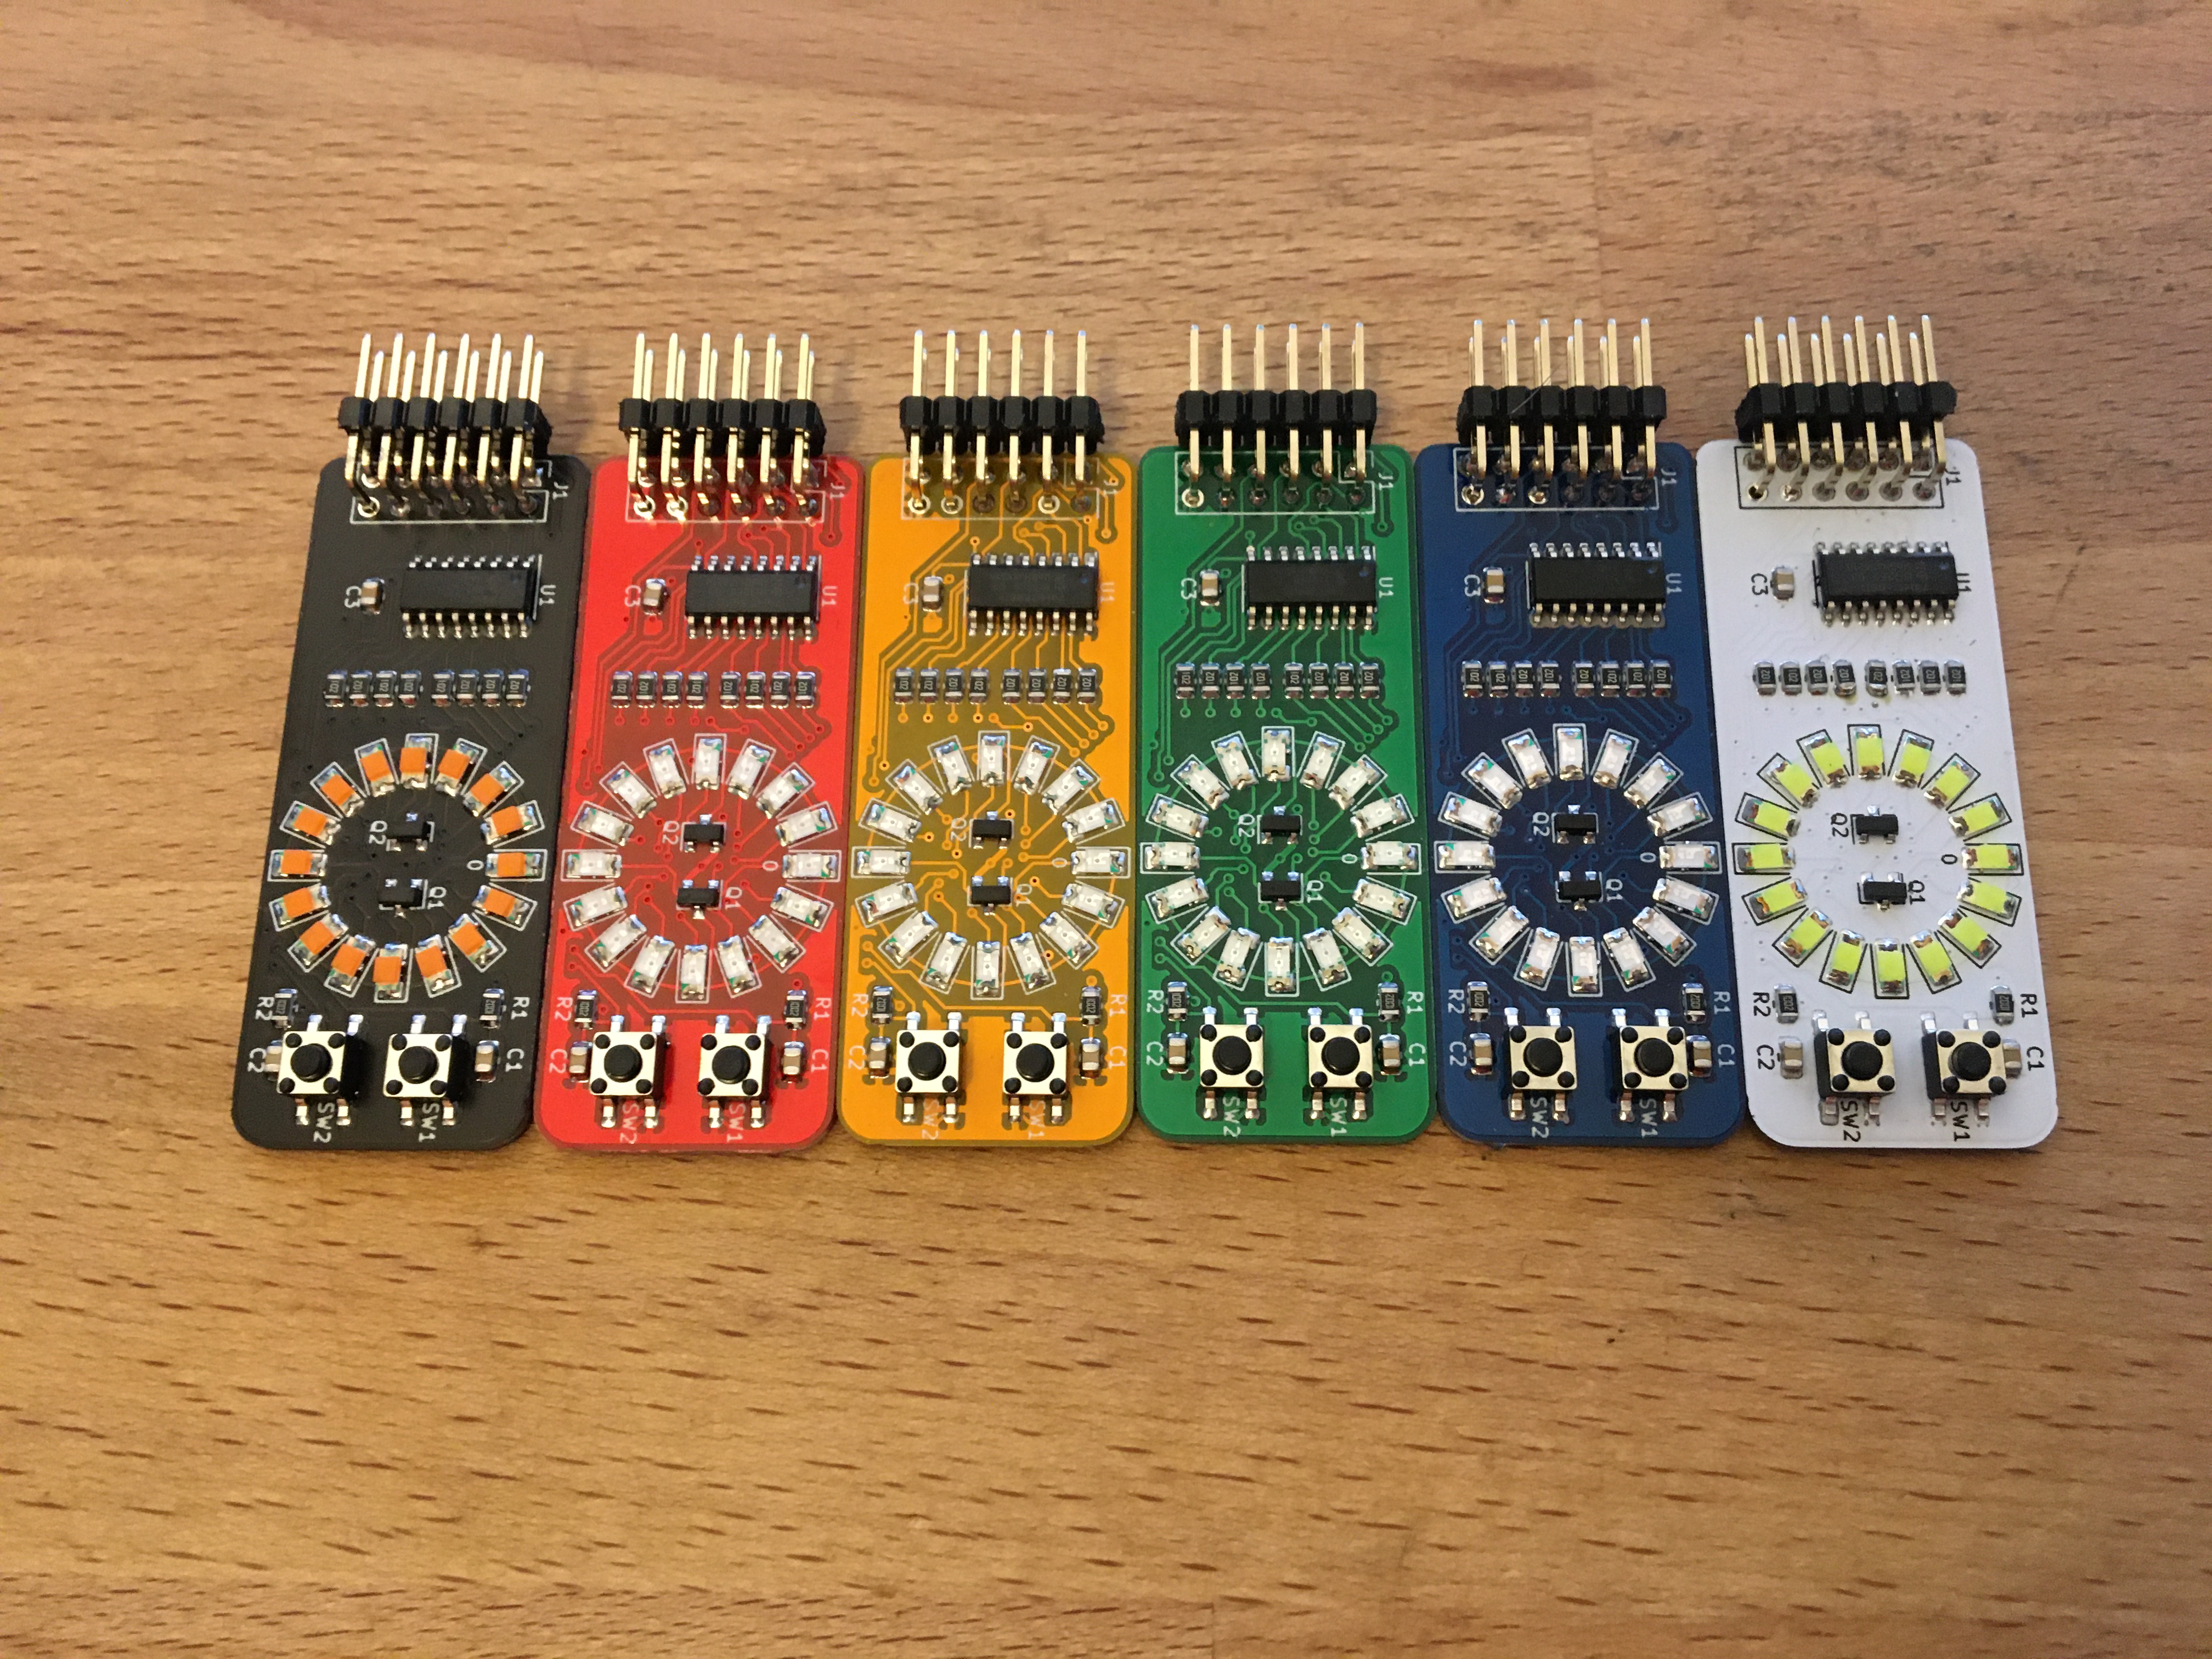 All the possible soldermask colors of JLC
JLCPCB is a Chinese PCB manufacturer. They have a prototype service, but can also do large quantities of boards. They offer much more options, like soldermask colors and plating material. With the default options they are similar in price as Oshpark for 5 boards, but if you order larger quantities the price per board drops significantly. Another advantage is that you can order solderpaste stencils with your pcbs.
Note that JLCPCB adds an order number to your PCBs. Click "specify location" at the remove ordernumber option to put that number under the chip. The required JLCJLCJLCJLC silkscreen is already under the chip.
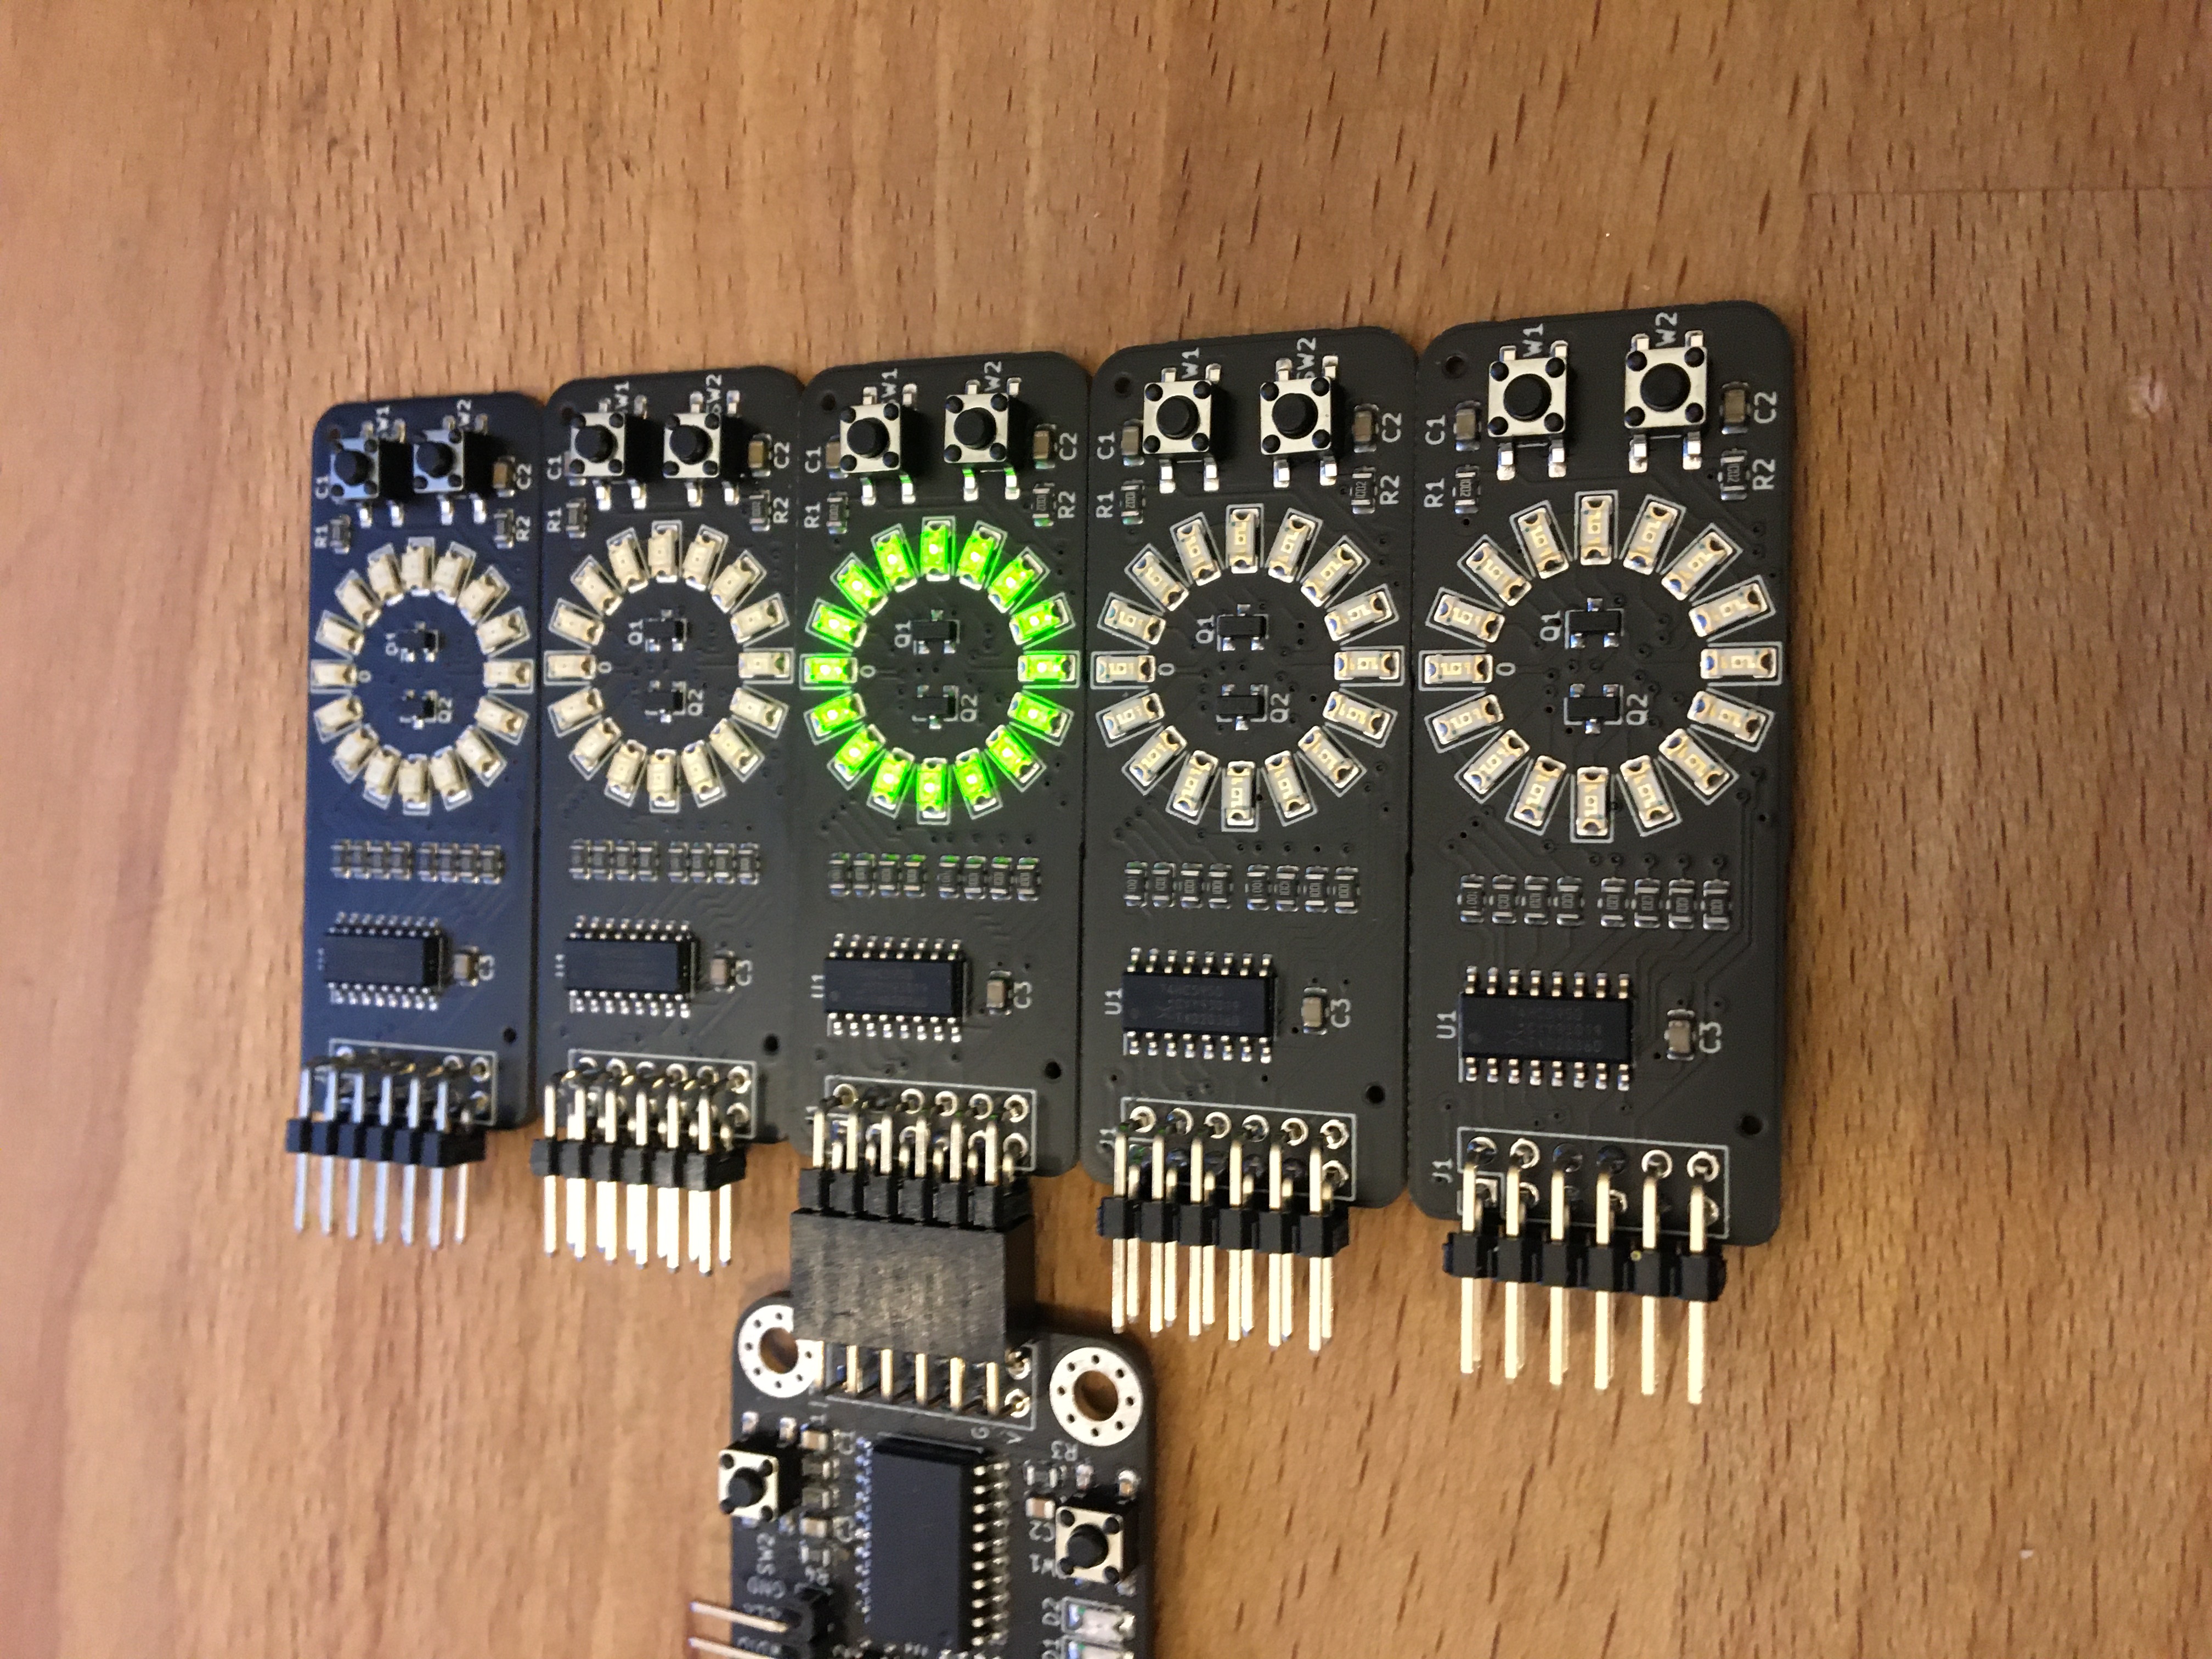 SMT assembled boards
JLCPCB also offers a SMT assembly service, where you can get fully assembled boards. In addition to the zip file, you also need the BOM and the placement file. Note that these files have been manually corrected for parts rotation, so take extra care when re-exporting them from the kicad files. The headers aren't included in the files, as they add quite a bit of assembly costs.
If you just want the finished product this is the way to go. If you want to make your own boards in the future, I would recommend to start with getting the parts and boards and soldering them yourself. Getting boards ready for SMT adds another layer of complexity and isn't recommended for a beginner.
This readme doesn't have a soldering guide (yet). This board is similar enough to an older board that this guide: https://github.com/pimdegroot/74595displaykit translates to this board as well.
Software examples can be found in the software/ folder. Both Arduino and Circuitpython examples are offered. Note that you have to change the pinout to your dev board.
The circle is divided in groups of 8 LEDs. Mosfet A controls the right group and mosfet B the left one. The pins have the following functions:
The procedure for driving the 74HC595 is as follows:
Drive SER, CLK, LAT, OE, MA and MB low. Set BTN1 and BTN2 as input.
Right side:
Left side:
The information in this repository is provided as is, and while care has been taken to eliminate all errors, there might still be bugs. As I have limited time to give support, please try to solve the problem yourself first. If you found an error in the repo, I would like to hear it in the form of an issue so I can fix it for everyone.
Have fun building the board, and I would love to see the results. You can contact me at https://twitter.com/mifune
| Qty | Value | Footprint | References |
|---|---|---|---|
| 16 | LED | LED_SMD:LED_1206_3216Metric | D1, D2, D3, D4, D5, D6, D7, D8, D9, D10, D11, D12, D13, D14, D15, D16 |
| 8 | 1k | Resistor_SMD:R_0805_2012Metric | R3, R4, R5, R6, R7, R8, R9, R10 |
| 3 | 100n | Capacitor_SMD:C_0805_2012Metric | C1, C2, C3 |
| 2 | 10k | Resistor_SMD:R_0805_2012Metric | R1, R2 |
| 2 | 2N7002 | Package_TO_SOT_SMD:SOT-23 | Q1, Q2 |
| 2 | SW_Push | switch:SW | SW1, SW2 |
| 1 | 74HC595 | Package_SO:SOIC-16_3.9x9.9mm_P1.27mm | U1 |
| 1 | Conn_02x06_Odd_Even | Connector_PinHeader_2.54mm:PinHeader_2x06_P2.54mm_Vertical | J1 |
| 1 | LOGO | silkscreen:sigil | G*** |
tardate/LittleArduinoProjects
a collection of "Little Electronic & Arduino Projects", most involving electronics or an Arduino in one way or another!

ChrisChrisLoLo/beyblock20
The magnetic, modular, 20-key macropad that can join together to form an ortholinear board

slu4coder/Minimal-64x4-Home-Computer
My DIY TTL home computer with VGA and PS/2 and 4x the processing power of a Commodore C64 or Apple II.

electroniceel/protoboard
Advanced protoboard layout with 1.27mm pitch for smd parts

TobleMiner/DC-UPS
A small DC UPS, designed to keep small appliances like consumer network equipment running during power outages


It measures 54.6 × 21.6 mm and has 2 copper layers, 1.6 mm thick.
36 parts, built around the 74HC595. The full list of its parts is on this page, with links to each part's symbol and footprint where PCBKit's library has them.
From the pimdegroot/circledisplay repository on GitHub, at the commit this page was made from: the board is hardware/circledisplay.kicad_pcb. PCBKit opens the board in the browser, with nothing to install.
Its repository states no licence, so its author keeps all rights: ask pimdegroot before reusing the design.