
2 layers85 × 115 mm
OSO BOOK B1
joeycastillo/The-Open-Book
For details on how to build, test and use Open Book, I've made documentation available here.
76 parts8.1kCC-BY-SA-4.0

 PeterDarley/lightmotron1
A micropython project to automate neopixels via a web interface, specifically for lighting models.
Lightmotron is an open-source printed circuit board by PeterDarley, from the PeterDarley/lightmotron repository on GitHub. It is a 2-layer board of 42 × 154 mm with 15 parts on 60 nets.
It is built around the ESP32-S3-WROOM-1-N8. Its parts include 8 connectors, 5 resistors, 1 capacitor and 1 IC. It belongs with the lEDs and displays and interfaces and adapters boards and the ESP32 boards of this library.
A lighting controller for plastic model kits, running on an ESP32-S3. Uses NeoPixel LED strips to produce dynamic lighting effects, with optional MP3 sound playback — all configured and controlled from a web interface over WiFi, no app or account required.
You are welcome to use this project in products, research, kits, and services. Selling the software itself, or minor variations of it, as a standalone product is against the spirit of the project.
This software is licensed under GPLv3 with the following additional permission:
You may sell products or services that include this software, provided the software is not sold independently.
Distribution of the software itself, except as part of a larger product or service, is not permitted.[blocked]
peterdarley.github.io/lightmotron — flashes the firmware directly from your browser over USB. No drivers, no command line, no account.
That's it — the page writes everything a blank board needs. Once it's done, unplug the USB cable (or leave it connected for power) and continue to First Boot below.
Already have a Lightmotron device and just want to update it? Use Setup → Updates in the web interface instead — see Firmware Updates below.
On first boot (or whenever WiFi credentials are missing or fail to connect), the device starts a captive portal access point:
lightmotron-setup on your phone or laptop and connect to it.http://192.168.4.1/.http://lightmotron.local/ (or http://<hostname>.local/ if you've set a custom hostname). If .local addresses don't resolve on your network (common on Android), try http://lightmotron.lan/, http://lightmotron.home/, or just http://lightmotron/.SSID matching is case-insensitive, so credentials stored with different capitalization will still connect.
Credentials are stored persistently, so this only needs to be done once. To change them later, use System Settings on the Setup page.
Once the device is on your network, open its address in a browser.
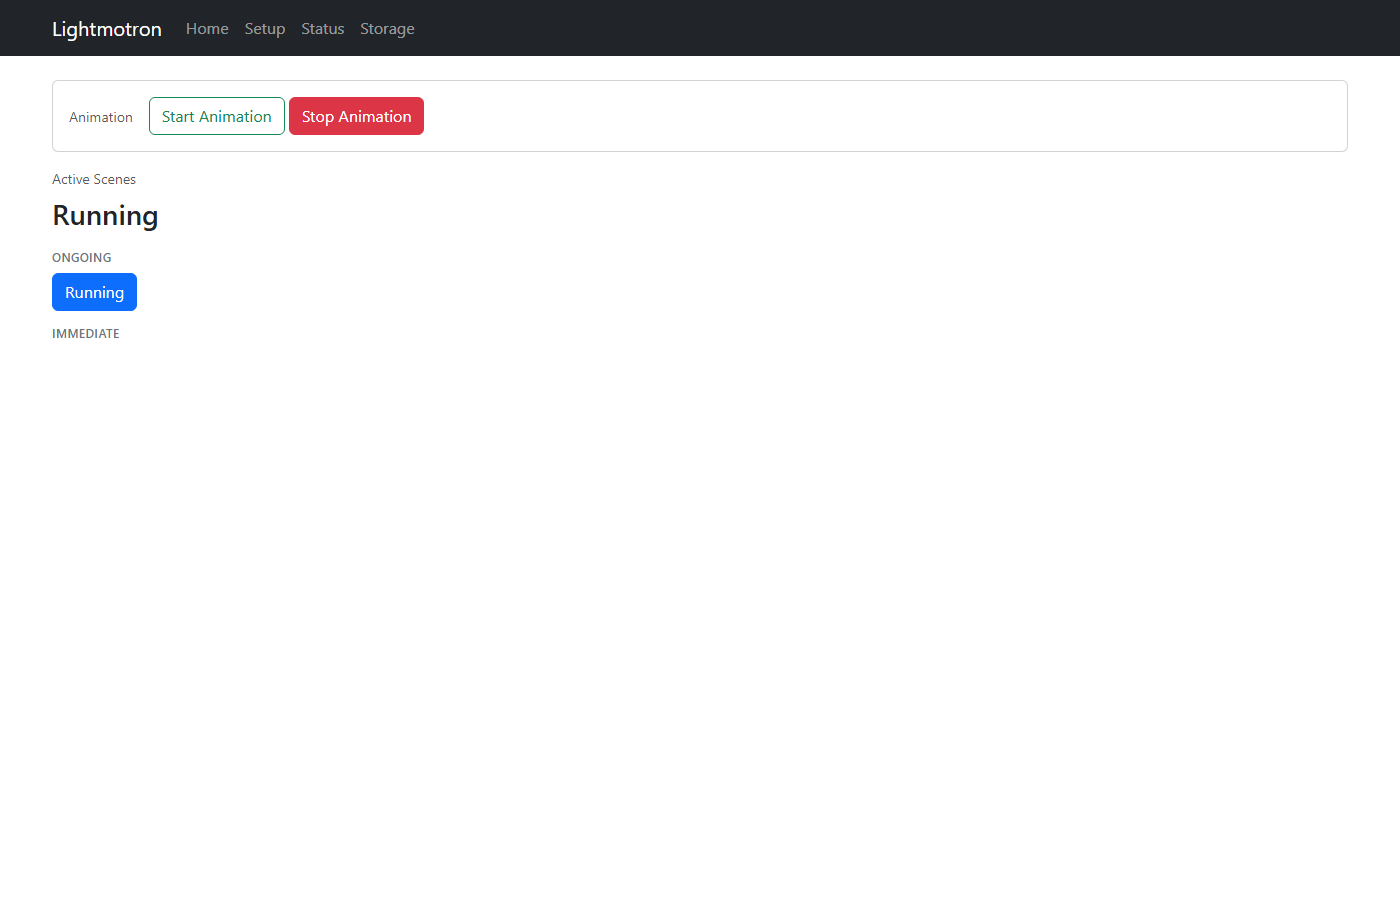
Control animation playback and trigger scenes from here day-to-day: start/stop the lighting engine, switch between scenes, play sounds and soundscapes. The Active Scenes list shows both ongoing scenes and any immediate (one-shot trigger) scenes while they're running.
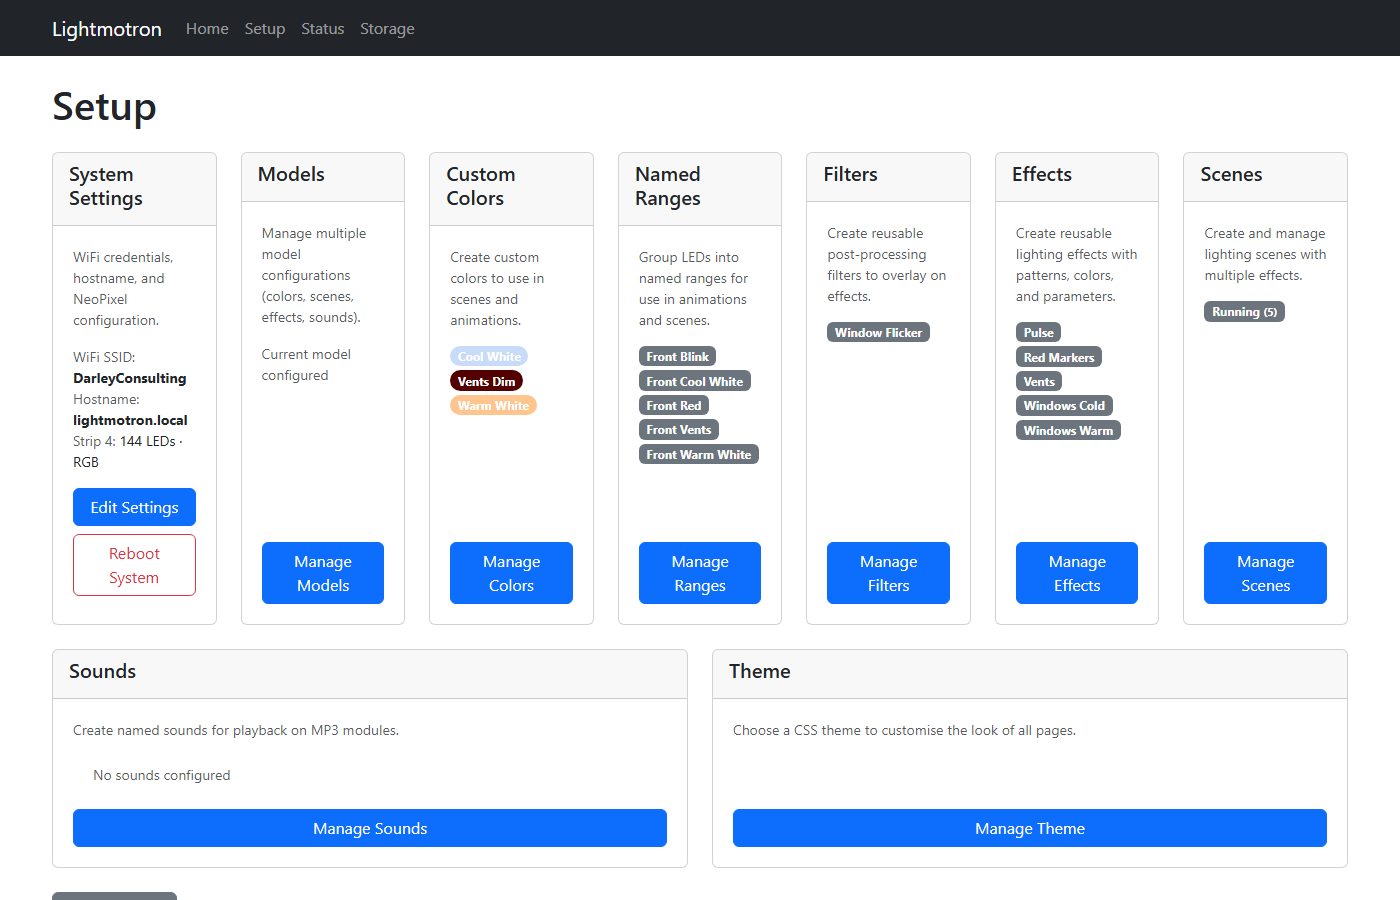
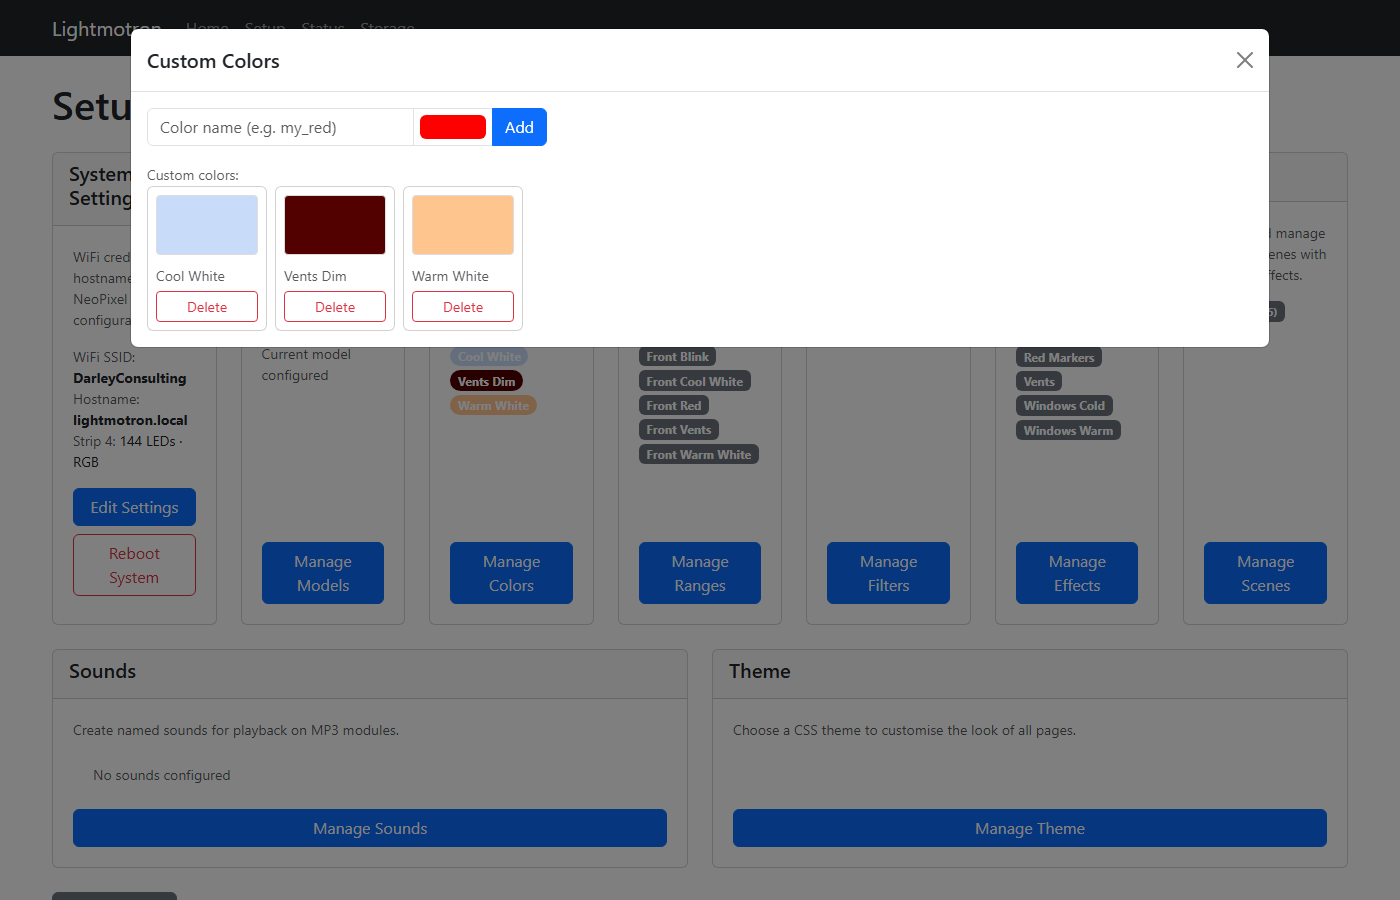
Configure everything: custom colors, named LED ranges, effects, filters, scenes, sounds, soundscapes, models, and the interface theme. See the Programming Guide for a complete walkthrough of every option and what it does.
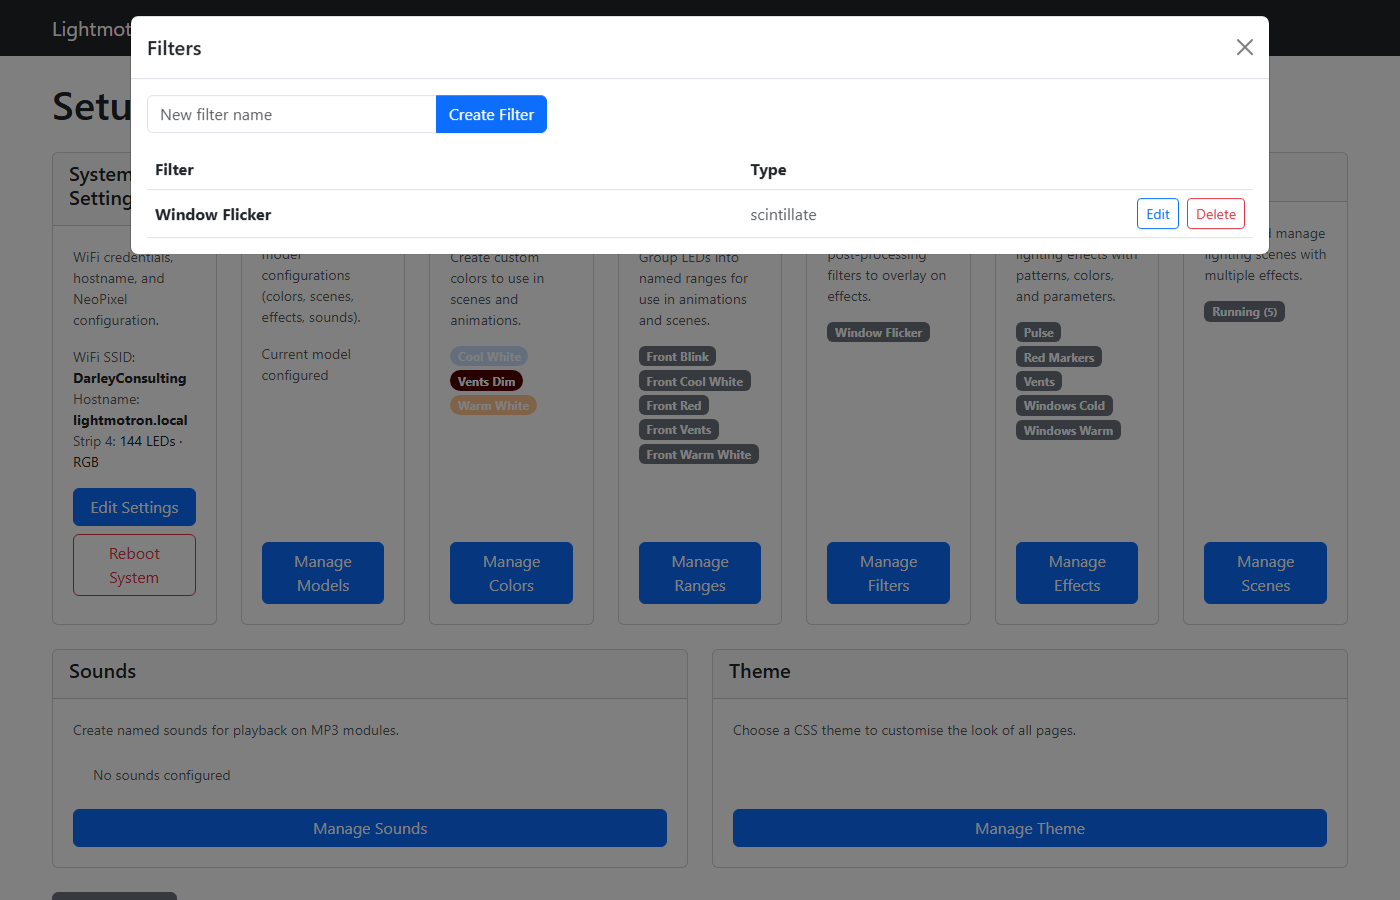
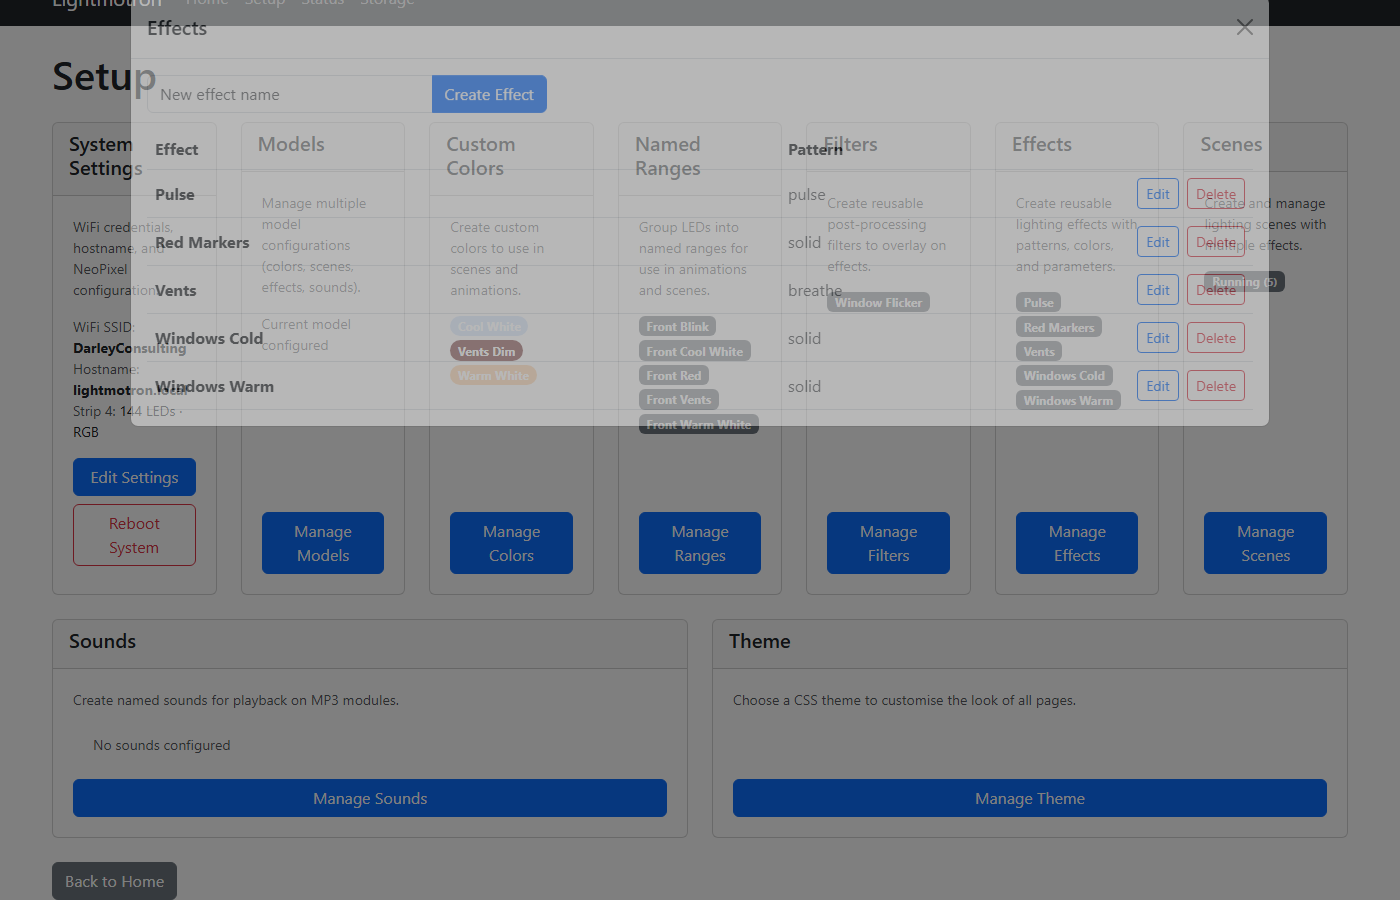
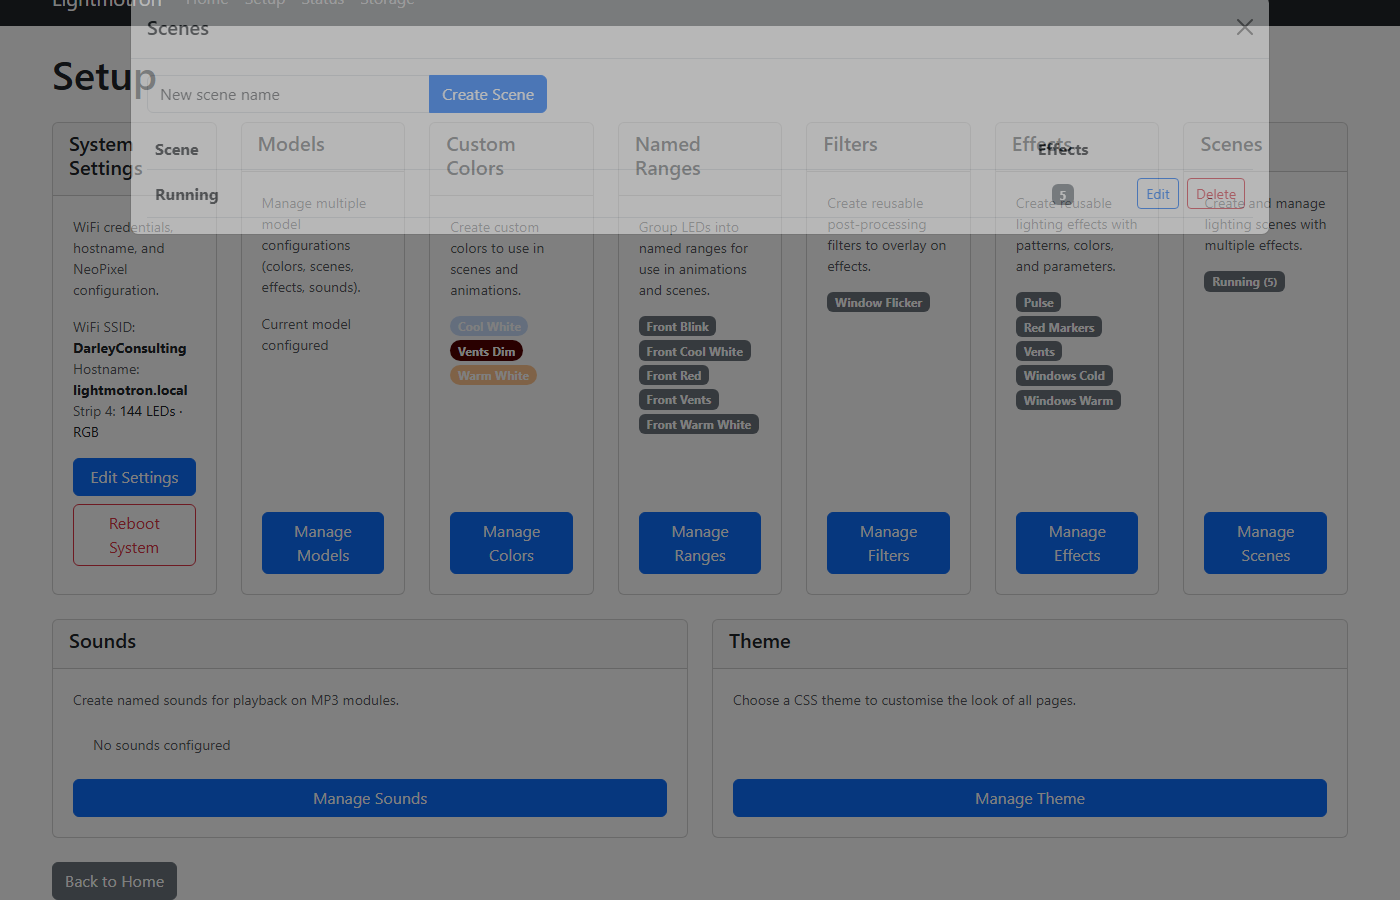
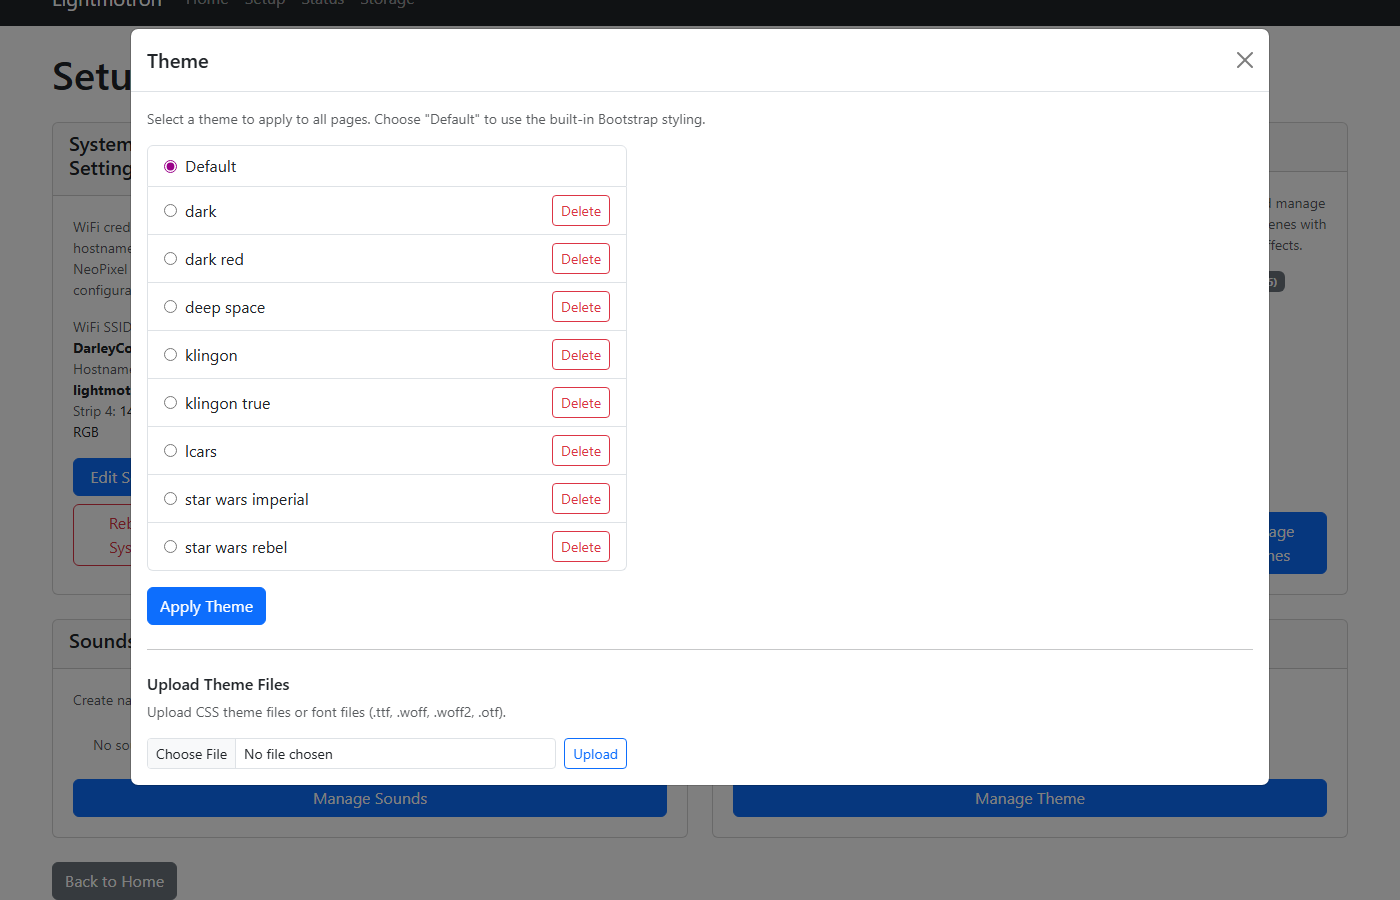
System Settings on this page also covers WiFi credentials, hostname, NeoPixel strip wiring, and audio module pin assignments — changes there take effect on the next reboot.
IP address announcement: if audio modules are configured and the device's IP address has changed since it last booted, it announces the new address by voice automatically (each octet's digits, repeated once after 15 seconds). Use Mark Current IP as Announced on the Setup page if you don't want to hear it again for the current address.
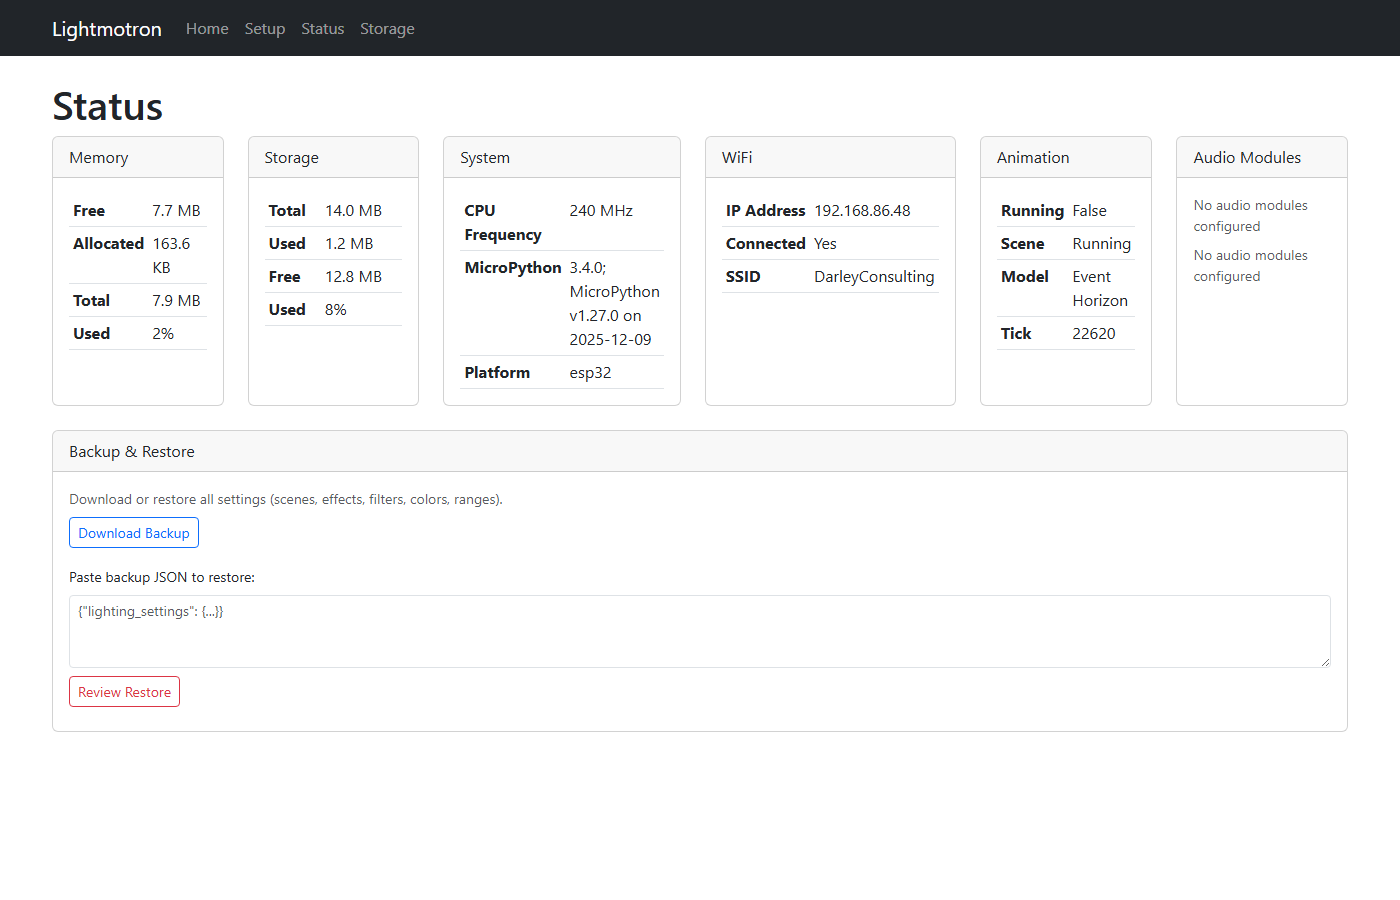
Monitor system health: memory and storage usage, networking details, animation state, the reason for the last reboot, and the responsiveness of any configured audio modules. Download or restore your entire configuration as a JSON backup file from here — restoring never overwrites WiFi credentials, so a backup is safe to move between devices.
View the raw JSON configuration underlying everything else on the device, for advanced inspection or manual editing. WiFi passwords are masked as *** here for safety.
Setup → Updates checks the configured GitHub repository (defaults to this one) for a newer release and, when you confirm, downloads and installs it — no cable required. Your settings, scenes, and sounds are untouched by an update; only the firmware itself changes.
Lightmotron began as a MicroPython project. It's since been fully rewritten in C for better performance and reliability, and that's what you'll get from the installer above — the original MicroPython version is no longer maintained. If you're curious about the internals or want to build the firmware yourself, see the Developer Guide.
| Qty | Value | Footprint | References |
|---|---|---|---|
| 4 | 470 | Resistor_THT:R_Axial_DIN0207_L6.3mm_D2.5mm_P10.16mm_Horizontal | R1, R3, R4, R5 |
| 1 | 1000uF | Capacitor_THT:CP_Radial_D10.0mm_P5.00mm | C1 |
| 1 | 1k | Resistor_THT:R_Axial_DIN0207_L6.3mm_D2.5mm_P10.16mm_Horizontal | R2 |
| 1 | 5V_PSU | Connector_PinHeader_2.54mm:PinHeader_1x02_P2.54mm_Vertical | J3 |
| 1 | BSS138_LevelShifter_4ch | local:BSS138_LevelShifter_4ch_2x06_P2.54mm_Row10.16mm | J1 |
| 1 | ESP32-S3-WROOM-1 | local:YD-ESP32-S3_DevKit_2x22_P2.54mm | U1 |
| 1 | NeoPixel_Strip | Connector_PinHeader_2.54mm:PinHeader_1x03_P2.54mm_Vertical | J2 |
| 1 | NeoPixel_Strip_2 | Connector_PinHeader_2.54mm:PinHeader_1x03_P2.54mm_Vertical | J6 |
| 1 | NeoPixel_Strip_3 | Connector_PinHeader_2.54mm:PinHeader_1x03_P2.54mm_Vertical | J7 |
| 1 | NeoPixel_Strip_4 | Connector_PinHeader_2.54mm:PinHeader_1x03_P2.54mm_Vertical | J8 |
| 1 | Speaker | Connector_PinHeader_2.54mm:PinHeader_1x02_P2.54mm_Vertical | J5 |
| 1 | YX5200_MP3_Player | local:YX5200_DFPlayer_DIP16_W15.24mm | J4 |
It measures 42 × 154 mm and has 2 copper layers, 1.6 mm thick.
15 parts, built around the ESP32-S3-WROOM-1-N8. The full list of its parts is on this page, with links to each part's symbol and footprint where PCBKit's library has them.
From the PeterDarley/lightmotron repository on GitHub, at the commit this page was made from: the board is hardware/hardware/hardware.kicad_pcb and its schematic hardware/double/double.kicad_sch. PCBKit opens the board in the browser, with nothing to install.
Its repository states no licence, so its author keeps all rights: ask PeterDarley before reusing the design.
joeycastillo/The-Open-Book
For details on how to build, test and use Open Book, I've made documentation available here.

hackclub/OnBoard
💡 Join 1,000 teenagers and make your first PCB with a $100 grant!

bitaxeorg/bitaxeGamma
Bitaxe based on the BM1370 from the S21 Pro


hhuysqt/esp32s3-keyboard
USB/BLE keyboard driver based on ESP32S3-WROOM-1

katbinaris/nanofoc_devkit
Compact All-In-One BLDC Controler featuiring ESP32-S3, TMC6300 and Magalpha sensors. Small 35x35mm footprint.

Hack-a-Day/2025-Communicator_Badge
The 2025 Hackaday Supercon RF Communicator Badge