2 layers60.5 × 45.8 mm

 miket6000/SimpleAlt1
A simple barometer based peak and logging altimeter for model rocketry with USB C charging and data transfer.
Simple Altimeter is an open-source printed circuit board by miket6000, from the miket6000/SimpleAlt repository on GitHub. It is a 4-layer board of 14.7 × 25.1 mm with 35 parts on 40 nets, routed with 324 tracks and 54 vias.
It is built around the BMP280, W25Q16JVUXIQ and STNS01PUR, with the BC847W among its other parts. Its parts include 12 capacitors, 11 resistors, 4 ICs, 2 diodes and 2 connectors. It belongs with the STM32 boards of this library.


A simple barometer based peak and logging altimeter for model rocketry with USB C charging and data transfer.
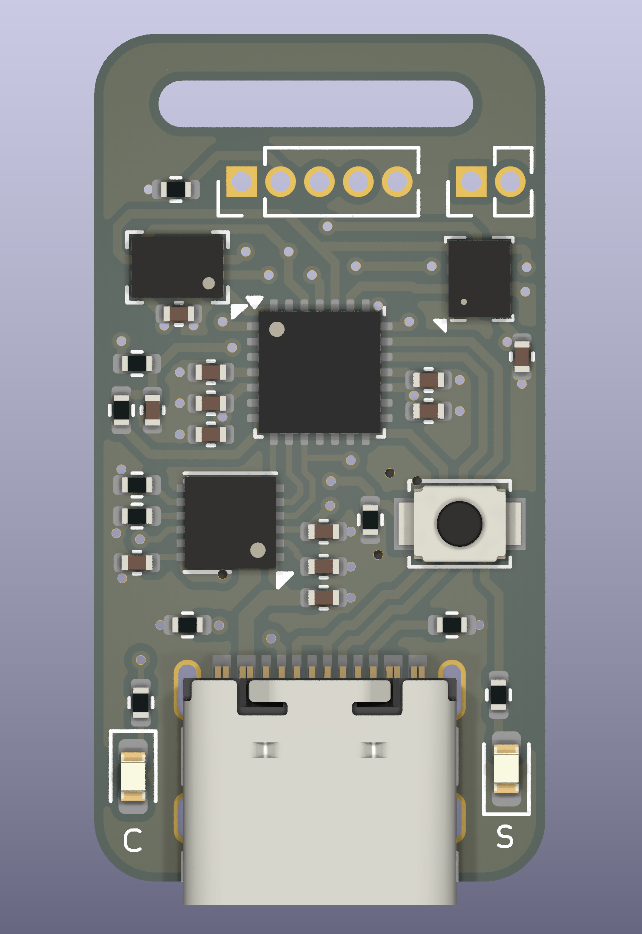
SimpleAlt uses a Bosch BMP280 to measure the barometric altitude of the altimeter. When recording is started by pressing the button it takes a reference measurement which it calls "ground altitude". This is subtracted from the maximum altitude used in displaying the altitude achieved, however the raw barometric altitude is what is recorded onto the flash.
The micro controller is an STM32F042, chosen for it's small physical size and built in USB peripheral.
The flash chip is a Windbond W26Q16 which provides 16Mb (2MB) of recording. The current configuration of 5 bytes per sample (a 1 byte label and 32bit altitude) at 50Hz sample rate (this will probably be reduced to 25Hz in the future) provides a bit over 2hrs of continuous recording.
The 30mAh battery will last approximately 3-4 hours in idle or recording mode, and about 24 hours in sleep mode, hough work is being done to extend this as the micro controller is not currently achieving the expected current draw. The shutdown mode will last approximately forever, however there is a strange bug in the current hardware revision whereby putting the STNS01 into shutdown mode does not fully succeed until the button is released and pressed again to put a load on the LDO. The cause of this is currently unknown.
Charging, battery protection and the LDO are all supplied by the STNS01.
SimpleAlt has a simple user interface consisting of a single button and a single green LED (marked 's', for status). This allows it to be as light as possible but may take some getting used to.
To show how this works this document describes LED flashes between angled brackets <>. A number between the brackets indicates the number of times the LED will flash. A '.' indicates a short pause and a '-' indicates a long pause. e.g.
< 9 . 10 . 6 - >
indicates 9 flashes, a short pause, 10 flashes, a short pause and then 6 flashes followed by a long pause. Most flashing sequences will repeat, the exception being the Button mode.
All operations are performed with a single press of the button. To change which options you want you simply hold the button down longer. The options available are:
Thats it!
< 1 - > Idle mode
< 1 . 2 . > Recording mode
The LED is used to provide status and instant altitude information. Depending on the state of the SimpleAlt it will be displaying one of the below bits of information:
Plugging the SimpleAlt into a USB C power supply will result in it charging the battery. While charging the red LED will illuminate. When the battery is full the red LED will turn off. If a fault occured during charging (e.g. the battery voltage never rises high enough) the red LED will flash. This indicates a fault with the hardware or battery and will need to be repaired.
A day flying might look like the following.
Charge the SimpleAlt by plugging it in. When the red LED turns off, it's charged so unplug it and put it into Sleep mode by holding down the button until you see the double flash.
Get to the flying field and get set up. When the rocket is ready to launch a quick press on the button wakes up the SimpleAlt and it starts slowly flashing that it's in Idle mode. Holding the button until the first flash puts the SimpleAlt into recording mode (and also sets the ground level), it starts flashing < 1 . 2 . 1 . 2 > put it into the payload bay and launch your rocket.
On recovery of your rocket press the button until the green LED gives a single flash < 1 > and release to stop recording. The SimpleAlt will now flash out the altitude your rocket achieved in metres.
Hold the button until the double flash to put the altimeter back into sleep mode, or load it straight into the next rocket and start recording again.
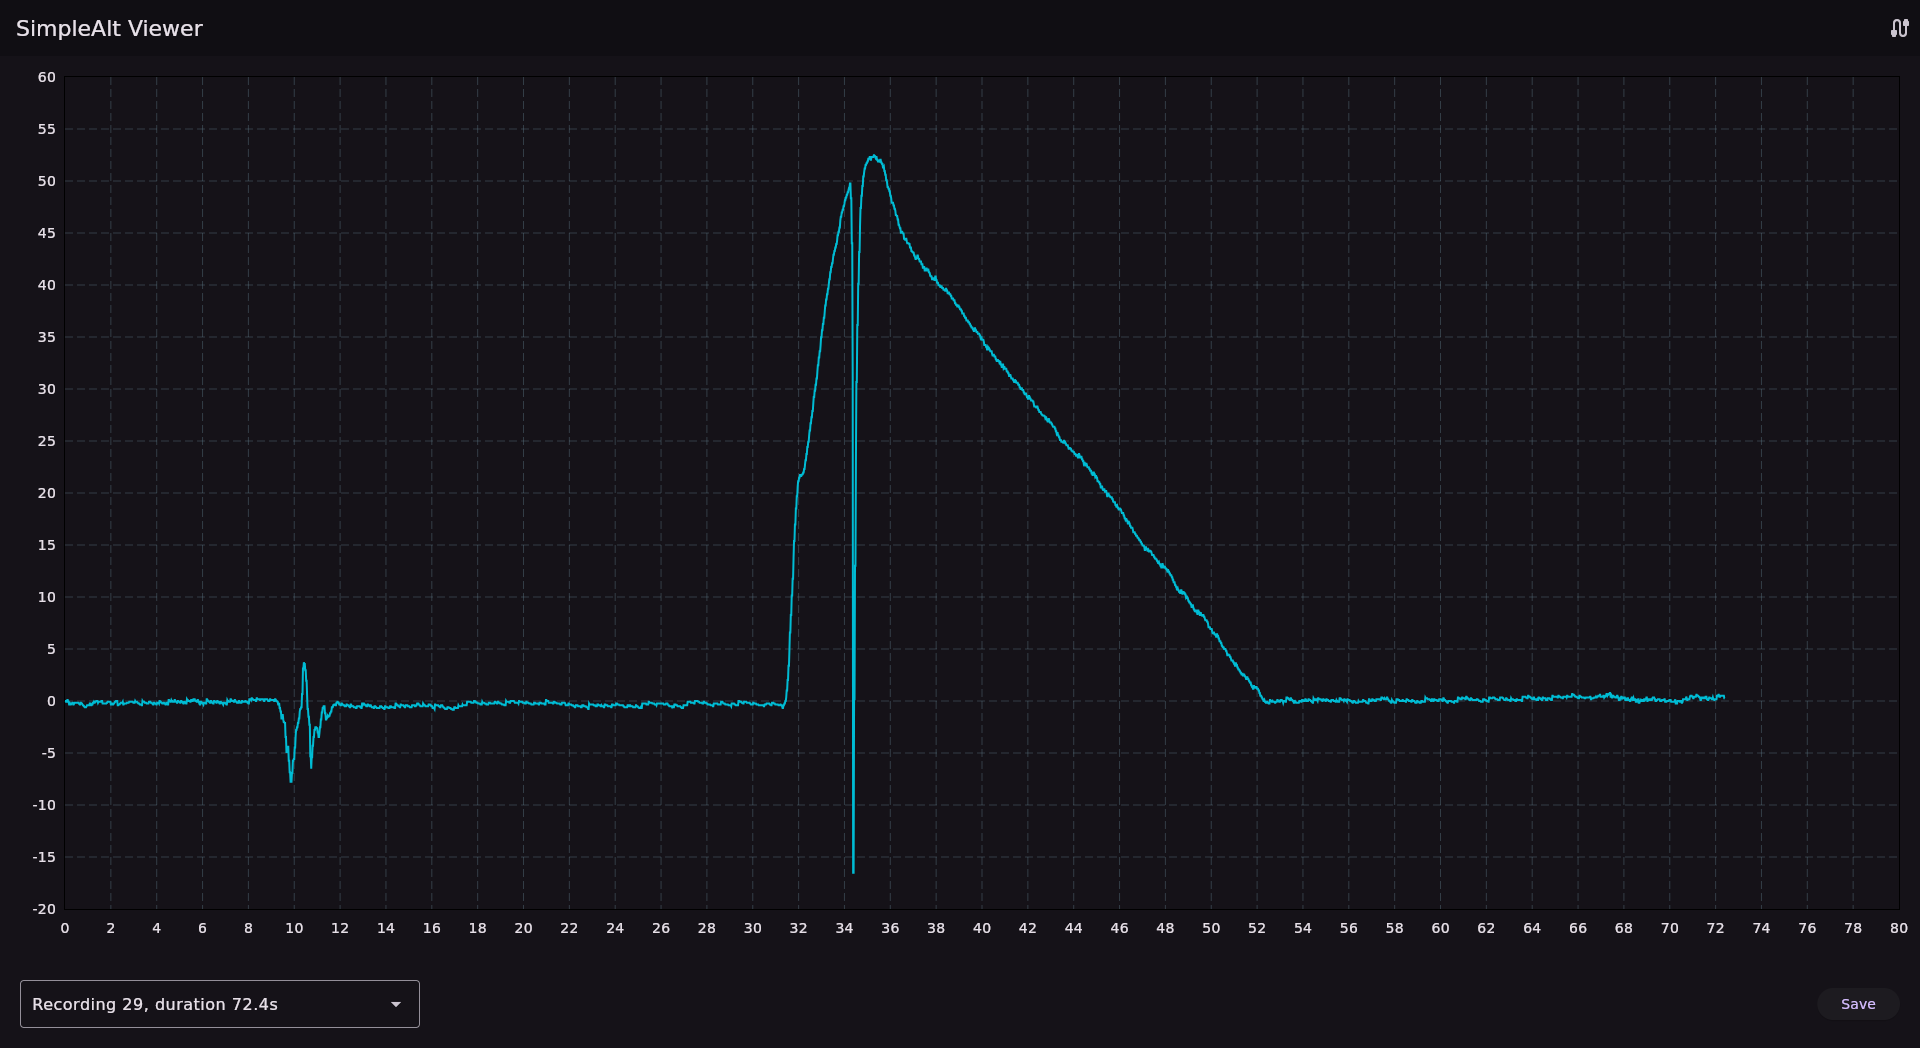
Back at a computer use the plug the SimpleAlt into your computer using a USB C cable and use the Simple application to download your flights. The flights are added onto the list in order that they occured and the application also gives you the duration of the flight (from starting to stopping the recording) to help you find the right flights to download. For more details see the app guide.
| Qty | Value | Footprint | References |
|---|---|---|---|
| 6 | 100n | Capacitor_SMD:C_0402_1005Metric | C2, C4, C5, C8, C9, C13 |
| 4 | 1k | Resistor_SMD:R_0402_1005Metric | R5, R6, R9, R10 |
| 3 | 33k3 | Resistor_SMD:R_0402_1005Metric | R1, R2, R14 |
| 3 | 5k1 | Resistor_SMD:R_0402_1005Metric | R3, R7, R8 |
| 2 | 1u | Capacitor_SMD:C_0402_1005Metric | C10, C11 |
| 2 | 2u2 | Capacitor_SMD:C_0402_1005Metric | C1, C7 |
| 2 | 4u7 | Capacitor_SMD:C_0402_1005Metric | C3, C6 |
| 1 | 10k | Resistor_SMD:R_0402_1005Metric | R4 |
| 1 | 1s_Lipo | My Footprints:Lipo 401010 | BT1 |
| 1 | BC847W | Package_TO_SOT_SMD:SOT-323_SC-70 | Q1 |
| 1 | BMP280 | Package_LGA:Bosch_LGA-8_2x2.5mm_P0.65mm_ClockwisePinNumbering | U2 |
| 1 | Buzzer | My Footprints:Buzzer_0502 | BZ1 |
| 1 | Conn_01x06_Pin | Connector_PinHeader_1.27mm:PinHeader_1x06_P1.27mm_Vertical | J2 |
| 1 | GREEN LED | LED_SMD:LED_0603_1608Metric | D2 |
| 1 | RED LED | LED_SMD:LED_0603_1608Metric | D1 |
| 1 | STM32F042G6Ux | Package_DFN_QFN:QFN-28_4x4mm_P0.5mm | U4 |
| 1 | STNS01 | Package_DFN_QFN:DFN-12-1EP_3x3mm_P0.45mm_EP1.65x2.38mm | U7 |
| 1 | SW_Push | Button_Switch_SMD:SW_SPST_B3U-1000P | SW1 |
| 1 | USB_C_Receptacle_USB2.0 | Connector_USB:USB_C_Receptacle_Palconn_UTC16-G | J1 |
| 1 | W25Q16JVUXIQ | My Footprints:Winbond_USON_8_EP_2x3mm | U3 |
It measures 14.7 × 25.1 mm and has 4 copper layers, 0.8 mm thick.
35 parts, built around the BMP280, W25Q16JVUXIQ, STNS01PUR and BC847W. The full list of its parts is on this page, with links to each part's symbol and footprint where PCBKit's library has them.
From the miket6000/SimpleAlt repository on GitHub, at the commit this page was made from: the board is hardware/Simple Altimeter.kicad_pcb and its schematic hardware/Simple Altimeter.kicad_sch. PCBKit opens the board in the browser, with nothing to install.
Its repository states no licence, so its author keeps all rights: ask miket6000 before reusing the design.

wickerbox/Basic-Breakout-Boards
Proving out wickerlib templates and reference circuits.

screwbreaker/ScartPCB
A little PCB to buld a SCART cable for console and old computers


electron-rare/DMX_ESP_Stepper-controller
contrôle de moteur pas à pas selon commande DMX, pour l'opéra de Montpellier

Ghost3379/NX-ISD
A more sophisticated version of the Artemis Watch by Circuitmess.


acha666/Zigbee-Air-Sensor
Low power air sensor with E-ink screen and ESP32-H2