Skip to the content
2 layers99.5 × 67 mmController Board, the printed circuit board in 3D

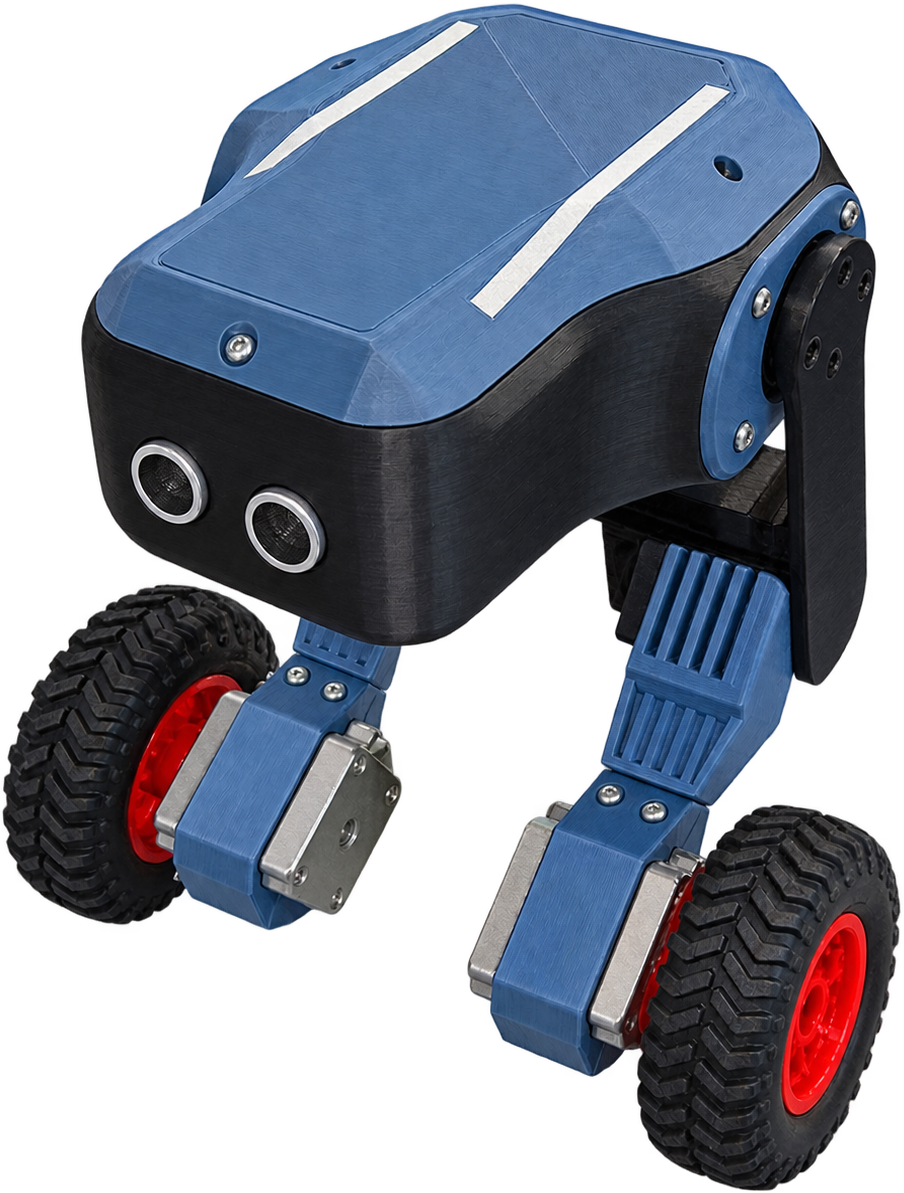
A bipedal self balancing robot with 2DOF in each leg. Built from scratch.

Size
99.5 × 67 mm
Copper layers
2
Thickness
1.6 mm
Parts
23
Nets
63
Pads
136
Tracks, vias
304, 17
Pours
1
Routed
Yes
KiCad
KiCad 10.0 (file 20260206)
Created
30 May 2026
Updated
9 Sep 2026

Overview

Controller Board is an open-source printed circuit board by kairobyte, from the kairobyte/bipedal_self_balance repository on GitHub, published under the MIT licence. It is a 2-layer board of 99.5 × 67 mm with 23 parts on 63 nets, routed with 304 tracks and 17 vias.

It is built around the A4988 and XT60-M. Its parts include 5 ICs, 3 capacitors, 3 resistors, 2 connectors and 1 diode. It belongs with the robots and motor control boards and the ESP32 boards of this library.

Main components

2

README

README.md

Bipedal Self Balancing Robot

Self Balancing Robot

Introduction

This is a self-balancing robot built from scratch, 3D modeled, PCB designed, 3D printed, wired, and tuned entirely as a personal project. It uses an ESP32 as the main controller, dual IMUs for redundancy, stepper-driven wheels, and 2-DOF legs for lean control.

Right now, it balances for a few seconds at a time. It is not perfect, and there are known issues (see Problems below), but the full design, hardware, and firmware are open source here for anyone who wants to build on it, learn from it, or point out what I got wrong.

Follow the Journey: @kairobyte on Instagram.

Balancing Video

Sponsors

This build was supported by:

  • NextPCB: PCB manufacturing for this project. Upload your Gerber files, pick your color and thickness, and get an instant quote. Get $30 off your first order.

  • Axis Tech: Provided 3D printing filament for this build. They also offer 3D printing services and build a wide range of custom projects. If you're local, check them out.

NextPCB Logo

Print3D Logo

Table of Contents

How It Started

  • Idea: the initial concept for a self-balancing robot.
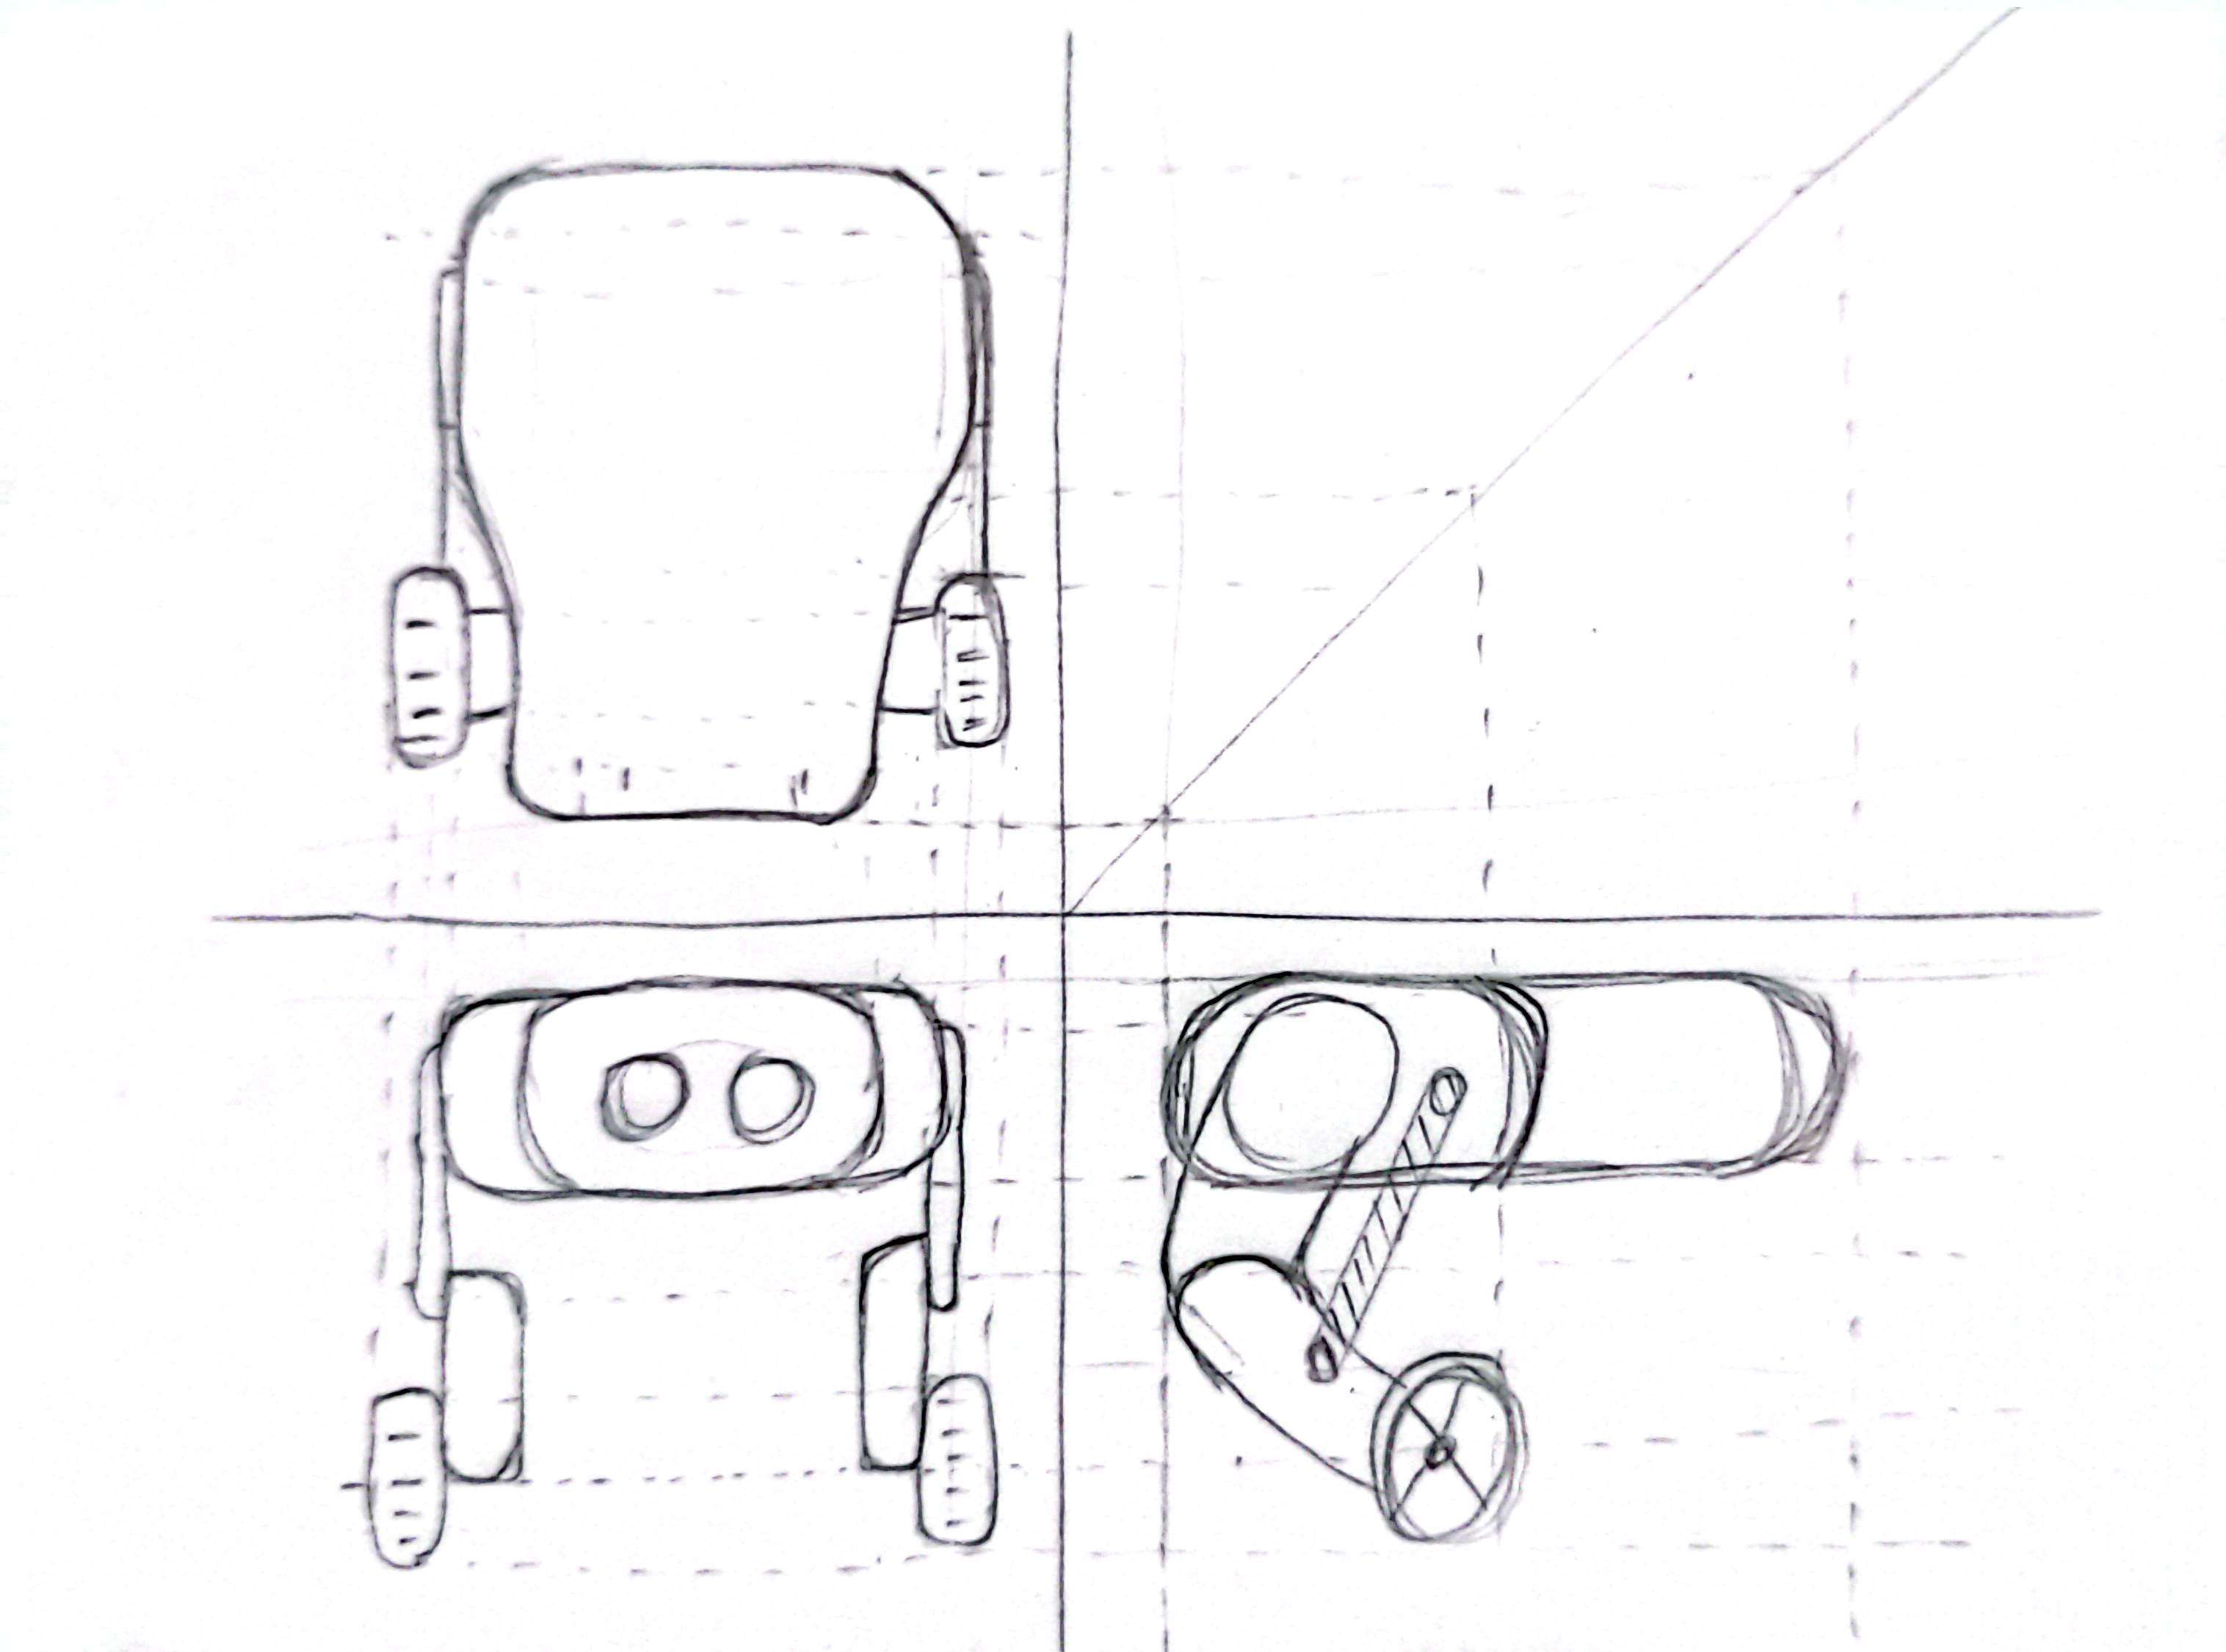
  • Sketch: a rough hand sketch of the intended design.
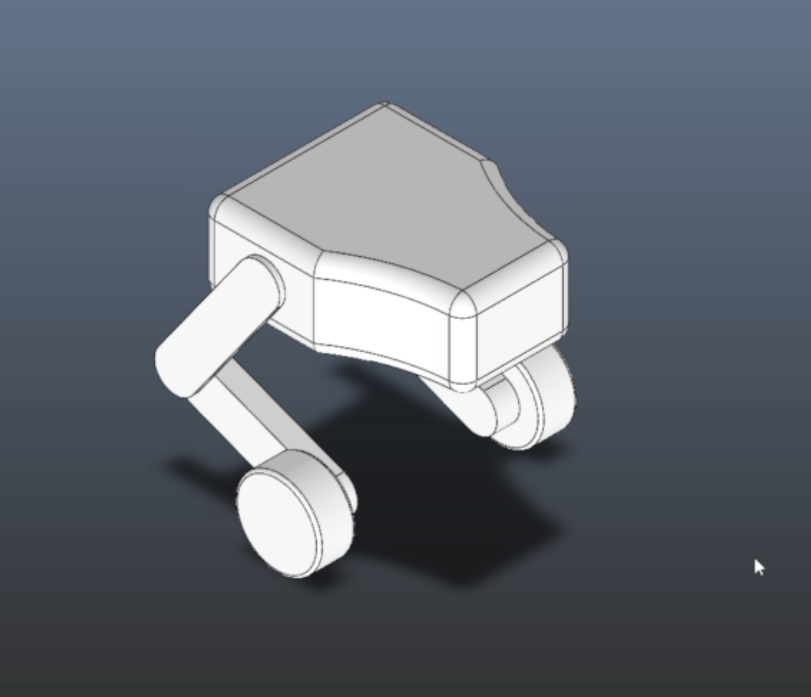
  • Draft 3D Model: a basic, non-functional 3D model built from the sketch, just for a rough scale and proportion estimate.

Rough SketchDraft 3D Model

Components

  • ESP32: main controller.
  • MPU6050 + MPU9250: dual IMUs, used for sensor redundancy.
  • A4988 Driver: used to control the stepper motors.
  • Stepper motors: used for wheel drive.

Note: If you're building something similar, I would not recommend steppers for the wheels. Go with high-torque BLDC motors instead. Steppers work, but they're not the ideal choice here.

Electronics

  • Two buck converters step down 12V from a 3S LiPo battery, one dedicated to sensors, one dedicated to servos, to keep noisy current draw away from sensor power.
  • A capacitor and diode protect the ESP32 from brownouts during high current draw from the servos and steppers.

PCB

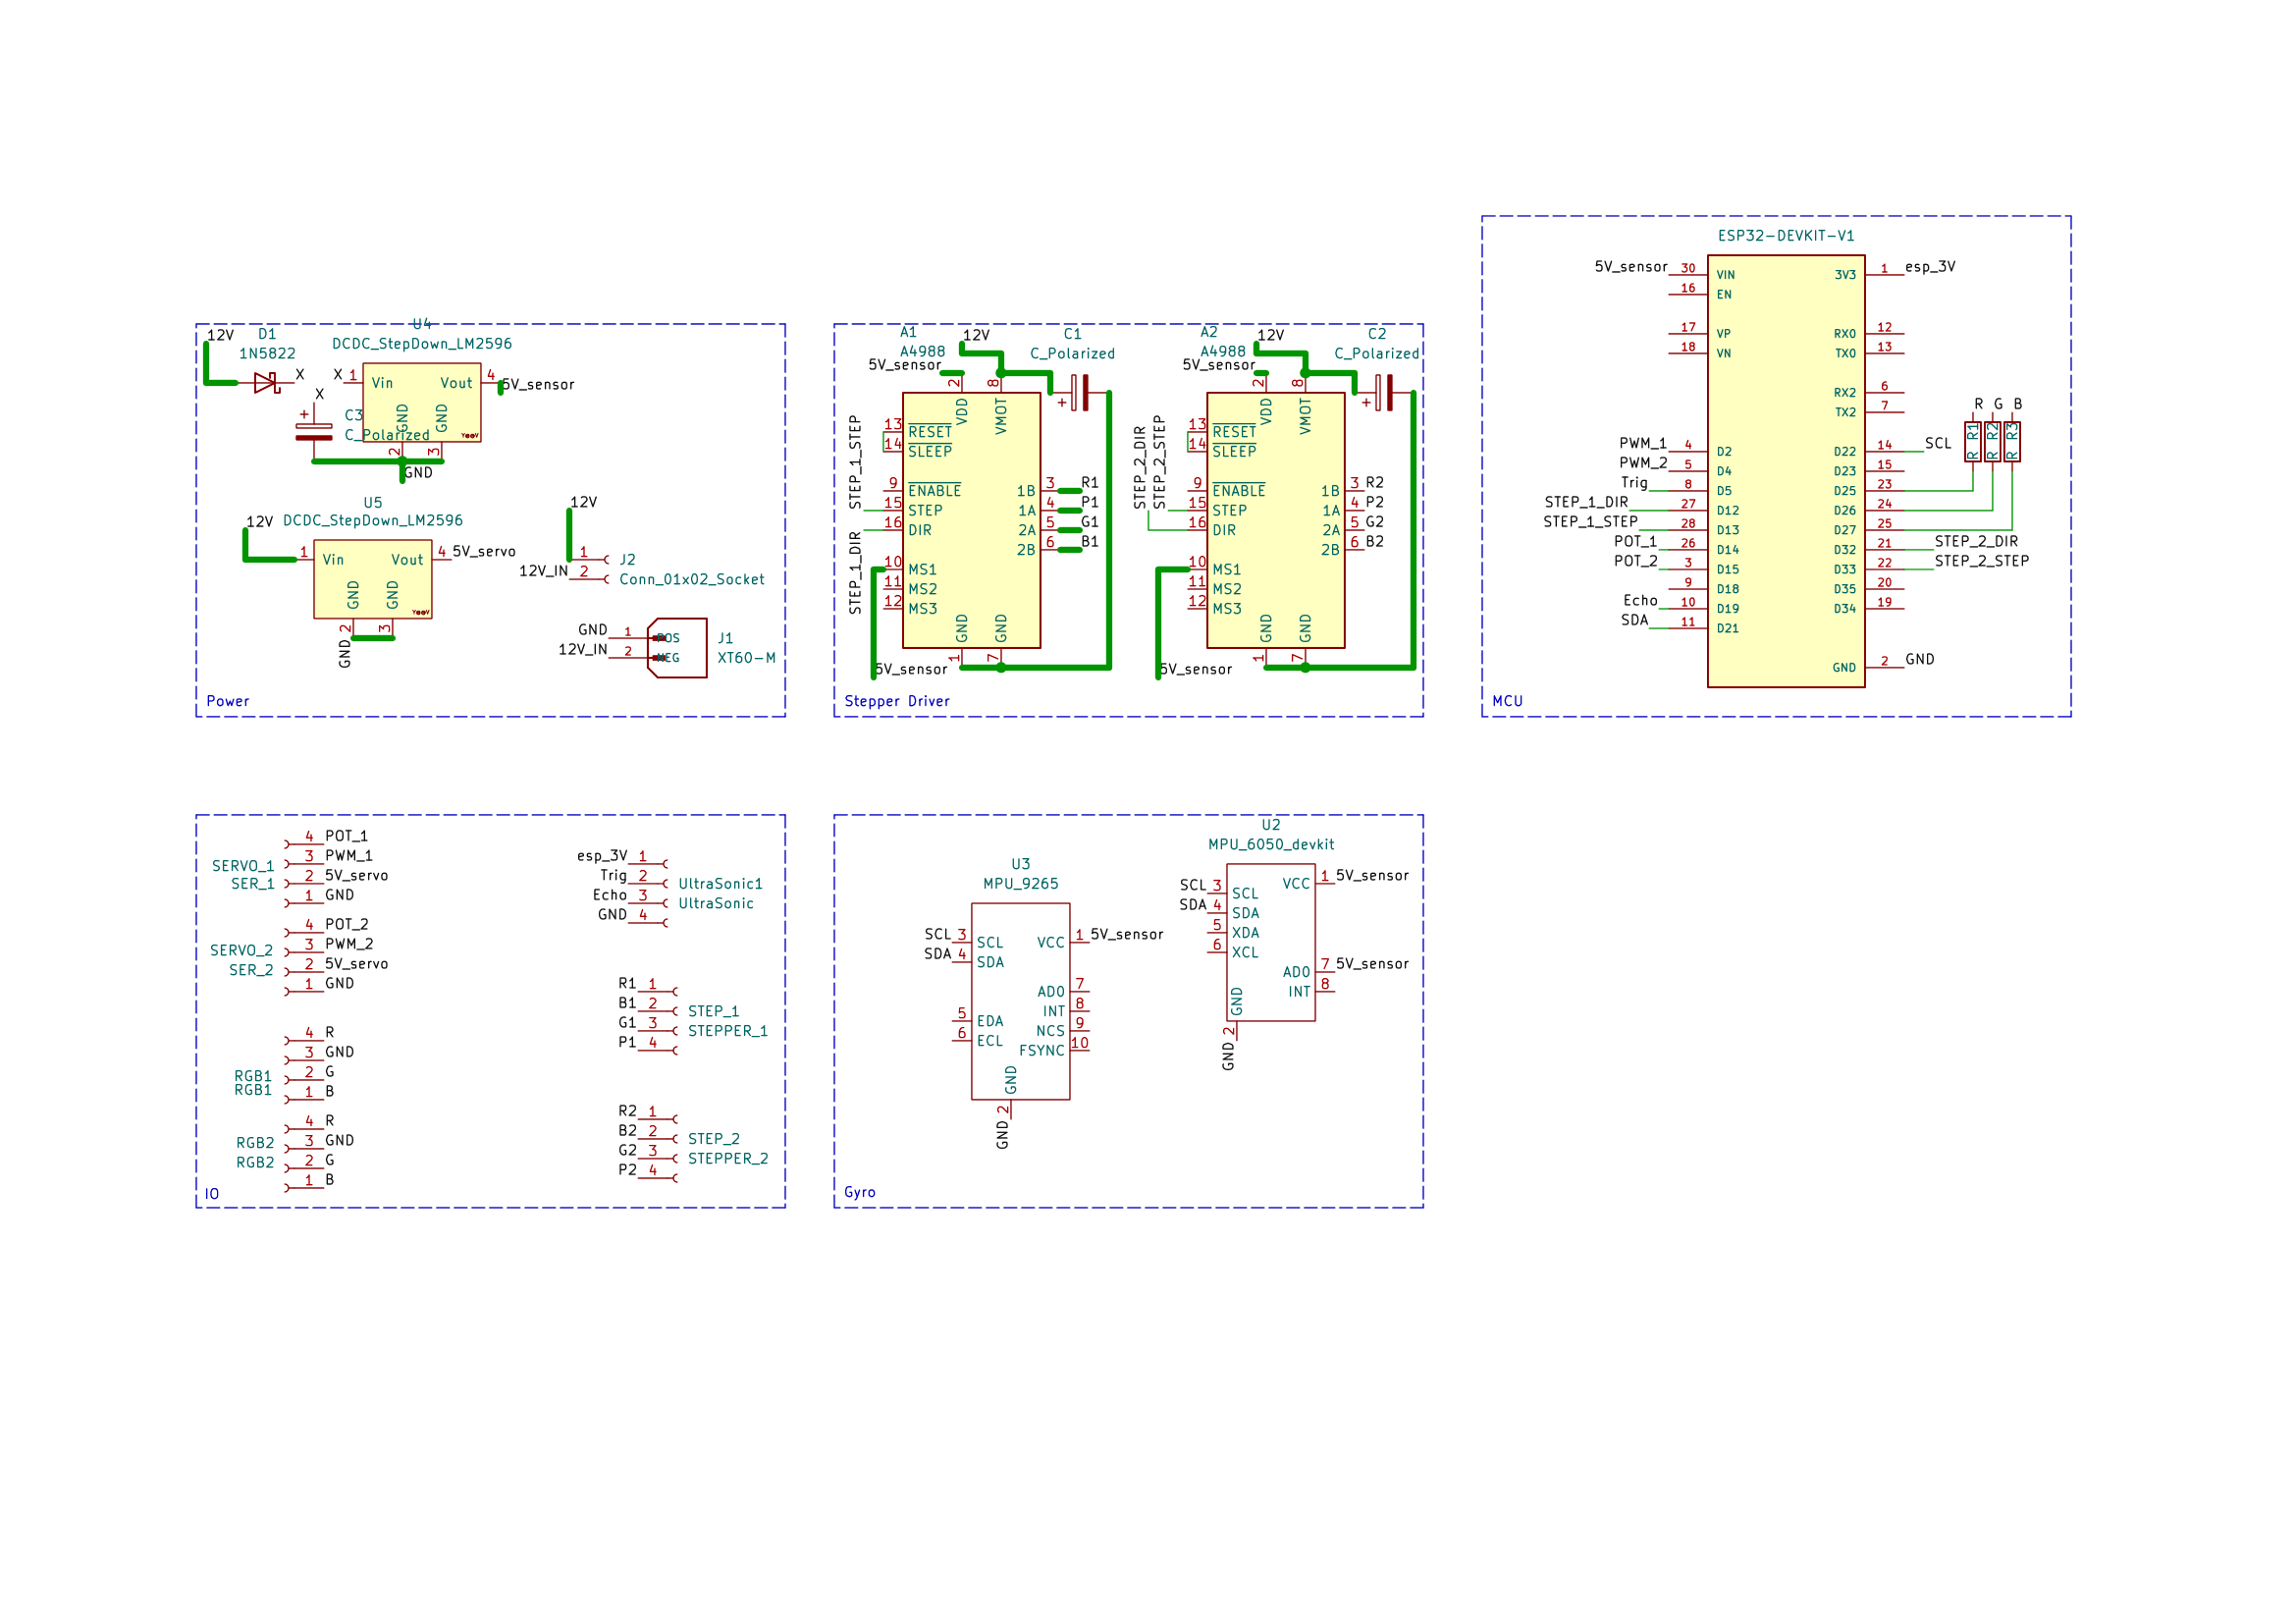
  • Selected footprints and components, then built out the full schematic with labeled nets for readability.
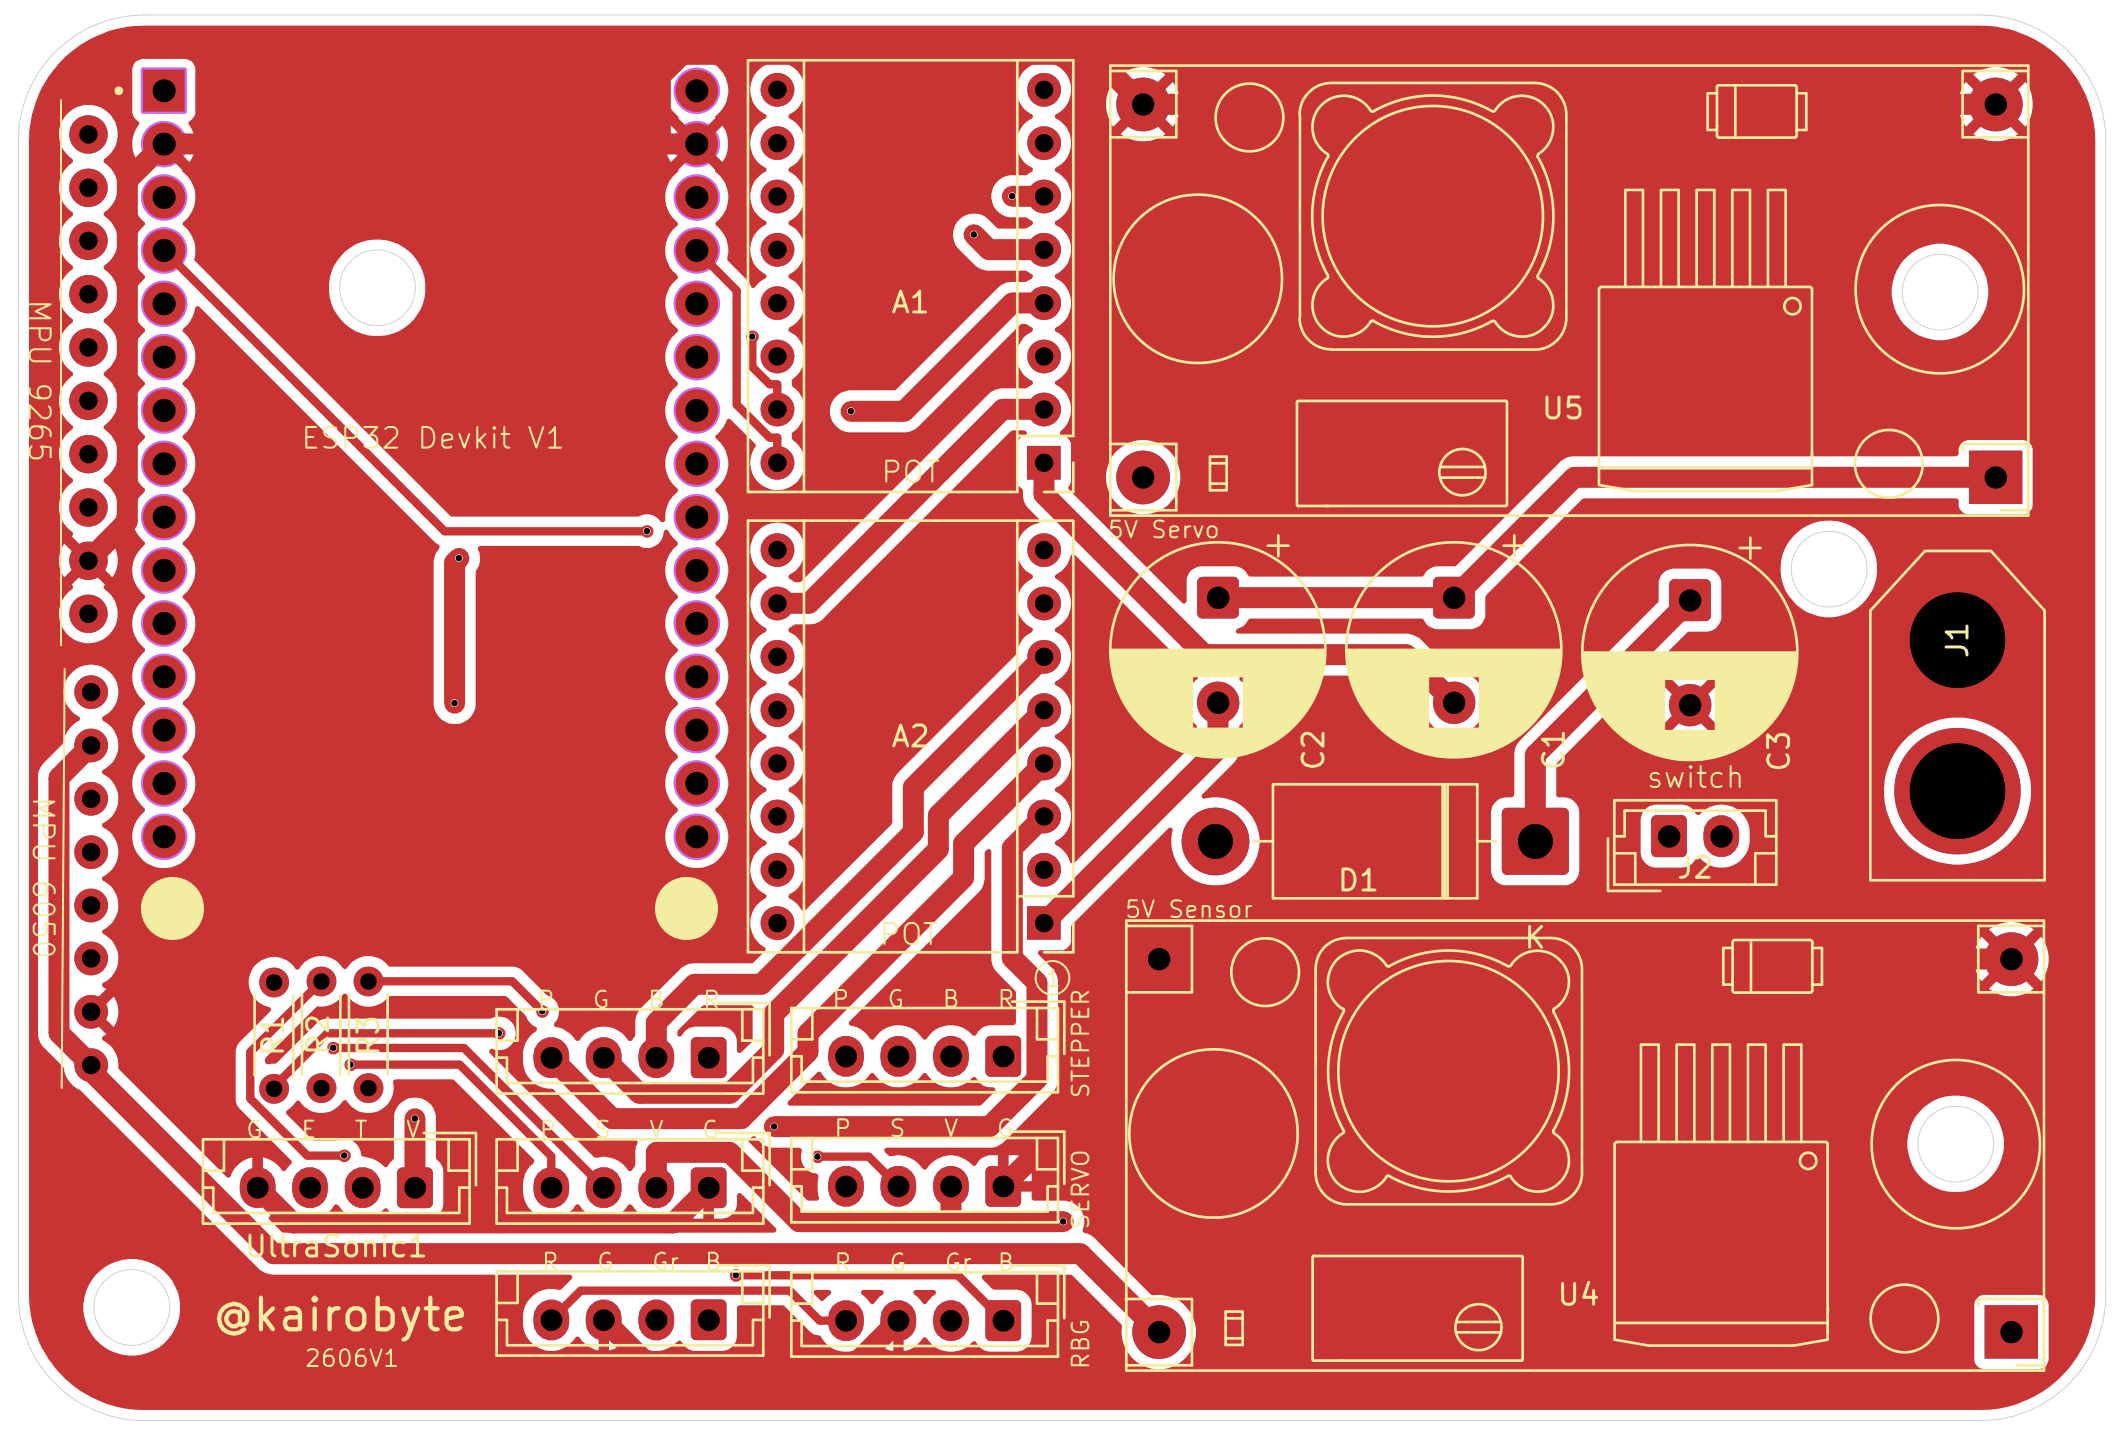
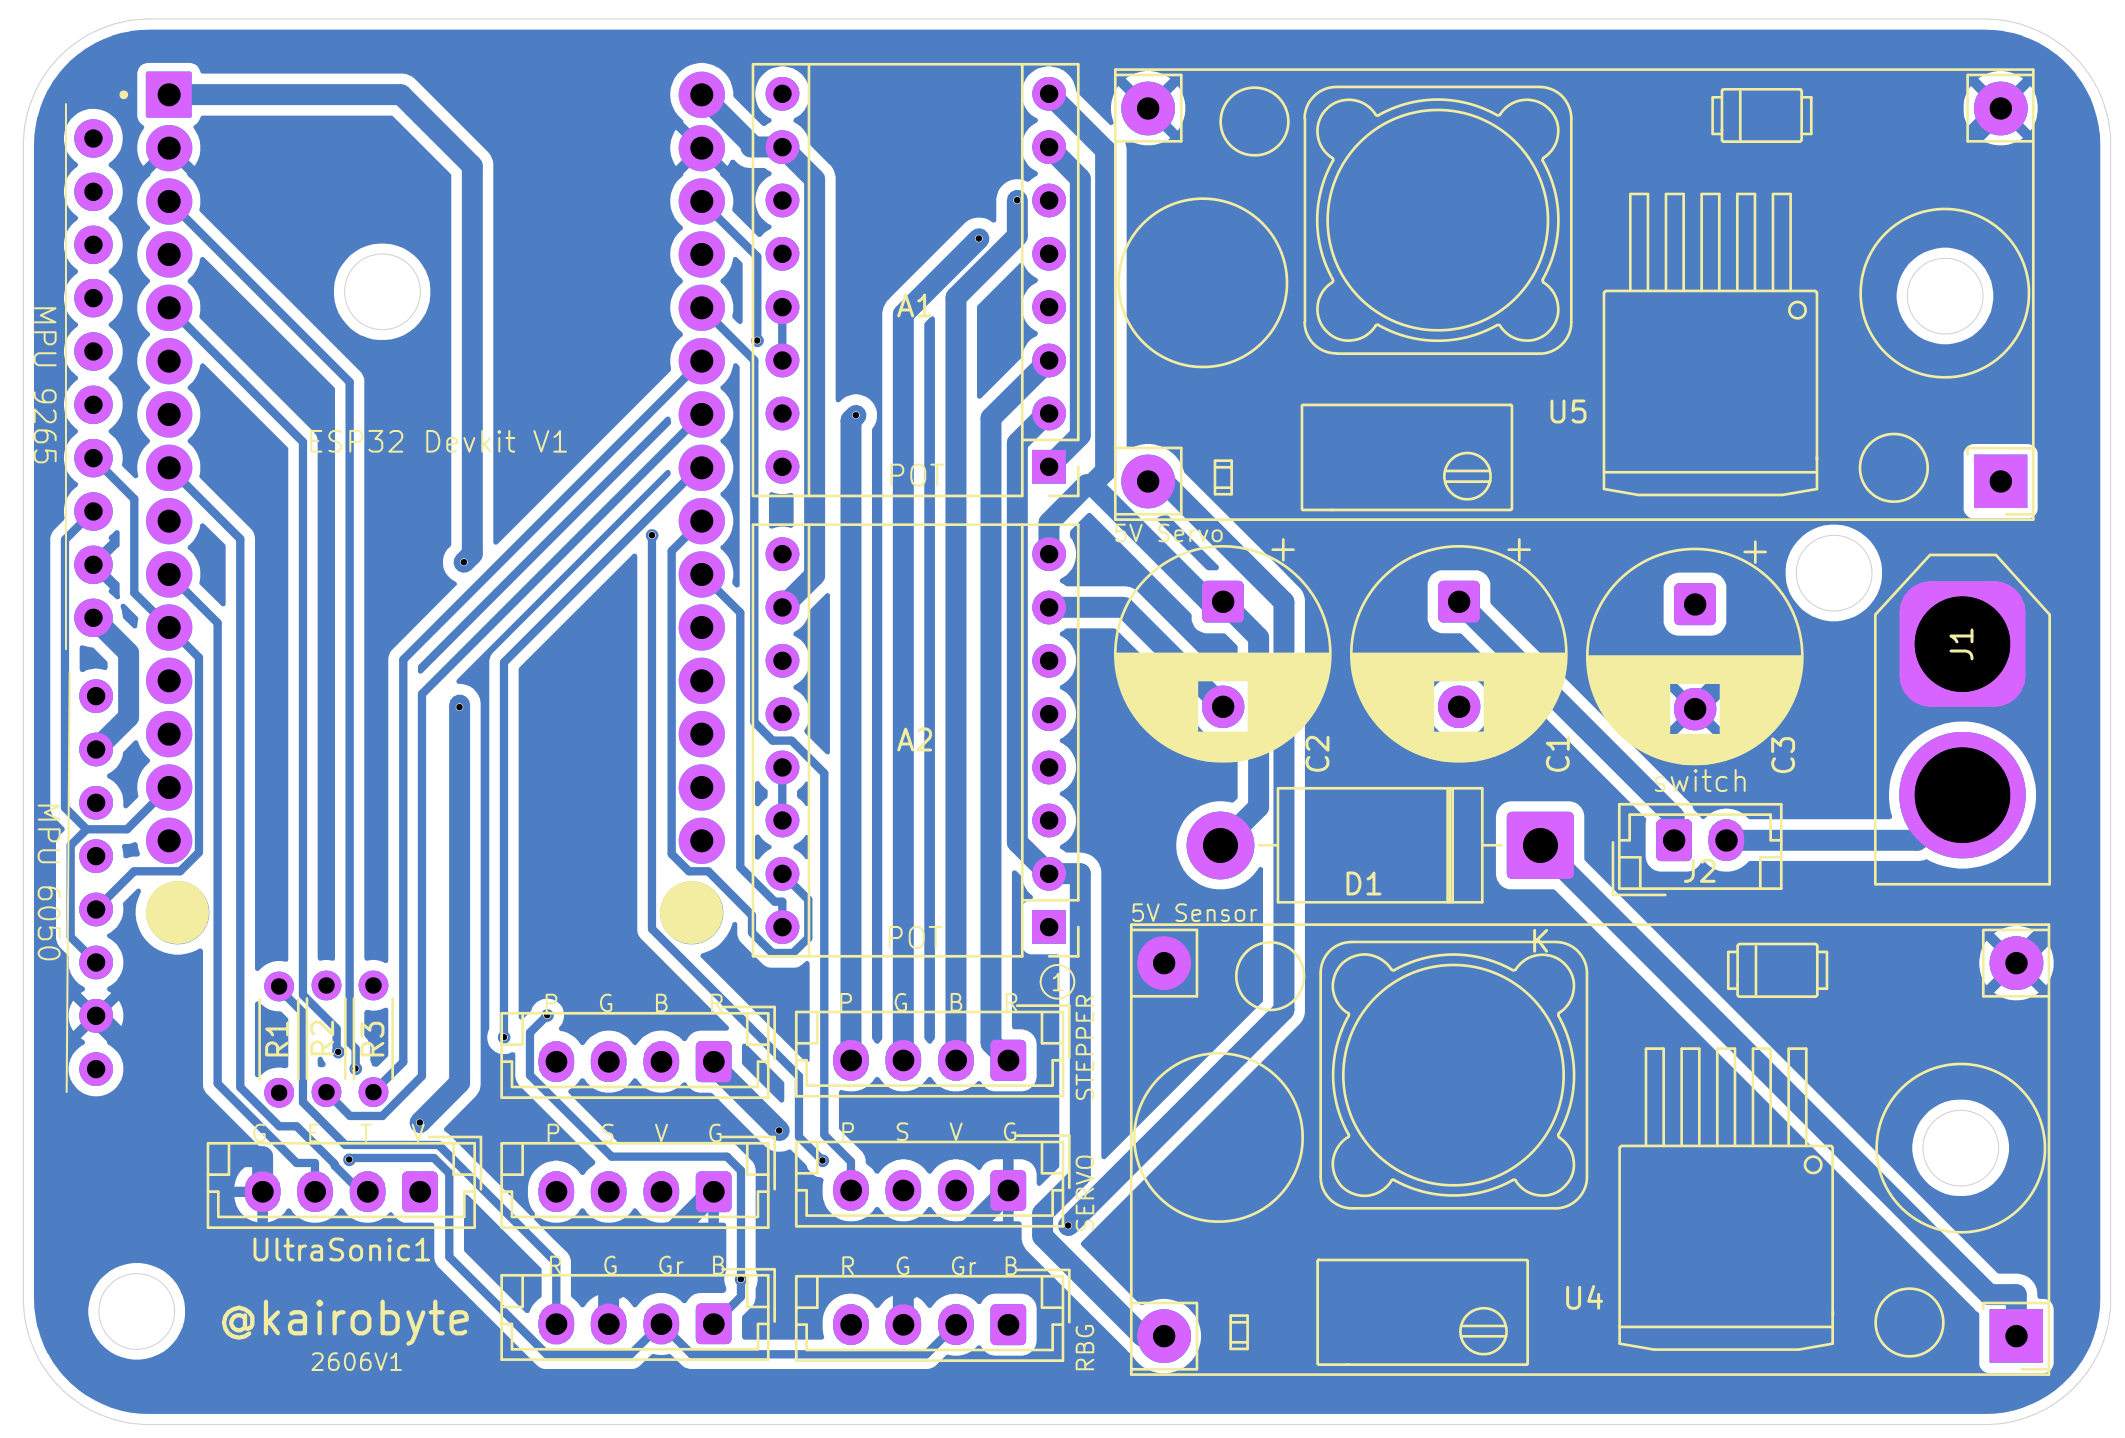
  • Completed layout and routing.
  • Ran the Design Rule Checker (DRC), exported Gerber files, and had the board manufactured through NextPCB.
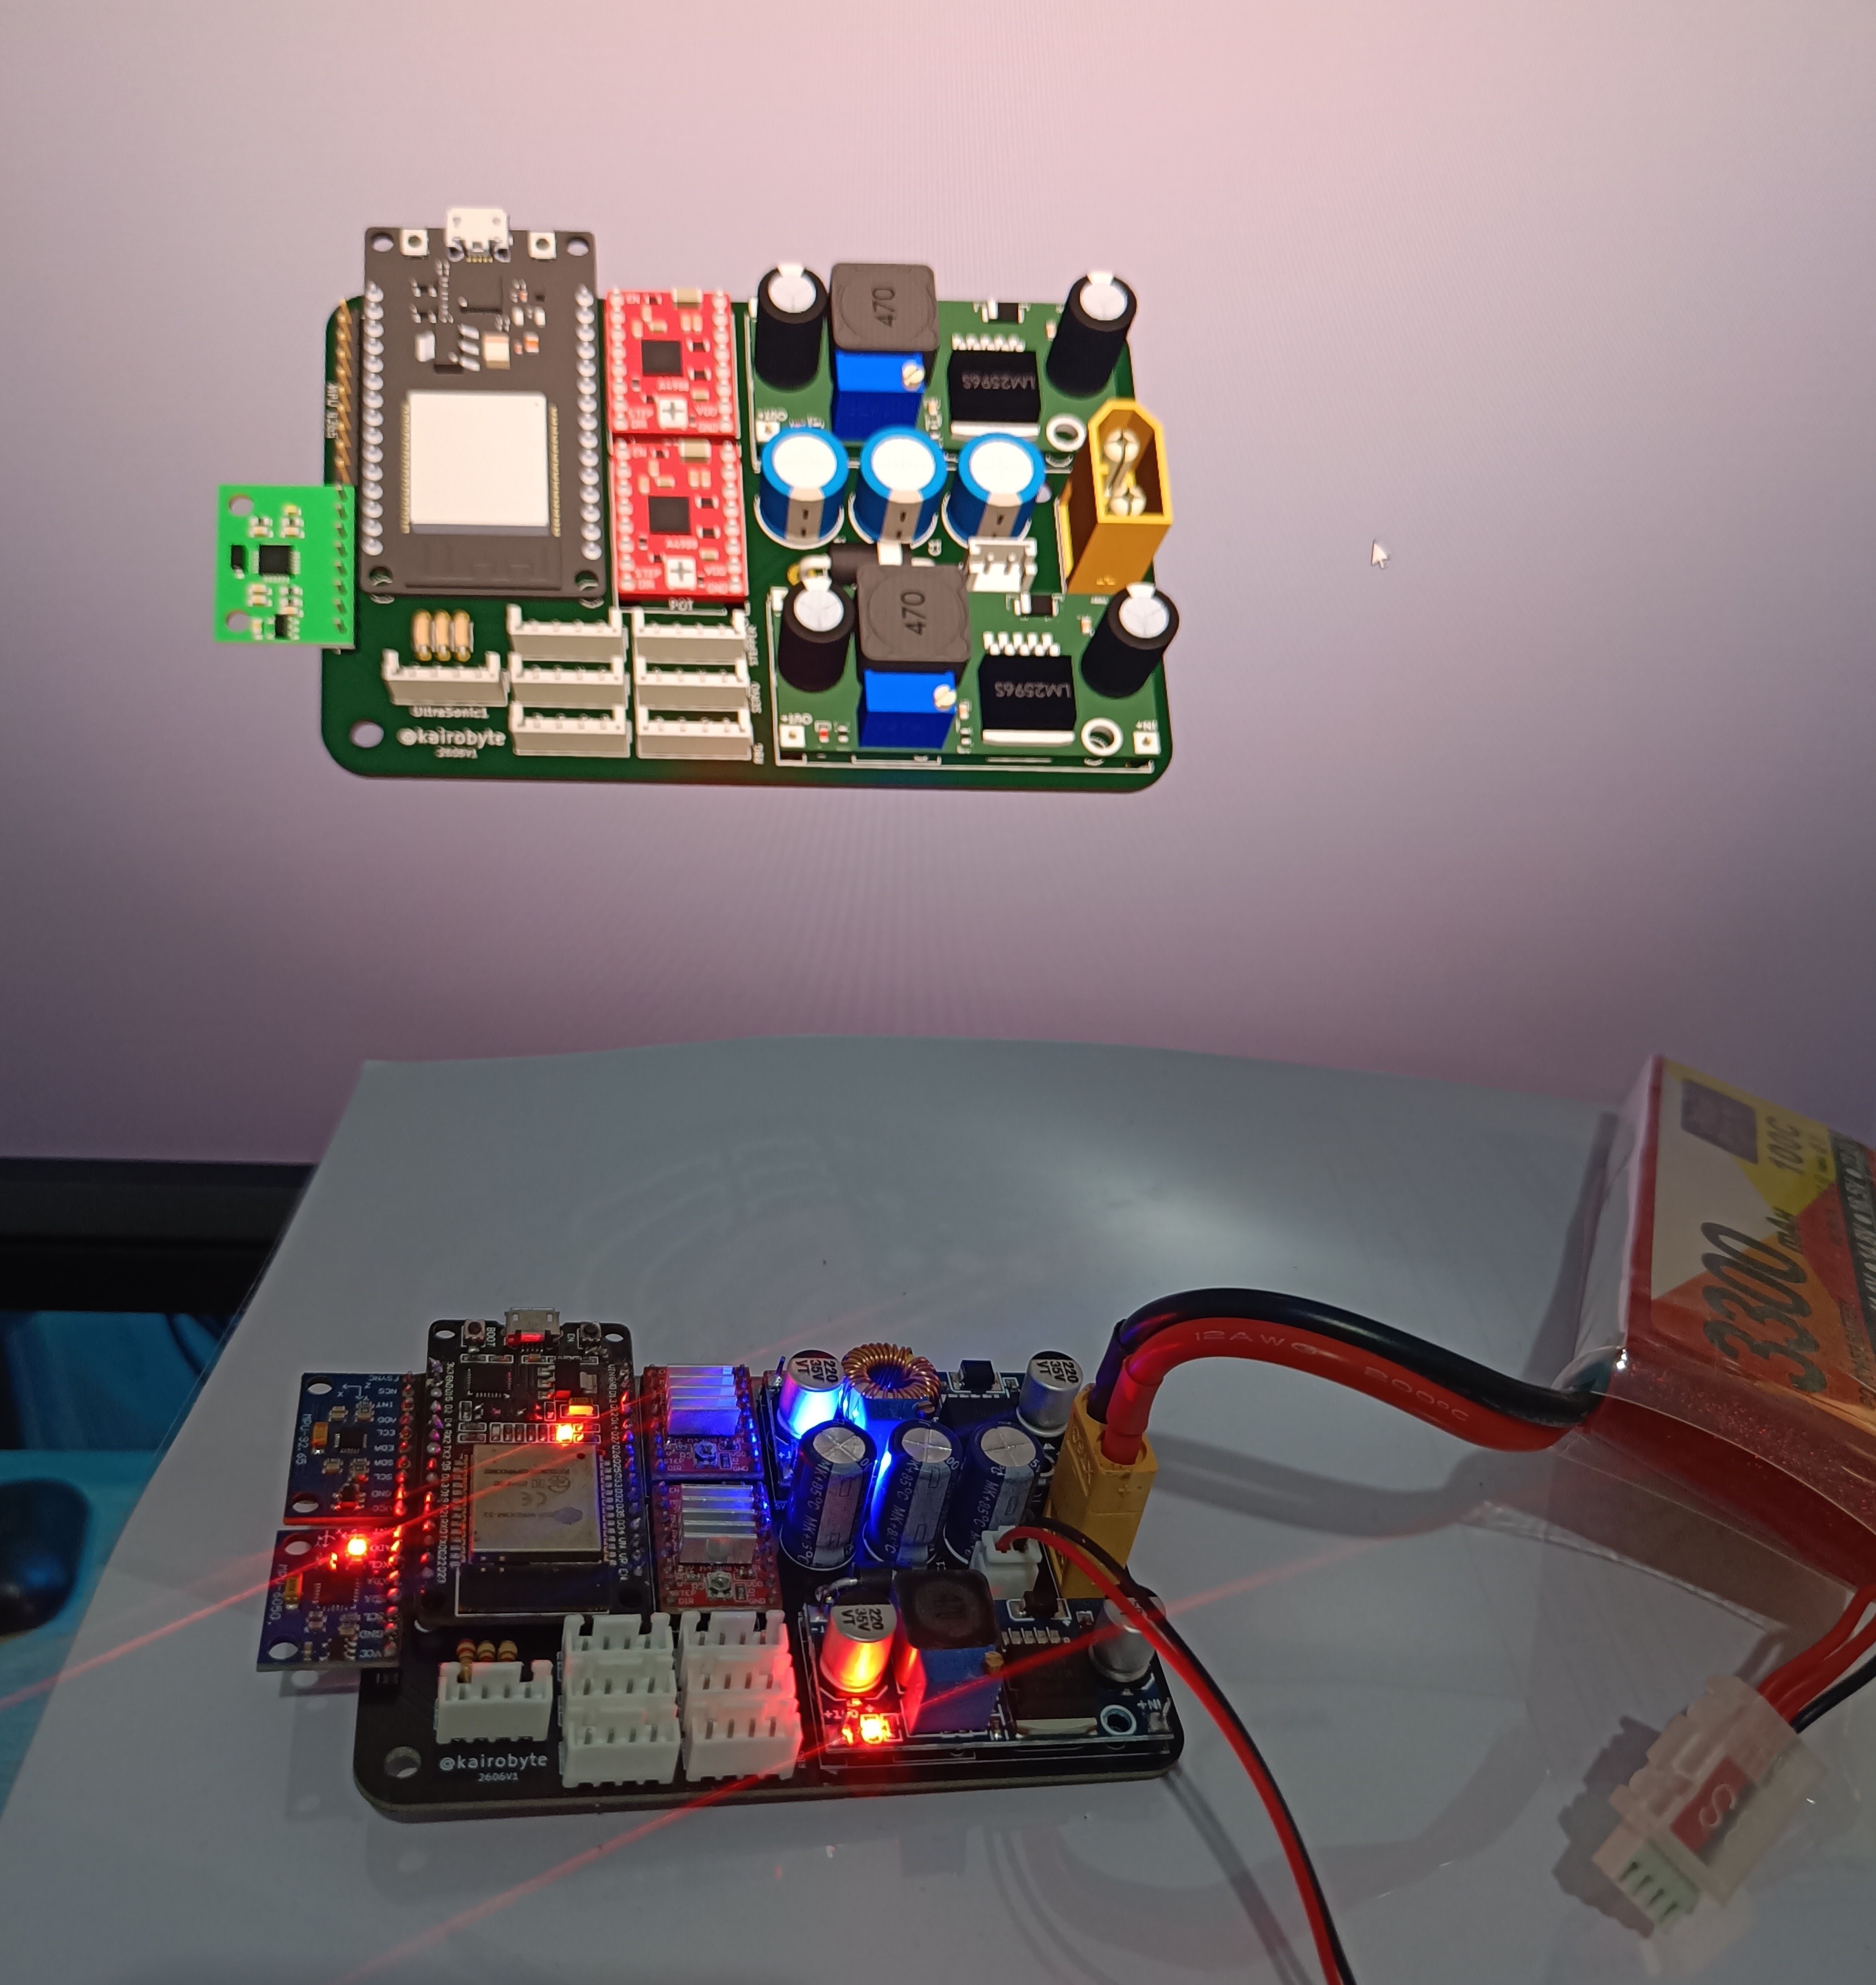
Schematic PCB Layout Front PCB Layout Back Final PCB

3D Modelling

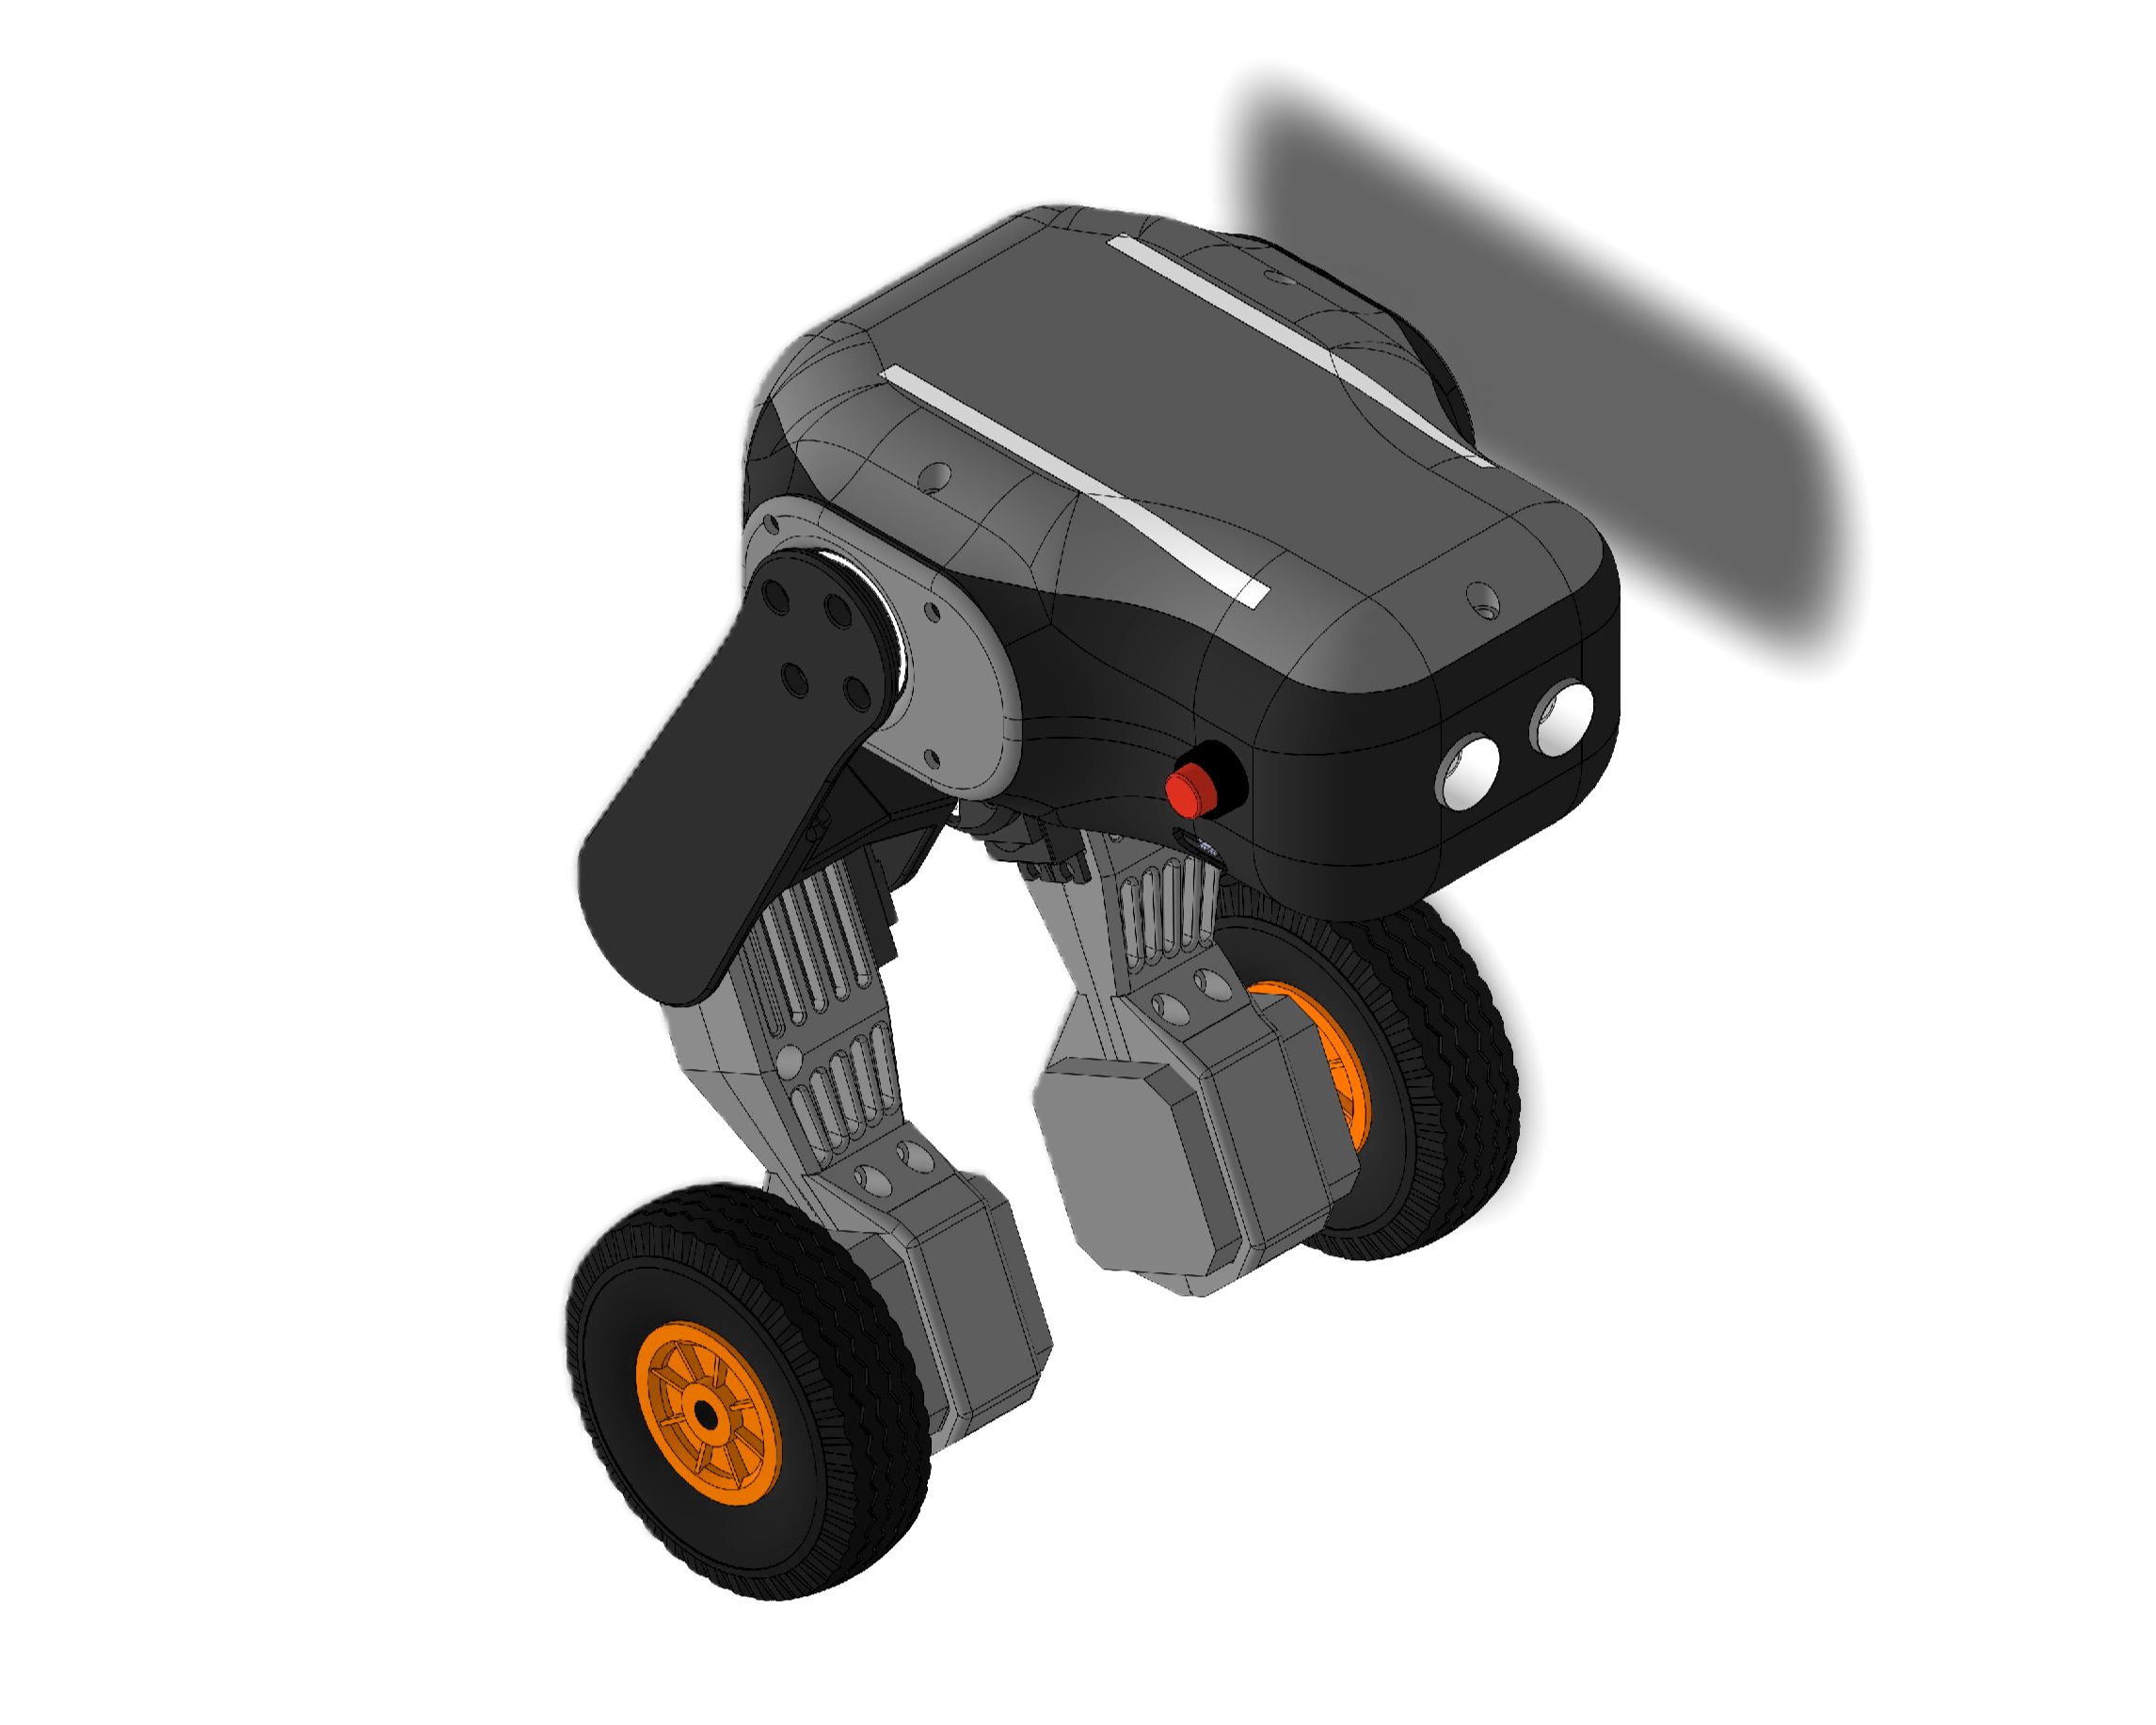
  • Modeled in SolidWorks, built bottom-up: stepper holders → legs → base.
  • Every part was broken down into basic shapes and built up gradually.
  • Designing for 3D printability is a different skill from designing for looks, significant time went into optimizing parts for print rather than just appearance.
3D Model

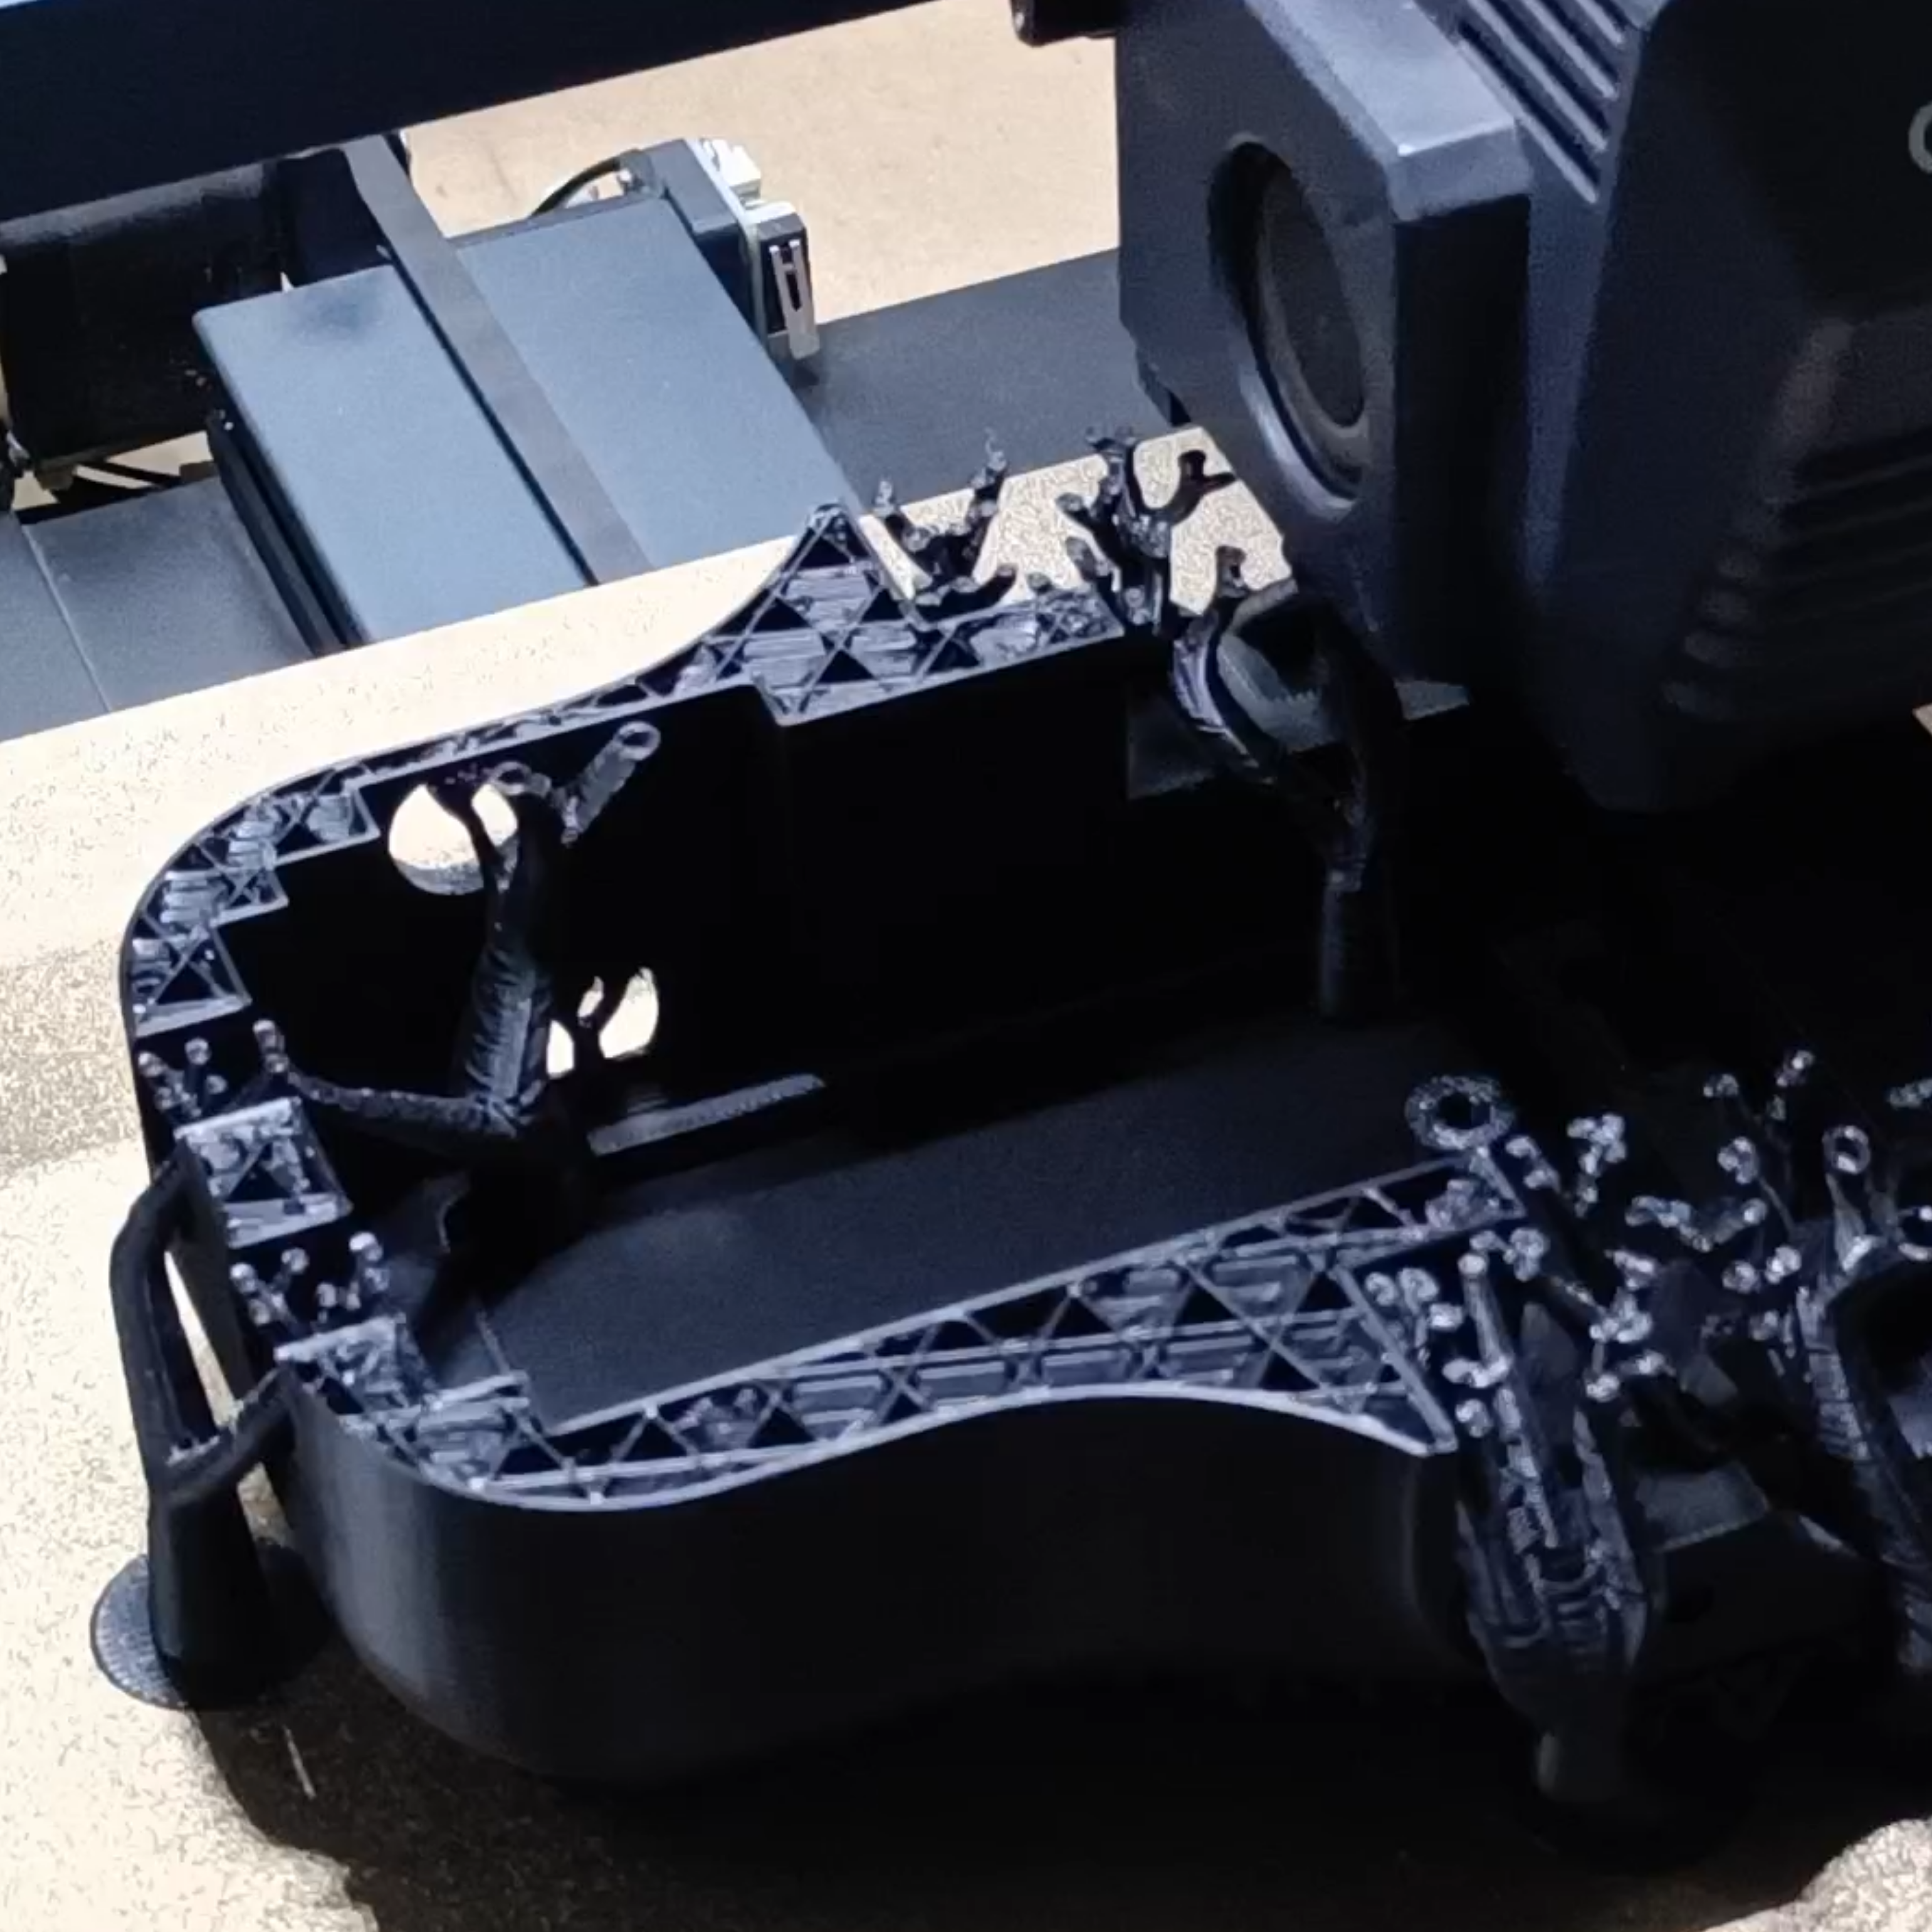
3D Printing

  • Parts were prepared and arranged in the slicer, then printed over several days.
  • Most parts fit together correctly on the first attempt.
  • Thanks Axis Tech for the Filament Support!
3D Printing Process

Assembly

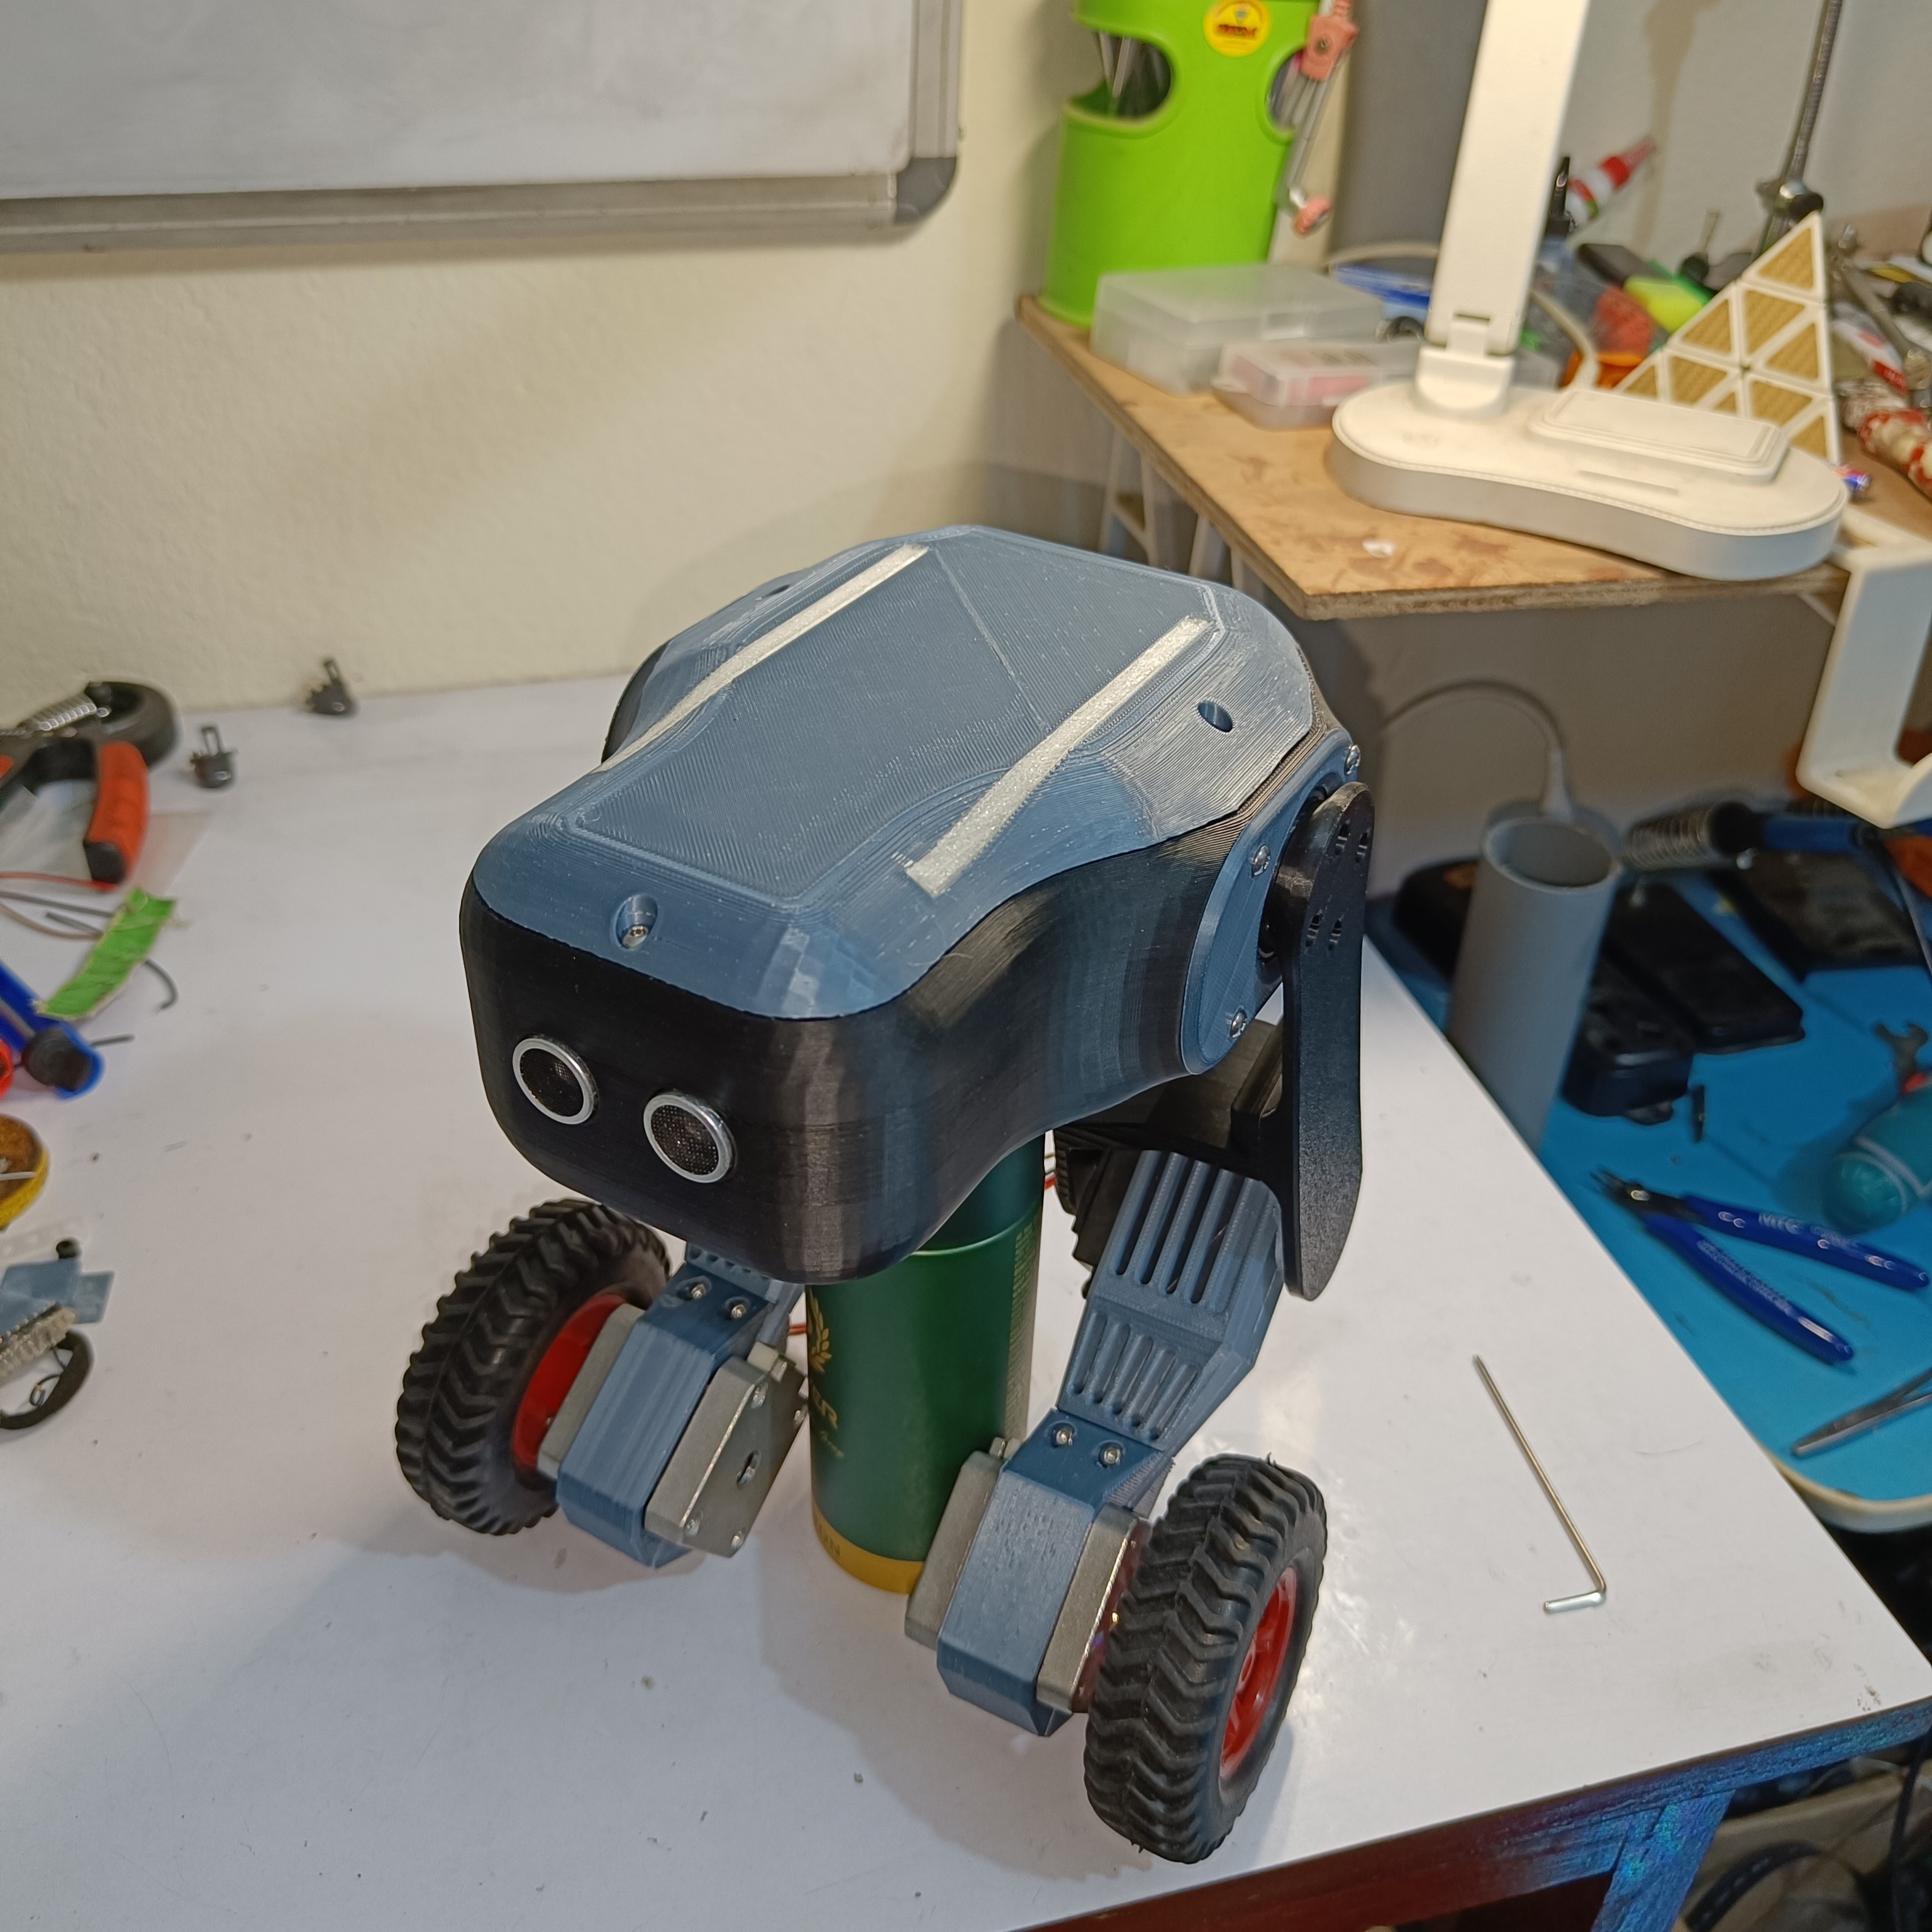
  • Assembled all 3D printed parts and completed the wiring.
  • The original plan was for 1 degree of freedom (DOF) per leg. When this changed to 2 DOF, extra wires had to be soldered directly onto the ESP32.

If you're building this yourself: finalize your degrees of freedom before finalizing your board layout, to avoid needing extra hand-soldered connections.

Fully Assembled Build

Firmware

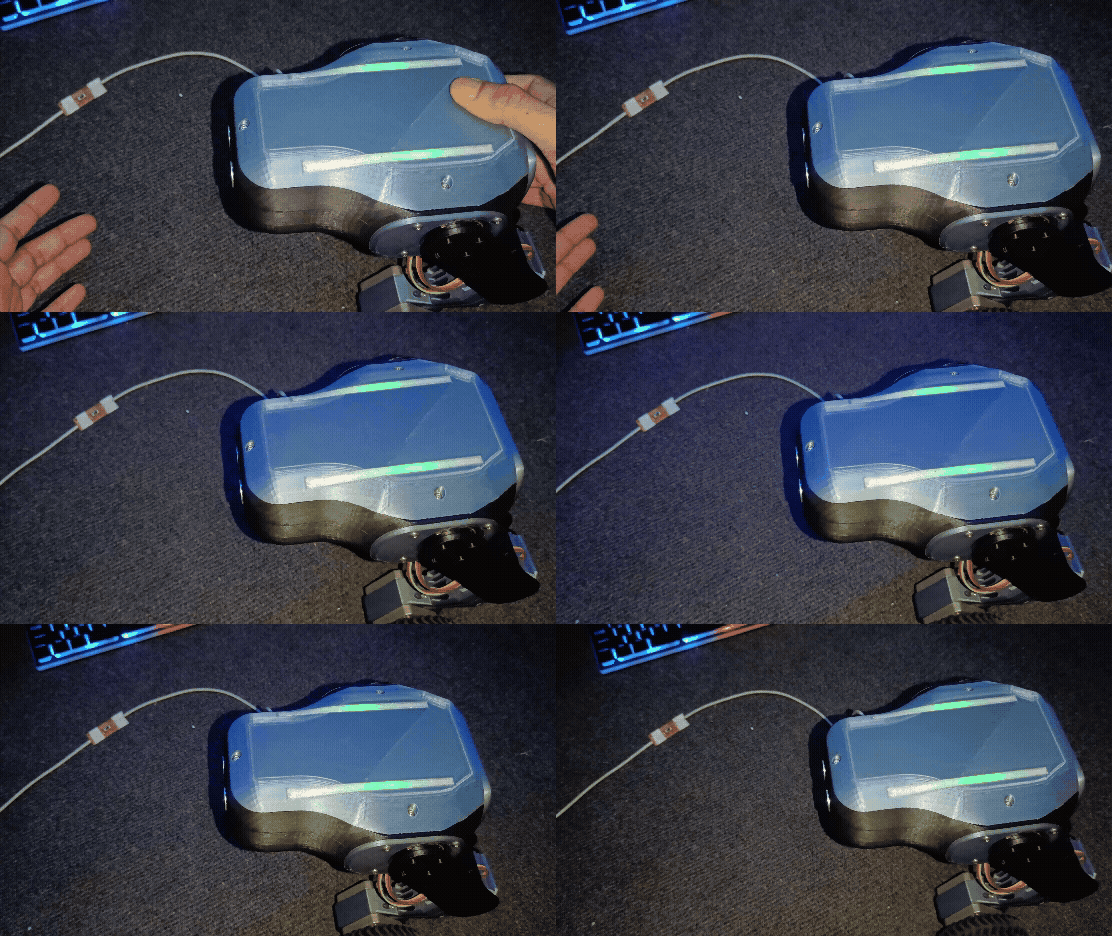
  • Ran initial test code to confirm all motors, sensors, and RGB indicators were functioning correctly.
  • Built a basic PID controller as the first control approach.
  • Due to the robot's irregular shape, finding the correct center of mass, and therefore the correct PID set point, was one of the most time-consuming parts of the build.

PID Tuning

Tuning was the hardest part of this project by a significant margin.

  • Initially tuned by manually guessing parameters and reflashing the ESP32 for every change, slow and impractical.
  • Updated the firmware to accept tuning parameters over serial and save them without requiring a reflash. A WiFi-based version was attempted but caused repeated ESP32 brownout warnings, so serial was used instead.
  • After a couple of days with no visible progress, found that one servo was vibrating irregularly and injecting significant noise into the sensor readings. Replacing that servo noticeably improved stability, though it wasn't a complete fix.
  • After continued tuning, the robot balanced for the first time, for a few seconds.
  • Found that linear gain increments were not effective, and switched to exponentially increasing gains, along with a low-pass filter applied to key parameters. This slowed the robot's reaction time somewhat, but the control loop still ran at approximately 1kHz, which was fast enough to remain effective.
  • Total PID tuning time was a little over a week, including a short break after becoming frustrated with a lack of progress.

Problems

  • Servo speed: current servos aren't fast enough to keep up with PID output; the actuator consistently lags behind the commanded position. Needs a faster servo, or a BLDC motor with gear reduction.
  • PID tuning method: manually guessing parameters is slow and inefficient; a more systematic tuning approach would be better.
  • Vibration/noise: servo vibration was a major source of sensor noise and nearly derailed the project. Replacing the affected servo helped significantly.
  • Electronics/compute headroom: the ESP32 currently handles the full control loop, but adding Bluetooth communication (for planned PS4 controller support) is expected to consume enough clock cycles to slow down the PID loop. A better long-term architecture would use a dedicated microcontroller (e.g. STM32) for the core PID loop, with the ESP32 handling WiFi/Bluetooth communication separately, connected via UART.
  • Noise/sensing: relying on a single sensing source is fragile. A low-pass filter helps smooth spikes, and vibration-dampening rubber mounts can reduce mechanical noise from the steppers.

Result

The robot currently balances for a few seconds before losing stability. It is a working proof of concept, not a finished product, further tuning and hardware changes are planned for the next phase of this build.

Future Plans

  • PS4 controller integration over Bluetooth.
  • Machine learning-based balancing: exploring whether an ML approach could replace or supplement the PID controller. This is unexplored territory for this project so far.

Follow along on Instagram for more frequent build updates.

Repository Structure

text
├── 1. 3D_Model               # SolidWorks source files and exported STLs
├── 2. PCB_Design             # Schematic, PCB layout, and Gerber files
├── 3. Code                   # ESP32 source code
├── 4. Assets                 # Images used in this README
├── LICENSE
└── README.md

License

This project is open source under the MIT license. See LICENSE for details.

Send a mail if you want to discuss robotics, design, engineering projects, or anything you think I should build next. mail@sushant.uk

Parts

23
QtyValueFootprintReferences
3C_PolarizedCapacitor_THT:CP_Radial_D10.0mm_P5.00mmC1, C2, C3
3RResistor_THT:R_Axial_DIN0204_L3.6mm_D1.6mm_P5.08mm_HorizontalR1, R2, R3
2A4988Module:Pololu_Breakout-16_15.2x20.3mmA1, A2
2DCDC_StepDown_LM2596kicad_lib:YAAJ_DCDC_StepDown_LM2596U4, U5
11N5822Diode_THT:D_DO-201AD_P15.24mm_HorizontalD1
1Conn_01x02_SocketConnector_JST:JST_EH_B2B-EH-A_1x02_P2.50mm_VerticalJ2
1ESP32-DEVKIT-V1ESP32-DEVKIT-V1:MODULE_ESP32_DEVKIT_V1U1
1MPU_6050_devkitmpu_6050_custom:mpu_6050_customU2
1MPU_9265mpu_6050_custom:mpu_9265U3
1RGB1Connector_JST:JST_EH_B4B-EH-A_1x04_P2.50mm_VerticalRGB1
1RGB2Connector_JST:JST_EH_B4B-EH-A_1x04_P2.50mm_VerticalRGB2
1SERVO_1Connector_JST:JST_EH_B4B-EH-A_1x04_P2.50mm_VerticalSER_1
1SERVO_2Connector_JST:JST_EH_B4B-EH-A_1x04_P2.50mm_VerticalSER_2
1STEPPER_1Connector_JST:JST_EH_B4B-EH-A_1x04_P2.50mm_VerticalSTEP_1
1STEPPER_2Connector_JST:JST_EH_B4B-EH-A_1x04_P2.50mm_VerticalSTEP_2
1UltraSonicConnector_JST:JST_EH_B4B-EH-A_1x04_P2.50mm_VerticalUltraSonic1
1XT60-MConnector_AMASS:AMASS_XT60-M_1x02_P7.20mm_VerticalJ1

Similar boards

  • 2 layers55.9 × 76.2 mmEjector, the printed circuit board in 3D

    Ejector

    d-weber/prusa-chain-production

    Add chain production capability to your Prusa i3

    20 parts117
  • 2 layers97 × 90 mmSatellite Arduino controller, the printed circuit board in 3D

    Satellite Arduino controller

    grinje/AutoSatTracker

    Tracking satellites with custom hardware based on stepper motors

    27 parts14
  • 2 layers144.8 × 104.1 mmController, the printed circuit board in 3D

    Controller

    phorton1/Arduino-cnc-cnc3018

    A FluidNC based implementation of a controller for a cheap cnc3028 machine

    66 parts13
  • 2 layers99.1 × 78.7 mmBalancingBot, the printed circuit board in 3D

    BalancingBot

    AlanFord/balancingBot

    my version of a balancing robot

    27 parts10
  • 2 layers99.7 × 99.7 mmPetpuller, the printed circuit board in 3D

    Petpuller

    Kaminariss/petpuller

    52 parts3
  • 2 layers136 × 52 mmDriver, the printed circuit board in 3D

    Driver

    m24h/espcnc

    A 3D printer/CNC controller using ESP32 with its DMA/FIFO bufferd I2S port

    113 parts3
  • 2 layersSchematics, the printed circuit board in 3D

    Schematics

    XasWorks/Notos

    Public repository of the Notos robot project of the Kolleg St. Thomas robotics group, 2016/2017

    47 parts3GPL-3.0
  • 2 layers140.3 × 98.7 mmMEOW System Integration, the printed circuit board in 3D

    MEOW System Integration

    andrewgond/M.E.O.W-Mealtime-Electronic-Observation-and-Weighing

    M.E.O.W. automated pet feeder, a system that dispenses food and logs pet weight using load cells and RFID identification.

    40 parts1Apache-2.0

Questions

How big is the Controller Board PCB?

It measures 99.5 × 67 mm and has 2 copper layers, 1.6 mm thick.

What parts does the Controller Board use?

23 parts, built around the A4988 and XT60-M. The full list of its parts is on this page, with links to each part's symbol and footprint where PCBKit's library has them.

Where can I download the Controller Board KiCad files?

From the kairobyte/bipedal_self_balance repository on GitHub, at the commit this page was made from: the board is 2. PCB_Design/Controller_Board/Controller_Board.kicad_pcb and its schematic 2. PCB_Design/Controller_Board/Controller_Board.kicad_sch. PCBKit opens the board in the browser, with nothing to install.

Can I use the Controller Board design in my own project?

Its repository publishes it under the MIT licence: you may reuse it on that licence's terms (keep the author's notice, and for a copyleft licence share your changes alike).