2 layers237.5 × 102.9 mm
Alu
jes/scamp-cpu
A homebrew 16-bit CPU with a homebrew Unix-like-ish operating system.
91 parts301Unlicense

 jes/scamp-cpu301
A homebrew 16-bit CPU with a homebrew Unix-like-ish operating system.
Instruction is an open-source printed circuit board by jes, from the jes/scamp-cpu repository on GitHub, published under the Unlicense licence. It is a 2-layer board of 237.5 × 102.9 mm with 112 parts on 172 nets, routed with 2,855 tracks and 468 vias.
It is built around the 74LS161DC, 74LS00SC and 74LS377PC, with the 74LS04PC and 74LS32SC among its other parts. Its parts include 55 resistors, 22 capacitors, 22 ICs and 5 connectors.


SCAMP is my homebrew 16-bit CPU. It stands for something like "Simple Computing and Arithmetic Microcoded Processor".
The CPU is very primitive. It doesn't support interrupts, and has no MMU, and no concept of privilege levels. It currently runs at 1 MHz, above that the CompactFlash interface falls over. It runs a homebrew operating system, with a homebrew programming language and compiler, and can self-host the kernel and all of the system utilities. The environment tastes a bit like an early Unix, but works like CP/M. I used the computer to complete almost all of Advent of Code 2021.
My Advent of Code solutions are here: https://github.com/jes/aoc2021
I have some blog posts here: https://incoherency.co.uk/blog/tags/cpu.html and a web-based emulator available here: https://incoherency.co.uk/scamp/
Here are some pictures:
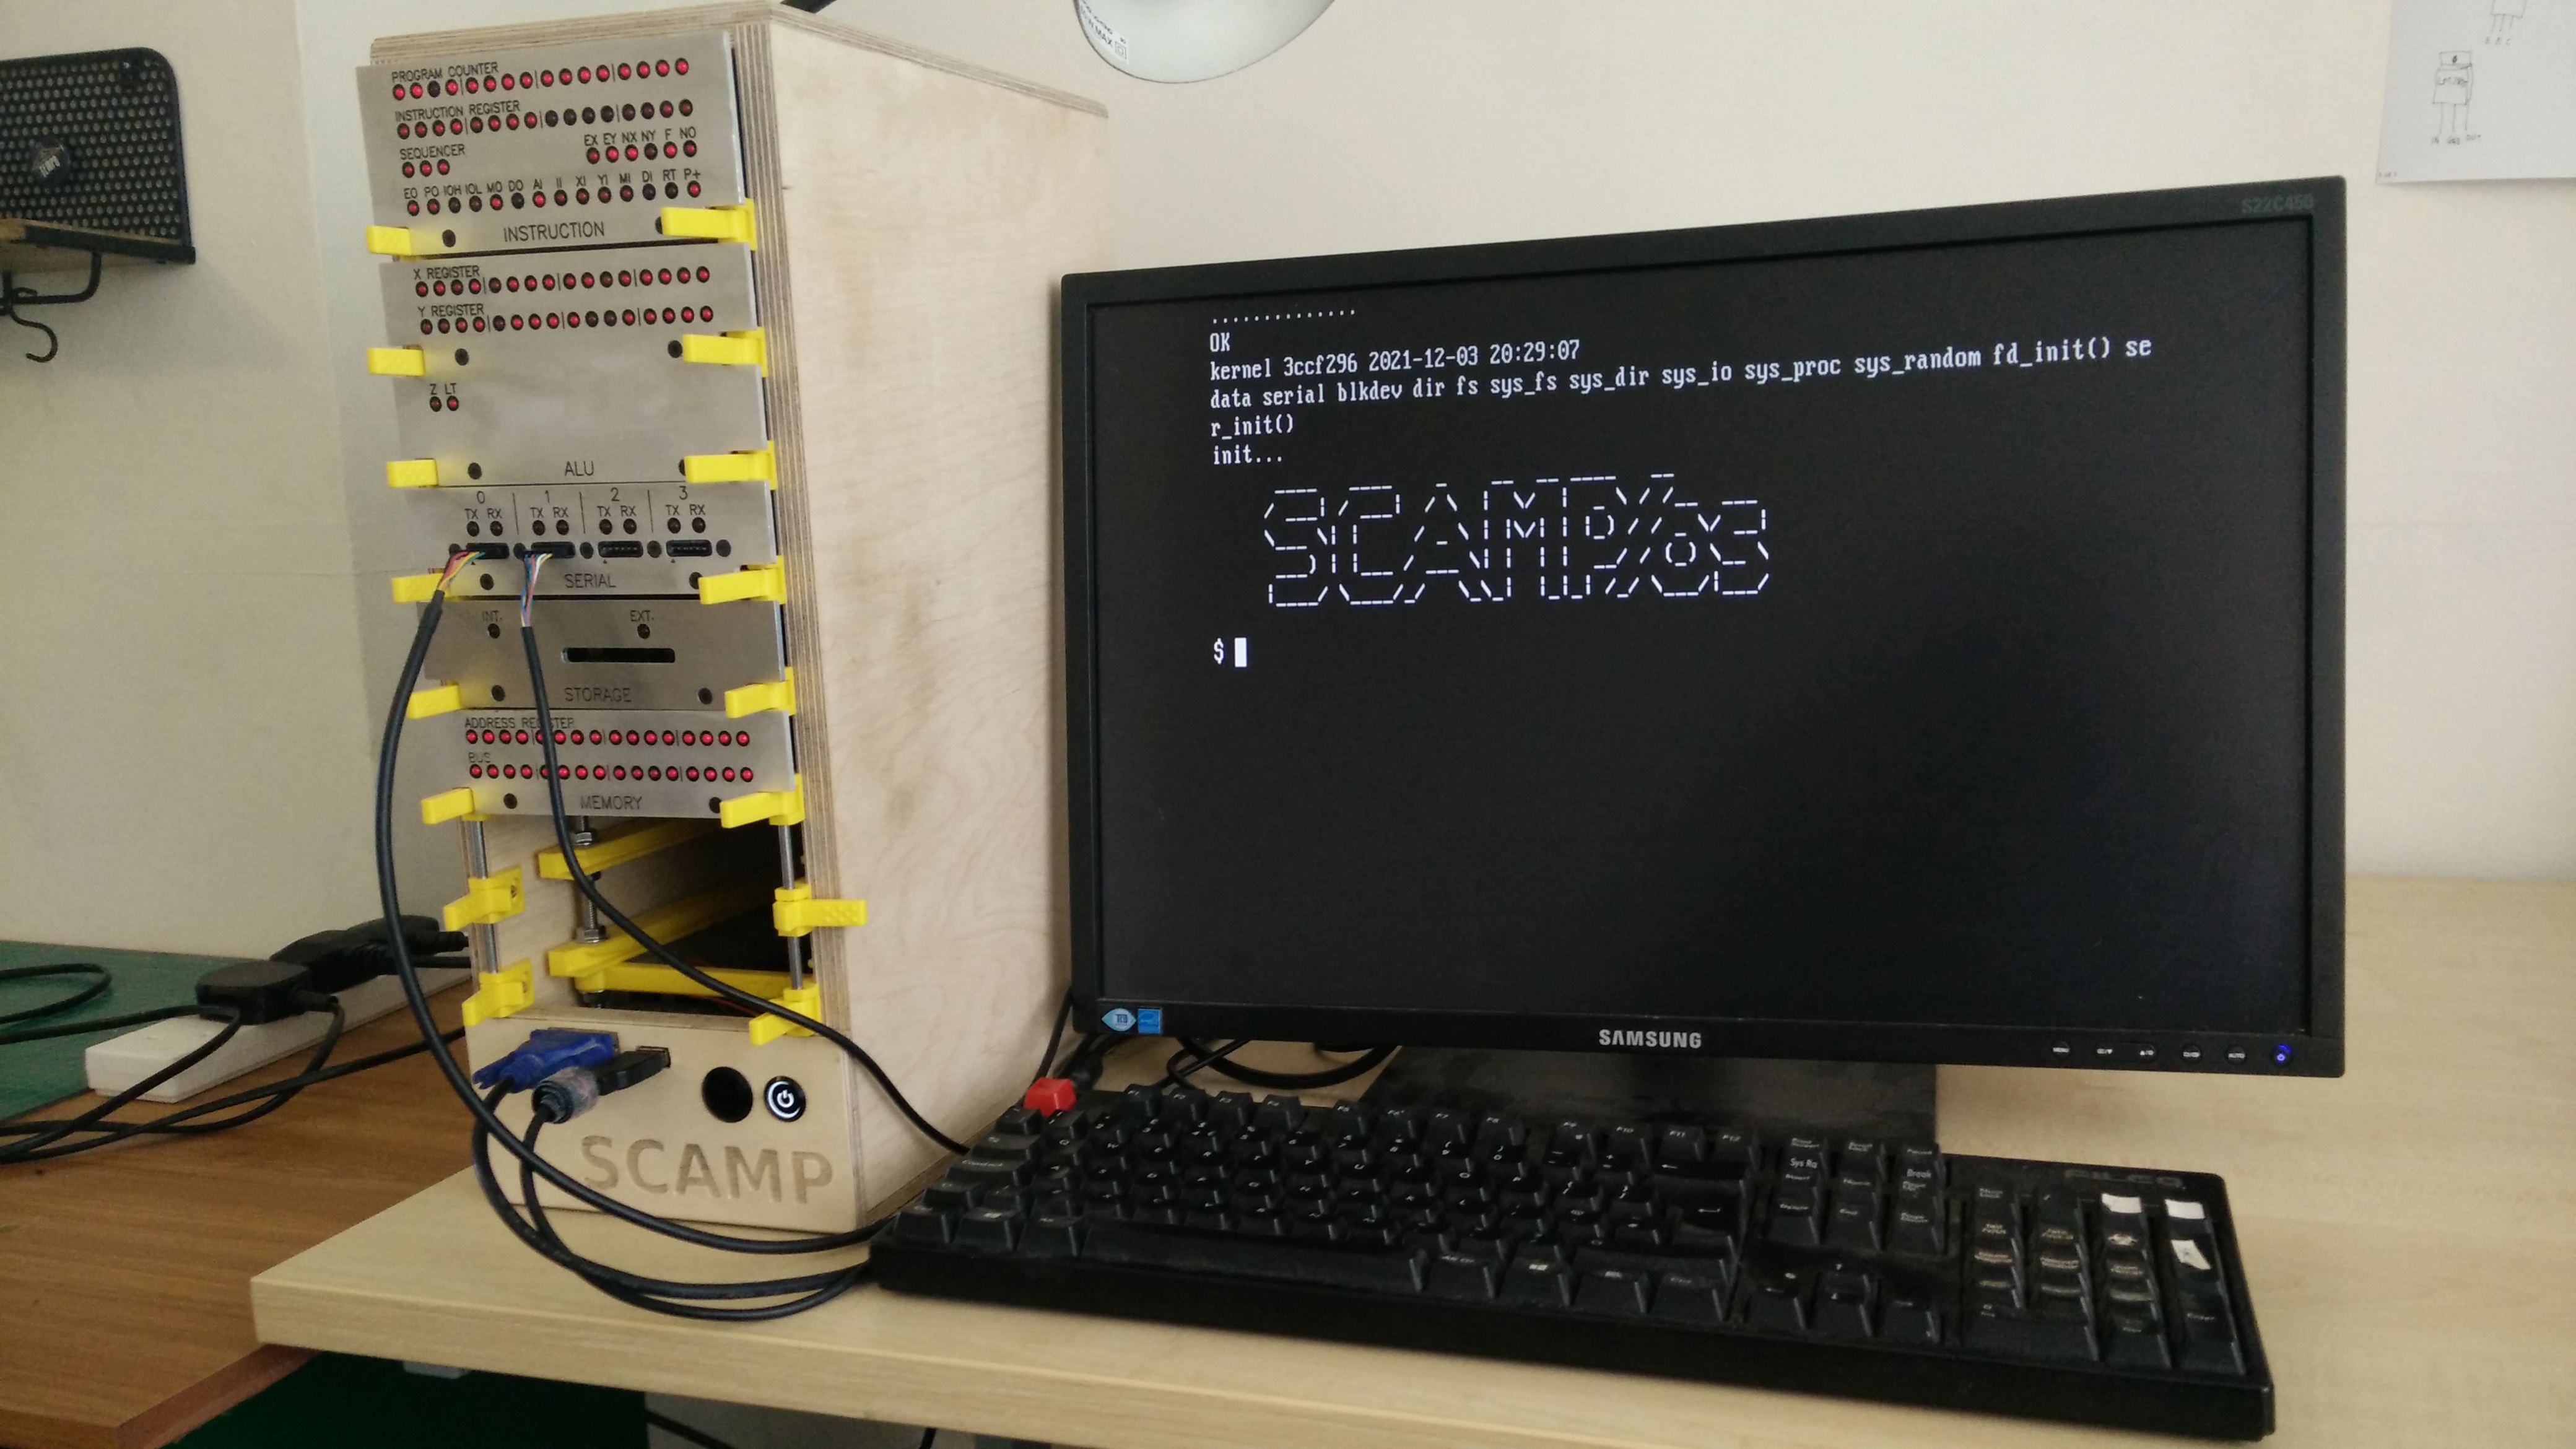
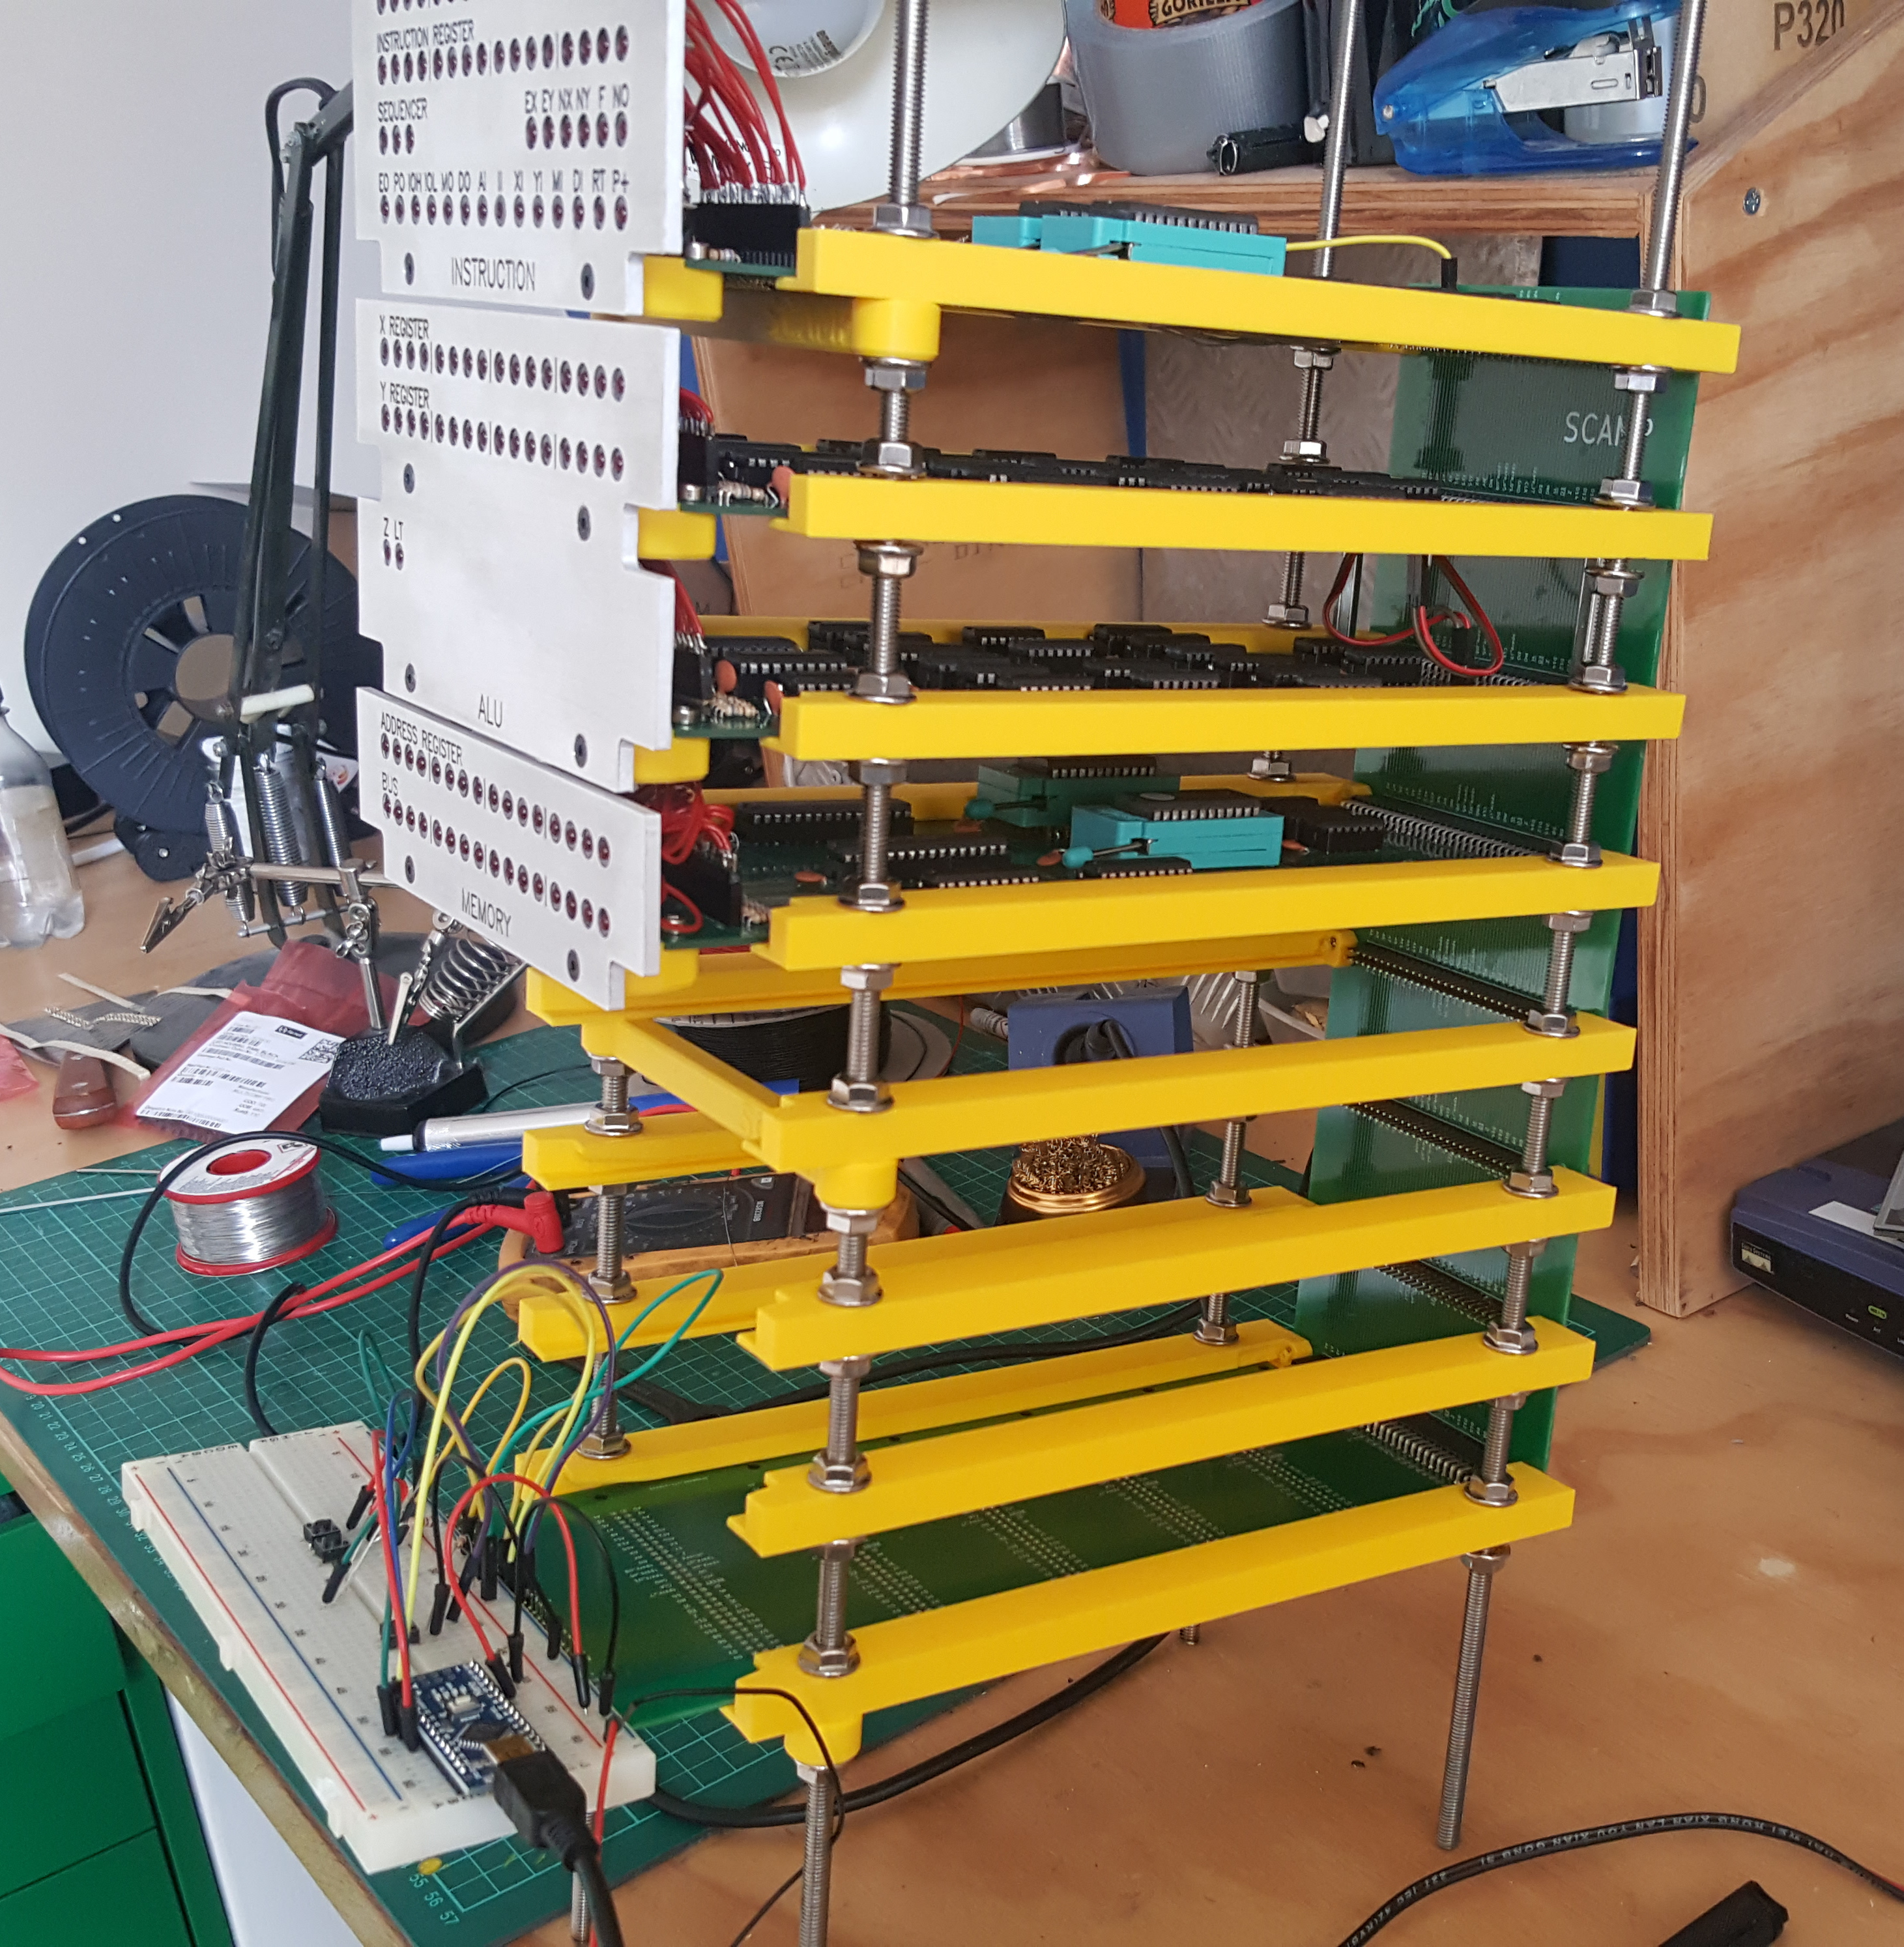
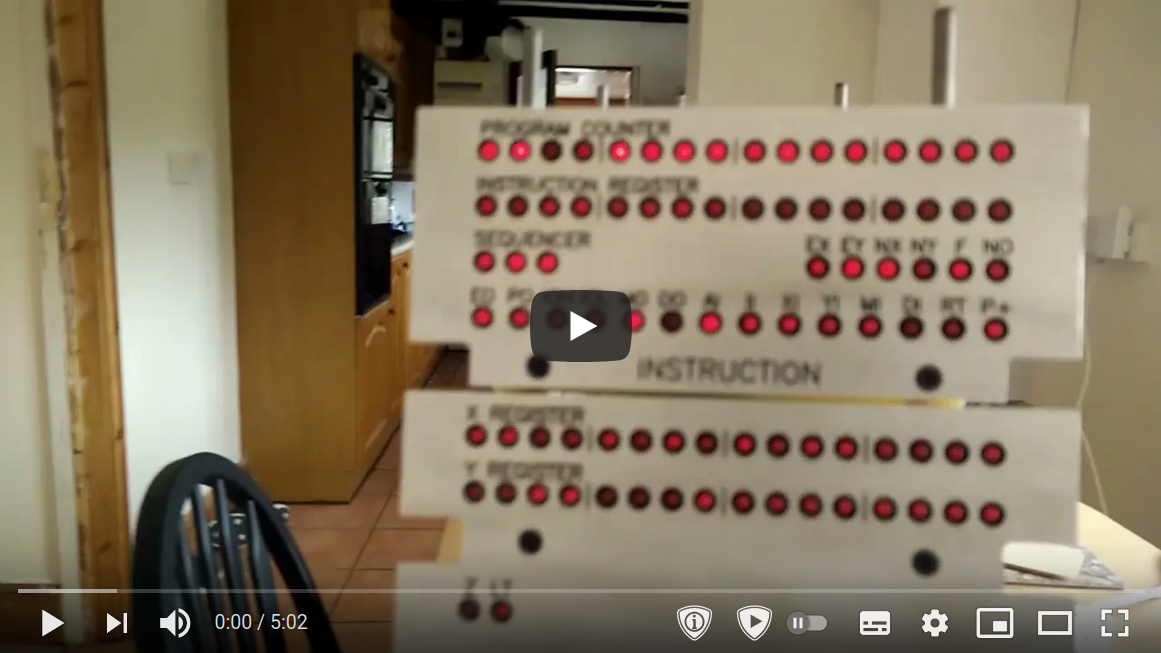
And here's a video with some explanation and an example session on real hardware:
It is a 16-bit CPU. The bus is 16-bit, registers are 16-bit, addresses are 16-bit, and memory contents are 16-bit. The upper 8 bits of an instruction select the opcode, and the lower 8 bits are available for small immediate values. There is no support for: cache, interrupts, virtual memory, DMA, privilege rings, floating point, and ~anything else that is not strictly necessary.
Here is a diagram of the architecture:
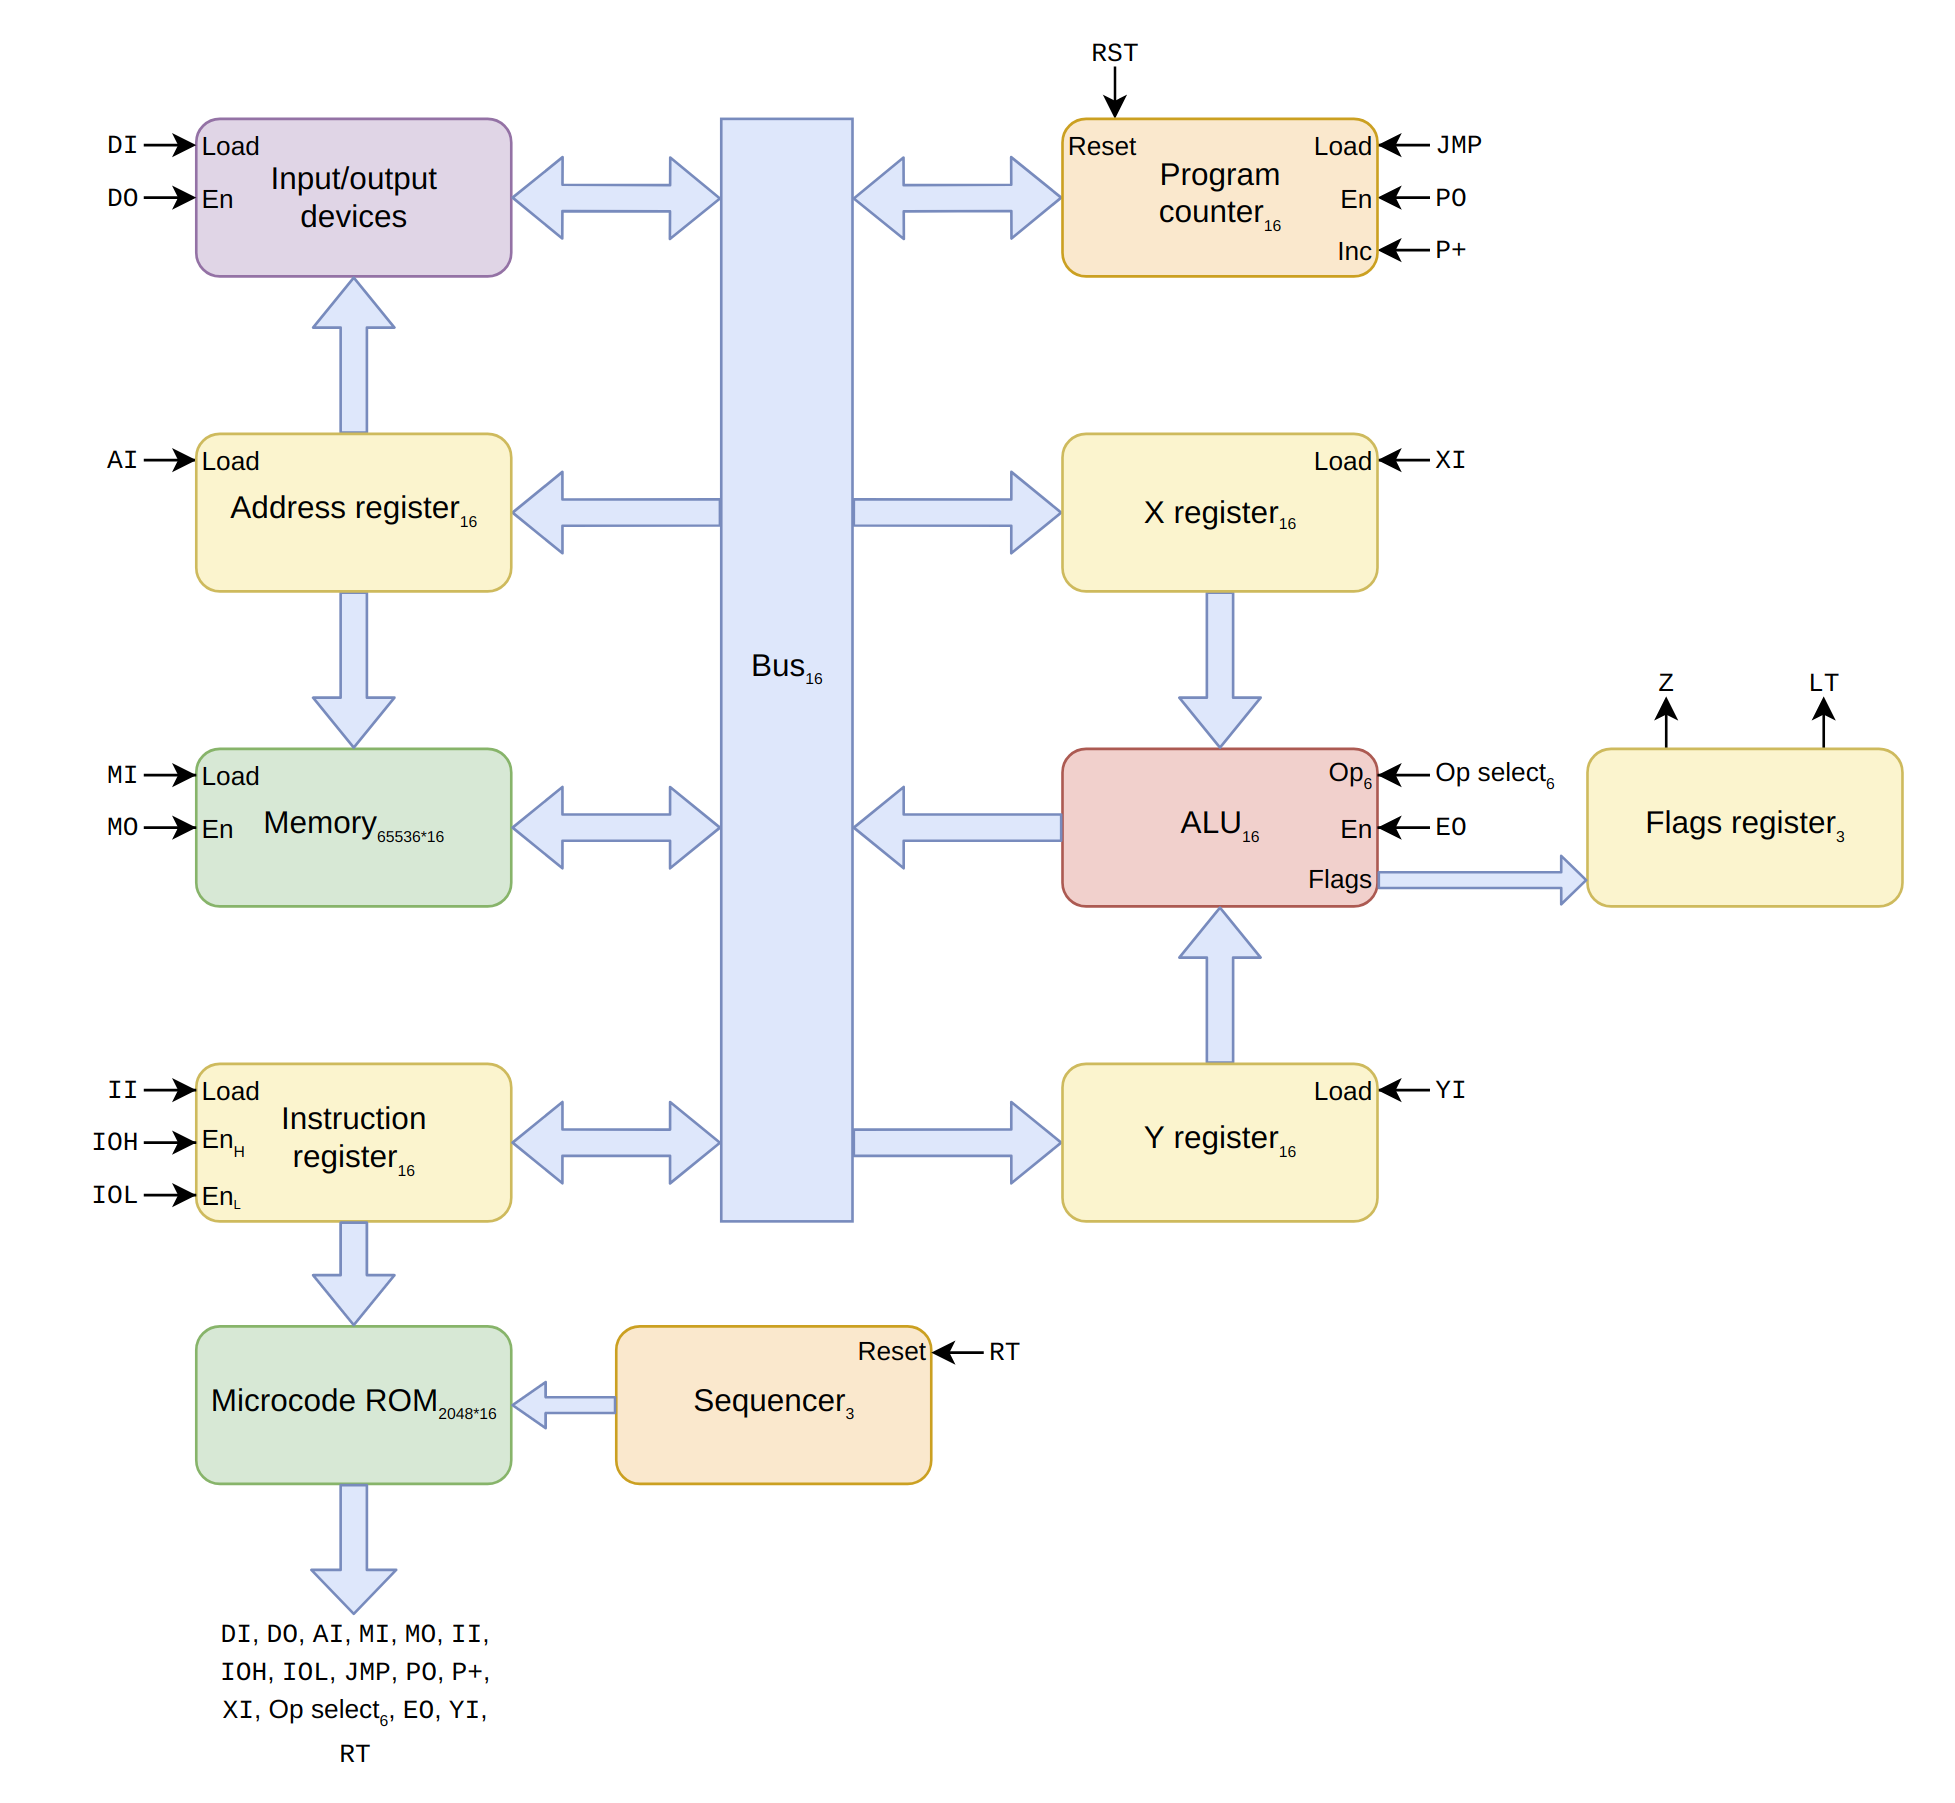
For more information, see doc/UCODE.md and doc/ISA.md.
The easiest way to try it out is to use the web-based emulator at https://incoherency.co.uk/scamp/
If you want to run it locally, first you'll need to build everything. Try make -j in the root directory of this
repository. It probably won't work on the first attempt because it works with multiple different Makefiles that have
annoying dependencies. Just run make -j twice or three times. If that doesn't do the trick, run make in sys/ first, and then run
it in .. Once you get to the point that it is only complaining about emcc, you're done, unless you also
want to build the web-based emulator.
Having built everything, you can go into kernel/ and start it in the emulator with ./run:
~/scamp-cpu/kernel $ ./run
make: 'os.disk' is up to date.
SCAMP boot...
.......................................................OK
starting kernel...
loading init...
      ____   ____    _    __  __ ____   __
     / ___| / ___|  / \  |  \/  |  _ \ / /__  ___
     \___ \| |     / _ \ | |\/| | |_) / / _ \/ __|
      ___) | |___ / ___ \| |  | |  __/ / (_) \__ \
     |____/ \____/_/   \_\_|  |_|_| /_/ \___/|___/

$
If you know how to use Unix you'll probably understand how to use it. If you know how to use CP/M you'll probably understand how it works.
If you want, you can write SLANG programs using kilo and compile them with slc. You've probably never written
SLANG before. You can learn how to use it by reading programs under /src (or sys/ in the repo). It's mostly
like C but with fewer features and less safety.
I did these tasks, but working on several steps at a time (i.e. I didn't wait until after I had built the entire computer before thinking about microcode or the operating system):
I suspect the computer will never be "finished", but some things I still want to work on are:
var x = 5 at global scope should not take any code to initialise)const x = 5 should lead to x being replaced with the constant value 5 where possible)If you happen to want to work on any of the above, I'd be happy to help you!
I thoroughly recommend the Nand2Tetris course. https://nand2tetris.org/
If you want to do the exercises from Nand2Tetris without learning what a hardware-description language is, and without going through all the lectures, you can play https://nandgame.com/
Ben Eater's videos on 8-bit CPU design are excellent and heavily influenced the design of my CPU.
I found the YouTube playlist for Nicolas Laurent's compiler class quite helpful in writing the parser for the compiler.
The Build Your Own Text Editor is a fantastic tutorial that walks you through implementing antirez's kilo editor.
Balazs Markus's 8250 UART example is helpful.
Daniel Tufvesson has a post that is a good starting point for understanding the 8-bit CompactFlash interface.
PickledDog has a description of an improvement to the RC2014 CompactFlash card that might be helpful. Also Bill Shen's comment on the RC2014 mailing list.
Michał Cierniak has a good blog post about CompactFlash + 8255 interface card with lots of detail on how his CompactFlash interface works.
James Sharman is building an interesting 8-bit pipelined CPU, and has good videos with lots of explanation on how it works.
SCAMP is featured on the Homebrew CPU ring which also features many other interesting homebrew CPU designs.
You can email me on james@incoherency.co.uk or read my blog: [https://incoherency.co.uk/].
| Qty | Value | Footprint | References |
|---|---|---|---|
| 55 | R | Resistor_THT:R_Axial_DIN0207_L6.3mm_D2.5mm_P7.62mm_Horizontal | R1, R2, R10, R11, R12, R13, R14, R15, R16, R17, R18, R19, R20, R21, R22, R23 +39 |
| 22 | C | Capacitor_THT:C_Disc_D5.0mm_W2.5mm_P2.50mm | C1, C2, C3, C10, C11, C12, C13, C14, C15, C16, C17, C18, C19, C20, C21, C22 +6 |
| 6 | Jumper_NO_Small | Connector_PinHeader_2.54mm:PinHeader_1x02_P2.54mm_Vertical | JP1, JP2, JP3, JP4, JP5, JP6 |
| 5 | 74LS161 | Package_DIP:DIP-16_W7.62mm_Socket | U10, U13, U14, U15, U16 |
| 5 | 74LS244 | Package_DIP:DIP-20_W7.62mm_Socket | U11, U12, U18, U19, U20 |
| 2 | 28C16 | Package_DIP:DIP-24_W15.24mm_Socket | U1, U2 |
| 2 | 74LS00 | Package_DIP:DIP-14_W7.62mm_Socket | U5, U17 |
| 2 | 74LS08 | Package_DIP:DIP-14_W7.62mm_Socket | U4, U6 |
| 2 | 74LS138 | Package_DIP:DIP-16_W7.62mm_Socket | U8, U9 |
| 2 | 74LS377 | Package_DIP:DIP-20_W7.62mm_Socket | U21, U22 |
| 2 | Conn_01x17_Male | Connector_PinHeader_2.54mm:PinHeader_1x17_P2.54mm_Vertical | J2, J3 |
| 1 | 74LS04 | Package_DIP:DIP-14_W7.62mm_Socket | U3 |
| 1 | 74LS32 | Package_DIP:DIP-14_W7.62mm_Socket | U7 |
| 1 | Conn_01x10_Male | Connector_PinHeader_2.54mm:PinHeader_1x10_P2.54mm_Vertical | J4 |
| 1 | Conn_01x15_Male | Connector_PinHeader_2.54mm:PinHeader_1x15_P2.54mm_Vertical | J5 |
| 1 | Conn_02x30_Counter_Clockwise | Connector_PinSocket_2.54mm:PinSocket_2x30_P2.54mm_Horizontal | J1 |
The 110 most common of 112 parts.
It measures 237.5 × 102.9 mm and has 2 copper layers, 1.6 mm thick.
112 parts, built around the 74LS161DC, 74LS00SC, 74LS377PC and 74LS04PC. The full list of its parts is on this page, with links to each part's symbol and footprint where PCBKit's library has them.
From the jes/scamp-cpu repository on GitHub, at the commit this page was made from: the board is kicad/instruction/instruction.kicad_pcb. PCBKit opens the board in the browser, with nothing to install.
Its repository publishes it under the Unlicense licence: you may reuse it on that licence's terms (keep the author's notice, and for a copyleft licence share your changes alike).
jes/scamp-cpu
A homebrew 16-bit CPU with a homebrew Unix-like-ish operating system.

jes/scamp-cpu
A homebrew 16-bit CPU with a homebrew Unix-like-ish operating system.

jes/scamp-cpu
A homebrew 16-bit CPU with a homebrew Unix-like-ish operating system.

jes/scamp-cpu
A homebrew 16-bit CPU with a homebrew Unix-like-ish operating system.

jes/scamp-cpu
A homebrew 16-bit CPU with a homebrew Unix-like-ish operating system.


The-Invent0r/8-bit-Computer-PCB
These are the KiCAD files for my 8-Bit Computer.


misterblack1/zenith_zt1
Information gathered on the Zenith ZT-1 / ZT-10 / ZT-11 and ZTX/ZT-x-A variants