

2 layers197 × 249.7 mm

 heonaliu/bear-magotchi
A custom bear-style case tamagotchi. Made by 17 y/o Heona Liu. This was my first full on hardware project, so I'm pretty proud of myself.
Tamagotchi is an open-source printed circuit board by heonaliu, from the heonaliu/bear-magotchi repository on GitHub, published under the MIT licence. It is a 2-layer board of 80.3 × 67.7 mm with 10 parts on 20 nets, routed with 41 tracks and 0 vias.
It is built around the HS96L03W2C03 and SUN-12095-5VPA7.6. Its parts include 3 switches and 2 ICs. It belongs with the ESP32 and RISC-V boards of this library.
A custom bear-style case tamagotchi. Made by 17 y/o Heona Liu. This was my first full on hardware project, so I'm pretty proud of myself. Every step was a learning process: from KiCad interface, PCB routing, OnShape building, to coding with Arduino IDE for firmware and designing a zine.
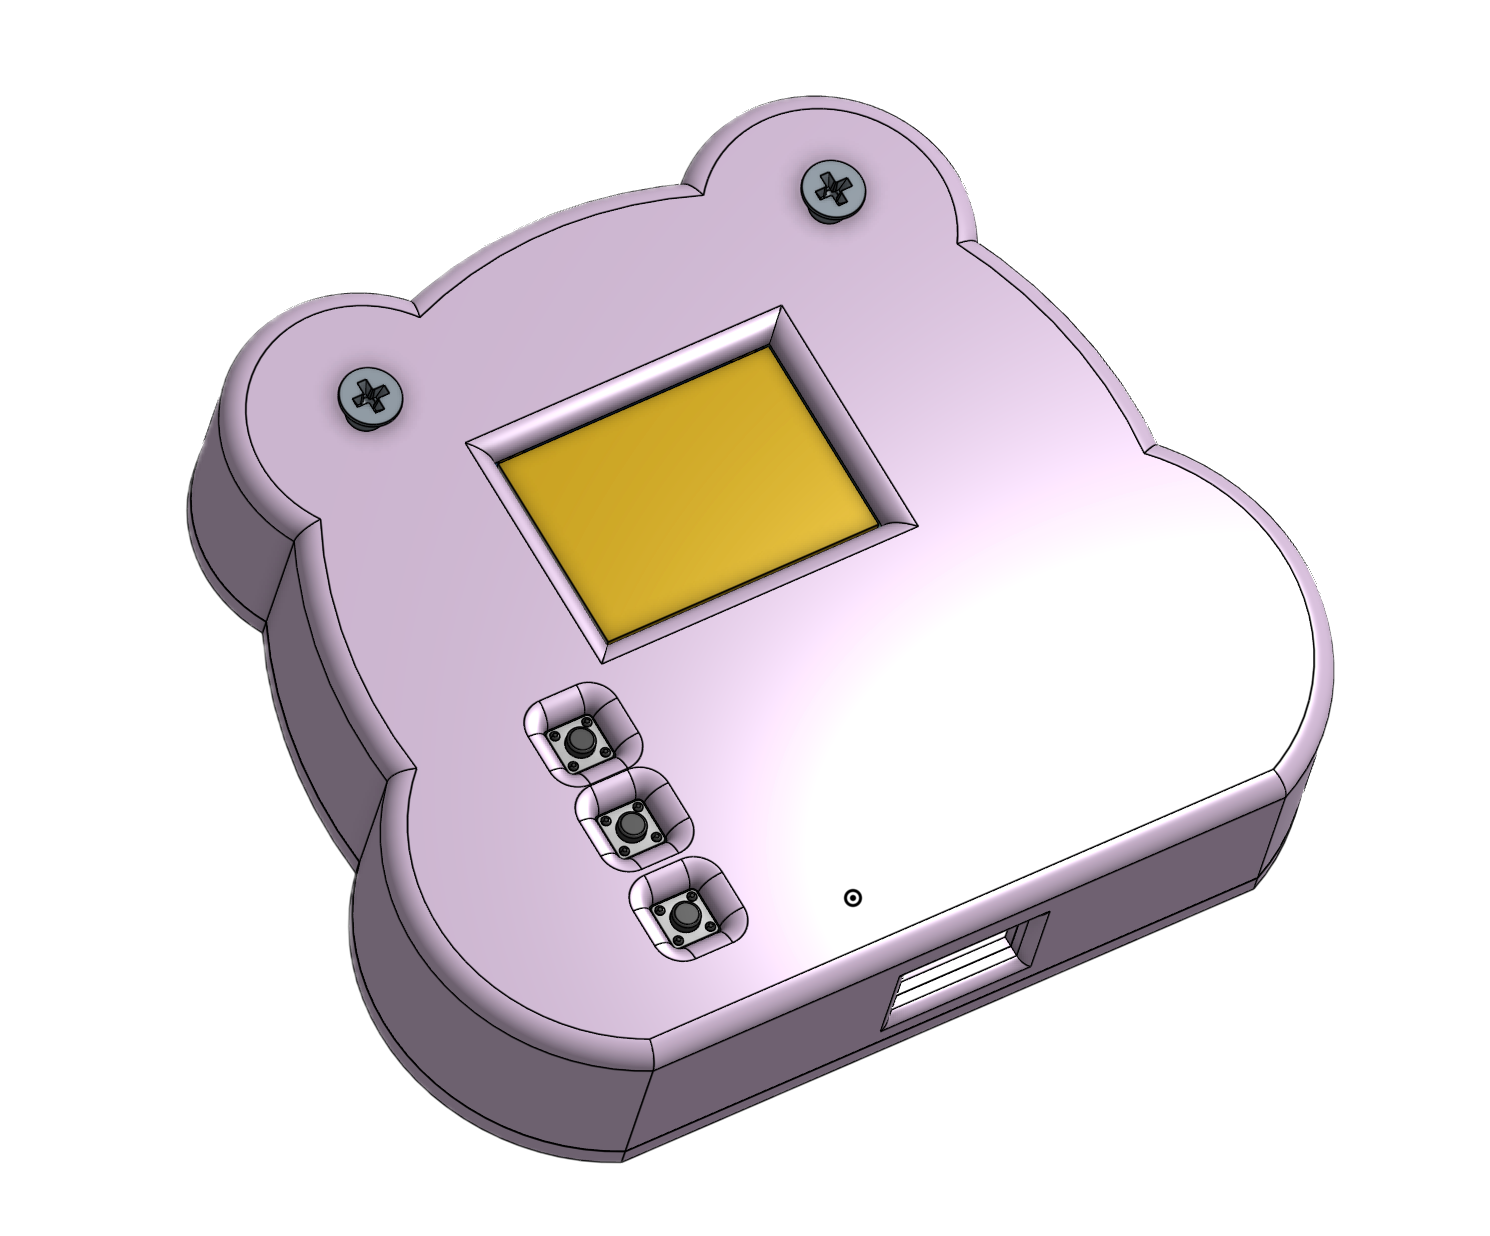
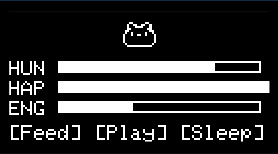
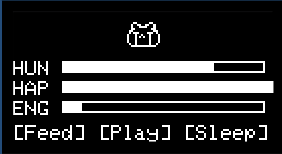
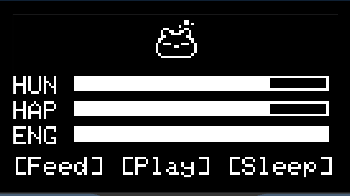
This tamagotchi has 3 stats: hunger, energy, and happiness! You can play around with the different levels by using the buttons, each mapped to different functions. This was built by following TaniWankenobi's tamagotchi PCB tutorial. All 4 faces on the bearmagotchi are custom drawn!
I built this project because I have absolute 0 experience with hardware and wanted to learn! I find it so exciting to be able to design physical products! I'm more of a software person so working with hardware isn't easy for me. I procrastinated a lot because I was intimidated at first by hardware and its complexities, but I finally got the discipline and perseverance to start and finish this project. Throughout this project, I encountered many challenges and learning experiences, all which allowed me to further broaden my understanding of hardware and CAD. I also like cute things so this was a perfect project to build.
It took many trial and errors like learning how to solve DRC errors, rerouting, and being very confused at some points.
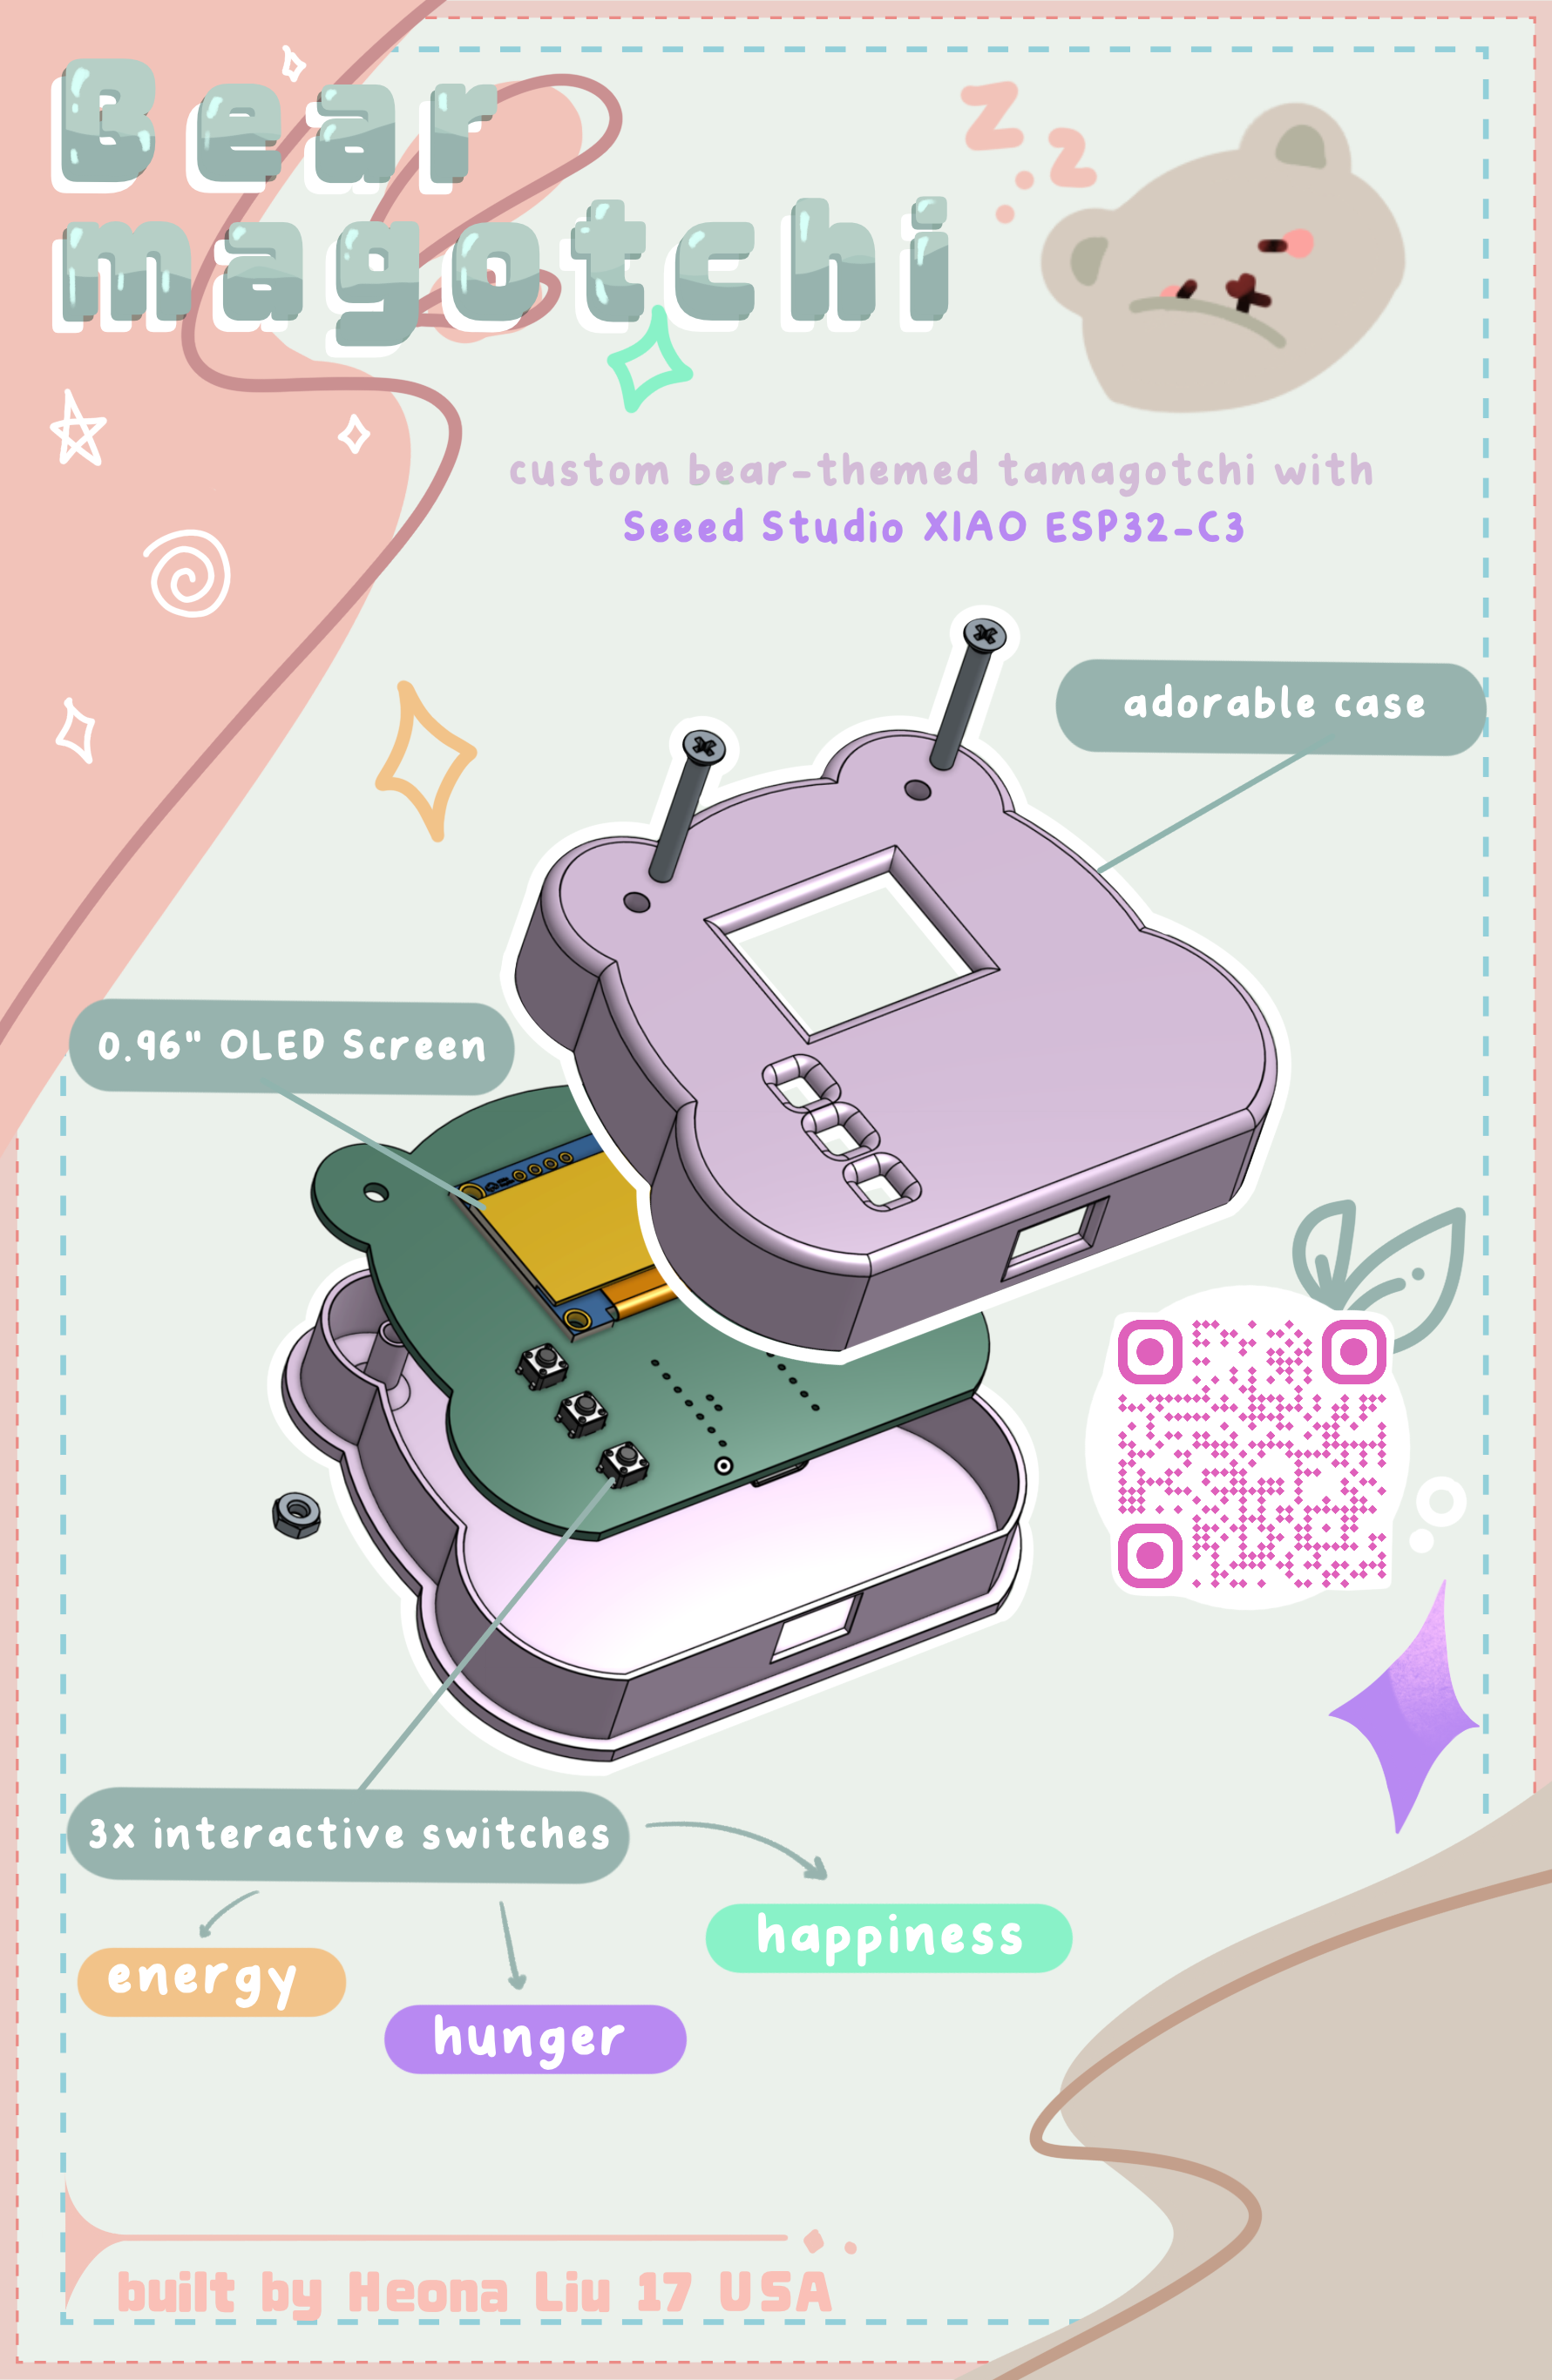
Bearmagotchi was built with Seeed Studio XIAO ESP32-C3 and a custom PCB built with KiCad. OnShape was used to build the case design. Arduino IDE was used to code the button's functions with the OLED screen. There are three switches that you can press, which change the status of the pet's happiness, energy, and hungriness!
Arduino MCU: XIAO-ESP32-C3
Display: 0.96" OLED screen
Power: 3.7V rechargeable lithium polymer battery
Audio: Buzzer -- XHXDZ 1207-P6.5MM
Case: Built with OnShape. View Onshape CAD Link
Firmware: Arduino IDE in C++. Also wired and tested in a simulation in Wokwi.com. Wokwi Link Here
Buzzer: XHXDZ 1207-P6.5MM Switches: BZCN TSC016A04518A 0.96" Oled Screen: HS HS96L03W2C03
| Top | Top Side View |
|---|---|
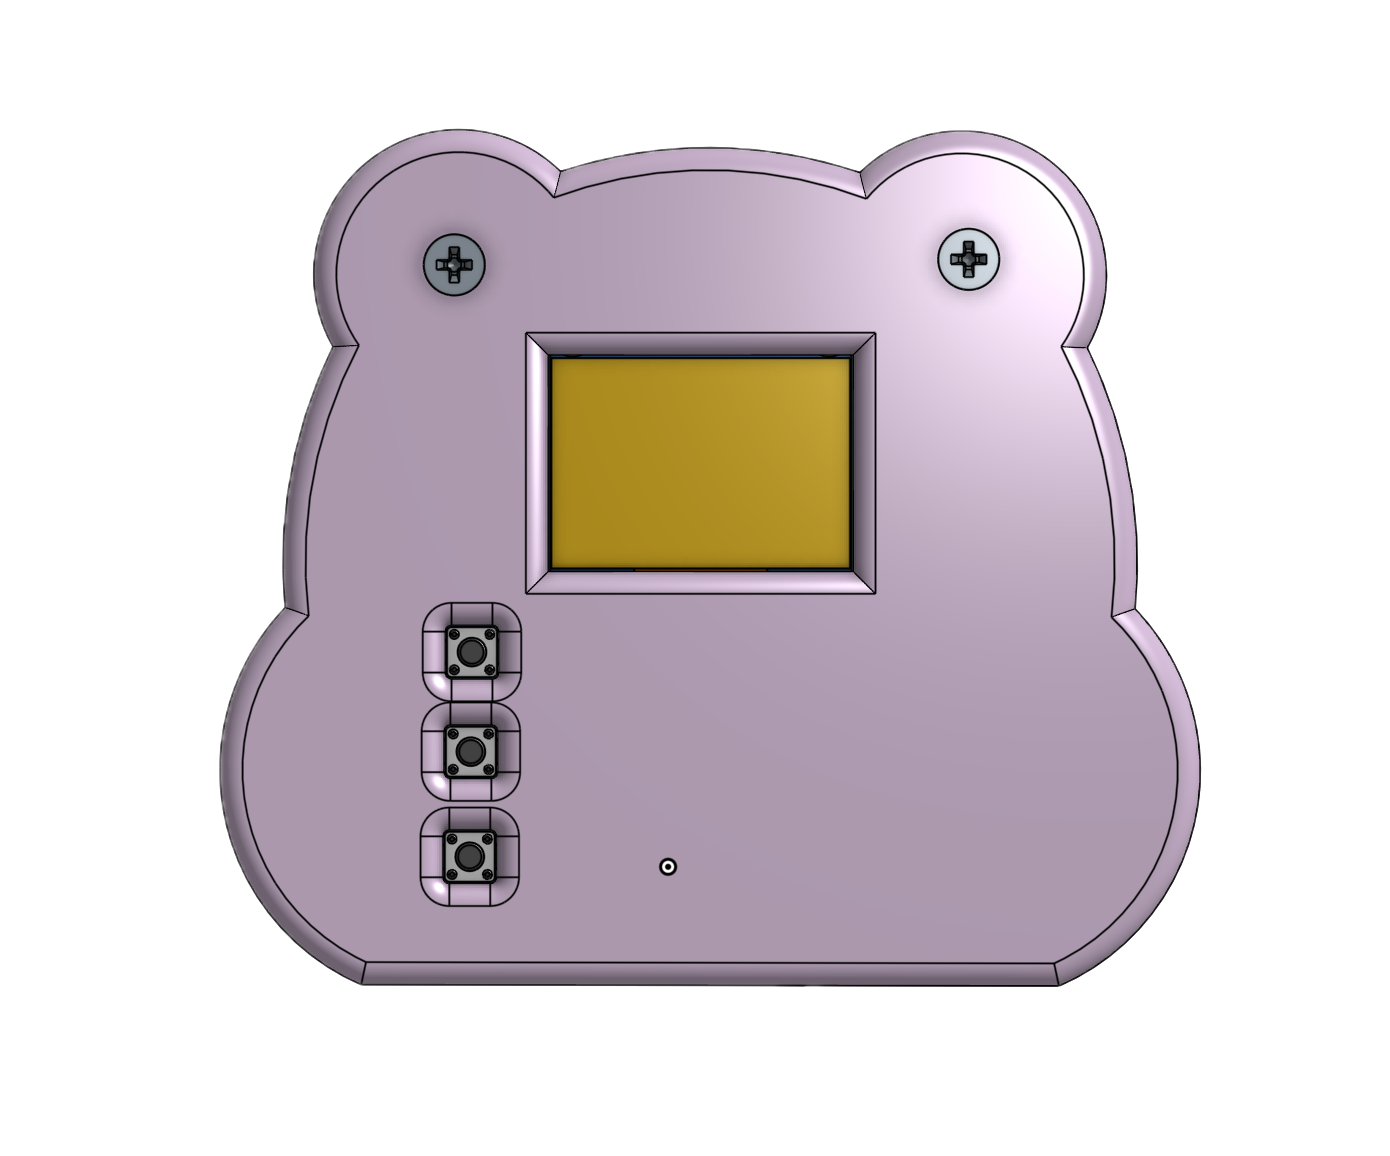 | |
| Bottom | Exploded View |
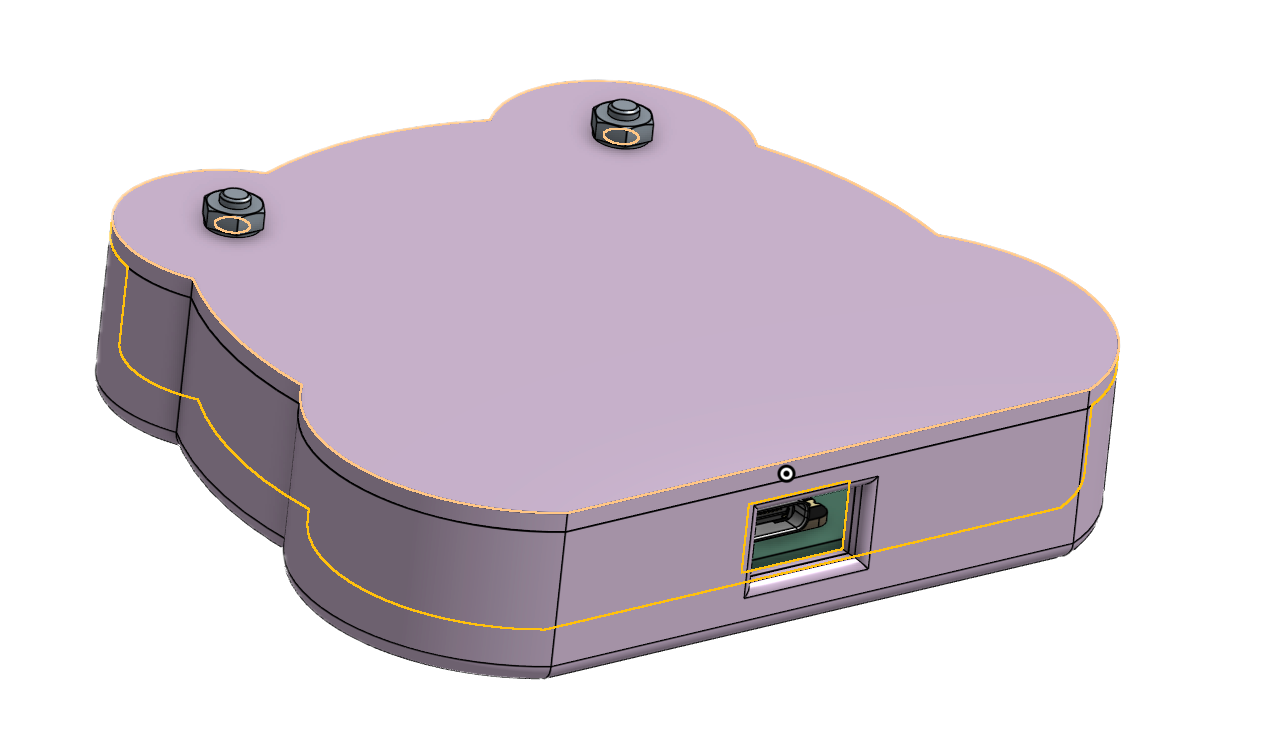 | 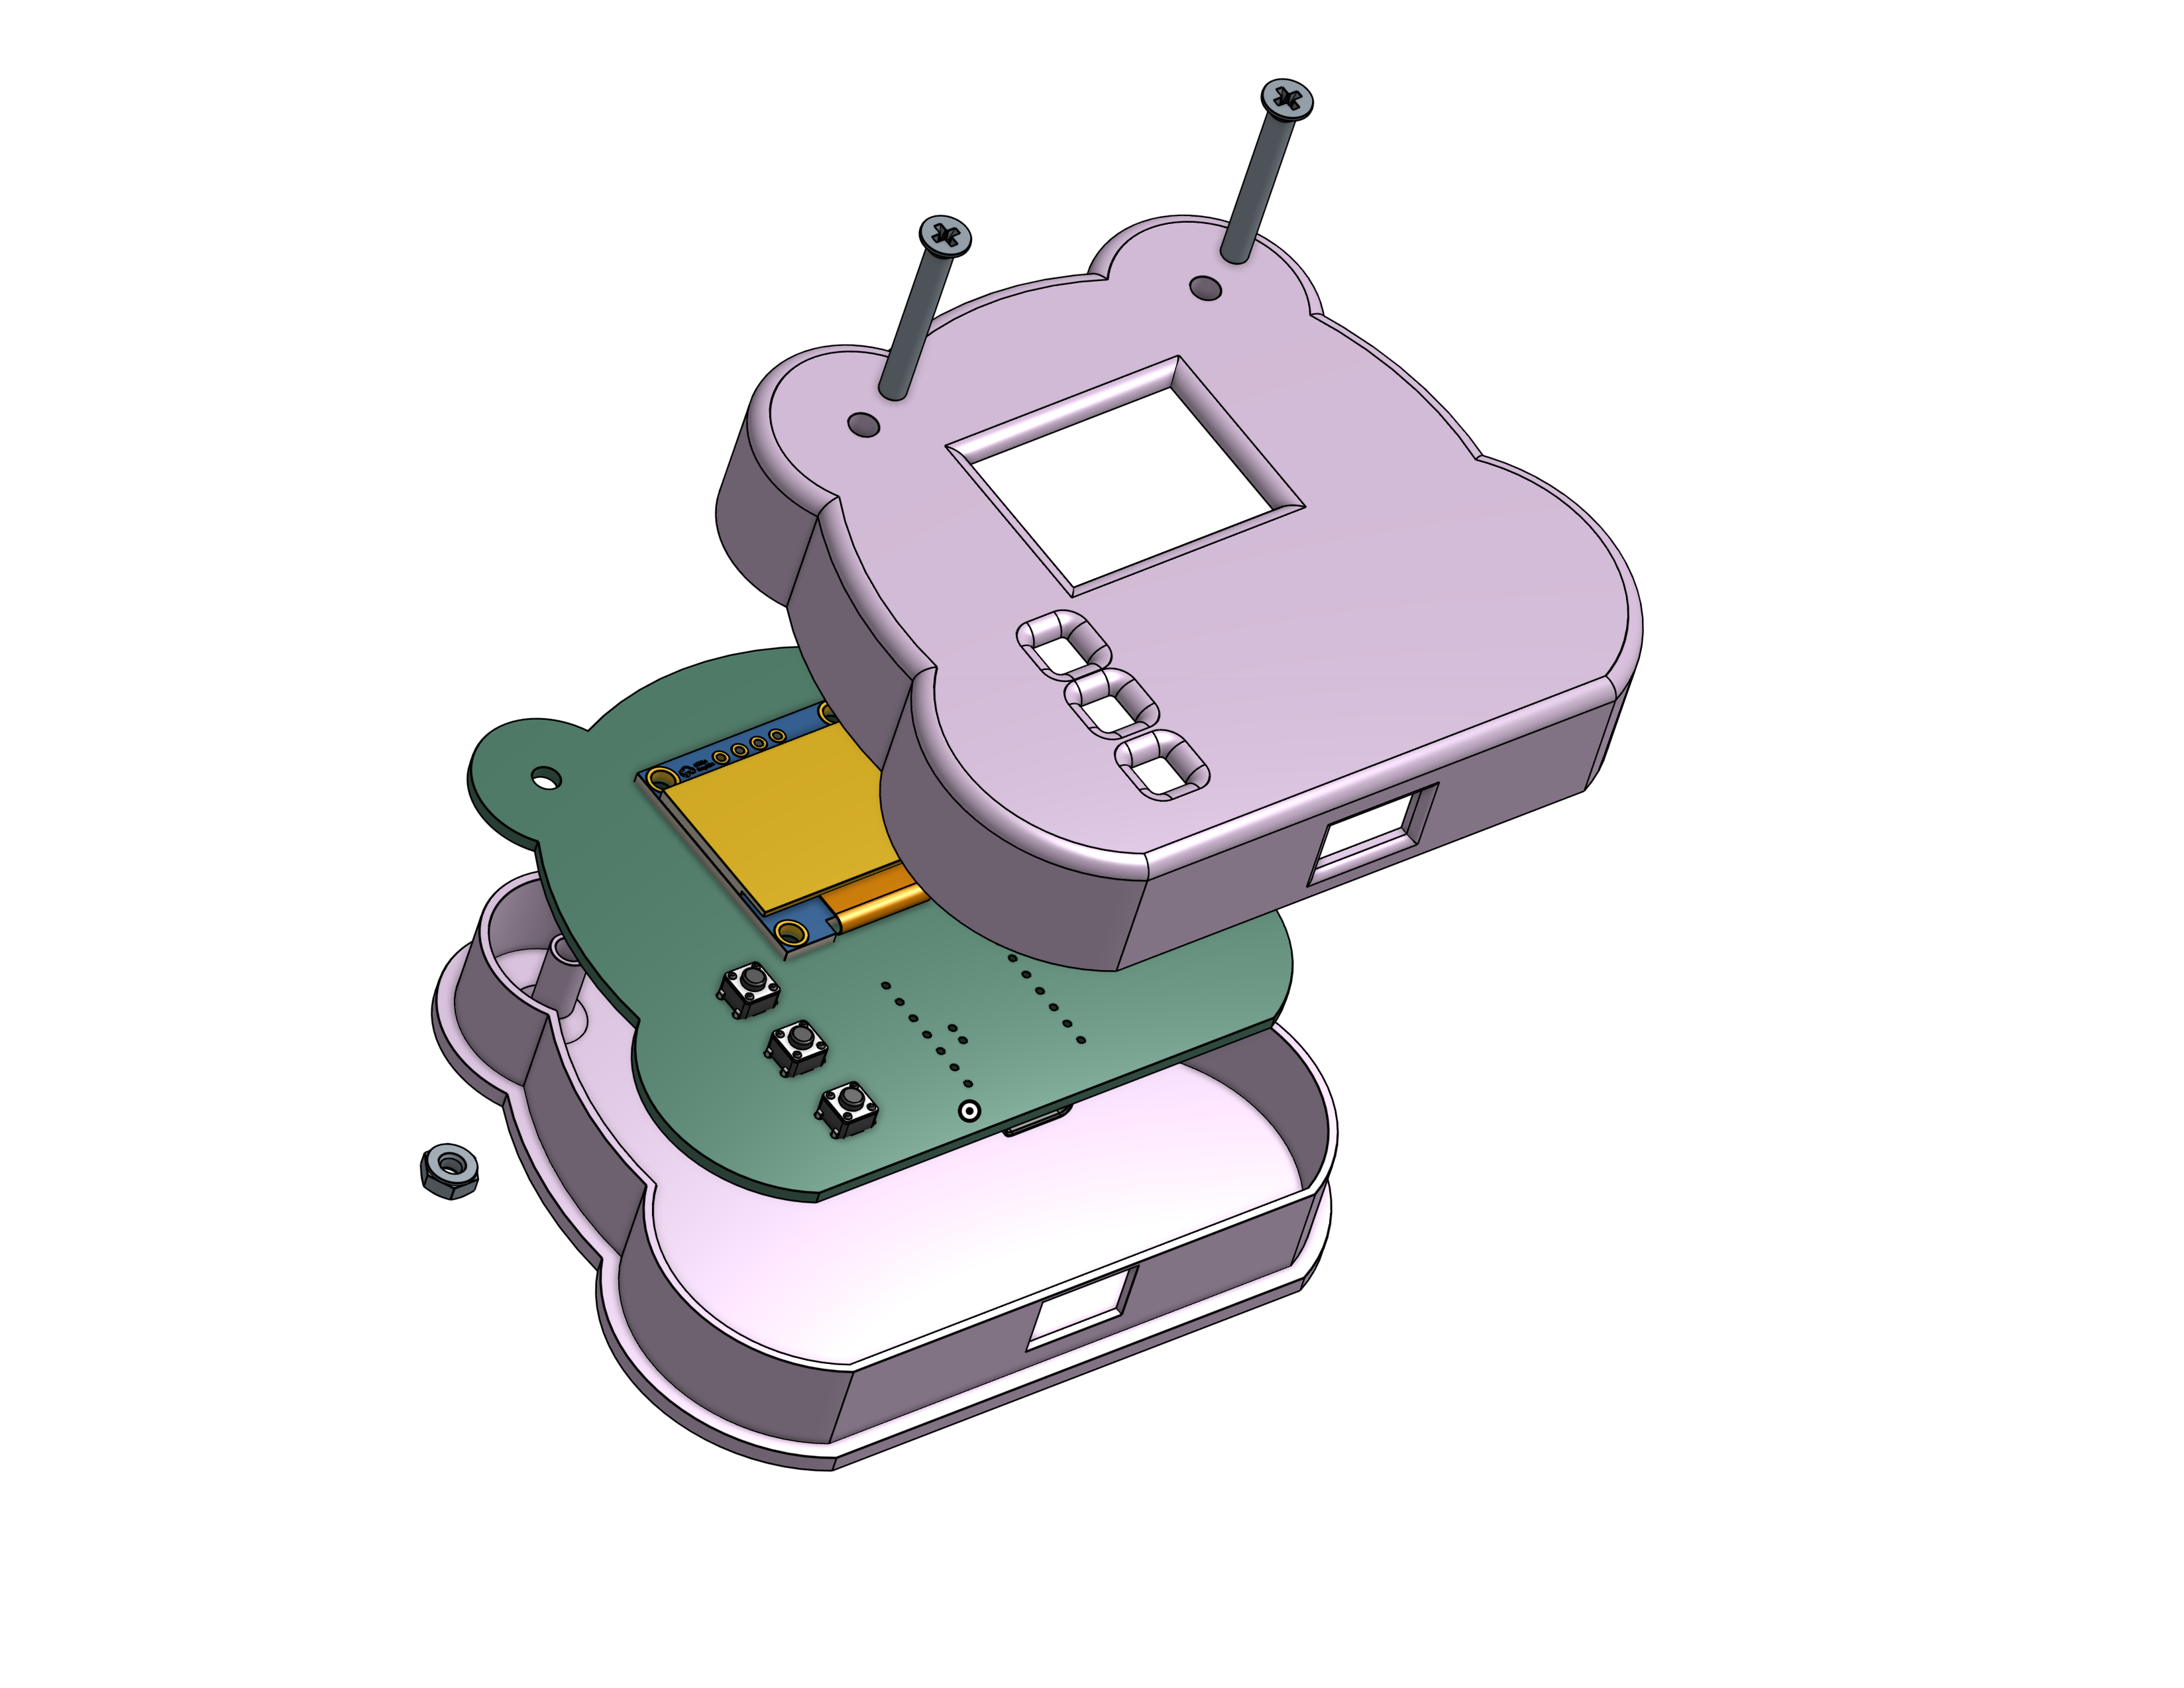 |
| Top | Top Routing Layer |
|---|---|
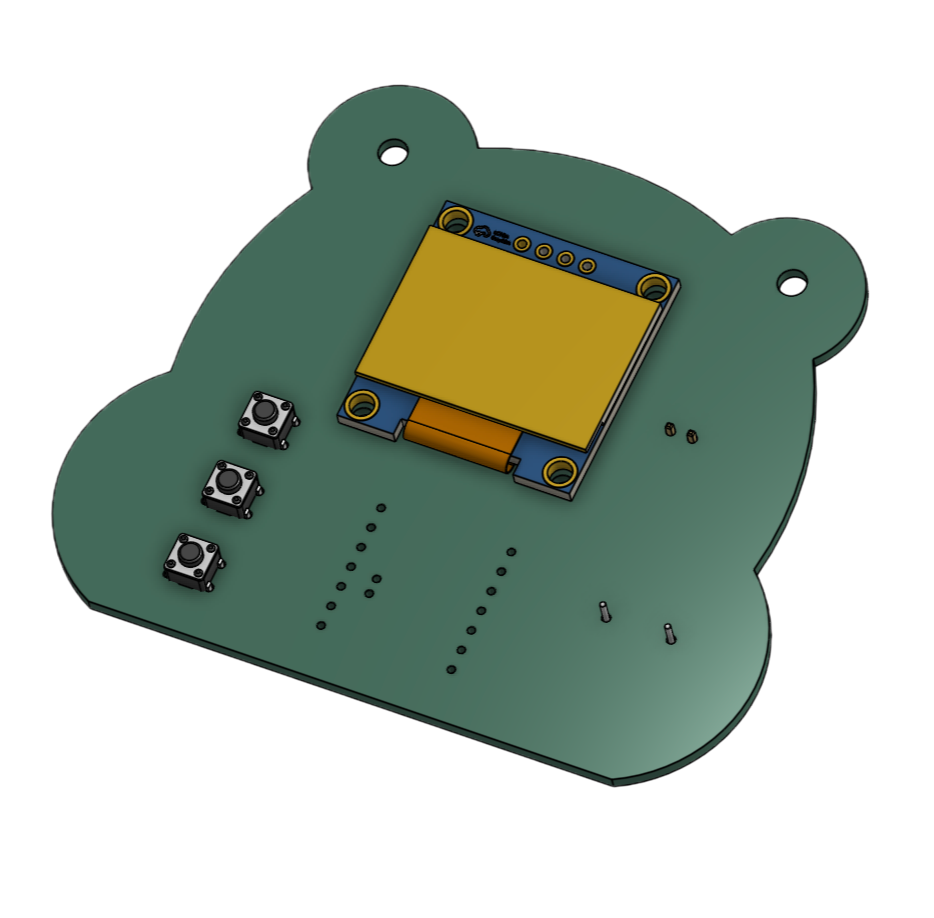 | 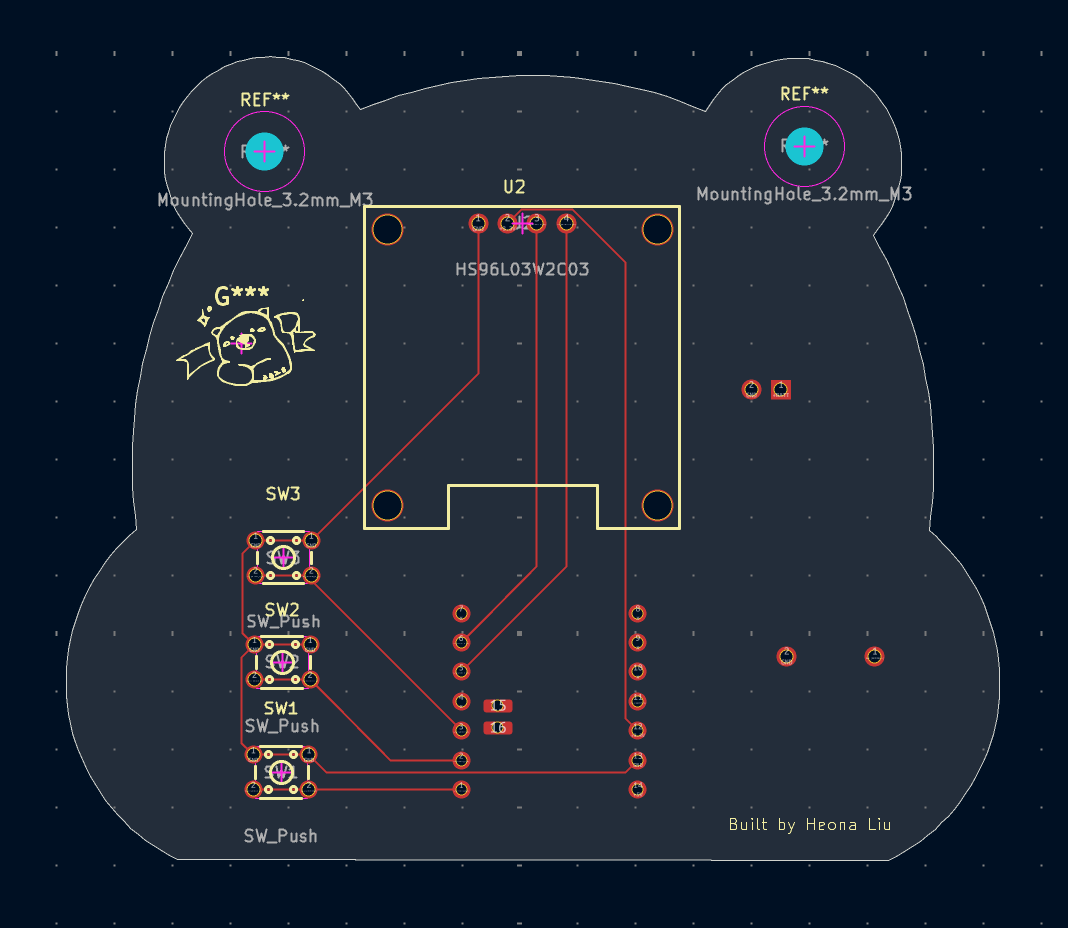 |
| Bottom | Bottom Routing Layer |
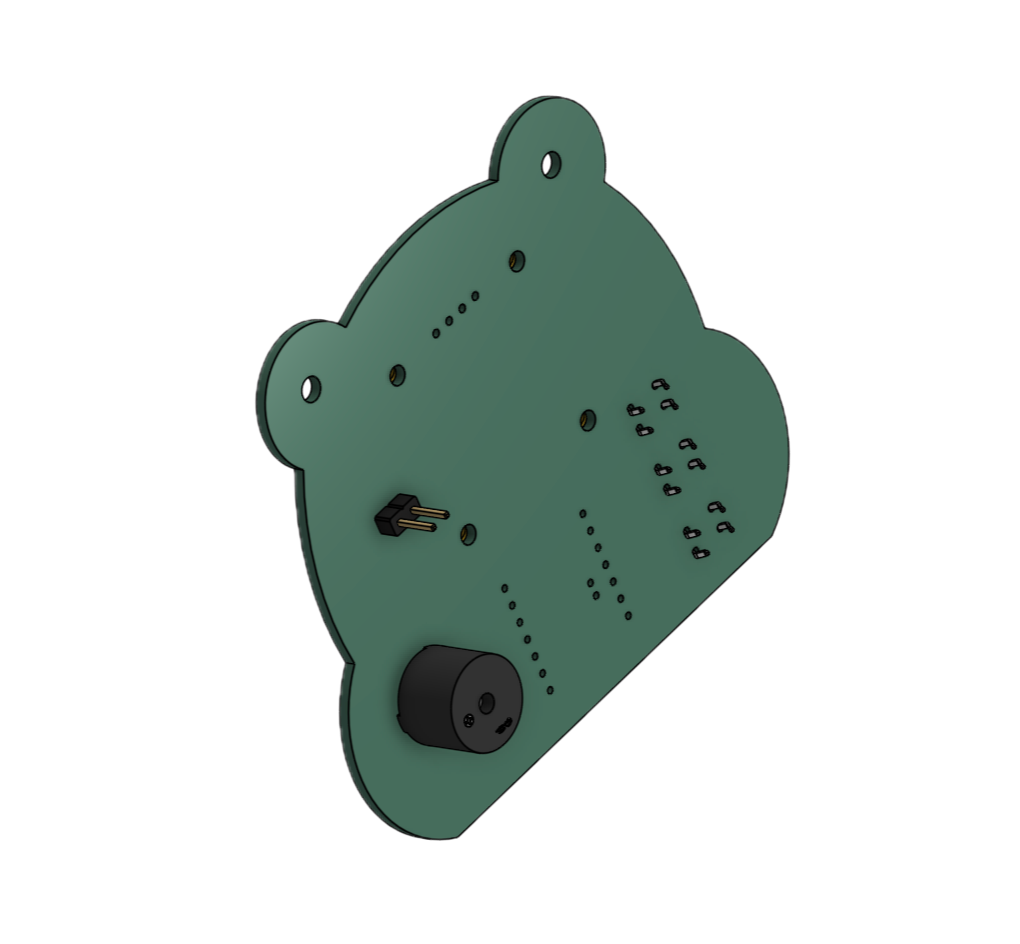 | 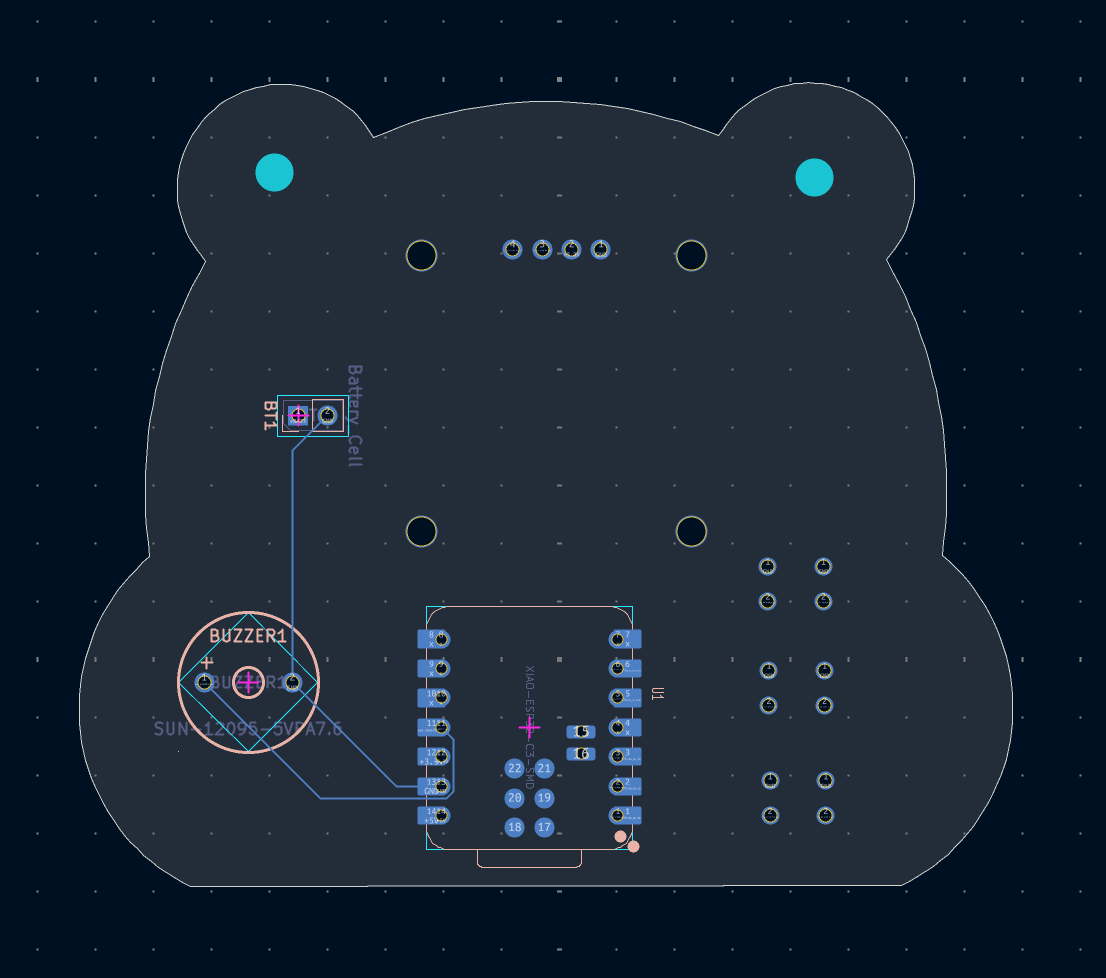 |
| Both |
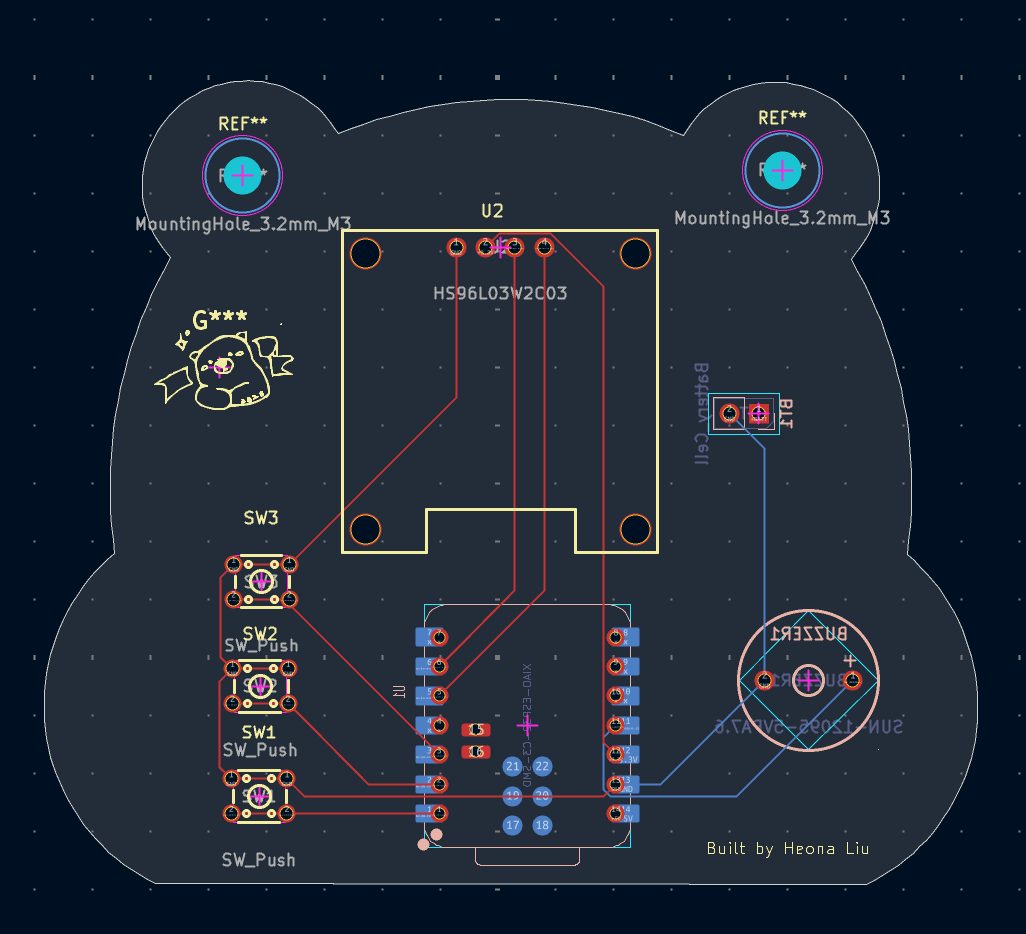
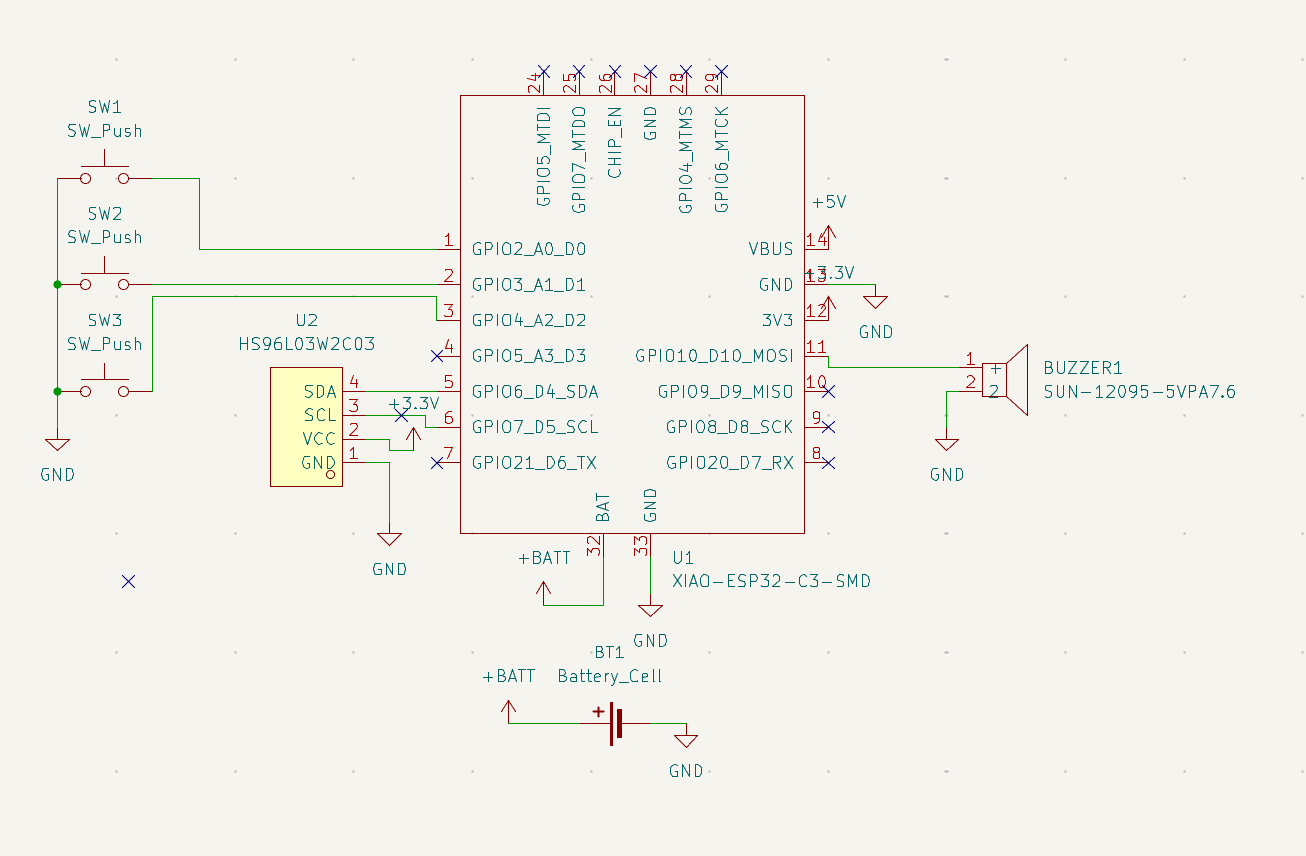
| Item | Description | Value | LCSC Part | Qty | MOQ | Total Price | Links |
|---|---|---|---|---|---|---|---|
| Battery | Cell battery to power | Battery_Cell | -- | 1 | 1 | $3.37 | Purchase Link |
| Buzzer | Buzzer for audio | 1207-P6.5MM | C49246964 | 1 | 10 | $0.57 | Purchase Link |
| Switch | Push button | TSC016A04518A | C2888493 | 3 | 50 | $0.54 | Purchase Link |
| OLED Display | 0.96" OLED | HS96L03W2C03 | C5248080 | 1 | 1 | $2.25 | Purchase Link |
| Seeed Studio ESP32-C3 MCU | MCU Arduino board | XIAO-ESP32-C3-SMD | -- | 1 | 1 | $4.54 | Purchase Link |
| PCB | Main board for building | -- | -- | 1 | 1 | $4.00 | -- |
| PCB Shipping | To UPS Account | -- | -- | -- | -- | $2.50 | -- |
| Total | 8 | 64 | $17.77 |
| Item | Description | Qty | Total Price | Link |
|---|---|---|---|---|
| M3 x 25mm Screw | PH Countersunk flat head screw M3x0.5 x 25 Stainless Steel | 2 | $1.74 | Purchase Link |
| Hex Nut Grade A&B | M3x0.5 Stainless Steel | 2 | $0.14 | Purchase Link |
| Total | 4 | $1.88 |
| Bottom case | Place PCB on top |
|---|---|
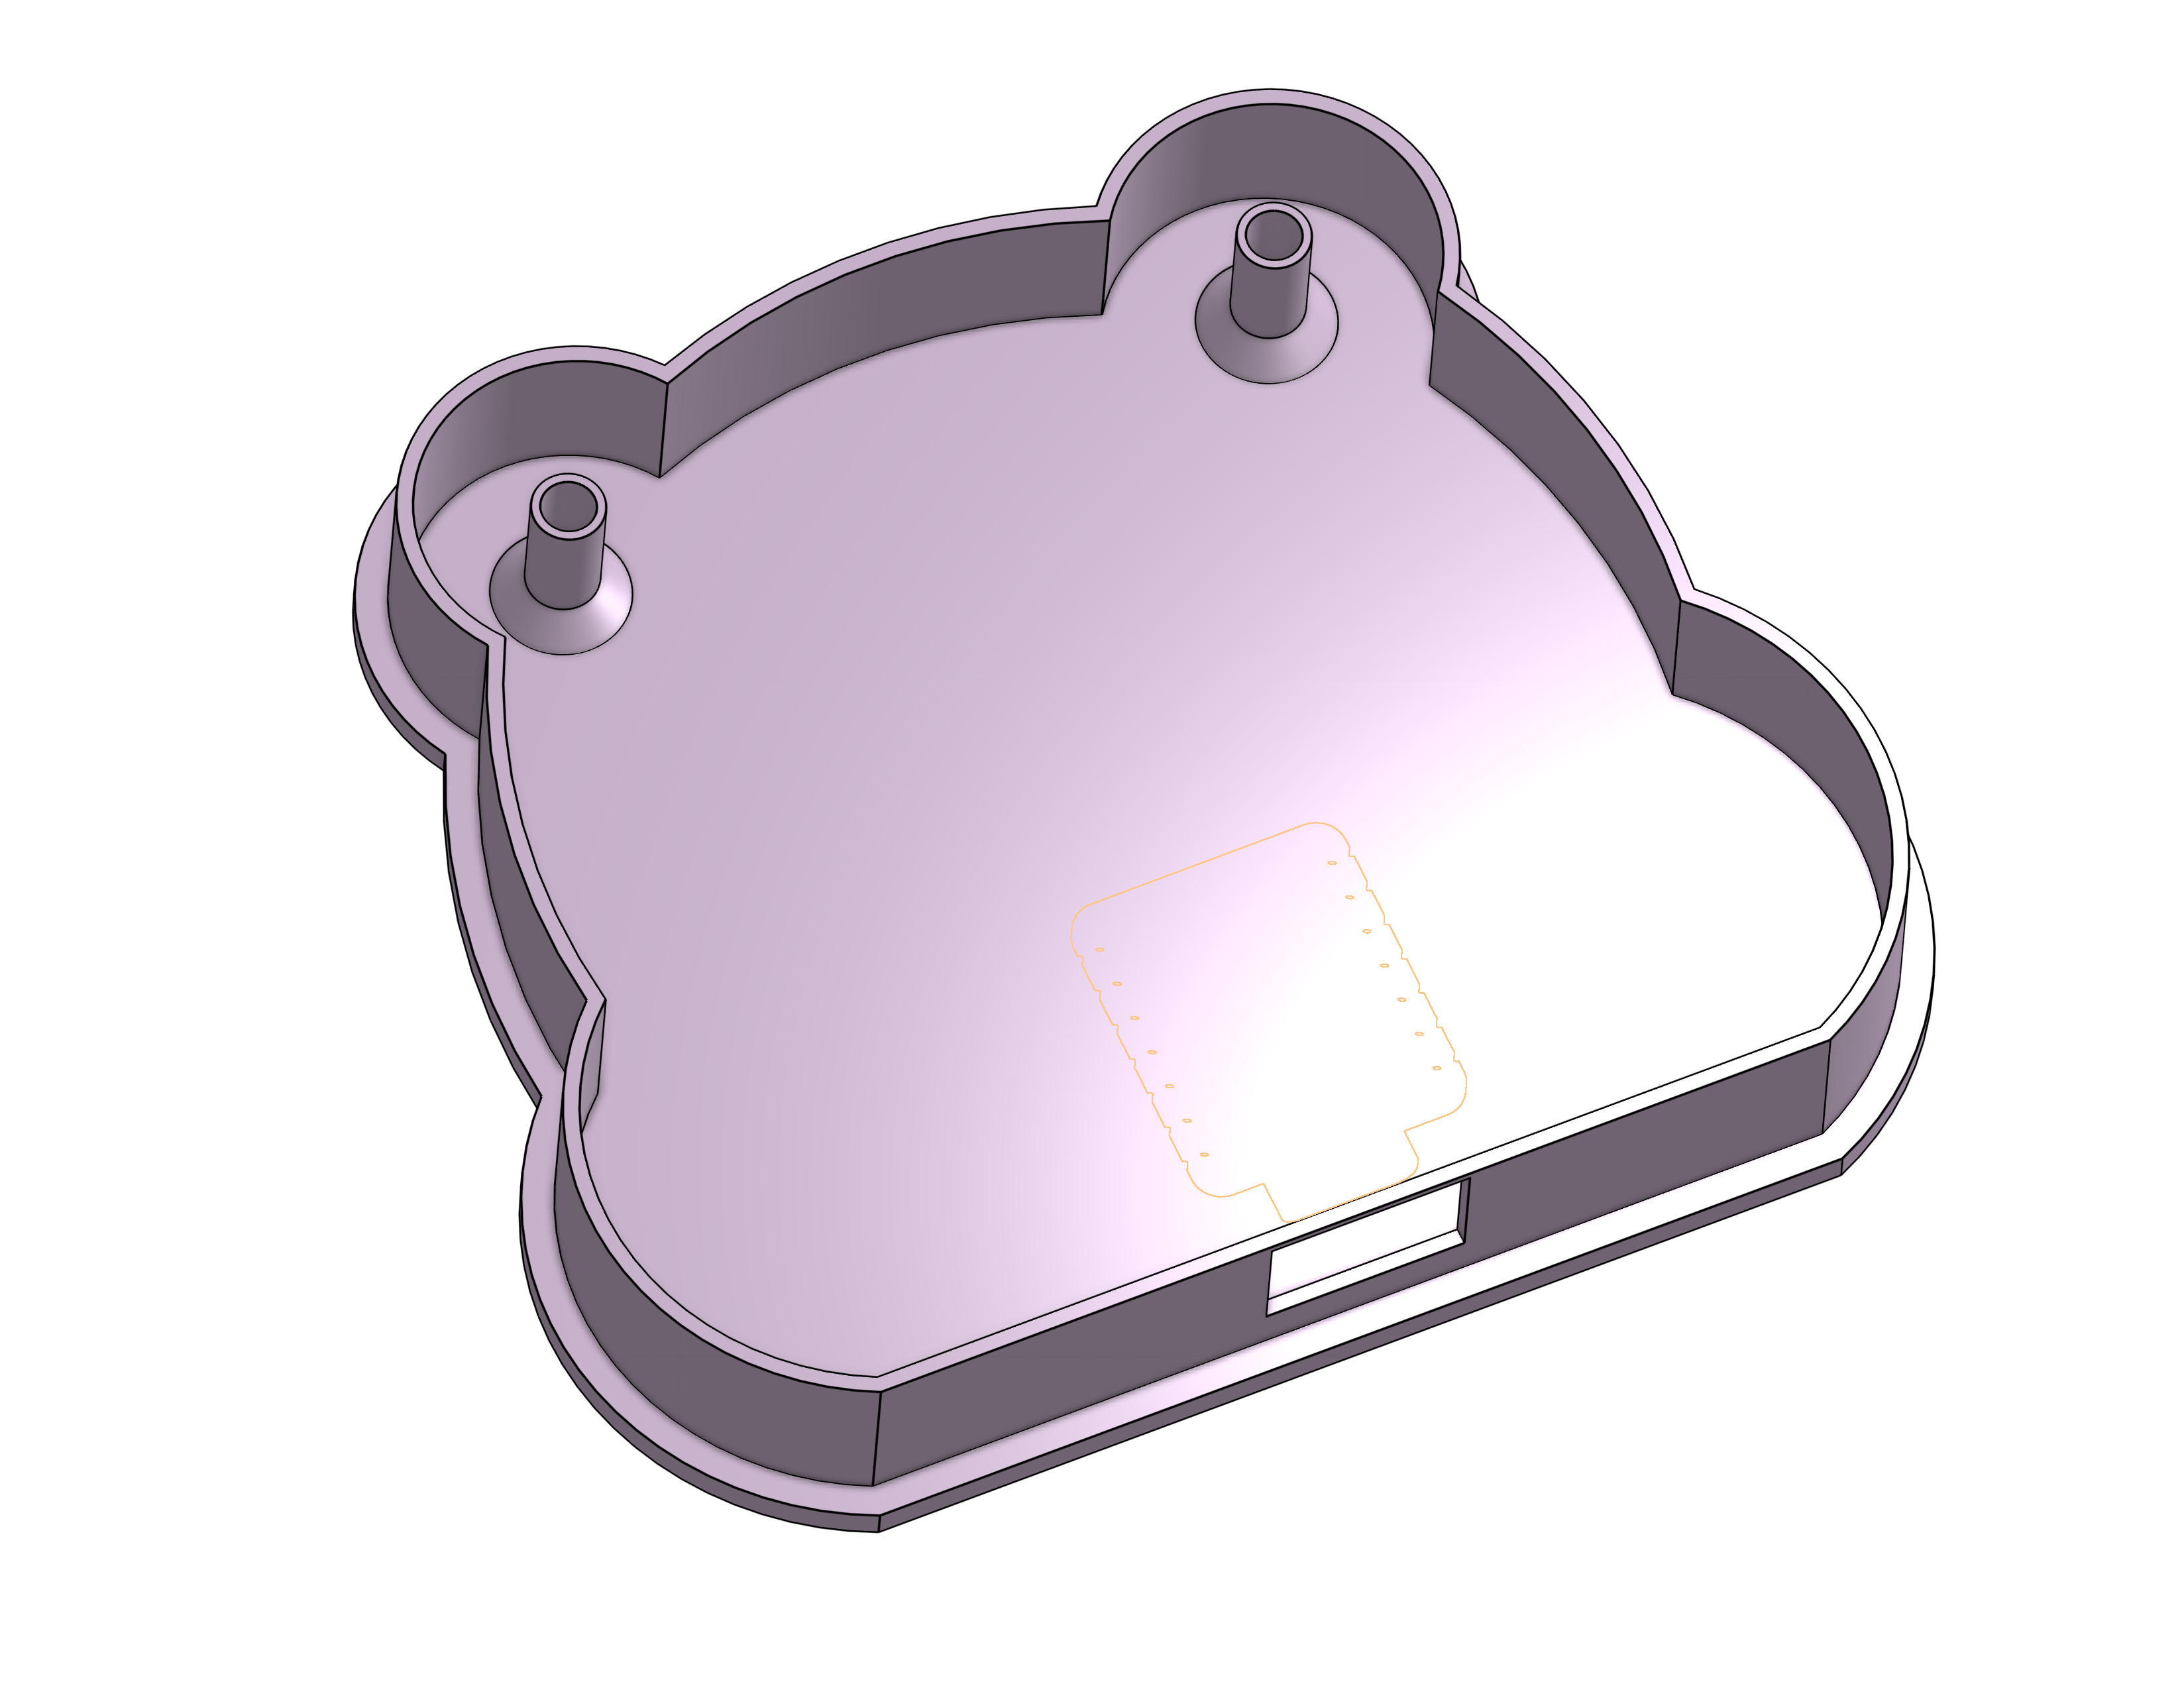 | 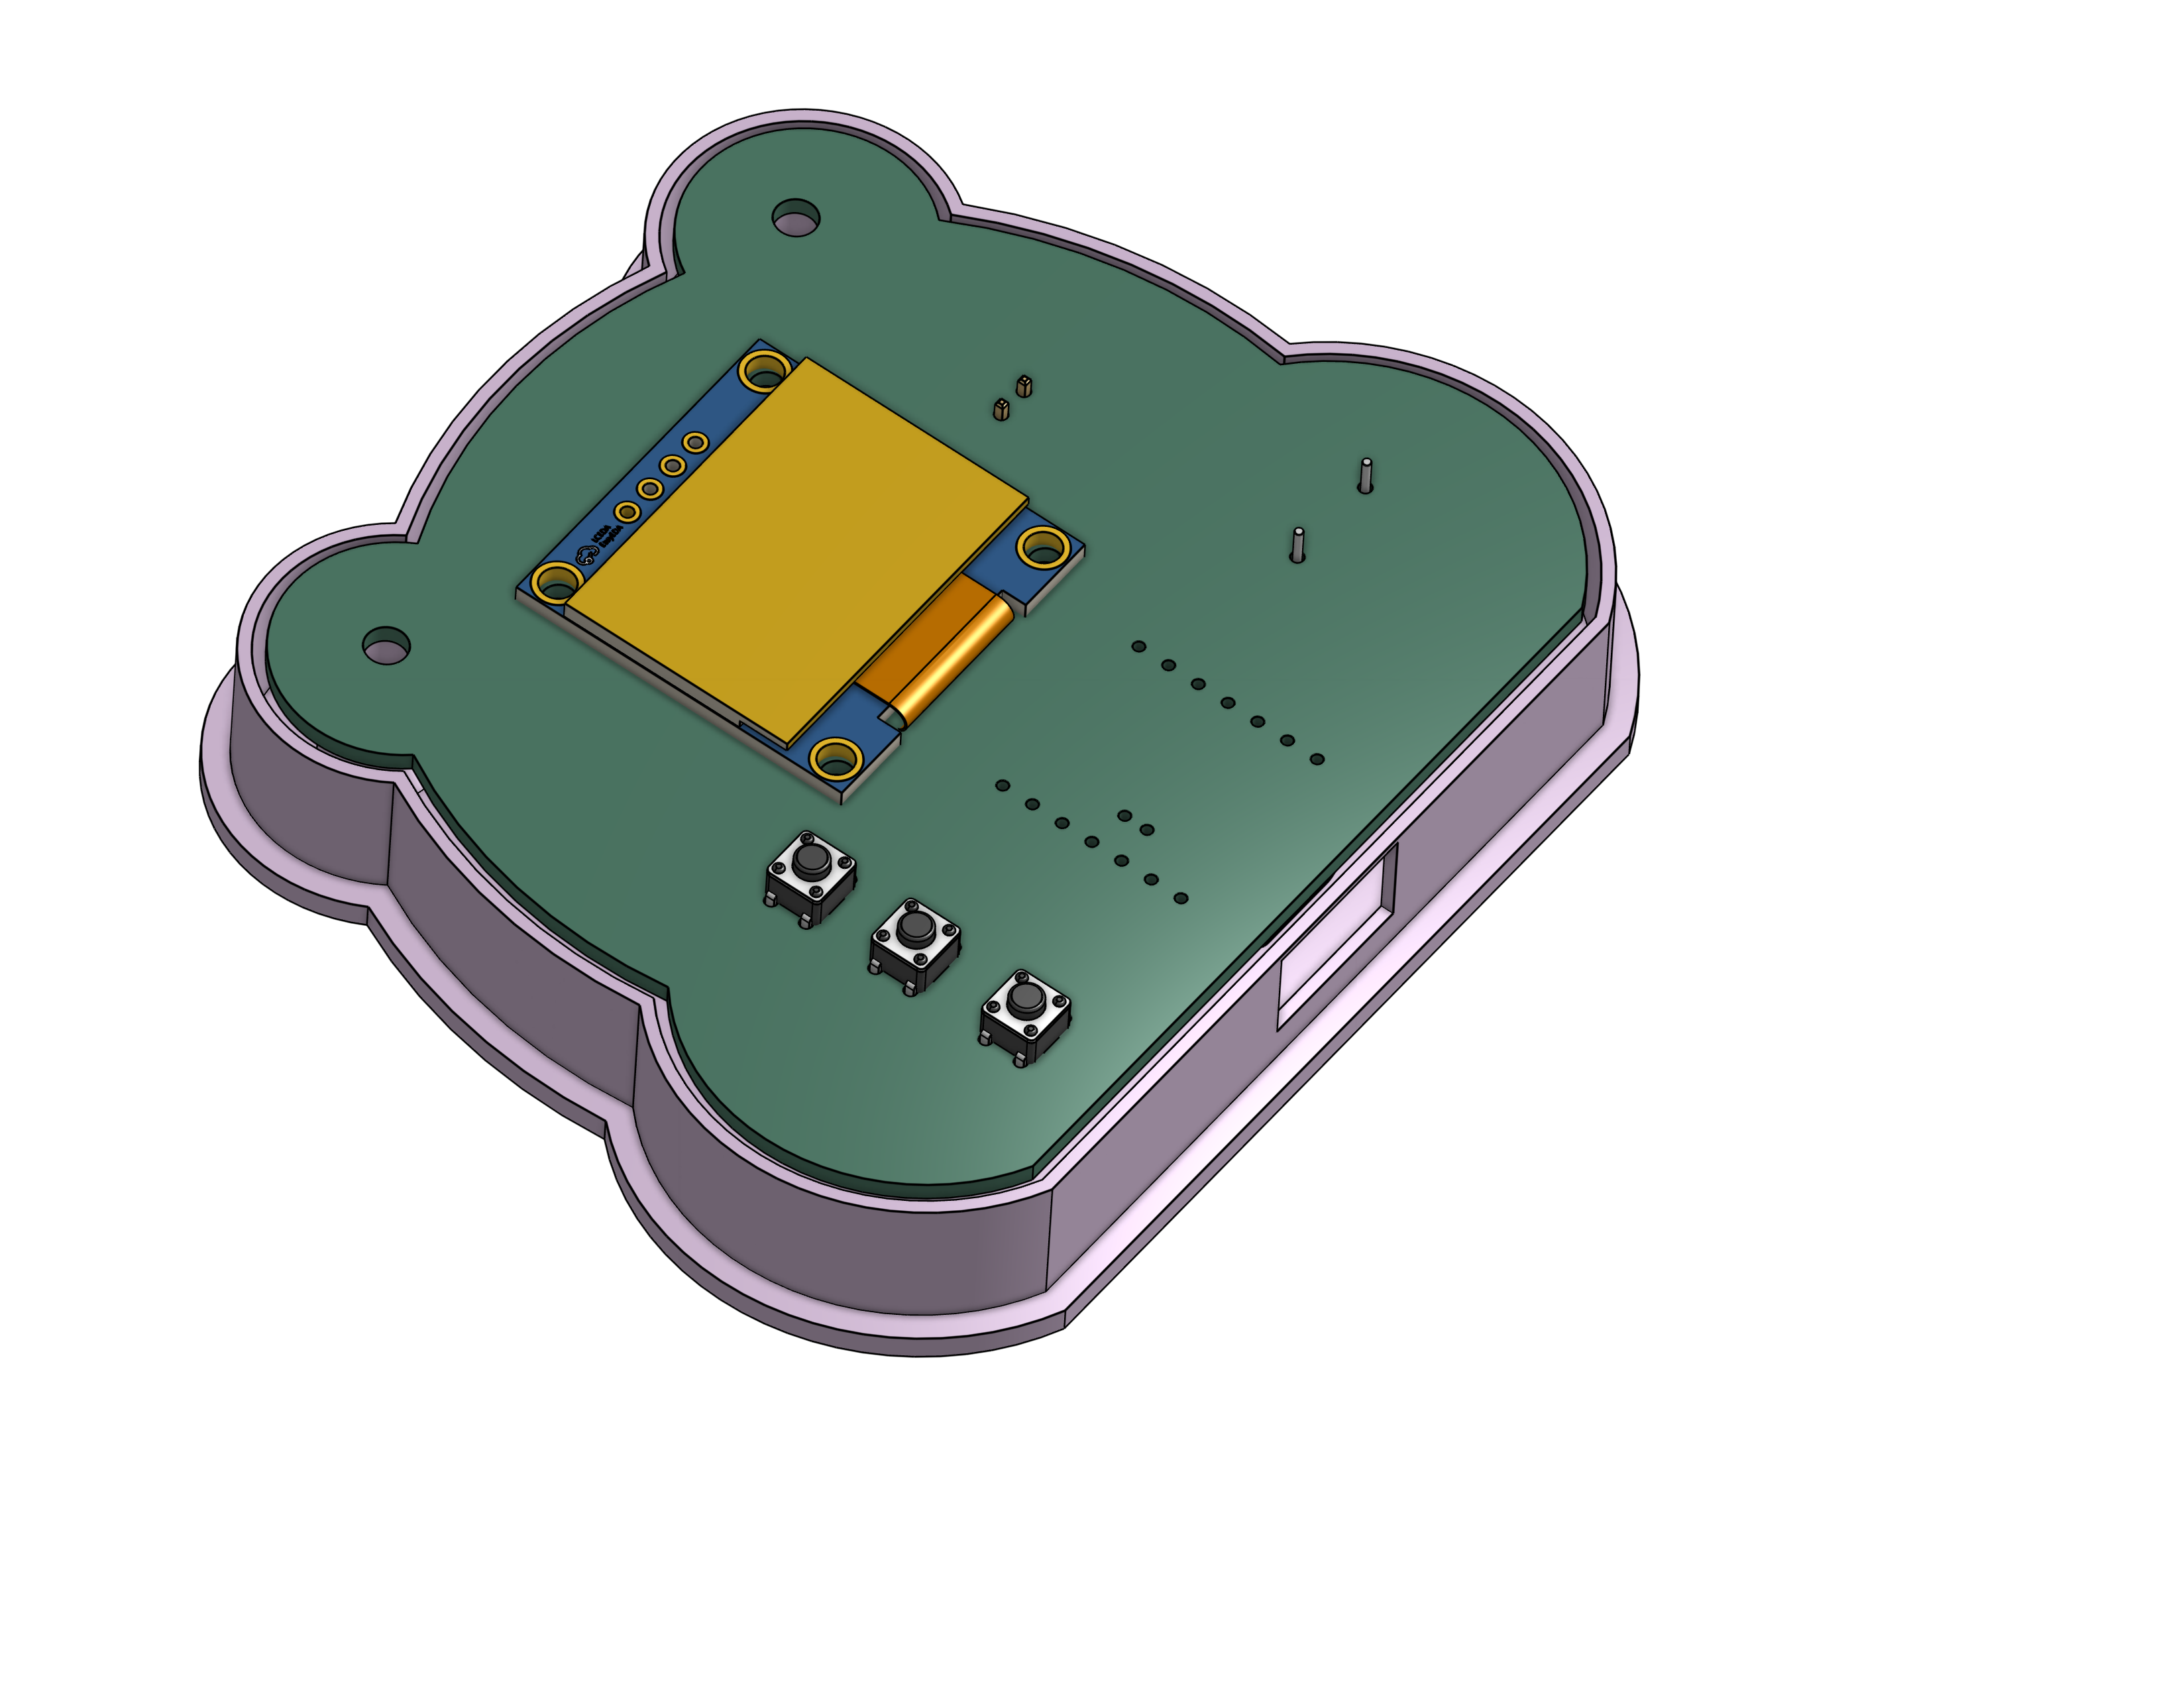 |
| Place top cover aligned with the holes | Put in the M3 Screws & fasten with hex nuts |
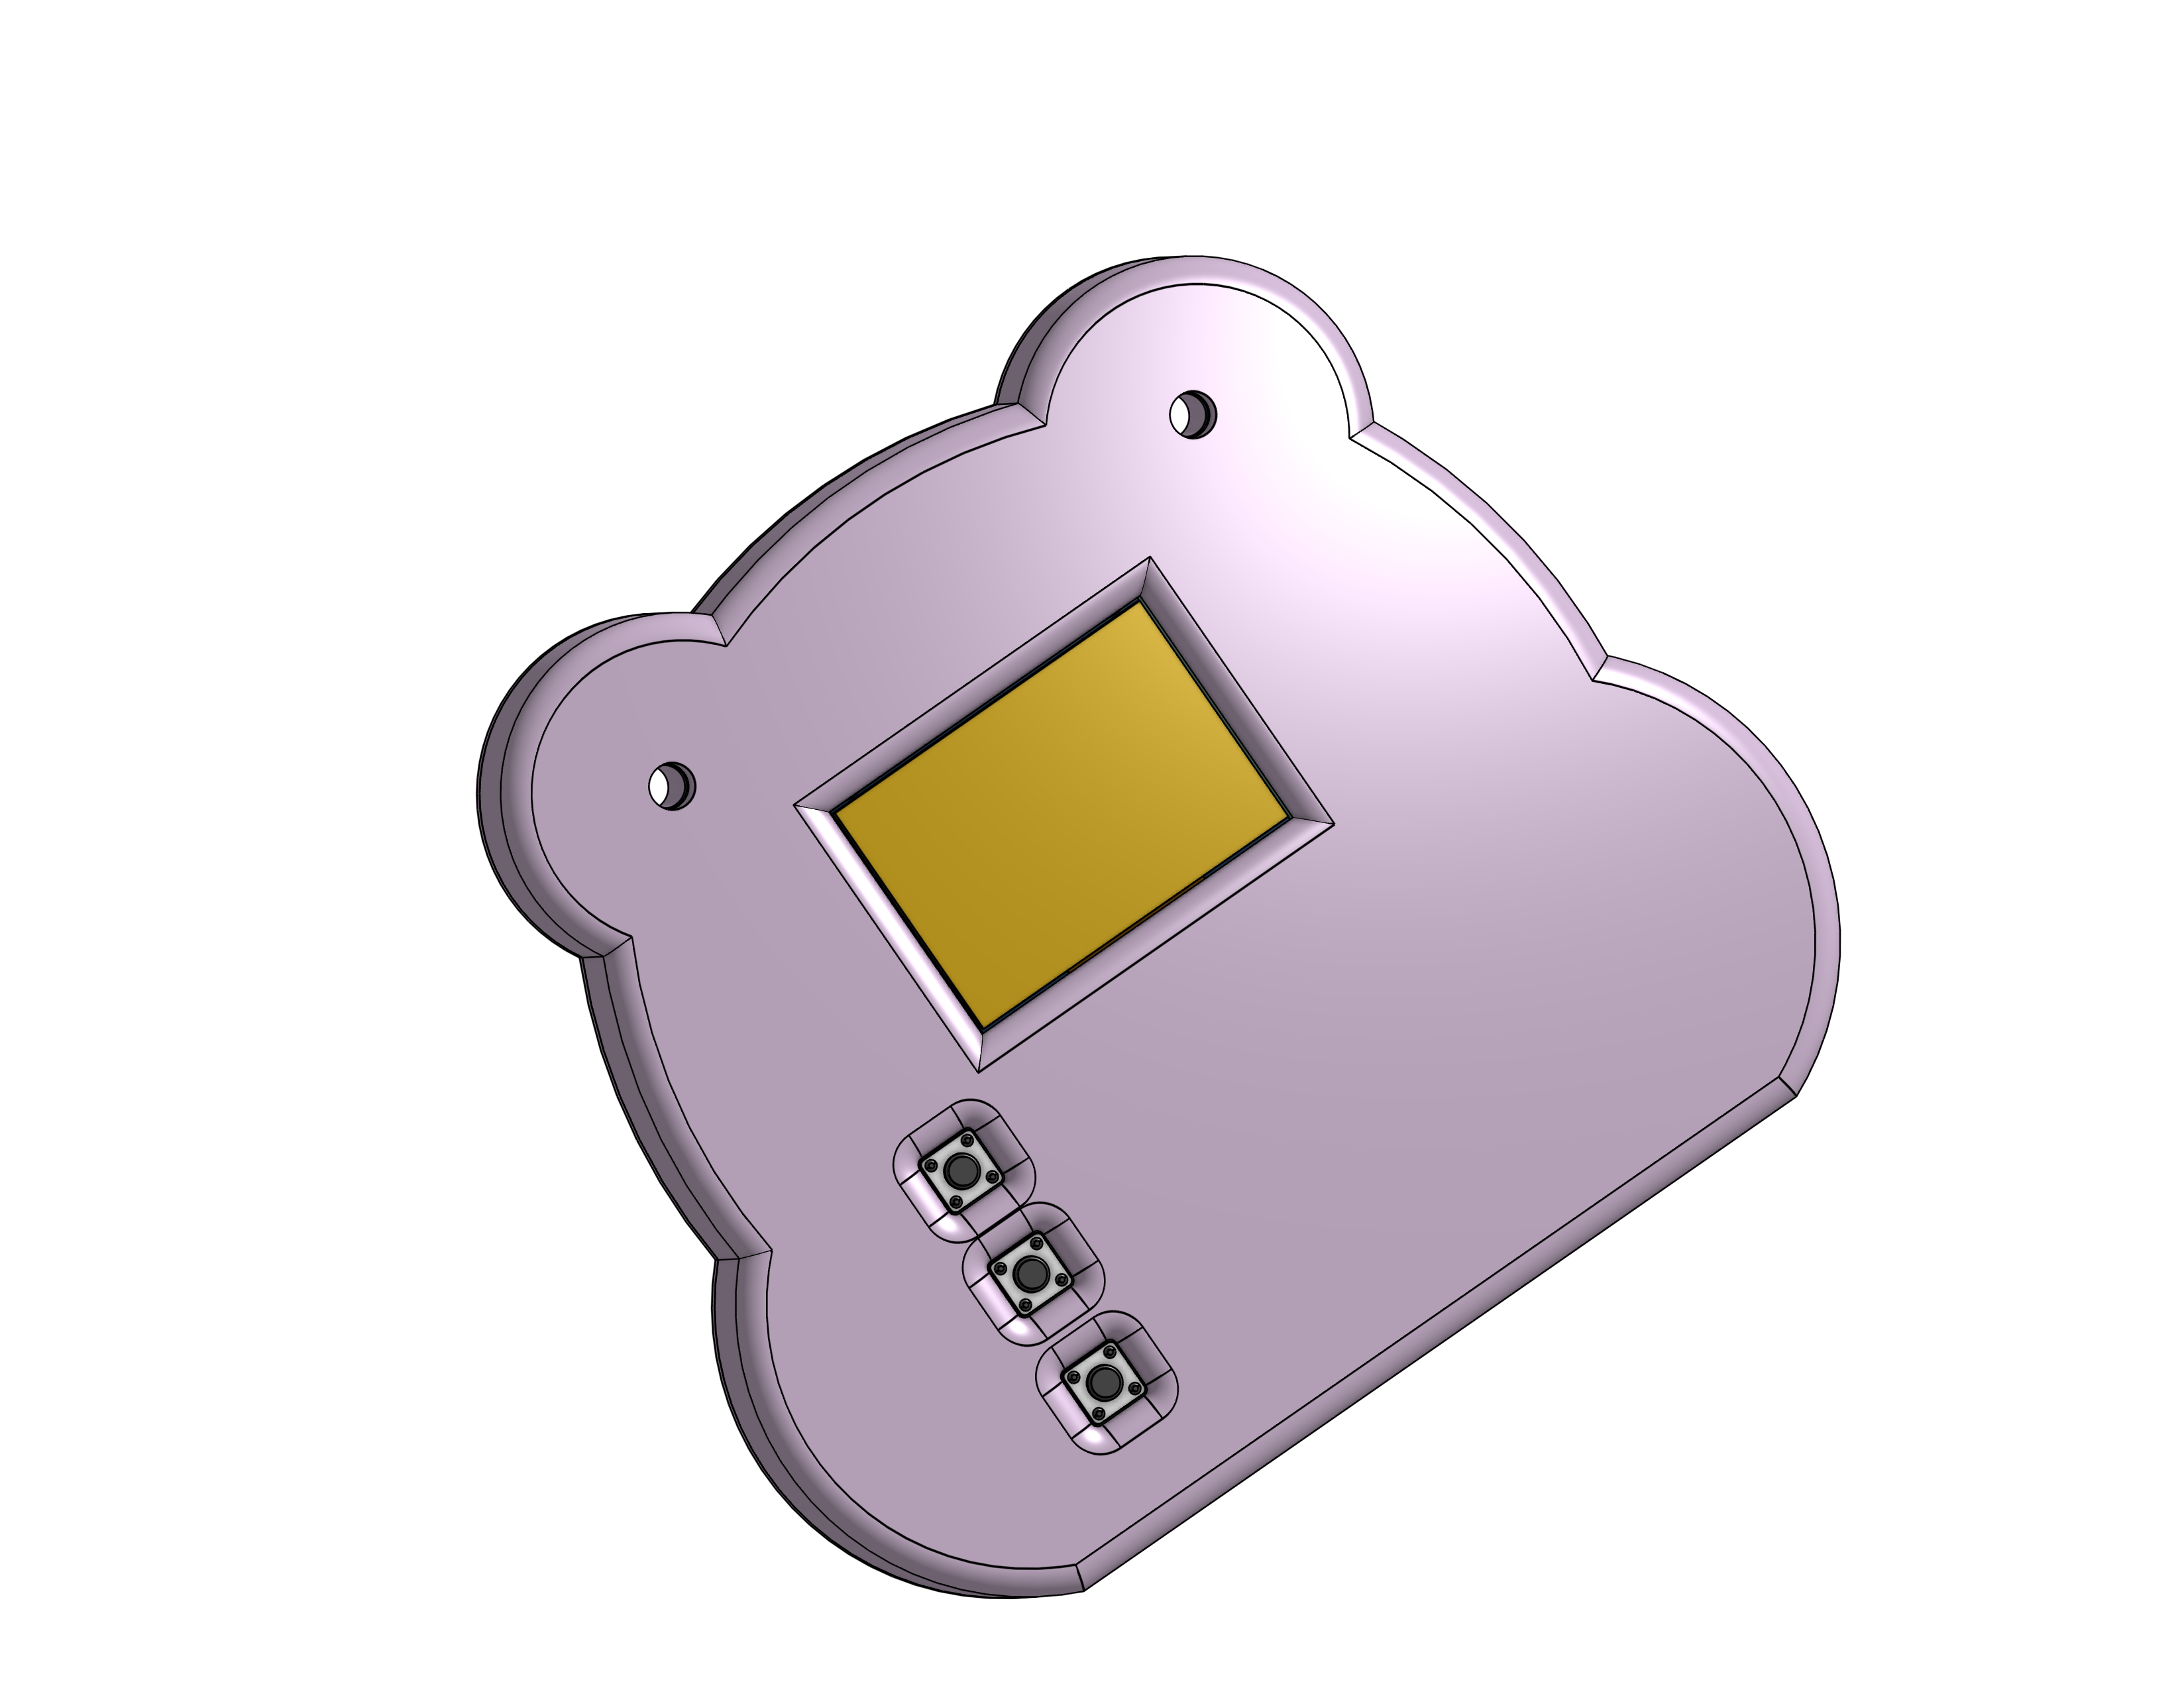 | 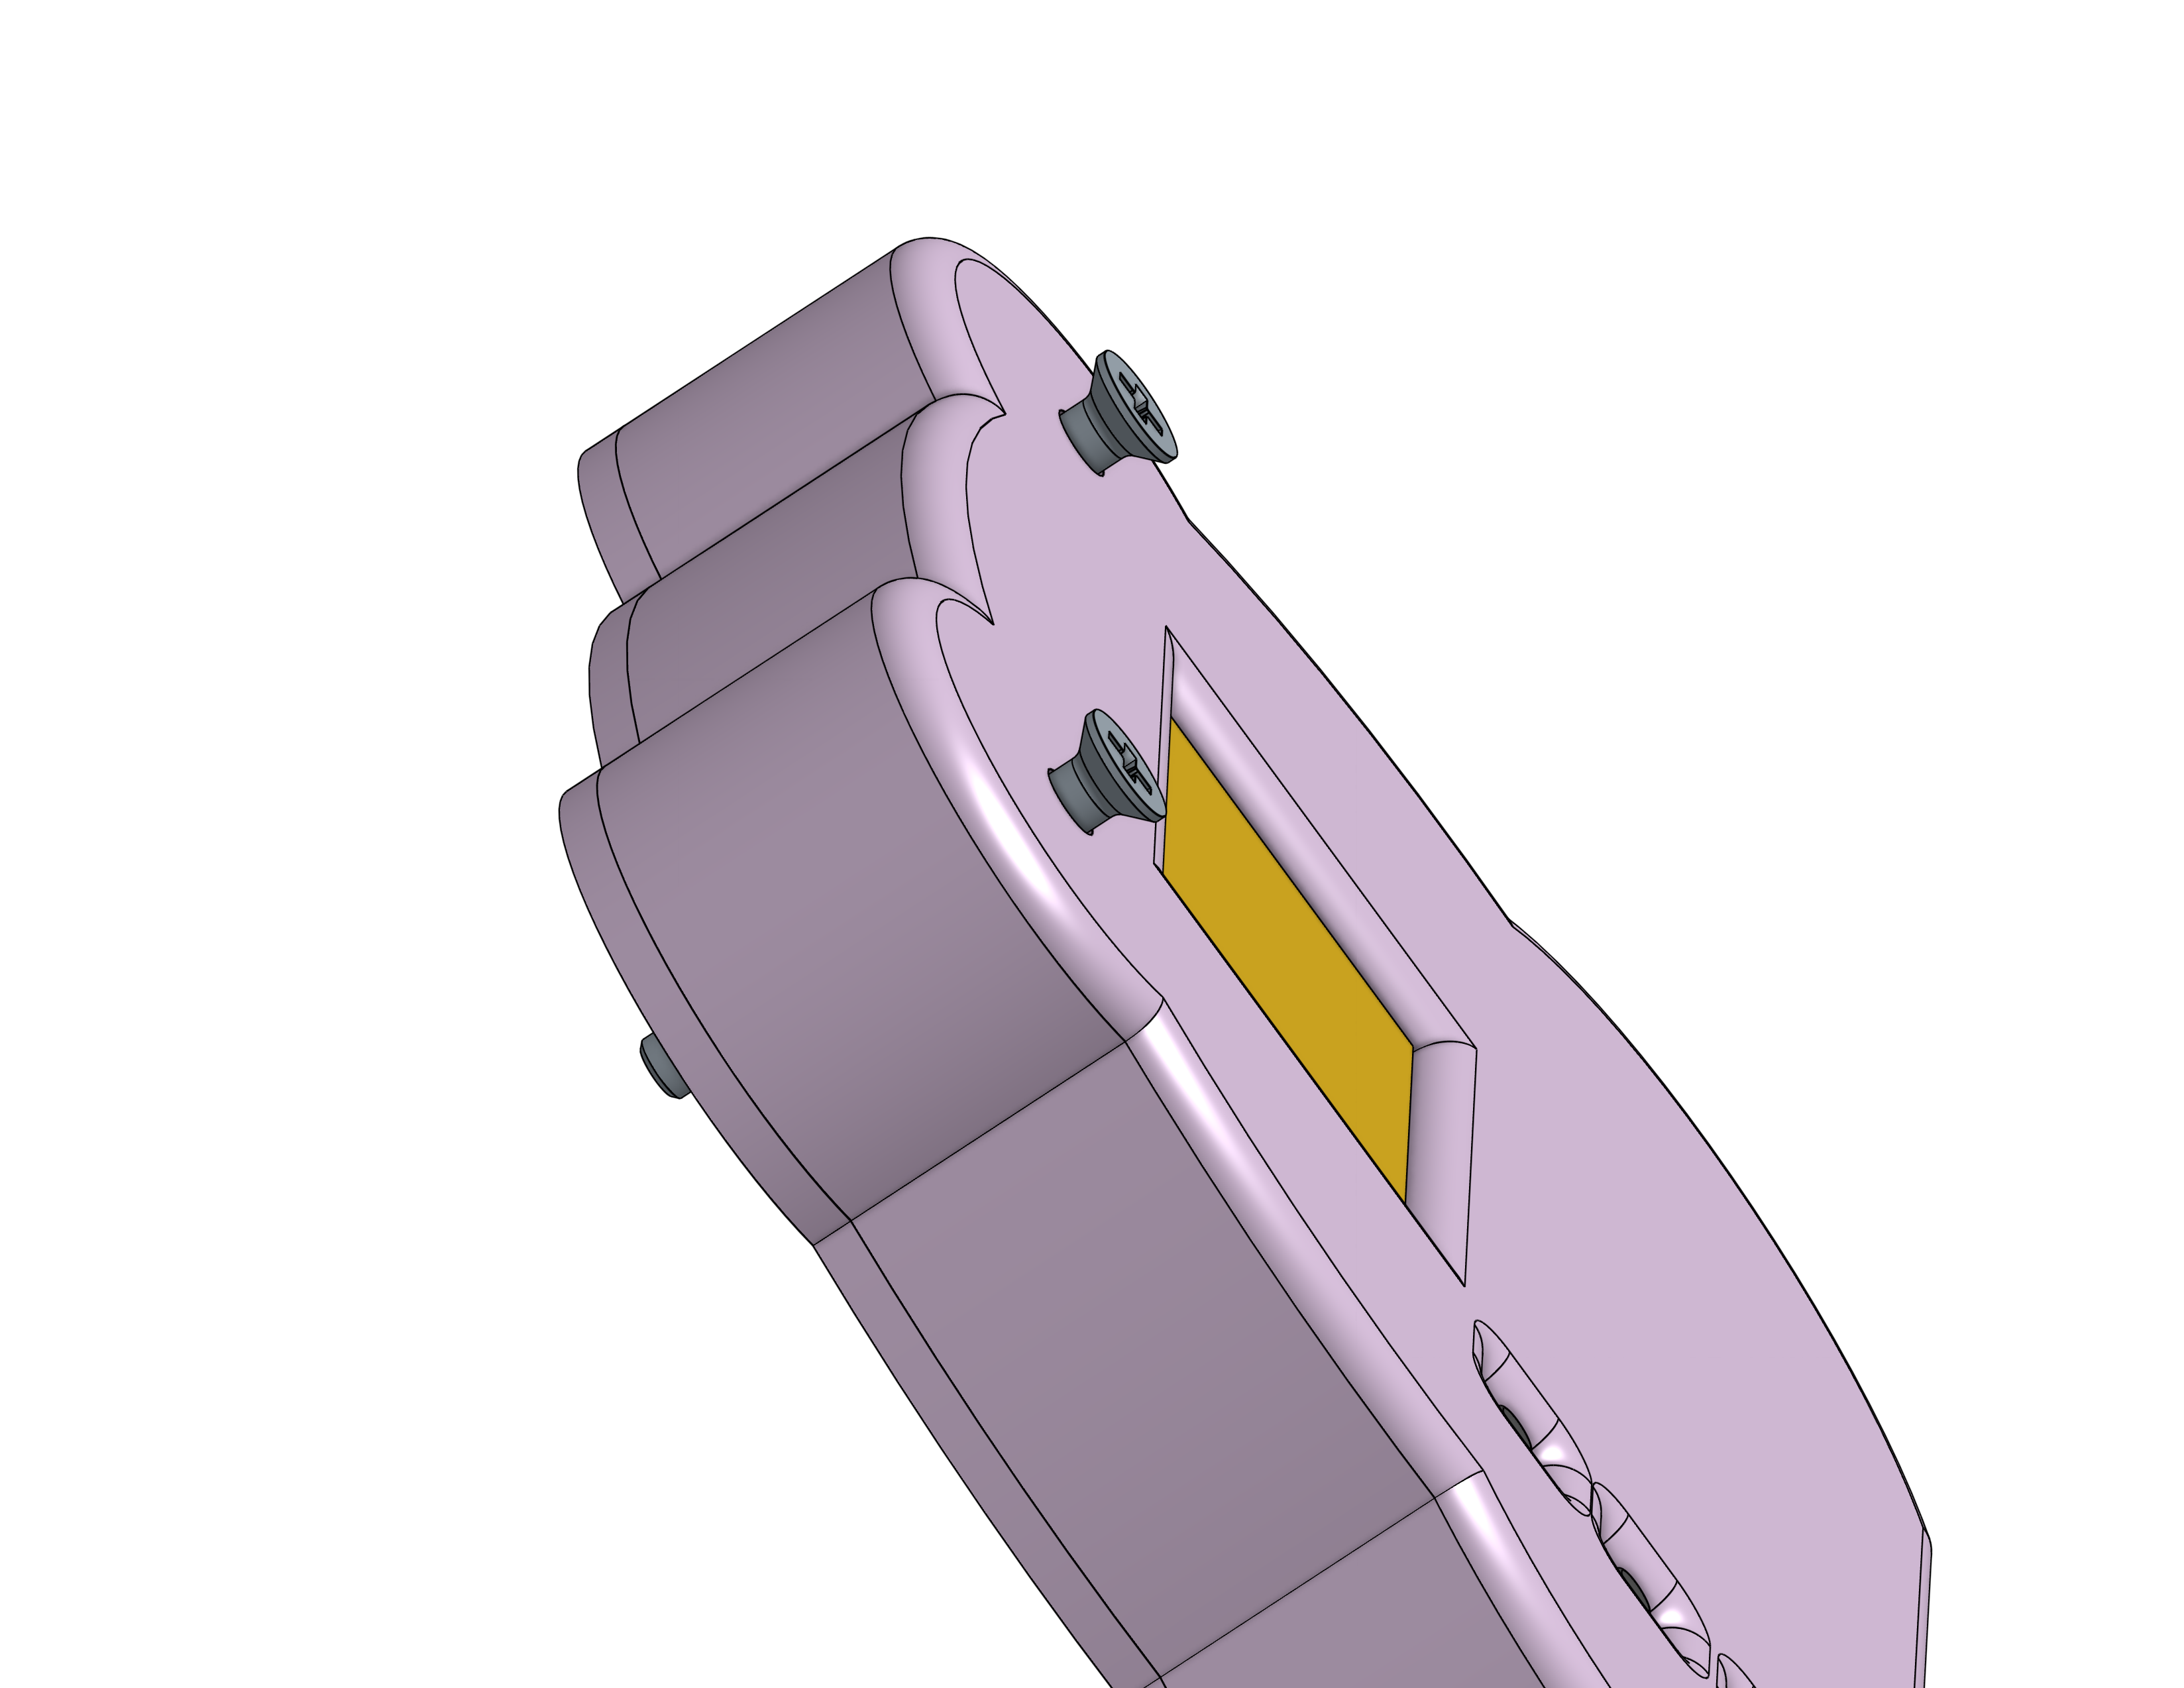 |
Firmware utilizes Arduino using C++, listens for button presses, and changes OLED screen accordingly.
Check out the simulation in Wokwi.com. Wokwi Link Here!
| Happy (all >50) | Neutral (standard) |
|---|---|
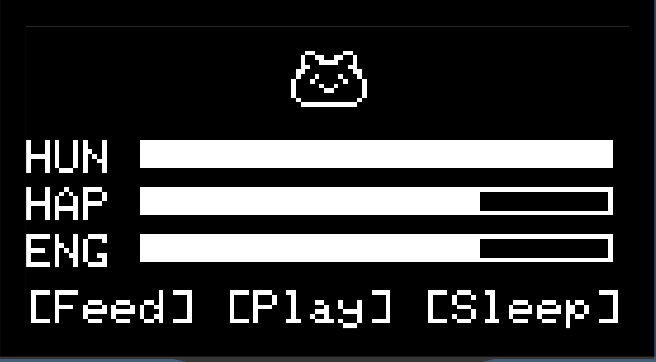 |  |
| Sad (a stat<30) | Sleep (on press) |
 |  |
https://espressif.github.io/arduino-esp32/package_esp32_index.json - Click OK.esp32 by Espressif Systems and install (version should be 3+).bear.ino to your sketch.built with <3 by Heona Liu 2026
| Qty | Value | Footprint | References |
|---|---|---|---|
| 3 | SW_Push | easyeda2kicad:SW-TH_4P-L4.5-W4.5-P3.00-LS4.8 | SW1, SW2, SW3 |
| 1 | Battery_Cell | Connector_PinHeader_2.54mm:PinHeader_1x02_P2.54mm_Vertical | BT1 |
| 1 | HS96L03W2C03 | easyeda2kicad:OLED-TH_L27.8-W27.2-P2.54_C9900033791 | U2 |
| 1 | LOGO | Silkscreens:silkscree | G*** |
| 1 | SUN-12095-5VPA7.6 | easyeda2kicad:BUZ-TH_BD12.0-P7.60-D0.6-FD | BUZZER1 |
| 1 | XIAO-ESP32-C3-SMD | New_XIAO_Series_Footprints:XIAO-ESP32-C3-DIP-SMD | U1 |
The 8 most common of 10 parts.


TaniWanKenobi/tamagotchi
A custom PCB-based Tamagotchi virtual pet built with the XIAO-ESP32-C6!

CircuitGuy943/CinderV2-Filament-Dryer
(🚧) A filament dryer to precede my old one made inside a wooden box that never worked properly and didn't heat anything. Features to be estabilished

dazchi/bx-tacho
Open DIY Beyblade X launcher RPM meter: ESP32-C3 with IR sensors and an OLED, Bluetooth (Battle Pass protocol), and a browser app for shot data and firmware updates. KiCad hardware, ESP-IDF firmware, 3D-printed case.

It measures 80.3 × 67.7 mm and has 2 copper layers, 1.6 mm thick.
10 parts, built around the HS96L03W2C03 and SUN-12095-5VPA7.6. The full list of its parts is on this page, with links to each part's symbol and footprint where PCBKit's library has them.
From the heonaliu/bear-magotchi repository on GitHub, at the commit this page was made from: the board is PCB/tamagotchi.kicad_pcb and its schematic PCB/tamagotchi.kicad_sch. PCBKit opens the board in the browser, with nothing to install.
Its repository publishes it under the MIT licence: you may reuse it on that licence's terms (keep the author's notice, and for a copyleft licence share your changes alike).