2 layers284.7 × 94.2 mm

 gohanda11/Chai45HE1
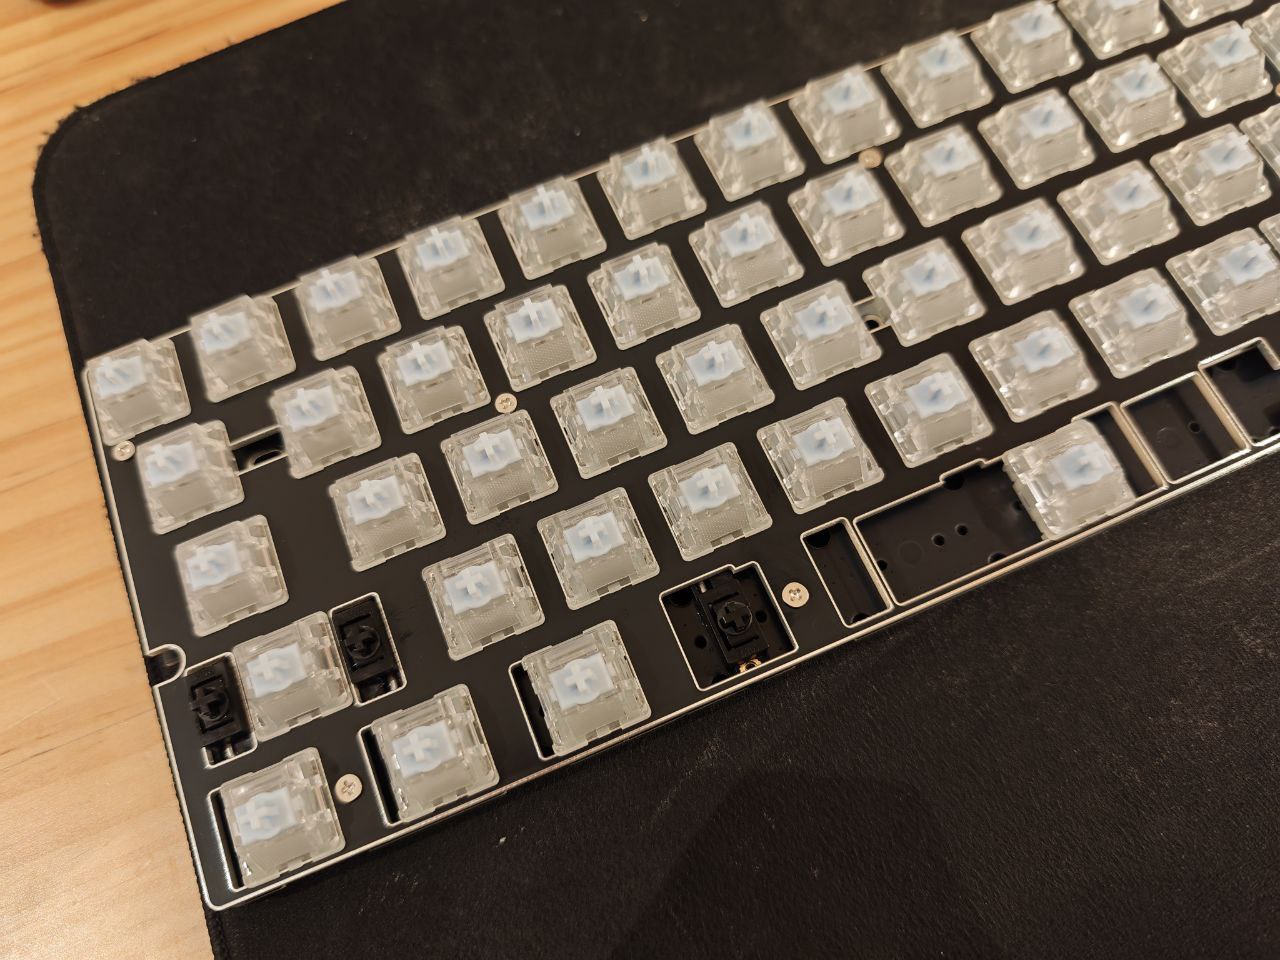
Chai45HE is a 40% Hall-effect keyboard based on the HE60 project. This is a modified version that adapts the original 60% design to a compact 40% layout.
Chai45HE is an open-source printed circuit board by gohanda11, from the gohanda11/Chai45HE repository on GitHub, published under the GPL-3.0 licence. It is a 2-layer board of 238.1 × 76.2 mm with 228 parts on 116 nets, routed with 1,478 tracks and 1,645 vias.
It is built around the MT9102ET, AT32F405RCT7 and TLV75733PDBV, with the USBLC6-2SC6, XC6206P332MR-G and SN74LV4051AD among its other parts. Its parts include 109 capacitors, 4 resistors, 4 ICs, 2 connectors and 2 switches.


Chai45HE is a 40% Hall-effect keyboard based on the HE60 project. This is a modified version that adapts the original 60% design to a compact 40% layout.
firmware.bin ファイルを選択します。Tap-Holdを使うと、短押し(Tap)と長押し(Hold)で異なるキーを割り当てることができます。
Shiftキーとの組み合わせで入力される記号(!@#$%など)を単独のキーとして設定する方法です。
Remapで 1 2 3 4 5 を、! @ # $ % を入力したいキーに設定します。
Advanced Keys から Dynamic Keystroke を選択します。
下の画像のようにShiftを割り当てます。
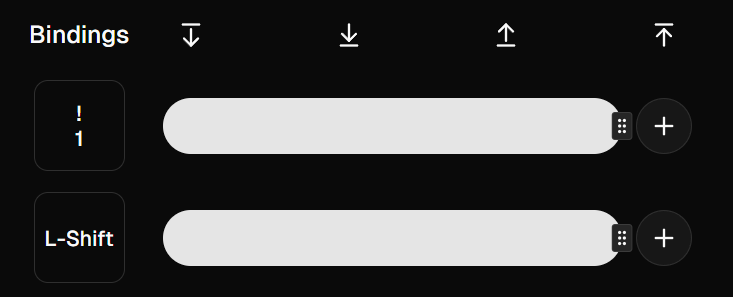
Done で設定完了です。
Below is the original README from the HE60 project, which this keyboard is based on.
HE60 is a 60% Hall-effect keyboard PCB with 8kHz polling rate, a split spacebar and Tsangan layout support.
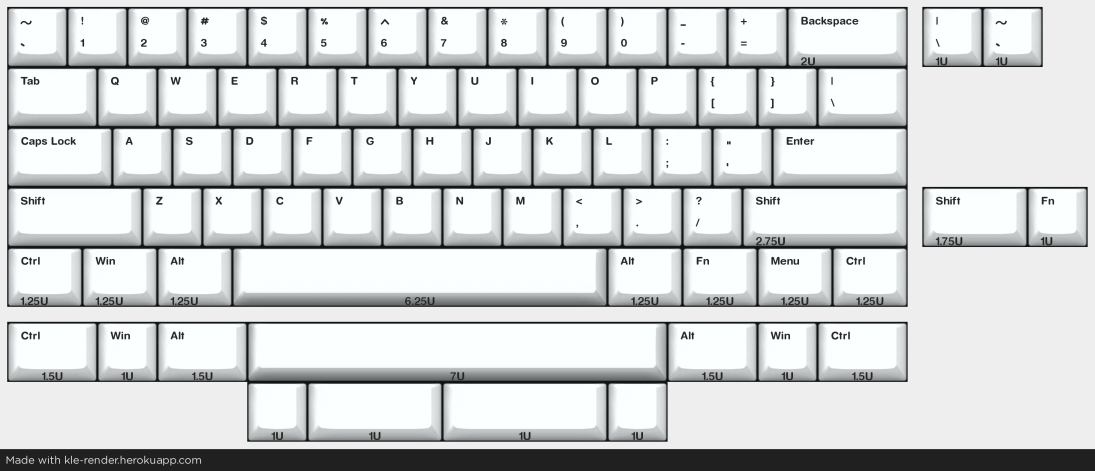
The following files are required:
Note that the components in the BOM are all mounted on the bottom side of the PCB, and are based on the available components in JLCPCB at the time of writing. You may need to adjust the components based on your preference or availability. For the JST connector (labeled JST_SH), I used WAFER-SH1.0-4PWB offered by JLCPCB. Make sure to deselect the USB-C port when choosing the components to solder if you are using the gummy O-ring version.
You may change the Hall-effect sensors during the component selection based on your preference, and availability. Different sensors require different calibration values, which can be adjusted using the web-based configurator. Here are some options that I have used:
The fabrication files above are available here.
The following items are required to build the PCB:
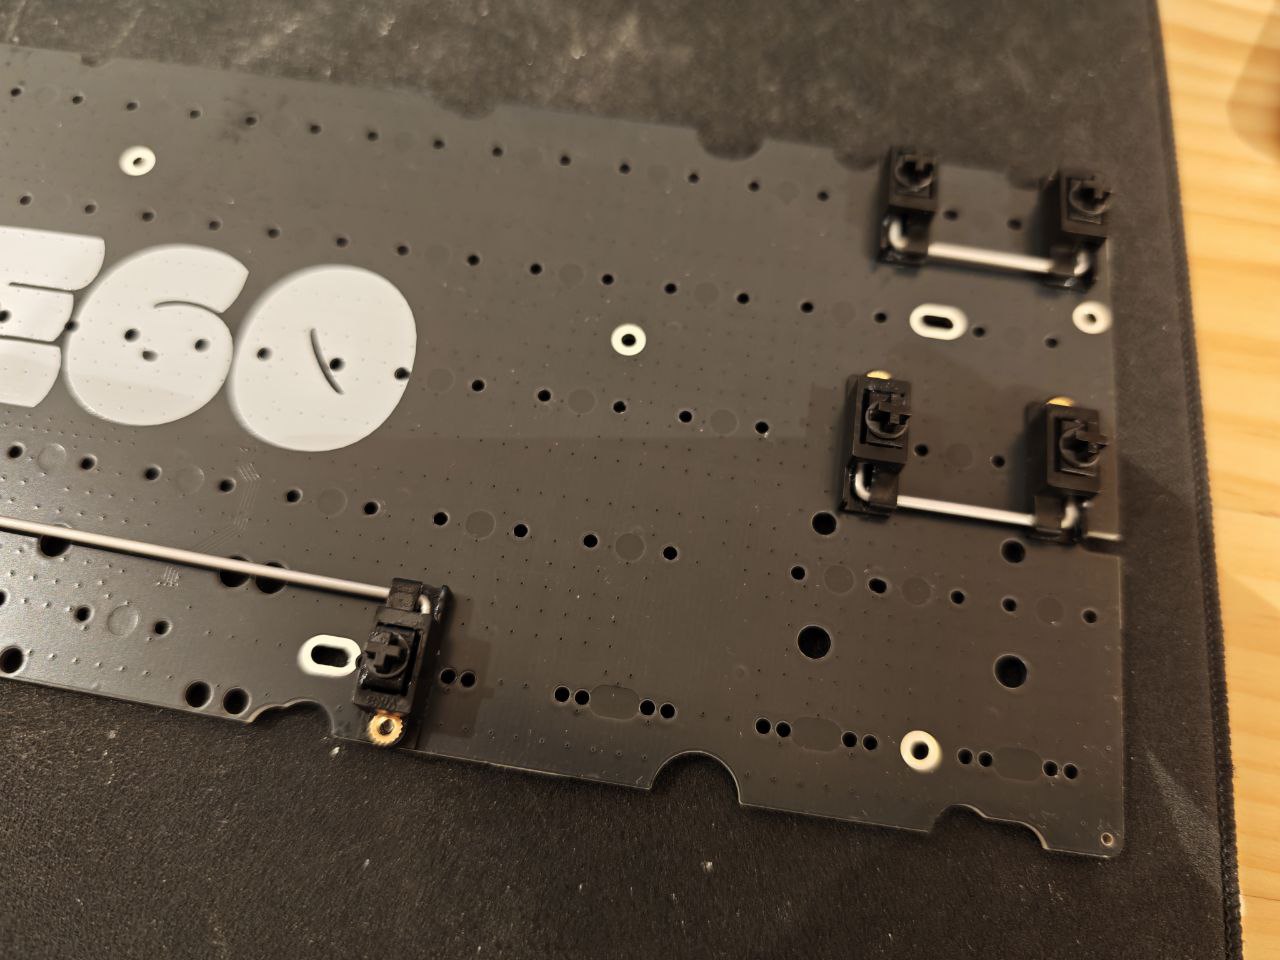
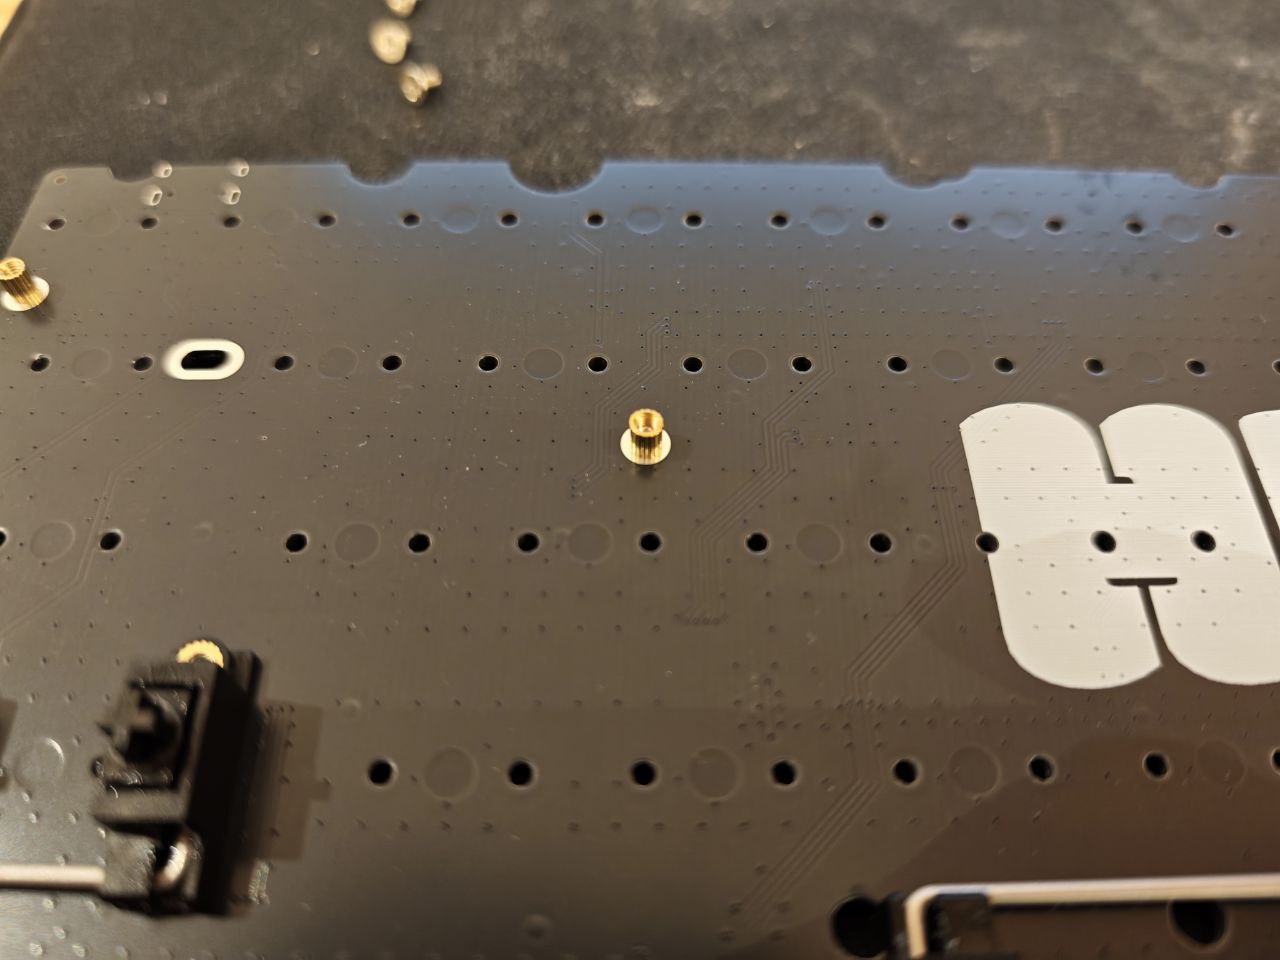

Head to libhmk for a pre-compiled firmware. The firmware can be flashed using DFU mode, which can be entered by holding the BOOT button before plugging in. You may need to install the DFU bootloader driver using Zadig. See libhmk for more information for firmware flashing instructions.
| Qty | Value | Footprint | References |
|---|---|---|---|
| 56 | 100n | Capacitor_SMD:C_0402_1005Metric | C1, C11, C13, C15, C17, C139, C140, C141, C142, C143, C144, C154, C155, C156, C158, C160 +40 |
| 45 | 4.7n | Capacitor_SMD:C_0402_1005Metric | C2, C10, C12, C14, C16, C18, C20, C22, C24, C26, C28, C30, C32, C34, C36, C38 +29 |
| 45 | MT9102ET | Package_TO_SOT_SMD:SOT-23-3 | HE1, HE2, HE10, HE11, HE12, HE13, HE14, HE15, HE16, HE17, HE18, HE19, HE20, HE21, HE22, HE23 +29 |
| 32 | 1U | HE60:MX-1U | MX1, MX2, MX10, MX11, MX14, MX15, MX16, MX17, MX18, MX19, MX20, MX21, MX22, MX23, MX26, MX27 +16 |
| 8 | 1.25U | HE60:MX-1.25U | MX13, MX24, MX36, MX37, MX38, MX43, MX44, MX45 |
| 6 | SN74LV4051A | Package_SO:TSSOP-16_4.4x5mm_P0.65mm | AM1, AM2, AM3, AM4, AM5, AM6 |
| 4 | 2.2u | Capacitor_SMD:C_0603_1608Metric | C148, C149, C150, C151 |
| 3 | 1.5U | HE60:MX-1.5U | MX12, MX40, MX41 |
| 2 | 1.75U | HE60:MX-1.75U | MX25, MX35 |
| 2 | 12k | Resistor_SMD:R_0402_1005Metric | R3, R4 |
| 2 | 30p | Capacitor_SMD:C_0603_1608Metric | C152, C153 |
| 2 | 5.1k | Resistor_SMD:R_0402_1005Metric | R1, R2 |
| 2 | TS-1187A-B-A-B | Button_Switch_SMD:SW_Push_1P1T_XKB_TS-1187A | SW1, SW2 |
| 1 | 10u | Capacitor_SMD:C_0603_1608Metric | C157 |
| 1 | 1u | Capacitor_SMD:C_0603_1608Metric | C159 |
| 1 | AT32F405RCT7 | Package_QFP:LQFP-64_10x10mm_P0.5mm | U4 |
| 1 | BSMD0805-050-24V | Fuse:Fuse_0805_2012Metric | F1 |
| 1 | JST_SH | Connector_JST:JST_SH_SM04B-SRSS-TB_1x04-1MP_P1.00mm_Horizontal | J2 |
| 1 | TLV75733PDBV | Package_TO_SOT_SMD:SOT-23-5 | U2 |
| 1 | TYPE-C-31-M-12 | Connector_USB:USB_C_Receptacle_HRO_TYPE-C-31-M-12 | J1 |
| 1 | USBLC6-2SC6 | Package_TO_SOT_SMD:SOT-23-6 | U1 |
| 1 | X322512MSB4SI | Crystal:Crystal_SMD_3225-4Pin_3.2x2.5mm | Y1 |
| 1 | XC6206P332MR-G | Package_TO_SOT_SMD:SOT-23-3 | U3 |
The 219 most common of 228 parts.


gohanda11/Split60HE
Split60HE is a split (left/right) version of the 60% Hall-effect keyboard HE60, designed in KiCad.


peppapighs/M256-WHE
M256-WHE is a Hall-effect keyboard PCB, specifically designed for Mode Encore, Mode SixtyFive v2, and Mode Envoy [1].


Mokeded/Symm60HE
Symmetrical Hall effect Alice keyboard based off of the Doe

It measures 238.1 × 76.2 mm and has 2 copper layers, 1.6 mm thick.
228 parts, built around the MT9102ET, AT32F405RCT7, TLV75733PDBV and USBLC6-2SC6. The full list of its parts is on this page, with links to each part's symbol and footprint where PCBKit's library has them.
From the gohanda11/Chai45HE repository on GitHub, at the commit this page was made from: the board is Chai45HE/Chai45HE.kicad_pcb and its schematic Chai45HE/Chai45HE.kicad_sch. PCBKit opens the board in the browser, with nothing to install.
Its repository publishes it under the GPL-3.0 licence: you may reuse it on that licence's terms (keep the author's notice, and for a copyleft licence share your changes alike).