
2 layers11 × 9 mm
MagLev Switch
famichu/MagLev_Switch_MX
The 3D printable magnetic levitation contactless switch with the linear output hall effect sensor.
4 parts467

 famichu/MagLev_Switch_MX467
The 3D printable magnetic levitation contactless switch with the linear output hall effect sensor.
Sample Numeric Keyboard is an open-source printed circuit board by famichu, from the famichu/MagLev_Switch_MX repository on GitHub. It is a 2-layer board of 82 × 120 mm with 66 parts on 78 nets, routed with 577 tracks and 23 vias.
It is built around the ATMEGA328-AU. Its parts include 20 ICs, 18 diodes, 15 resistors, 5 transistors and 1 capacitor. It belongs with the keyboards and input and sensors and measurement boards and the AVR (ATmega, ATtiny) and SAM D and SAM boards of this library.
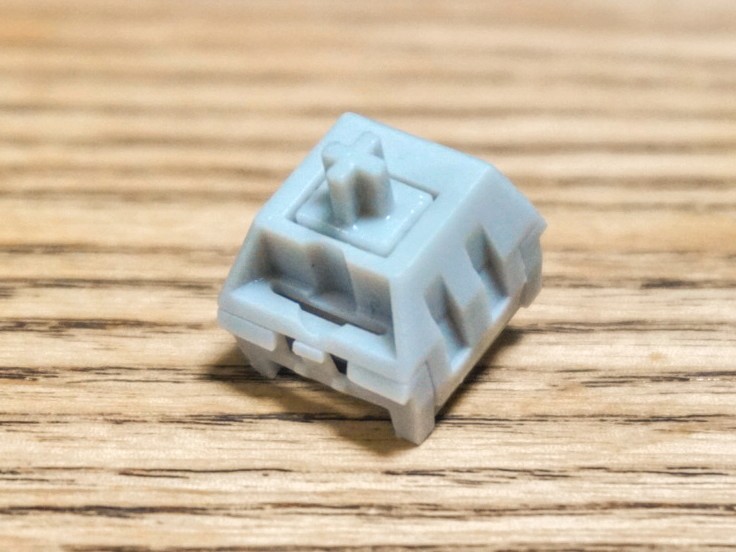
These 3D printable switches have linear output hall effect sensors with magnetic levitation switches. The shape of this swich is compatable with the Cherry MX switch.
Most MagLev switches don't use hall effect sensors. I think this is because the magnetism is too strong or the distance from the magnet is too close to for the sensor to detect. Therefore I implemented with new method that by sandwiching the hall effect sensor between two magnets instead of using springs.
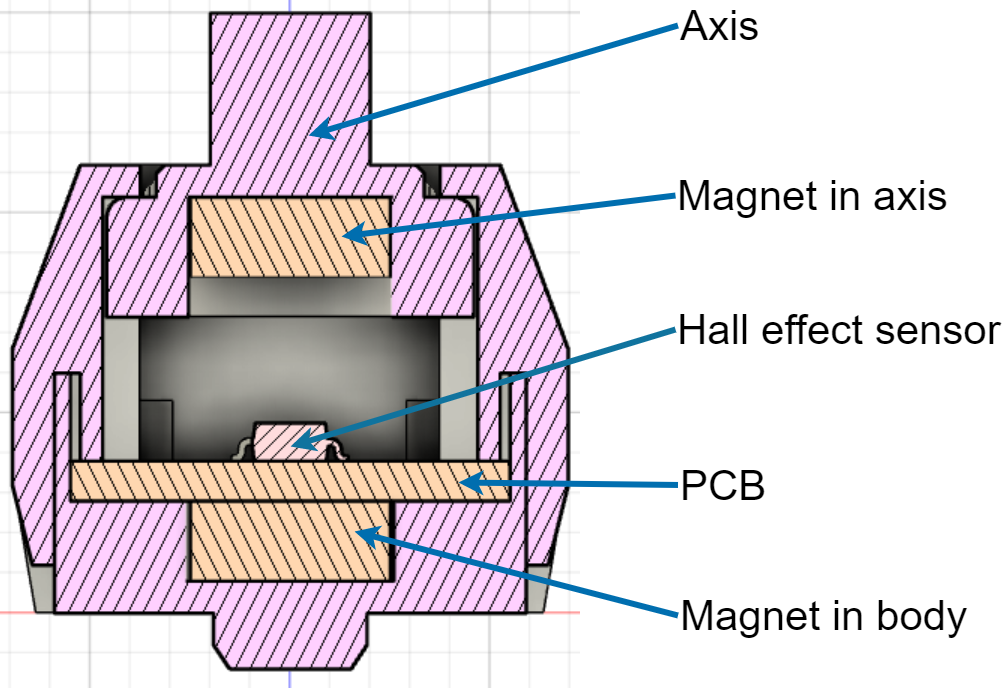
When the axis is pushed, the magnetism will cancel each other out, which causes the magnetism detected by hall effect sensor to become zero. This is how this switch works. This method made the switch smaller, allowing it to have the same shape as existing switches.
The dimensions of the magnet used to make these models are 5mm diameter and 2mm thickness neodymium magnets. I used this magnet. The hall effect sensor I used is A1304 from Allegro MicroSystems.
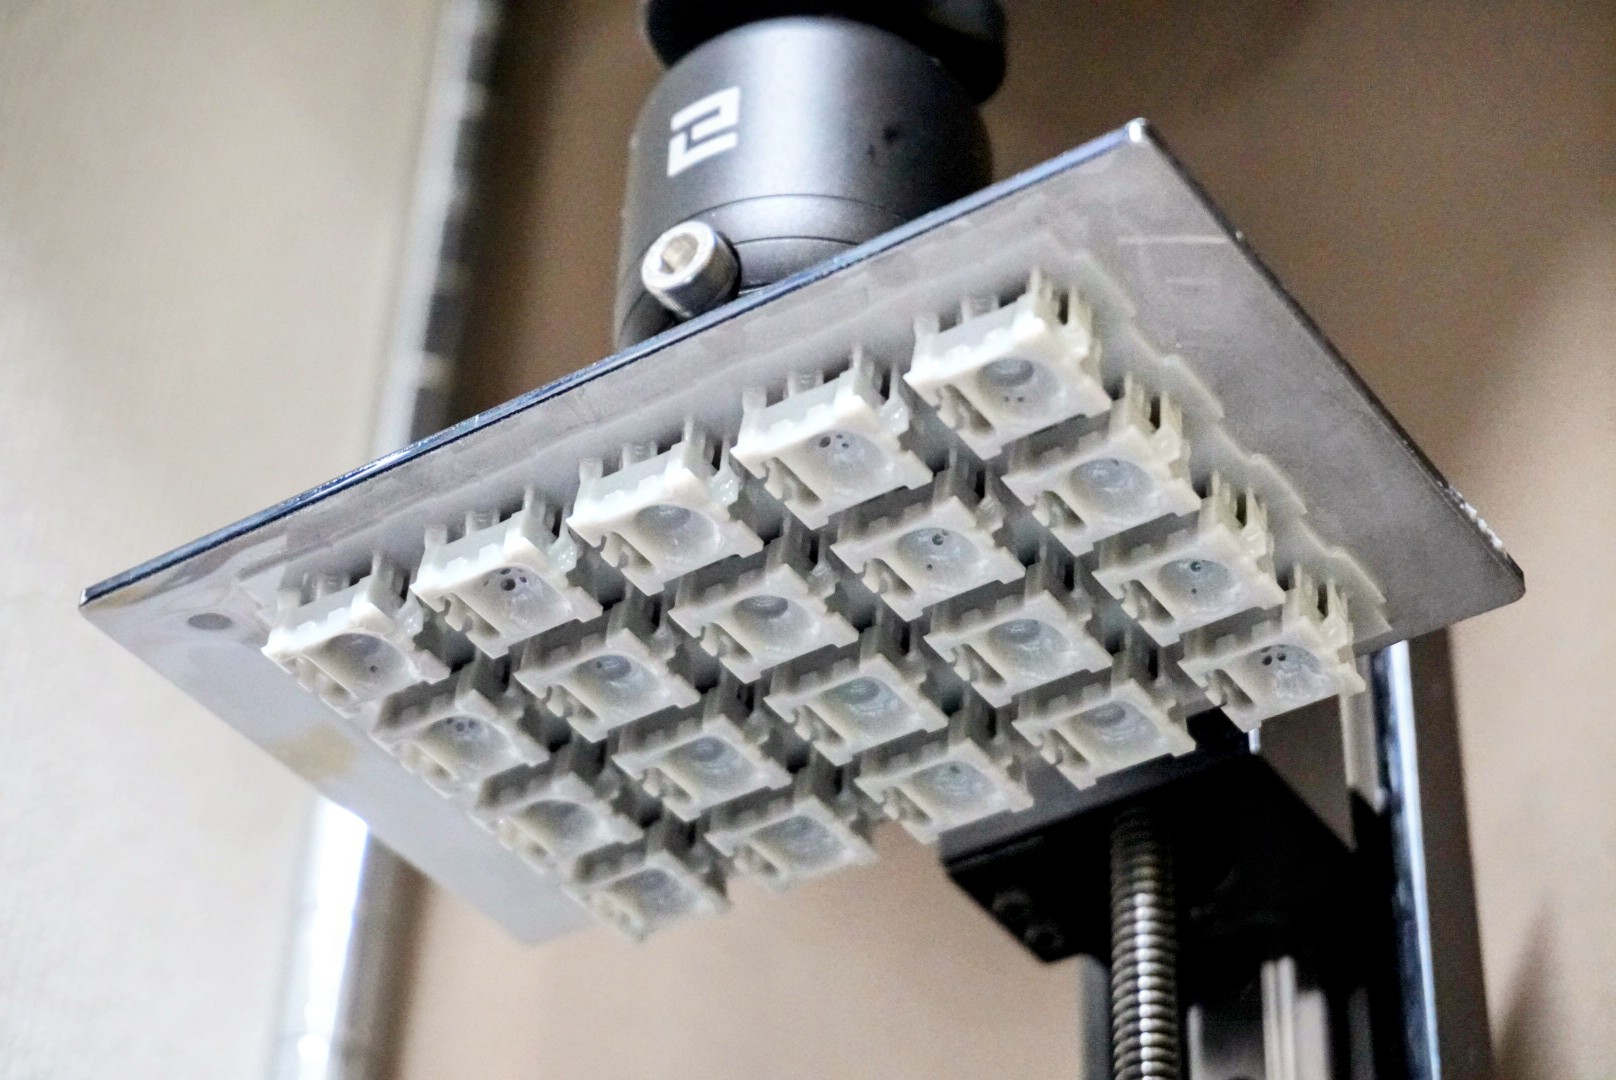
I recommend to use SLA or DLP printer to print the body of the switches. And the recommended printing direction is the angle at which the groove is parallel to the platform.
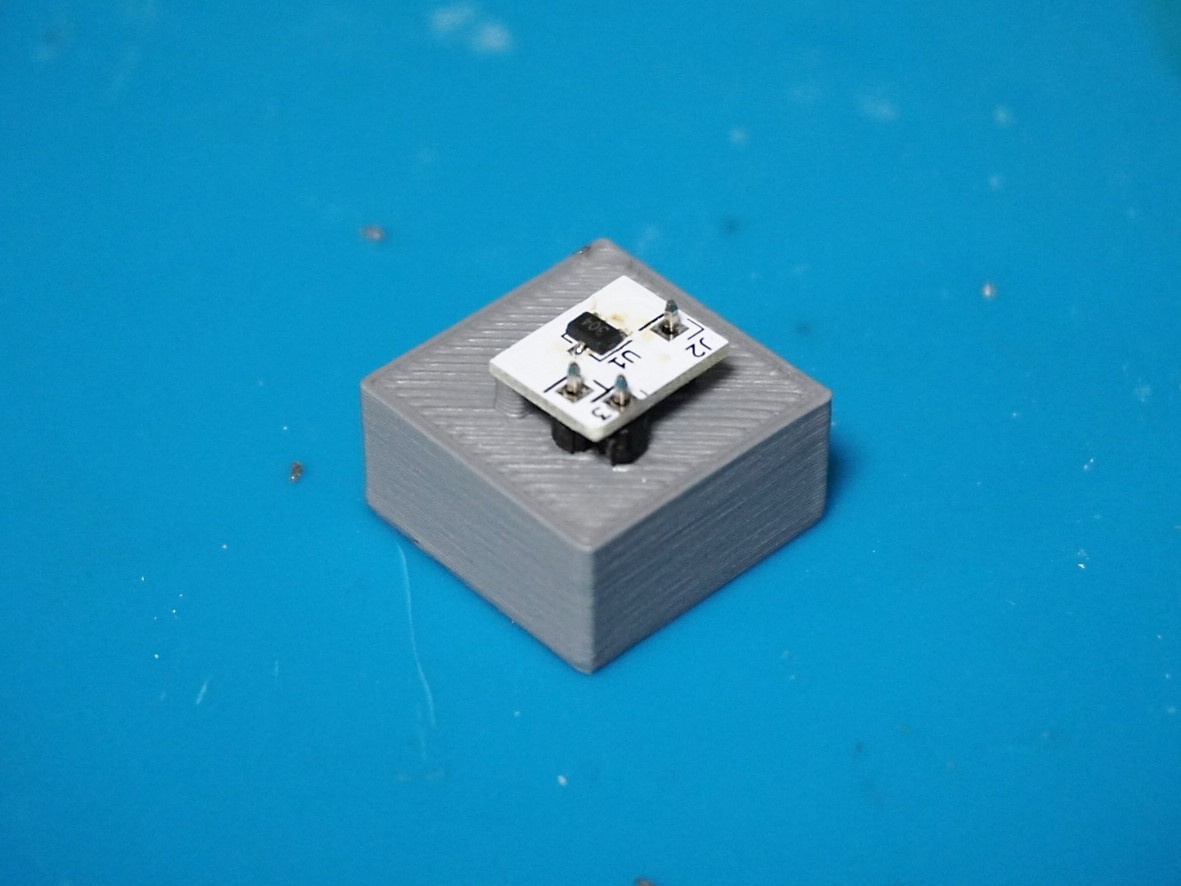
The PCB of this switch is manufactuable with single layer. But I recommend a load-bearing double layer PCB.
Pins I used are the usual pinheaders. They're easy install with this Soldering Jig included in the repositry.
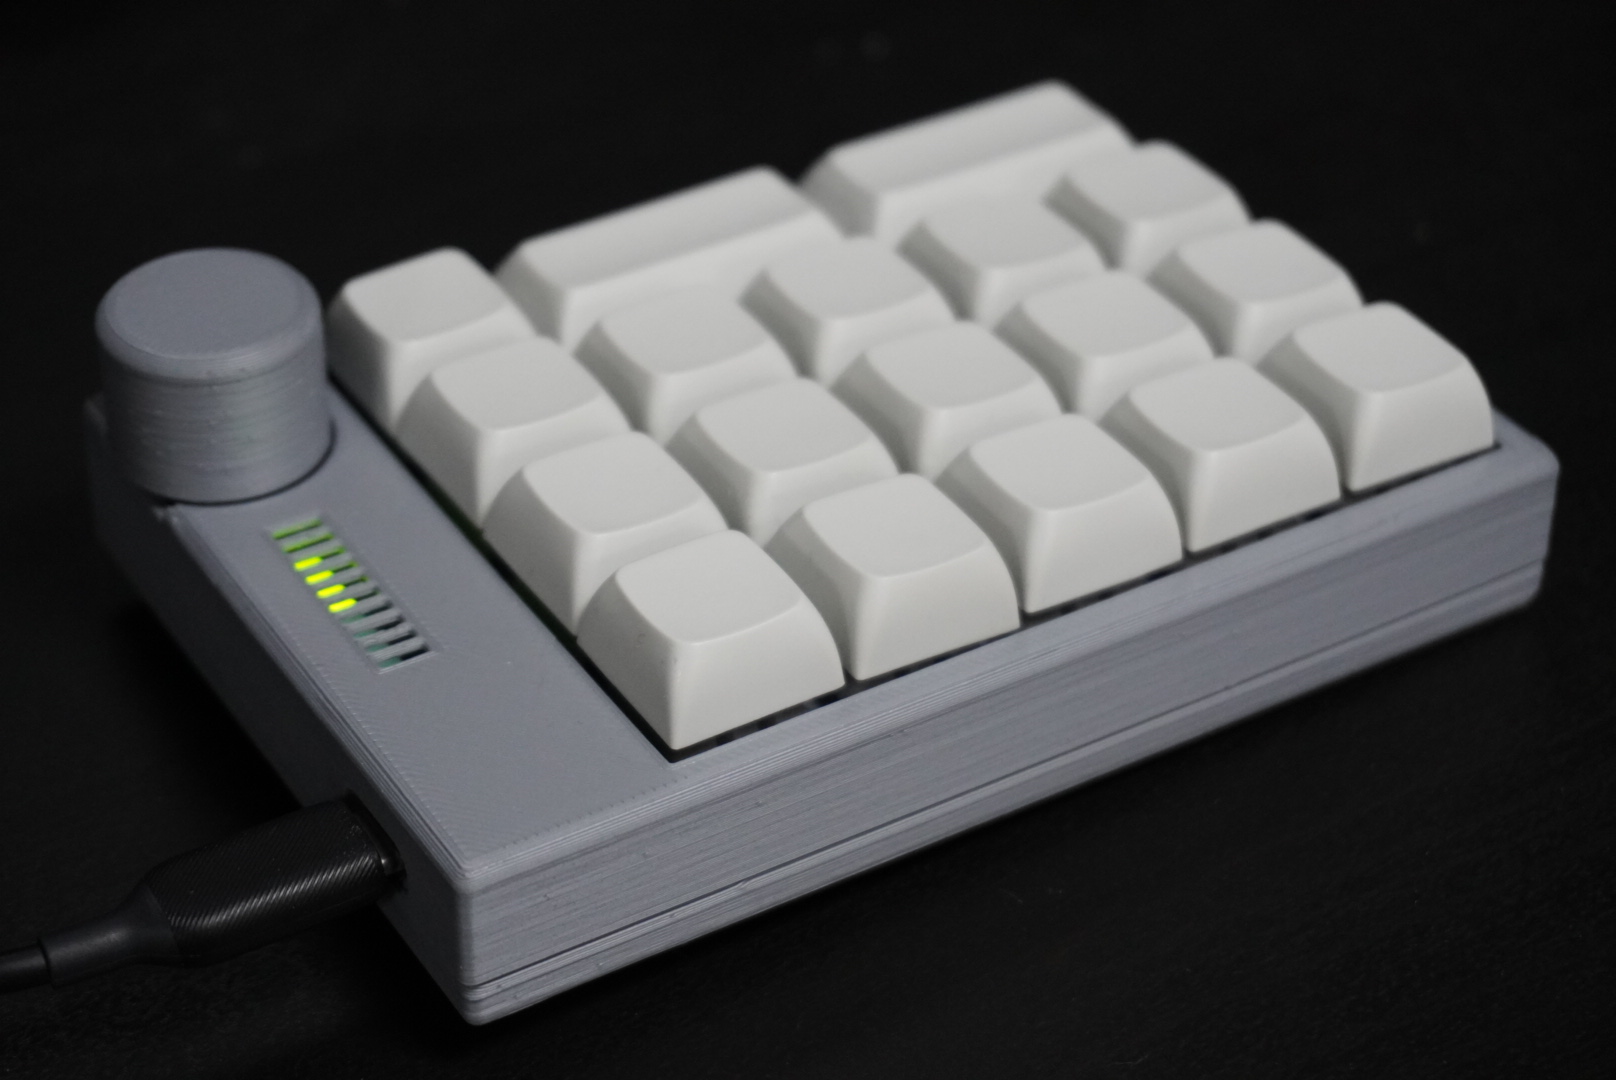
If you want to make the sample numeric keypad, you'll need to download KiCAD libraries from Seeed Wiki. Then put the "Seeeduino XIAO KICAD" directory and the "Seeeduino XIAO KICAD.pretty" directory under the "Sample_Numeric_Keypad\PCB" directory.
| Qty | Value | Footprint | References |
|---|---|---|---|
| 18 | D | Diode_THT:D_T-1_P5.08mm_Horizontal | D1, D2, D3, D4, D5, D6, D7, D10, D11, D12, D13, D14, D15, D16, D17, D18 +2 |
| 16 | MagLevSwitch | MagLev_Switch:SW_MagLev_1.00u_PCB | U2, U3, U4, U5, U6, U7, U8, U10, U11, U12, U13, U14, U15, U17, U18, U19 |
| 10 | 10 | Resistor_SMD:R_0603_1608Metric_Pad1.05x0.95mm_HandSolder | R6, R7, R8, R9, R10, R11, R12, R13, R14, R15 |
| 5 | 1k | Resistor_SMD:R_0603_1608Metric_Pad1.05x0.95mm_HandSolder | R1, R2, R3, R4, R5 |
| 5 | Q_PMOS_GSD | Package_TO_SOT_SMD:SOT-23_Handsoldering | Q1, Q2, Q3, Q4, Q5 |
| 4 | MountingHole | MountingHole:MountingHole_2.1mm | H1, H2, H3, H4 |
| 2 | MagLevSwitch | MagLev_Switch:SW_MagLev_2.00u_Vertical_PCB | U9, U16 |
| 1 | ATmega328-AU | Package_QFP:TQFP-32_7x7mm_P0.8mm | U20 |
| 1 | C | Capacitor_SMD:C_0603_1608Metric_Pad1.05x0.95mm_HandSolder | C1 |
| 1 | Conn_02x03_Odd_Even | Connector_PinHeader_2.54mm:PinHeader_2x03_P2.54mm_Vertical | J1 |
| 1 | HDSP-4850_2 | Display:HDSP-4850 | BAR1 |
| 1 | R_POT | Potentiometer_THT:Potentiometer_Alpha_RD901F-40-00D_Single_Vertical | RV1 |
| 1 | SeeeduinoXIAO | Seeeduino_XIAO_KICAD:Seeeduino XIAO-MOUDLE | U1 |
famichu/MagLev_Switch_MX
The 3D printable magnetic levitation contactless switch with the linear output hall effect sensor.

dqydj/PaperBack_EPaper_Display
Internet Connected or Standard Input EPaper Display

etimou/arduino-pro-mini-kicad
This is a clone of the well known arduino board "pro-mini" designed in kicad while the original was designed in eagle. Ref https://store.arduino.cc/arduino-pro-mini

andykarpov/karabas-pro
FPGA based retrocomputer with FDD and HDD controllers


It measures 82 × 120 mm and has 2 copper layers, 1.6 mm thick.
66 parts, built around the ATMEGA328-AU. The full list of its parts is on this page, with links to each part's symbol and footprint where PCBKit's library has them.
From the famichu/MagLev_Switch_MX repository on GitHub, at the commit this page was made from: the board is Sample_Numeric_Keypad/PCB/Sample_Numeric_Keyboard.kicad_pcb. PCBKit opens the board in the browser, with nothing to install.
Its repository states no licence, so its author keeps all rights: ask famichu before reusing the design.