
4 layers82.6 × 82.5 mm
 DeepMicroscopy/RetroScope
An Open Framework for Motorizing and Digitizing Vintage Microscopes
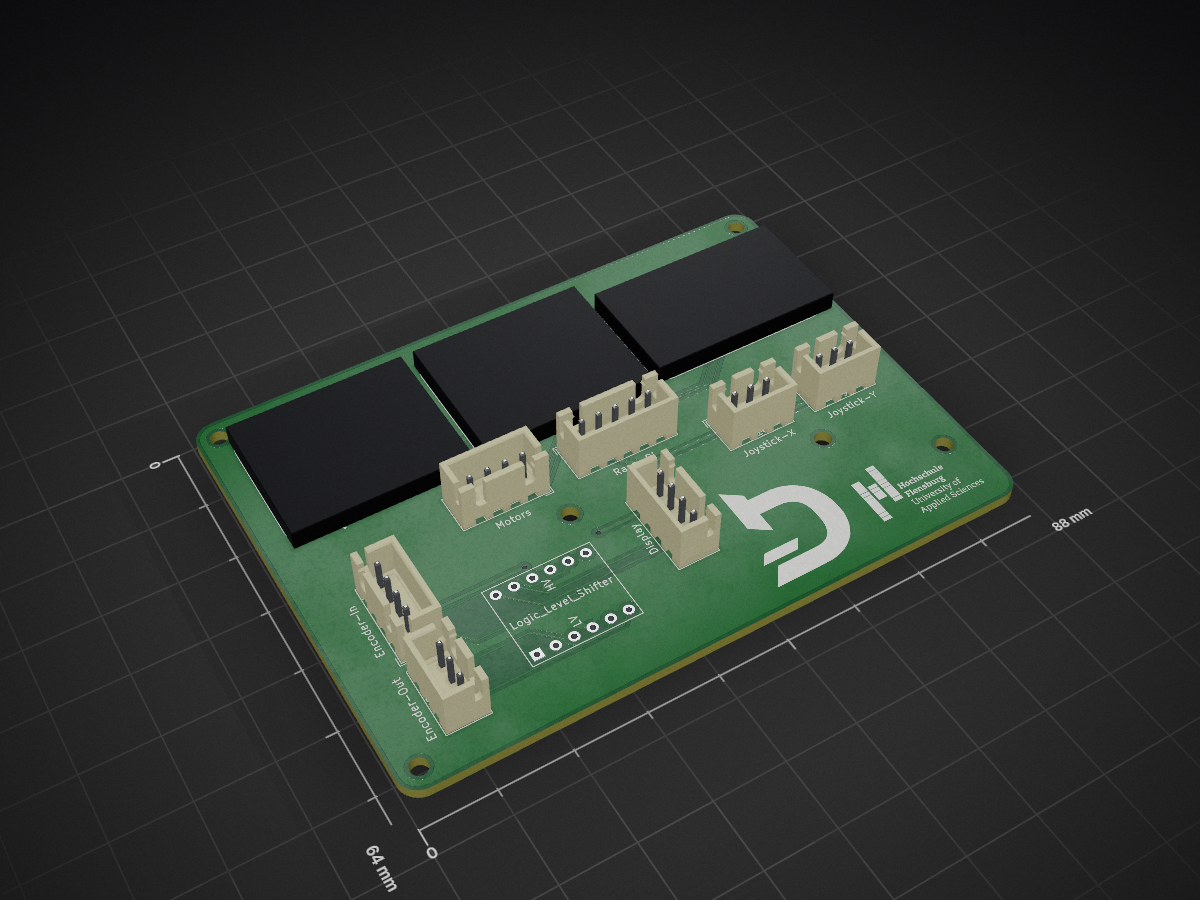
RetroScope is an open-source printed circuit board by DeepMicroscopy, from the DeepMicroscopy/RetroScope repository on GitHub, published under the Apache-2.0 licence. It is a 2-layer board of 88 × 64 mm with 11 parts on 24 nets, routed with 122 tracks and 4 vias.
It is built around the INA219AID.

An Open Framework for Motorizing and Digitizing Vintage Microscopes
RetroScope is an open-source framework for older analog microscopes. It combines software, digital imaging, motorized stage and focus control, calibration workflows, and adaptable mechanical parts so that existing microscopes can be upgraded instead of replaced.
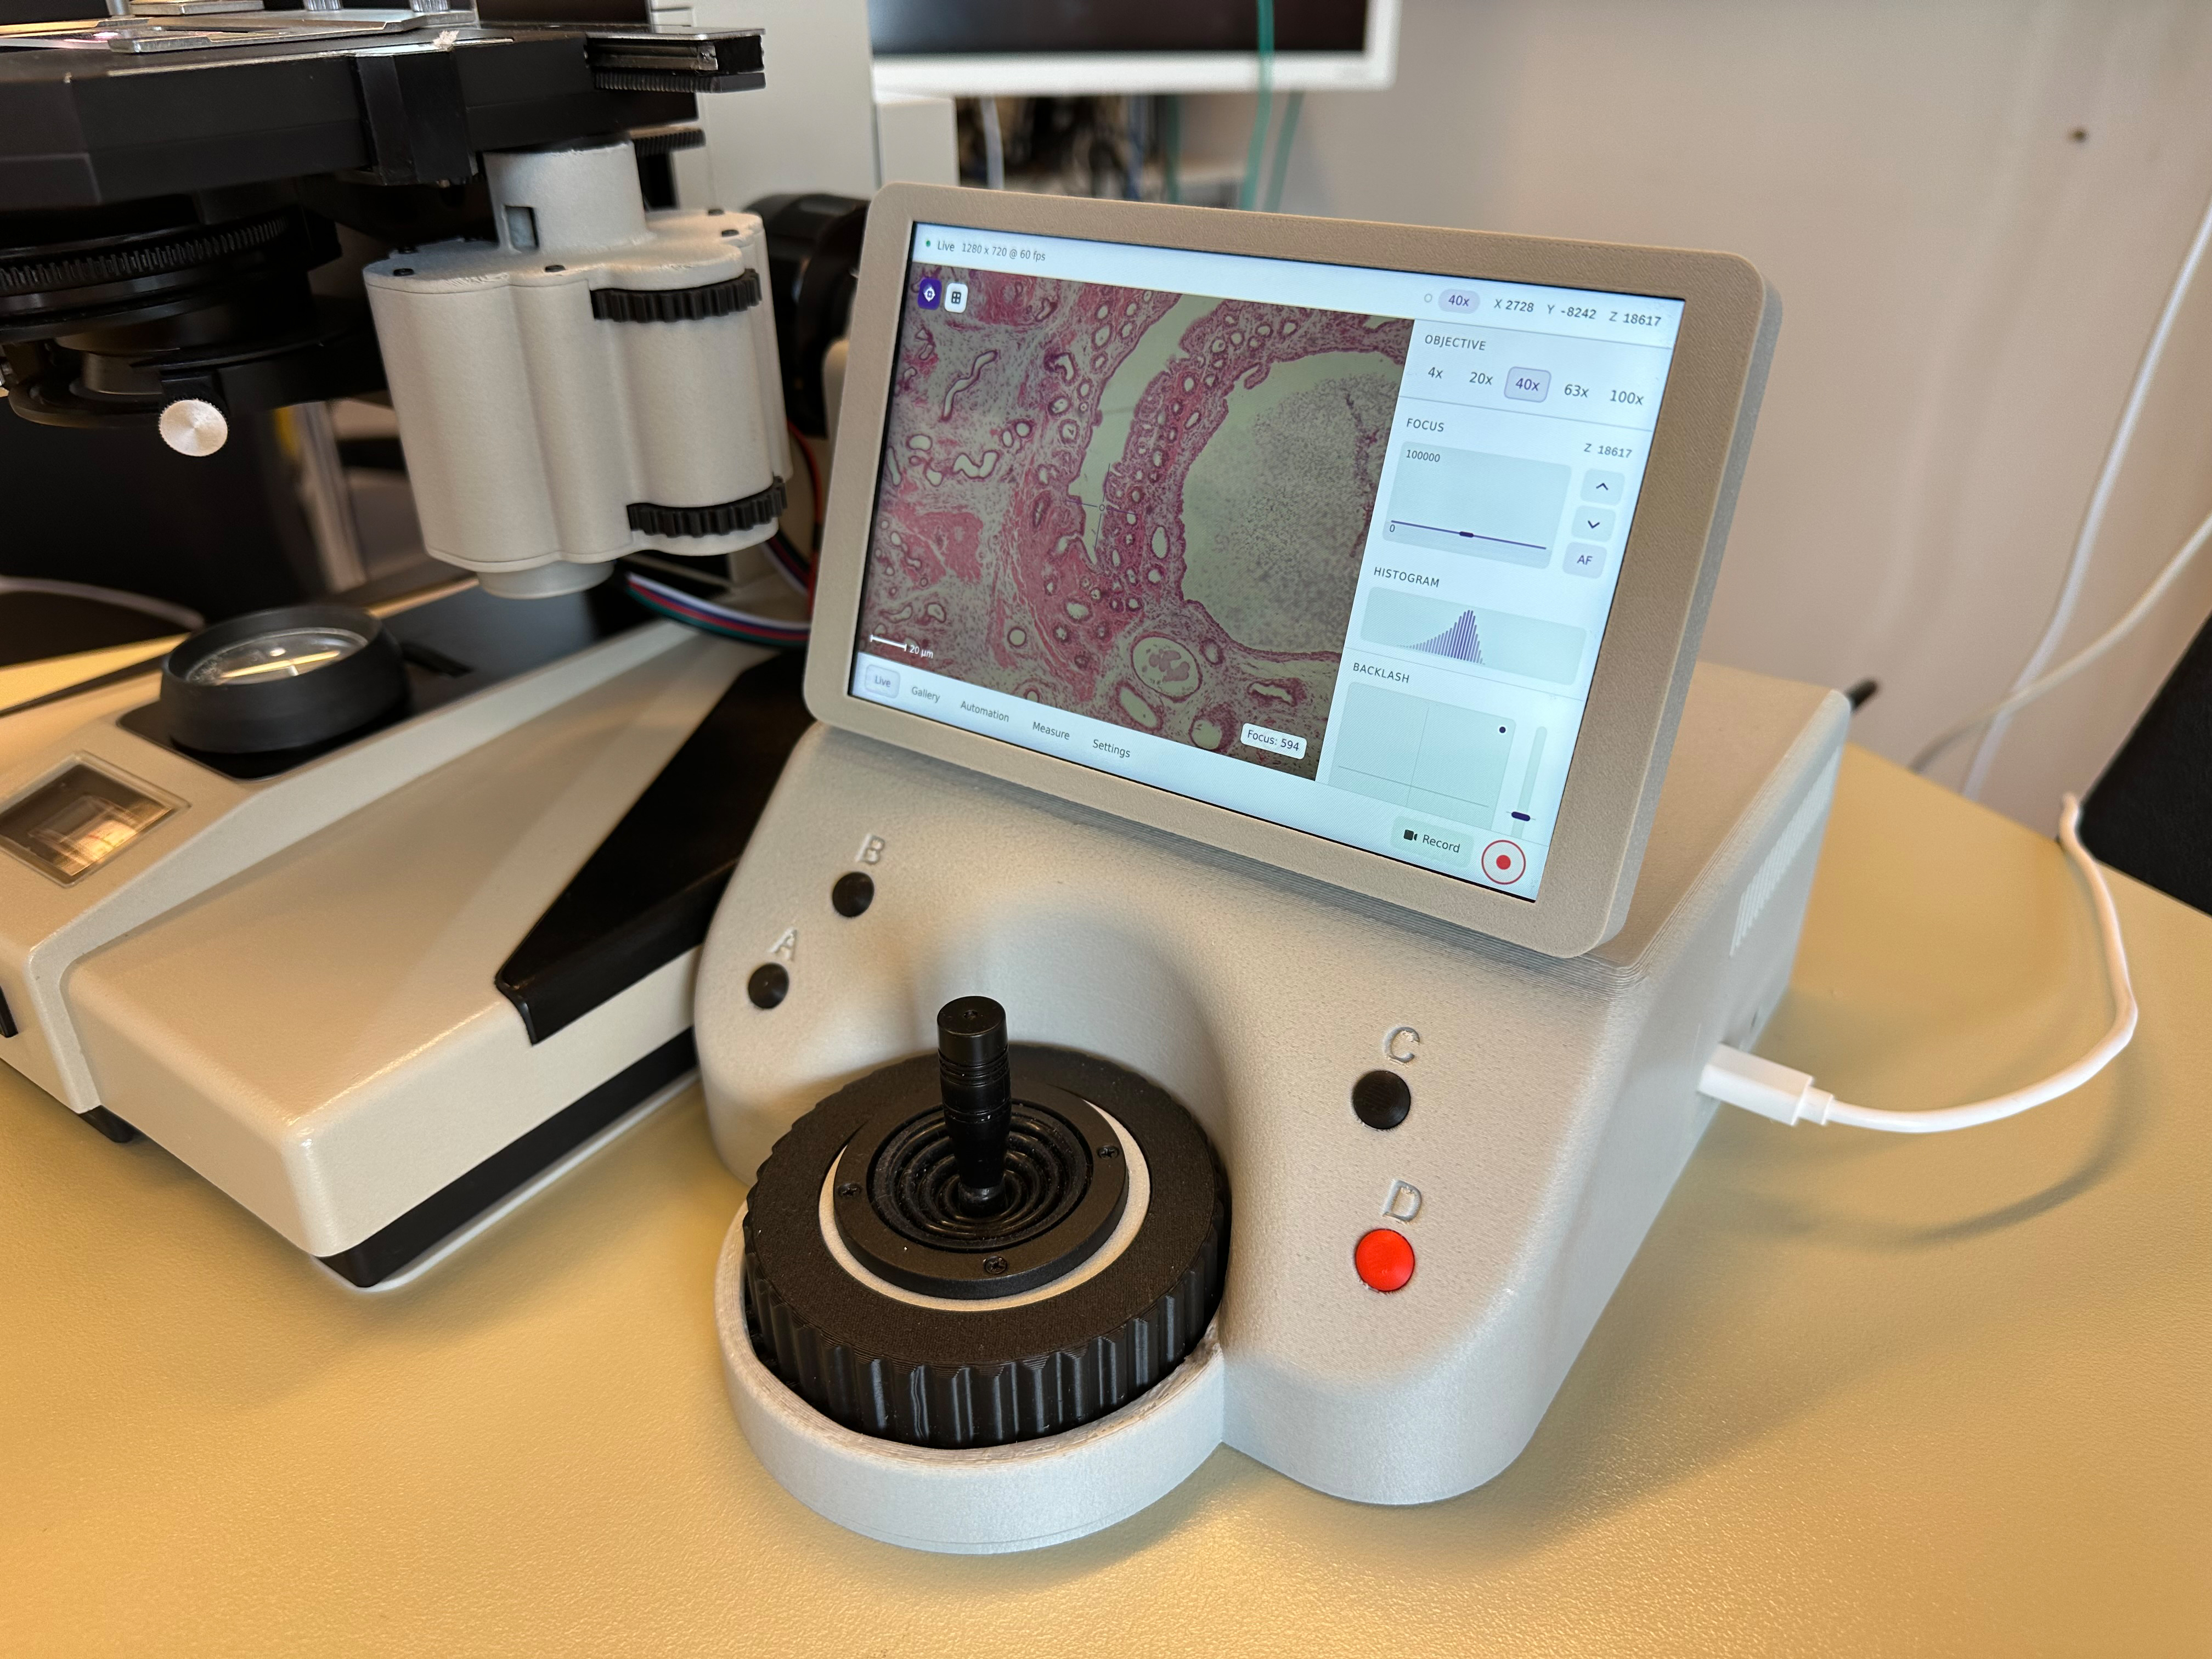
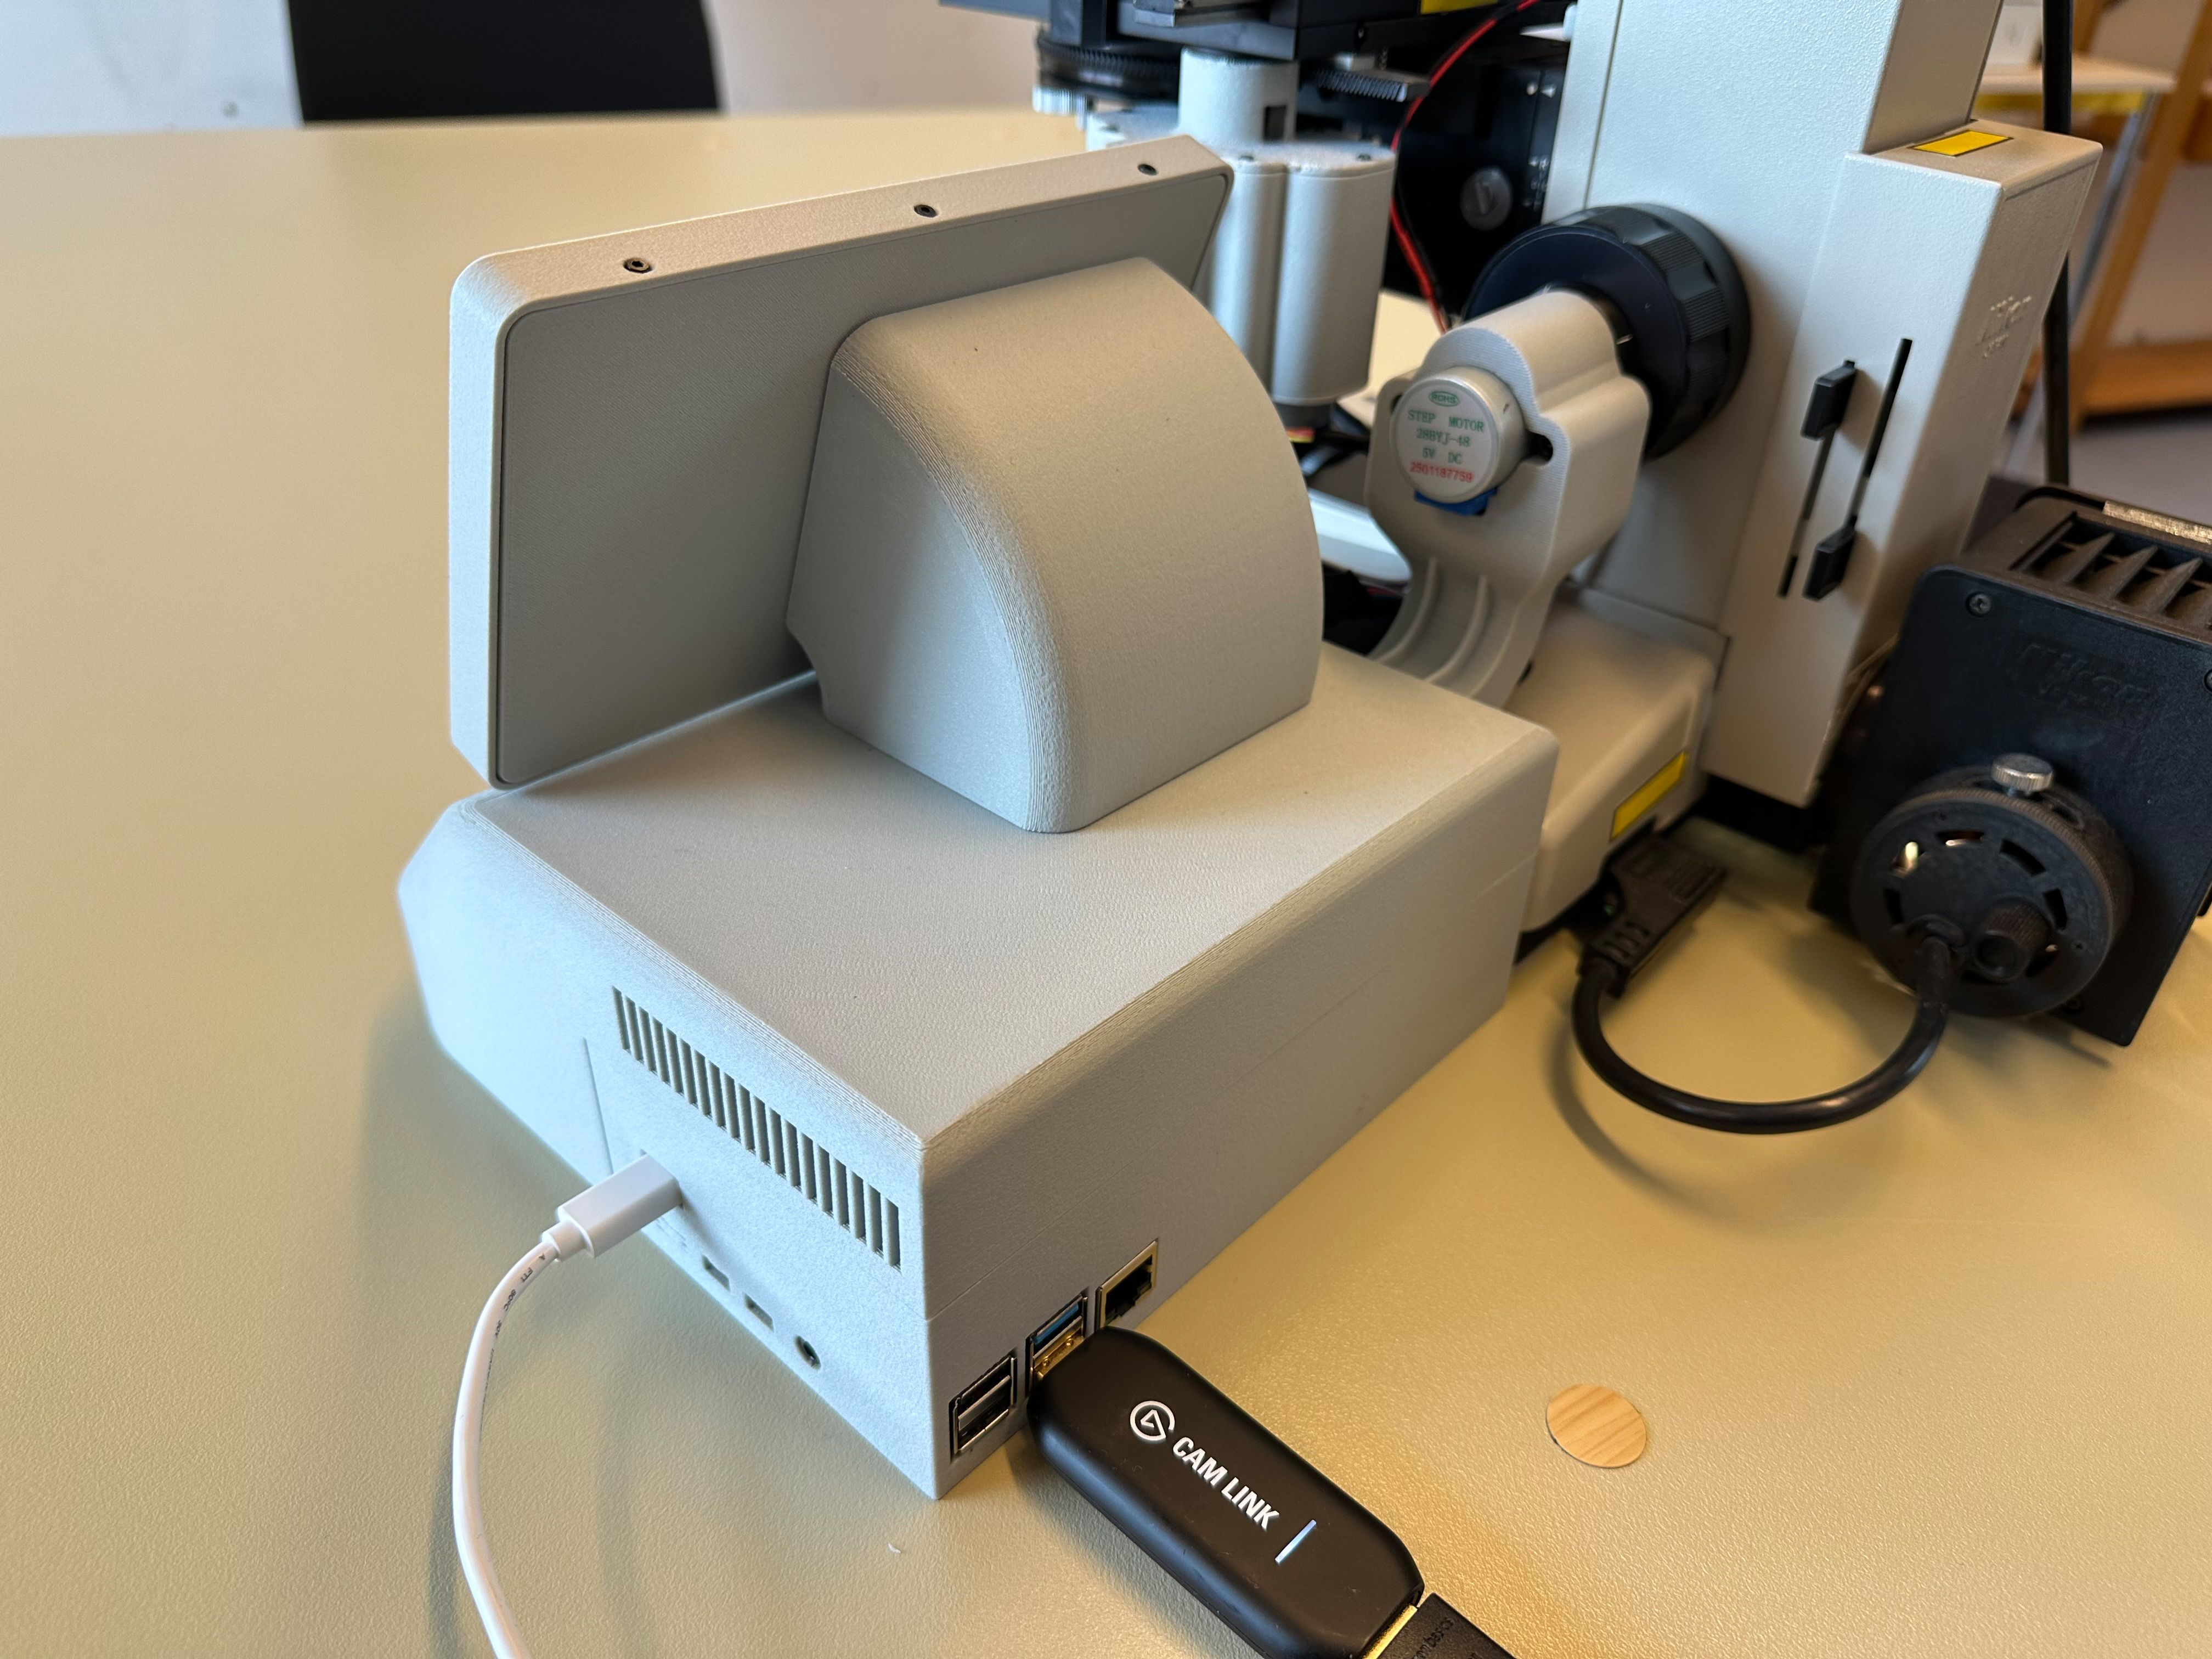
The project was developed as part of the master's thesis "Retrofitting a Vintage Microscope: Development of an Embedded System for Motorized Control and Digital Imaging" in Applied Computer Science at Flensburg University of Applied Sciences.
RetroScope is not just a single application. It is intended as a complete retrofit framework:
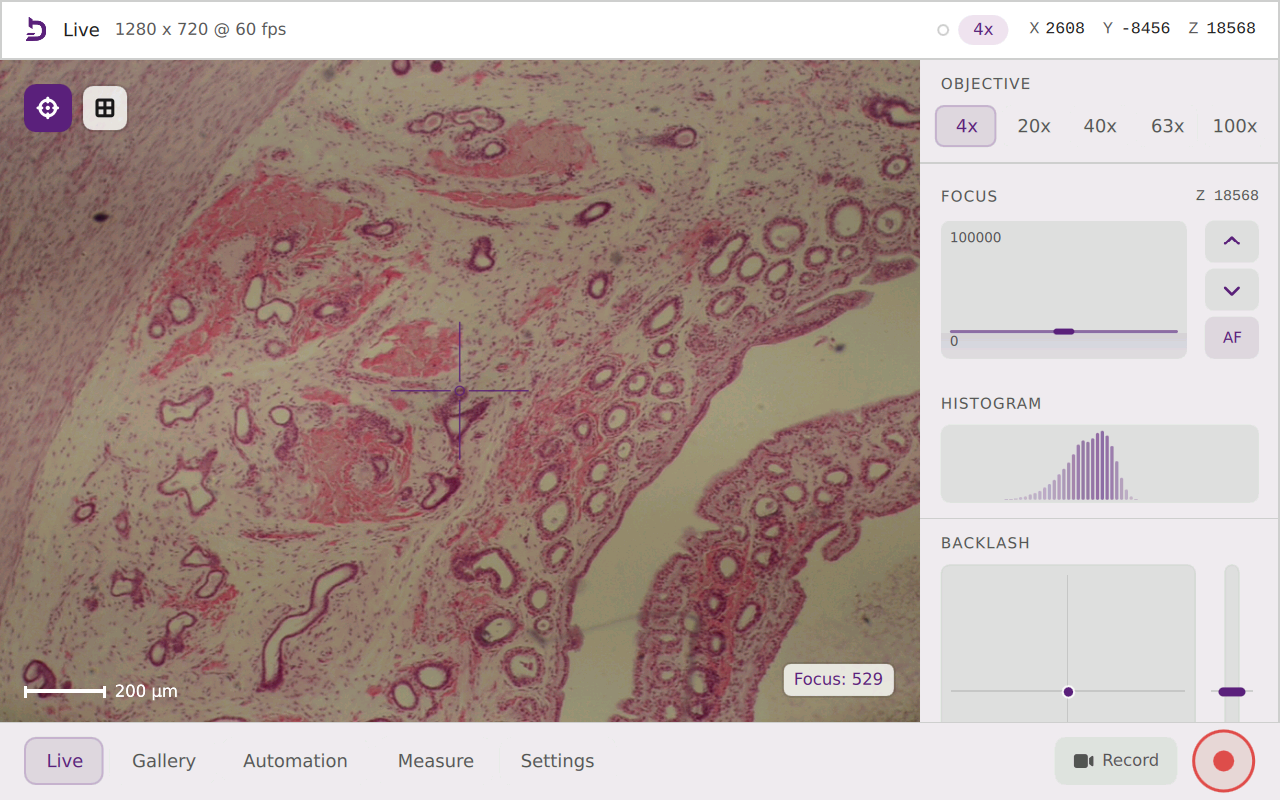
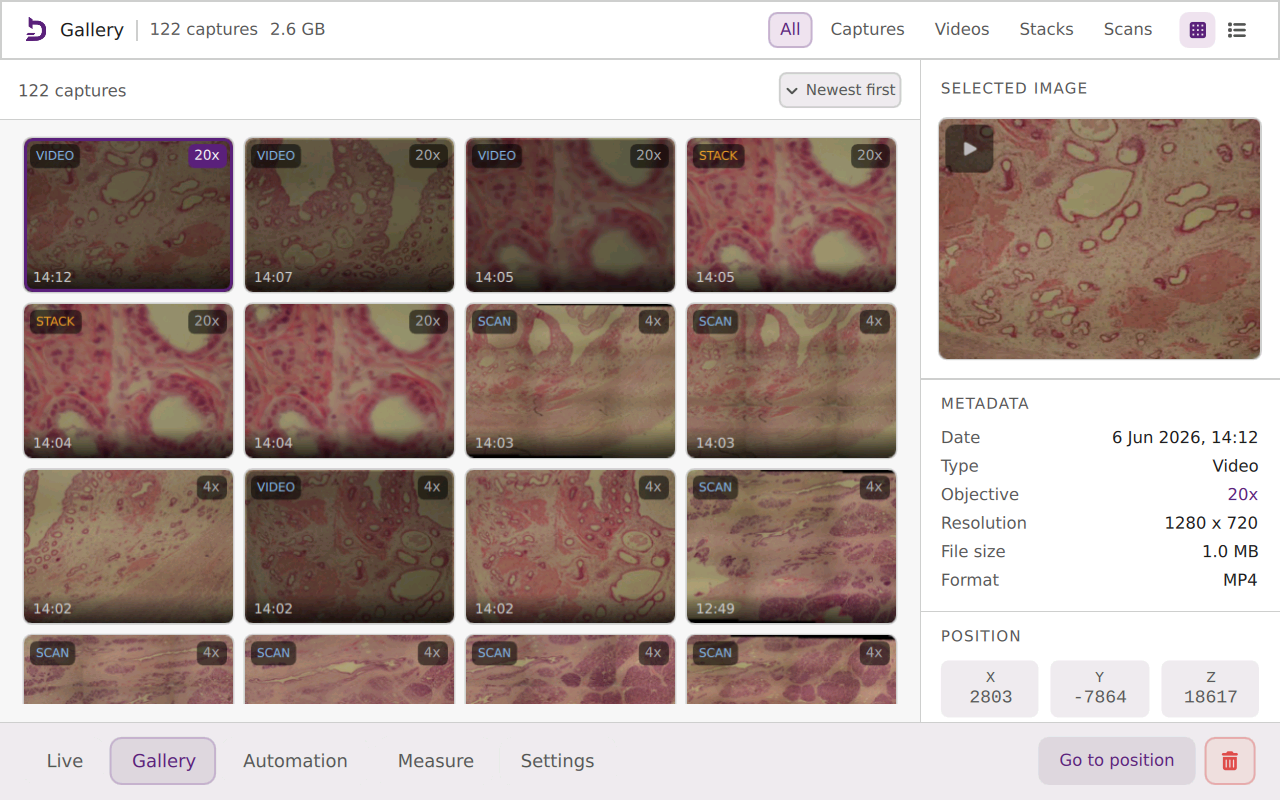
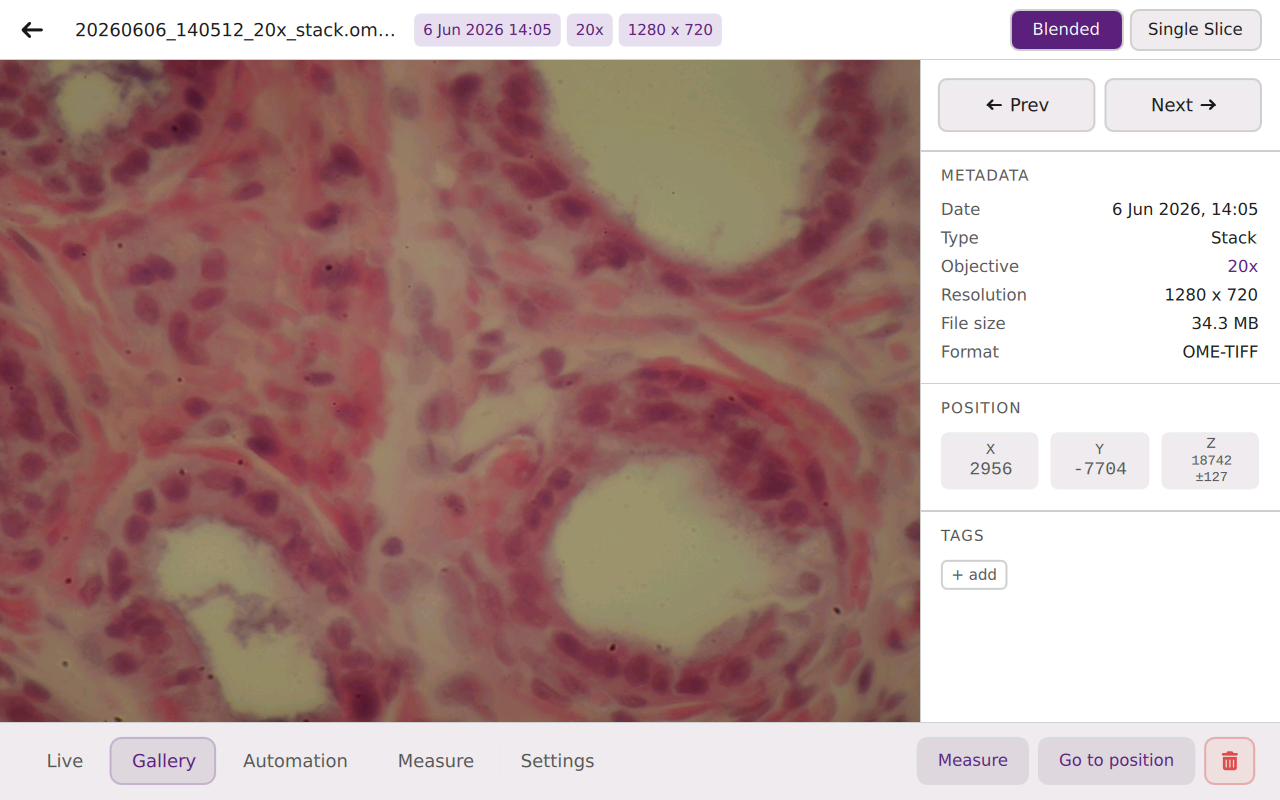
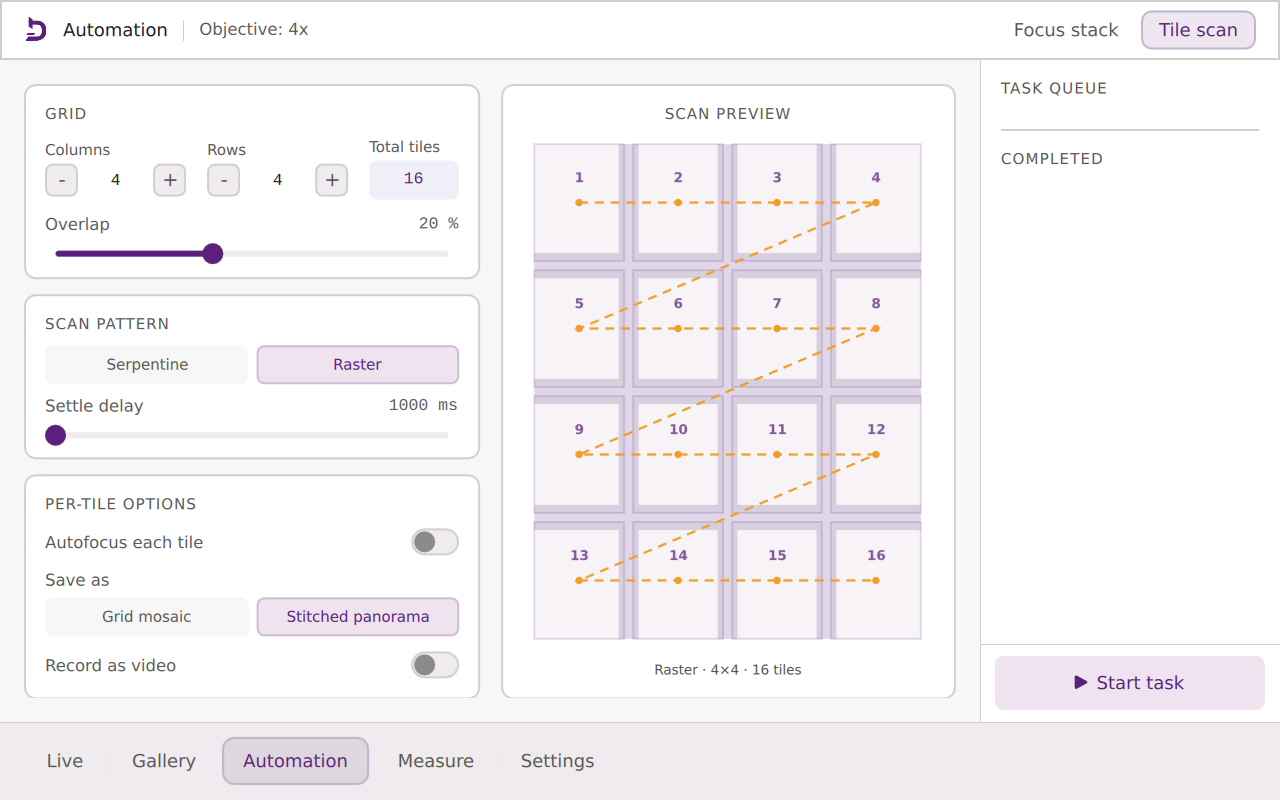
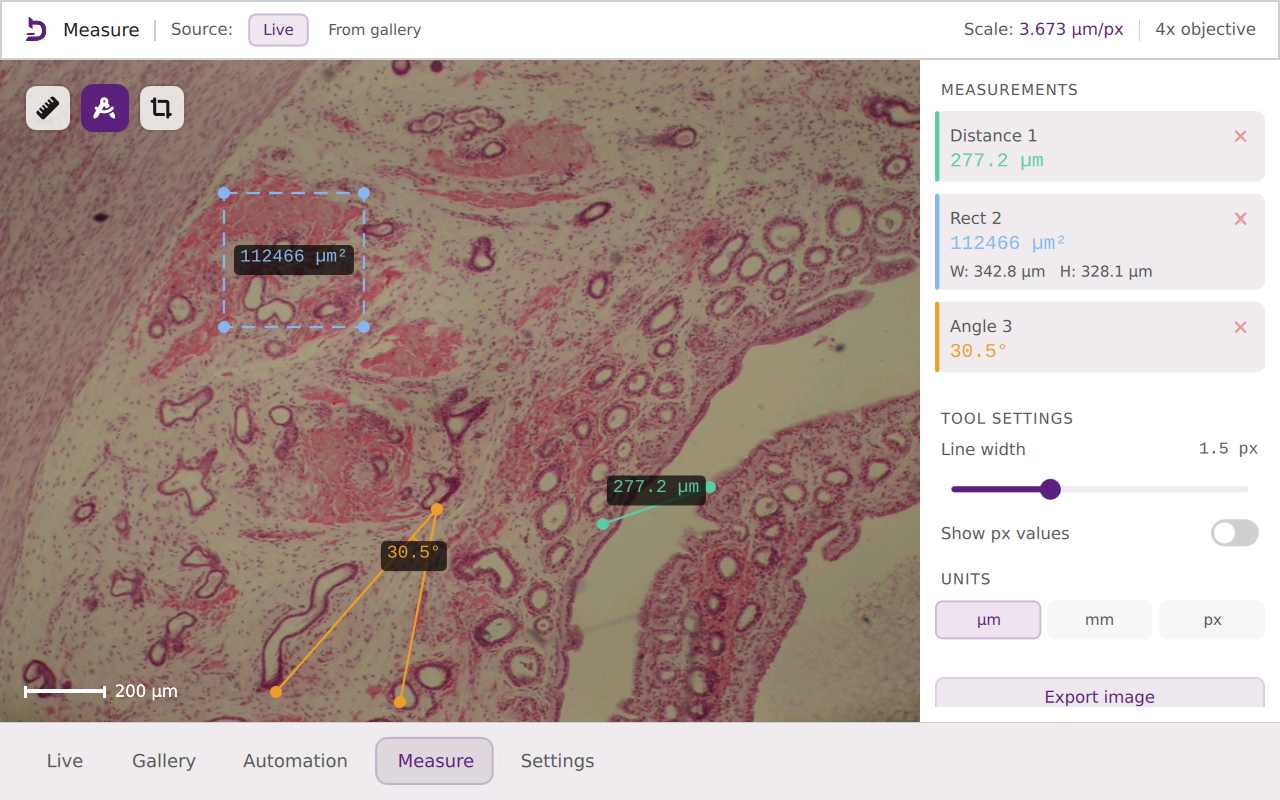
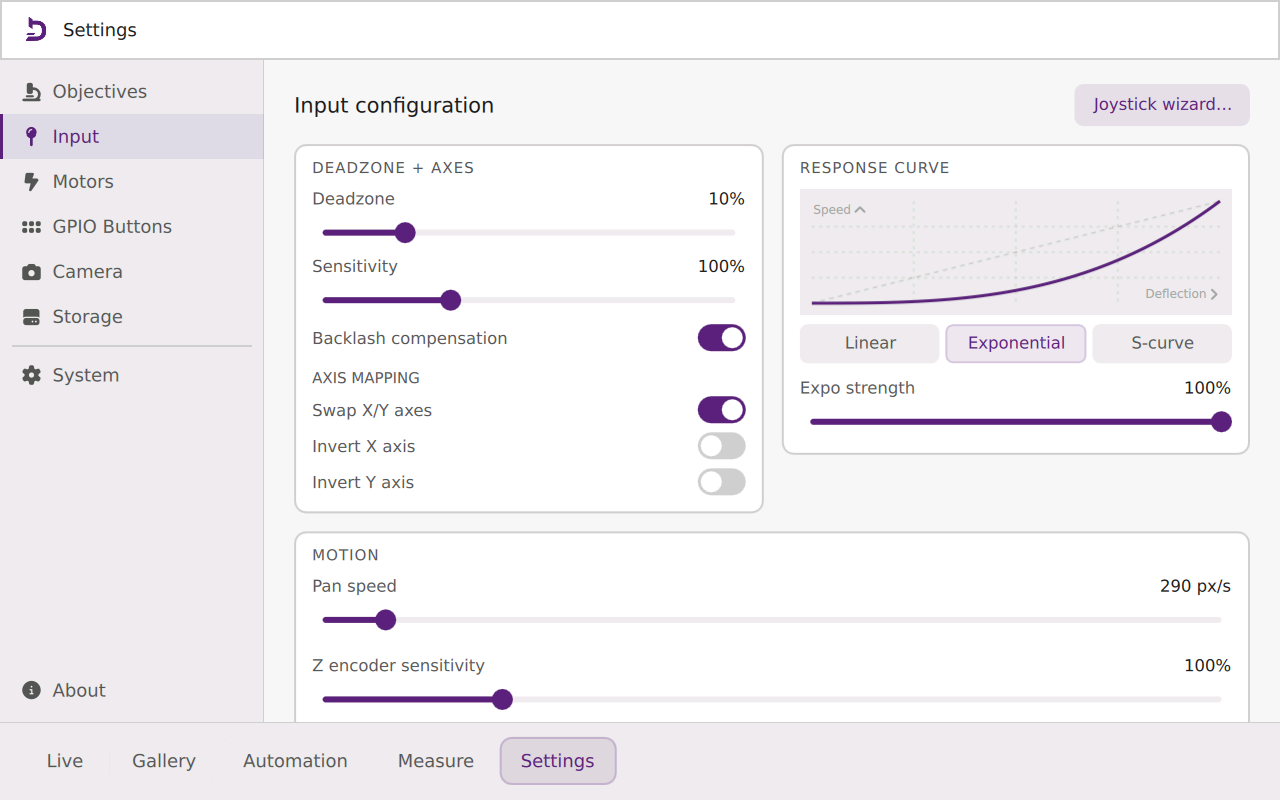
The software is organized into modular layers:
retroscope/drivers: Low-level hardware drivers for camera input, Sangaboard motor control, joystick ADC, buttons, and endstop.retroscope/services: Application logic for motion, autofocus, calibration, camera processing, tile scanning, focus stacking, updates, ...retroscope/api: FastAPI REST interface and OpenAPI/Swagger documentation.retroscope/domain: Pure domain modules (+ calculations) for scan planning, focus metrics, objective calibration, measurement, ...retroscope/bridge: Qt/PySide bridge objects that expose APIs to QML.retroscope/qml: Touchscreen user interface components and views.tests: Unit tests for calibration, autofocus, motion, scanning, settings, ...This separation enables the expansion of individual subsystems without rewriting the entire platform.
The following parts were used for the prototype:
Clone the repository and create a virtual environment:
git clone https://github.com/marvincarstensen/RetroScope.git
cd retroscope
python[3] -m venv .venv
source .venv/bin/activate
pip install -r requirements.txt
For Raspberry Pi deployment, an additional setup script, to e.g. setup the service, has to be run with sudo:
sudo bash deploy/setup.shStart the application:
python app.py[!NOTE] First launch may take a little longer while Python builds its caches.
Run in mock mode for desktop env:
python app.py --mockEnable development mode with QML hot reloading:
python app.py --mock --devApply a UI scale factor:
python app.py --scale 1.5On the Raspberry Pi with Wayland:
WAYLAND_DISPLAY=wayland-0 XDG_RUNTIME_DIR=/run/user/1000 python app.py --scale=1.5Run the test suite:
.venv/bin/python -m pytest -qCompile-check on the package:
.venv/bin/python -m compileall -q retroscopeRun QML lint checks:
.venv/bin/pyside6-qmllint -I retroscope/qml $(find retroscope/qml -name '*.qml')The evaluations run inside the main application so they use the real camera pipeline, motion
services, calibration state, and workflow services. Results are written as CSV files to
evaluation_output/, with per-trial rows followed by summary rows. Needs a textured specimen and a safe stage position to run properly. The active objective needs to be selected and calibrated before running measurements.
Available evaluation types:
motion_accuracy: compares commanded X/Y movement with measured image displacement and backlash residuals.stage_scale: measures repeated stage-scale estimates in micrometres per motor step.calibration_repeat: repeats stage-scale and backlash checks for the active objective.workflow_reliability: runs autofocus, focus stacking, and tile scanning through the app services.Example runs:
python app.py --eval motion_accuracy --eval-arg axes=xy --eval-arg steps=100,200 --eval-arg reps=10
python app.py --eval stage_scale --eval-arg steps=100 --eval-arg reps=10
python app.py --eval calibration_repeat --eval-arg stage_steps=200 --eval-arg reps=10
python app.py --eval workflow_reliability --eval-arg reps=10 --eval-arg workflows=autofocus,focus_stacking,tile_scanningBy default, the API is enabled and listens on port 8765:
http://127.0.0.1:8765 / http://<device-ip>:8765http://<device-ip>:8765/docshttp://<device-ip>:8765/openapi.jsonThe current API is intentionally small and intended as an extension point for scripts, notebooks, and external tools.
| Endpoint | Description |
|---|---|
GET /api/v1/health | API health check. |
GET /api/v1/captures | List gallery captures. |
GET /api/v1/captures/{id}/download | Download the original capture file. |
POST /api/v1/actions/autofocus | Start autofocus. |
POST /api/v1/actions/capture | Start capture. |
The repository contains a basic Jupyter notebook, retroscope_api_demo.ipynb, that demonstrates how to use the REST API.
The following keyboard shortcuts can be used in mock simulation:
| Key | Function |
|---|---|
| WASD | Joystick axes |
| Space | Joystick center (release) |
| +/- | Encoder step +-1 |
| 1/2/3/4 | Button press 0–3 |
| E | Simulate endstop triggered/released toggle |
The following plugins, libraries and frameworks are used:
| Name | Version |
|---|---|
| PySide6 | 6.11.1 |
| fastapi | 0.136.3 |
| httpx2 | 2.3.0 |
| uvicorn | 0.49.0 |
| numpy | 2.4.6 |
| pytest | 9.0.3 |
| opencv-python-headless | 4.13.0.92 |
| Pillow | 12.2.0 |
| tifffile | 2026.5.15 |
| sangaboard | 0.3.3 |
| smbus2 (only on Pi) | 0.6.1 |
| gpiod (only on Pi) | 2.4.2 |
The following generative AI tools were used in this thesis:
All AI-generated material was critically reviewed, edited, and verified by the author. No generative AI system was used to produce original scientific results, experimental data, proofs, or final implementations of algorithms. The author assumes full responsibility for the content, correctness, and originality of this thesis.
| Qty | Value | Footprint | References |
|---|---|---|---|
| 2 | INA219 | INA219:MODULE_INA219 | INA219, INA2192 |
| 1 | Display | Connector_JST:JST_XH_B4B-XH-A_1x04_P2.50mm_Vertical | J8 |
| 1 | Encoder-In | Connector_JST:JST_XH_B4B-XH-A_1x04_P2.50mm_Vertical | J6 |
| 1 | Encoder-Out | Connector_JST:JST_XH_B3B-XH-A_1x03_P2.50mm_Vertical | J2 |
| 1 | Joystick-X | Connector_JST:JST_XH_B3B-XH-A_1x03_P2.50mm_Vertical | J10 |
| 1 | Joystick-Y | Connector_JST:JST_XH_B3B-XH-A_1x03_P2.50mm_Vertical | J9 |
| 1 | Logic_Level_Shifter | Charleslabs_Parts:LogicLevelConverter_Module | A1 |
| 1 | Motors | Connector_JST:JST_XH_B4B-XH-A_1x04_P2.50mm_Vertical | J1 |
| 1 | Rasp. Pi | Connector_JST:JST_XH_B5B-XH-A_1x05_P2.50mm_Vertical | J7 |
| 1 | ZC261500 | ZC261500:MODULE_ZC261500 | ADS1115 |
It measures 88 × 64 mm and has 2 copper layers, 1.6 mm thick.
11 parts, built around the INA219AID. The full list of its parts is on this page, with links to each part's symbol and footprint where PCBKit's library has them.
From the DeepMicroscopy/RetroScope repository on GitHub, at the commit this page was made from: the board is cad/pcb/Retroscope.kicad_pcb and its schematic cad/pcb/Retroscope.kicad_sch. PCBKit opens the board in the browser, with nothing to install.
Its repository publishes it under the Apache-2.0 licence: you may reuse it on that licence's terms (keep the author's notice, and for a copyleft licence share your changes alike).


AlessandroAU/Chorus32-ESP32LapTimer
This is an ESP32 port of the popular Chorus RF Laptimer

ThomasVDD/SmartSupply
SmartSupply is a digital battery powered lab powersupply. It is Arduino compatible and can be controlled via PC over USB.


Moragor/BatteryAnalyzer_MkII
Updated Version of the battery analyzer, now with constant current

LostInCompilation/WLED-Controller-PCB
WLED Controller Board with ESP32 - 4 Channels - Current and Power Monitoring - INMP441 Microphone