2 layers16.6 × 75 mm

 consp/pcbs1
PCB's I've designed which can be shared
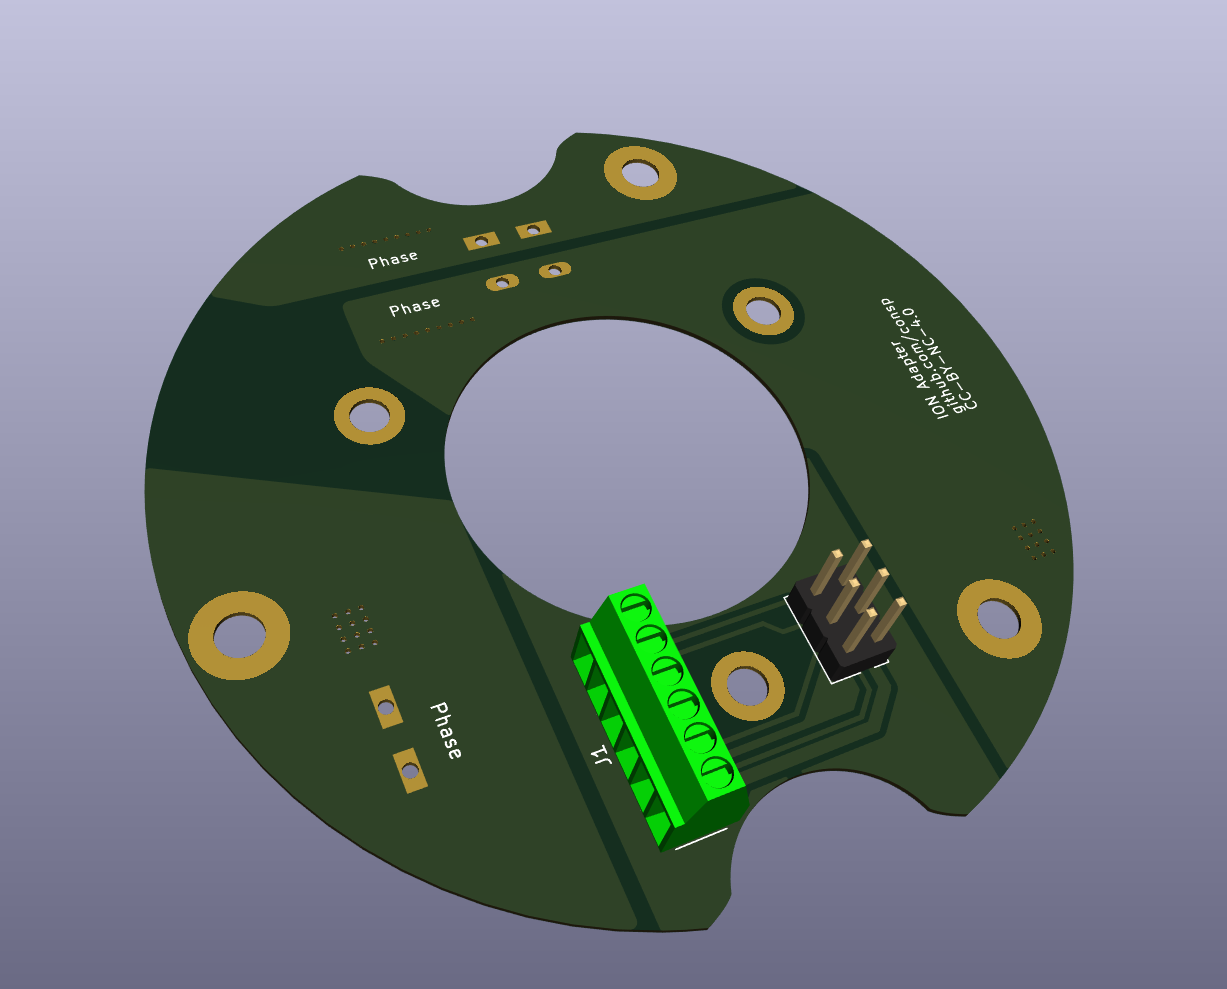
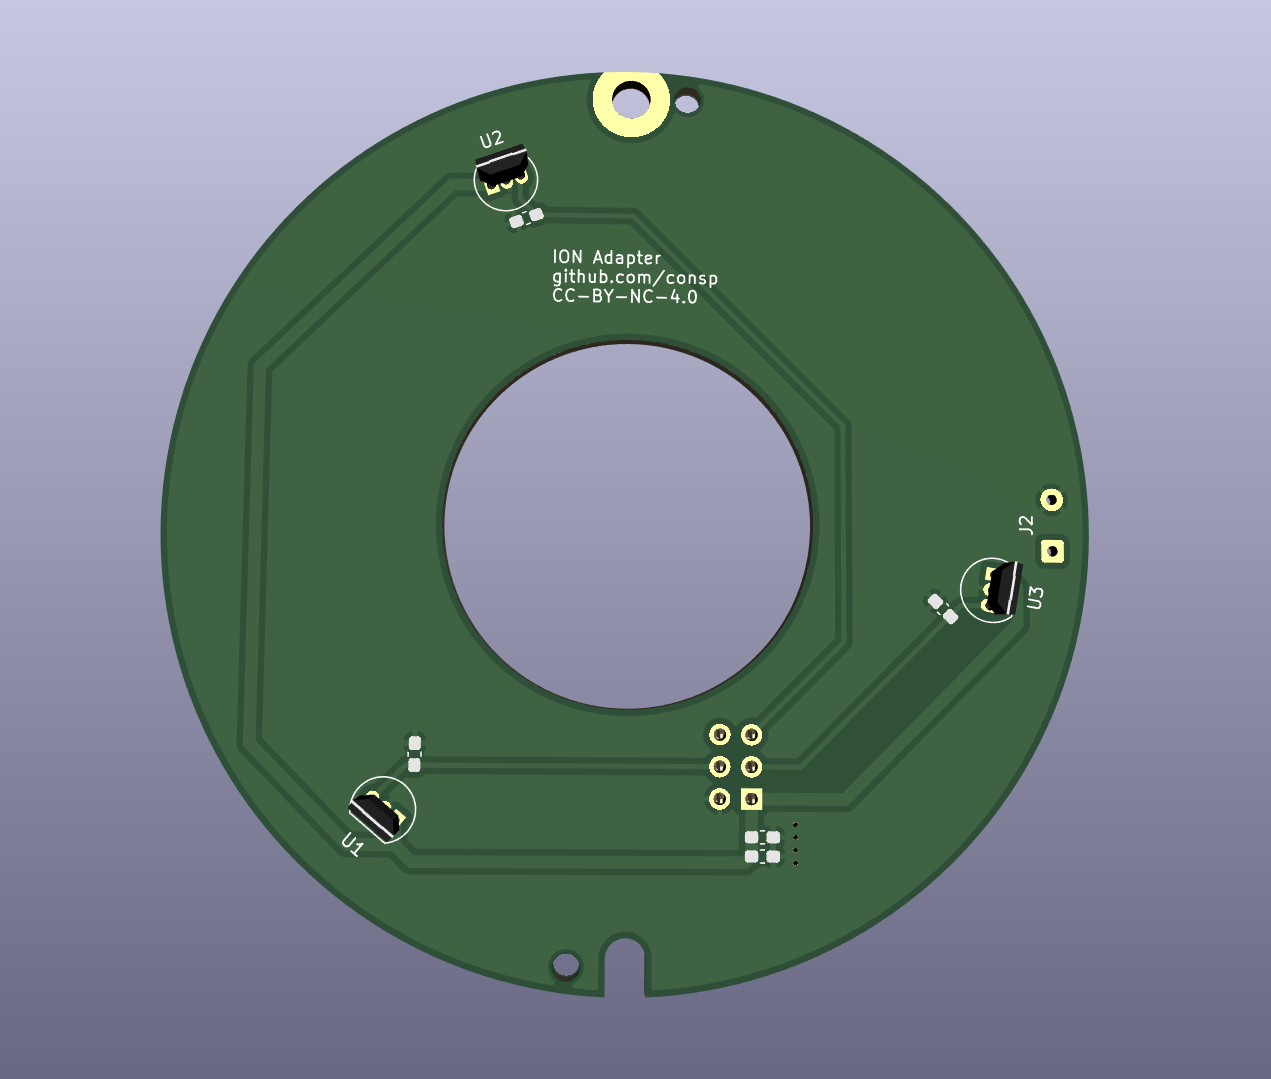
Ion connector bottom is an open-source printed circuit board by consp, from the consp/pcbs repository on GitHub. It is a 2-layer board of 75 × 71.9 mm with 10 parts on 9 nets, routed with 23 tracks and 42 vias.
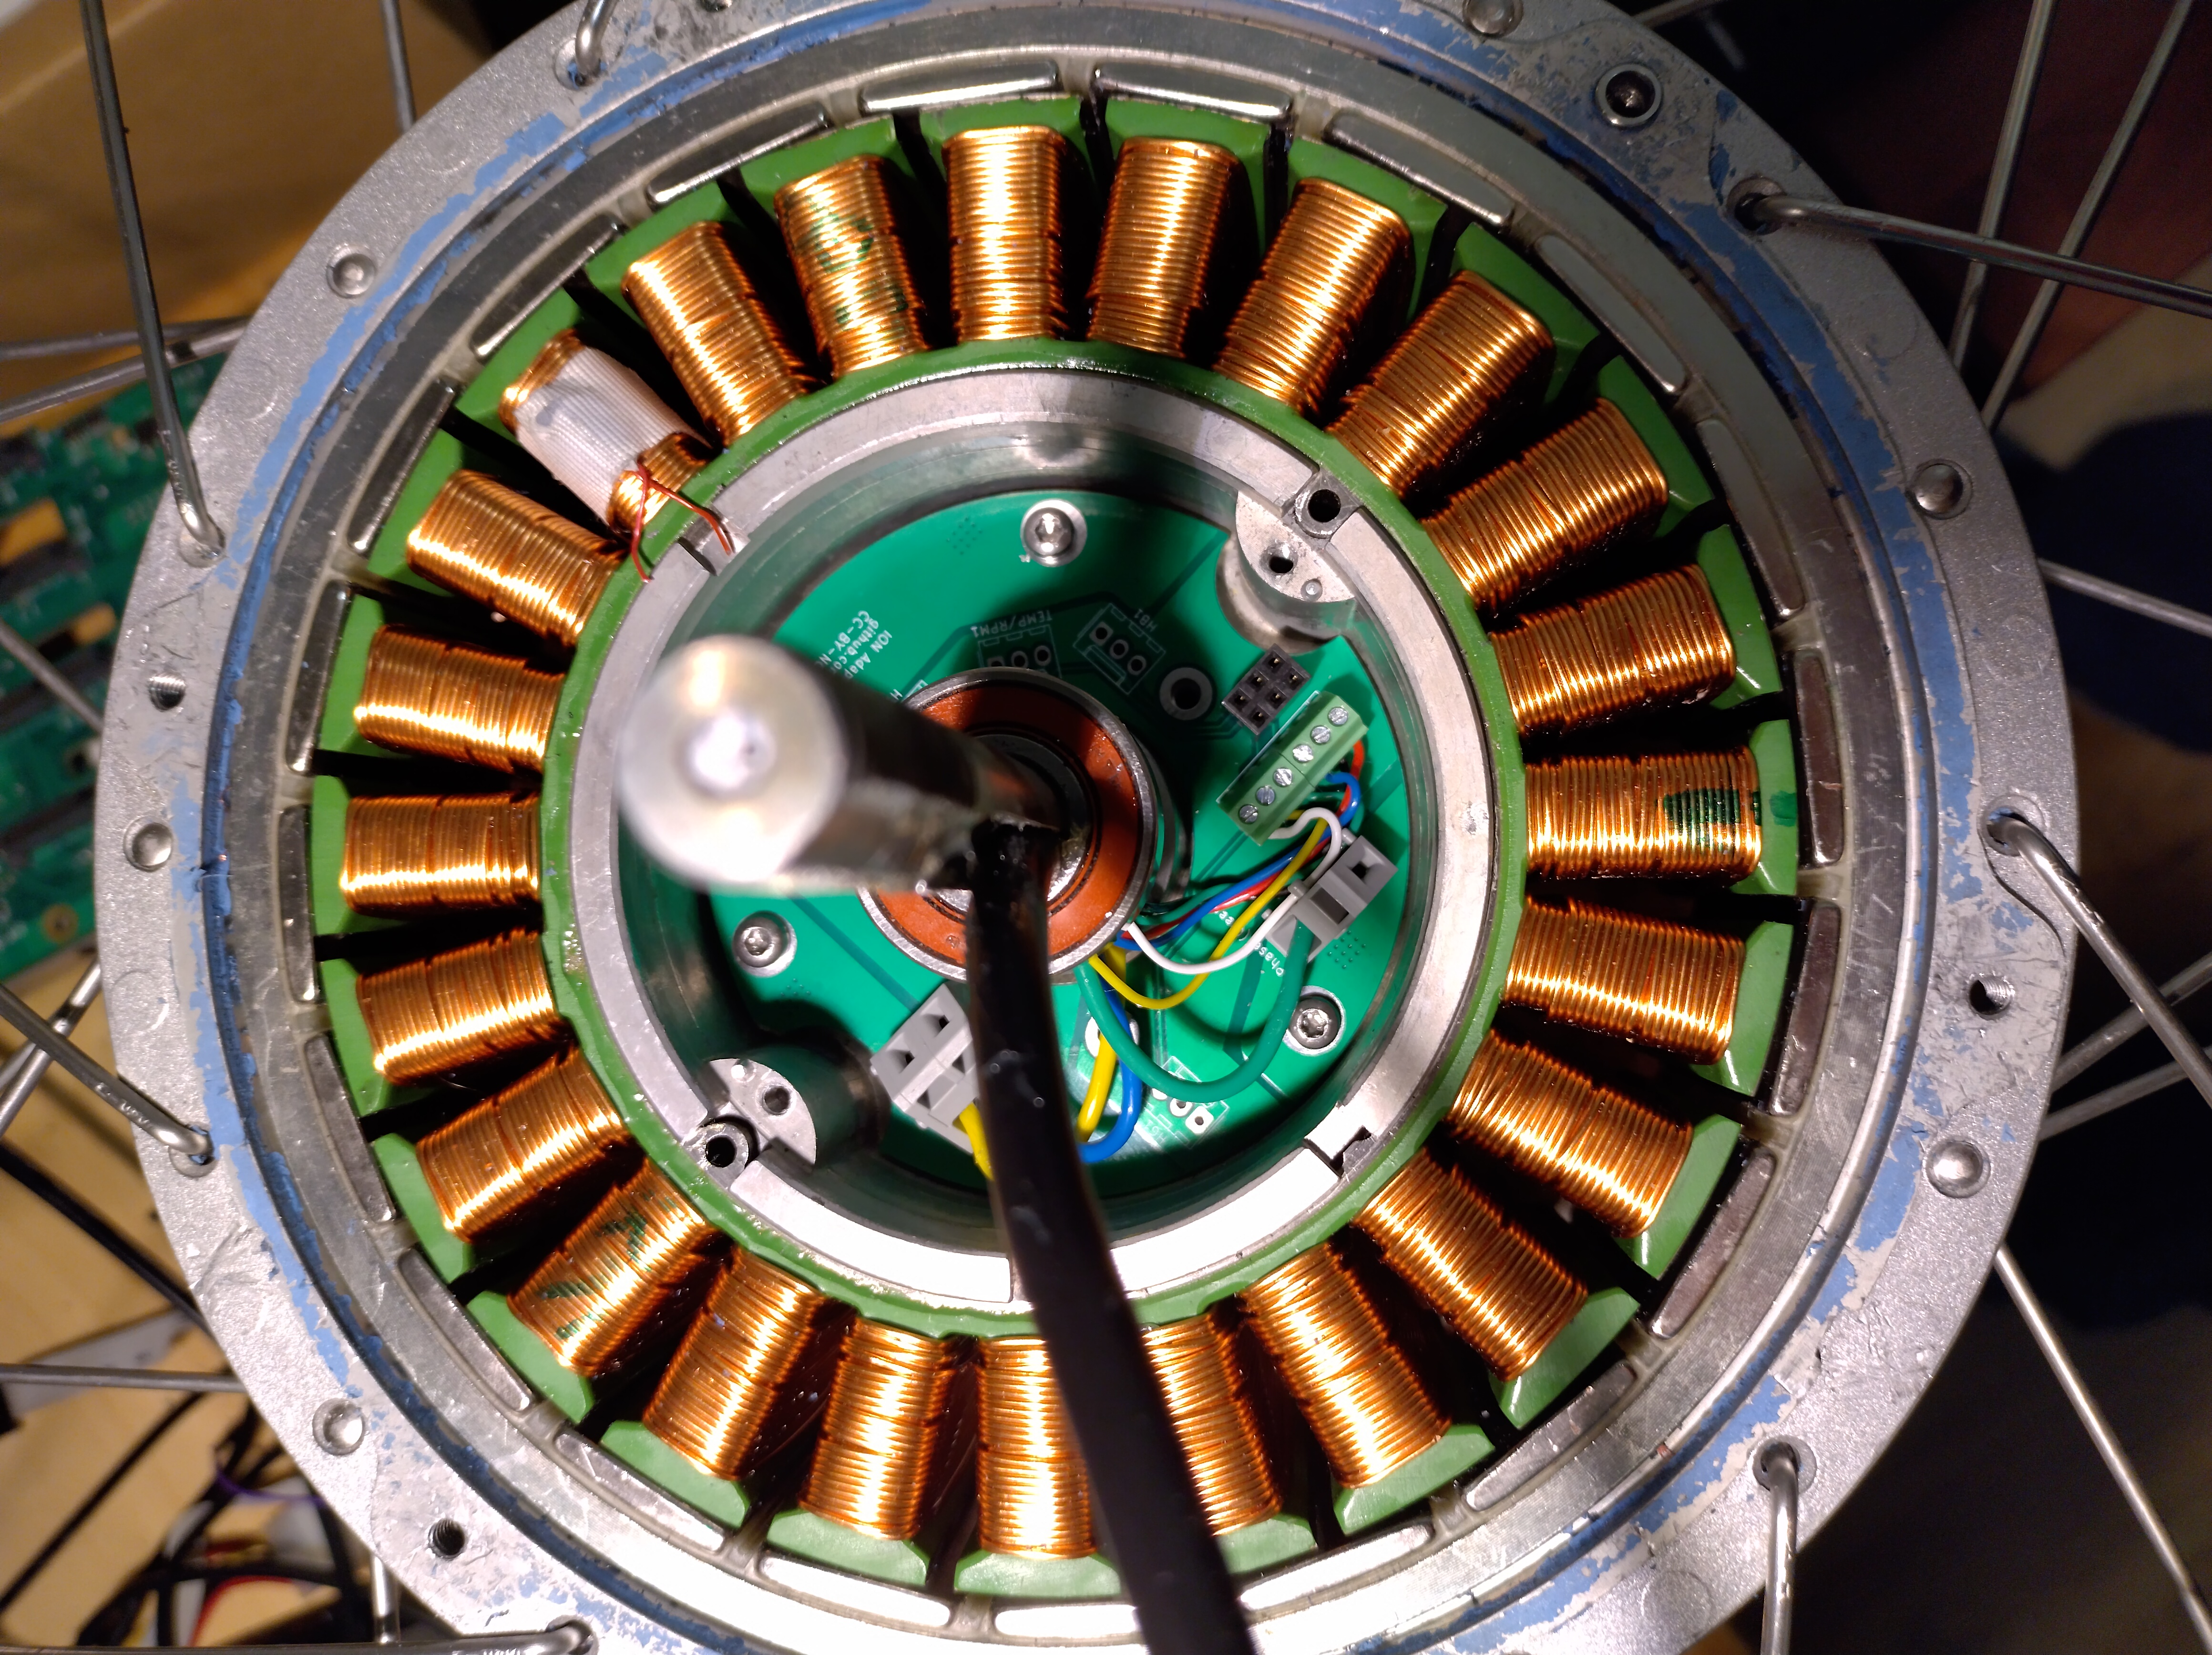
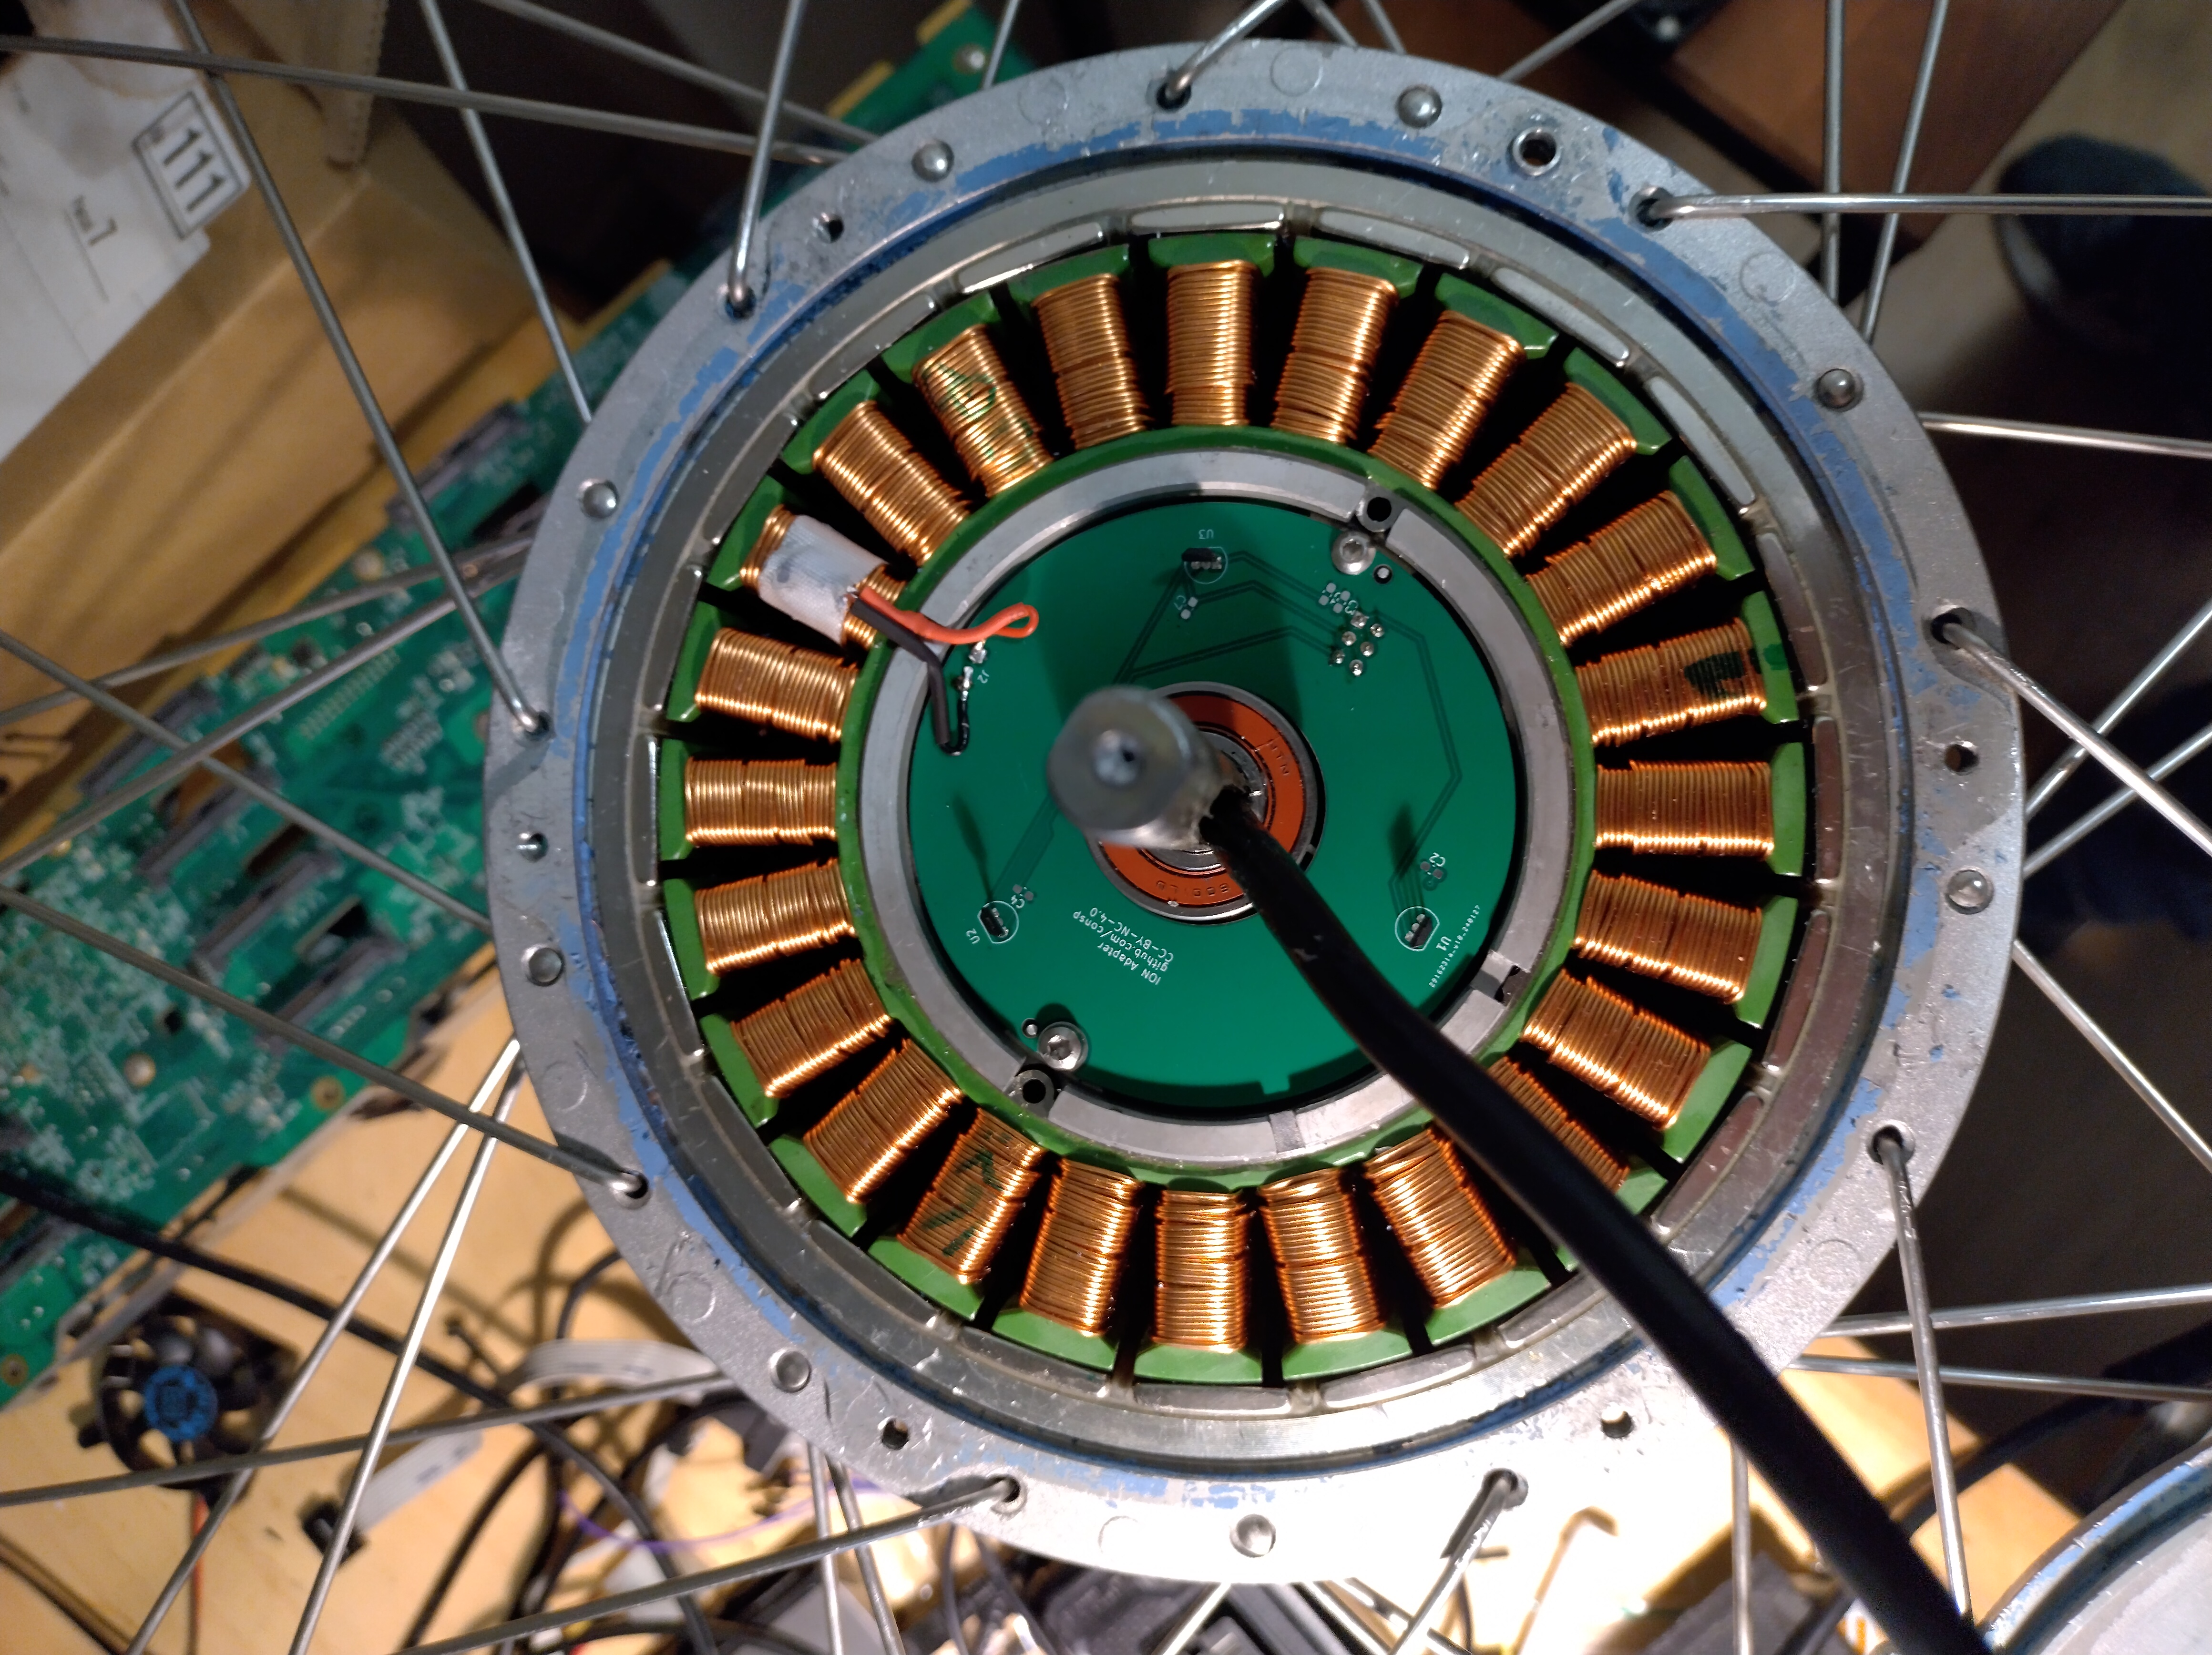
The motor is a 20 magnet, 24 slot PMSM. It should be able to function with hall sensors but due to how it's configured you need to make sure the hall sensors are very precicely aligned.
[!WARNING]
The top magnet ring only has 10 magnets, you need some logic to fix this. The original board has 6 hall sensors to do this in an odd configuration. We choose a more simple one. The updated PCB with XOR gate and dual sensors is not yet finished.
You need some form of magic (logic or analogue) to offset the magnet difference. This can be done with interpretation but I chose the old fashioned digital logic aproach: Add another sensor per signal, offset by 90 degrees and XOR them to get a normal expected sample. There are more options logically but this is what I went with.
I forgot to take pictures before I sealed the motor again ... so no live images.
Features:
Advise to put together:
This work is licensed under CC BY-NC 4.0 (https://creativecommons.org/licenses/by-nc/4.0/)
| Qty | Value | Footprint | References |
|---|---|---|---|
| 3 | MountingHole | MountingHole:MountingHole_3.2mm_M3_DIN965_Pad_TopBottom | H4, H5, H6 |
| 3 | MountingHole_Pad | Library:MountingHole_3.6mm_M3_DIN965_Pad | H1, H2, H3 |
| 1 | Conn_01x01 | TerminalBlock_WAGO:TerminalBlock_WAGO_236-401_1x01_P5.00mm_45Degree | J2 |
| 1 | Conn_01x02 | TerminalBlock_WAGO:TerminalBlock_WAGO_236-402_1x02_P5.00mm_45Degree | Ph1 |
| 1 | Conn_01x06 | Connector_Molex:Molex_KK-254_AE-6410-06A_1x06_P2.54mm_Vertical | J1 |
| 1 | Conn_02x03_Odd_Even | Connector_PinHeader_2.54mm:PinHeader_2x03_P2.54mm_Vertical | B2B1 |


gusmanb/logicanalyzer
24 channel, 100Msps logic analyzer hardware and software

byrantech/laptop
anyon_e, a highly integrated, high end, open source laptop. Attempt the impossible.

joeycastillo/Sensor-Watch
A board replacement for the classic Casio F-91W wristwatch


OLIMEX/OLINUXINO
OLINUXINO is Open Source / Open Hardware, low cost from EUR 24 Linux Industrial grade Single Board Computer capable to operate -25+85C

rusefi/rusefi
rusefi - GPL internal combustion engine control unit

VoronDesign/Voron-Hardware
Cool Hardware designed by the Voron Design group

hoglet67/RGBtoHDMI
Bare-metal Raspberry Pi project that provides pixel-perfect sampling of Retro Computer RGB/YUV video and conversion to HDMI
It measures 75 × 71.9 mm and has 2 copper layers, 0.49 mm thick.
10 parts. The full list of its parts is on this page, with links to each part's symbol and footprint where PCBKit's library has them.
From the consp/pcbs repository on GitHub, at the commit this page was made from: the board is ion-xgt-adapter/ion-connector-bottom.kicad_pcb and its schematic 486sram-adapter/4l sram adapter.kicad_sch. PCBKit opens the board in the browser, with nothing to install.
Its repository states no licence, so its author keeps all rights: ask consp before reusing the design.