
2 layers

 cmerbach/nixos-test
A very basic NixOS setup
Touch shield is an open-source printed circuit board by cmerbach, from the cmerbach/nixos-test repository on GitHub. It is a 4-layer board of 37 × 18 mm with 23 parts on 23 nets, routed with 160 tracks and 7 vias.
It is built around the TTP223-BA6. Its parts include 6 capacitors, 3 resistors, 3 ICs, 3 diodes and 2 connectors.
# create a tmp folder
mkdir -p tmp

# download the current version of nixos
test ! -f tmp/nixos.iso && wget https://channels.nixos.org/nixos-24.11/latest-nixos-minimal-x86_64-linux.iso -O tmp/nixos.iso || echo "Nothing todo!"

# create the device for install the os
test ! -f tmp/nixos.img && qemu-img create -f raw tmp/nixos.img 100G || echo "Nothing todo!"[!NOTE] cpu : Specify a processor architecture to emulate. To see a list of supported architectures, run:
qemu-system-x86_64 -cpu
cpu host : (Recommended) Emulate the host processor
smp : Specify the number of cores the guest is permitted to use. The number can be higher than the available cores on the host system. Use-smp $(nproc)to use all currently available cores
# ---( Option A)--- #
# run the boot command with gui
qemu-system-x86_64 -enable-kvm -hda tmp/nixos.img -smp 8 -m 16G -nic user,hostfwd=tcp::8888-:22 -cdrom tmp/nixos.iso -boot d

#---( set a password to root in the vm )--- #
#~$ passwd# ---( Option B)--- #
# run the boot command just in plain terminal
qemu-system-x86_64 -enable-kvm -hda tmp/nixos.img -smp 8 -m 16G -nic user,hostfwd=tcp::8888-:22 -cdrom tmp/nixos.iso -boot d -nographic -serial mon:stdio
#---( set a password to root in the vm )--- #
#~$ passwdssh-keygen -f "/home/user/.ssh/known_hosts" -R "[127.0.0.1]:8888" && \
sshpass -p '123' \
ssh -o StrictHostKeyChecking=no -o PreferredAuthentications=password nixos@127.0.0.1 -p 8888[!IMPORTANT]
The default repo you are using is: nixos
[!CAUTION] To run disko needs 2GB of additional space
# set env variables
export ACCOUNT=
export BRANCH=
# run the install
nix --experimental-features "nix-command flakes" run --refresh --no-write-lock-file git+https://github.com/$ACCOUNT/nixos?ref="$BRANCH"#install# set env variables
read -p 'Account: ' ACCOUNT && export ACCOUNT && \
read -p 'REPO: ' REPO && export REPO && \
read -p 'BRANCH: ' BRANCH && export BRANCH && \
read -p 'PASSWORD: ' PASSWORD && export PASSWORD && \
# run the install
ACCOUNT="$ACCOUNT" PASSWORD="$PASSWORD" nix --experimental-features "nix-command flakes" run --refresh --no-write-lock-file git+https://"$ACCOUNT":"$PASSWORD"@github.com/$ACCOUNT/$REPO?ref="$BRANCH"#install# load env variable
source .env.local
# run the install
ssh-keygen -f "/home/user/.ssh/known_hosts" -R "[127.0.0.1]:8888" && \
sshpass -p '123' \
ssh -t -o StrictHostKeyChecking=no -o PreferredAuthentications=password nixos@127.0.0.1 -p 8888 \
" export REPO='$REPO' && \
export ACCOUNT='$ACCOUNT' && \
export BRANCH='$BRANCH' && \
export PASSWORD='$PASSWORD' && \
ACCOUNT=\"\$ACCOUNT\" PASSWORD=\"\$PASSWORD\" \
nix --experimental-features \"nix-command flakes\" run --refresh --no-write-lock-file git+https://\"\$ACCOUNT\":\"\$PASSWORD\"@github.com/\$ACCOUNT/\$REPO?ref=\"\$BRANCH\"#install"# run in ui remove: -nographic -serial mon:stdio
qemu-system-x86_64 -enable-kvm -hda tmp/nixos.img -smp 8 -m 16G -nic user,hostfwd=tcp::8888-:22 -nographic -serial mon:stdio# run in ui remove: -nographic -serial mon:stdio
cp "$(ls /nix/store/*qemu*/share/qemu/edk2-i386-vars.fd | head -1)" /tmp/efi-vars.fd && \
chmod 777 /tmp/efi-vars.fd && \
qemu-system-x86_64 \
-enable-kvm \
-machine q35 \
-cpu host \
-smp 8 \
-m 16G \
-drive if=pflash,format=raw,readonly=on,file="$(ls /nix/store/*qemu*/share/qemu/edk2-x86_64-code.fd | head -1)" \
-drive if=pflash,format=raw,file=/tmp/efi-vars.fd \
-drive file=tmp/nixos.img,format=raw \
-nic user,hostfwd=tcp::8888-:22 \
-nographic -serial mon:stdio


[!NOTE]
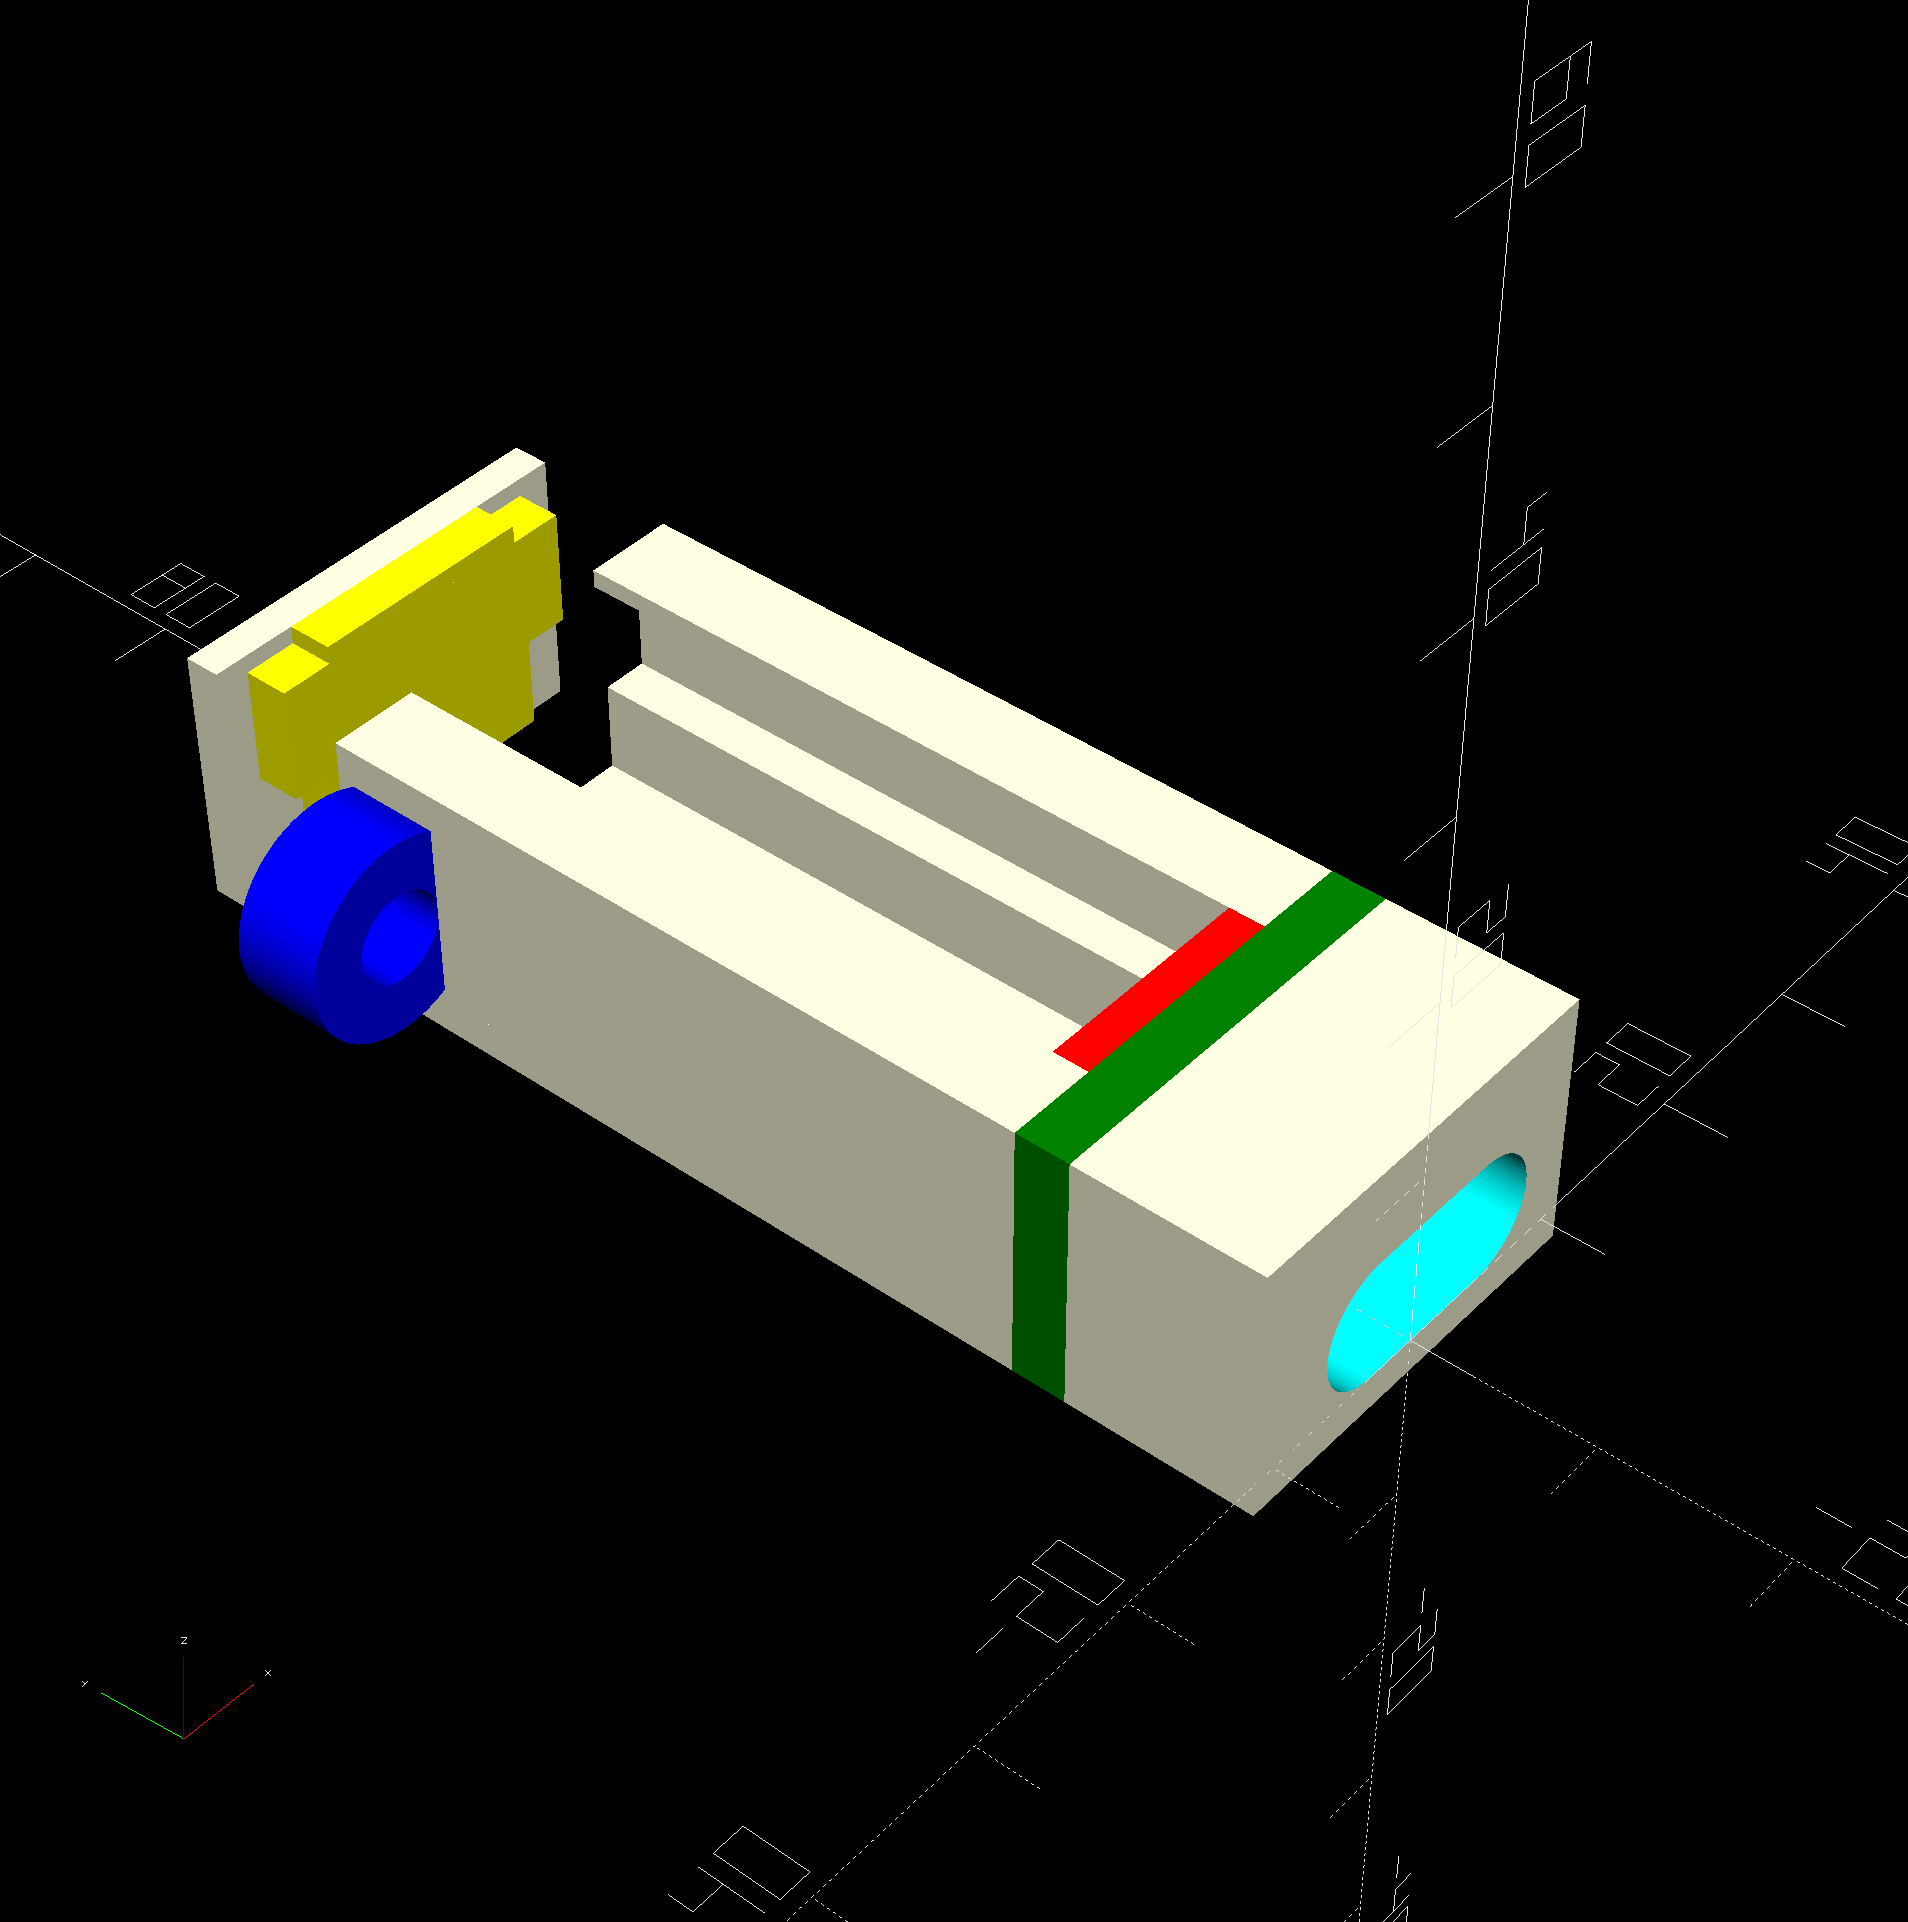
You can go to JLCPCB and upload the files and be production ready


# open the arduino ide
arduino-ide
[!IMPORTANT]
- Board Manager -> Arduino AVR Boards -> Install
- Libary Manager -> Keybaord -> Install
- Tools -> Board -> Arduino AVR Boards -> Arduino Leonardo
- Tools -> Port -> /dev/ttyACM0
A simple script for the USB HID (Human Interface Device) functionality of the Arduino Pro Micro. This code sends a text message whenever the board is connected to a computer.
#include <Keyboard.h>

void setup() {
  Keyboard.begin(); // init keyboard
  delay(1000); // wait 2 secounds for the system to be ready
  Keyboard.print(""); // send Text without linebreak
  Keyboard.write(KEY_RETURN); // simulate the Enter key
  Keyboard.end(); // end keyboard
}

void loop() {
  // nothing in the loop, since we only want to send once at startup
}[!CAUTION] Think about the keyboard layout! It only works with us layout
Also think about that you are using the us layout when typing!
[!TIP] workaround in my case for GNOME/KDE:
gsettings set org.gnome.desktop.input-sources sources "[('xkb', 'us')]"
gsettings set org.gnome.desktop.input-sources sources "[('xkb', 'de')]"
Upload the Code to the Arduino Pro Micro. Don't forget to update the token for your GitHub account accordingly.
[!NOTE]
const char* TOKEN = "...";
create a GitHub Token, go to:
Settings -> Developer Settings -> Personal access tokens -> Fine-grained tokens -> REPO -> Repository permissions -> Contents -> read-only -> Generate Token
[!TIP] Setting up renovate for specific repos:
Profile -> Settings -> Integrations -> Applications -> Renovate -> Configure
[!TIP] Videos for help to build:
How To Build A Corne Keyboard: The Complete Beginner's Guide
How to Build a Wireless Corne Keyboard
Corne Wireless Split Keyboard Build
Guide for soldering all components
[!IMPORTANT] Default Values
bash -c "$(curl -fsSL https://zmk.dev/setup.sh)"
# -> 17) Corne -> 10) nice!nano v2 -> Y) Enter -> Y) Enter -> Y) Enter
# rm .github for using local
[!TIP] ZMK System Configuration for Bluetooth and USB ZMK Split Configuration
This repository uses a custom GitHub Actions workflow to build ZMK firmware for the Corne Cherry v3 keyboard with Nice!Nano controllers. The pipeline generates two firmware files: corne_left.uf2 and corne_right.uf2.
[!NOTE] Default config is for bluetooth connection If using
[config:usb]in the commit message you get the config for usb connection
[!IMPORTANT]
- Temporarily enable CONFIG_ZMK_BLE_CLEAR_BONDS_ON_START=y in corne.conf
- Flash firmware, press reset button once to boot and clear all bonds, then re-comment the line and flash again
[!CAUTION]
- Lower layer + A key: &bt BT_CLR (clears all stored Bluetooth connections)
- Use when device won't reconnect after being removed from computer's Bluetooth list
- This is extremely needed to clear the device for a reconnect


[!NOTE] File: keycaps.scad If you don't want a socket just set:
base_platform = false
For a longer keycap simply set the variable:wide_keycap = trueLabeled keycaps you find in the file: keycaps-functional.3mf Additionally case: case.scad

[!TIP] Keymap Editor Keyboard Layouts
| Qty | Value | Footprint | References |
|---|---|---|---|
| 6 | SolderJumper_2_Open | Jumper:SolderJumper-2_P1.3mm_Open_Pad1.0x1.5mm | A1, A2, A3, B1, B2, B3 |
| 3 | 1K | Resistor_SMD:R_0805_2012Metric | R1, R2, R3 |
| 3 | 1uF | Capacitor_SMD:C_0805_2012Metric | C2, C4, C6 |
| 3 | 30pF | Capacitor_SMD:C_0402_1005Metric | C1, C3, C5 |
| 3 | TTP223-BA6 | extra:TTP223-BA6 | U1, U2, U3 |
| 1 | Conn_01x12_Socket_left | Connector_PinSocket_2.54mm:PinSocket_1x12_P2.54mm_Vertical | J1 |
| 1 | Conn_01x12_Socket_right | Connector_PinSocket_2.54mm:PinSocket_1x12_P2.54mm_Vertical | J2 |
| 1 | LED - Blue | LED_SMD:LED_0805_2012Metric | D2 |
| 1 | LED - Green | LED_SMD:LED_0805_2012Metric | D3 |
| 1 | LED - Red | LED_SMD:LED_0805_2012Metric | D1 |
It measures 37 × 18 mm and has 4 copper layers, 1.6 mm thick.
23 parts, built around the TTP223-BA6. The full list of its parts is on this page, with links to each part's symbol and footprint where PCBKit's library has them.
From the cmerbach/nixos-test repository on GitHub, at the commit this page was made from: the board is arduino/pcb/touch-shield/touch-shield.kicad_pcb and its schematic arduino/pcb/touch-shield/touch-sensor-blue.kicad_sch. PCBKit opens the board in the browser, with nothing to install.
Its repository states no licence, so its author keeps all rights: ask cmerbach before reusing the design.

Paschalis/Hardware-Login-Key
The Hardware Login Key is an ATtiny85-based USB device that securely automates password entry using a physical button or touch sensor. It offers a simple, hardware-driven way to log into systems or websites.


kasasiki3/Freakeyboard
You enter keys into your PC by swiping and touching just like on a smartphone keyboard.


mynameisbrozu/esp32-based-iot-switch
Personal project - Iot switch with esp32c5 and 3.7" epaper display