2 layers99.5 × 90.5 mm

 AmigaPorts/ImpBox3221
Wireless connectivity for your Amiga
Plipesp is an open-source printed circuit board by AmigaPorts, from the AmigaPorts/ImpBox32 repository on GitHub. It is a 2-layer board of 44 × 40 mm with 29 parts on 72 nets, routed with 525 tracks and 67 vias.
It is built around the ESP32-WROOM-32D, CBTD3384D and AMS1117-3.3. Its parts include 6 capacitors, 5 resistors, 4 ICs, 4 connectors and 3 diodes. It belongs with the retro computing and games boards and the ESP32 boards of this library.


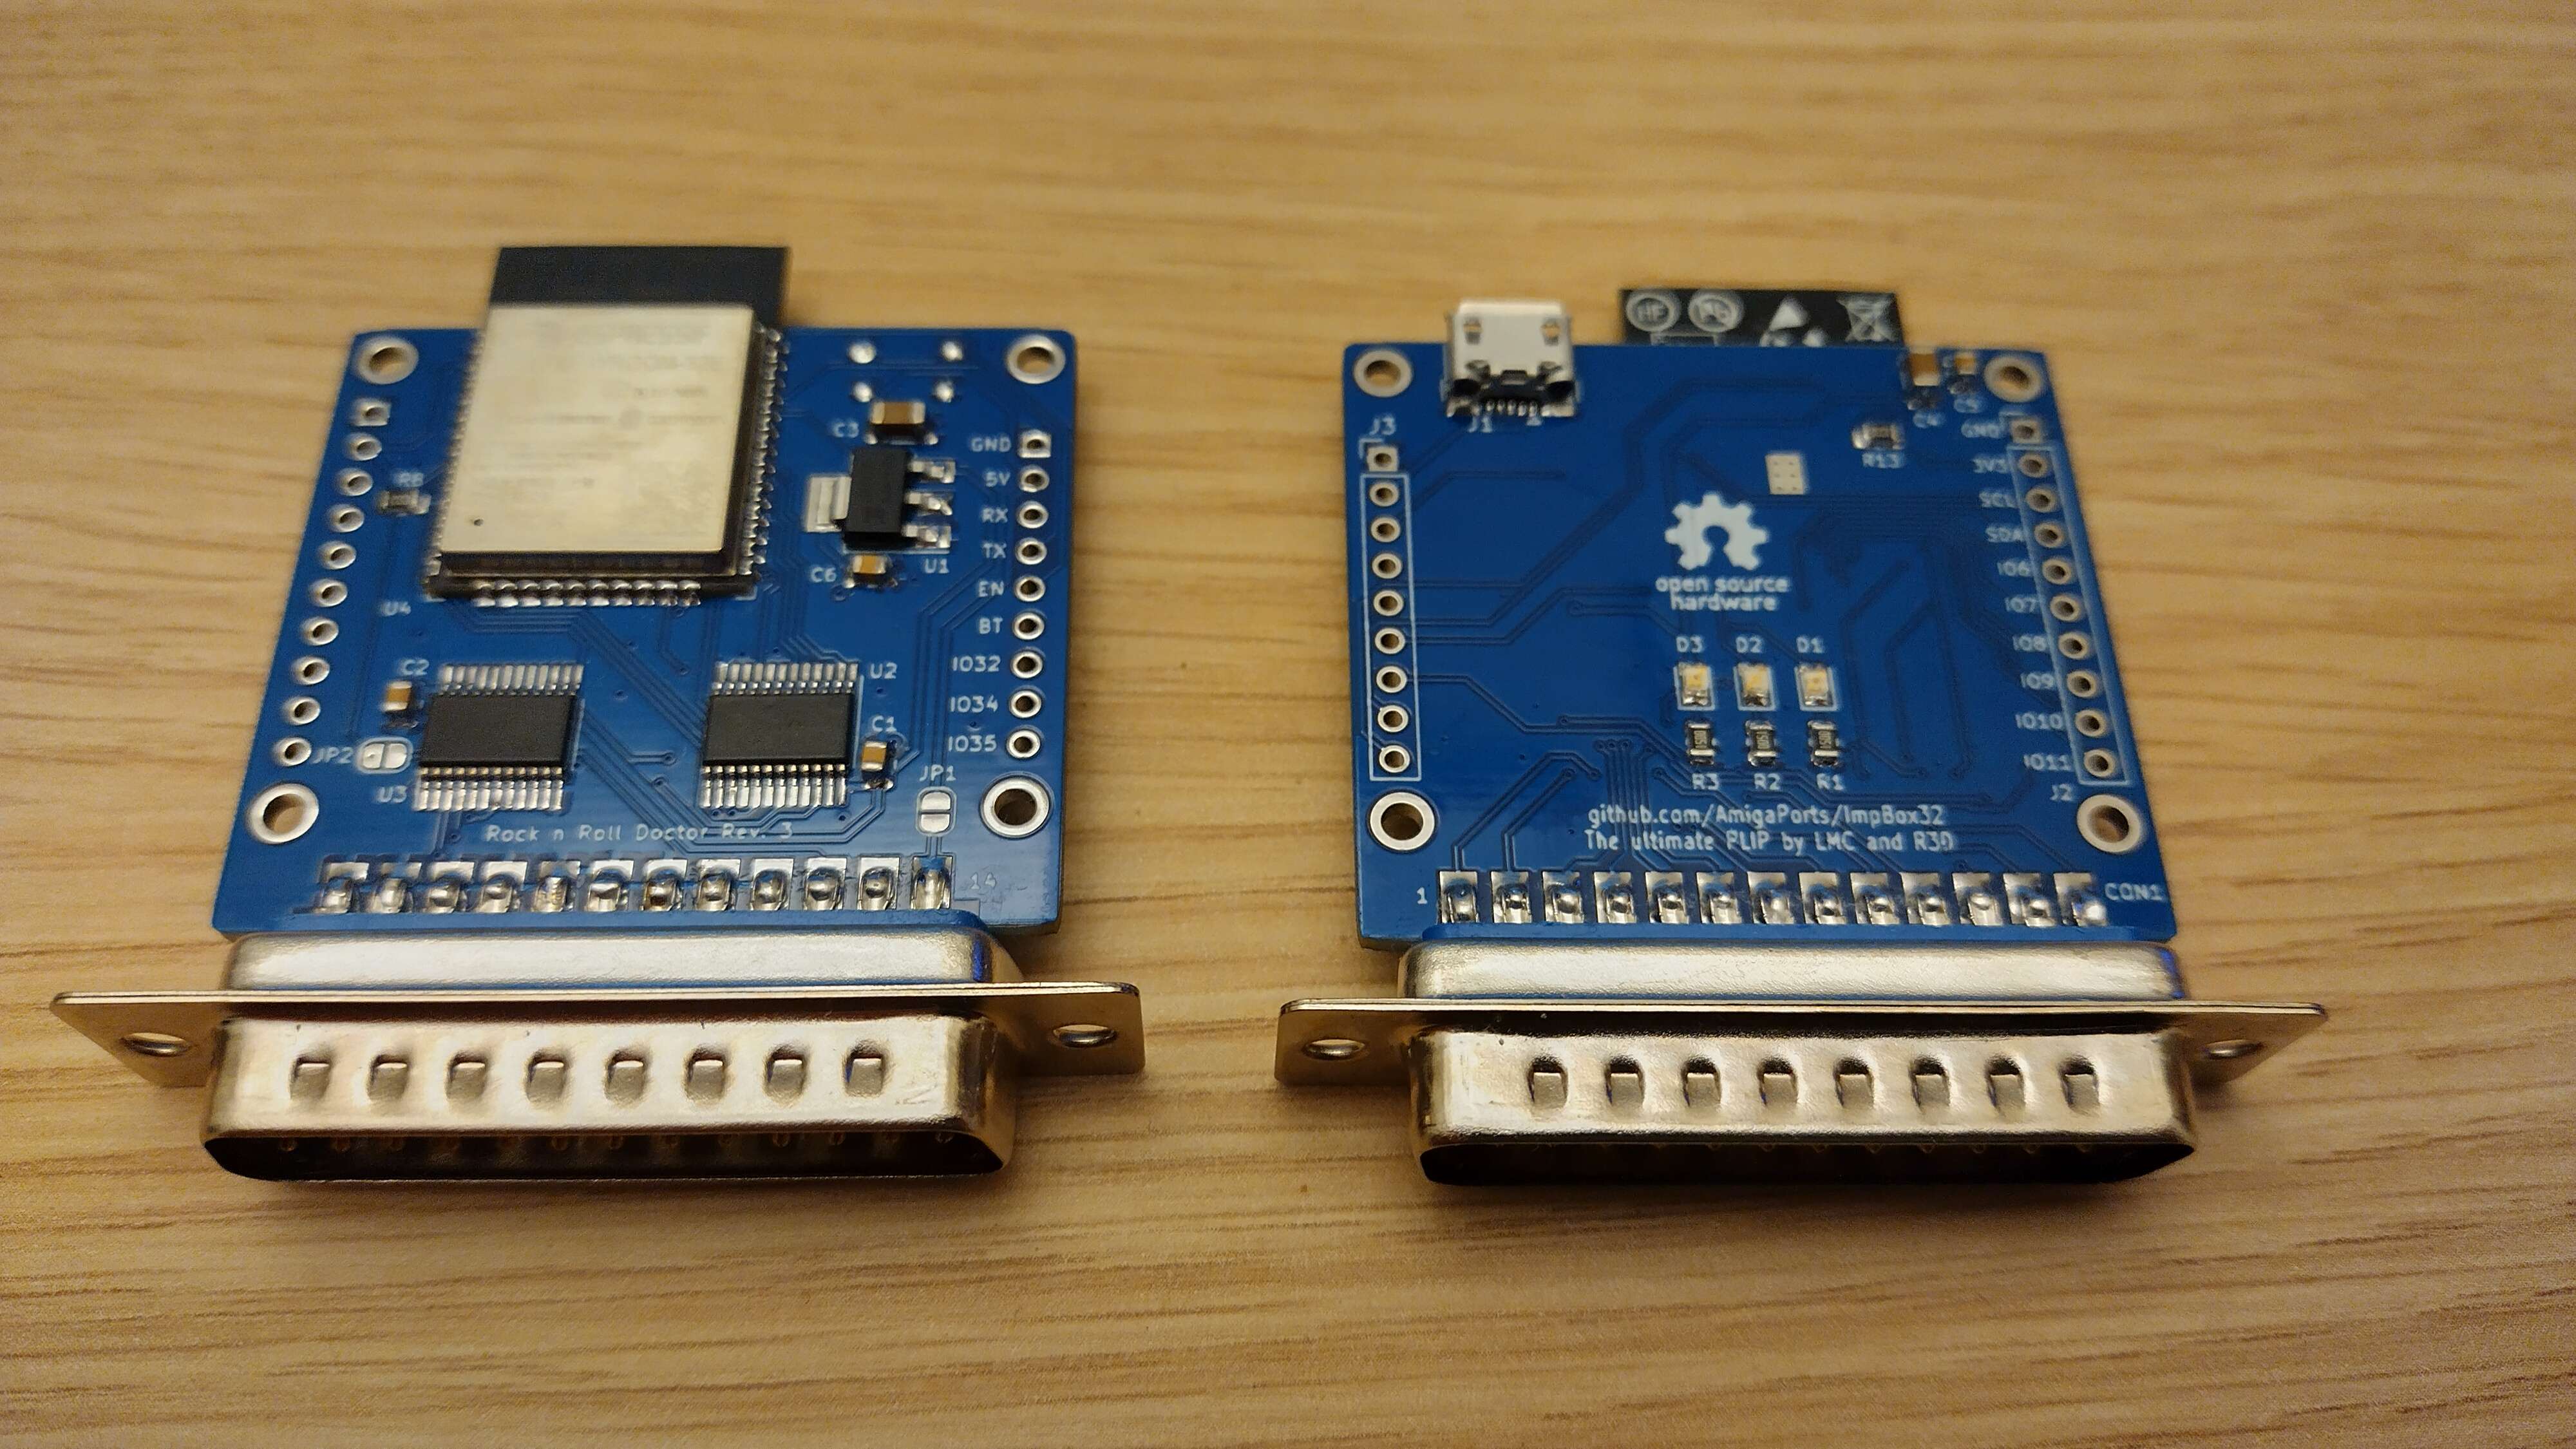
This device provides wireless connectivity to your Amiga. The primary purpose is for use with IMP, but with proper firmware it can act as general-purpose network interface.
Flash the device with firmware from firmware_impbox directory - you can use RX/TX pin header for this using typical ESP32 tooling.
Assuming that your COM port is /dev/ttyUSB0:
esptool --chip esp32 --port /dev/ttyUSB0 --baud 921600 --before default_reset --after hard_reset write_flash -z --flash_mode dio --flash_freq 80m --flash_size 4MB \
0x1000 bootloader.bin \
0x8000 partitions.bin \
0xe000 boot_app0.bin \
0x10000 fw_36.bin
The IMP firmware automatically updates itself, so you need to flash it manually only once.
The firmware makes use of SD1306 or compatible OLED I2C display - be sure to connect one at least during registration and configuration phase.
The IMP firmware requires inputing registration key. If you've built the device for yourself, contact Juen on EAB for getting one. If you're considering building and selling a batch of devices, ask Juen first to discuss terms on getting keys for them. See messages displayed on OLED for detailed instructions on how to enter your key.
to configure WiFi network, use following commands:
imp3 ibcs your_ssid
imp3 ibcp your_password
imp3 ibcc your_key
Device stores the key as well as network parameters in its flash memory, hence configuration needs to be done only once. Once configured, to launch IMP, type:
imp3 ibBe sure to use the latest PCB revision - old ones are buggy and not supported.
The board currently recommended by IMP authors is rev3. There's also rev3s board with SD card slot which cauld be made to work with modified sdbox firmware, and will be eventually suported by the universal firmware.
TBD - this firmware is currently not available.
| Qty | Value | Footprint | References |
|---|---|---|---|
| 5 | 10k | Resistor_SMD:R_0805_2012Metric | R1, R2, R3, R8, R13 |
| 4 | 100nF | Capacitor_SMD:C_0805_2012Metric | C1, C2, C5, C6 |
| 4 | mounting_hole | plipesp:mounting_hole | REF1, REF2, REF3, REF4 |
| 2 | 22uF | Capacitor_SMD:C_1206_3216Metric | C3, C4 |
| 2 | CBTD3384 | plipesp:SO-universal-24_P0.65mm | U2, U3 |
| 1 | 5V_HACK | Jumper:SolderJumper-2_P1.3mm_Open_RoundedPad1.0x1.5mm | JP1 |
| 1 | AMS1117-3.3 | Package_TO_SOT_SMD:SOT-223-3_TabPin2 | U1 |
| 1 | Conn_01x04_Male | Connector_PinHeader_2.54mm:PinHeader_1x10_P2.54mm_Vertical | J2 |
| 1 | Conn_01x06_Male | Connector_PinHeader_2.54mm:PinHeader_1x09_P2.54mm_Vertical | J3 |
| 1 | ESP32-WROOM-32D | plipesp:ESP32-WROOM-32 | U4 |
| 1 | IEEEE-1284A | plipesp:d-sub25_edge | CON1 |
| 1 | POWER | LED_SMD:LED_0805_2012Metric | D3 |
| 1 | RESET_EN | Jumper:SolderJumper-2_P1.3mm_Open_RoundedPad1.0x1.5mm | JP2 |
| 1 | STATUS | LED_SMD:LED_0805_2012Metric | D1 |
| 1 | STATUS2 | LED_SMD:LED_0805_2012Metric | D2 |
| 1 | USB_B_Micro | plipesp:USB_Micro-B_Amphenol_10103594-0001LF_Horizontal | J1 |
The 28 most common of 29 parts.
It measures 44 × 40 mm and has 2 copper layers, 1.6 mm thick.
29 parts, built around the ESP32-WROOM-32D, CBTD3384D and AMS1117-3.3. The full list of its parts is on this page, with links to each part's symbol and footprint where PCBKit's library has them.
From the AmigaPorts/ImpBox32 repository on GitHub, at the commit this page was made from: the board is kicad/plipesp.kicad_pcb and its schematic kicad/plipesp.kicad_sch. PCBKit opens the board in the browser, with nothing to install.
Its repository states no licence, so its author keeps all rights: ask AmigaPorts before reusing the design.


TDA-2030/E-ink-screen
An assistant to help you view text and picture calendars

MarkJB/ESP32_Plotter_Controller
An ESP32/TMC2130 based 2 axis controller designed for pen plotters

sqfmi/HPDL-1414-20x2-ESP32
20x2 Character Display with HPDL-1414 modules & ESP32


Vedatori/Time-O-Mat
Addressable LED clock kit aimed for usage in STEM education. The ultimate solution to time telling...