
2 layers148 × 64 mm
Top PCB
MichaelStickels/Macro_Pad_2.0
DIY custom macro keypad and Deej volume control board with RGB based on the Seeed Studio XIAO RP2040 and CircuitPython.
37 parts3GPL-3.0

 MichaelStickels/Macro_Pad_2.03
DIY custom macro keypad and Deej volume control board with RGB based on the Seeed Studio XIAO RP2040 and CircuitPython.
Macro Pad 2 PCB is an open-source printed circuit board by MichaelStickels, from the MichaelStickels/Macro_Pad_2.0 repository on GitHub, published under the GPL-3.0 licence. It is a 2-layer board of 148 × 64 mm with 37 parts on 24 nets, routed with 119 tracks and 15 vias.
It is built around the PTA4543-2015DPB103. Its parts include 10 connectors, 9 diodes, 7 resistors, 1 IC and 1 switch. It belongs with the keyboards and input and lEDs and displays boards of this library.
DIY custom macro keypad and Deej volume control board with RGB based on the Seeed Studio XIAO RP2040 and CircuitPython.
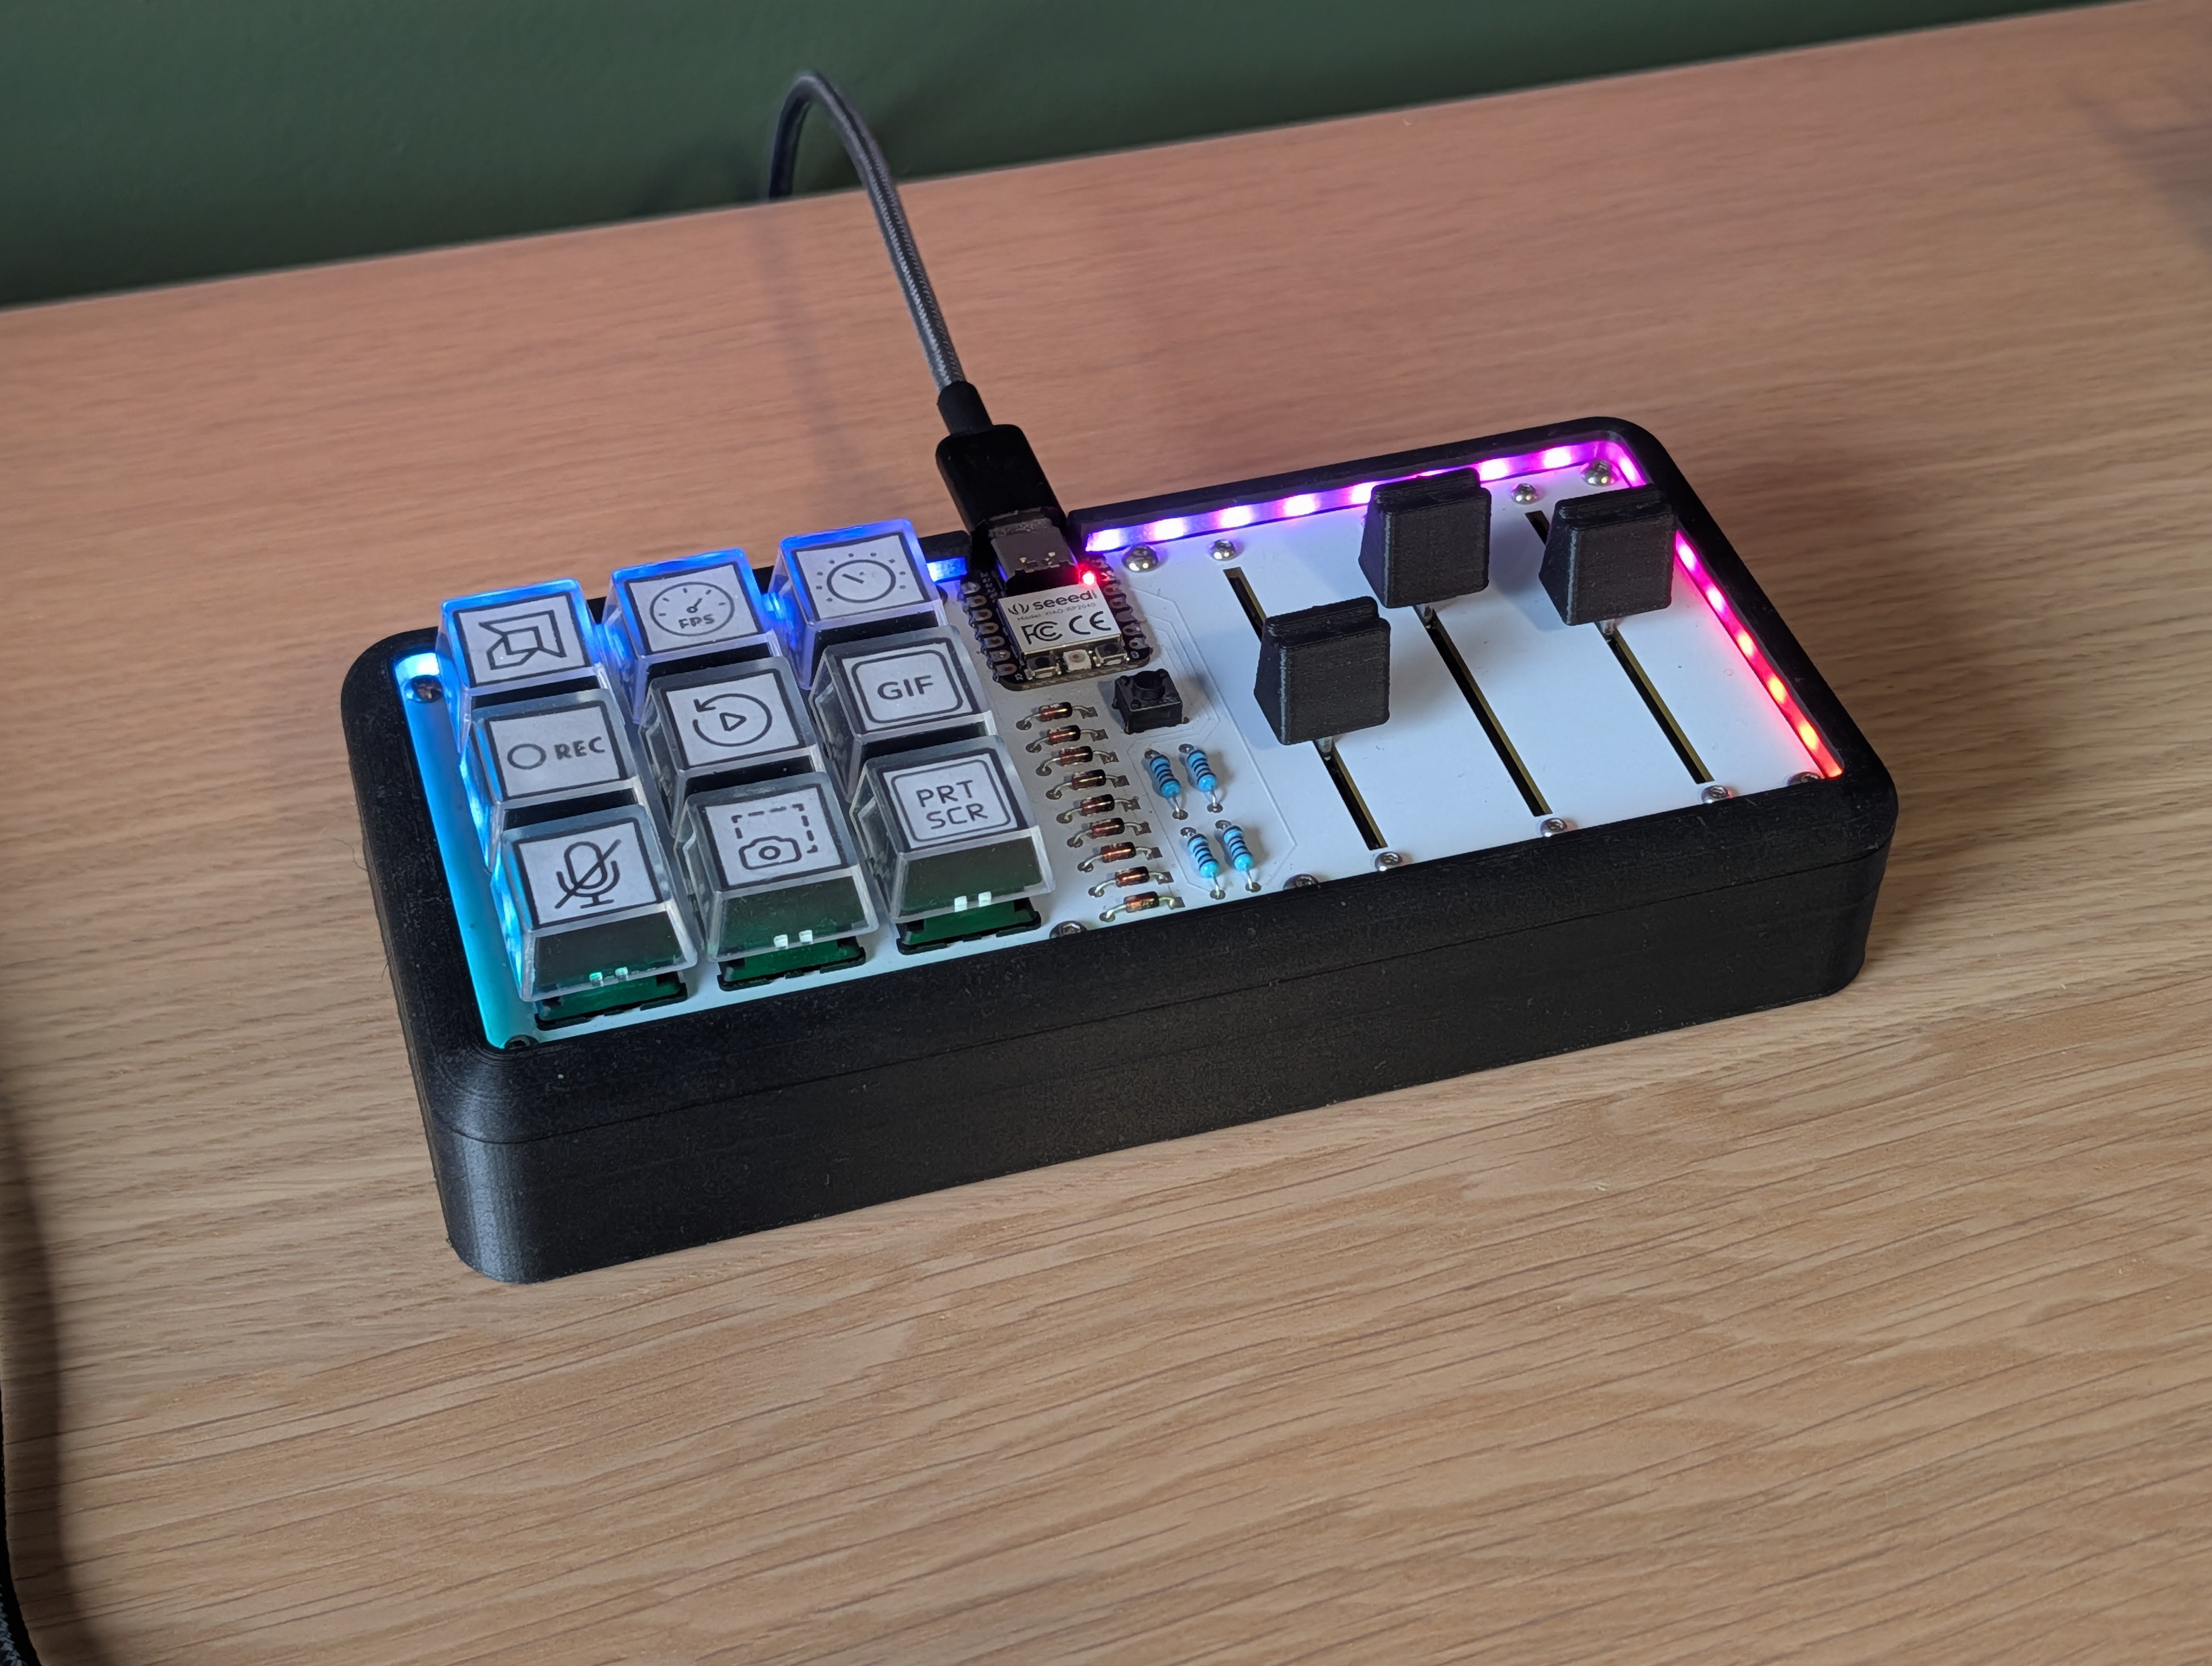
After really enjoying my first DIY macro keypad, I set out to create a second iteration of my own unique design that incorporated even more features. Mainly, I wanted to combine custom macro functionality with slide potentiometers for per-app volume control with Deej. This macro pad prioritizes looks rather than targeting the lowest cost or easiest assembly. The keyswitches are frame-mounted through the PCB so require hand wiring on the back, and the special side lit LED strip for the RGB is a bit spendy. But I am very happy with how it turned out, and it looks great on my desk.
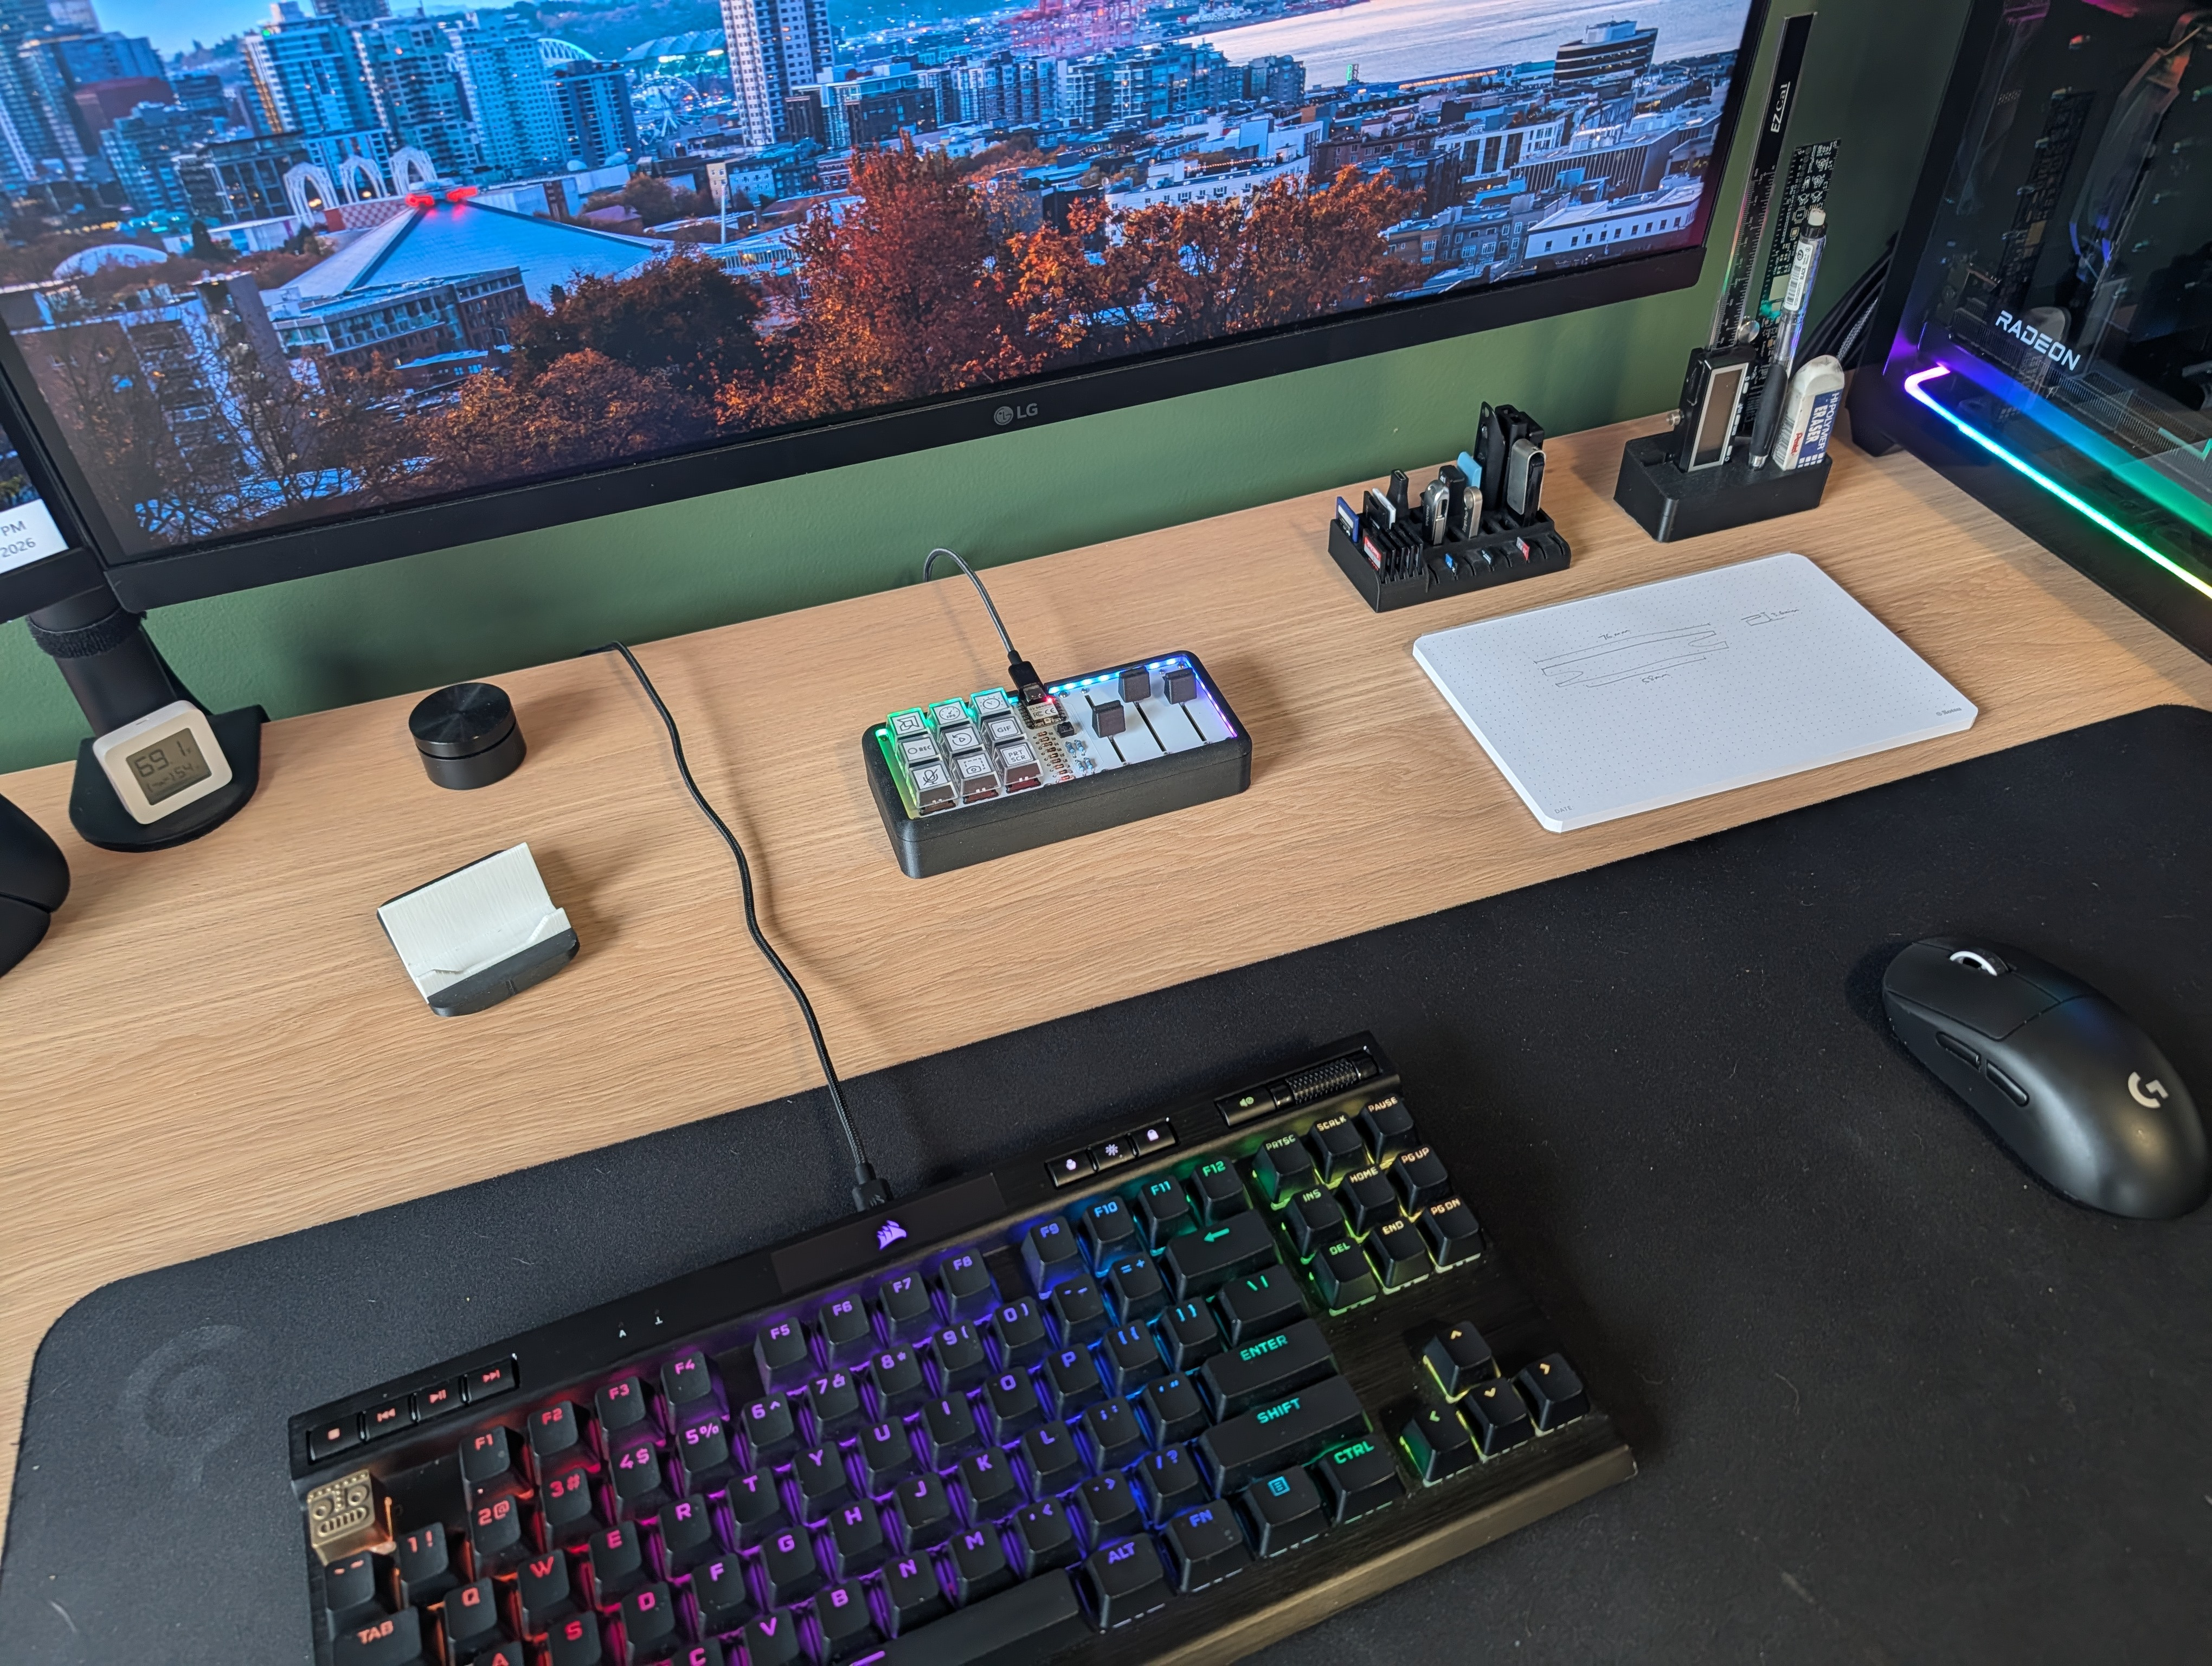
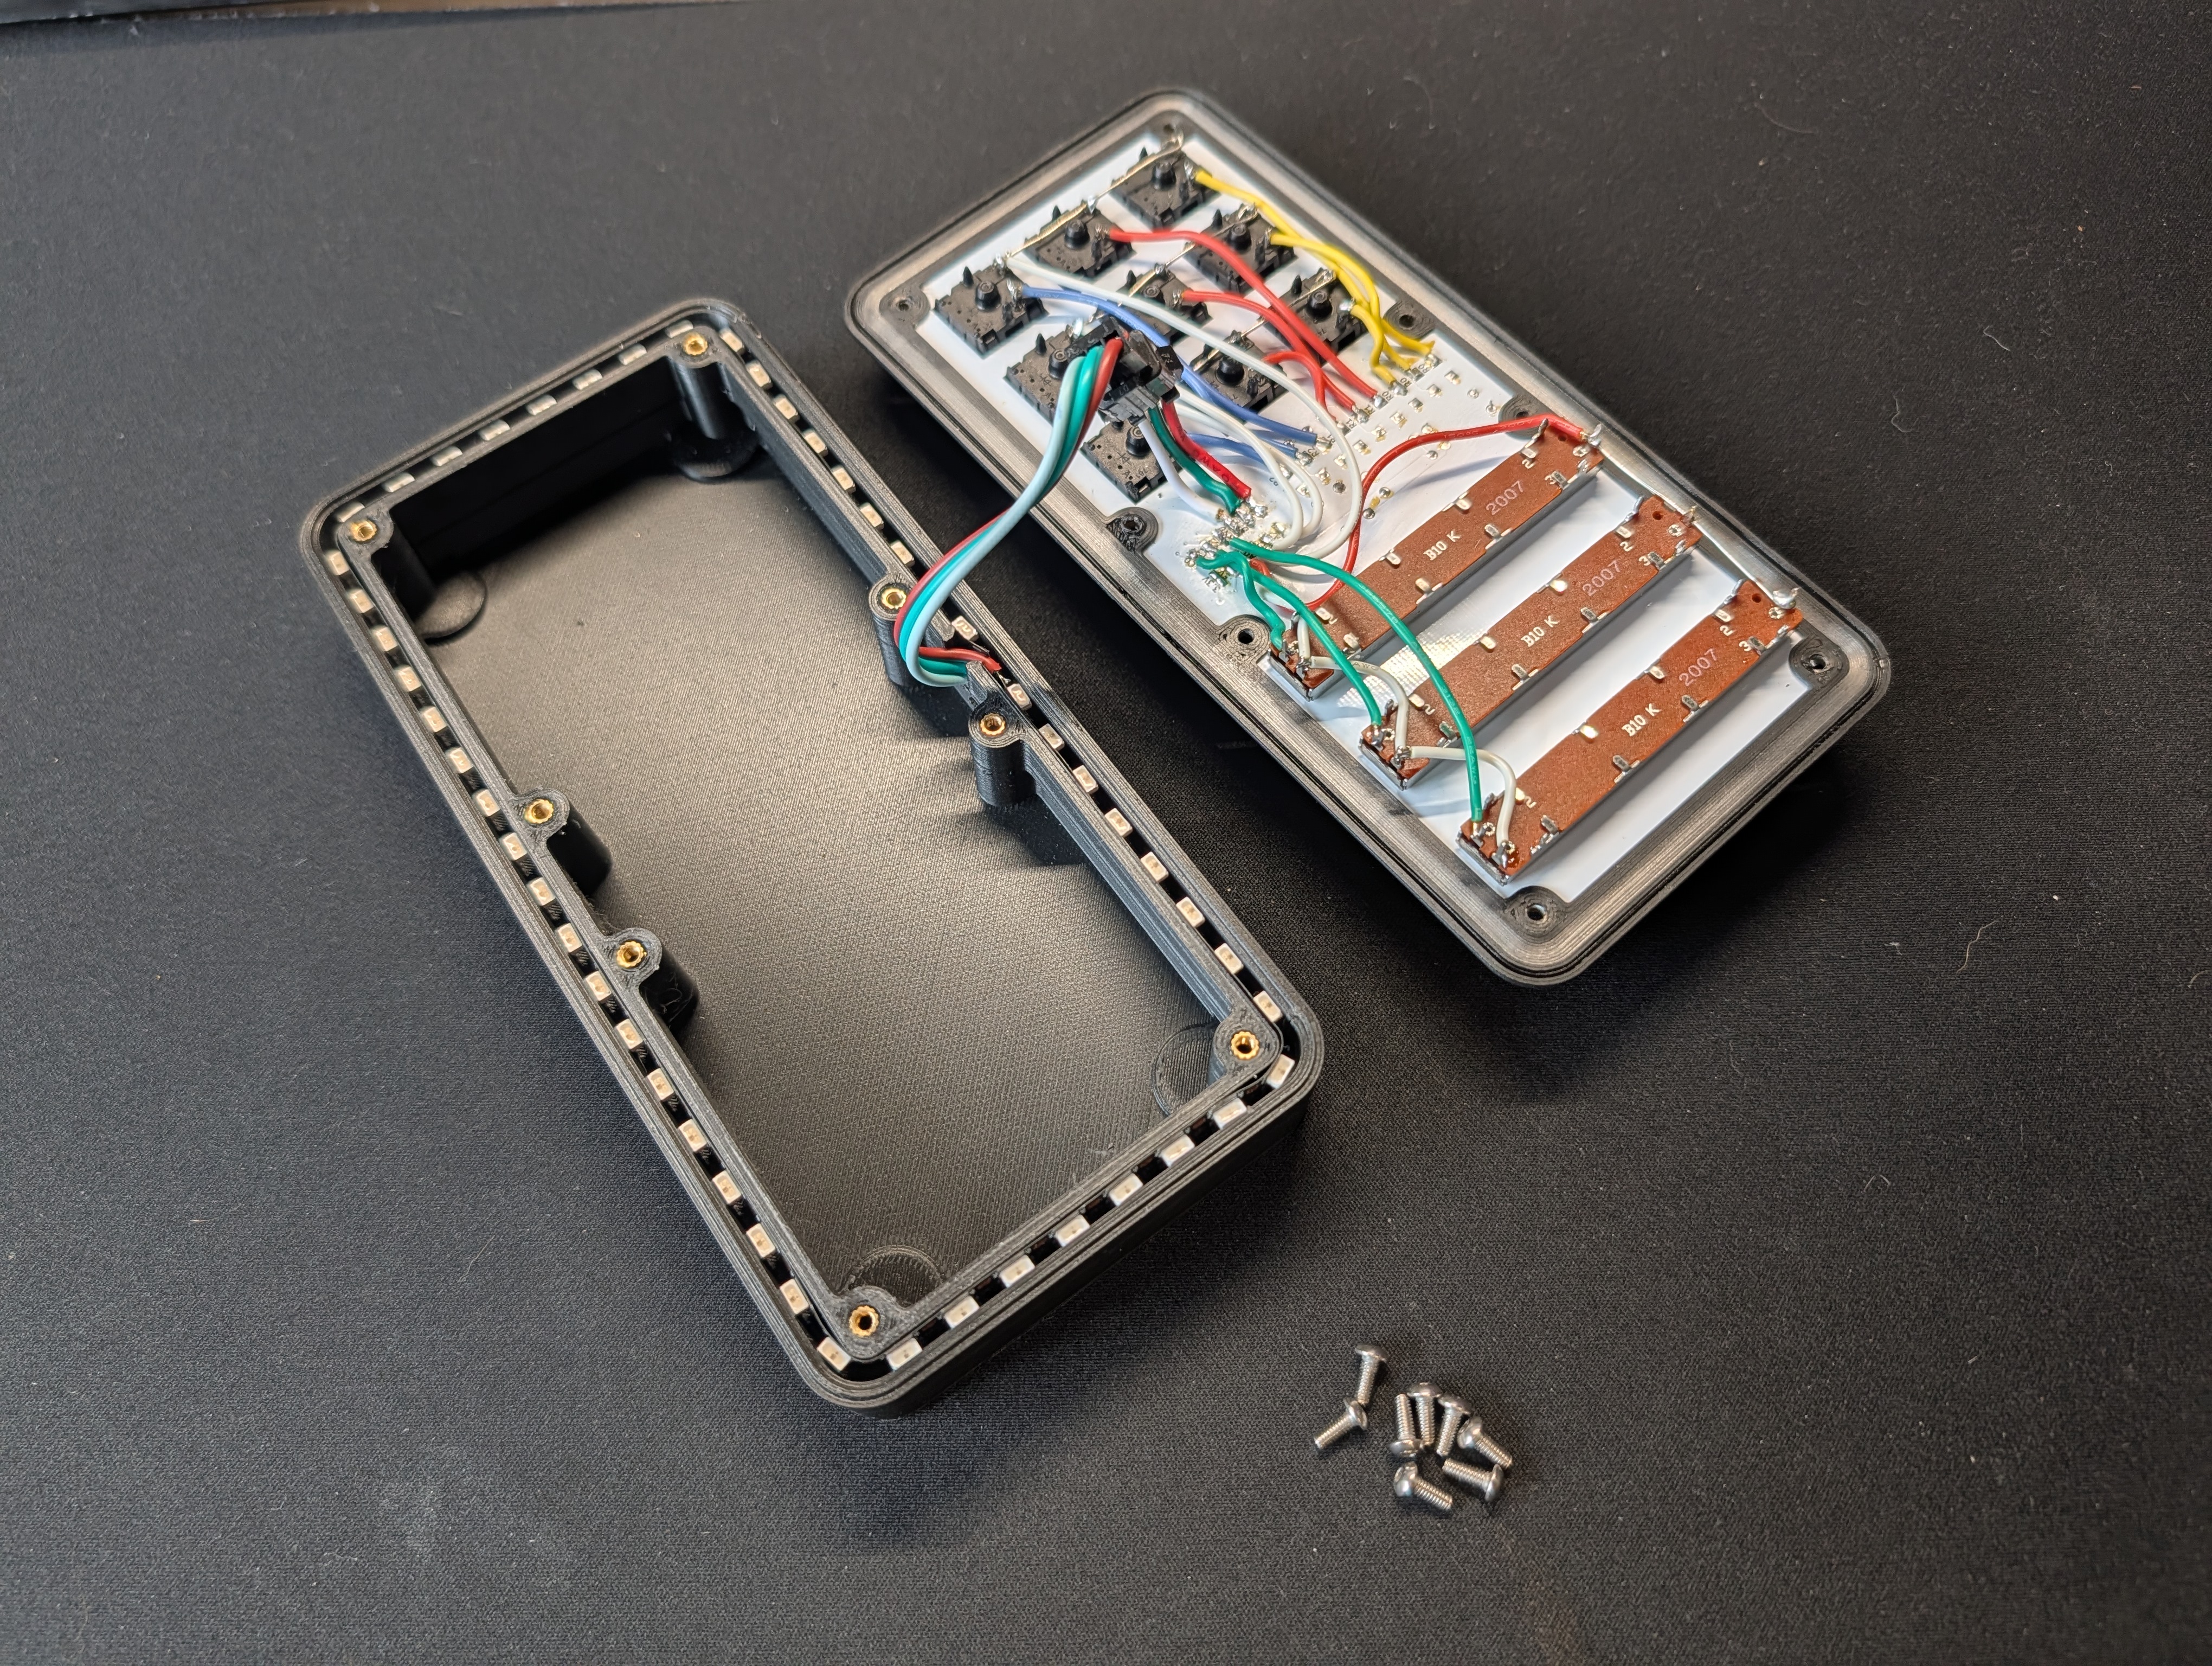
Some more photos of the project and the build process.
PCB Gerber files are included in the release. Simply upload the whole .zip to the custom PCB manufacturer of your choice to order one for yourself (like JLPCB). This project only needs a very basic 2 layer PCB, I recommend white to show off the RGB. Make sure you choose the 'remove mark' or equivilent option to make sure they don't print an order number on the front fo your PCBs.
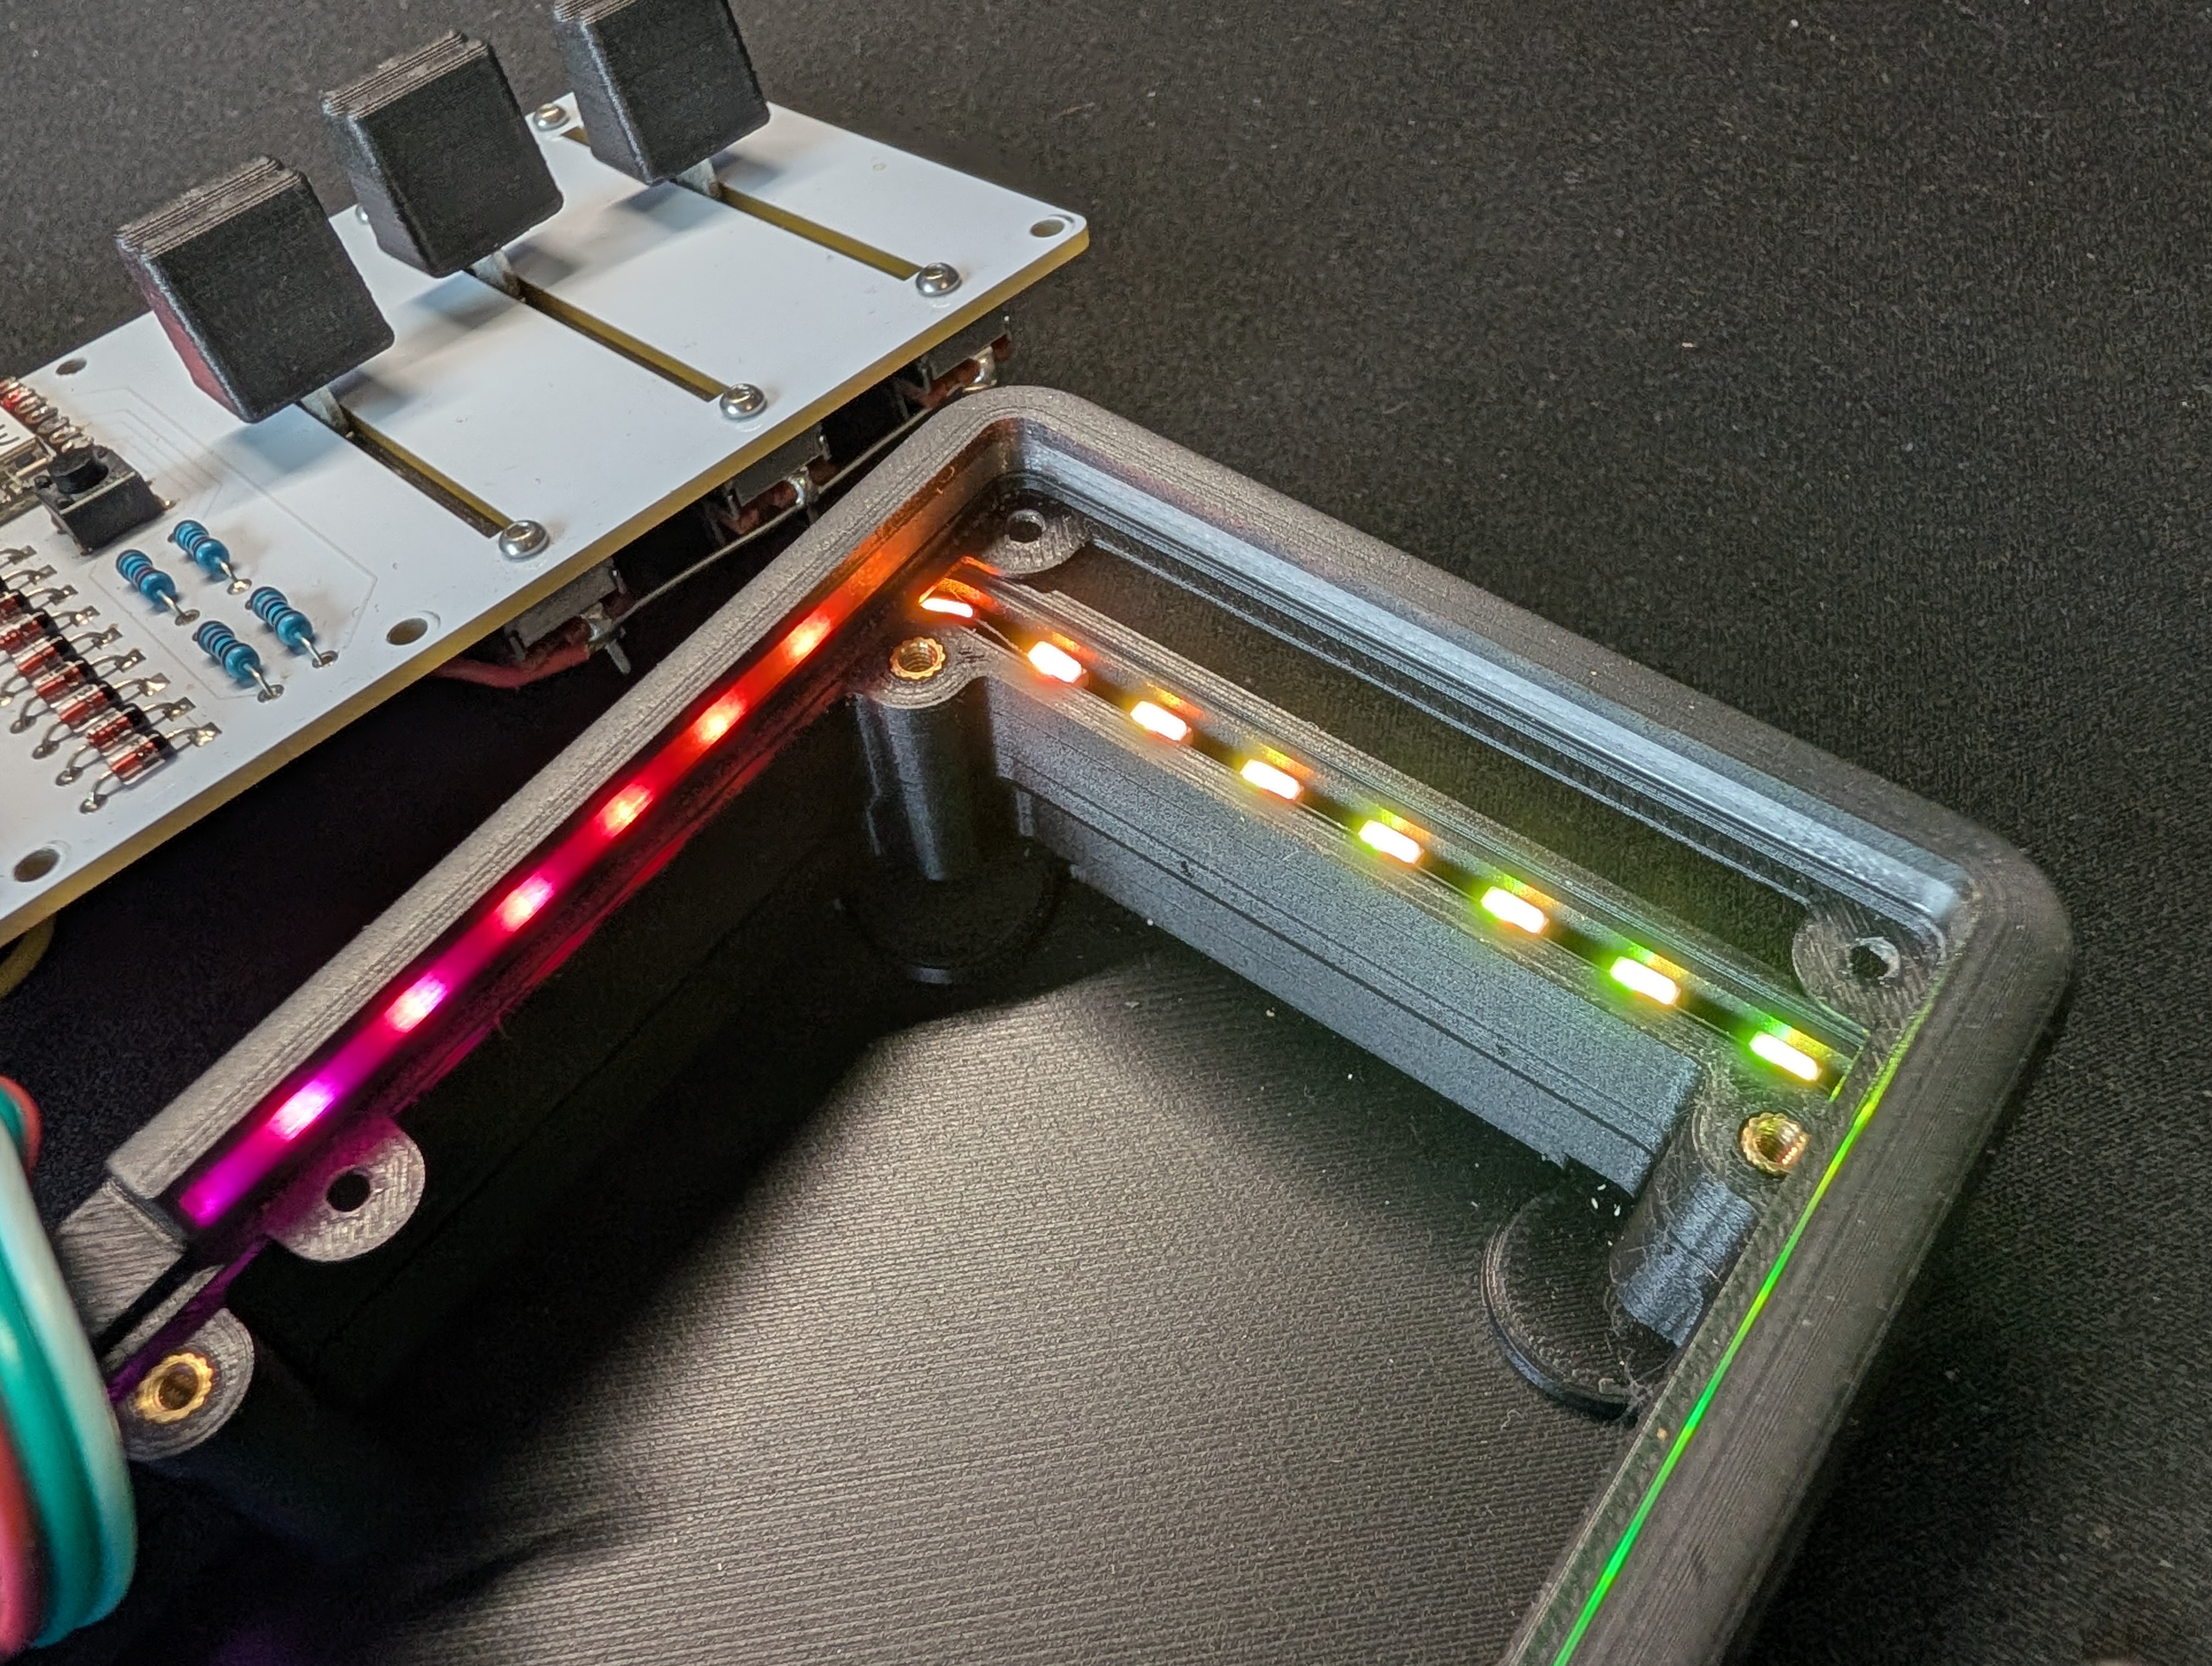
The case top uses translucent filament as a light pipe for the LEDs. At this revision, the design requires a multi-material printer. If you don't want to implement the RGB, you can print it all in one color on almost any printer. STL, 3MF, and F3D files are included for all parts.
Here is a DigiKey cart with all electronic components ready to order.
| Quantity | Item | DigiKey Link |
|---|---|---|
| 1 | MacroPad PCB | |
| 1 | Seeed Studio XIAO RP2040 | 1597-102010428-ND |
| 9 | Cherry MX Style Keyswitches | CH196-ND |
| 9 | Keycaps | 1528-5662-ND |
| 3 | 45mm 10k Slide Potentiometers | PTA4553-2015CPB103-ND |
| 1 | 6x6mm Tactile Push Button | 450-1650-ND |
| 4 | 10kΩ Resistors | MFP-25BRD52-10K |
| 9 | 1N4148 Diodes | 1N4148FS-ND |
| 1 | Side Lit 5v RGB LED Strip | 1528-2499-ND |
| 1 | 3D Printed Case | |
| 8 | M2.5 Screws | |
| 8 | M2.5 Heat-set Inserts | |
| 6 | M2 Screws (to mount pots) | |
| Some small wire for hand soldering keyswitches |
Solder the RP2040, resistors, diodes, and button to the front of the board. 3D-printable bend guides are included to get clean consistent shapes on all the diodes and resistors.
Then install the keyswitches and pots, and flip it over to hand wire the back. The PCB features labeled pads on the back to connect the keyswitches, potentiometers, and RGB strip. Hand wiring these is a little tricky but results in a very clean look on the front.
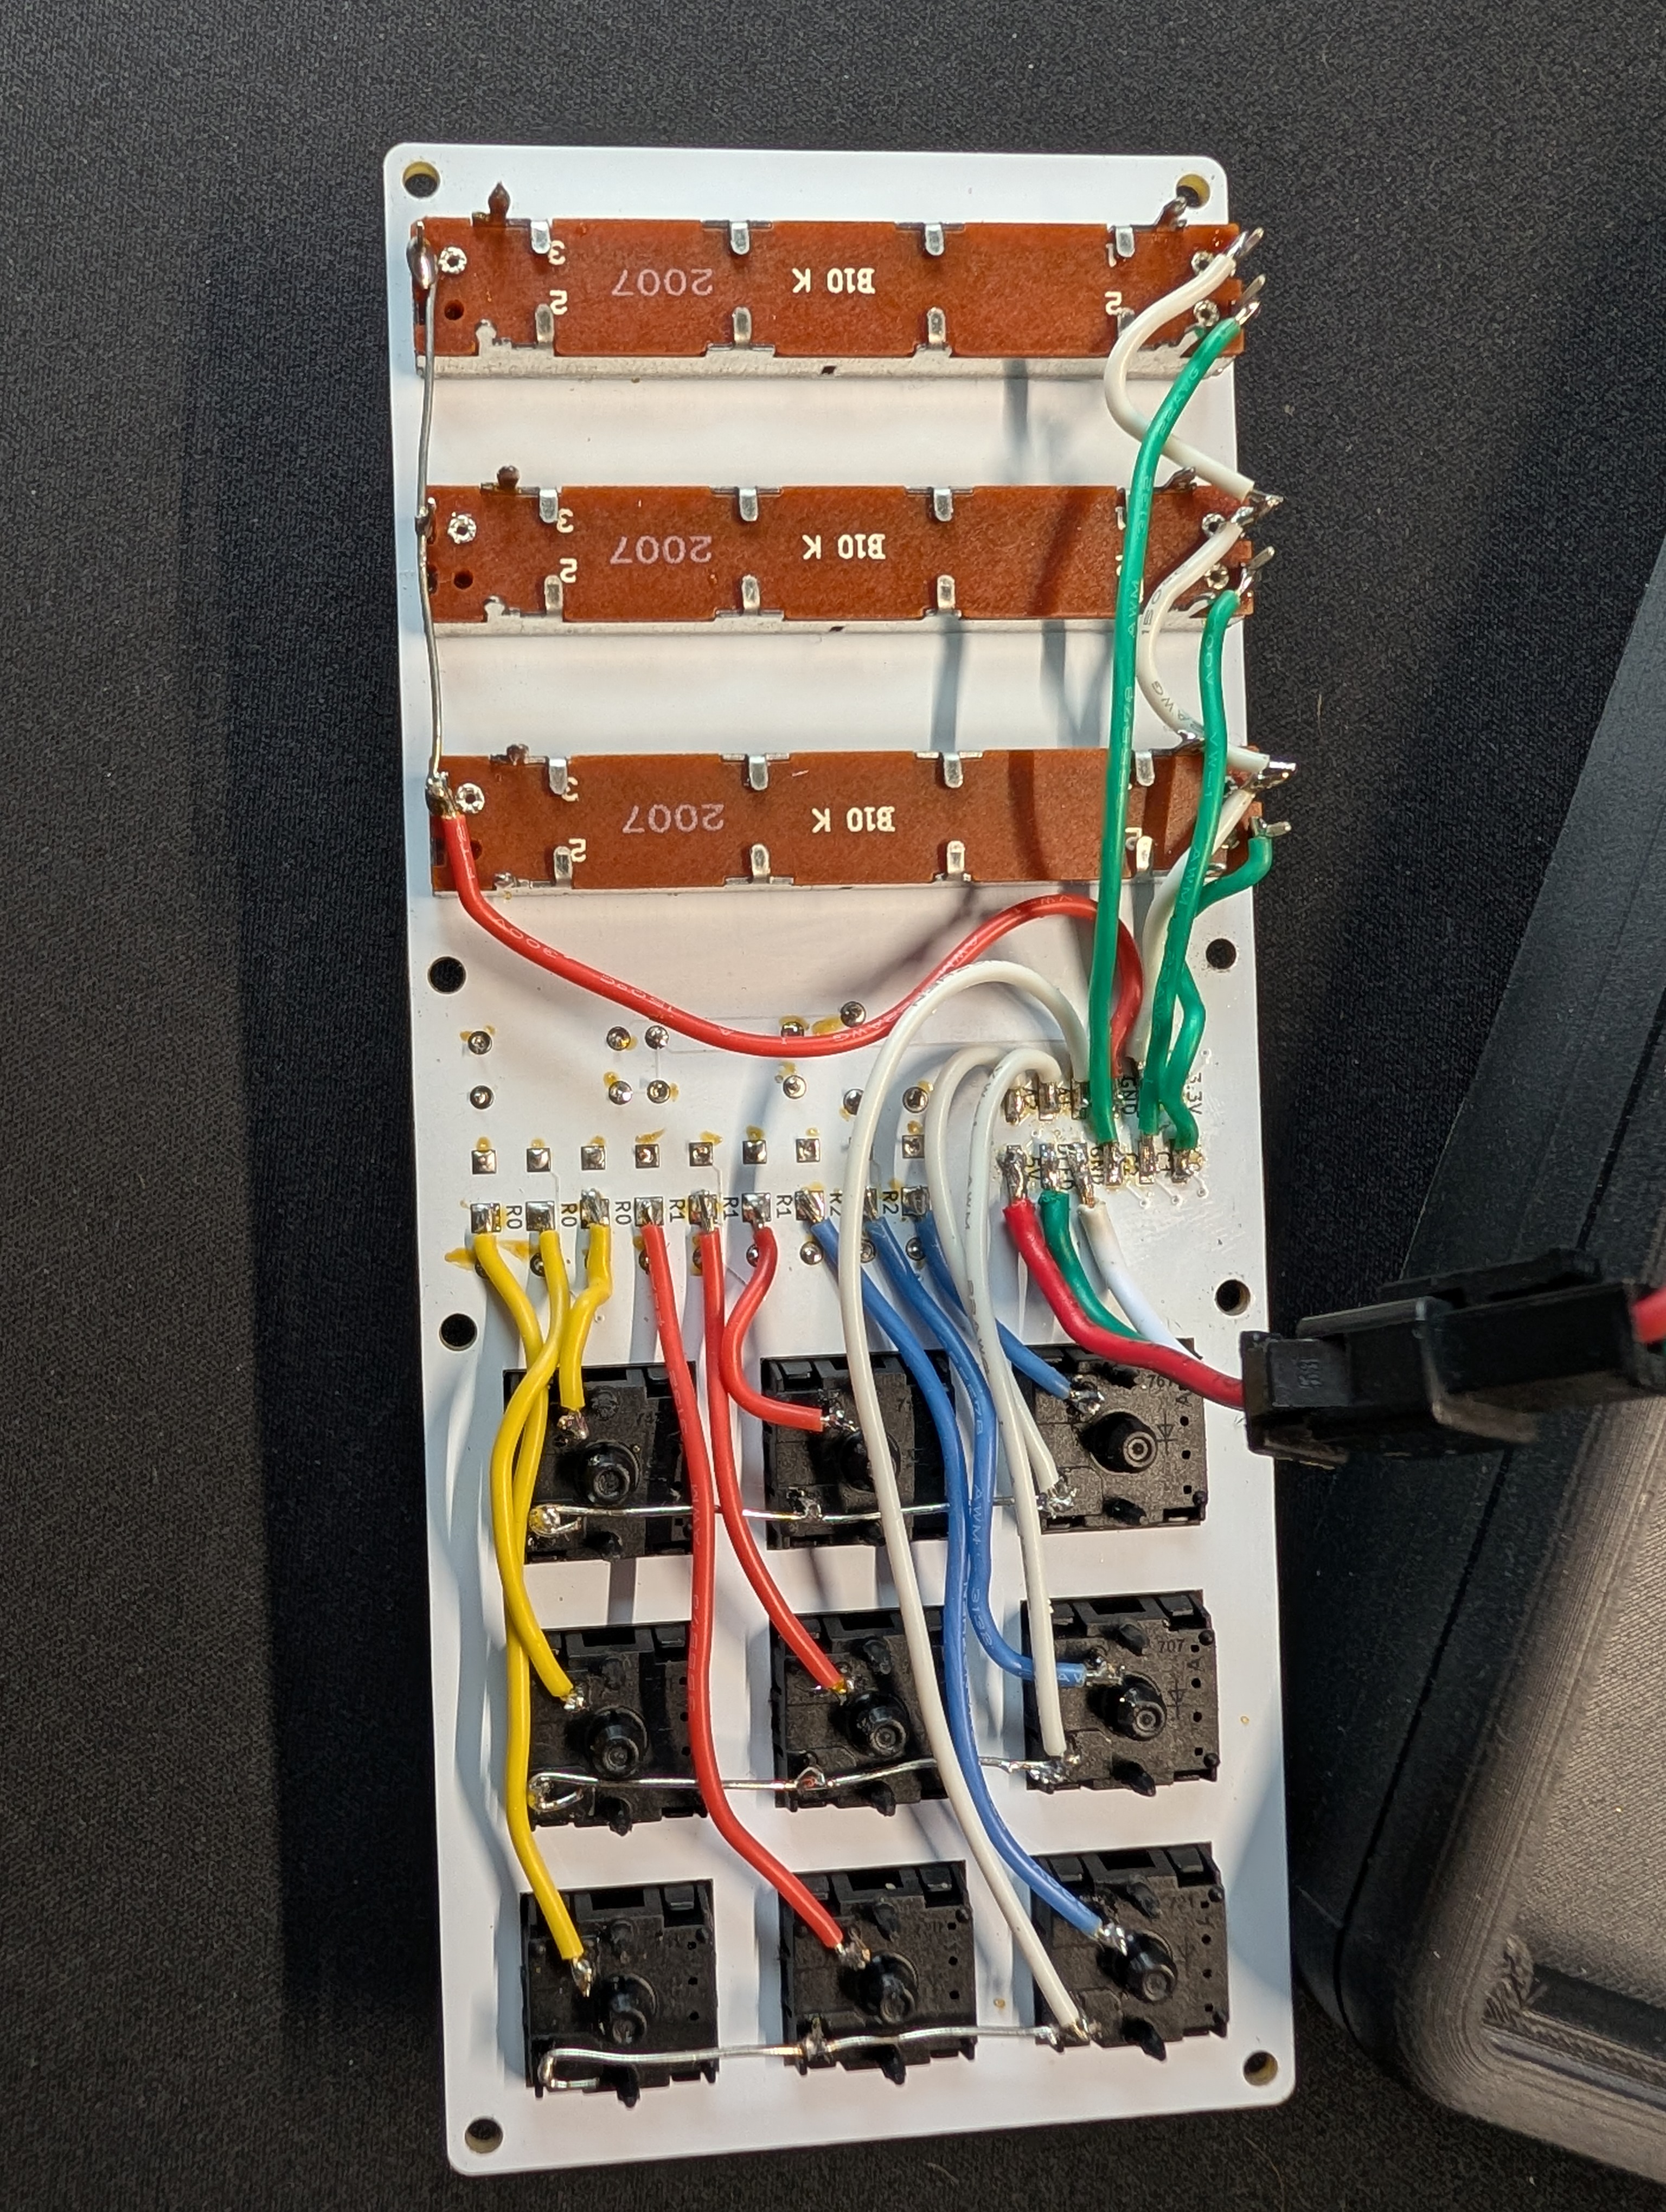
Once soldered up, install the CircuitPython bootloader onto the RP2040 using these instructions.
Then copy the entire contents of the firmware folder to the CIRCUITPYTHON drive. This includes the example configuration and the necessary external libraries.
Press the reset button or unplug and replug the RP2040 and your Macro Pad will be up and running!
For the volume sliders to work you will need to install and configure Deej using these instructions. My Deej config.yaml is included as an example.
The Macro Pad can be easily configured using any text editor, including Notepad.
To keep your file explorer tidy, the Macro Pad does not show up as a storage device by default. To access the drive, hold the 6x6mm pushbutton down while the board boots (either by pressing the reset button or while plugging in).
It will show up on your computer as a new storage drive named MACROPAD. To configure the Pad, edit conig.py in your favorite text editor. In config.py you can edit the macro for each of the 9 keyswitches as well as the RGB mode, color, and brightness. More detailed instructions are in the file.
WIP
WIP
Inspiration from the following projects:
README adapted from TINY README
Huge shout-out to the Deej project, it's an awesome piece of software.
This project is licensed under the GPL-3.0 License.
Like what I do?

| Qty | Value | Footprint | References |
|---|---|---|---|
| 9 | 1N4148 | Diode_THT:D_DO-35_SOD27_P7.62mm_Horizontal | D1, D2, D3, D4, D5, D6, D7, D8, D9 |
| 9 | MX-NoLED | Slide Potentiometer:Cherry Cutout | MX1, MX2, MX3, MX4, MX5, MX6, MX7, MX8, MX9 |
| 9 | TestPoint | TestPoint:TestPoint_Pad_2.0x2.0mm | J2, J3, J4, J5, J6, J7, J8, J9, J10 |
| 4 | 10k | Resistor_THT:R_Axial_DIN0207_L6.3mm_D2.5mm_P10.16mm_Horizontal | R1, R2, R3, R5 |
| 3 | PTA4543-2015DPB103 | Slide Potentiometer:Slide Pot Cutout | R6, R7, R8 |
| 1 | Conn_02x06_Counter_Clockwise | Connector_PinHeader_2.54mm:PinHeader_2x06_P2.54mm_Vertical_SMD | J1 |
| 1 | MOUDLE-SEEEDUINO-XIAO | Seeeduino XIAO KICAD:Seeeduino XIAO-MOUDLE14P-2.54-21X17.8MM | U1 |
| 1 | SW_MEC_5G | random-keyboard-parts:PushButton_6x6mm_TH_Pretty | SW1 |
MichaelStickels/Macro_Pad_2.0
DIY custom macro keypad and Deej volume control board with RGB based on the Seeed Studio XIAO RP2040 and CircuitPython.

MichaelStickels/Macro_Pad_2.0
DIY custom macro keypad and Deej volume control board with RGB based on the Seeed Studio XIAO RP2040 and CircuitPython.

defvs/minigeki
A portable implementation of an ONGEKI controller, with all necessary buttons, two macros, RGB LED support, USB-C.

jsmnbom/esp-butt
A physical controller for intimate devices. No phone. No app. Just knobs, sliders, and hundreds of compatible toys.


ishantmahatopro/Apex-MUX
A Blackmagic Design DaVinci Resolve Speed Editor with Slide Potentiometers, designed for budget video editors


hoglet67/RGBtoHDMI
Bare-metal Raspberry Pi project that provides pixel-perfect sampling of Retro Computer RGB/YUV video and conversion to HDMI

hackclub/OnBoard
💡 Join 1,000 teenagers and make your first PCB with a $100 grant!
It measures 148 × 64 mm and has 2 copper layers, 1.6 mm thick.
37 parts, built around the PTA4543-2015DPB103. The full list of its parts is on this page, with links to each part's symbol and footprint where PCBKit's library has them.
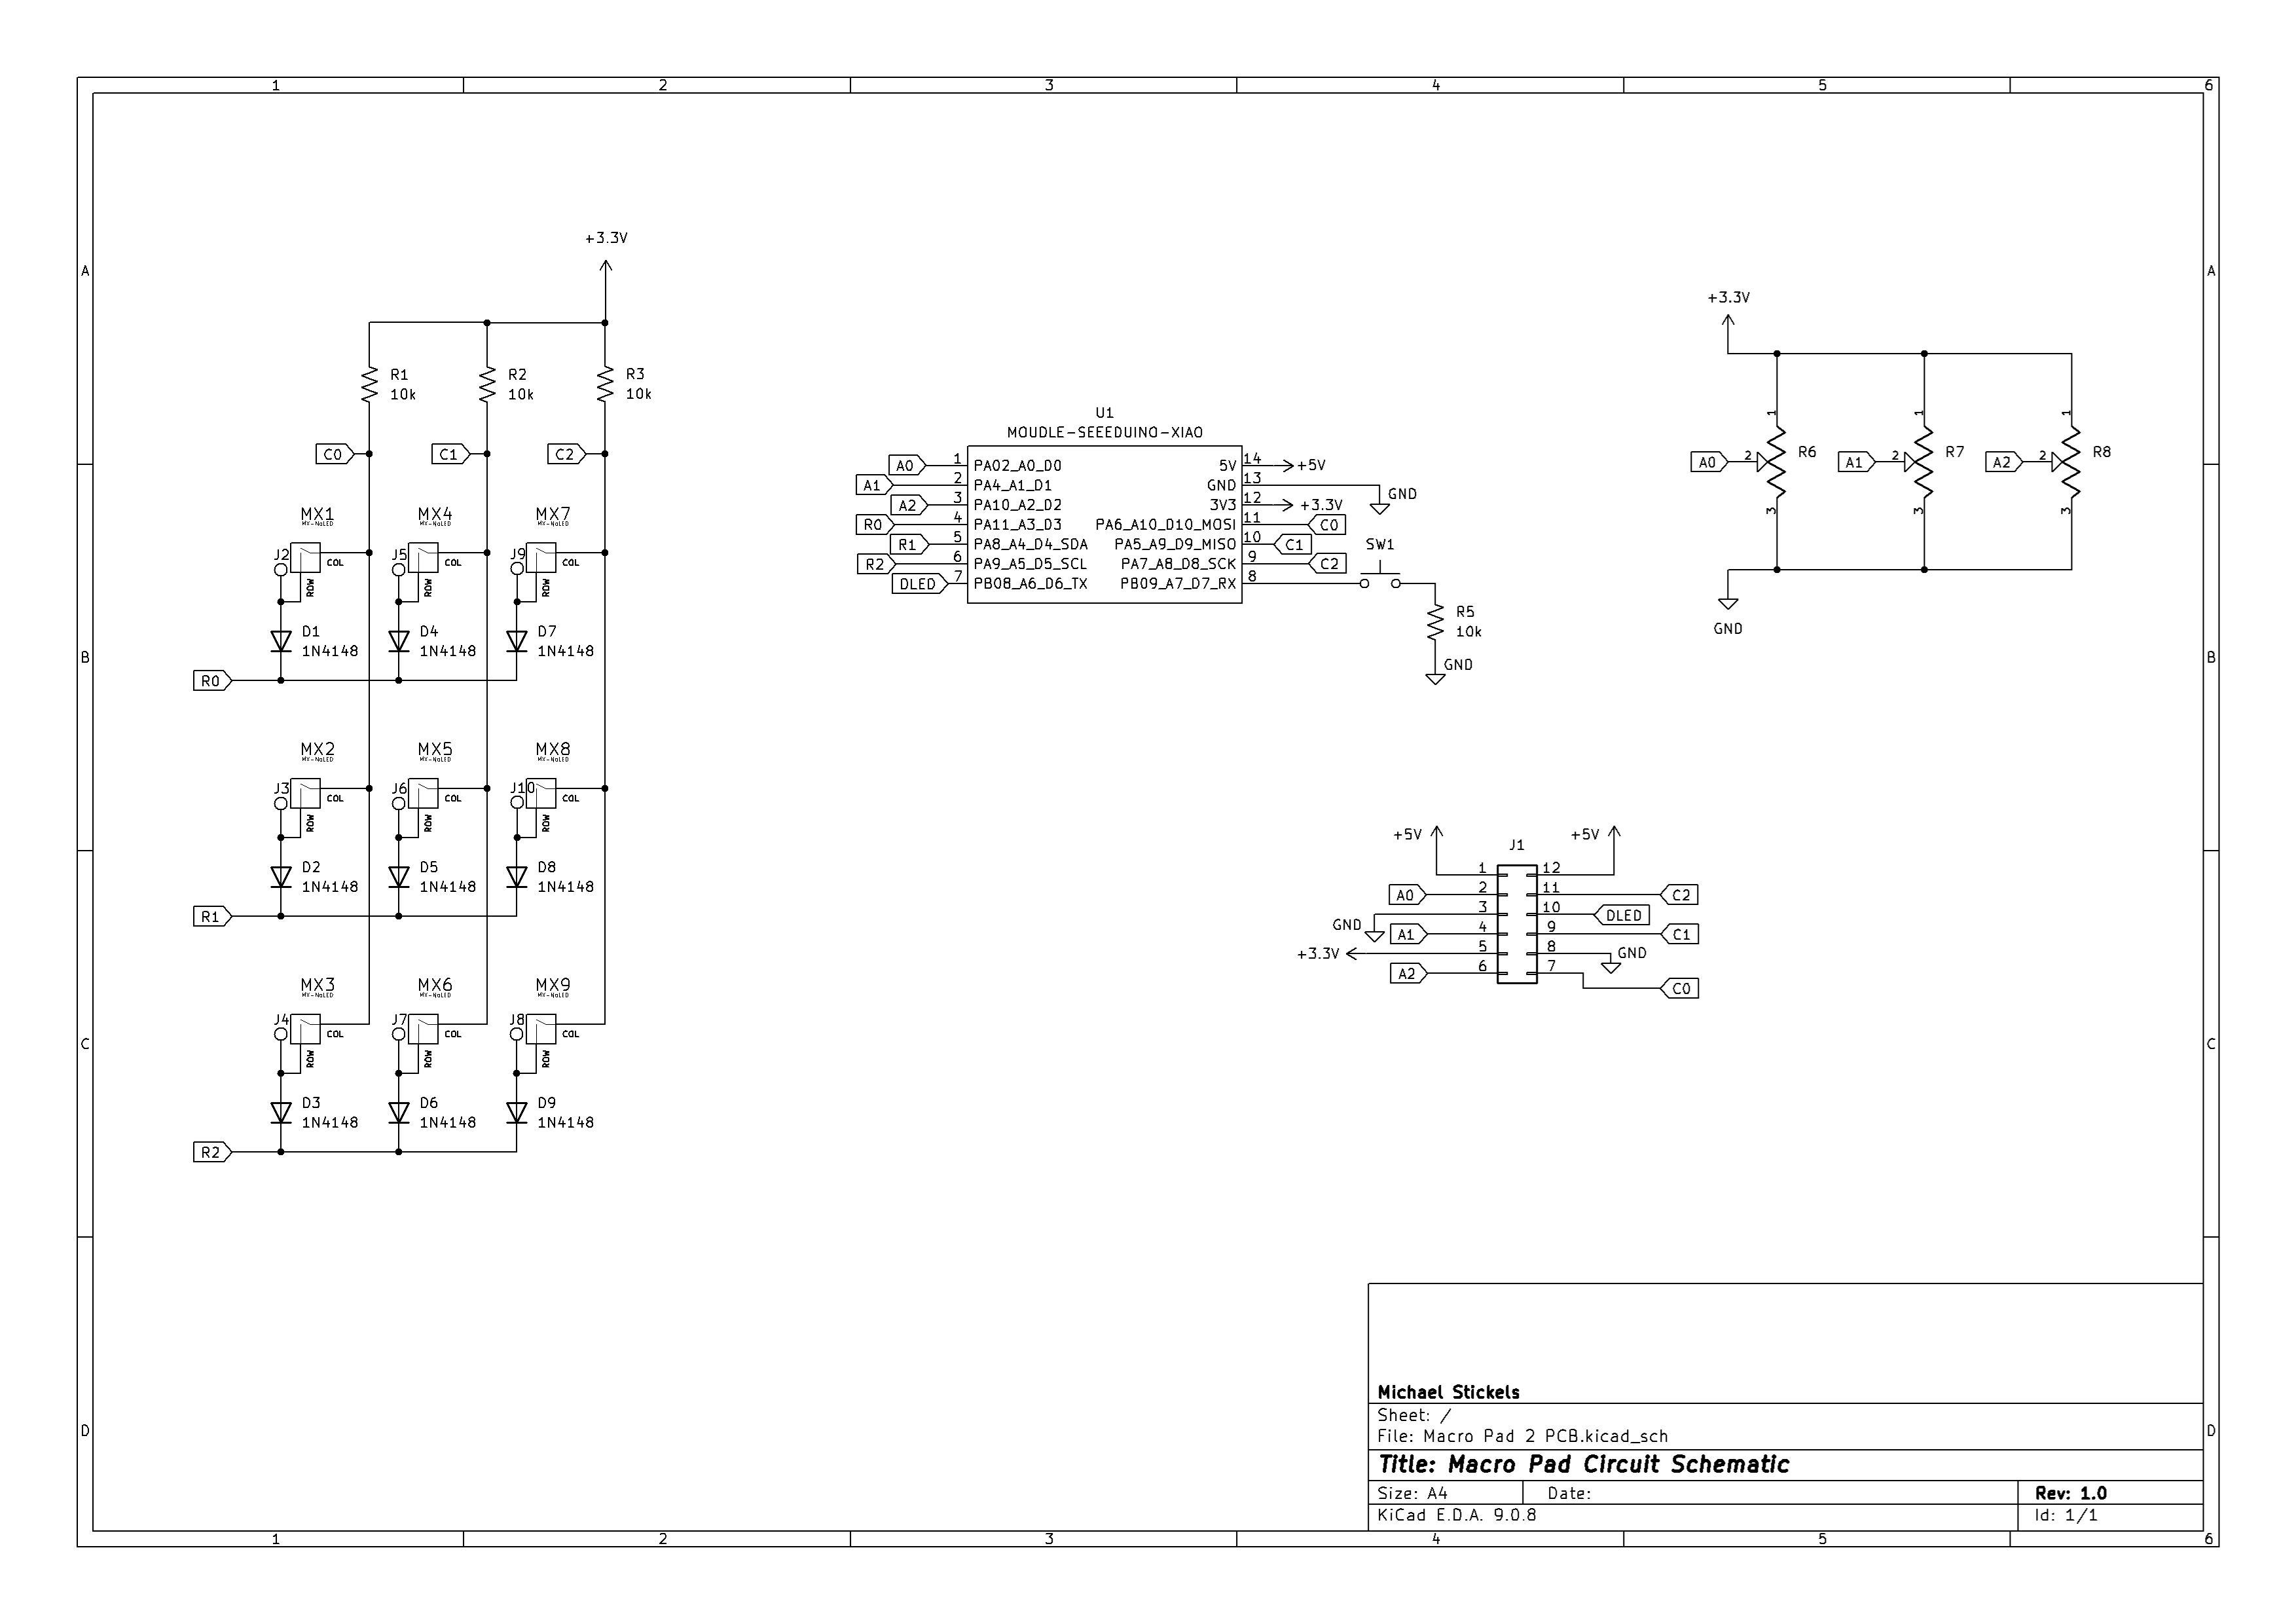
From the MichaelStickels/Macro_Pad_2.0 repository on GitHub, at the commit this page was made from: the board is KiCad/MacroPad PCB/Macro Pad 2 PCB.kicad_pcb and its schematic KiCad/MacroPad PCB/Macro Pad 2 PCB.kicad_sch. PCBKit opens the board in the browser, with nothing to install.
Its repository publishes it under the GPL-3.0 licence: you may reuse it on that licence's terms (keep the author's notice, and for a copyleft licence share your changes alike).