
2 layers156.8 × 141.1 mm
Pcb keyboard right
Gabriele-tomai00/split_keyboard_2_qmk_pcb
My second custom split keyboard: qmk firmware, pcb, 3d files
133 parts

 Gabriele-tomai00/split_keyboard_2_qmk_pcb
My second custom split keyboard: qmk firmware, pcb, 3d files
Pcb keyboard left is an open-source printed circuit board by Gabriele-tomai00, from the Gabriele-tomai00/split_keyboard_2_qmk_pcb repository on GitHub. It is a 2-layer board of 172.3 × 140.7 mm with 134 parts on 131 nets, routed with 1,129 tracks and 203 vias.
It is built around the 74LVC1G34Z. Its parts include 70 diodes, 35 switches, 4 connectors and 2 ICs. It belongs with the keyboards and input boards and the RP2040 boards of this library.
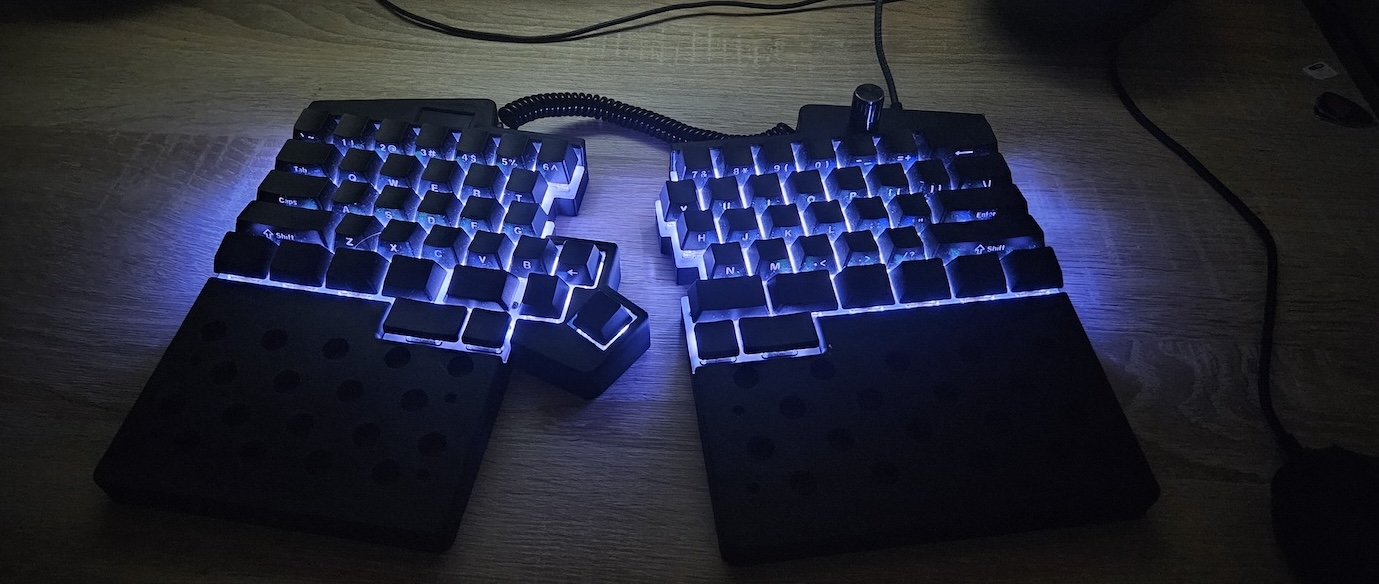
This project details the design and construction of my first custom split keyboard. The build features a custom PCB, hand-soldered components, and a 3D-printed case, all powered by the Raspberry Pi Pico and QMK firmware.
Key Features:
The layout is a traditional row-staggered design (non-ortholinear) with ergonomic enhancements:
Acknowledgments: Special thanks to the QMK and Vial communities, and the authors of the Sofle Pico keyboard, whose work provided invaluable inspiration and knowledge.
/3d_images: 3D design files (STL) created with Autodesk Fusion 360/images: Photographic documentation of the keyboard assembly and final build./kicad: Electrical schematics and PCB layout designs developed in KiCad, ready for fabrication./vial-qmk: Source code for the QMK-based firmware with Vial GUI support./vial_config.vil: Vial configuration file (you can upload this file to Vial to configure the keyboard)./perimeter_right.dxf and /perimeter_left.dxf: DXF files for the right and left half PCB perimeter (used to cut the PCB).The keyboard deviates slightly from a standard 60% ANSI layout to accommodate split ergonomics. It combines standard MX switches with low-profile switches for the thumb cluster to reduce strain. The extra macro keys on the left half provide quick access to custom functions.
The keyboard runs on QMK firmware and is fully compatible with Vial. This allows for real-time configuration via a graphical interface without re-flashing. Users can program:
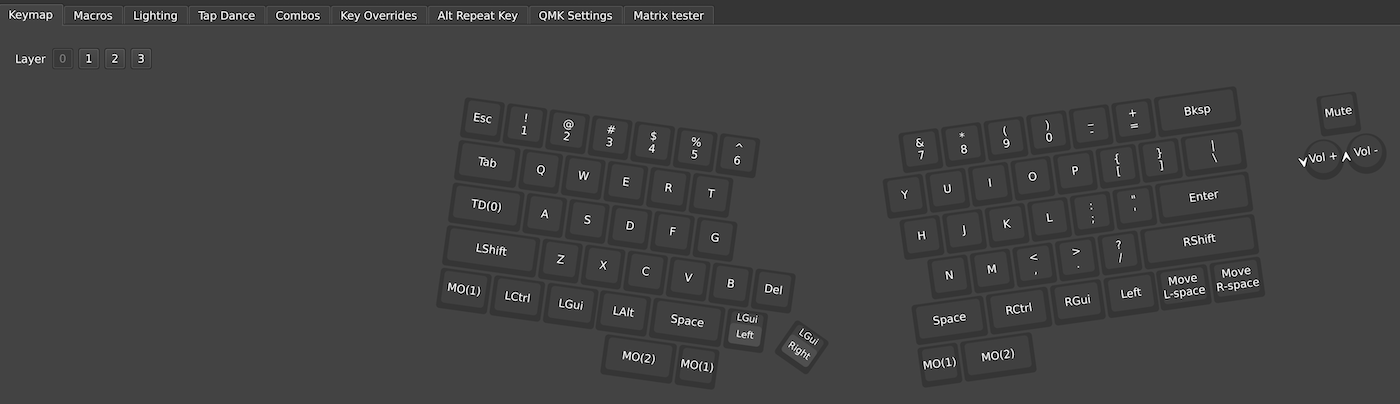
The keyboard utilizes EC11 rotary encoders. In the QMK ecosystem, encoders provide a fluid input method distinct from binary key presses. They are ideal for continuous values like volume control, page scrolling, or history navigation.
Each half is equipped with an OLED display connected via the I2C protocol.
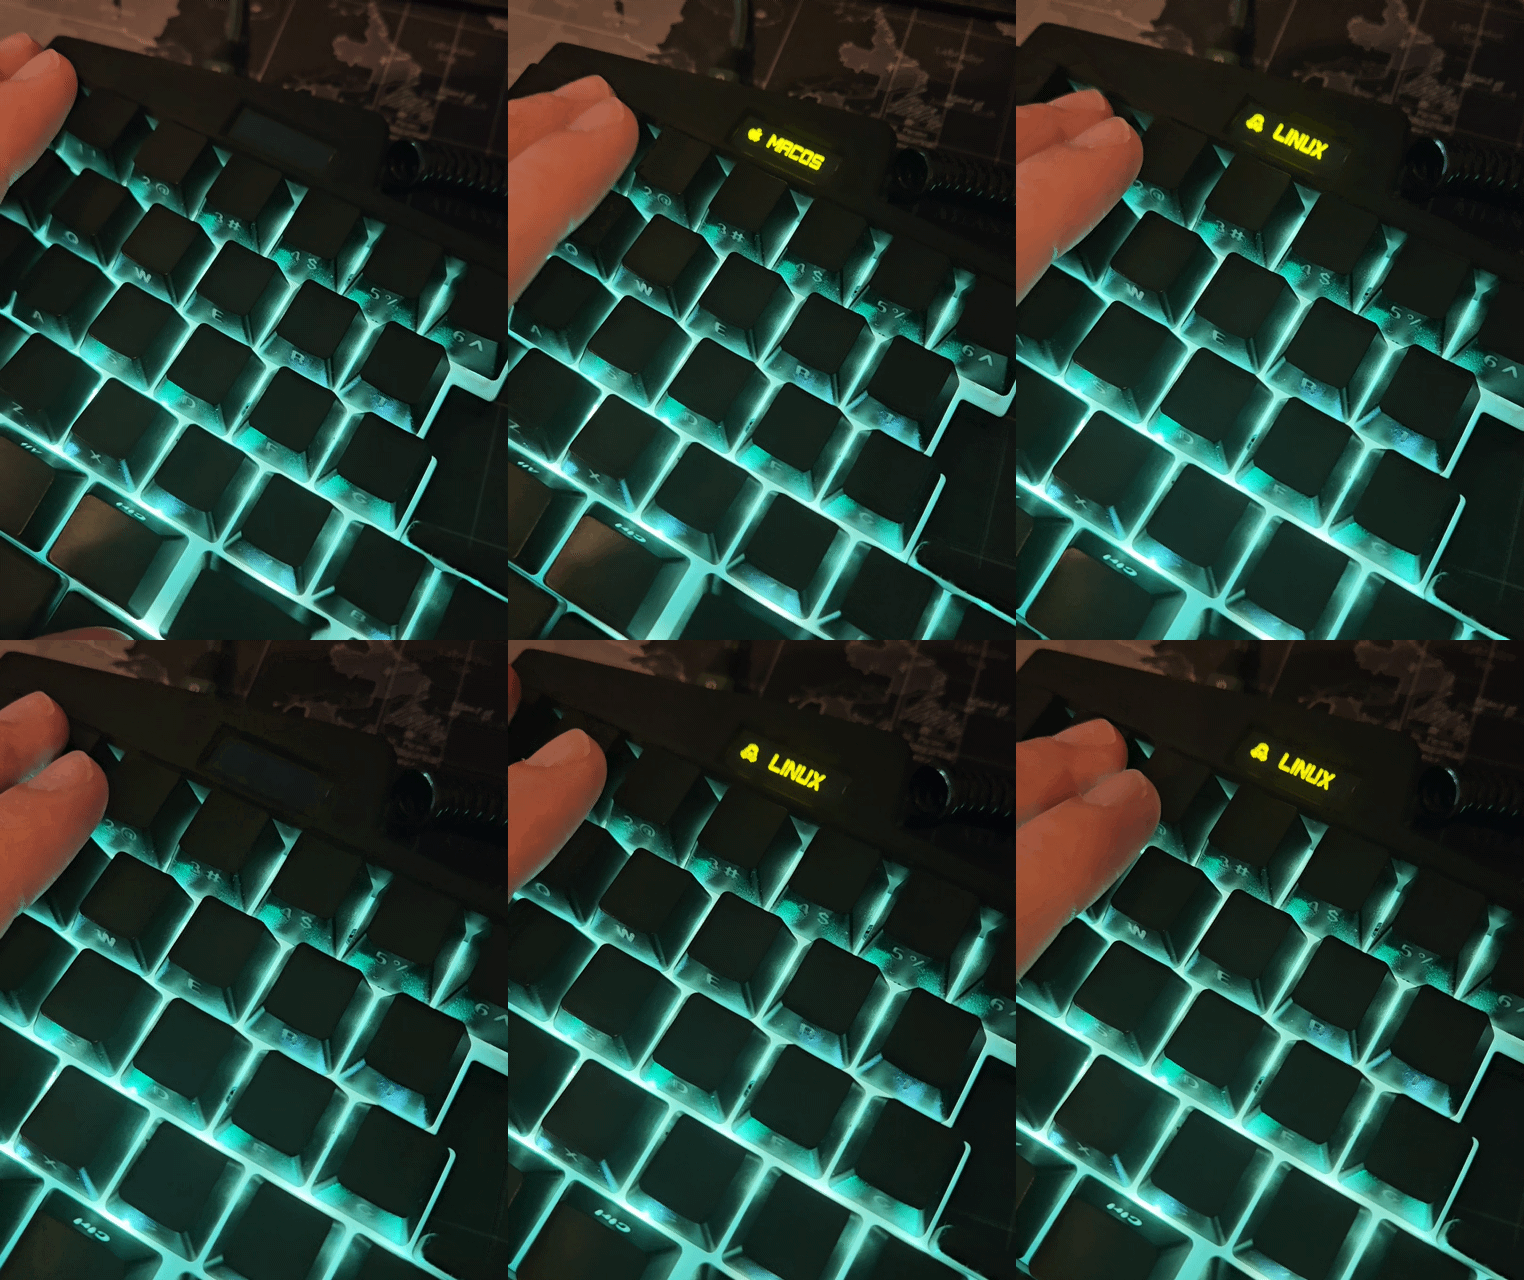
The PCB features per-key RGB backlighting using SK6812MINI-E LEDs.
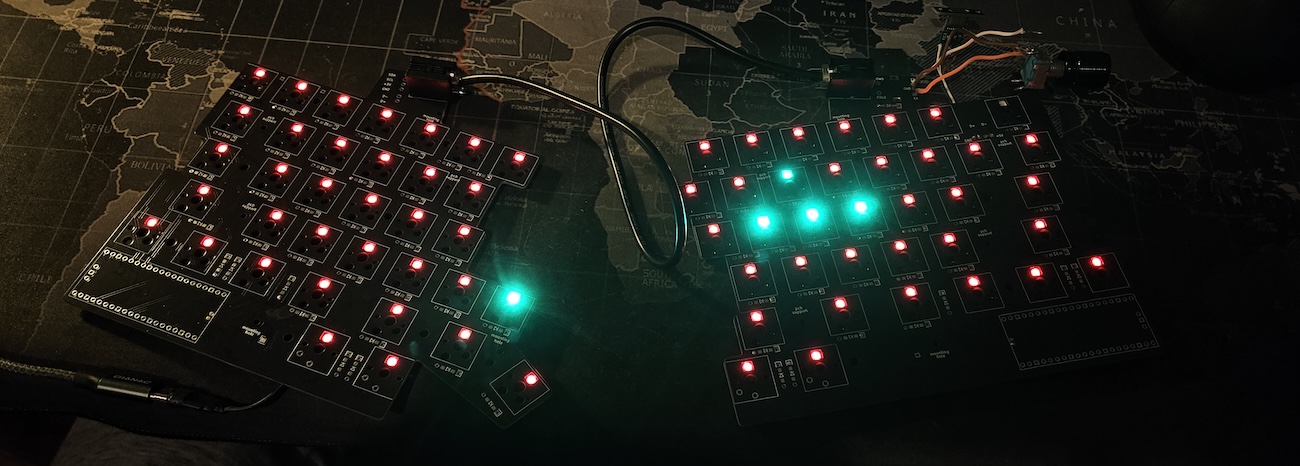
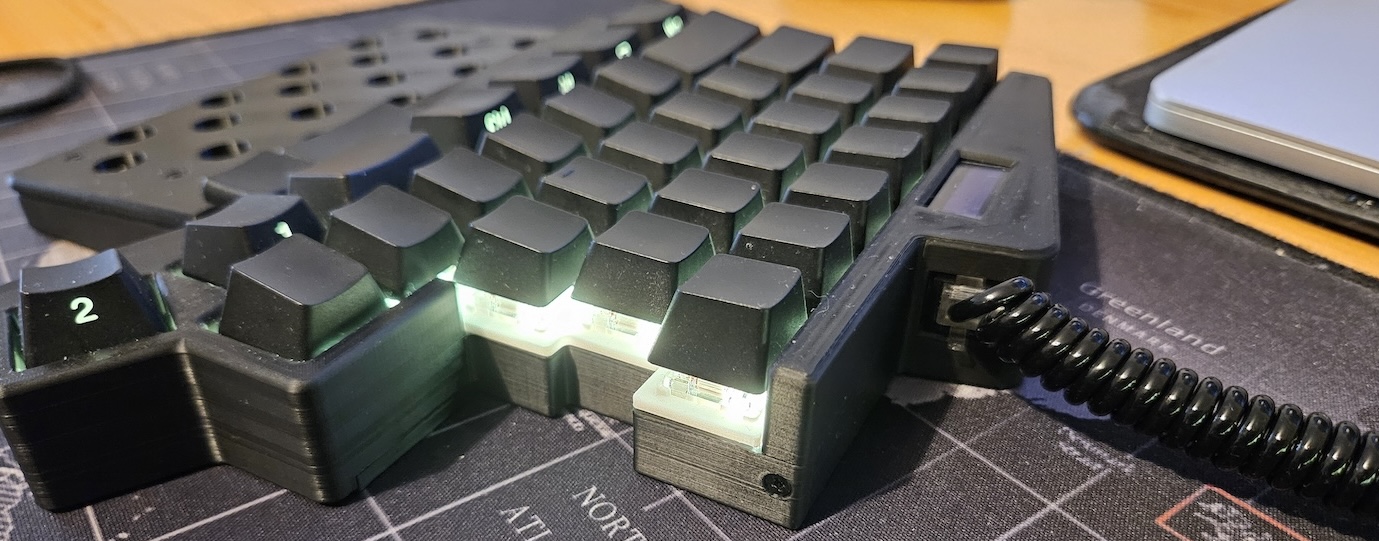
I selected the Raspberry Pi Pico for this build due to its generous GPIO count compared to the Pro Micro. With 26 usable GPIO pins, the RP2040 handles the matrix, encoders, OLEDs, and RGB data lines directly, simplifying the PCB design.
Communication between the two halves uses Full Duplex UART over an RJ11 cable (inspired by the Ultimate Hacking Keyboard).
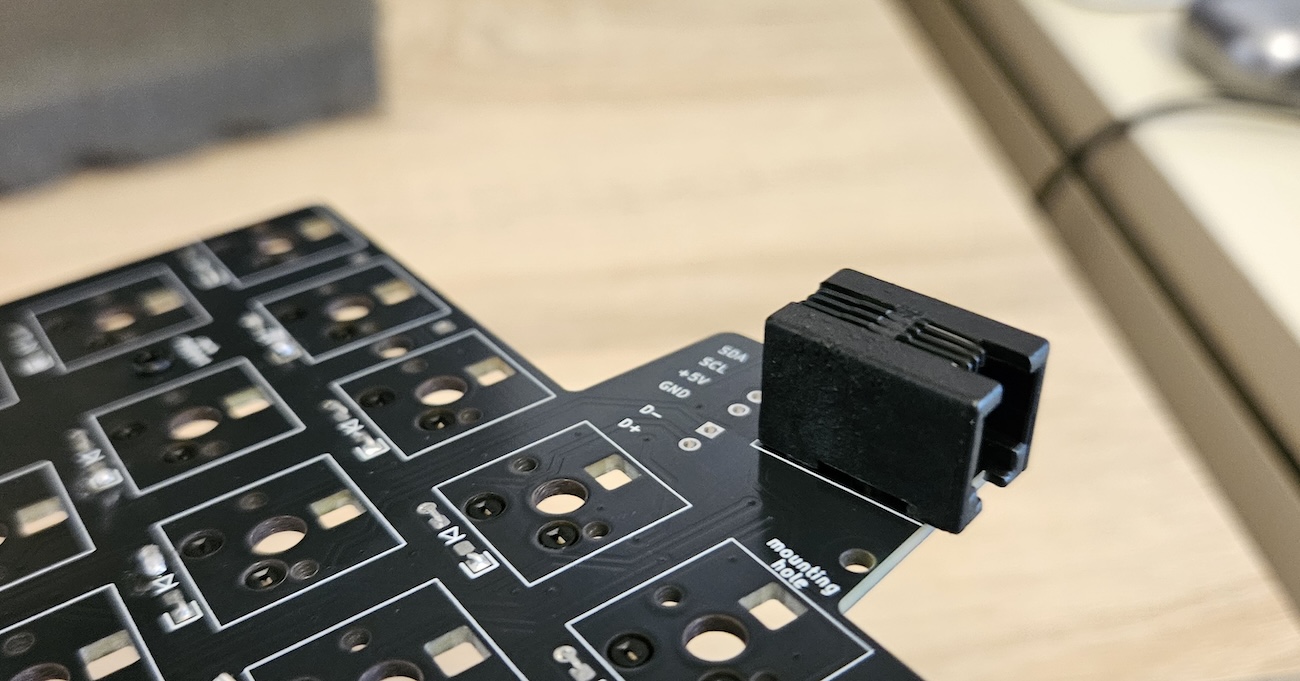
I constructed a custom cable using 4-pin RJ11 connectors (6P4C) attached to a 4-core wire. It is crucial to ensure the connectors support at least 4 pins, avoiding the common 2-pin variants typically used for telephone lines in Italy.
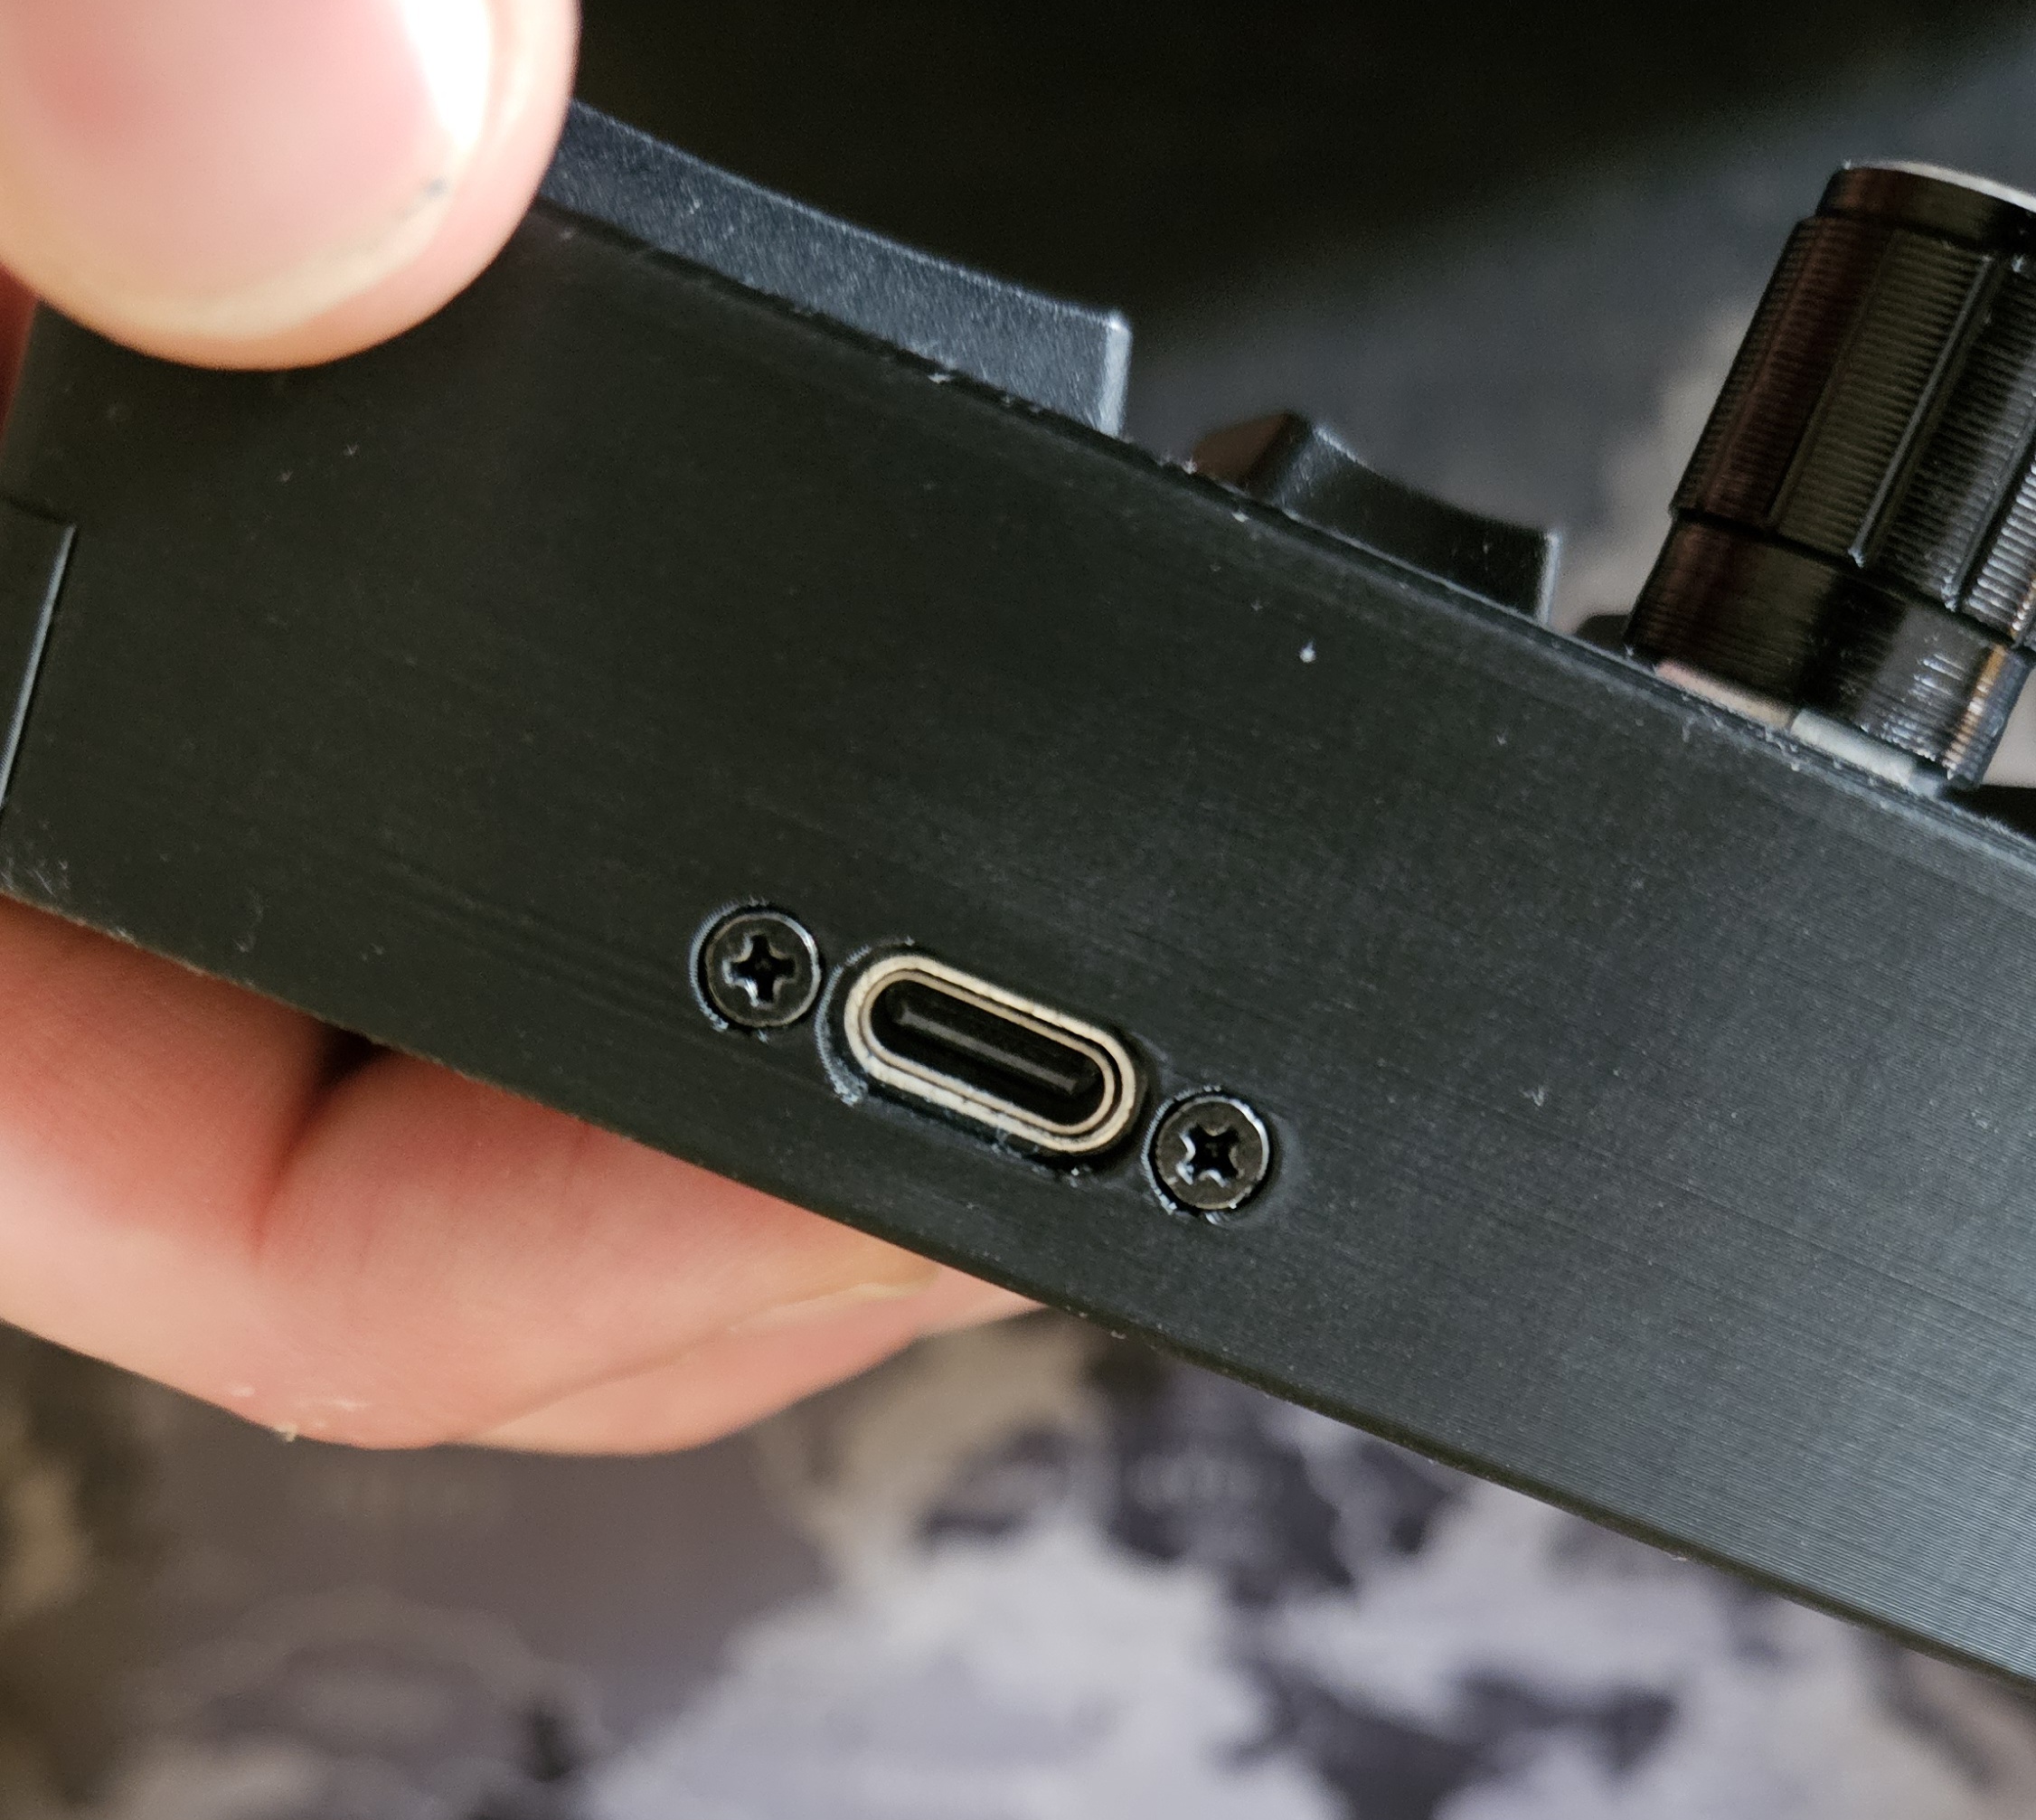
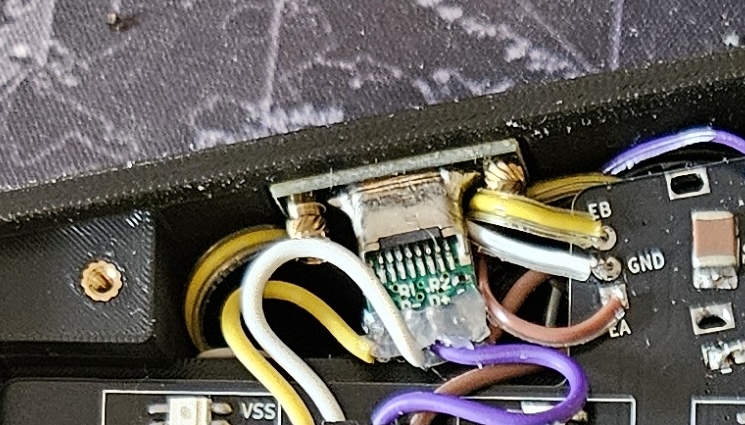
Each keyboard half features a dedicated USB Type-C port for computer connectivity. I chose this standard for its versatility and widespread adoption. The port is distinct from the inter-half connection to prevent accidental mismatches. Either half can be connected to the host computer. I referenced the Raspberry Pi Pico datasheet to correctly wire the external USB-C breakout board to the microcontroller, ensuring the Pico detects the external connection as its primary USB interface.
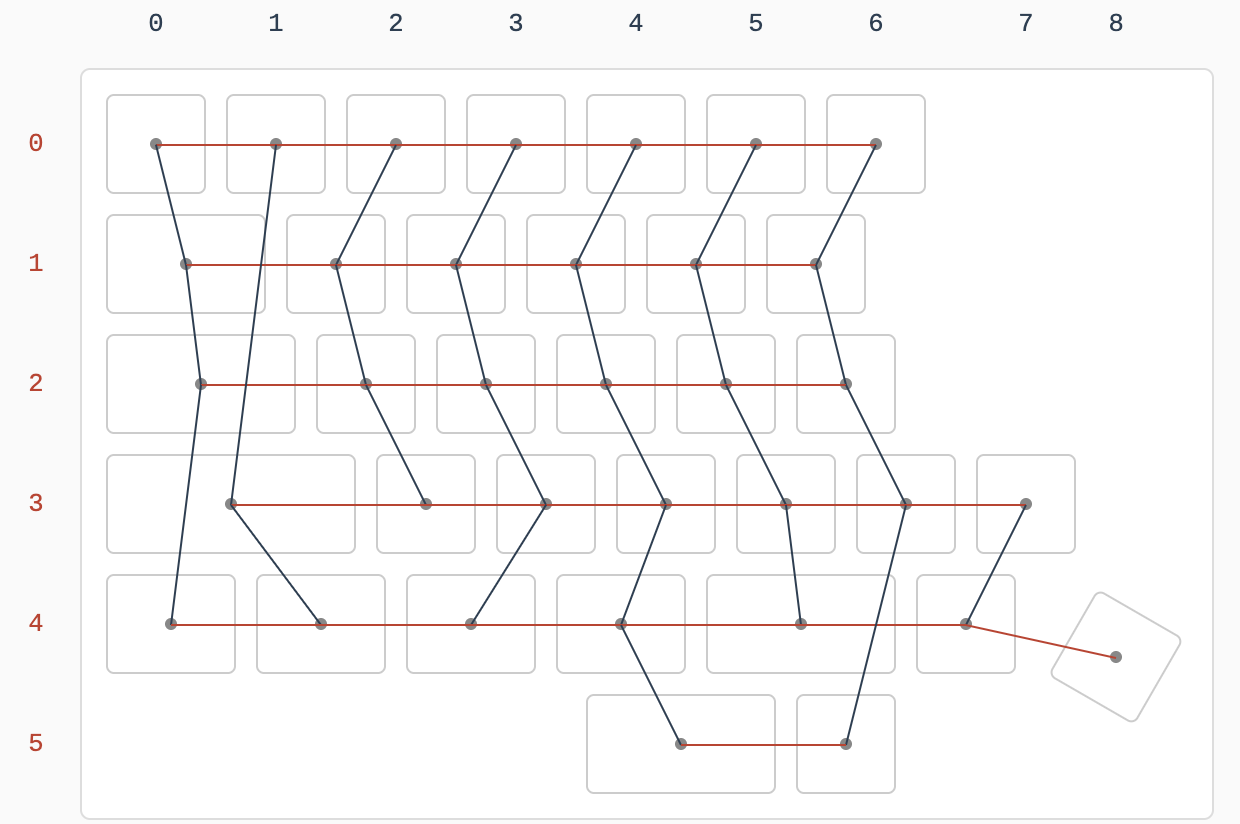
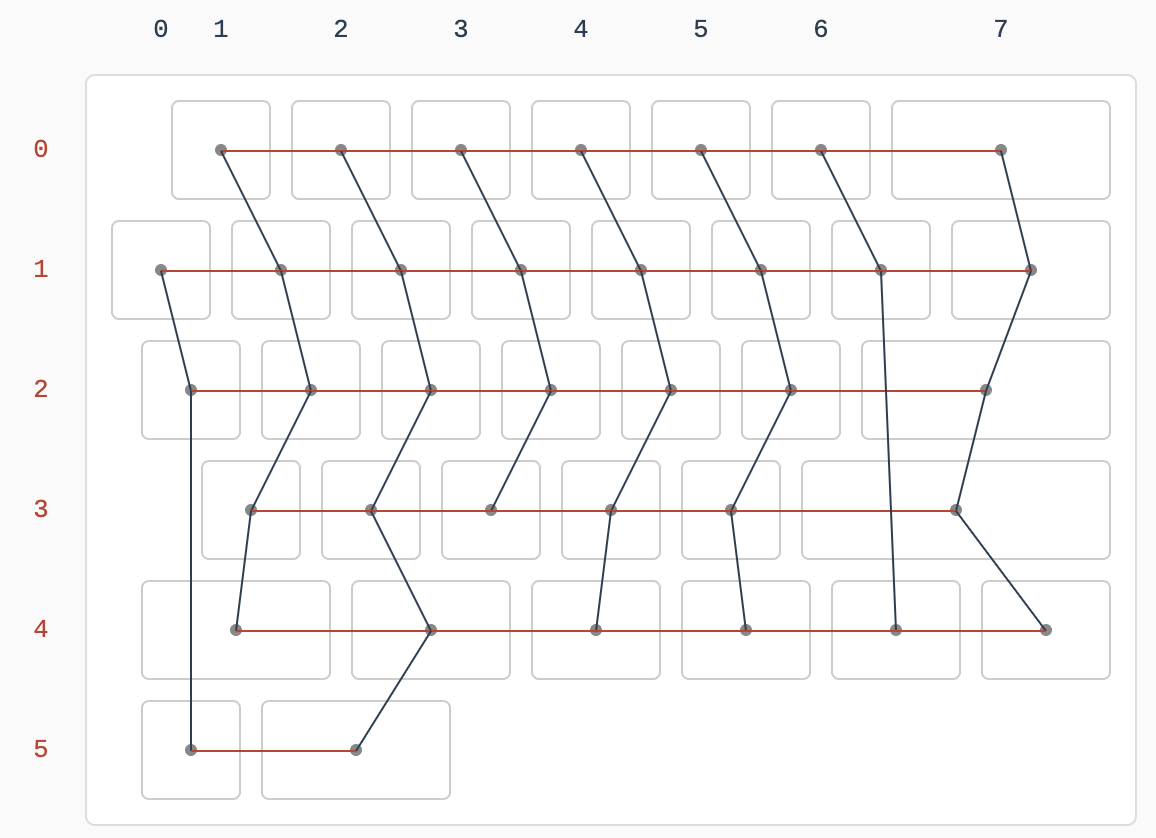
QMK supports a key matrix configuration where each key is identified by a unique row-column combination, with diodes preventing ghosting (unwanted column activation).
The PCB and QMK firmware are configured as follows:
I designed with Autodesk Fusion 360 and printed a custom enclosure using PLA. The chassis is modular, divided into multiple parts to:
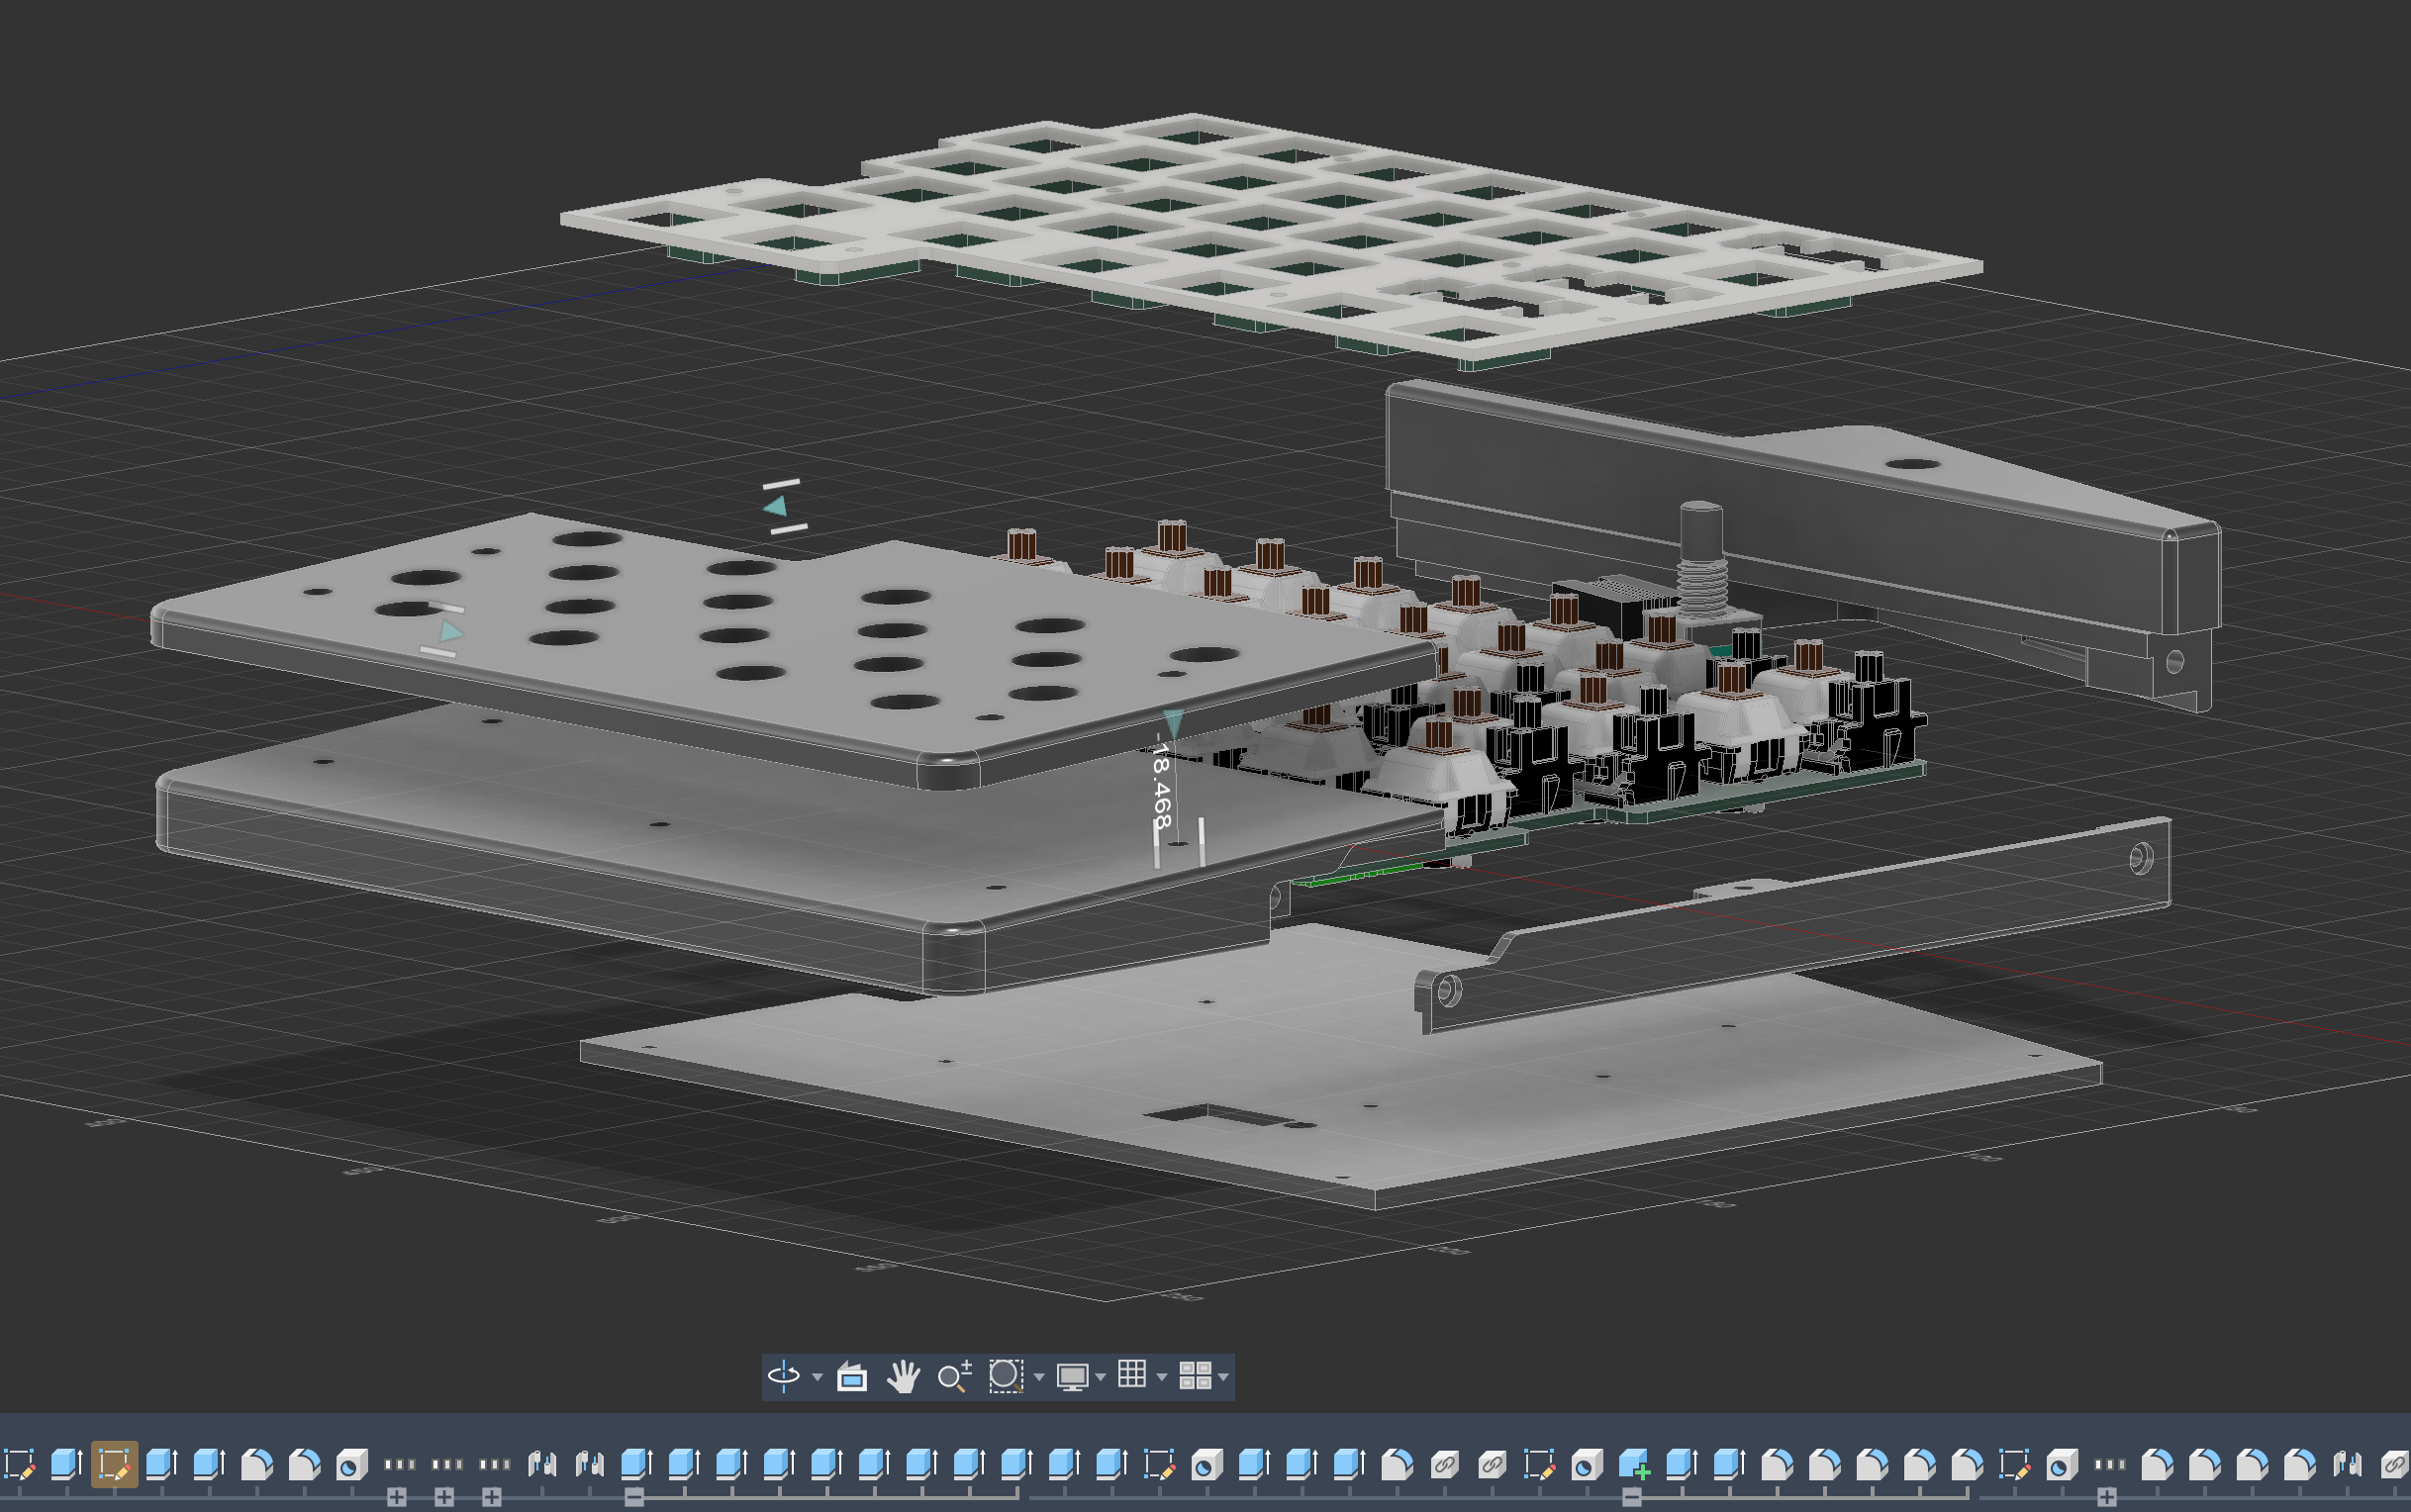
The enclosure components were manufactured using a Bambu Lab P1P 3D printer. While the design is compatible with standard printing profiles, a 0.2mm nozzle was utilized to achieve superior surface finish and precise detail resolution. PLA (Polylactic Acid) was selected as the filament material due to its optimal balance of cost-effectiveness, printability, and mechanical durability suitable for this application.
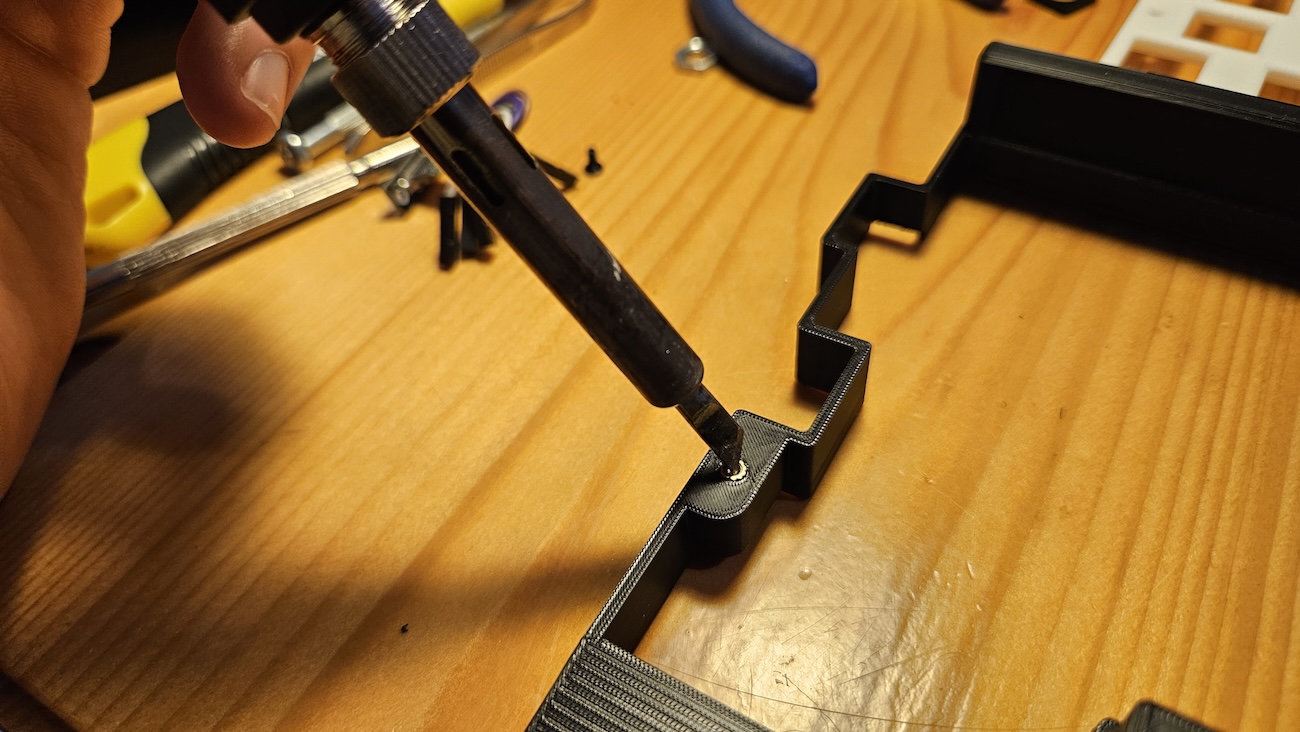
The case uses threaded brass inserts (M2) for a robust and aesthetically pleasing assembly.
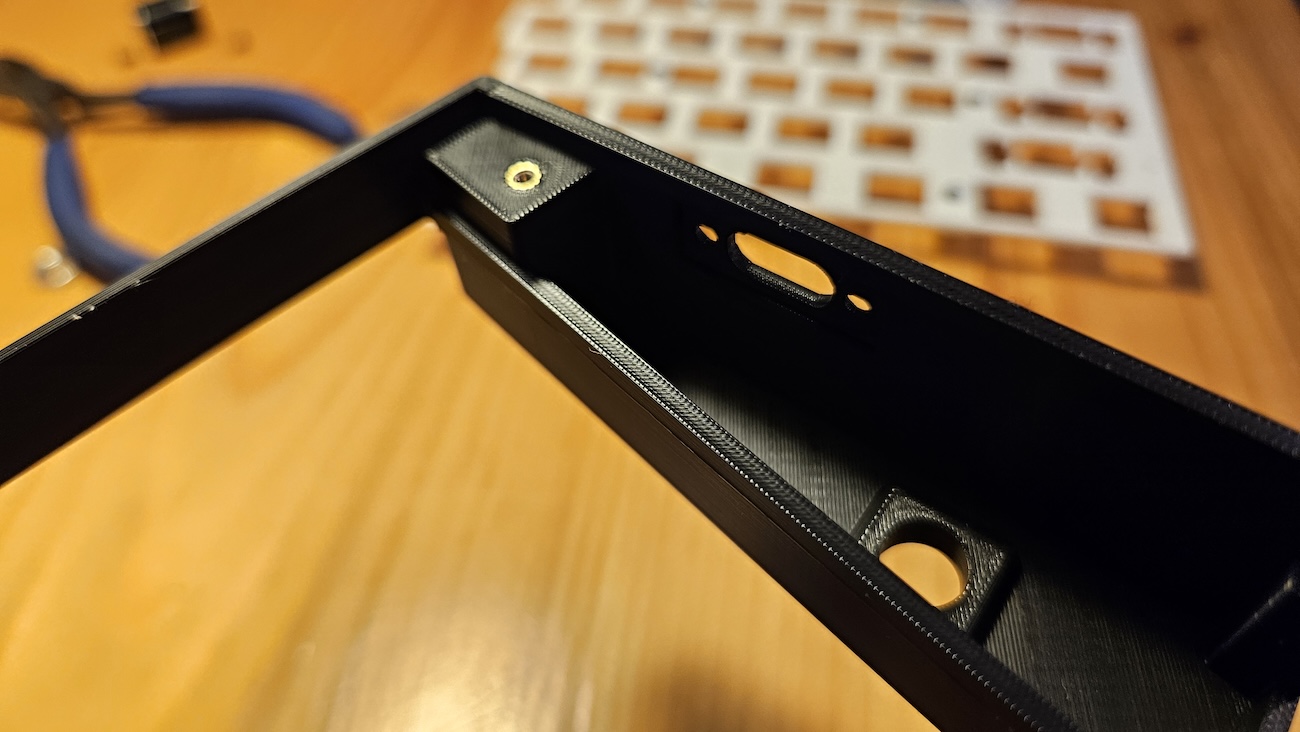
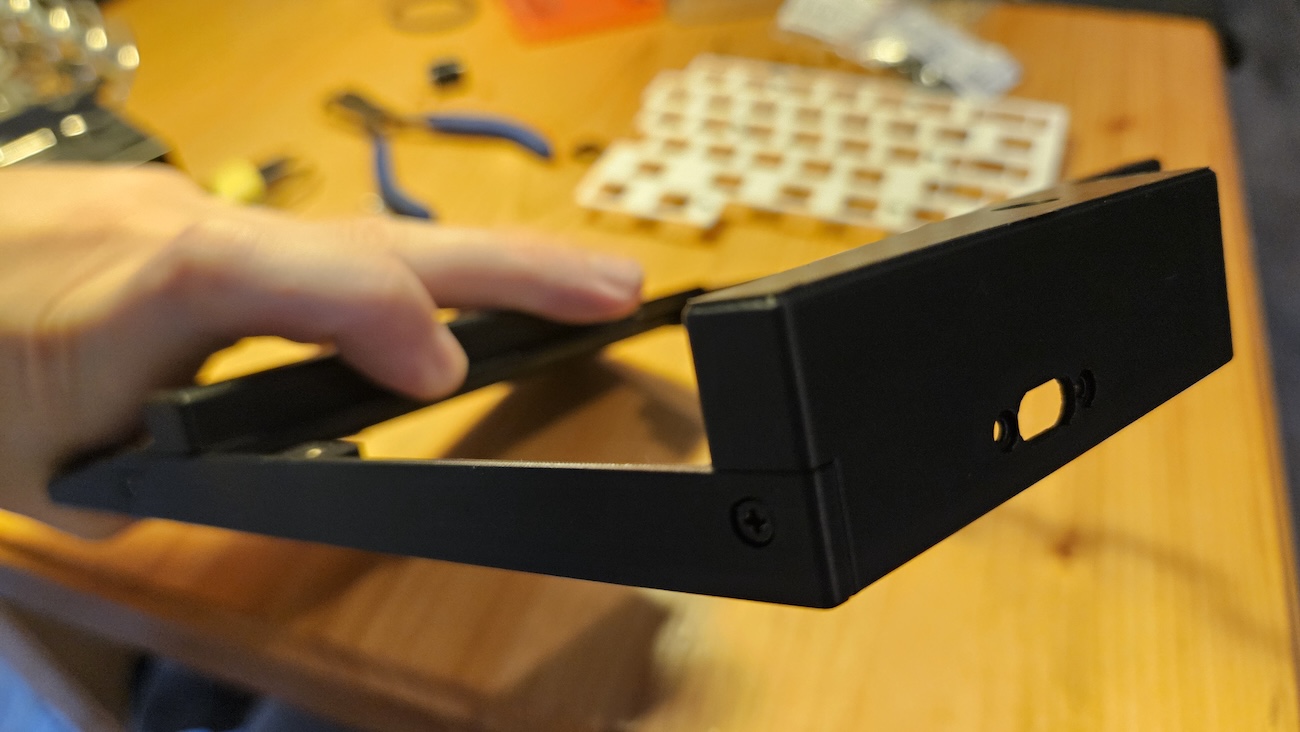
All PCB components were hand-soldered, which included:
For the matrix:
A significant challenge was soldering the small voltage level shifter required for correct LED data signaling. As this was my first experience with soldering—especially with such small SMD components—the results are functional but reflect the learning curve involved.
qmk-vial/new_split_keyboard_gabriele directory from this project into the vial-qmk/keyboards/ directory.# Flash Left Side
qmk flash -kb new_split_keyboard_gabriele -km vial -bl uf2-split-left
# Flash Right Side
qmk flash -kb new_split_keyboard_gabriele -km vial -bl uf2-split-rightAdditional photographic documentation is available in the /images directory.
| Qty | Value | Footprint | References |
|---|---|---|---|
| 35 | Diode | ScottoKeebs_Components:D_SOD-123_DO-35_Hybrid_DoubleSided_V2 | D1, D2, D10, D11, D12, D13, D14, D15, D16, D17, D18, D19, D20, D21, D22, D23 +19 |
| 35 | LED_SK6812MINI | ScottoKeebs_Components:LED_SK6812MINI | LED1, LED2, LED10, LED11, LED12, LED13, LED14, LED15, LED16, LED17, LED18, LED19, LED20, LED21, LED22, LED23 +19 |
| 25 | Keyswitch | ScottoKeebs_Hotswap:Hotswap_MX_1.00u | S1, S10, S11, S12, S14, S15, S16, S17, S18, S19, S22, S23, S24, S25, S27, S28 +9 |
| 8 | MountingHole | personal:MountingHole_3.2mm_M3 | H4, H5, H6, H7, H8, H9, H10, H11 |
| 4 | Keyswitch | ScottoKeebs_Hotswap:Hotswap_MX_1.25u | S4, S7, S13, S21 |
| 3 | MountingHole | personal:PCB_support_2.2mm_M2 | H1, H2, H3 |
| 3 | MountingHole | personal:MountingPCB_2.2mm_M2 | H12, H13, H14 |
| 3 | TestPoint | Connector_PinHeader_2.54mm:PinHeader_1x01_P2.54mm_Vertical | TP1, TP2, TP3 |
| 2 | C | Capacitor_SMD:C_1812_4532Metric_Pad1.57x3.40mm_HandSolder | begin1, end1 |
| 2 | Jumper_Hight | Jumper:SolderJumper-2_P1.3mm_Bridged2Bar_Pad1.0x1.5mm | JP2, JP3 |
| 2 | Keyswitch | ScottoKeebs_Hotswap:Hotswap_MX_1.75u | S3, S26 |
| 1 | 4P4C | Connector_RJ:RJ12_Amphenol_54601-x06_Horizontal | J1 |
| 1 | 74LVC1G34 | Package_TO_SOT_SMD:SOT-353_SC-70-5_Handsoldering | U3 |
| 1 | Conn_01x02 | Connector_PinHeader_2.54mm:PinHeader_1x02_P2.54mm_Horizontal | J4 |
| 1 | Conn_01x04 | Connector_PinHeader_2.54mm:PinHeader_1x04_P2.54mm_Horizontal | J3 |
| 1 | Jumper_2_Bridged | Jumper:SolderJumper-2_P1.3mm_Bridged2Bar_Pad1.0x1.5mm | JP4 |
| 1 | Jumper_Low | Jumper:SolderJumper-2_P1.3mm_Bridged2Bar_Pad1.0x1.5mm | JP1 |
| 1 | Keyswitch | ScottoKeebs_Hotswap:Hotswap_MX_2.25u | S5 |
| 1 | Keyswitch | ScottoKeebs_Choc:Choc_V1_1.00u | S29 |
| 1 | Keyswitch | ScottoKeebs_Hotswap:Hotswap_MX_1.50u | S2 |
| 1 | Keyswitch | ScottoKeebs_Choc:Choc_V1_1.75u | S20 |
| 1 | OLED_128x32 | ScottoKeebs_Components:OLED_128x32 | J2 |
| 1 | Pico | personal:Raspberry_Pi_Pico_with_usb_rings | U2 |
Gabriele-tomai00/split_keyboard_2_qmk_pcb
My second custom split keyboard: qmk firmware, pcb, 3d files


jmdaly/steamvan
KiCAD design files for the SteamVan PCB - a 40% keyboard PCB based on an STM32 MCU

jmdaly/CO60
KiCad design files for the CO60, an open hardware 60% keyboard PCB

dan-rodrigues/ym2610-pcb
FPGA-based PCB to control a YM2610 sound synthesis chip.

howardt12345/keyboard0
TKL + macro keys, 2 rotary encoders, and OLED

foggyflute/Voyager65
Fully versatile 65% keyboard PCB. Simplified variants available.

It measures 172.3 × 140.7 mm and has 2 copper layers, 1.6 mm thick.
134 parts, built around the 74LVC1G34Z. The full list of its parts is on this page, with links to each part's symbol and footprint where PCBKit's library has them.
From the Gabriele-tomai00/split_keyboard_2_qmk_pcb repository on GitHub, at the commit this page was made from: the board is kicad/pcb_keyboard_left/pcb_keyboard_left.kicad_pcb and its schematic kicad/pcb_keyboard_left/pcb_keyboard_left.kicad_sch. PCBKit opens the board in the browser, with nothing to install.
Its repository states no licence, so its author keeps all rights: ask Gabriele-tomai00 before reusing the design.