2 layers68 × 80 mm
Agentpad rev1 lower
ymmtr6/agent-pad
RP2040-Zero を使った、8 キー+ロータリーエンコーダーのマクロパッドです。基板(KiCad)、3D プリント外装・キーキャップ、QMK ファームウェア、VIA 定義をまとめています。
10 partsMIT
 ymmtr6/agent-pad
RP2040-Zero を使った、8 キー+ロータリーエンコーダーのマクロパッドです。基板(KiCad)、3D プリント外装・キーキャップ、QMK ファームウェア、VIA 定義をまとめています。
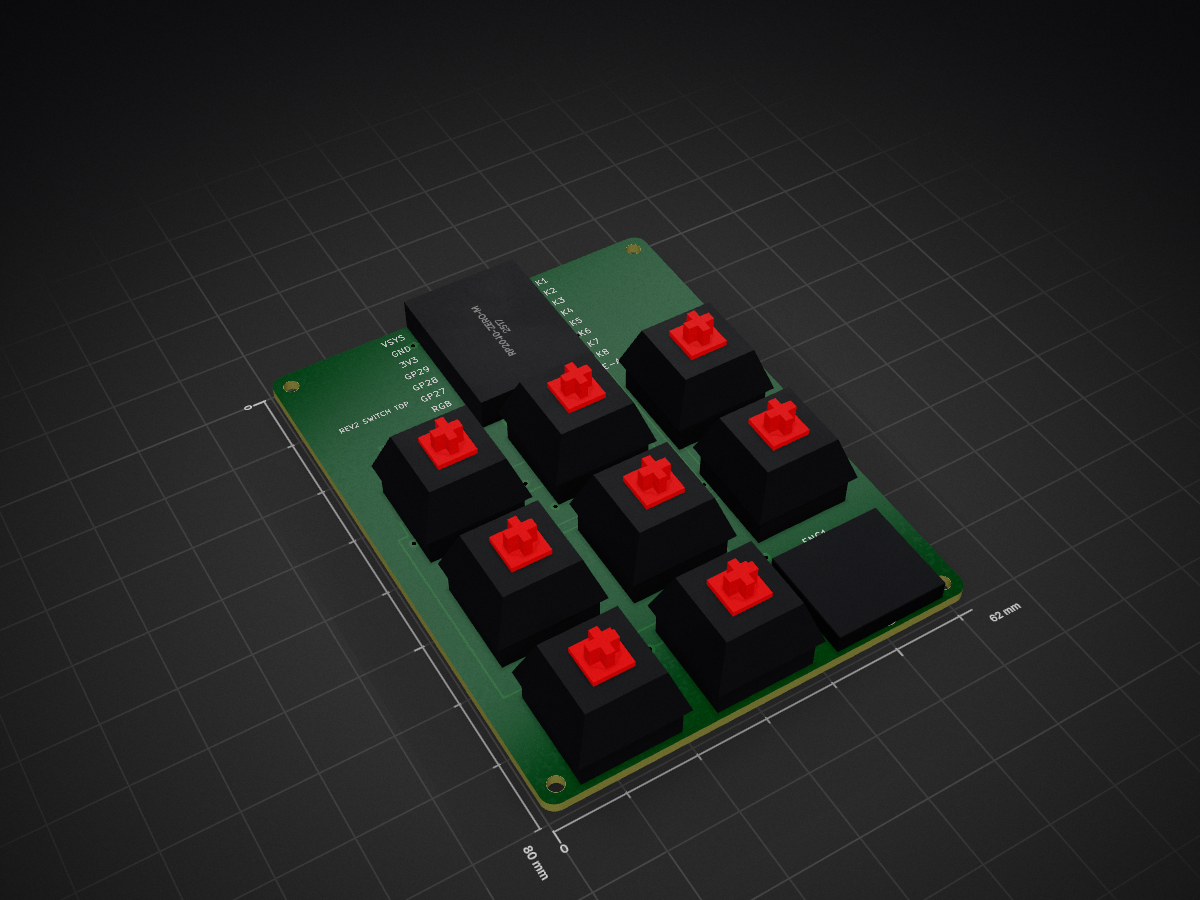
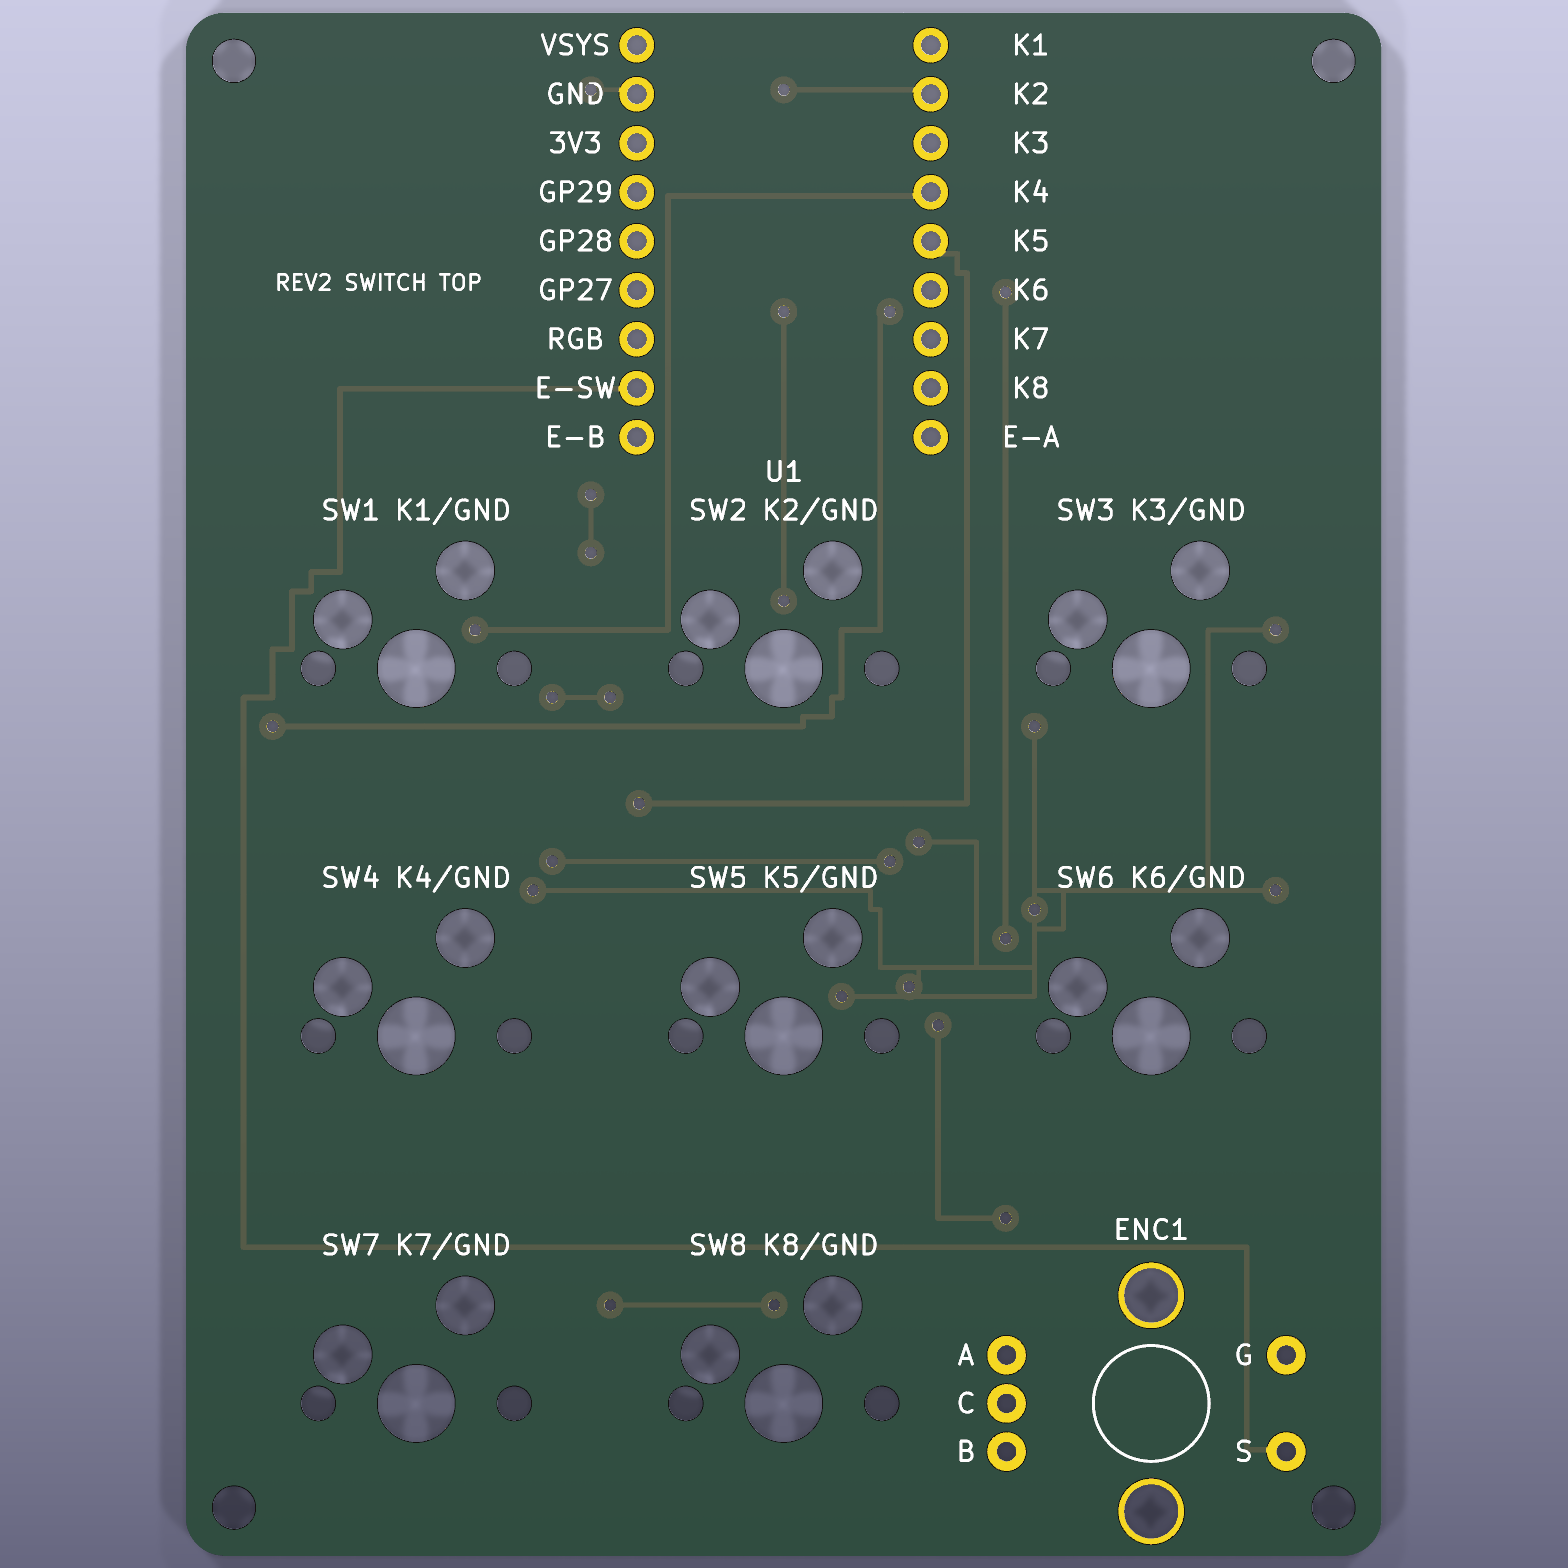
Agentpad rev2 single is an open-source printed circuit board by ymmtr6, from the ymmtr6/agent-pad repository on GitHub, published under the MIT licence. It is a 2-layer board of 62 × 80 mm with 14 parts on 13 nets, routed with 1,218 tracks and 28 vias.
Its parts include 8 switches and 1 IC. It belongs with the RP2040 boards of this library.
RP2040-Zero を使った、8 キー+ロータリーエンコーダーのマクロパッドです。基板(KiCad)、3D プリント外装・キーキャップ、QMK ファームウェア、VIA 定義をまとめています。
現行版は Rev2(単一基板・裏面ホットスワップ)です。
0x4150 / 0xA902詳しい寸法は docs/REV2_SINGLE_PCB.md と manifest_rev2.json を参照してください。
| 左 | 中央 | 右 | |
|---|---|---|---|
| 上段 | F13 | F14 | F15 |
| 中段 | F16 | F17 | F18 |
| 下段 | F19 | F20 | エンコーダー押し込み:Mute |
エンコーダーは反時計回りで音量を下げ、時計回りで上げます。
macOS では F14/F15 が標準で画面の明るさに割り当てられています。システム設定 > キーボード > キーボードショートカット > ディスプレイ で無効にするか、キーを割り当て直してください。
ビルド済みの UF2 が firmware/build/ にあります。
| ファイル | 内容 |
|---|---|
agent_pad_rev2_via.uf2 | VIA 対応版(キーマップを VIA で変更できる) |
agent_pad_rev2_default.uf2 | 固定キーマップ版 |
RPI-RP2 ドライブが現れたら、UF2 ファイルをコピーする。AgentPad Rev2 として再起動する。RESET を素早く 2 回押してもブートローダーに入れます。
AgentPad は VIA の公式リストに登録していないため、定義ファイルを手動で読み込みます。先に VIA 対応版の UF2 を書き込んでおいてください。
AgentPad Rev2 を選ぶ。8 キーとエンコーダーの押し込み・左右回転を変更できます。
QMK Firmware の公式リポジトリにキーボード定義をコピーしてビルドします。
rsync -a firmware/qmk/keyboards/agent_pad/rev2/ \
  /path/to/qmk_firmware/keyboards/agent_pad/rev2/
cd /path/to/qmk_firmware
make agent_pad/rev2:via
詳しい手順と検証結果は firmware/readme.md にあります。
JLCPCB に発注する Gerber は manufacturing/agentpad_rev2_single_gerber.zip です。発注設定は docs/JLCPCB_ORDER_REV2.md、検証結果は docs/VALIDATION_REV2.md を参照してください。
基板データは生成スクリプトから作り直せます。
python3 -m venv .venv
.venv/bin/pip install -r requirements.txt
AGENTPAD_OUT=/tmp/agentpad_rev2_single_build .venv/bin/python scripts/generate_agentpad_rev2.py
scripts/run_kicad_drc.sh rev2
DRC の実行には KiCad 9 の kicad-cli が必要です。
G-code は Creality Ender-3 V3 SE と PLA 用です。USB 接続での印刷手順は docs/ENDER3_V3_SE_USB_PRINTING.md を参照してください。
| パス | 内容 |
|---|---|
kicad/ | KiCad 基板データとフットプリント |
scripts/ | 基板データの生成スクリプト、DRC 実行スクリプト |
gerber/, manufacturing/ | 生成済みの Gerber と発注用 ZIP |
firmware/ | QMK キーボード定義、ビルド済み UF2、VIA 定義 |
cad/ | 外装・キーキャップの 3D データ |
docs/ | 設計メモ、発注手順、検証結果、画像 |
Rev1(2 枚構成の旧版)のデータも含まれています。
MIT License です。
ただし firmware/ 以下は QMK Firmware 向けのコードと、QMK を含めてビルドした UF2 なので、QMK に合わせて GPL-2.0-or-later とします。
| Qty | Value | Footprint | References |
|---|---|---|---|
| 8 | Kailh MX Hotswap | Kailh_MX_Hotswap_1U | SW1, SW2, SW3, SW4, SW5, SW6, SW7, SW8 |
| 4 | M2 NPTH / head max 4mm | MountingHole_2.2mm_M2 | H1, H2, H3, H4 |
| 1 | EC11E push encoder | RotaryEncoder_Alps_EC11E-Switch_Vertical_H20mm | ENC1 |
| 1 | RP2040-Zero-M (visible top) | RP2040-Zero-M_Header_Top | U1 |
ymmtr6/agent-pad
RP2040-Zero を使った、8 キー+ロータリーエンコーダーのマクロパッドです。基板(KiCad)、3D プリント外装・キーキャップ、QMK ファームウェア、VIA 定義をまとめています。

google/mozc-devices
Circuit diagrams and firmware source code for Gboard DIY keyboards


hackclub/OnBoard
💡 Join 1,000 teenagers and make your first PCB with a $100 grant!


Twotoz/C5VRX
Ultra-minimal, zero-CPU 5.8 GHz analog FPV video receiver using ESP32-C5 Wi-Fi 6 PHY MODEM_DIAG, BitScrambler WBFM demodulation & resistor DAC CVBS


It measures 62 × 80 mm and has 2 copper layers, 1.6 mm thick.
14 parts. The full list of its parts is on this page, with links to each part's symbol and footprint where PCBKit's library has them.
From the ymmtr6/agent-pad repository on GitHub, at the commit this page was made from: the board is kicad/agentpad_rev2_single.kicad_pcb. PCBKit opens the board in the browser, with nothing to install.
Its repository publishes it under the MIT licence: you may reuse it on that licence's terms (keep the author's notice, and for a copyleft licence share your changes alike).