2 layers28.3 × 39.8 mm
LevelShifter
gusmanb/logicanalyzer
24 channel, 100Msps logic analyzer hardware and software
21 parts5.1kGPL-3.0

 TomKeddie/prj-supercon20193
Credit to Thomas Flummer for the cartridge template. Credit to esden and thus bml for the Hyperram idea and schematic.
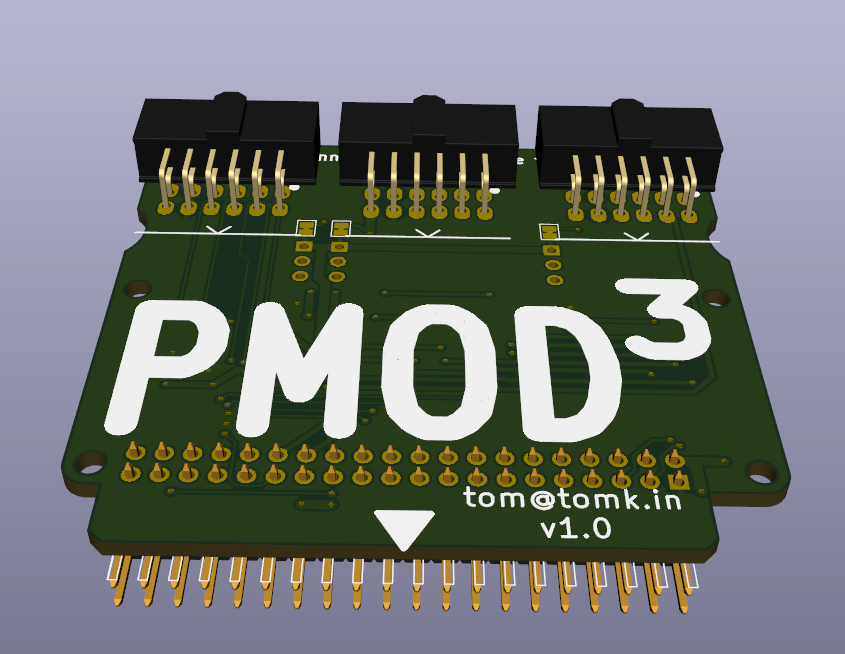
Cartridge is an open-source printed circuit board by TomKeddie, from the TomKeddie/prj-supercon2019 repository on GitHub. It is a 2-layer board of 72.4 × 68.3 mm with 21 parts on 39 nets, routed with 576 tracks and 78 vias.
Its parts include 12 capacitors, 4 connectors and 2 ICs. It belongs with the retro computing and games boards of this library.
Credit to Thomas Flummer for the cartridge template. Credit to esden and thus bml for the Hyperram idea and schematic.
Rev 1.2 is back from JLC PCB and works well.
The pin mapping was designed to keep differential pairs together. I ran out of time to do the more complex pcb routing needed needed for differential pairs but this could be done in the future.
Here are some pin definitions that might work for litex/migen. Note the clumsy but obvious switch from 1 base (silk) numbering to 0 base (fpga).
pmod_cubed = [
        ("pmod2", 0,
         Subsignal("p1", Pins("genio:{}".format(6-1))),
         Subsignal("p2", Pins("genio:{}".format(5-1))),
         Subsignal("p3", Pins("genio:{}".format(2-1))),
         Subsignal("p4", Pins("genio:{}".format(1-1))),
         Subsignal("p5", Pins("genio:{}".format(23-1))),
         Subsignal("p6", Pins("genio:{}".format(22-1))),
         Subsignal("p7", Pins("genio:{}".format(10-1))),
         Subsignal("p8", Pins("genio:{}".format(11-1))),
        ),
        ("pmod3", 1,
         Subsignal("p1", Pins("genio:{}".format(4-1))),
         Subsignal("p2", Pins("genio:{}".format(8-1))),
         Subsignal("p3", Pins("genio:{}".format(9-1))),
         Subsignal("p4", Pins("genio:{}".format(12-1))),
         Subsignal("p5", Pins("genio:{}".format(15-1))),
         Subsignal("p6", Pins("genio:{}".format(18-1))),
         Subsignal("p7", Pins("genio:{}".format(20-1))),
         Subsignal("p8", Pins("genio:{}".format(24-1))),
        ),
        ("pmod4", 2,
         Subsignal("p1", Pins("genio:{}".format(3-1))),
Subsignal("p2", Pins("genio:{}".format(13-1))),This one is for most people, just load the connectors and C13-C15 and you're done.
If you want to you can not load PMOD4 and add Hyperram. It uses the same schematic as the icebreaker pmod. This option is untested YMMY.
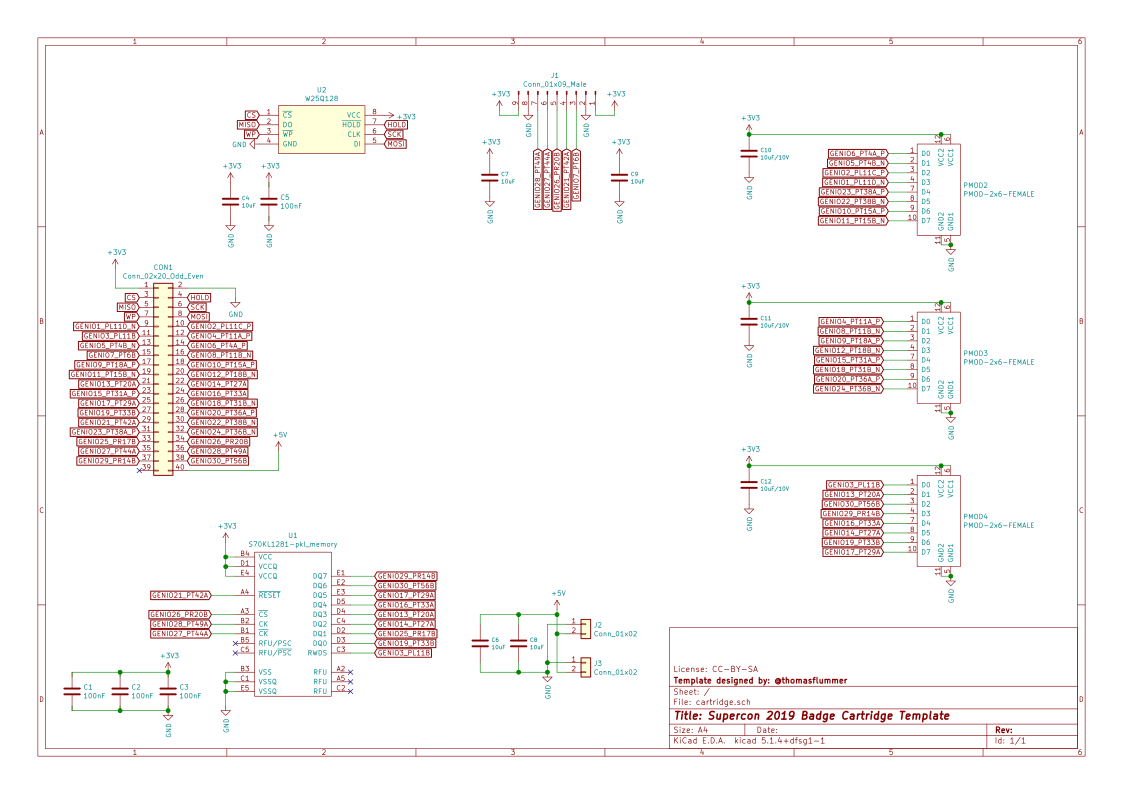
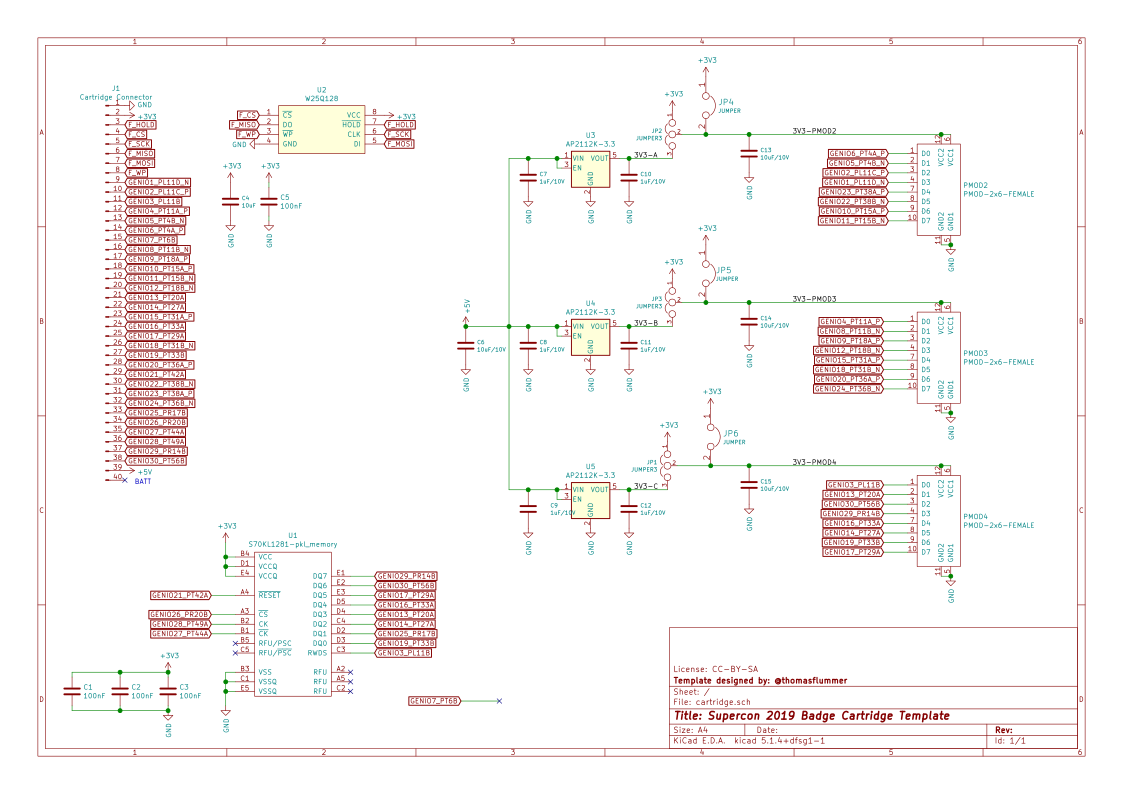
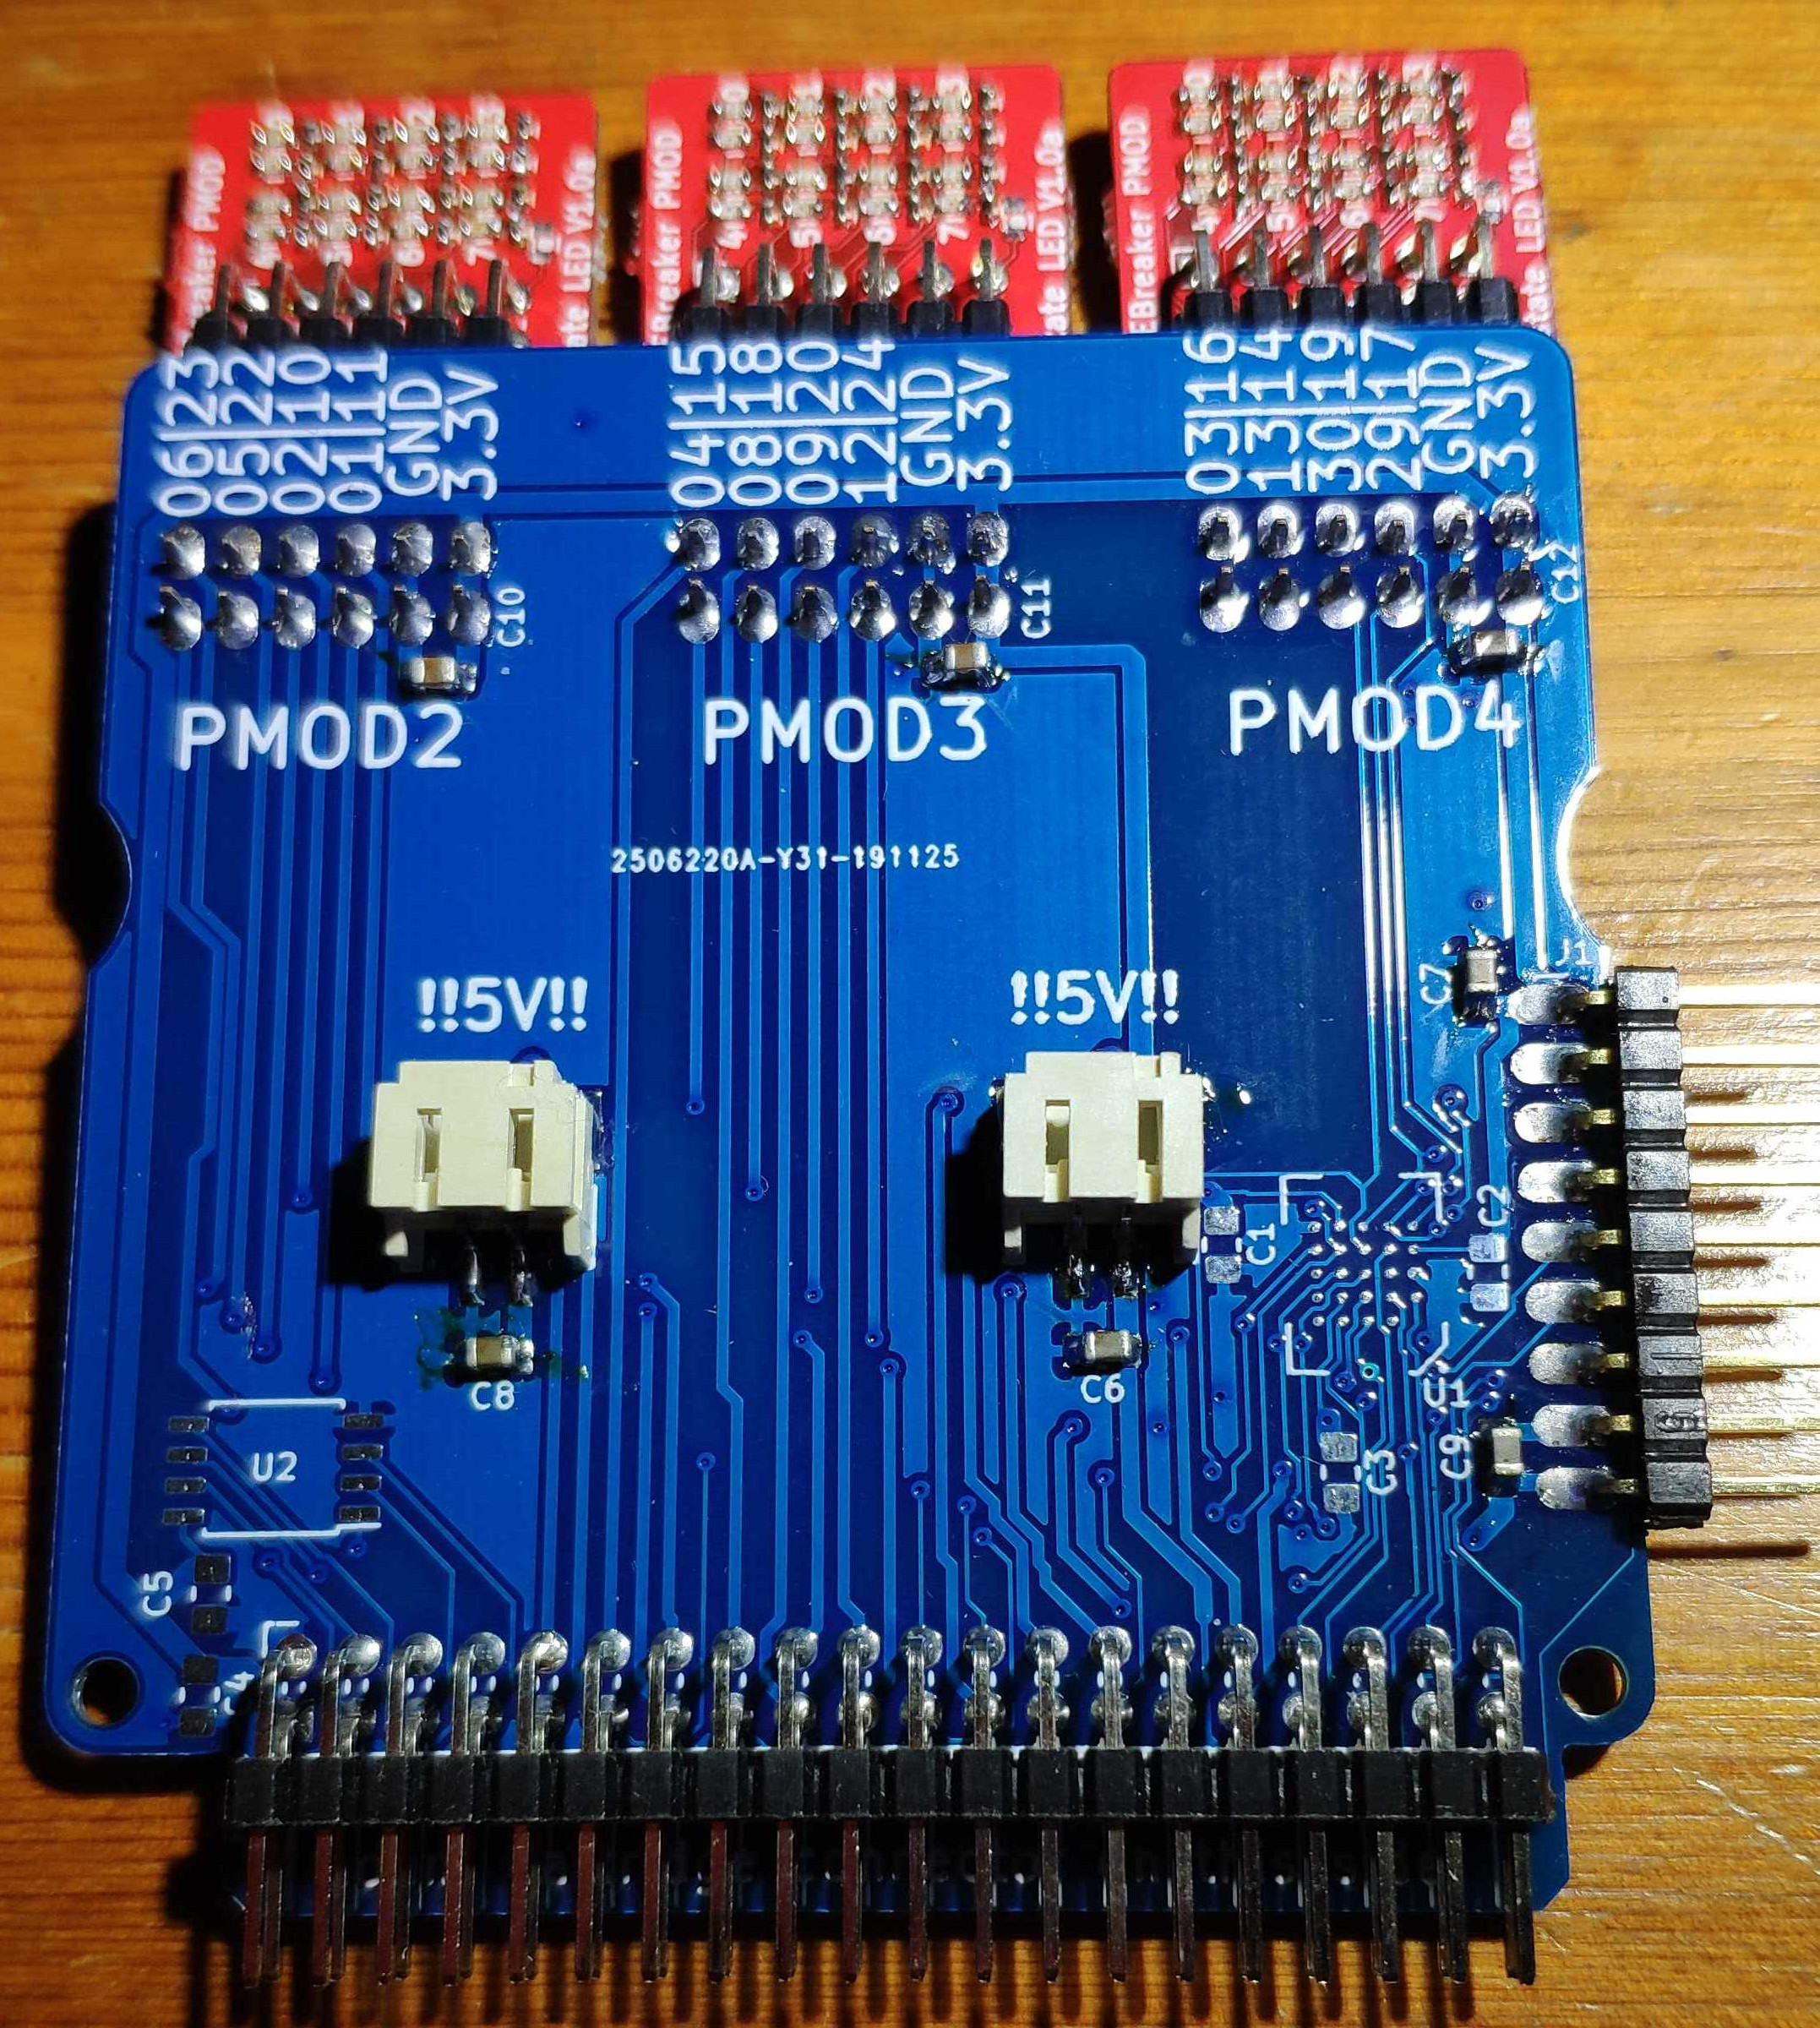
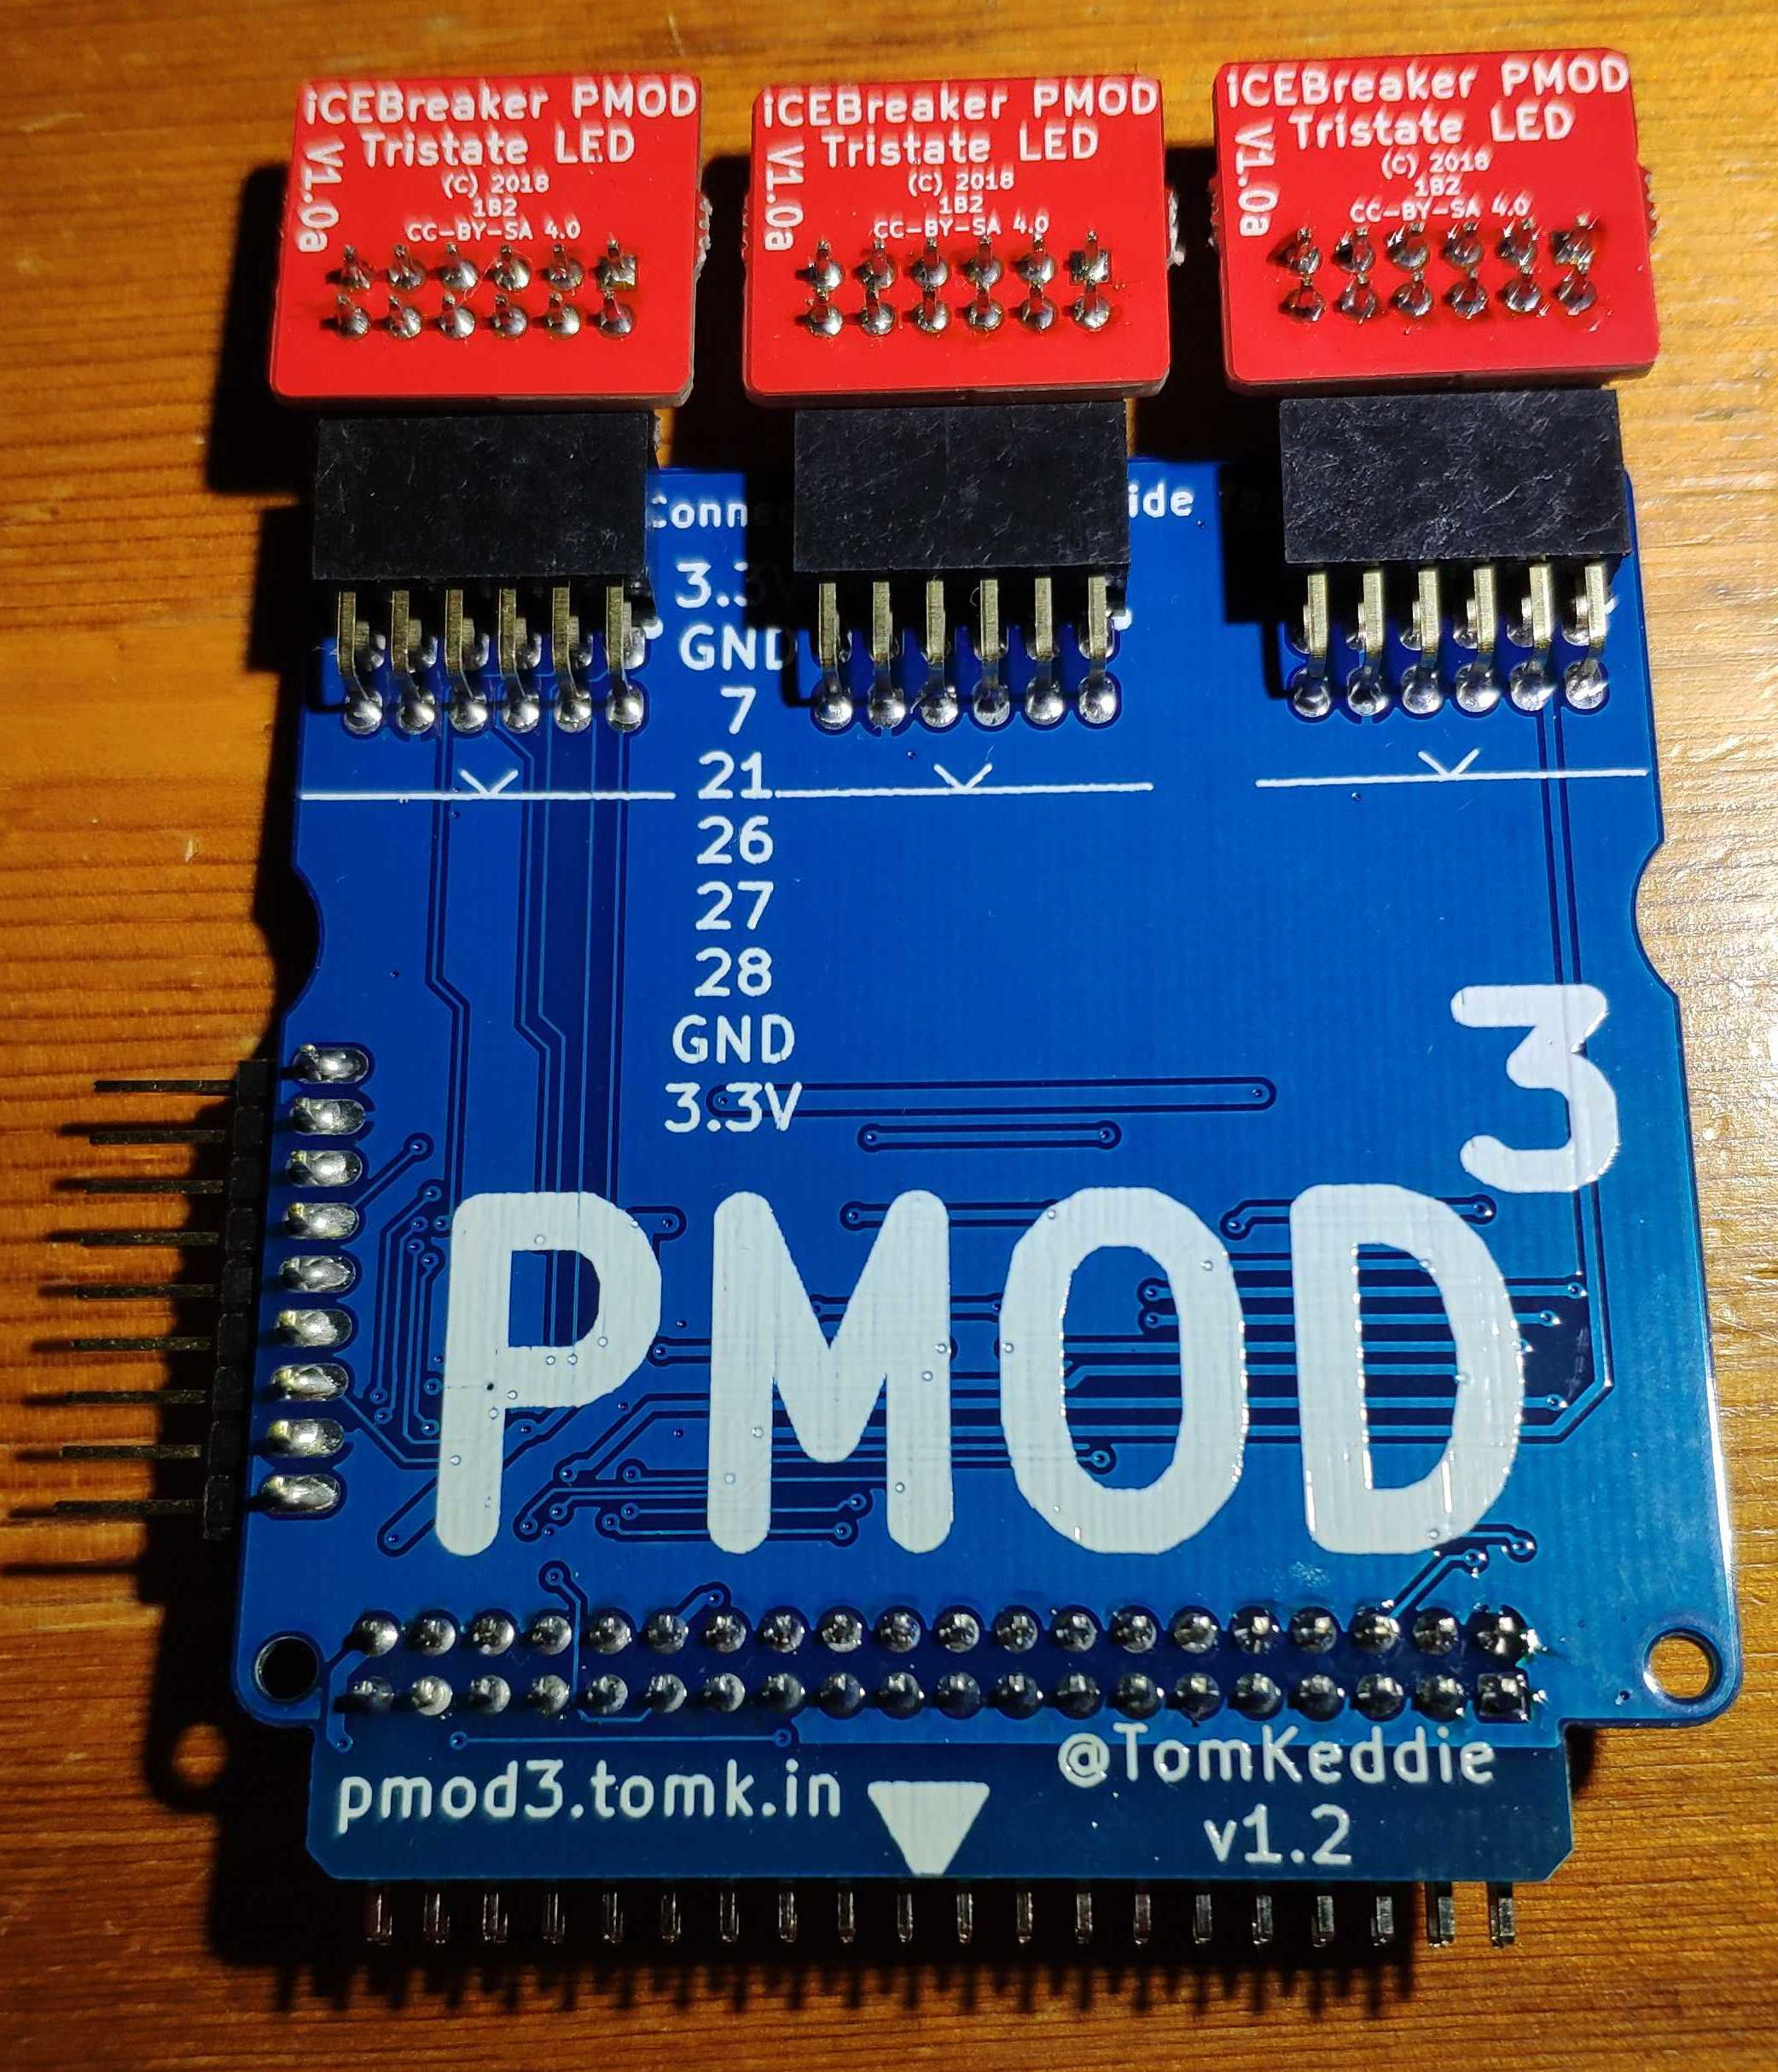
| Qty | Value | Footprint | References |
|---|---|---|---|
| 5 | 10uF | tom-passives:C_0805_2012Metric_Pad1.15x1.40mm_HandSolder | C4, C6, C7, C8, C9 |
| 4 | 100nF | tom-passives:C_0805_2012Metric_Pad1.15x1.40mm_HandSolder | C1, C2, C3, C5 |
| 3 | 10uF/10V | tom-passives:C_0805_2012Metric_Pad1.15x1.40mm_HandSolder | C10, C11, C12 |
| 3 | PMOD-2x6-FEMALE | tom-connectors:PMOD_2X6_PTH_RA_SOCKET | PMOD2, PMOD3, PMOD4 |
| 2 | Conn_01x02 | tom-connectors:JST-2-SMD | J2, J3 |
| 1 | Conn_01x09_Male | tom-connectors:PinHeader_1x09_P2.54mm_Horizontal | J1 |
| 1 | Conn_02x20_Odd_Even | tom-connectors:PinHeader_2x20_P2.54mm_Horizontal_Mirrored | CON1 |
| 1 | S70KL1281-pkl_memory | tom-semiconductors:BGA-24_5x5_6.0x8.0mm | U1 |
| 1 | W25Q128 | tom-semiconductors:SOIC-8_5.23x5.23mm_P1.27mm | U2 |
gusmanb/logicanalyzer
24 channel, 100Msps logic analyzer hardware and software

mntmn/amiga2000-gfxcard
MNT VA2000, an Open Source Amiga 2/3/4000 Graphics Card (Zorro II/III), written in Verilog


hackclub/OnBoard
💡 Join 1,000 teenagers and make your first PCB with a $100 grant!

drandyhaas/KiCadRoutingTools
A set of Python/Rust tools to aid routing in KiCad

Arrow-air/project-quiver
Project Quiver documentation, designs, and project artifacts.


It measures 72.4 × 68.3 mm and has 2 copper layers, 1.6 mm thick.
21 parts. The full list of its parts is on this page, with links to each part's symbol and footprint where PCBKit's library has them.
From the TomKeddie/prj-supercon2019 repository on GitHub, at the commit this page was made from: the board is supercon2019/cartridge-pmod3/cartridge.kicad_pcb. PCBKit opens the board in the browser, with nothing to install.
Its repository states no licence, so its author keeps all rights: ask TomKeddie before reusing the design.