
2 layers65 × 30 mm
Rgb to hdmi
hoglet67/RGBtoHDMI
Bare-metal Raspberry Pi project that provides pixel-perfect sampling of Retro Computer RGB/YUV video and conversion to HDMI
33 parts1kGPL-3.0

 shaise/OpenSkySim12
A wireless USB dongle for RC flight simulators. Supports PhoenixRC.
FRReceiverSim is an open-source printed circuit board by shaise, from the shaise/OpenSkySim repository on GitHub, published under the LGPL-2.1 licence. It is a 2-layer board of 36 × 20 mm with 33 parts on 27 nets, routed with 272 tracks and 40 vias.
It is built around the SS110-A. Its parts include 11 resistors, 10 capacitors, 3 ICs, 3 diodes and 3 connectors. It belongs with the STM32 boards of this library.
A wireless rc simulator controller
This open project aims to develop a small USB dongle that lets you use your FrSky transmitter as an RC simulator controller wirelessly. You only need to bind your transmitter to the dongle and start playing!
This dongle supports both standard HID compatible simulators, AND PhoenixRC!
The hardware is bases on STM32F103 microcontroller and TI CC2500 transceiver. The firmware is based on OpenSky FrSky-compatible receiver: https://github.com/fishpepper/OpenSky
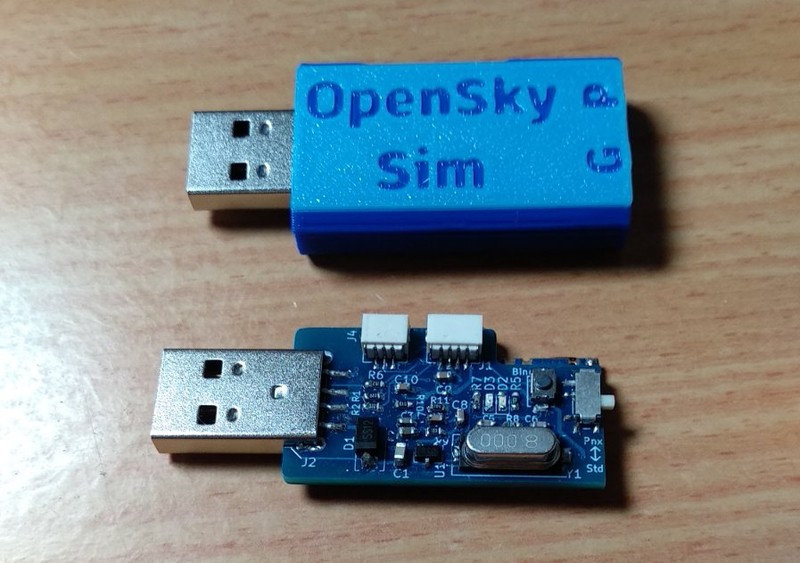
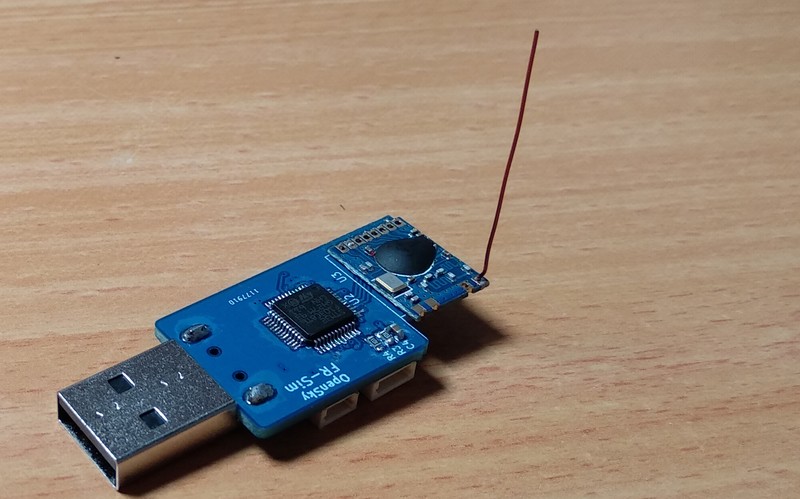
Top Side (click to enlarge):
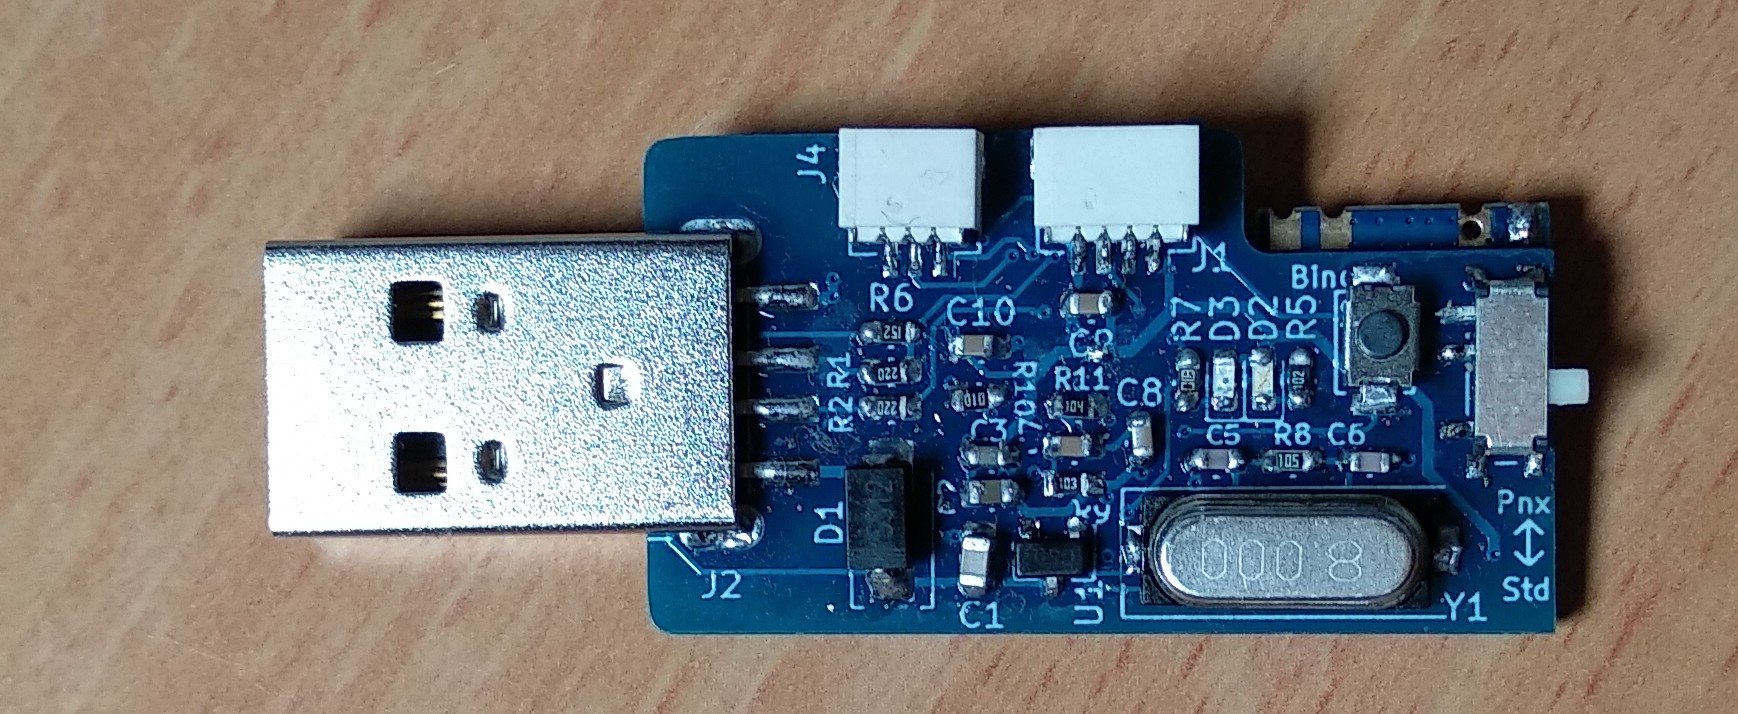
You will need an ST-Link V2 compatible programmer and programming cable (links in the BOM)
From the JST cable and Dupont connector kit prepare the programming cable as shown in the image (Note the colors!):
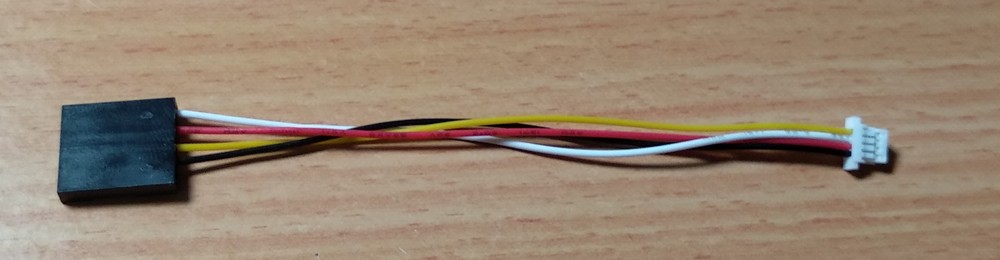
Connect the cable between the programmer and dongle:
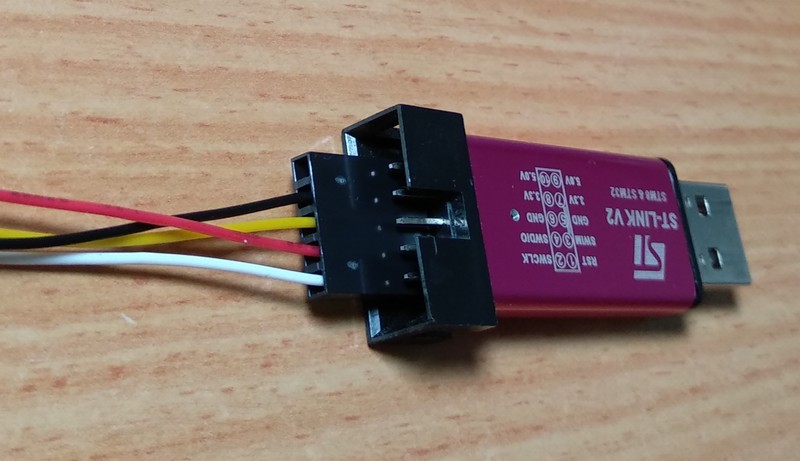
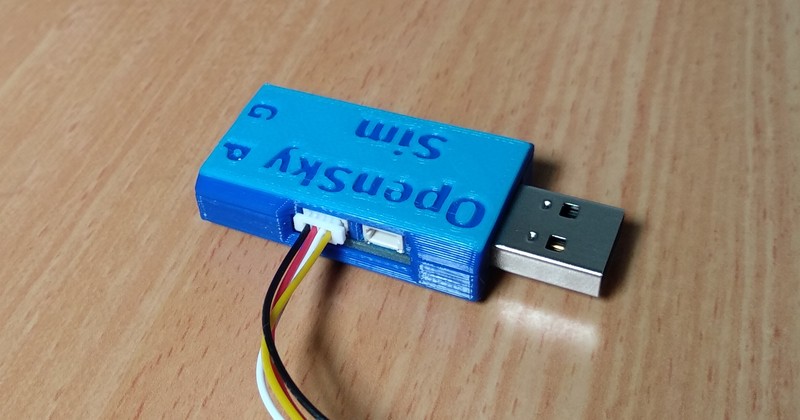
Connect the Stlink programmer to the PC. (no need to connect the dongle, it is powered from the programmer)
Download the OpenSkySim firmware, and use a programming software such as the and programm the dongle.
This dongle works with FR-Sky telemetry compatible transmitters. (SW 1 and 2 off on DJT modules)
You first need to bind the dongle with the transmitter (this is a one-time operation, repeat only if you change transmitter):
Press and hold the bind button and insert the dongle to the PC. Wait for the green light to turn on.
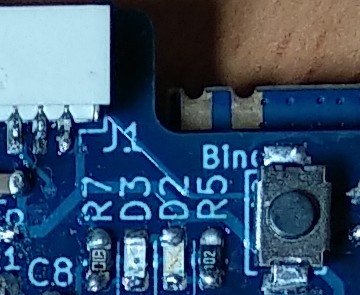
Start binding procedure in your transmitter. If you are using an external module such as the DJT, Press and hold the module bind button and turn on the transmitter.
Wait for the red led on the dongle to start blinking. When it does, binding is complete! Turn off the transmitter and pull the dongle out from the PC.
From now on all you need to do to use the simulator is just by using the slide switch, select the operation mode: either 'Std' for standard HID compatible simulator or 'Pnx' for PhoenixRC, then insert the dongle to the PC and start Simm-ing!
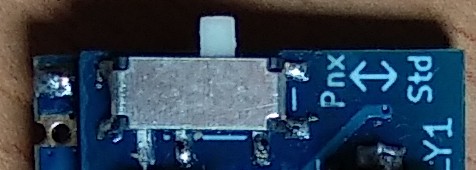
Remark: When using the dongle in 'Std' mode, the PC will recognize it as "OpenSky wireless sim dongle" HID game controller.
| Qty | Value | Footprint | References |
|---|---|---|---|
| 6 | 100n_0603 | Capacitor_SMD:C_0603_1608Metric | C3, C4, C7, C8, C9, C10 |
| 3 | 10K_0603 | Resistor_SMD:R_0603_1608Metric | R3, R4, R9 |
| 2 | 100K_0603 | Resistor_SMD:R_0603_1608Metric | R10, R11 |
| 2 | 1K_0603 | Resistor_SMD:R_0603_1608Metric | R5, R7 |
| 2 | 20R_0603 | Resistor_SMD:R_0603_1608Metric | R1, R2 |
| 2 | 20p_0603 | Capacitor_SMD:C_0603_1608Metric | C5, C6 |
| 1 | 1K5_0603 | Resistor_SMD:R_0603_1608Metric | R6 |
| 1 | 1M_0603 | Resistor_SMD:R_0603_1608Metric | R8 |
| 1 | 22u_0603 | Capacitor_SMD:C_0603_1608Metric | C2 |
| 1 | 4u7_0805_16V | Capacitor_SMD:C_0805_2012Metric | C1 |
| 1 | 8Mhz | Crystal:Crystal_SMD_HC49-SD | Y1 |
| 1 | CC2500_MOD8_ANT | FRMod:CC2500_MOD8_ANT | U3 |
| 1 | GREEN | LED_SMD:LED_0603_1608Metric | D2 |
| 1 | JST1.0 | Connector_JST:JST_SH_SM03B-SRSS-TB_1x03-1MP_P1.00mm_Horizontal | J4 |
| 1 | Jst1.0x4 | Connector_JST:JST_SH_SM04B-SRSS-TB_1x04-1MP_P1.00mm_Horizontal | J1 |
| 1 | MCP1700 | Package_TO_SOT_SMD:SOT-23 | U1 |
| 1 | RED | LED_SMD:LED_0603_1608Metric | D3 |
| 1 | SS110-A | Diode_SMD:D_SMA | D1 |
| 1 | STM32F103C8Tx | Package_QFP:LQFP-48_7x7mm_P0.5mm | U2 |
| 1 | SW_BIND | FRMod:SW_SPST_4x3 | SW1 |
| 1 | SW_SPDT | Button_Switch_SMD:SW_SPDT_PCM12 | SW2 |
| 1 | USB_B | Connector_USB:USB_A_CNCTech_1001-011-01101_Horizontal | J2 |
It measures 36 × 20 mm and has 2 copper layers, 1.6 mm thick.
33 parts, built around the SS110-A. The full list of its parts is on this page, with links to each part's symbol and footprint where PCBKit's library has them.
From the shaise/OpenSkySim repository on GitHub, at the commit this page was made from: the board is Hardware/FRReceiverSimPCB/FRReceiverSim.kicad_pcb. PCBKit opens the board in the browser, with nothing to install.
Its repository publishes it under the LGPL-2.1 licence: you may reuse it on that licence's terms (keep the author's notice, and for a copyleft licence share your changes alike).
hoglet67/RGBtoHDMI
Bare-metal Raspberry Pi project that provides pixel-perfect sampling of Retro Computer RGB/YUV video and conversion to HDMI

mntmn/amiga2000-gfxcard
MNT VA2000, an Open Source Amiga 2/3/4000 Graphics Card (Zorro II/III), written in Verilog

hackclub/OnBoard
💡 Join 1,000 teenagers and make your first PCB with a $100 grant!

Arrow-air/project-quiver
Project Quiver documentation, designs, and project artifacts.

ozel/DIY_particle_detector
A mobile low-cost spectrometer for measuring radioactivity and the energy of ionising radiation like alpha particles and electrons

BlueAndi/Pixelix
Full RGB LED matrix, based on an ESP32 and WS2812B LEDs or emulated LEDs on TFT.

jrsteensen/OpenHornet
OpenHornet 1:1 F/A-18C Simulator Repository
