
2 layers99.3 × 100 mm
Catan100
seanboyce/Calculus-the-game
An electronic strategy board game about mining an asteroid and barter.
23 parts19

 seanboyce/Calculus-the-game19
An electronic strategy board game about mining an asteroid and barter.
Catan100 is an open-source printed circuit board by seanboyce, from the seanboyce/Calculus-the-game repository on GitHub. It is a 2-layer board of 246 × 245.3 mm with 25 parts on 28 nets, routed with 909 tracks and 144 vias.
It is built around the TM1640. Its parts include 9 diodes, 7 ICs, 2 capacitors, 2 resistors and 1 connector.
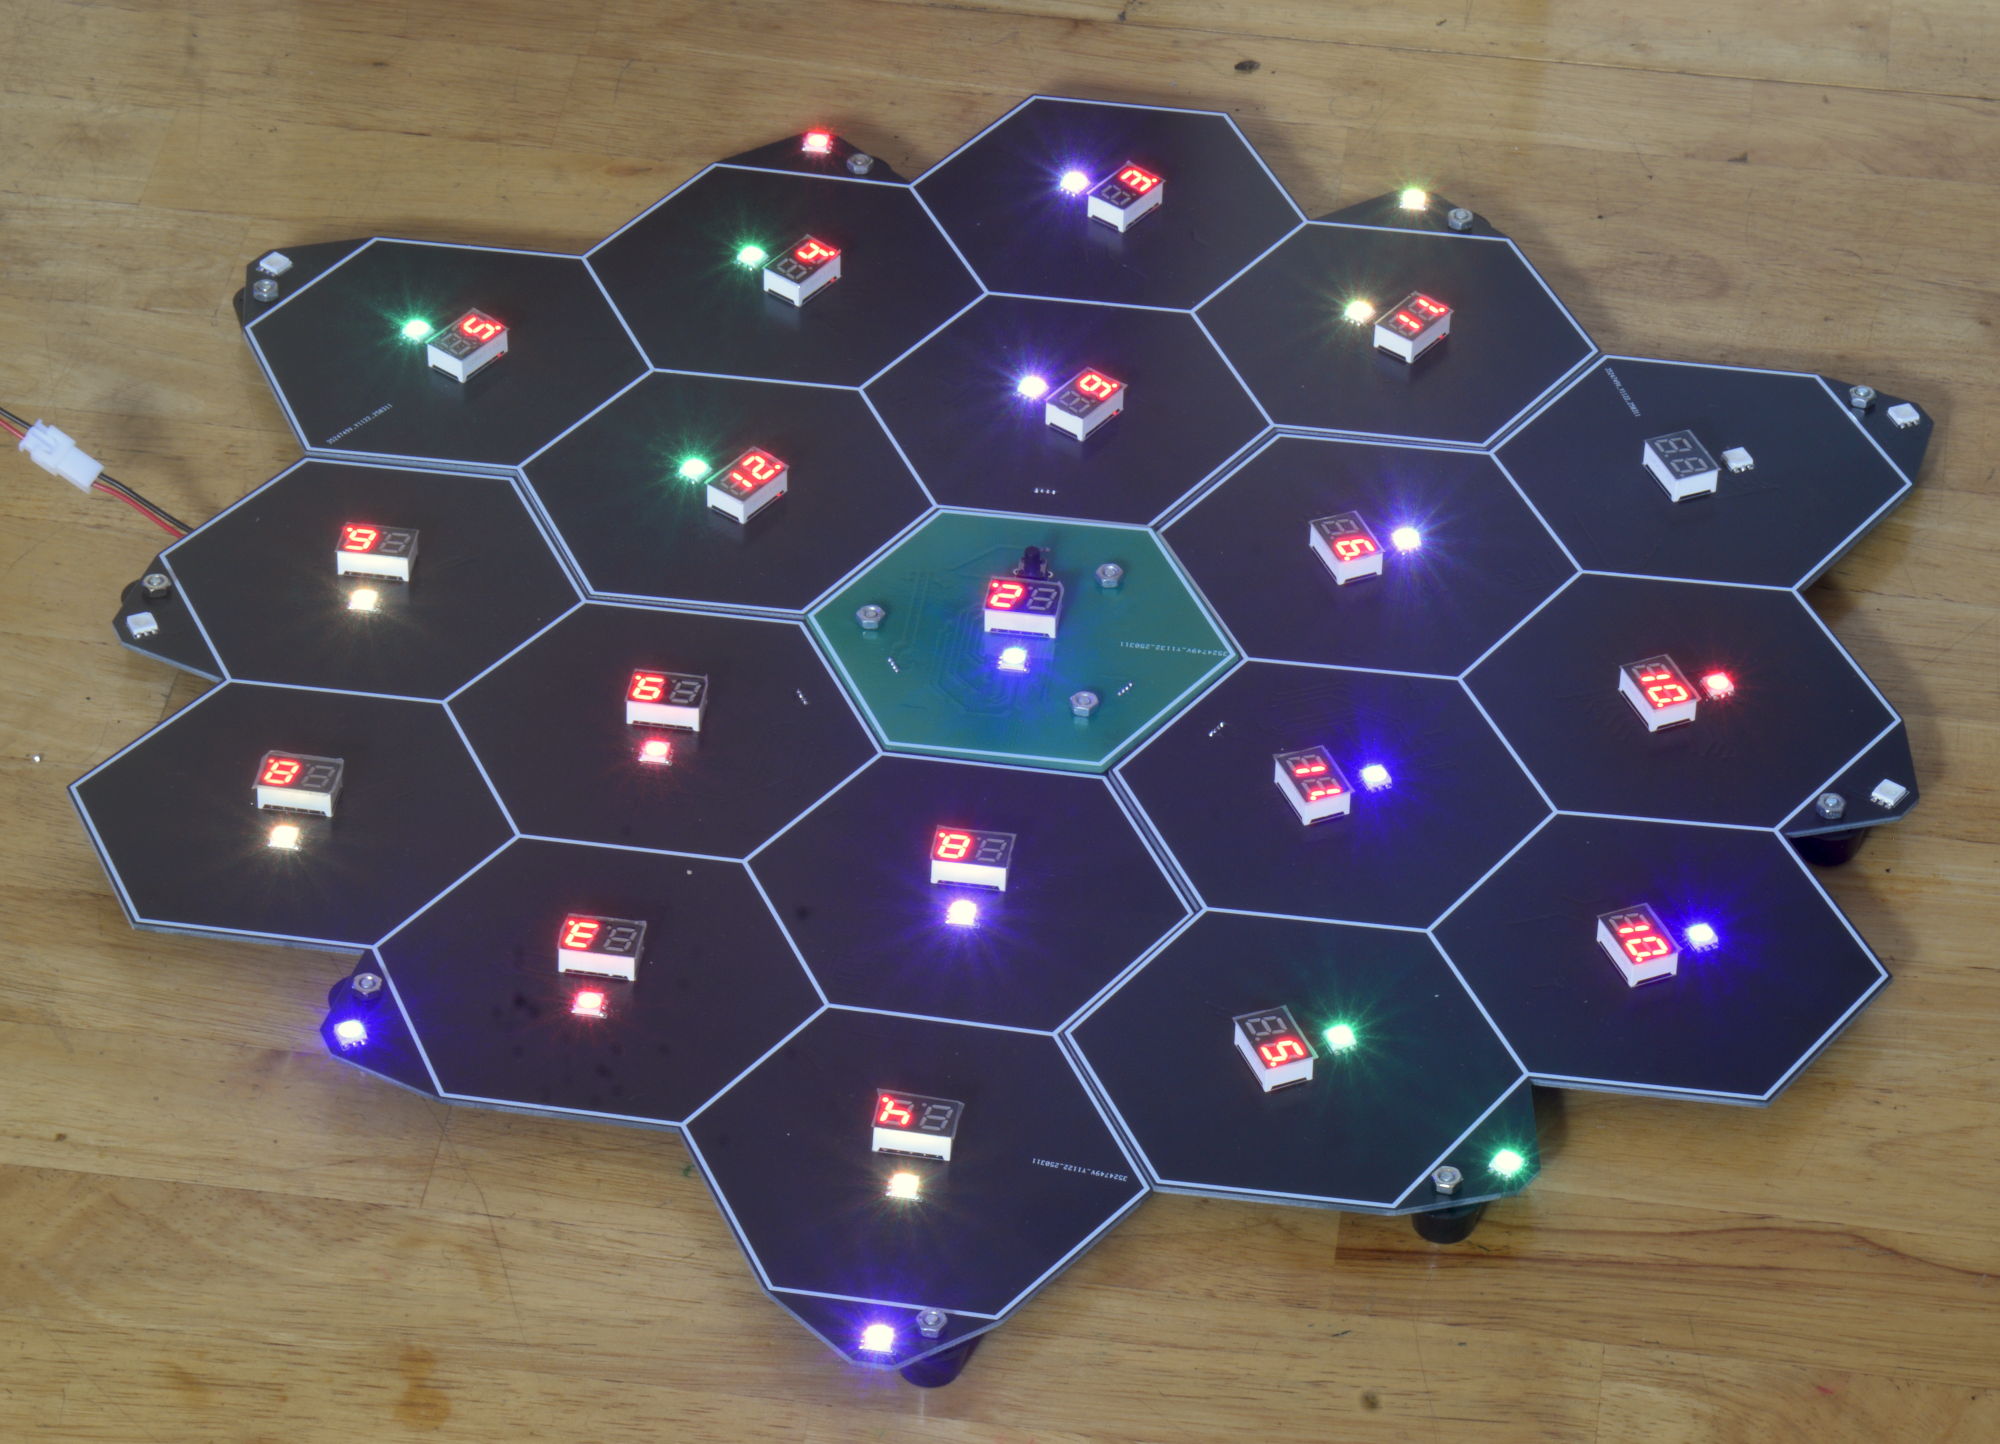
An electronic strategy board game about mining an asteroid and barter. It is also fully compatible with Settlers of Catan. So if you already own that game, you can play it using this board if you wish (using the cards and pieces from the original). The holders of the Catan copyright also generously allow you to make one (1) handmade copy of their game for personal use. A practical thing to do is buy their game, and use the included pieces and cards (although please note the pieces will only physically fit the full-size version, see below). For more information on IP, please visit this link: https://www.catan.com/guidelines-dealing-intellectual-property-catan
Out of respect for their IP (and also for fun), my own game will be sci-fi themed and will not use or refer to their IP beyond this point.
The name of the game is Calculus, in the sense of a "stone, or concretion of material". In this case, an asteroid in deep space! You are one of up to four corporations that are racing to exploit this valuable asteroid. The corporation that reaches a certain level of development (10 Infrastructure Points) first will own this tiny piece of the sky. This is the object of the game. Besides the four corporations, a mysterious hacker has made their home here, and is bound to interfere with your plans...
(for more information, read the short, bewildering manual)
The electronics and firmware are in a finished state. Game and reference cards exist and are usable, but the design is nothing special. The game manual is an A5 saddle-stitched booklet, available as a pre-imposed, print-ready document. If you want to help, please redesign my print materials. You are very likely better at this than I am.
There are two versions of this game, both complete:
Other than noted above, both versions play the same.
It's expected that you power the game via a USB battery bank. Like the kind you use to recharge phones. However, you can power it from any USB port or 5V source. Current consumption at 5v should be around 250mA for the cheap version, and a little higher for the full version (say 300mA).
Note that some power banks will automatically turn off if the power draw is too low. When pressing the 'next turn' button, the power draw can dip below this threshold, causing the game to turn off and lose it's state! To avoid this, some power banks have a 'low current mode' that disables this feature -- check your powerbank manual.
An alternative solution is to put a resistor across power and ground to increase the current draw. A 100 ohm resistor was sufficient in my case. This adds 50mA to the current consumption, but still keeps it low enough that my power bank will run the game for 30 hours or so per charge.
Building your own rechargeable power supply, or powering it from a phone charger instead of a battery are also reasonable solutions!
The cheap version of the game can use more or less any RP2040 based board. The original Pi Pico works fine. The full version specifically requires the XIAO RP2040 -- it's smaller and I needed the space.
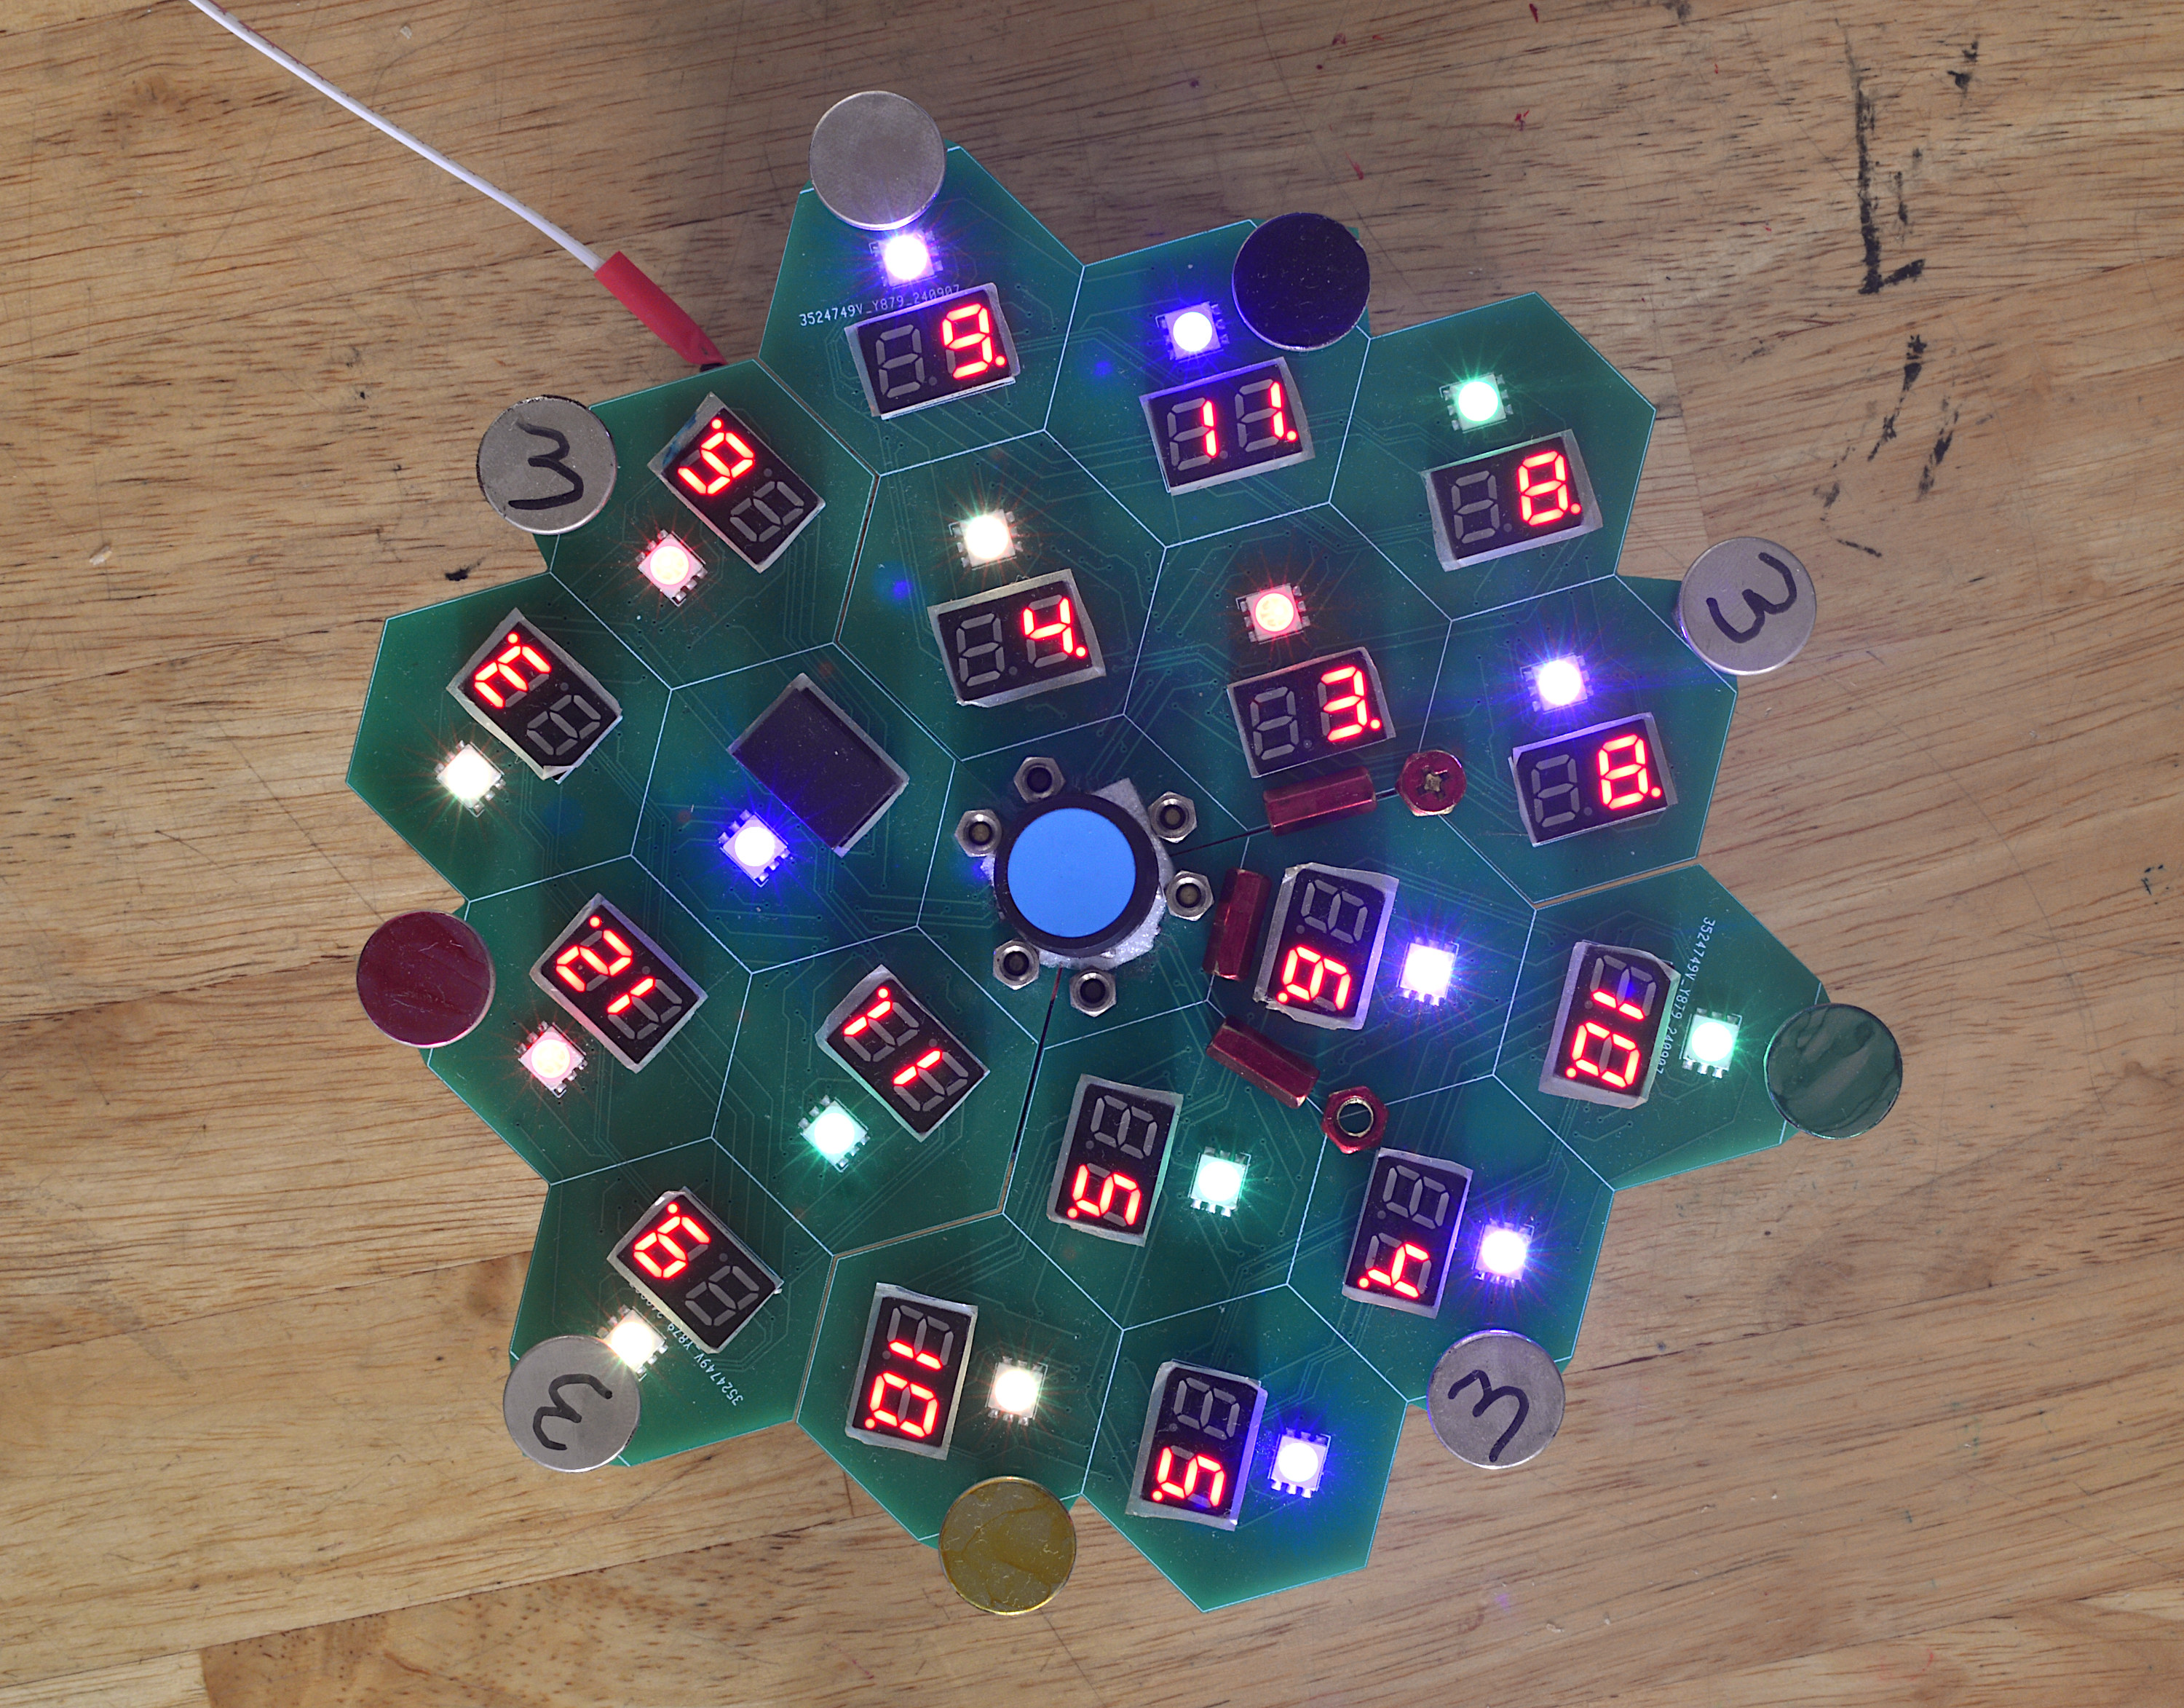
The boards for the cheap version are intended to be attached above a small project box or similar. This serves the dual purpose of housing a microcontroller, and fixing the 3 PCBs firmly in place. The larger board has all those electronics integrated, and is meant to be bolted to something rigid. I use a circular bamboo serving tray, this leaves a hollow space under the board suitable for storing pieces, the power supply, and the manual.
You can also just add rubber feet to the PCB, the type that are used for furniture and attach on via M3 bolts. This will let you rest it on most flat sufaces. These should be at least 8mm high for proper clearance, I found 10mm more practical. The benefit of this approach is that you can 'stack' the 3 big PCBs, and store the game in a smaller box. On the other hand, it offers no strain relief on the cabling (which can get a bit tangled). I found that bolting it to a rigid surface was much more practical.
The cheap requires custom pieces -- hex spacers, bolts, and nuts colored with a permanent marker work fine. The full size board can be played with pieces from a Catan set, or you can make your own.
I like the weight of metal game pieces -- so I dyed 25mm brass hex spacers as the 'tunnels', dyed M6 nuts as the 'mines', and add a ~13mm dyed M6 bolt to them to upgrade them to 'drills'.
To dye these metal pieces, colored permanent marker worked really well.
Besides the assembled PCBs, you will need to load firmware to the main microcontroller (an RP2040). This is pretty easy and can be done over USB. The firmware is heavily commented -- this is so you can make 'house' modifications to the game mechanics, to change the rules if you want. You could even design a completely new game!
Assembling the PCBs will require that you are comfortable with surface-mount soldering. It's not nearly as hard as it looks. You'll need solder paste and a hot air rework station though. If you don't have these, check if there's a hackerspace near you. They probably will! The default designs use 0402 (1005 metric) components. If you want something easier to solder, look for the 0603 version of the kicad and production files in the fullsize board directory.
Raise an issue here on Github. I check in from time to time and will likely respond.
| Qty | Value | Footprint | References |
|---|---|---|---|
| 6 | ~ | files:7seg2_small | U2, U3, U4, U5, U6, U7 |
| 4 | MountingHole | MountingHole:MountingHole_3.2mm_M3 | H1, H2, H3, H4 |
| 2 | 10k | Resistor_SMD:R_01005_0402Metric | R1, R2 |
| 1 | 0.1uF | Capacitor_SMD:C_0603_1608Metric | C1 |
| 1 | 100uF | Capacitor_Tantalum_SMD:CP_EIA-3528-12_Kemet-T | C2 |
| 1 | Conn_01x04_Pin | Connector_PinHeader_1.27mm:PinHeader_1x04_P1.27mm_Horizontal | J1 |
| 1 | D10 | LED_SMD:LED_RGB_5050-6 | D7 |
| 1 | D2 | LED_SMD:LED_RGB_5050-6 | D1 |
| 1 | D3 | LED_SMD:LED_RGB_5050-6 | D2 |
| 1 | D4 | LED_SMD:LED_RGB_5050-6 | D3 |
| 1 | D5 | LED_SMD:LED_RGB_5050-6 | D4 |
| 1 | D6 | LED_SMD:LED_RGB_5050-6 | D5 |
| 1 | D7 | LED_SMD:LED_RGB_5050-6 | D6 |
| 1 | D8 | LED_SMD:LED_RGB_5050-6 | D9 |
| 1 | D9 | LED_SMD:LED_RGB_5050-6 | D8 |
| 1 | TM1640 | files:TM1640 | U1 |
seanboyce/Calculus-the-game
An electronic strategy board game about mining an asteroid and barter.

seanboyce/Calculus-the-game
An electronic strategy board game about mining an asteroid and barter.


fm4dd/picon-one-hw
KiCad PCB, gerber, and CAD files for the PiCon-One controller.

jwaeles/xmas-2019
Dynamic christmas gift label that scrolls the name of the person it's for when you shake the gift


seanboyce/servermon
An ESP8266-based server monitor PCB displaying the status of up to 8 servers with RGB LEDs.

gabeak2/Wemos_D1_mini_weather_station
Mini weather station built around ESP8266 WiFi SOC on a Wemos D1-Mini breakout PCB. Shows inside temperature and wifi-updated outside temp, and has LED to indicate for rain.


It measures 246 × 245.3 mm and has 2 copper layers, 1.6 mm thick.
25 parts, built around the TM1640. The full list of its parts is on this page, with links to each part's symbol and footprint where PCBKit's library has them.
From the seanboyce/Calculus-the-game repository on GitHub, at the commit this page was made from: the board is calculus_full/catan main segment kicad files/catan100.kicad_pcb and its schematic calculus_full/catan main segment kicad files/catan100.kicad_sch. PCBKit opens the board in the browser, with nothing to install.
Its repository states no licence, so its author keeps all rights: ask seanboyce before reusing the design.