2 layers224.4 × 97.8 mm
Knobdeavour
ScatteredDrifter/Buran-Ortho
A 39-key orthogonal keyboard with support for two knobs, based on a rp2040
105 parts46

 ScatteredDrifter/Clacky407
Daisy40 drop-in replacement PCB, NOW with RP2040 and some additional features
Dizzy40 is an open-source printed circuit board by ScatteredDrifter, from the ScatteredDrifter/Clacky40 repository on GitHub. It is a 2-layer board of 229 × 80 mm with 132 parts on 113 nets, routed with 2,052 tracks and 100 vias.
It is built around the RP2040, W25Q128JVSIQ and SRV05-4, with the BAV70 and WS2812B among its other parts. Its parts include 57 switches, 23 diodes, 15 capacitors, 9 connectors and 7 resistors. It belongs with the RP2040 boards of this library.


Yet another replacement Board for the Daisy40.
Running with a RP2040, adapted from elmos:
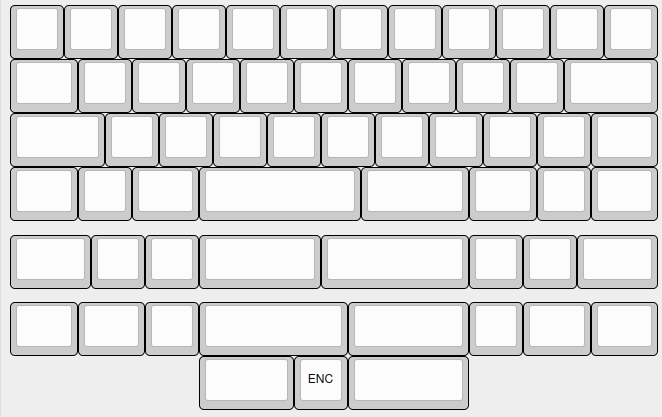
pre-compiled file for vial can be found in the "/firmware" section.
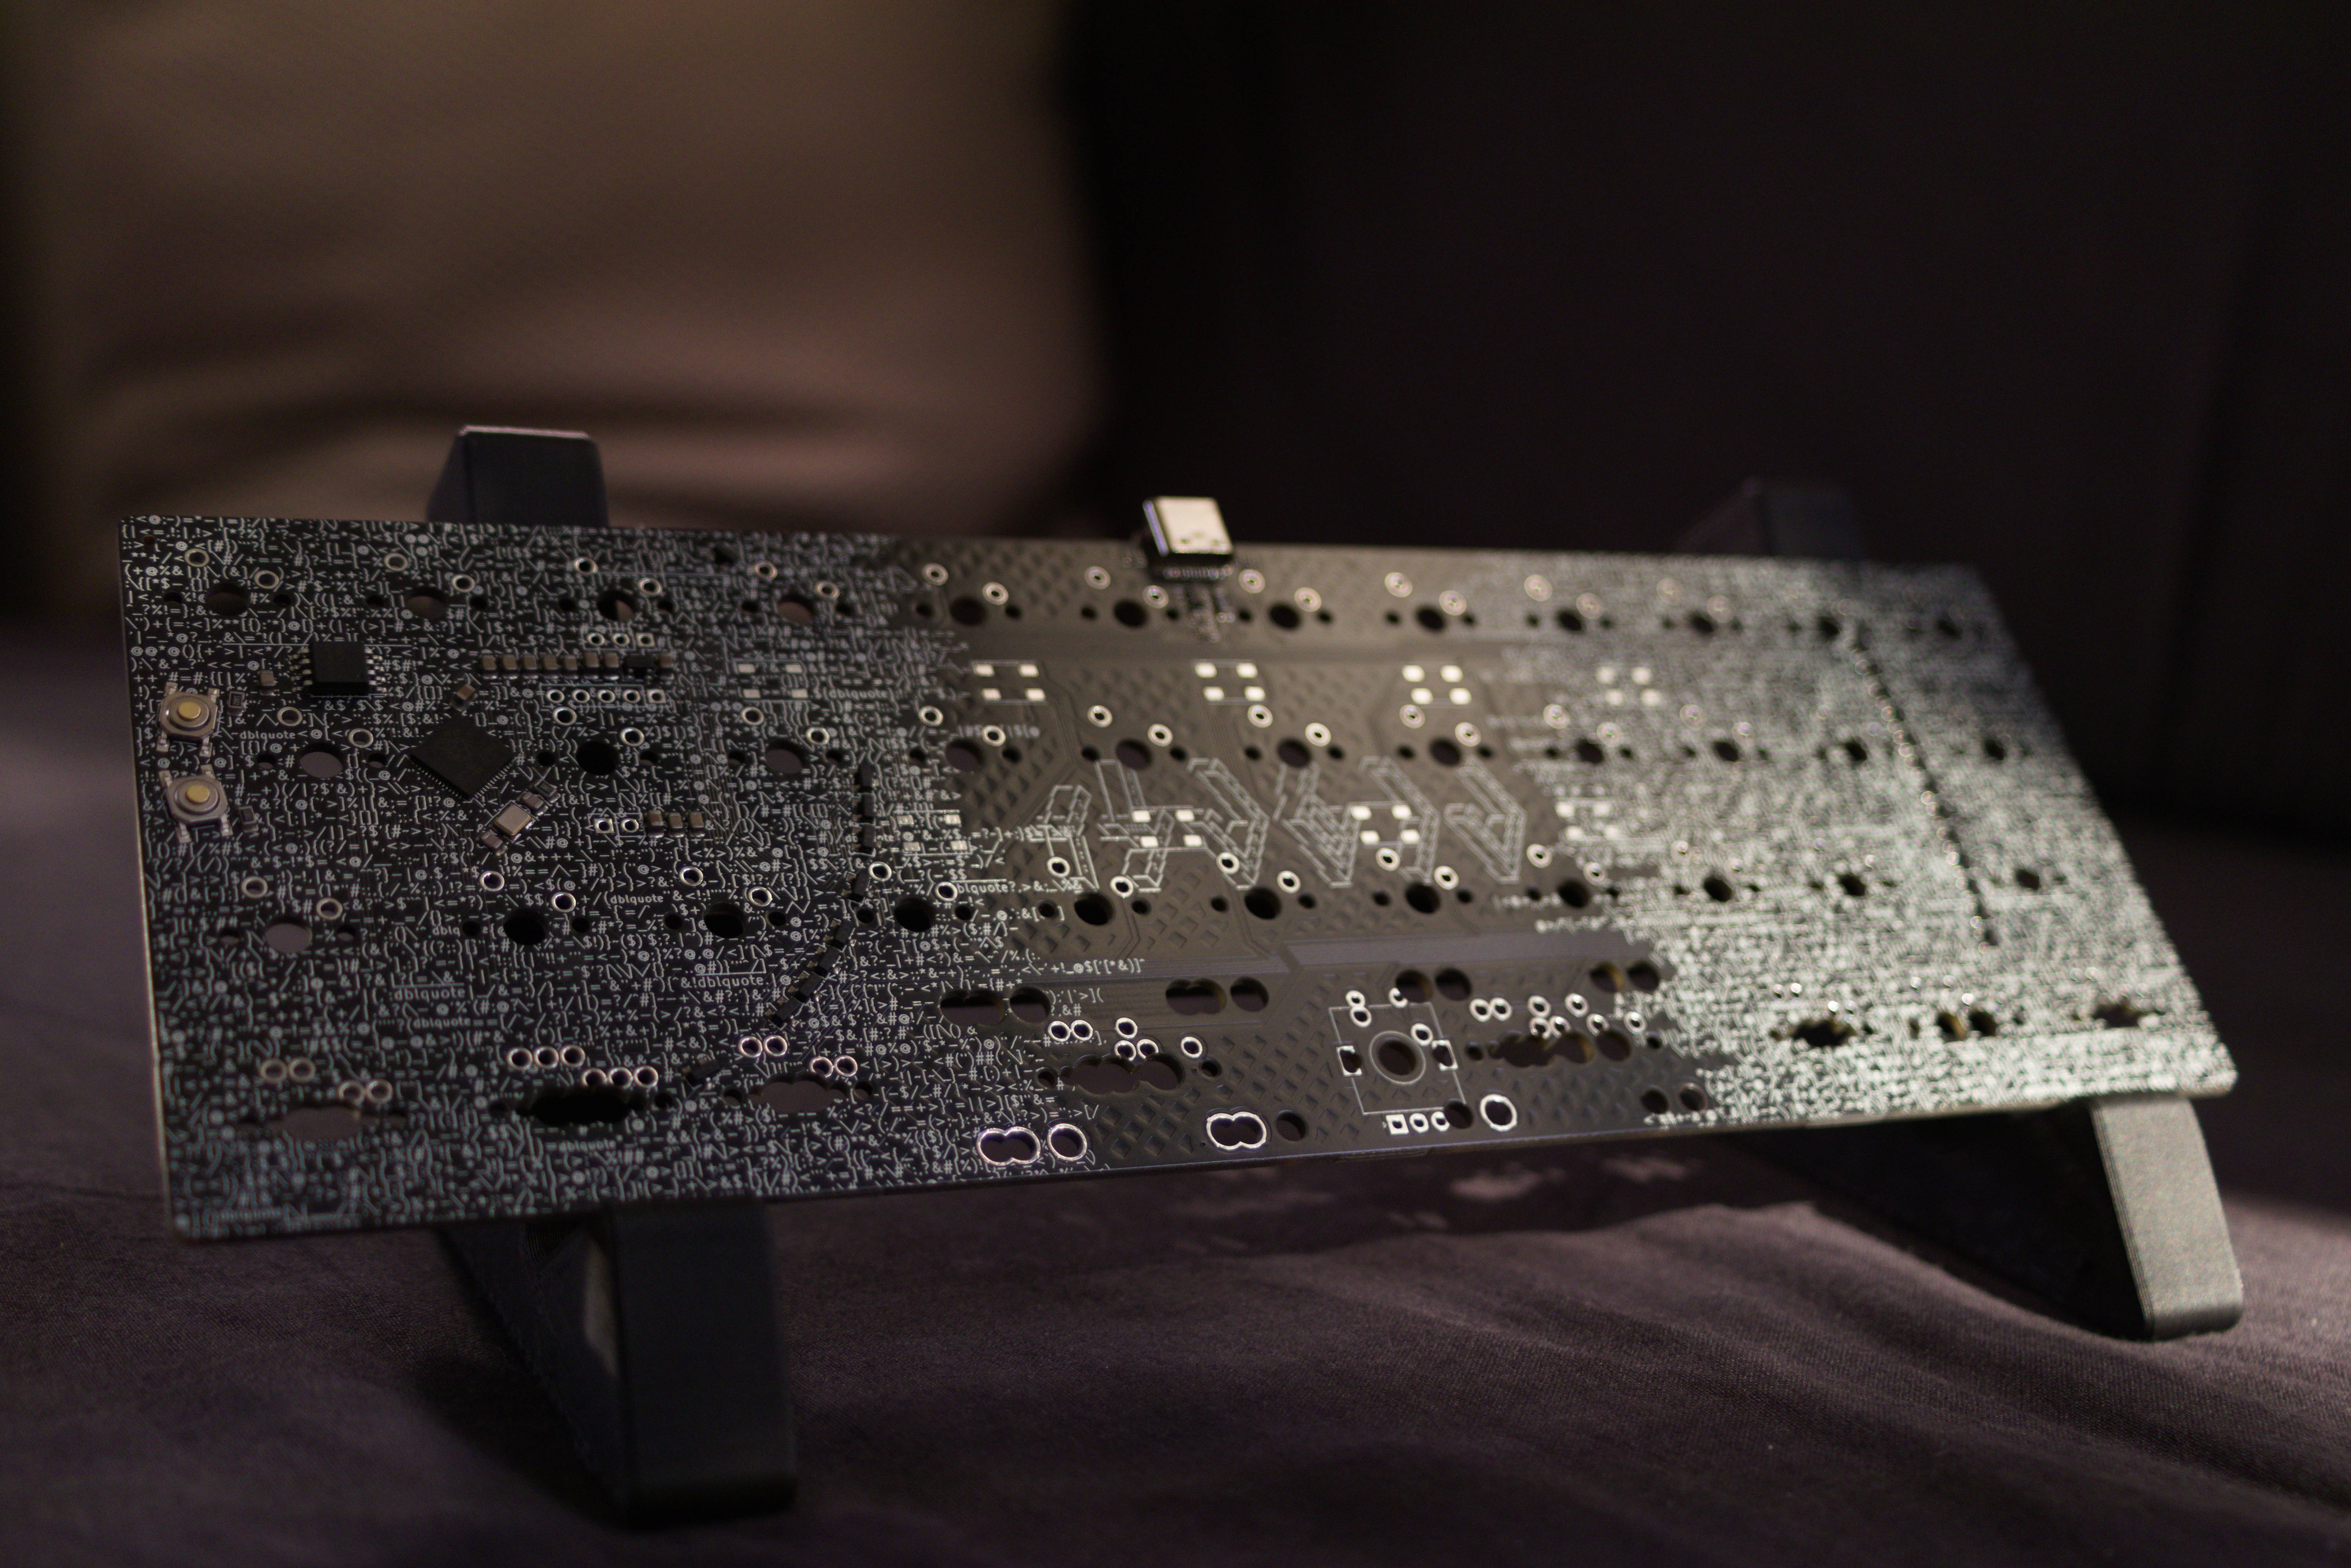
To enter the bootloader - which is necessary in order to flash a new firmware - press both buttons on the back while its plugged into your computer. It should show up as a regular usb-stick in your file explorer now and you can drag the .utf onto this usb-stick. Once done it will restart and use your newly flashed firmware!
You can confirm that everything went well by opening Vial or listing the available usb-devices (lsusb in lin)
Alternatively one could download my fork of vial-qmk here and compile the firmware themself. For that you will have to:
qmk setup or consult the qmk tutorial)../keyboards/scattereddrifter/* and choose clacky40.qmk compile --kb scattereddrifter/clacky40 --km yourKeyMapGathering PCBs is fairly simple, at least with JLCPCB ( which I usually default to and base my workflow around).
under the /production/* section you can find a zip-archive that contains the required gerber for the newest version of this board.
*_gerber.zip to JLCs website and select your prefered parameters ( pcb color, etc)/production/assembly/* and should then upload them accordingly.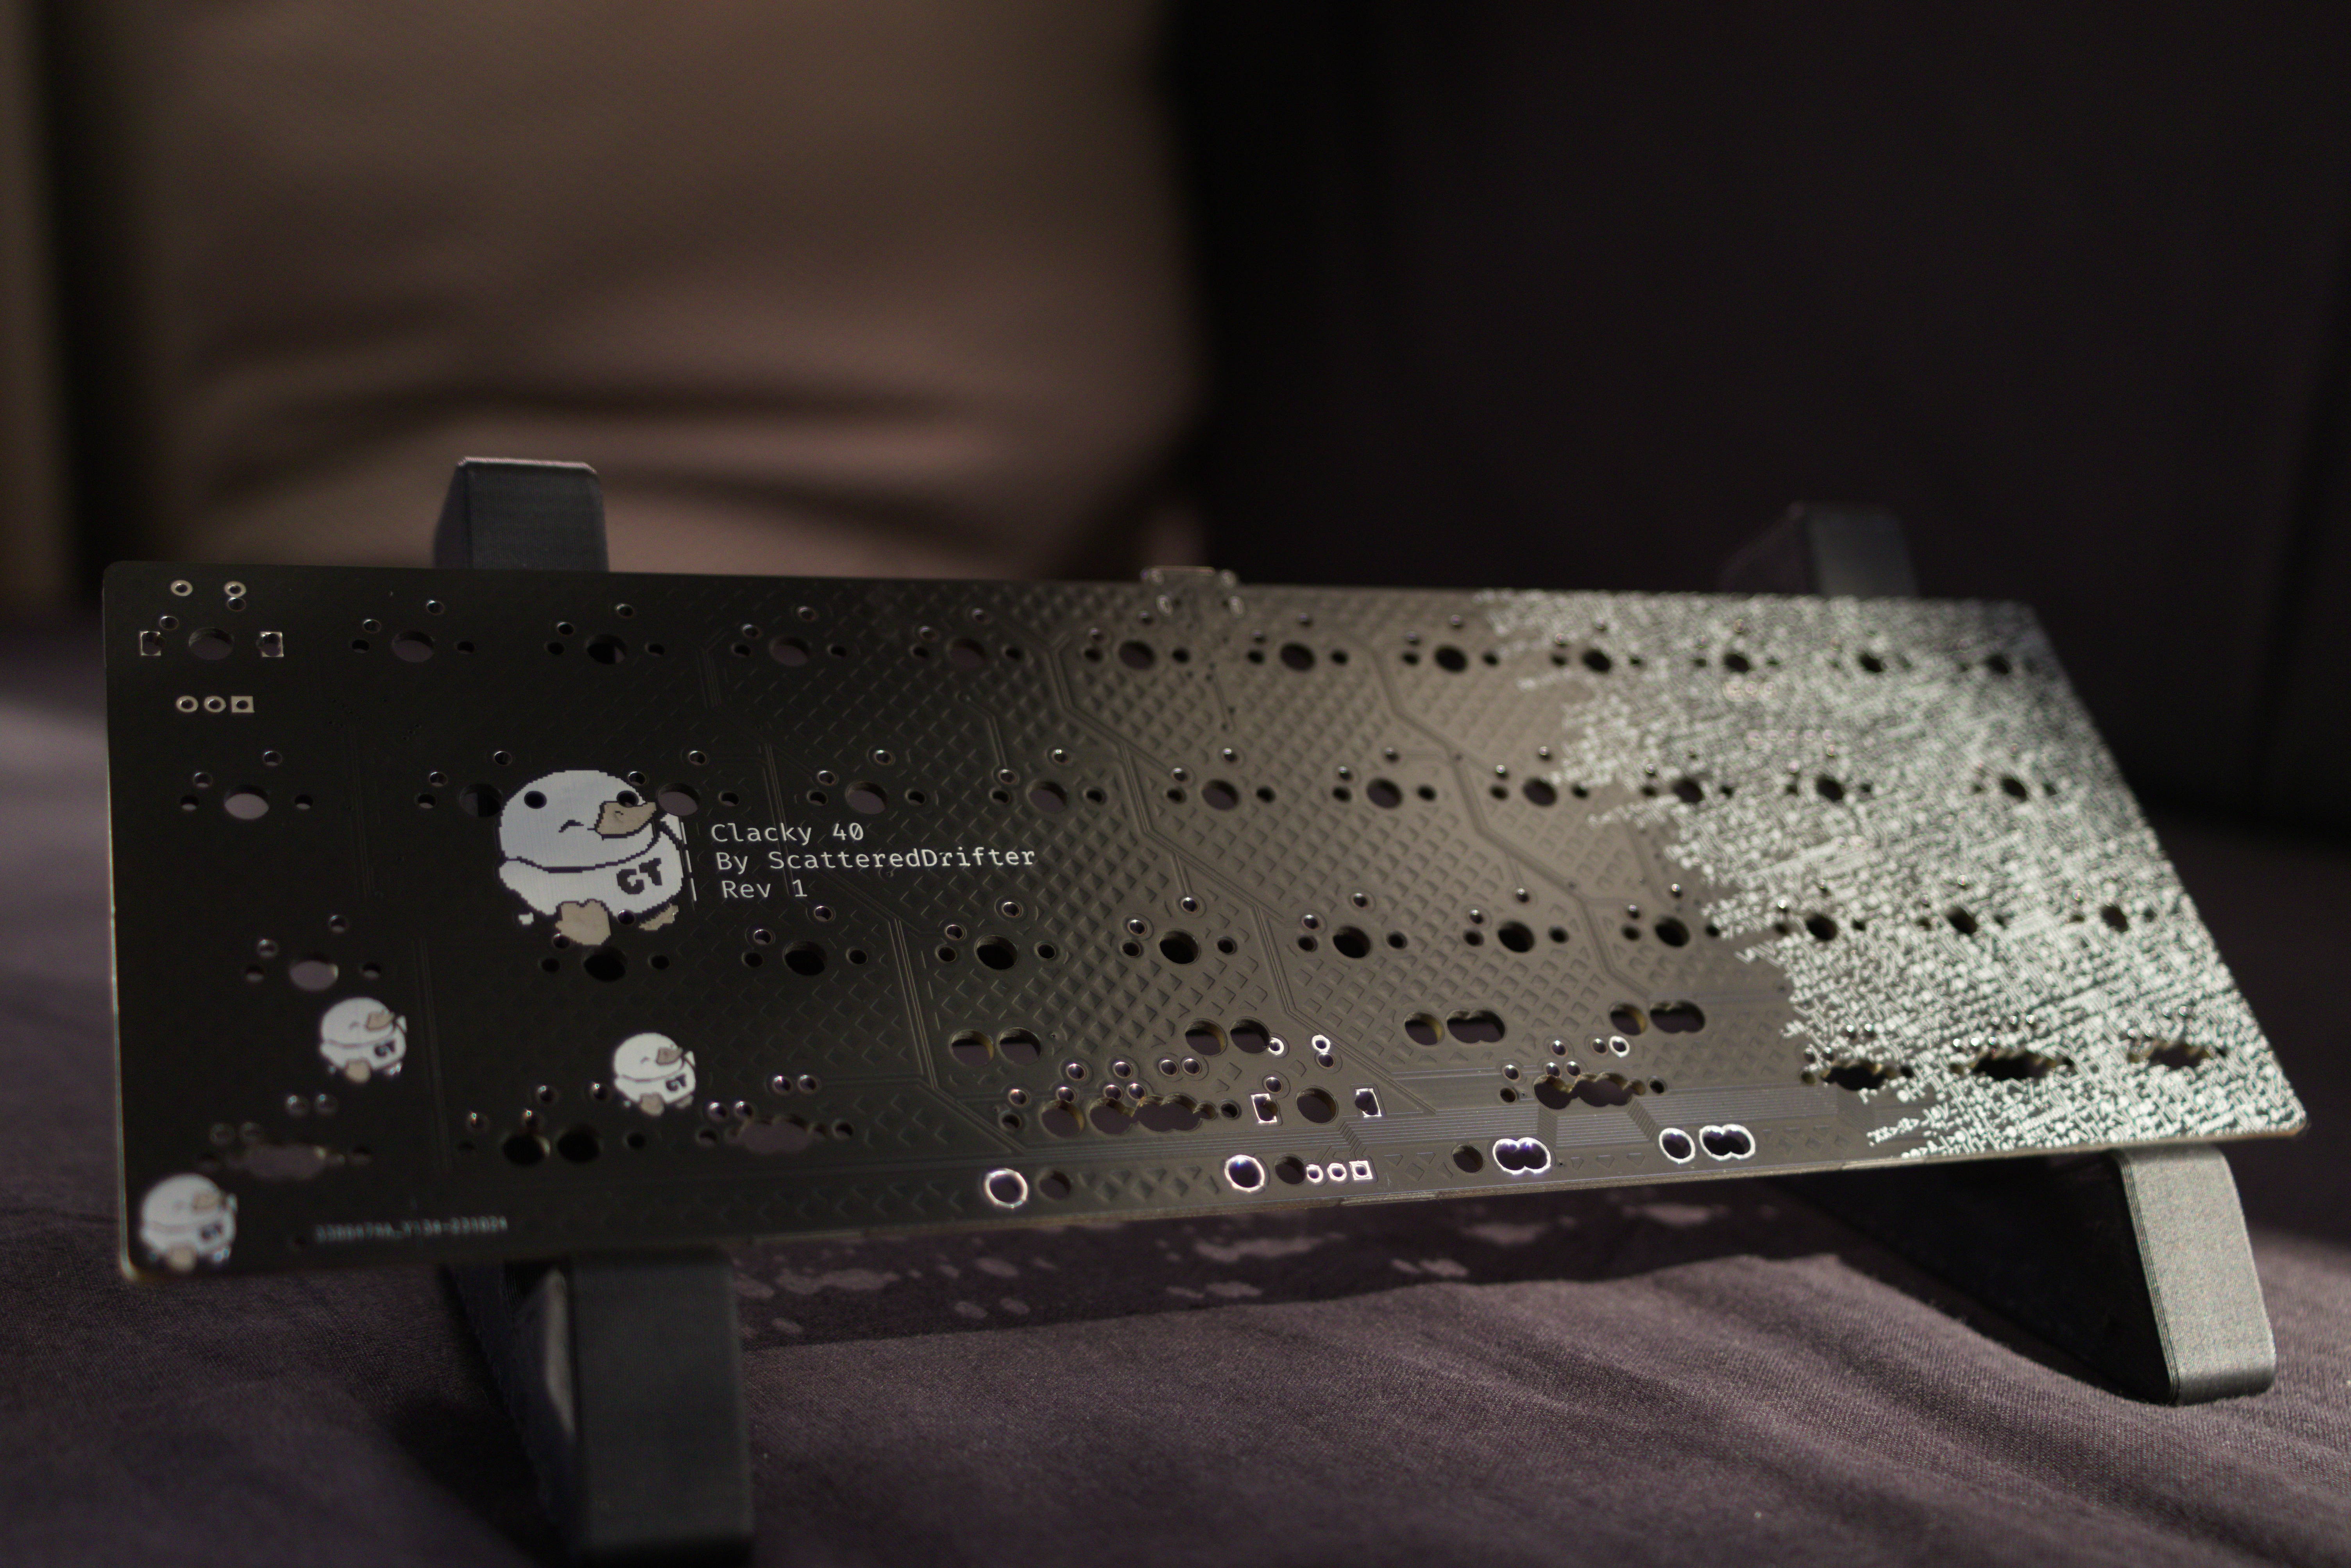
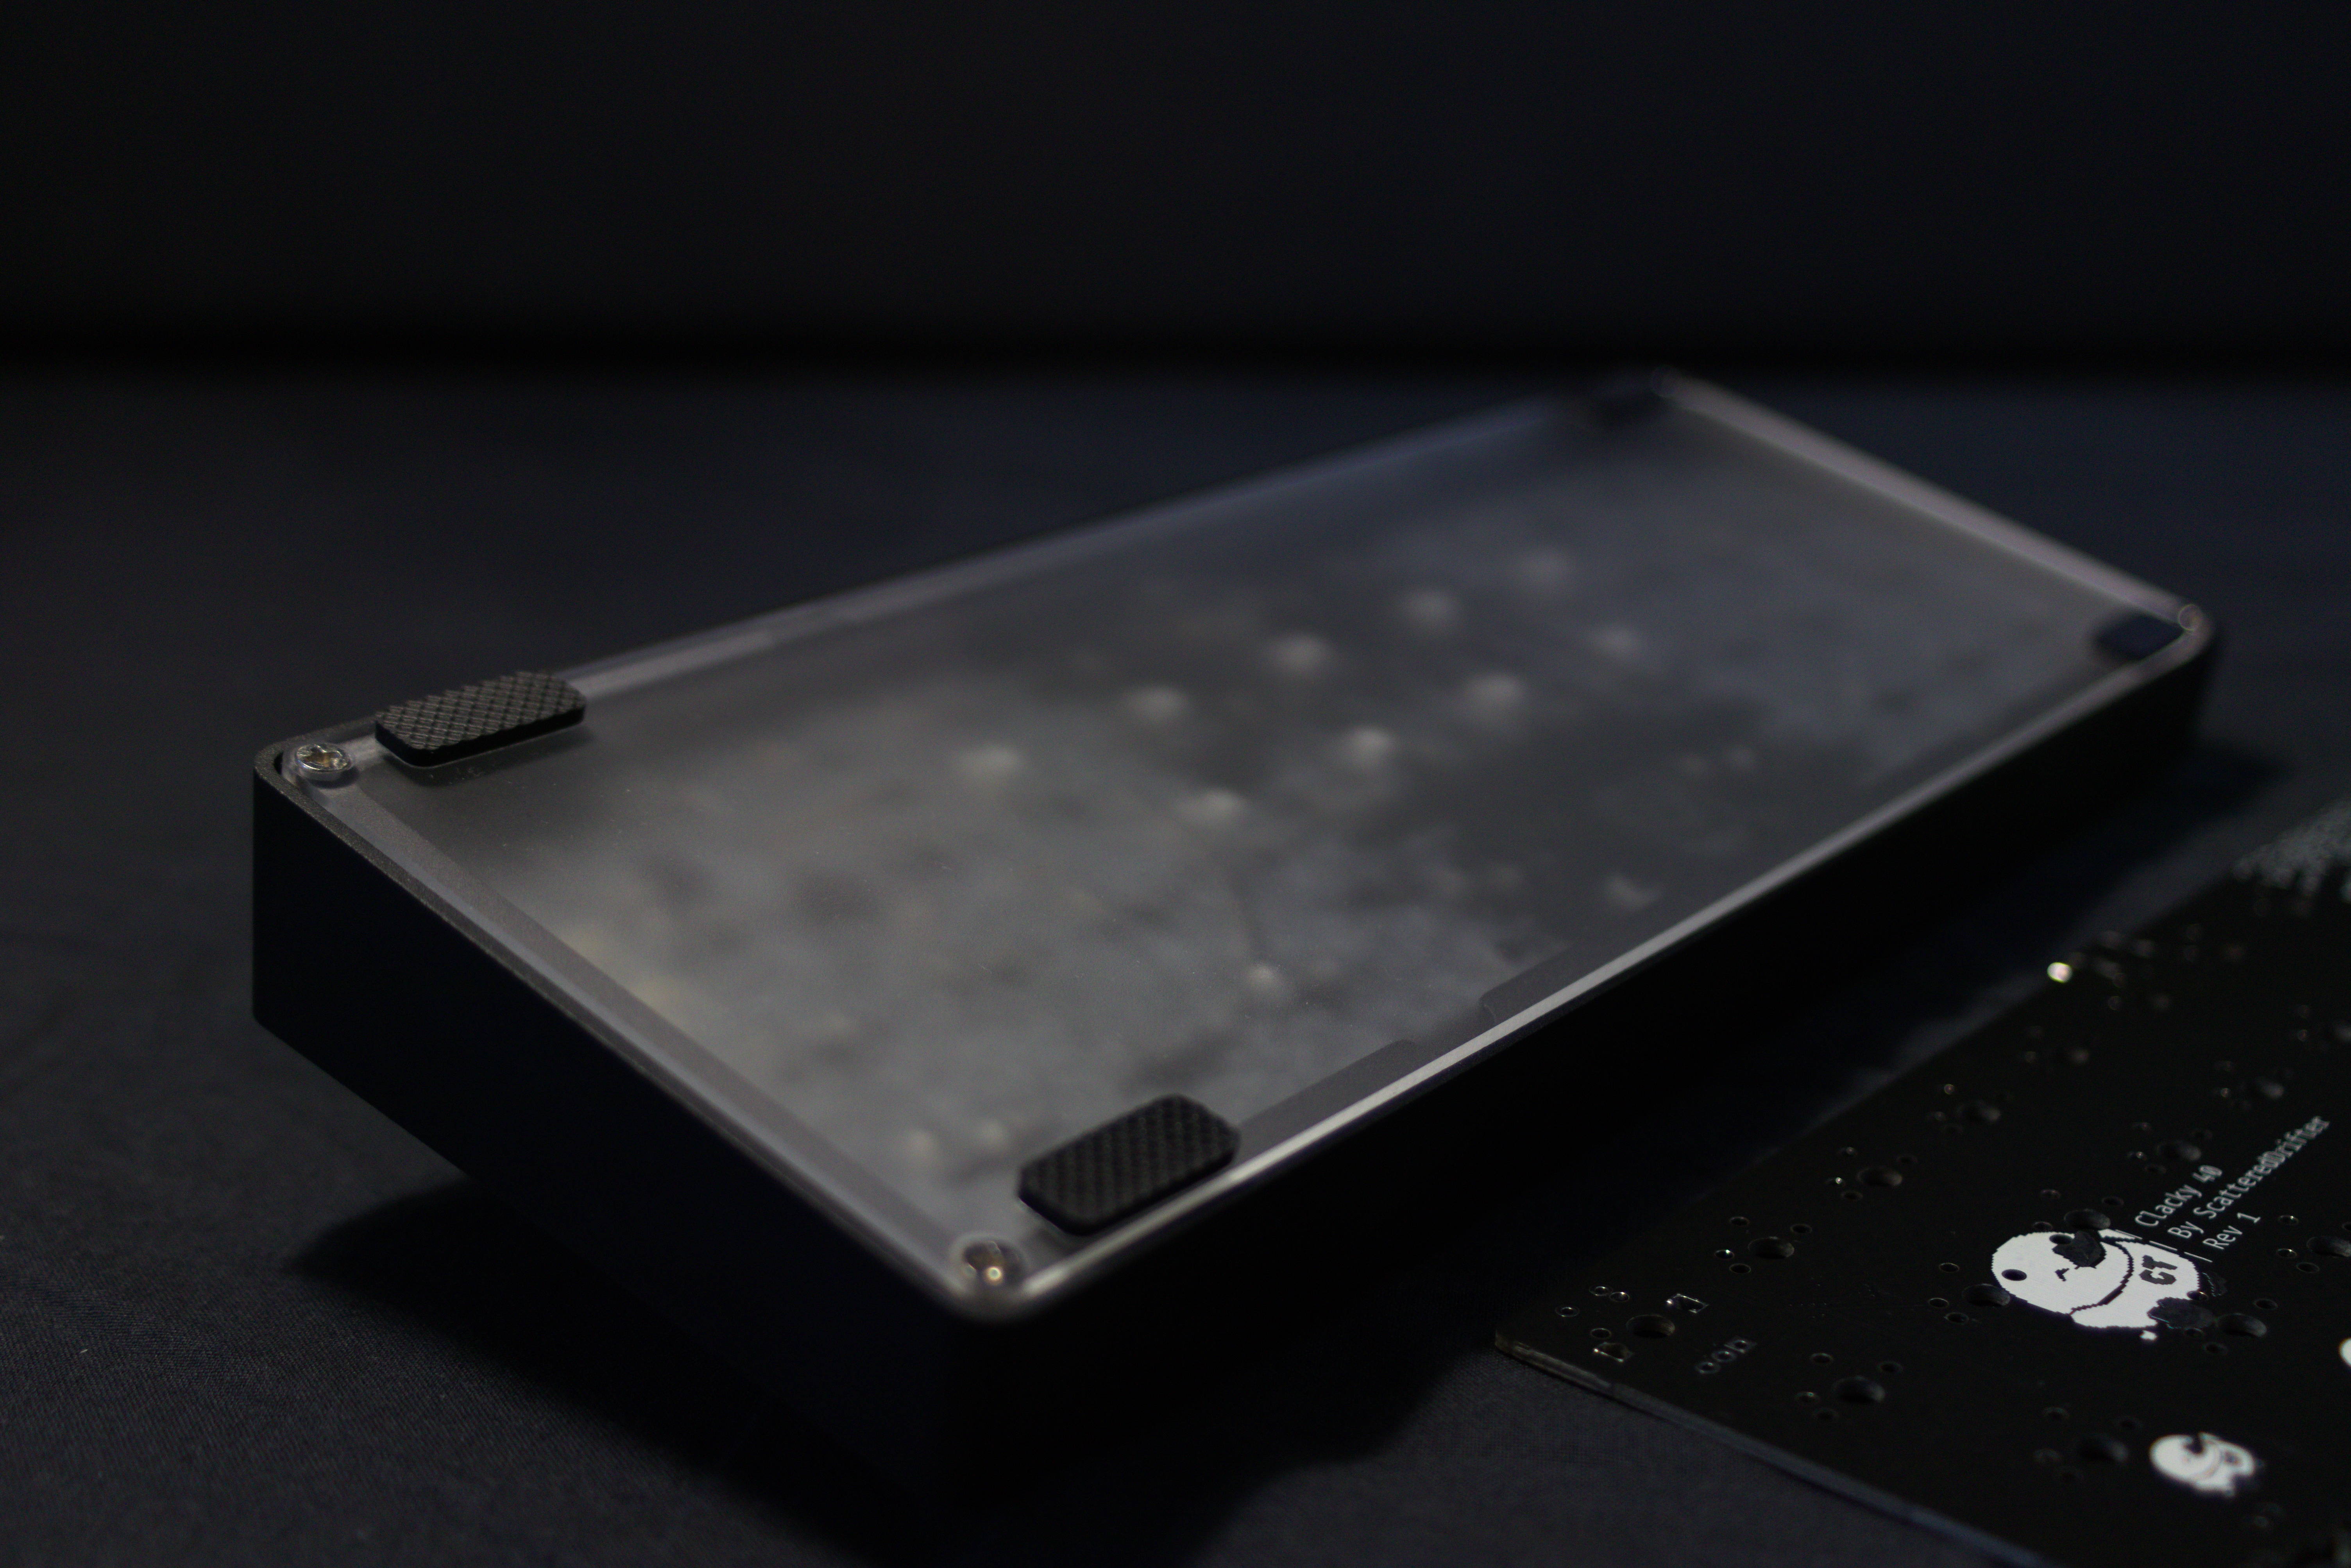
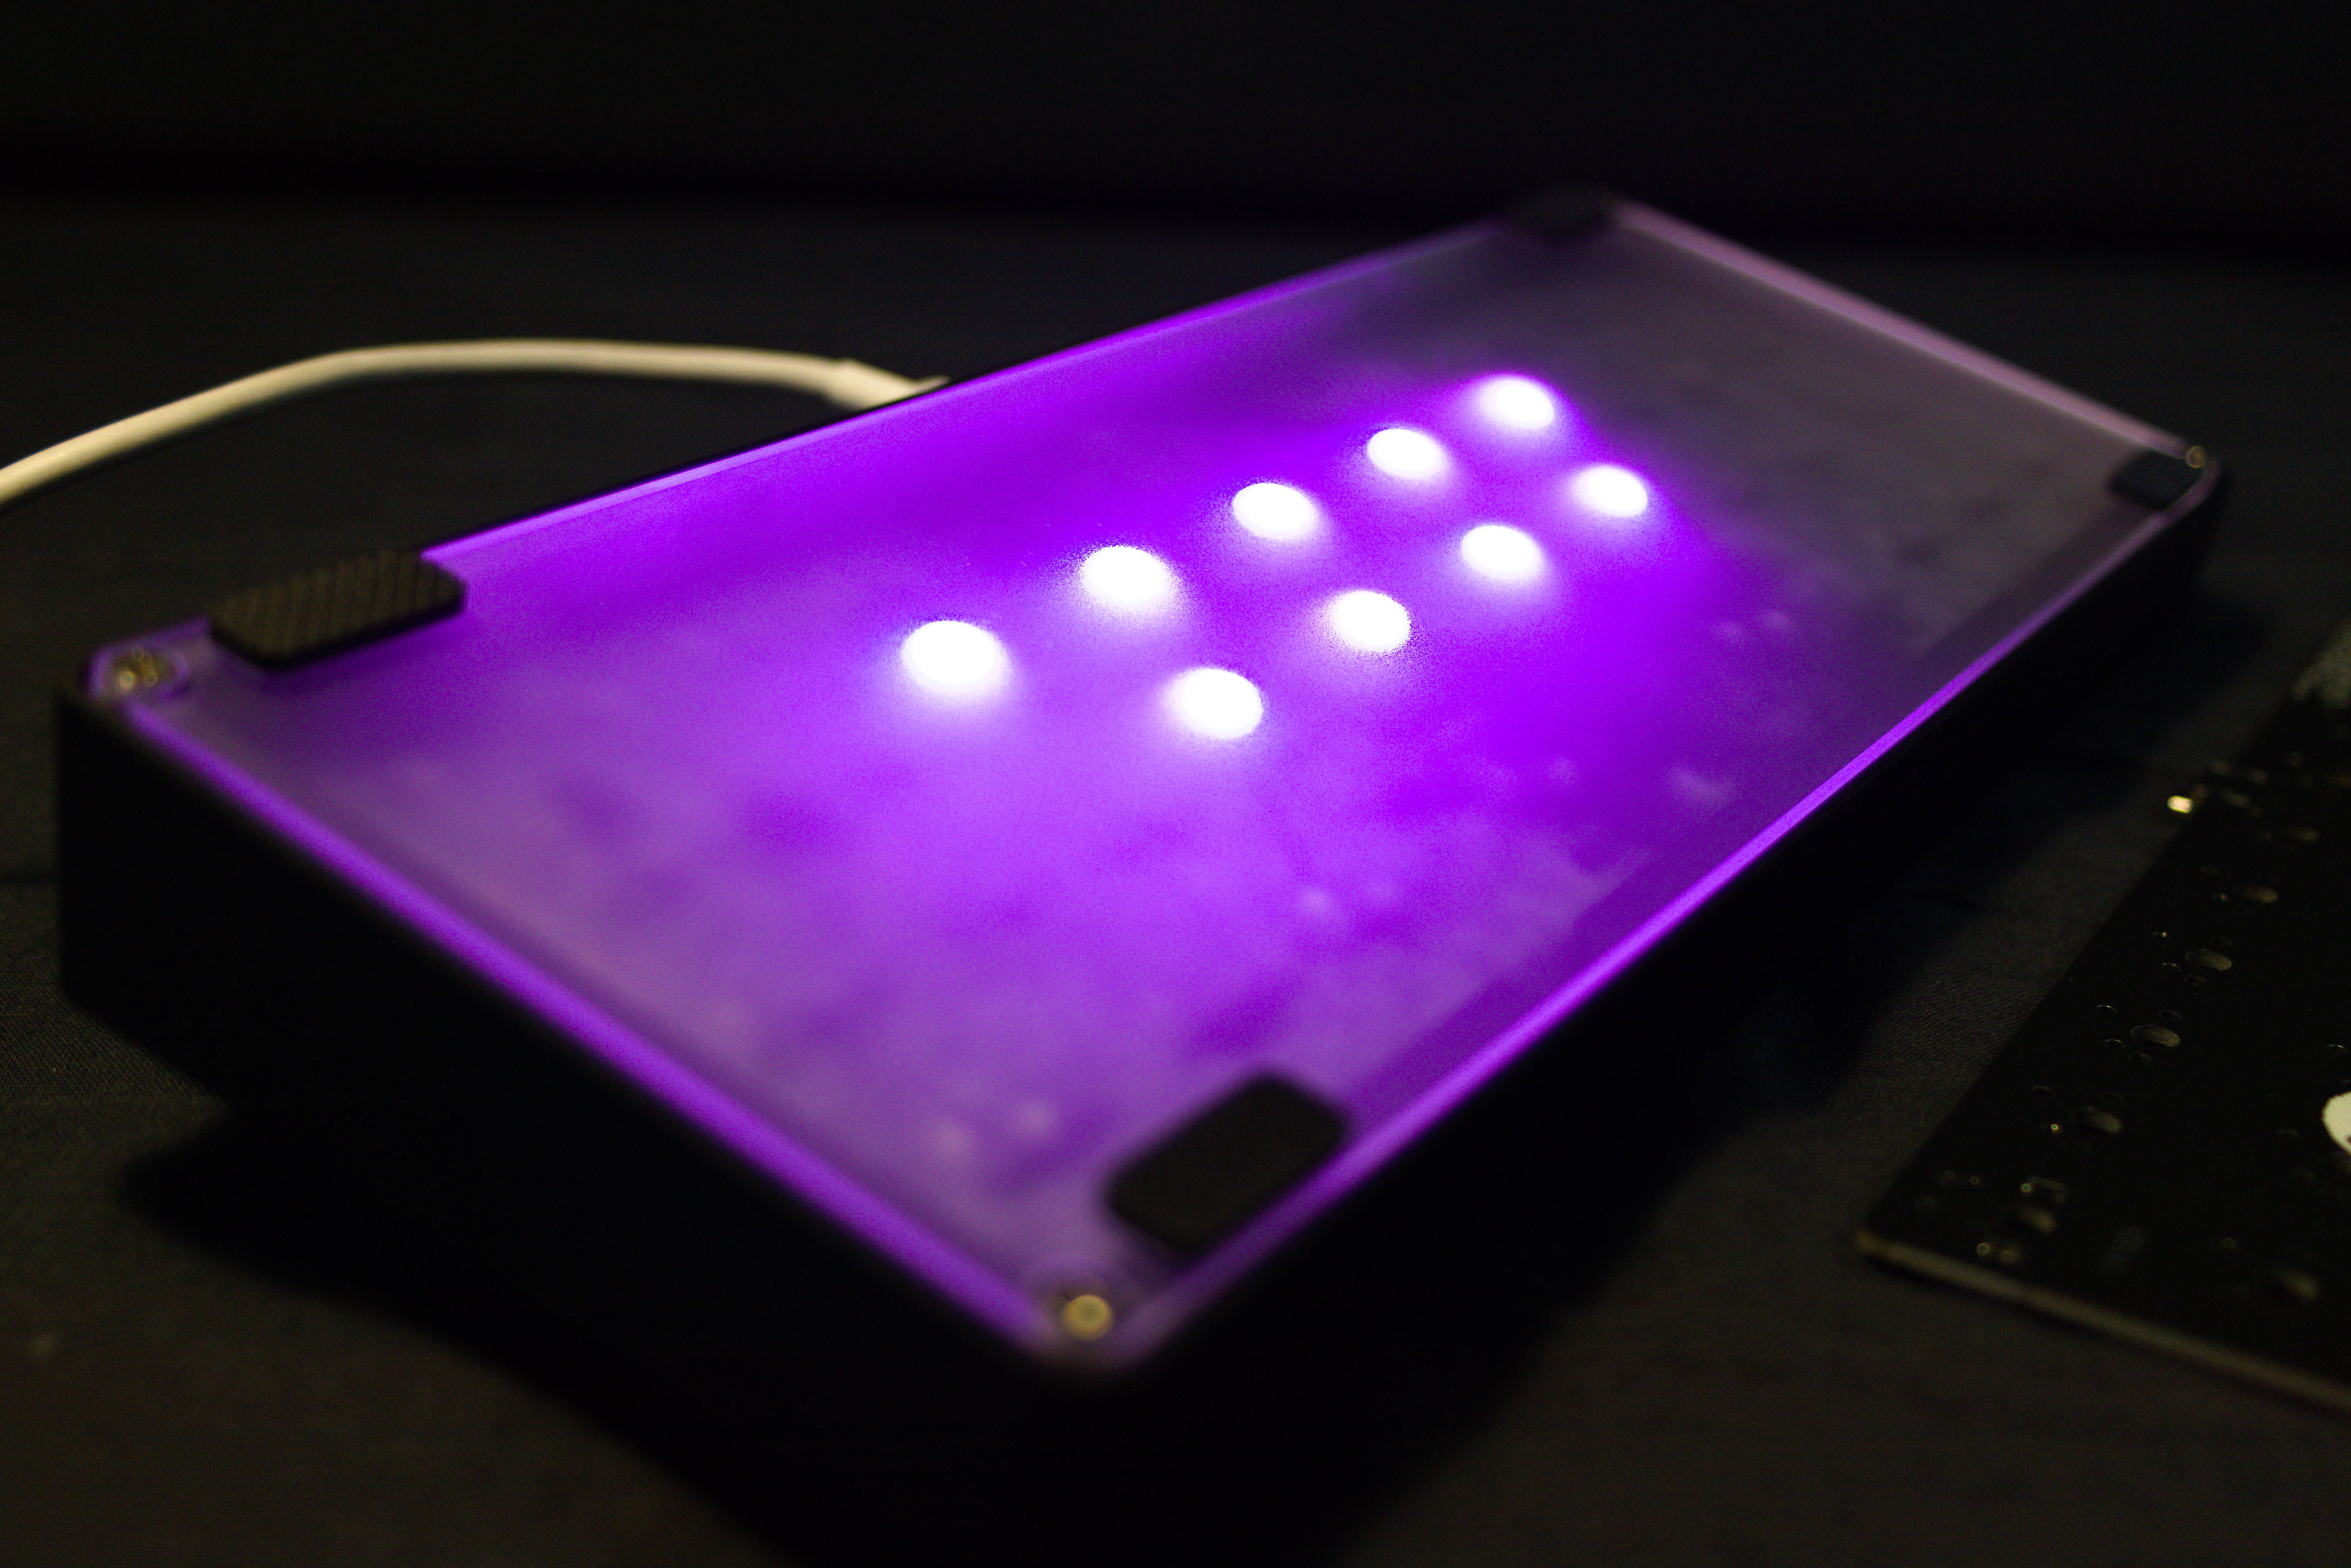
This work is licensed under a Creative Commons Attribution-NonCommercial-ShareAlike 4.0 International License.

| Qty | Value | Footprint | References |
|---|---|---|---|
| 55 | KEYSW | marbastlib-mx:SW_MX_1u | K1, K2, K10, K11, K12, K13, K14, K15, K16, K17, K18, K19, K20, K21, K22, K23 +39 |
| 23 | BAV70 | Package_TO_SOT_SMD:SOT-23 | D17, D18, D19, D20, D21, D22, D23, D24, D25, D26, D27, D28, D29, D30, D31, D32 +7 |
| 9 | WS2812B | kbd:LED_WS2812B-PLCC4 | RGB1, RGB2, RGB3, RGB4, RGB5, RGB6, RGB7, RGB8, RGB9 |
| 8 | 100n | Capacitor_SMD:C_0805_2012Metric | C5, C6, C7, C9, C11, C12, C13, C14 |
| 5 | Screw_Terminal_01x02 | marbastlib-mx:STAB_MX_P_2u | J3, J5, J6, J7, J8 |
| 3 | 10u | Capacitor_SMD:C_0805_2012Metric | C1, C4, C17 |
| 2 | 1k | Resistor_SMD:R_0805_2012Metric | R1, R5 |
| 2 | 1u | Capacitor_SMD:C_0805_2012Metric | C8, C10 |
| 2 | 22pf | Capacitor_SMD:C_0805_2012Metric | C2, C3 |
| 2 | 27 | Resistor_SMD:R_0805_2012Metric | R3, R4 |
| 2 | 5.1k | Resistor_SMD:R_0805_2012Metric | R6, R7 |
| 2 | RotaryEncoder_Switch | Keebio-Parts:RotaryEncoder_Alps_EC11E-Switch_Vertical_H20mm | ENC1, ENC2 |
| 1 | 10k | Resistor_SMD:R_0805_2012Metric | R8 |
| 1 | 12MHZ Crystal | Crystal:Crystal_SMD_3225-4Pin_3.2x2.5mm | Y0 |
| 1 | BREAKOUT | Connector_PinSocket_2.54mm:PinSocket_1x05_P2.54mm_Vertical | J1 |
| 1 | Breakout 1.1v | Connector_PinSocket_2.54mm:PinSocket_1x02_P2.54mm_Vertical | J4 |
| 1 | Conn_01x03_Male | Connector_PinSocket_2.54mm:PinSocket_1x03_P2.54mm_Vertical | J2 |
| 1 | RESET | Keebio-Parts:SW_SPST_TL3342 | SW2 |
| 1 | RESET | Keebio-Parts:SW_SPST_TL3342 | SW0 |
| 1 | RP2040 | RP2040:RP2040-QFN-56 | U3 |
| 1 | SRV05-4 | Package_TO_SOT_SMD:SOT-23-6 | U44 |
| 1 | USB_C_Receptacle_USB2.0 | Connector_USB:USB_C_Receptacle_HRO_TYPE-C-31-M-12 | J0 |
| 1 | W25Q128JVS | Package_SO:SOIC-8_5.23x5.23mm_P1.27mm | U2 |
| 1 | XC6206P Smaller footprint, less mA ~.5 | Package_TO_SOT_SMD:SOT-23 | U4 |
| 1 | polyfuse | Fuse:Fuse_1206_3216Metric | F0 |
The 128 most common of 132 parts.
It measures 229 × 80 mm and has 2 copper layers, 1.6 mm thick.
132 parts, built around the RP2040, W25Q128JVSIQ, SRV05-4 and BAV70. The full list of its parts is on this page, with links to each part's symbol and footprint where PCBKit's library has them.
From the ScatteredDrifter/Clacky40 repository on GitHub, at the commit this page was made from: the board is pcb/dizzy40.kicad_pcb and its schematic pcb/dizzy40.kicad_sch. PCBKit opens the board in the browser, with nothing to install.
Its repository states no licence, so its author keeps all rights: ask ScatteredDrifter before reusing the design.
ScatteredDrifter/Buran-Ortho
A 39-key orthogonal keyboard with support for two knobs, based on a rp2040


ScatteredDrifter/Mriya
A 51-key orthogonal keyboard with support for two knobs and a cirque pad

ScatteredDrifter/Endeavour
An 38 key orthogonal Keyboard with 3d printable case


Churrosoft/Dashdash
tablero de instrumentos por can para integrar con OpenEFI, cuando se nos ocurra algo mas original cambiamos el nombre