2 layers116.8 × 30 mm
Type d
google/mozc-devices
Circuit diagrams and firmware source code for Gboard DIY keyboards
14 parts3kApache-2.0

 savergiggio/AquaMind
Open-source smart aquarium monitoring & control system powered by ESP32, Raspberry Pi and AI. 🐟 Real-time sensors, live camera, automation, alerts, web dashboard & mobile app.
AquaMind is an open-source printed circuit board by savergiggio, from the savergiggio/AquaMind repository on GitHub, published under the MIT licence. It is a 2-layer board of 109.7 × 53.5 mm with 14 parts on 18 nets, routed with 208 tracks and 29 vias.
Its parts include 4 resistors and 1 IC. It belongs with the ESP32 and RISC-V boards of this library.
The brain of your aquarium. 🐟
Real-time monitoring: temp, pH, TDS, level, camera, AI, notifications.
🇬🇧 English · 🇮🇹 Italiano






Features · Web UI · Mobile app · Architecture · Contents · 3D models · Quick start · API · Components · Sponsor · PCBWay

A big thanks to PCBWay for supporting the project and taking care of the PCB fabrication for AquaMind. They manufactured the AquaMind board directly from the Gerber files and production data available in pcb/kicad/. I was really happy with how the board turned out. The overall finish was very clean, the silkscreen was sharp, and the drilling and routing looked precise.
The whole production process was straightforward, and the board arrived quickly and well made. Most importantly, the final result matched the design very closely, which gave me much more confidence in the hardware. Overall, I had a very positive experience with PCBWay. Seeing AquaMind go from a PCB layout on screen to a real, professionally manufactured board was one of the most satisfying parts of the project.
Thanks again to PCBWay for supporting AquaMind and helping turn the design into a real PCB.
pcb/kicad/gerber/pcb/kicad/production/pcb/kicad/AquaMind.stepWant to build the board? Upload the Gerber set to PCBWay — the project thanks everyone who supports the hardware pipeline. 🐟
AquaMind is a complete, open-source system for monitoring and controlling a fish tank. A microcontroller reads the submerged sensors, a Raspberry Pi acts as the central brain (history, video, AI and notifications) and a web dashboard + mobile app let you keep an eye on everything, even from afar.
The project covers the entire chain: from the sensor firmware, to the custom PCB, to the 3D-printed case, all the way to the Docker backend and the React frontend.
A photo tour of the physically built prototype: PCB fabricated by PCBWay, 3D-printed enclosure and all the components. Click any photo to open it full size.
 🏭 PCB fabricated by PCBWay |  🧩 Components & JST connectors |  🔌 Wired sensors + ESP32 |
 🧊 3D-printed enclosure + PCB |  🖥️ Enclosure with OLED display |  🐟 3D-printed lid "AQUAMIND" |
 🏷️ Front panel · TEMP · PH · TDS · LEVEL |  📂 Open enclosure, PCB inside |  🐠 The prototype in the aquarium |
| Area | What it does |
|---|---|
| 📷 Video | IMX179 camera (8MP, 1080p) inside a repurposed transparent garden sphere, live MJPEG streaming |
| 💡 Controls | Lights, pump, skimmer, heater, feeder — from web and app |
| 📅 Scheduler | Automatic on/off schedules for every device |
| 🤖 AI | Google Gemini integration for diagnostics and control |
| 🔔 Notifications | ntfy and Telegram alerts when a parameter goes out of range |
| 📈 History | Archived data with browsable history (/sensors/history API) |
| 🖥️ Web UI | React + Vite + Tailwind dashboard served by Nginx |
| 📱 Mobile app | Android app riding on the same REST API (sensors, video, AI, guides, backup) |
| 🧩 Home Assistant | Custom component for Chihiros lights (BLE) |
The React dashboard is the control center: live video from the underwater sphere, real-time sensor cards, AI agent, manual controls, schedules, maintenance calendar, fish inventory and full history. Click any screenshot to open it full size.
 📷 Dashboard — live video, sensors (TEMP · PH · TDS · LEVEL), AquaMind AI agent, manual controls | |
 📅 Maintenance — calendar with scheduled water changes and events |  💧 Water parameters — full analysis, hardness, complete recipe |
 🐠 Fish inventory — species, quantity, food and last feeding |  📈 History — telemetry charts with min/max/avg statistics |
The Android app rides on the same REST API as the dashboard: sensor cards, live video, AI assistant, treatment guides, tank management and backup — right from the phone. Tap any screenshot to open it full size.
 🏠 Home — sensor cards (TEMP · PH · TDS · LEVEL), trend charts, AI agent |  📖 Guides & recipes — disease treatments saved per tank |  ⚙️ Management — add aquarium, tank manager, backup export/import |  🤖 AI Assistant — Gemini chat, quick diagnostic |  🩺 Full diagnostic — pH, nitrogen cycle, GH/KH, TDS, fish compatibility |
All 12 app screenshots are in images/.
The flow is simple: the ESP32-S3 reads the sensors and publishes them as JSON over serial; the Raspberry Pi (in Docker) receives and stores them, acts as the hub for video and controls, and pushes events to the dashboard, the app and the notification channels.
flowchart LR
  subgraph Tank
    S1[DS18B20]
    S2[PH-4502C]
    S3[TDS]
    S4[RCWL-1670]
    CAM[IMX179]
  end
  S1 --> ESP[ESP32-S3]
  S2 --> ESP
  S3 --> ESP
  S4 --> ESP
  ESP -- serial JSON --> RPI[Raspberry Pi]
  CAM -- MJPEG --> RPI
  RPI --> DB[(SQLite)]
  RPI --> WEB[React Dashboard]
  RPI --> APP[Mobile App]
  RPI --> AI[Gemini AI]
RPI --> NTF[ntfy / Telegram]The repo is organized in 4 areas, one per "layer" of the project:
.
├── 3D/
│   ├── case/            #    Enclosure: base, lid, sensor mounts, spacer, cap
│   ├── display/         #    display_aquamind + 53 mm glass mount (SLDPRT/STEP)
│   └── completo/        #    Main assemblies as GLB (viewable in the browser)
├── codice/
│   ├── esp32-s3/        # Sensor firmware (ESP32-S3, v2.0.0-S3)
│   └── raspberry/       # Full dockerized system (backend + frontend)
│       ├── backend/     #   Node.js: API, history, video, AI, notifications, Chihiros
│       ├── frontend/    #   React + Vite + Tailwind (dashboard)
│       ├── docs/        #   Setup notes (Bluetooth, etc.)
│       └── docker-compose.yml
├── pcb/
│   └── kicad/           # KiCad project: sch, pcb, gerber, BOM, netlist, positions
│       ├── gerber/      #   Production files (fab-ready)
│       └── production/  #   BOM, designators, IPC netlist, positions
├── rendering/           # Full-system renderings
├── images/              # Built-prototype photos · Web UI screens · mobile app screens
└── docs/ # Page images and bannerThe mechanics are designed in SolidWorks (.SLDPRT sources) and exported as
STEP (neutral format for CAD/verification). In the repo you will find:
3D/case/ — the complete enclosure: base, lid, sensor mounts, spacer, cap and
the full assembly (AquaMind.step).3D/display/ — the display housing (display_aquamind) and the 53 mm
glass mount, the bracket that fixes the camera sphere to the tank glass.3D/completo/ — the main assemblies as GLB, viewable directly in the
browser.💡
.SLDPRTare the SolidWorks sources,.STEPis the neutral exchange format.
codice/esp32-s3/Aquamind-s3.ino — firmware that reads the 4 sensors and publishes
them as JSON over serial/UART every 2 seconds, with a local OLED display and
EEPROM-based calibration (pH offset, TDS coefficient, level range).
codice/raspberry/ is the complete dockerized system (backend + frontend in
containers):
backend/ — Node.js server: REST API, serial ingest, MJPEG video streaming,
SQLite history, controls, scheduler, Gemini AI proxy, ntfy/Telegram
notifications and a daemon for the Chihiros lights (BLE).frontend/ — React + Vite + Tailwind dashboard, served by Nginx.docker-compose.yml — orchestrates the two services (backend on host
network for USB/BLE, frontend on port 80).| Subsystem | How it works |
|---|---|
| REST API | Express (server.js) exposes the /api/* endpoints for the dashboard and the mobile app |
| WebSocket | ws on /ws → live push of sensors, device states and alerts to the dashboard |
| Serial ingest | serialport reads the JSON frames from the ESP32; one port per tank (tankSerialPorts) |
| History | better-sqlite3 with sensors, alert_log, schedules, chihiros_devices, maintenance_log, water_parameters, fish_inventory tables (+ auto migrations) |
| Video | child_process + ffmpeg → MJPEG stream from /dev/video0 (/api/stream) |
| Scheduler | Automatic device on/off, with active-devices lookup (/api/schedules/active-devices) |
| Alerts | Configurable thresholds and deltas, event log, notification test (/api/alerts/*) |
| Notifications | Push to ntfy and Telegram when a parameter goes out of range |
| Chihiros BLE | Python daemon (chihiros_daemon.py + bleak) handles scan, on/off, brightness, RGB, channels, schedules and auto-mode |
| AI | Gemini proxy (/api/gemini) with saved conversations and recipes |
| Multi-tank | Tank CRUD, remote calibration, camera settings, config export/import |
| Firmware | ESP32 firmware flashing over serial upload (/api/tanks/:id/firmware) |
| Backup | Database export/import (/api/backup, /api/restore) |
cd codice/raspberry
cp backend/.env.example backend/.env   # add GEMINI_API_KEY, tokens, etc.
docker-compose build
docker-compose up -d
# Dashboard: http://<raspberry-ip>/pcb/kicad/ contains the complete KiCad project of the AquaMind board:
AquaMind.kicad_sch / AquaMind.kicad_pcb — schematic and PCB layout (2 layers)gerber/ — complete production set (Cu, mask, silkscreen, paste, edge cuts, drill)production/ — BOM, designators, IPC netlist and positions for
manufacturingAquaMind.step — 3D model of the PCBℹ️ In the BOM the board uses the ESP32-C3 SuperMini module (
U1); the firmware incodice/esp32-s3/Aquamind-s3.inois written for the ESP32-S3 DevKit — pins are configurable at the top of the file.
🏭 The PCBs of this project are fabricated by PCBWay — the files in
gerber/andproduction/are fab-order ready.
Renders of the CAD 3D models (from the GLB assemblies in 3D/) — these are not
photos of the built hardware, the physical prototype is in the section above:
 🧊 Board + sensors assembly |  📷 Camera sphere + 53 mm mount |  🛠️ AquaMind PCB |
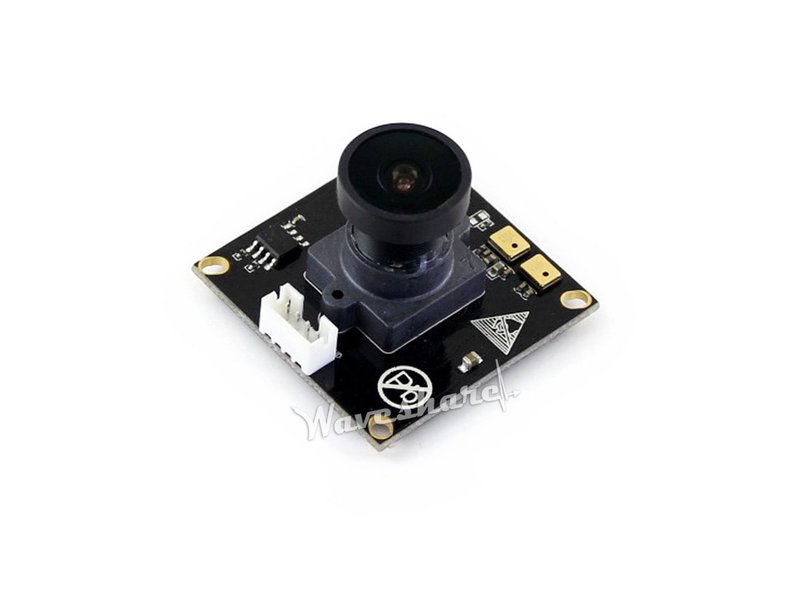
To house the camera underwater, a transparent garden sphere was purchased — one of
those solar-panel LED globes used for garden lighting — and repurposed for this
purpose: inside it sits the IMX179 camera (8 MP, 1080p, 1/3.2″ CMOS), and the
sphere is fixed to the tank glass with the 53 mm mount (sources in 3D/display/).
# 1. Clone the repo
git clone https://github.com/<your-username>/AquaMind.git
cd AquaMind

# 2. Start the Raspberry system (Docker)
cd codice/raspberry
cp backend/.env.example backend/.env
docker-compose build && docker-compose up -d

# 3. Flash the ESP32-S3 firmware (from Arduino IDE)
#    Board: ESP32S3 Dev Module · Port: /dev/ttyUSB*
Open the dashboard at http://<raspberry-ip> and you are up and running. 🐠
| Endpoint | Method | Description |
|---|---|---|
/api/sensors | GET | Current sensor data |
/api/sensors/history?hours=24 | GET | Data history |
/api/controls | GET / POST | Device state / control |
/api/schedules | GET / POST | Schedules |
/api/schedules/:id | PUT / DELETE | Update / delete schedule |
/api/stream | GET | MJPEG video stream |
/api/status | GET | System status |
/api/gemini | POST | Gemini AI proxy |
Example:
curl http://raspberry/api/sensors
# {"temp":25.4,"ph":8.2,"tds":120,"level":98,"fw_version":"2.0.0-S3"}

curl -X POST http://raspberry/api/controls \
  -H "Content-Type: application/json" \
-d '{"device":"mainLight","state":true}'The hardware components at the heart of the project:
| 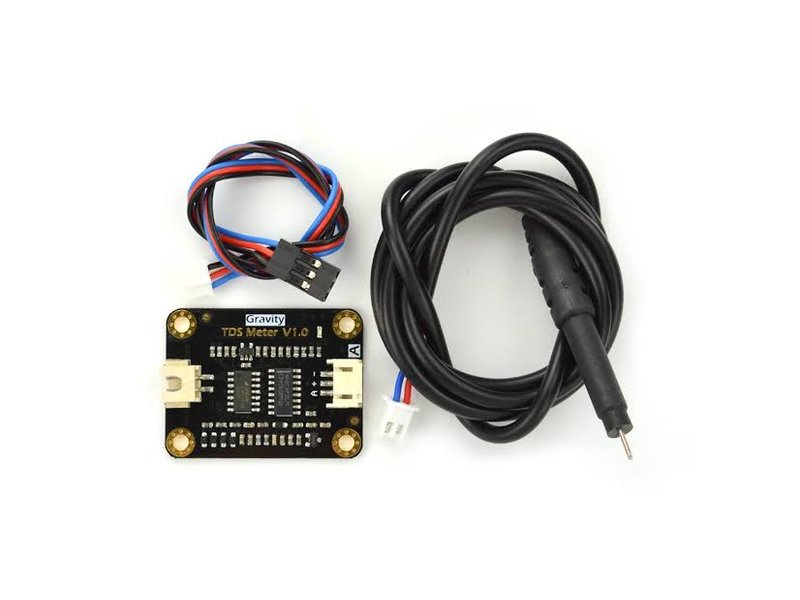 | 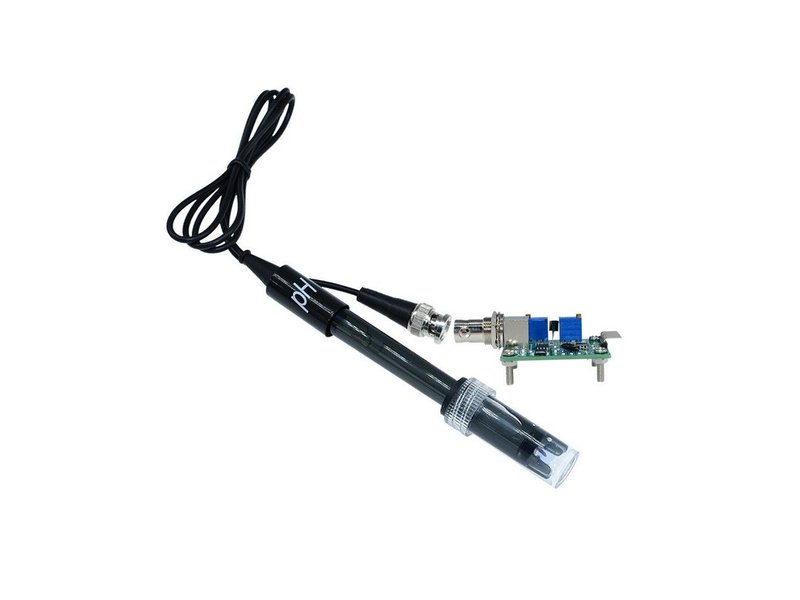 |
| 🎥 IMX179 — 8MP camera night-vision in the underwater sphere | 🧪 TDS — salinity probe ADC, EEPROM calibration | 🔬 PH-4502C — pH probe ADC, EEPROM offset |
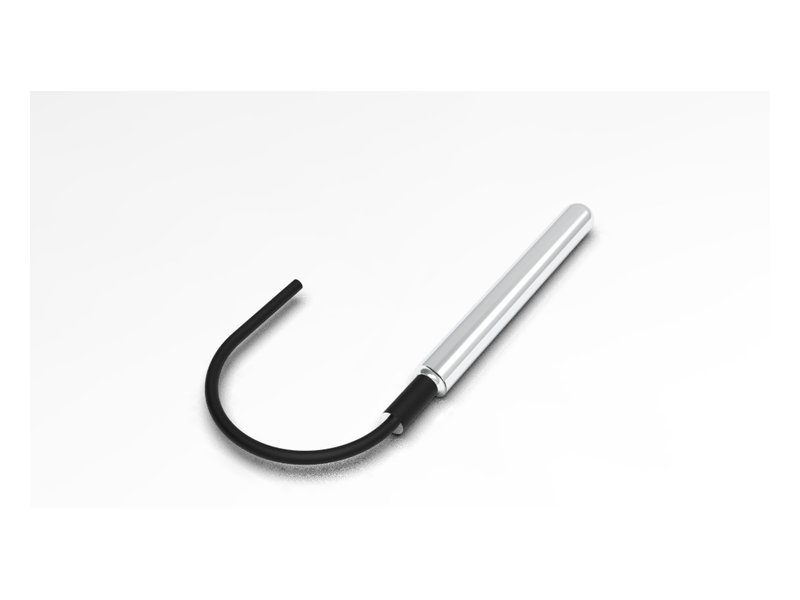 | 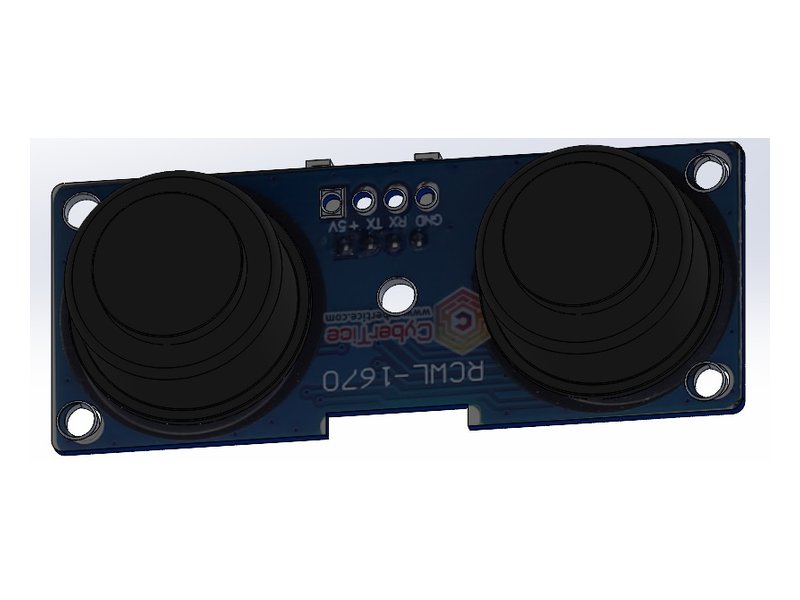 | 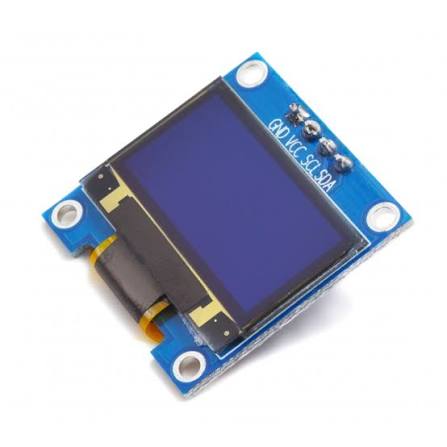 |
| 🌡️ DS18B20 — temperature probe OneWire bus | 📶 RCWL-1670 — mmWave module water-level detection | 🖥️ OLED SSD1306 — local display 128×64 I²C |
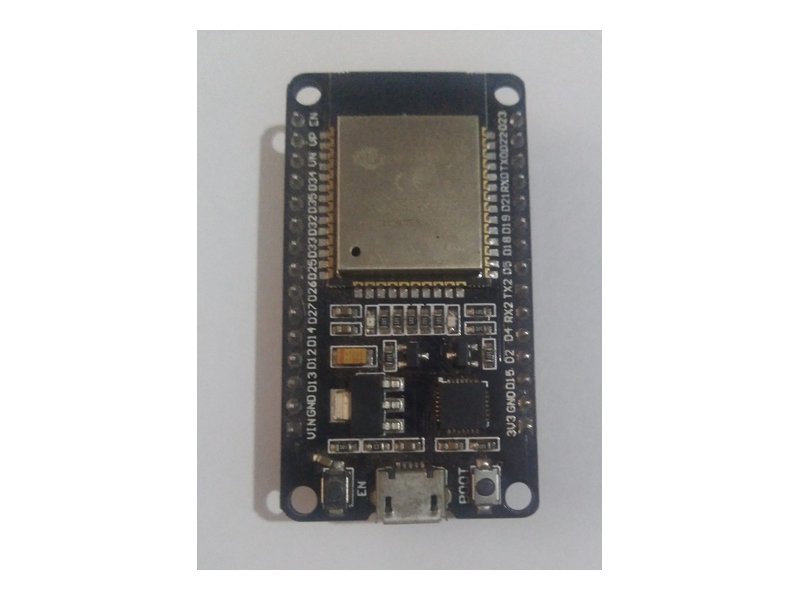 | 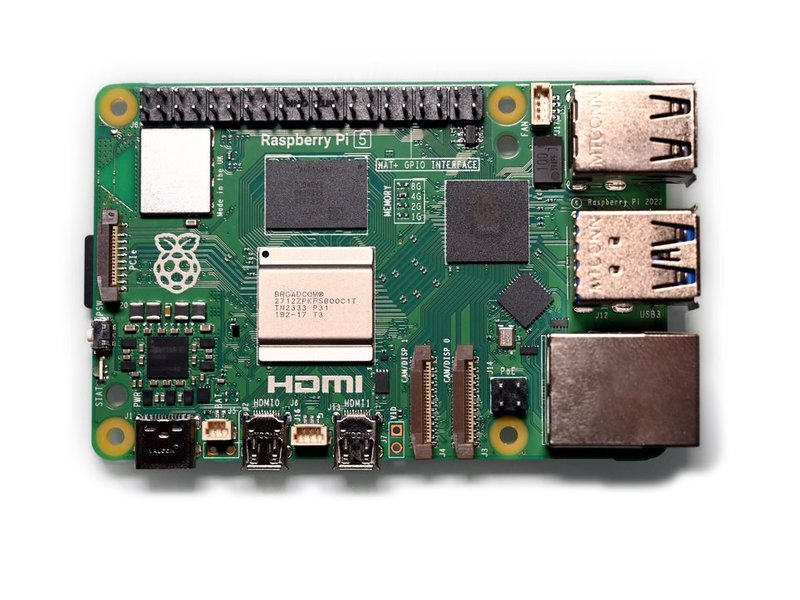 | |
| 🧠 ESP32-S3 — microcontroller sensor reading + OLED | 🍓 Raspberry Pi — central hub API, history, video, AI |
MIT — fork it, improve it, share it. 🐟
| Qty | Value | Footprint | References |
|---|---|---|---|
| 2 | 1K | Resistor_THT:R_Axial_DIN0207_L6.3mm_D2.5mm_P7.62mm_Horizontal | R1K1, R21K1 |
| 2 | 2K | Resistor_THT:R_Axial_DIN0207_L6.3mm_D2.5mm_P7.62mm_Horizontal | R32K1, R42K1 |
| 1 | AUX1 | Connector_JST:JST_XH_S3B-XH-A-1_1x03_P2.50mm_Horizontal | AUX1 |
| 1 | AUX2 | Connector_JST:JST_XH_S3B-XH-A-1_1x03_P2.50mm_Horizontal | AUX2 |
| 1 | AUX3 | Connector_JST:JST_XH_S4B-XH-A_1x04_P2.50mm_Horizontal | AUX3 |
| 1 | AUX4 | Connector_JST:JST_XH_S3B-XH-A-1_1x03_P2.50mm_Horizontal | AUX4 |
| 1 | DISPLAY | Connector_JST:JST_XH_S4B-XH-A_1x04_P2.50mm_Horizontal | DISPLAY1 |
| 1 | ESP32-C3_SUPERMINI_SMD | esp32-c3:MODULE_ESP32-C3_SUPERMINI | U1 |
| 1 | LVL | Connector_JST:JST_XH_S4B-XH-A_1x04_P2.50mm_Horizontal | LVL1 |
| 1 | PH | Connector_JST:JST_EH_B3B-EH-A_1x03_P2.50mm_Vertical | PH1 |
| 1 | TDS | Connector_JST:JST_EH_B3B-EH-A_1x03_P2.50mm_Vertical | TDS1 |
| 1 | TEMP | Connector_JST:JST_XH_S3B-XH-A-1_1x03_P2.50mm_Horizontal | TEMP1 |
google/mozc-devices
Circuit diagrams and firmware source code for Gboard DIY keyboards


hackclub/OnBoard
💡 Join 1,000 teenagers and make your first PCB with a $100 grant!


Twotoz/C5VRX
Ultra-minimal, zero-CPU 5.8 GHz analog FPV video receiver using ESP32-C5 Wi-Fi 6 PHY MODEM_DIAG, BitScrambler WBFM demodulation & resistor DAC CVBS


It measures 109.7 × 53.5 mm and has 2 copper layers, 1.6 mm thick.
14 parts. The full list of its parts is on this page, with links to each part's symbol and footprint where PCBKit's library has them.
From the savergiggio/AquaMind repository on GitHub, at the commit this page was made from: the board is pcb/kicad/AquaMind.kicad_pcb and its schematic pcb/kicad/AquaMind.kicad_sch. PCBKit opens the board in the browser, with nothing to install.
Its repository publishes it under the MIT licence: you may reuse it on that licence's terms (keep the author's notice, and for a copyleft licence share your changes alike).