
2 layers76.5 × 120 mm
Numpad project
hackclub/OnBoard
💡 Join 1,000 teenagers and make your first PCB with a $100 grant!
64 parts915
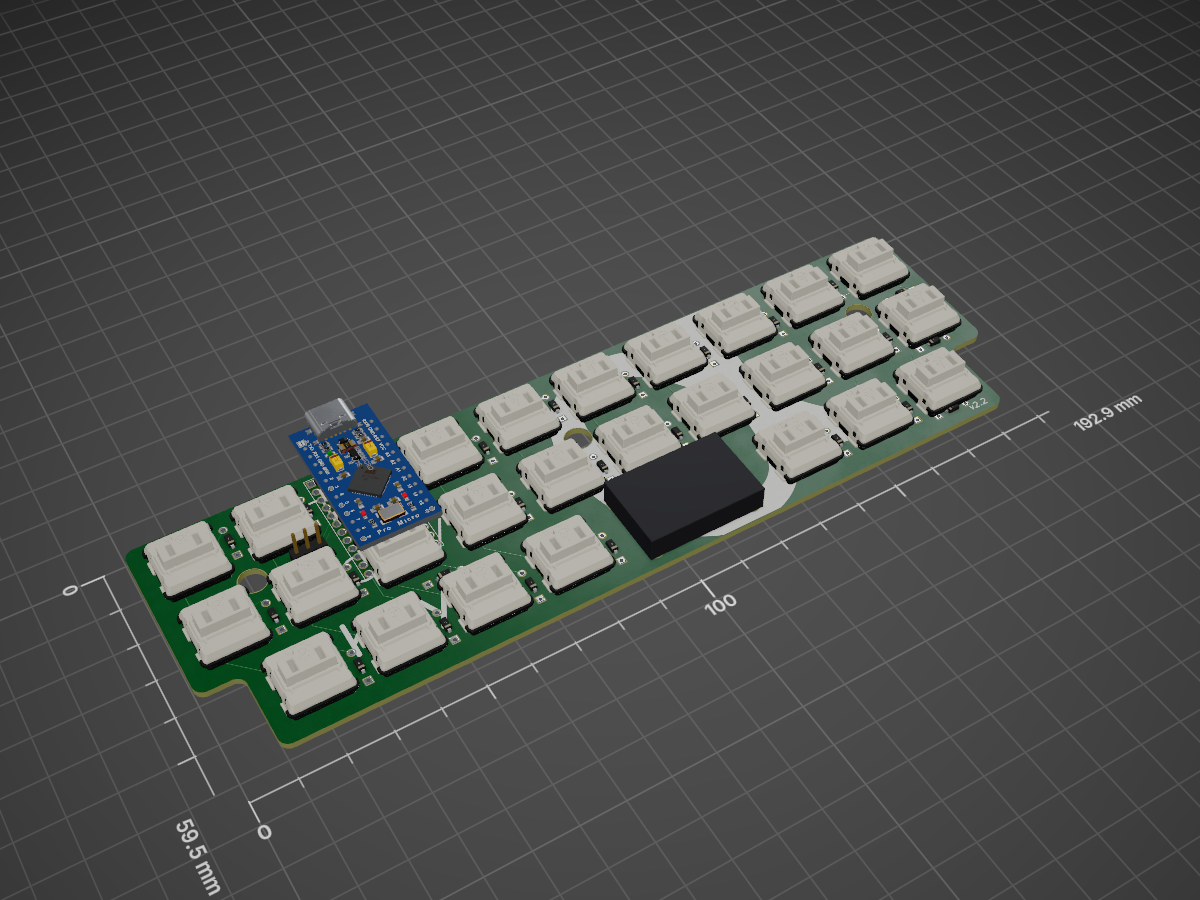
 PyrooL/Alpha298
A 28-key semi-ortholinear mechanical keyboard designed by PyroL
Alpha pro micro is an open-source printed circuit board by PyrooL, from the PyrooL/Alpha repository on GitHub, published under the MIT licence. It is a 2-layer board of 192.9 × 59.5 mm with 64 parts on 50 nets, routed with 348 tracks and 0 vias.
Its parts include 29 switches, 28 diodes, 1 IC and 1 connector. It belongs with the keyboards and input boards and the AVR (ATmega, ATtiny) boards of this library.
A 28-key semi-ortholinear mechanical keyboard designed by PyroL.

Orient the PCB correctly before you start the build: the blockers on the side closer to you, and the Pro Micro holes on the left. You should be able to read the "Too. Many. Keys." slogan on the side facing up.
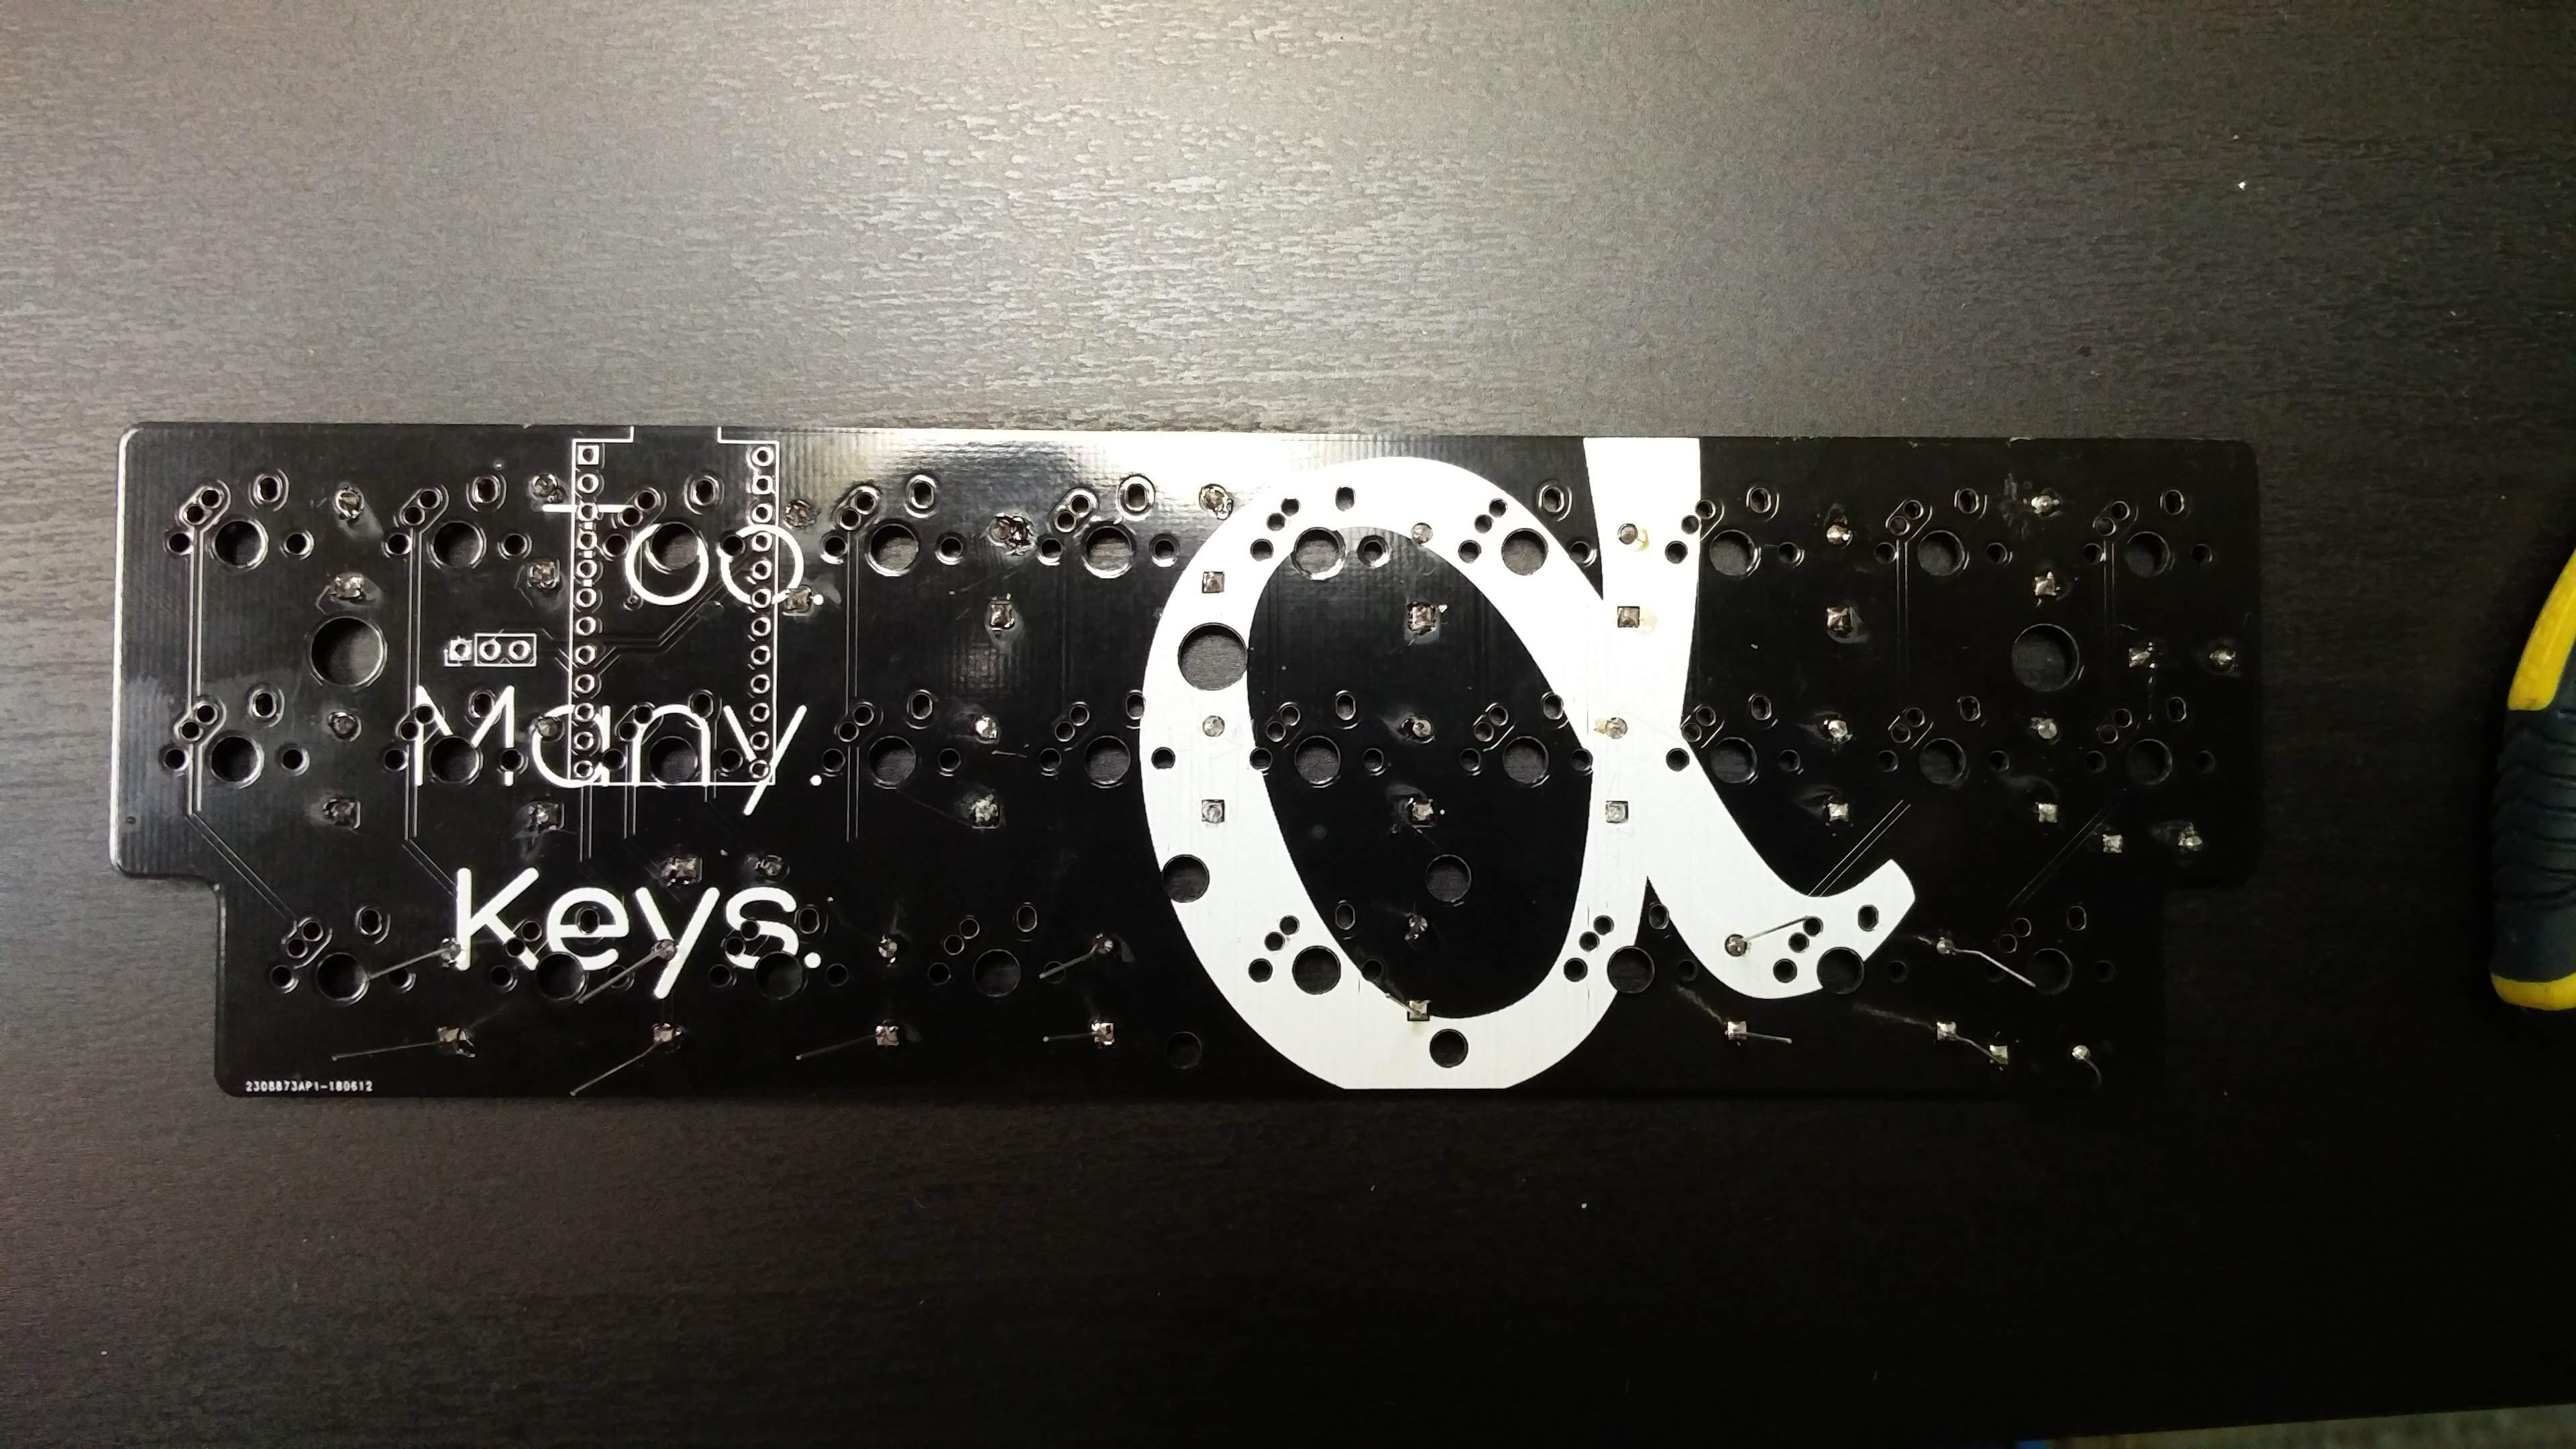
(OPTIONAL): Install a 2u stabilizer.
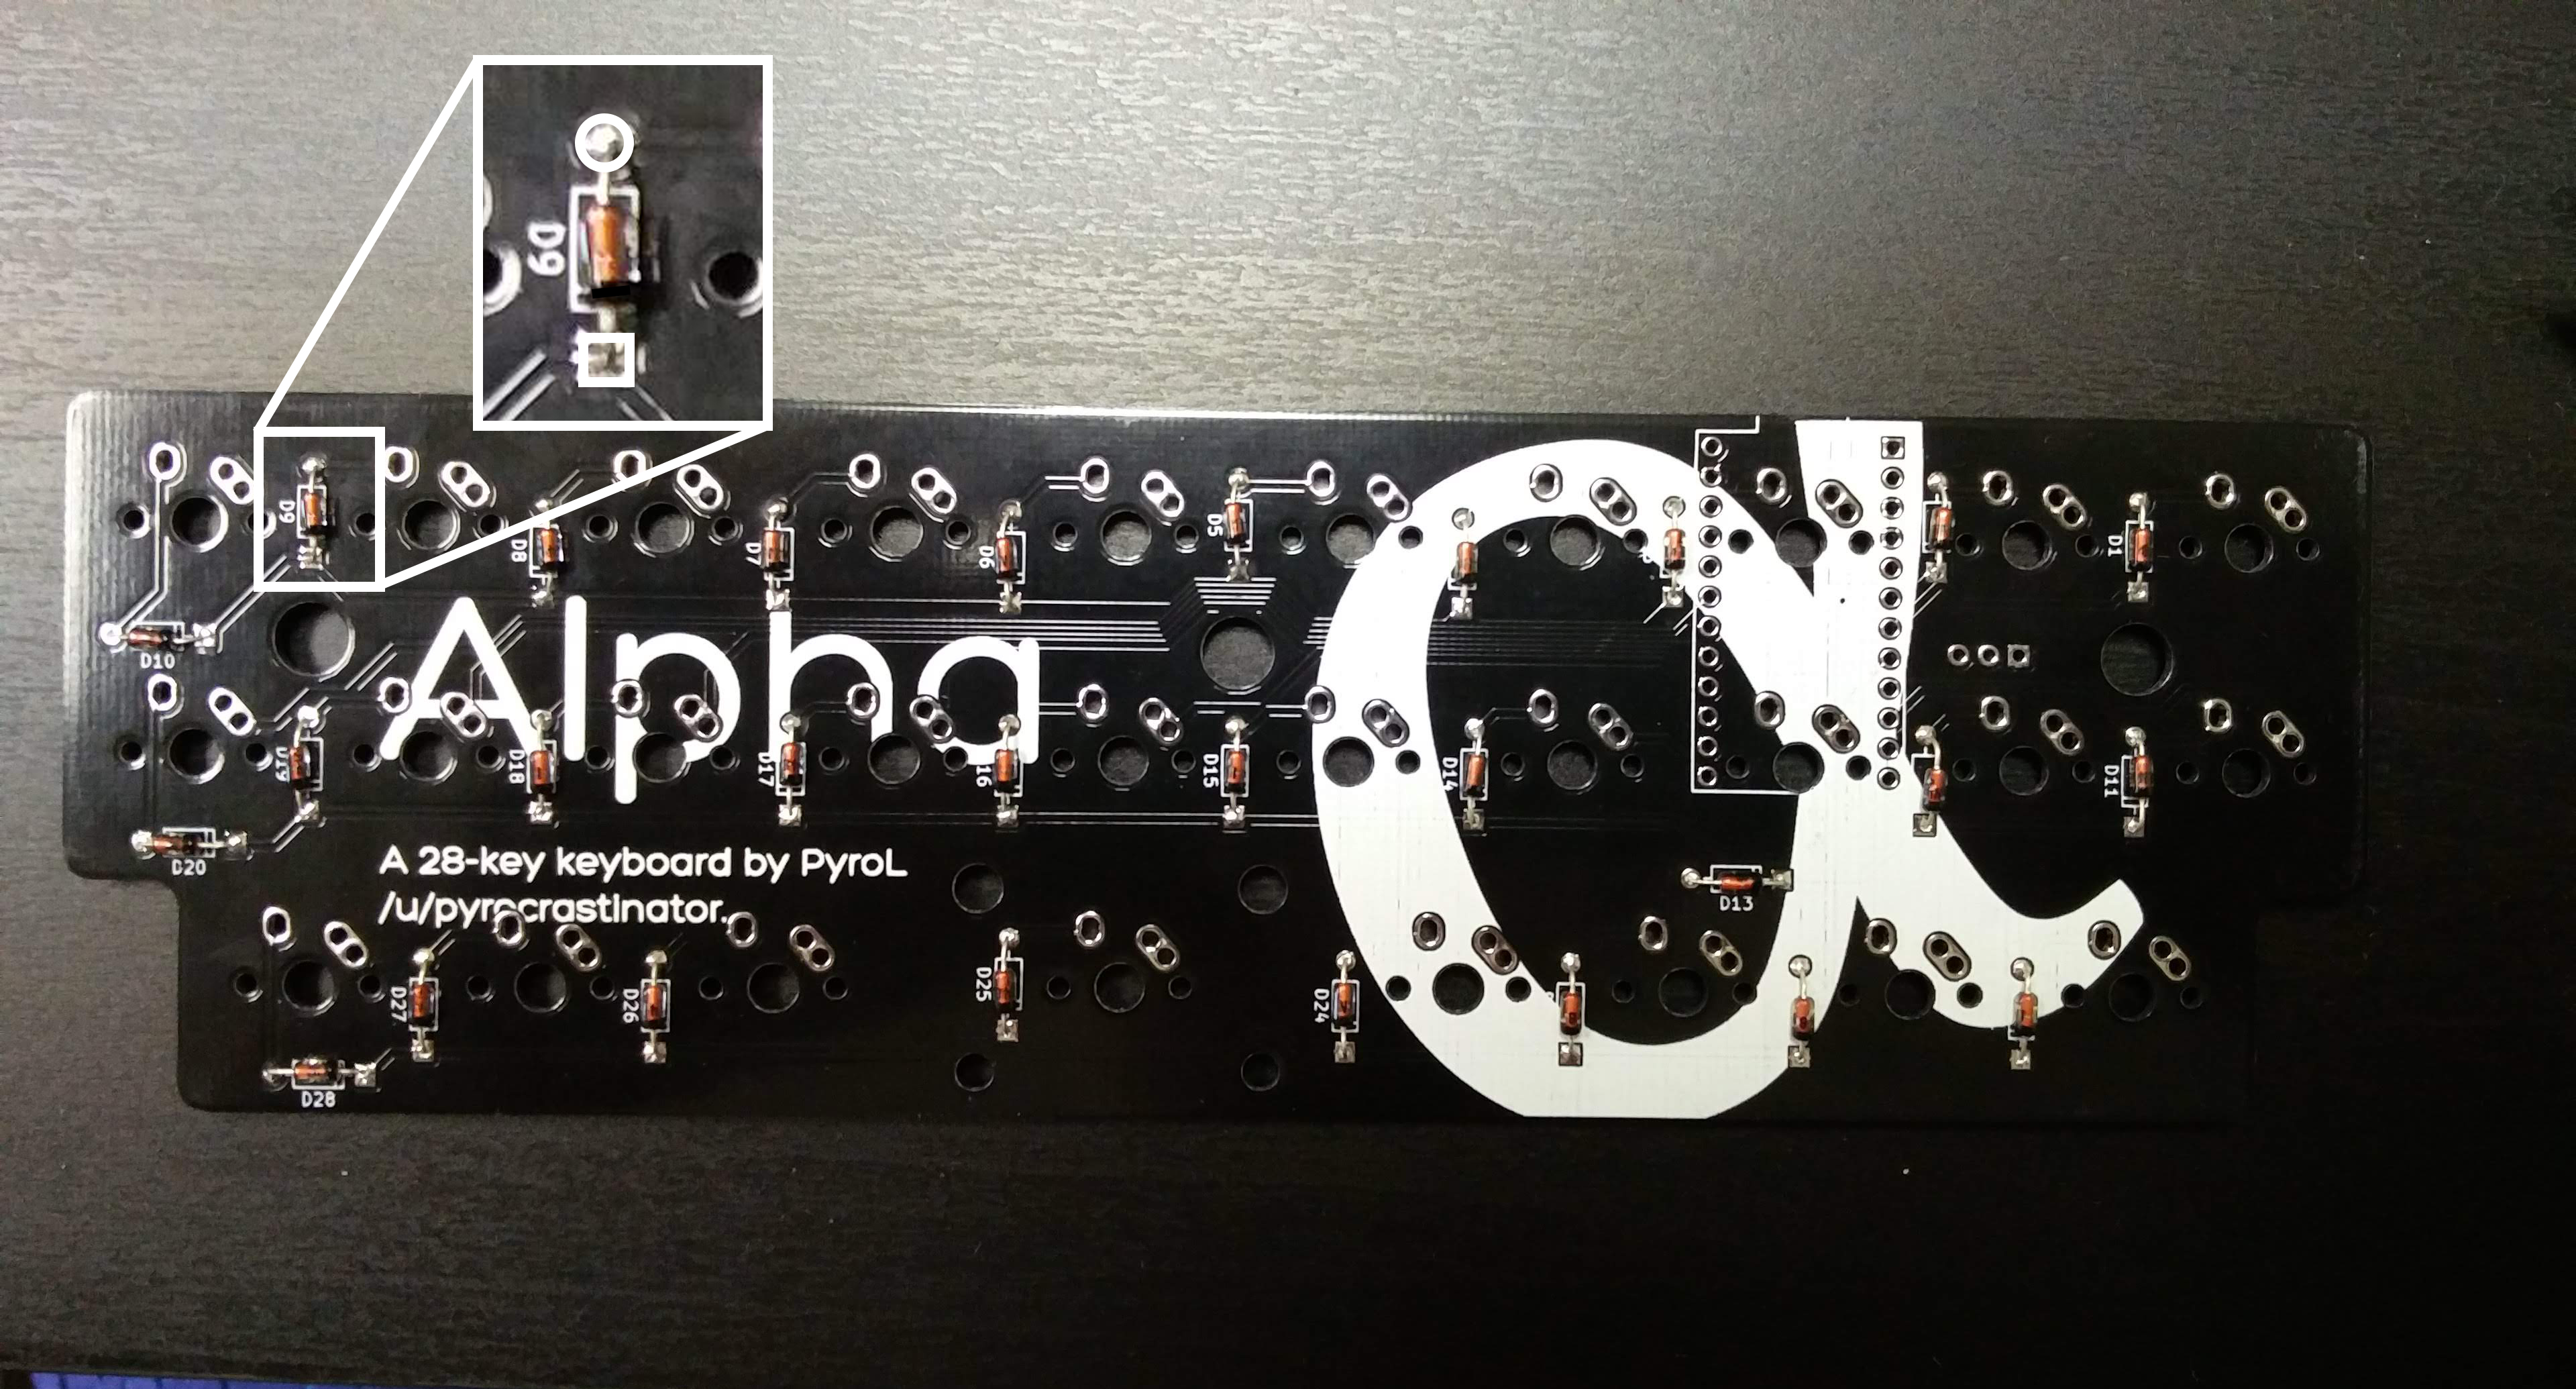
Install and solder the diodes on the bottom of the PCB, with the black line facing the square pad. Cut the excess leads.
Insert the short side of the Pro Micro standoffs into the bottom of the PCB, and solder them in from the top.
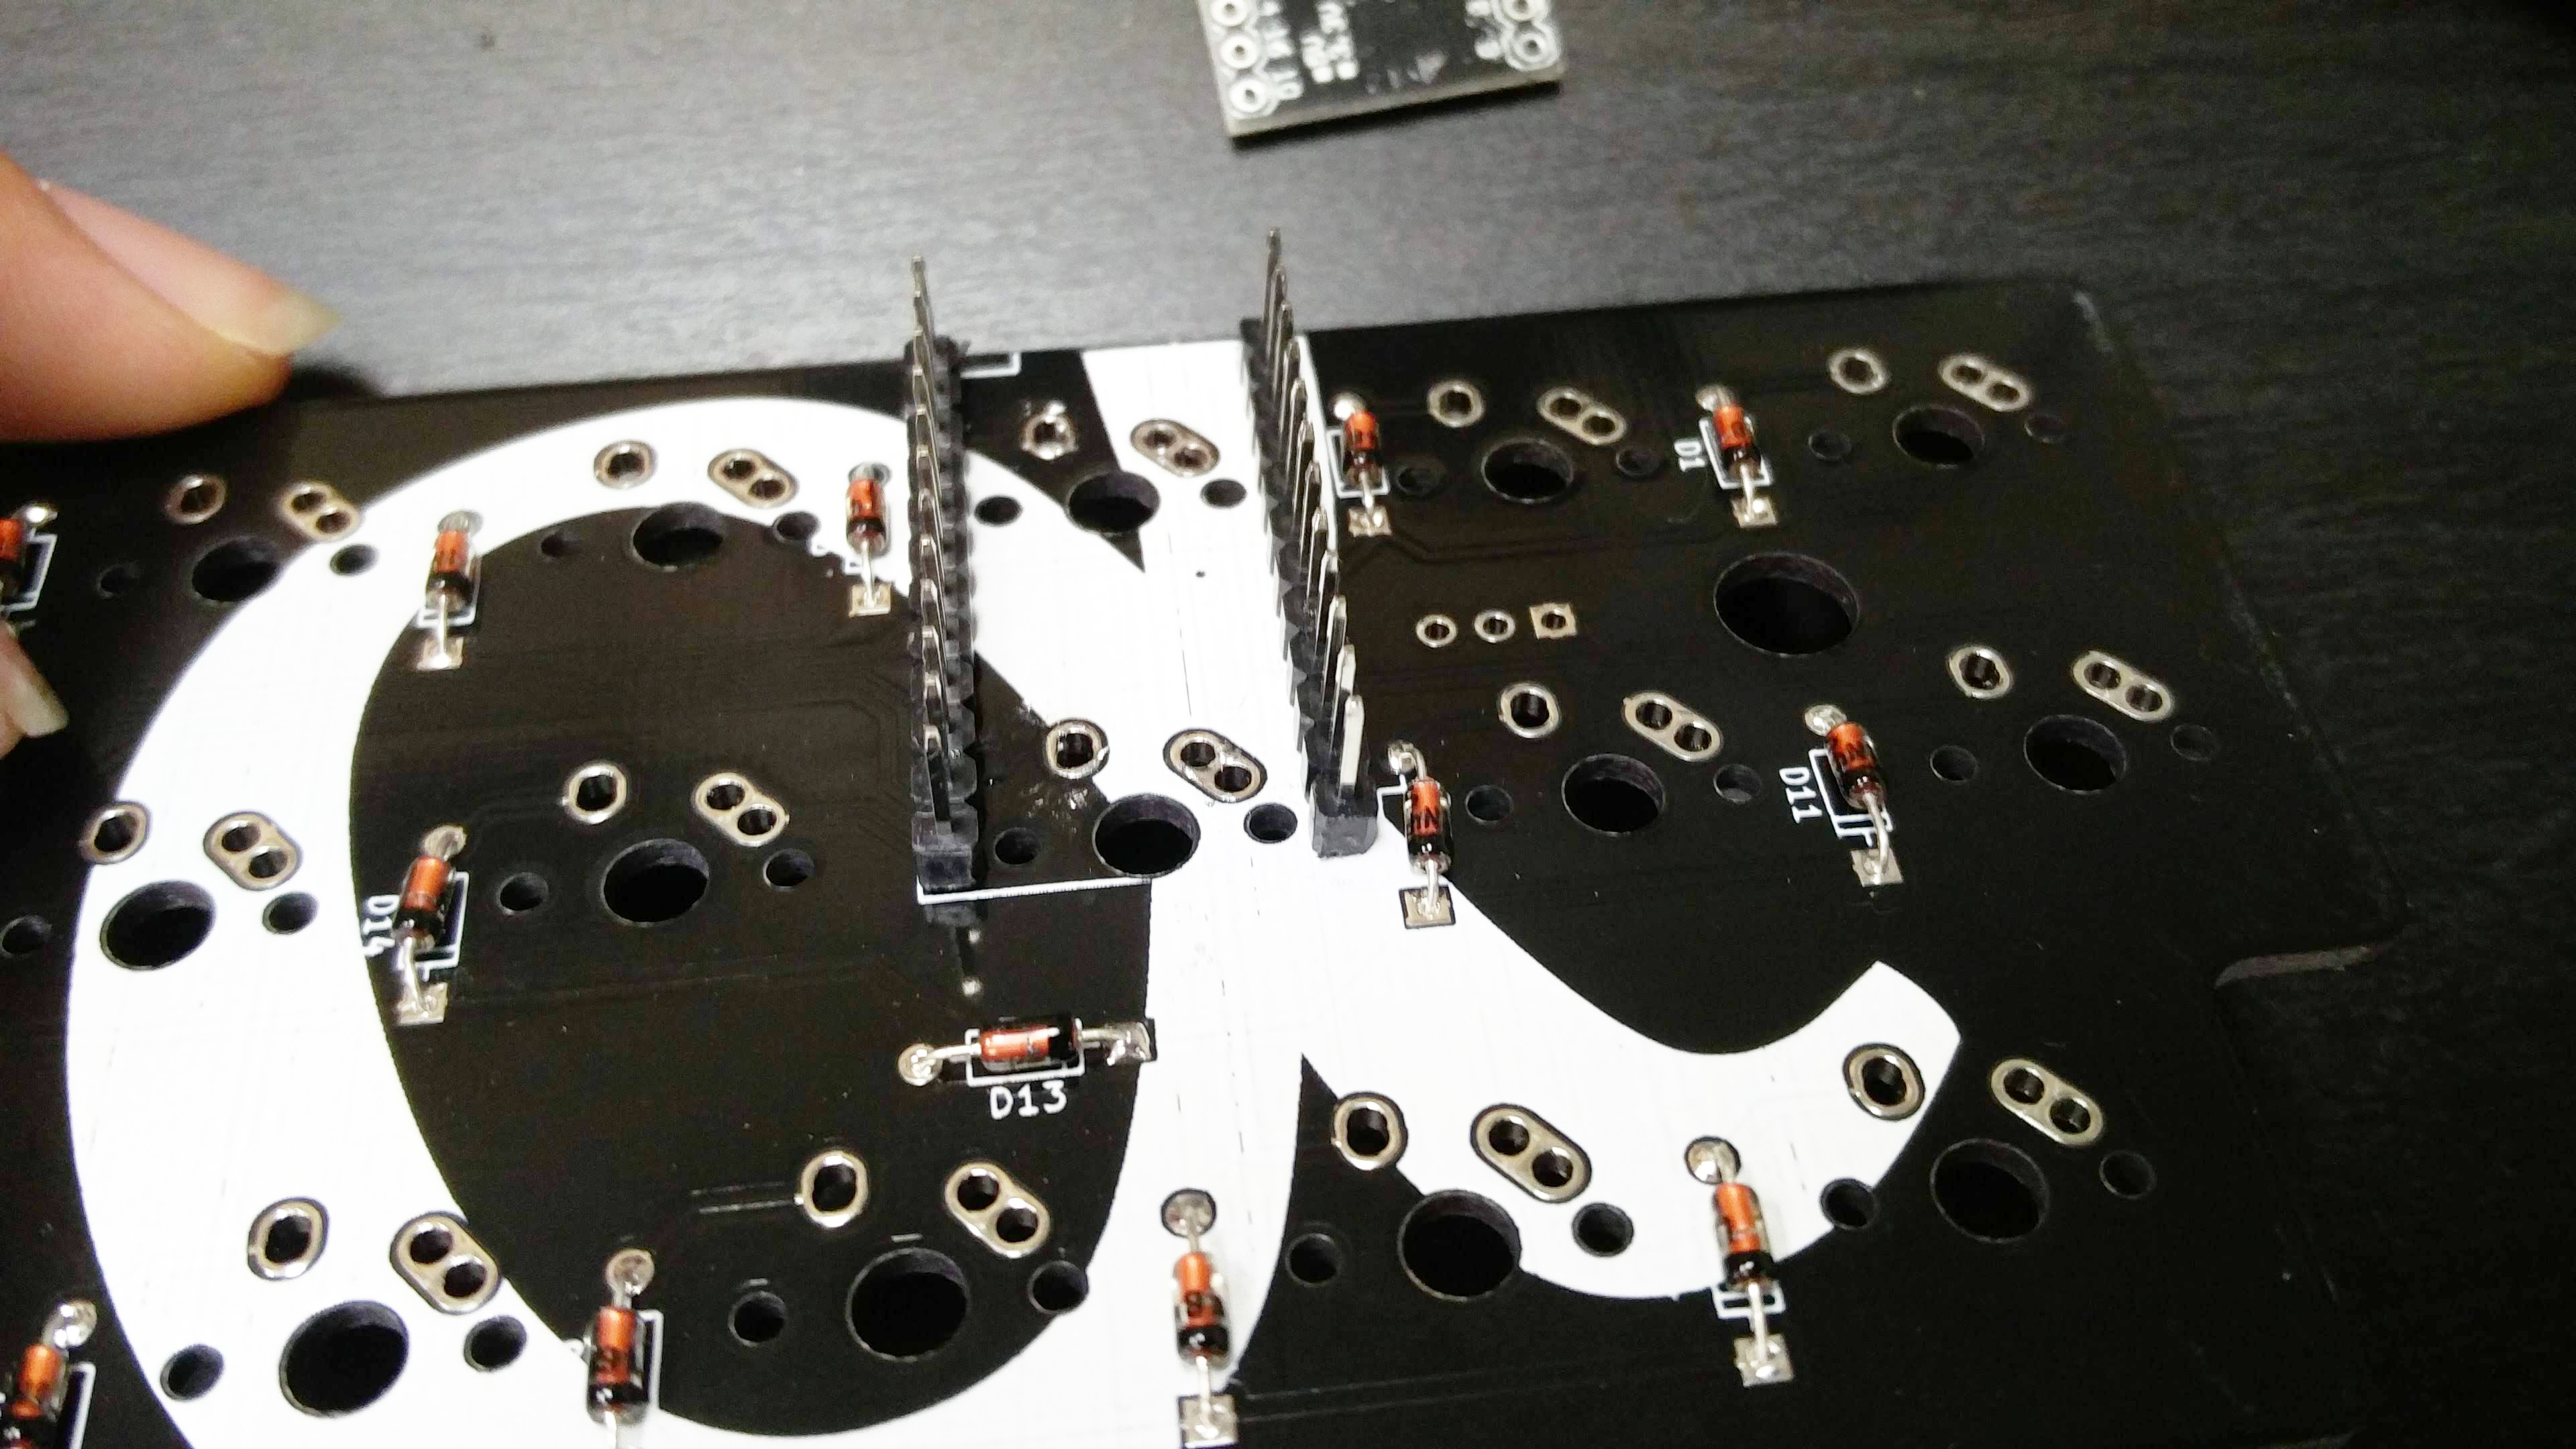
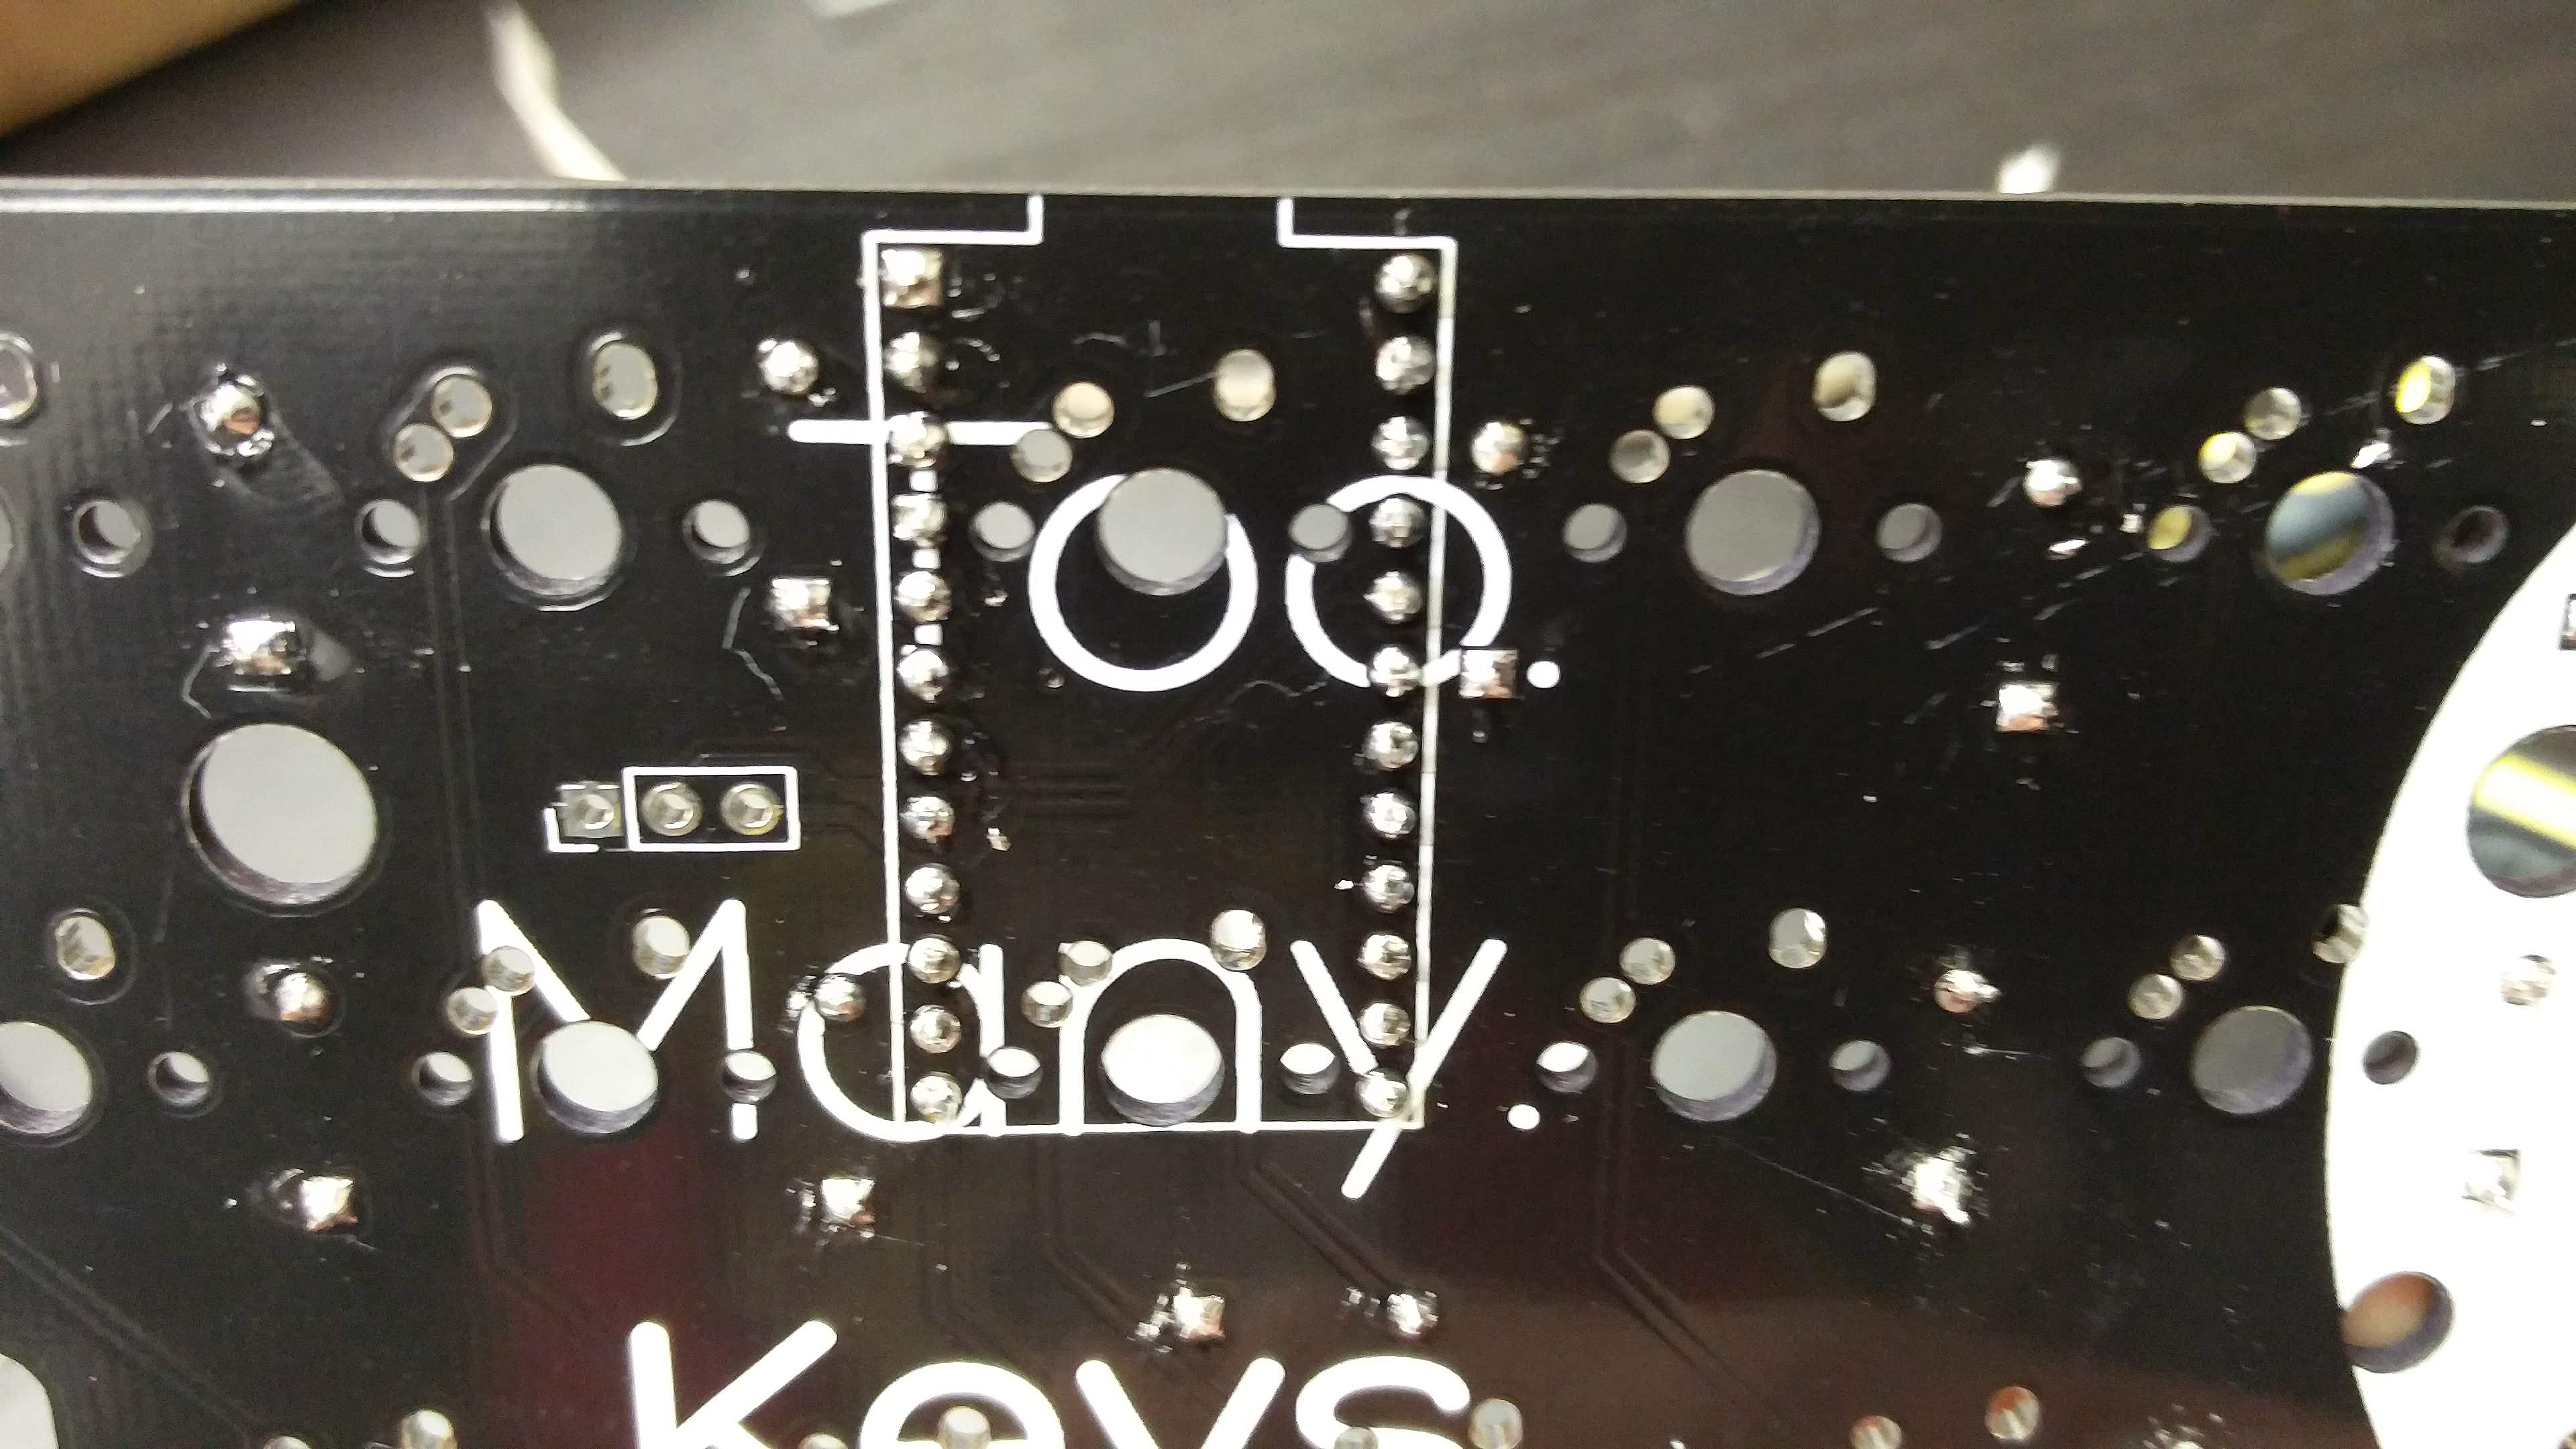
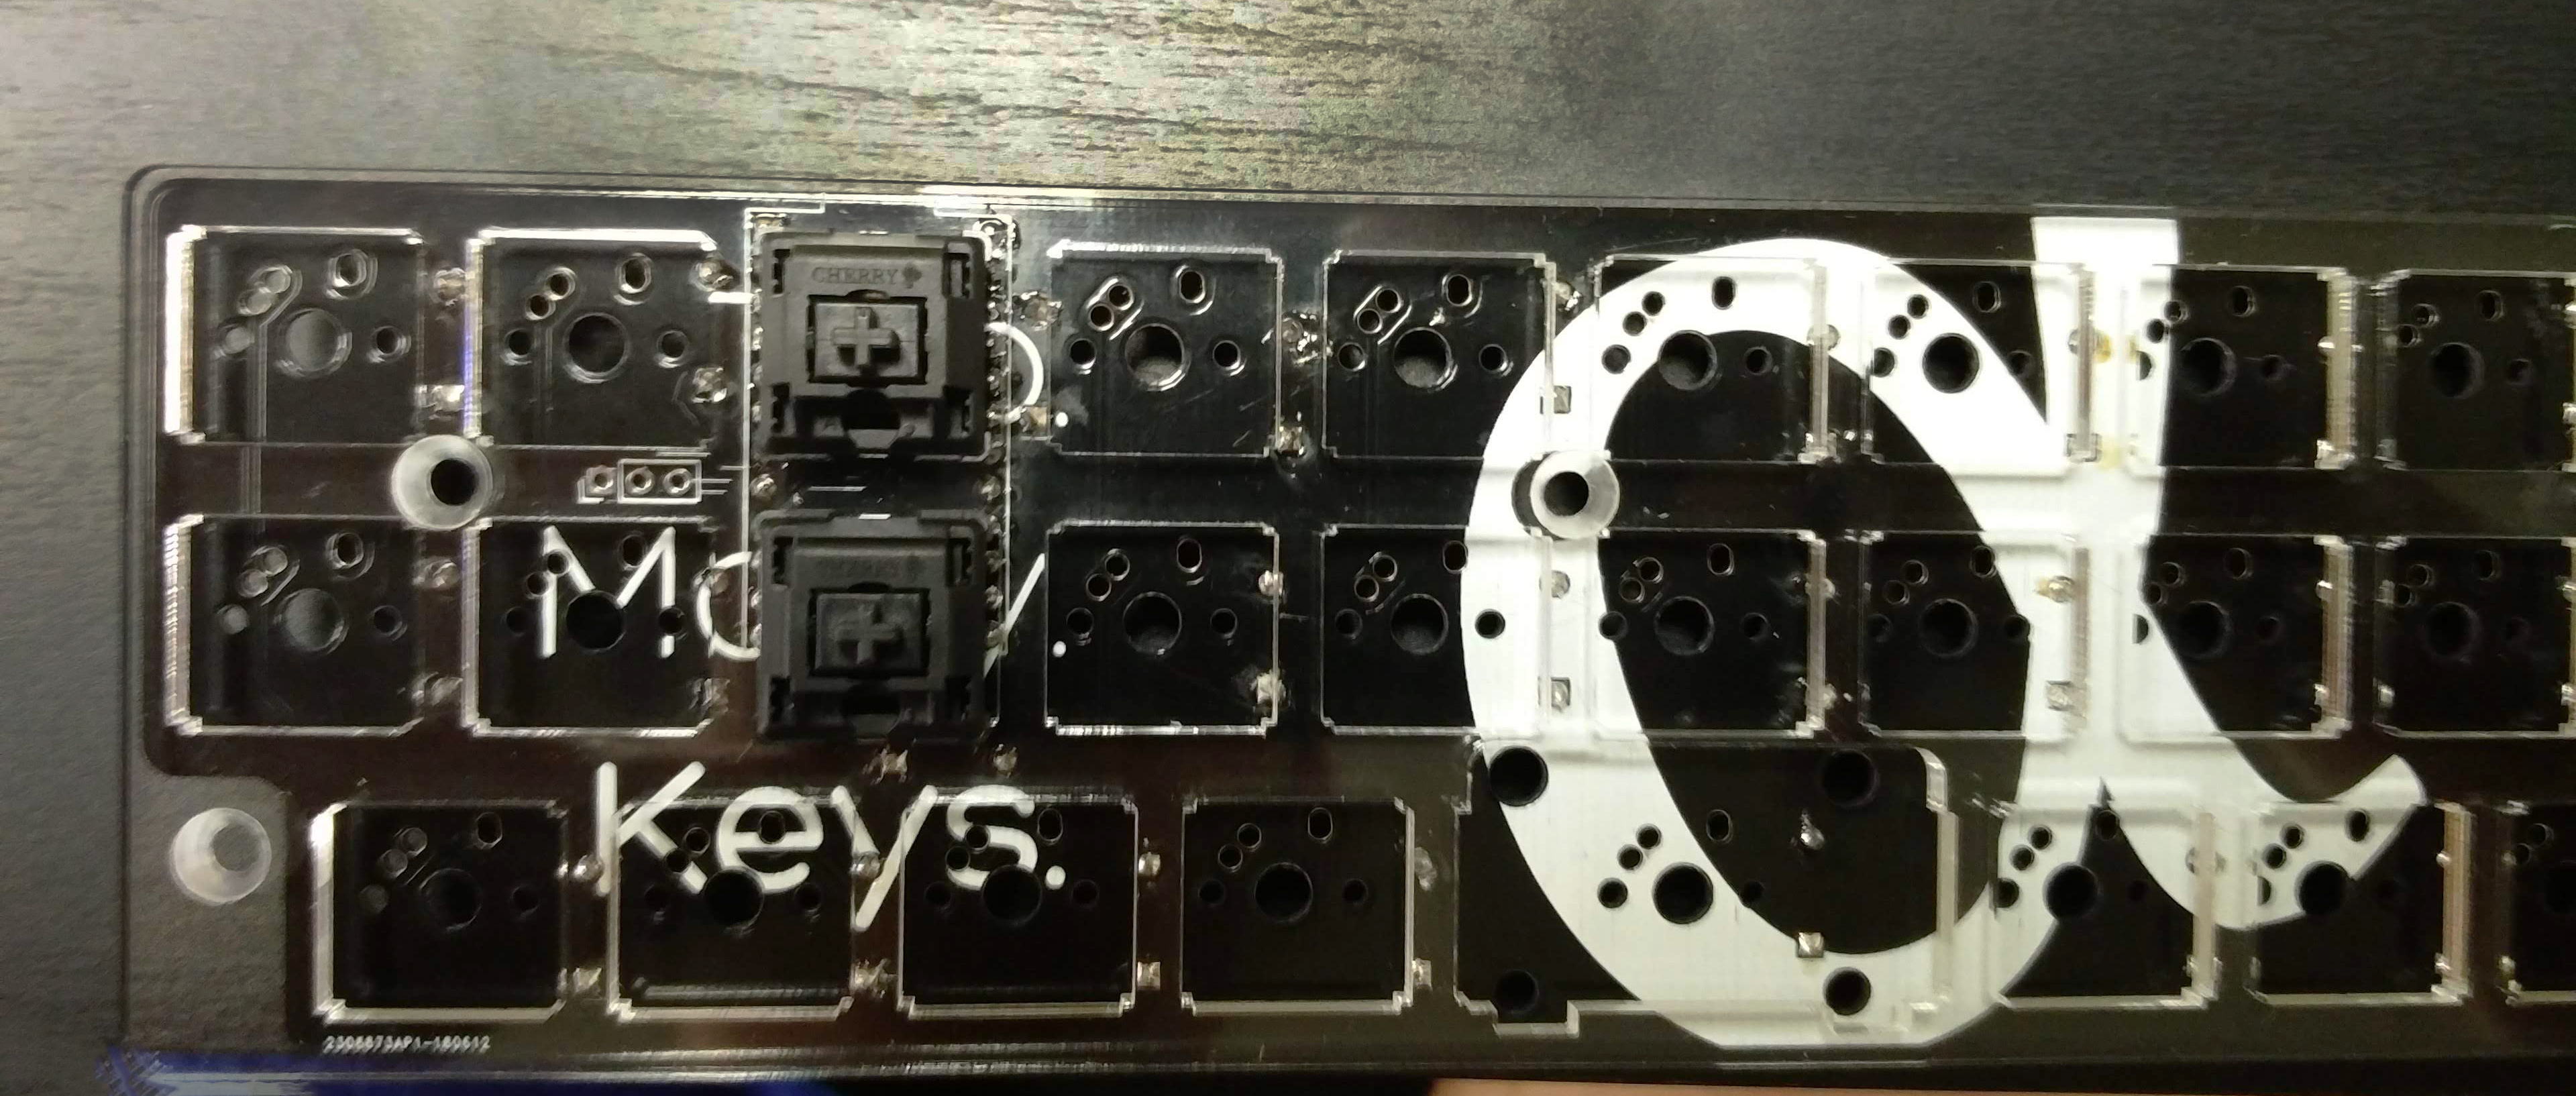
Mount the two switches that will sit in between the Pro Micro standoffs in the plate and solder them into the PCB at that location. Clip the extruding switch pins after soldering to ensure the Pro Micro will sit flat.
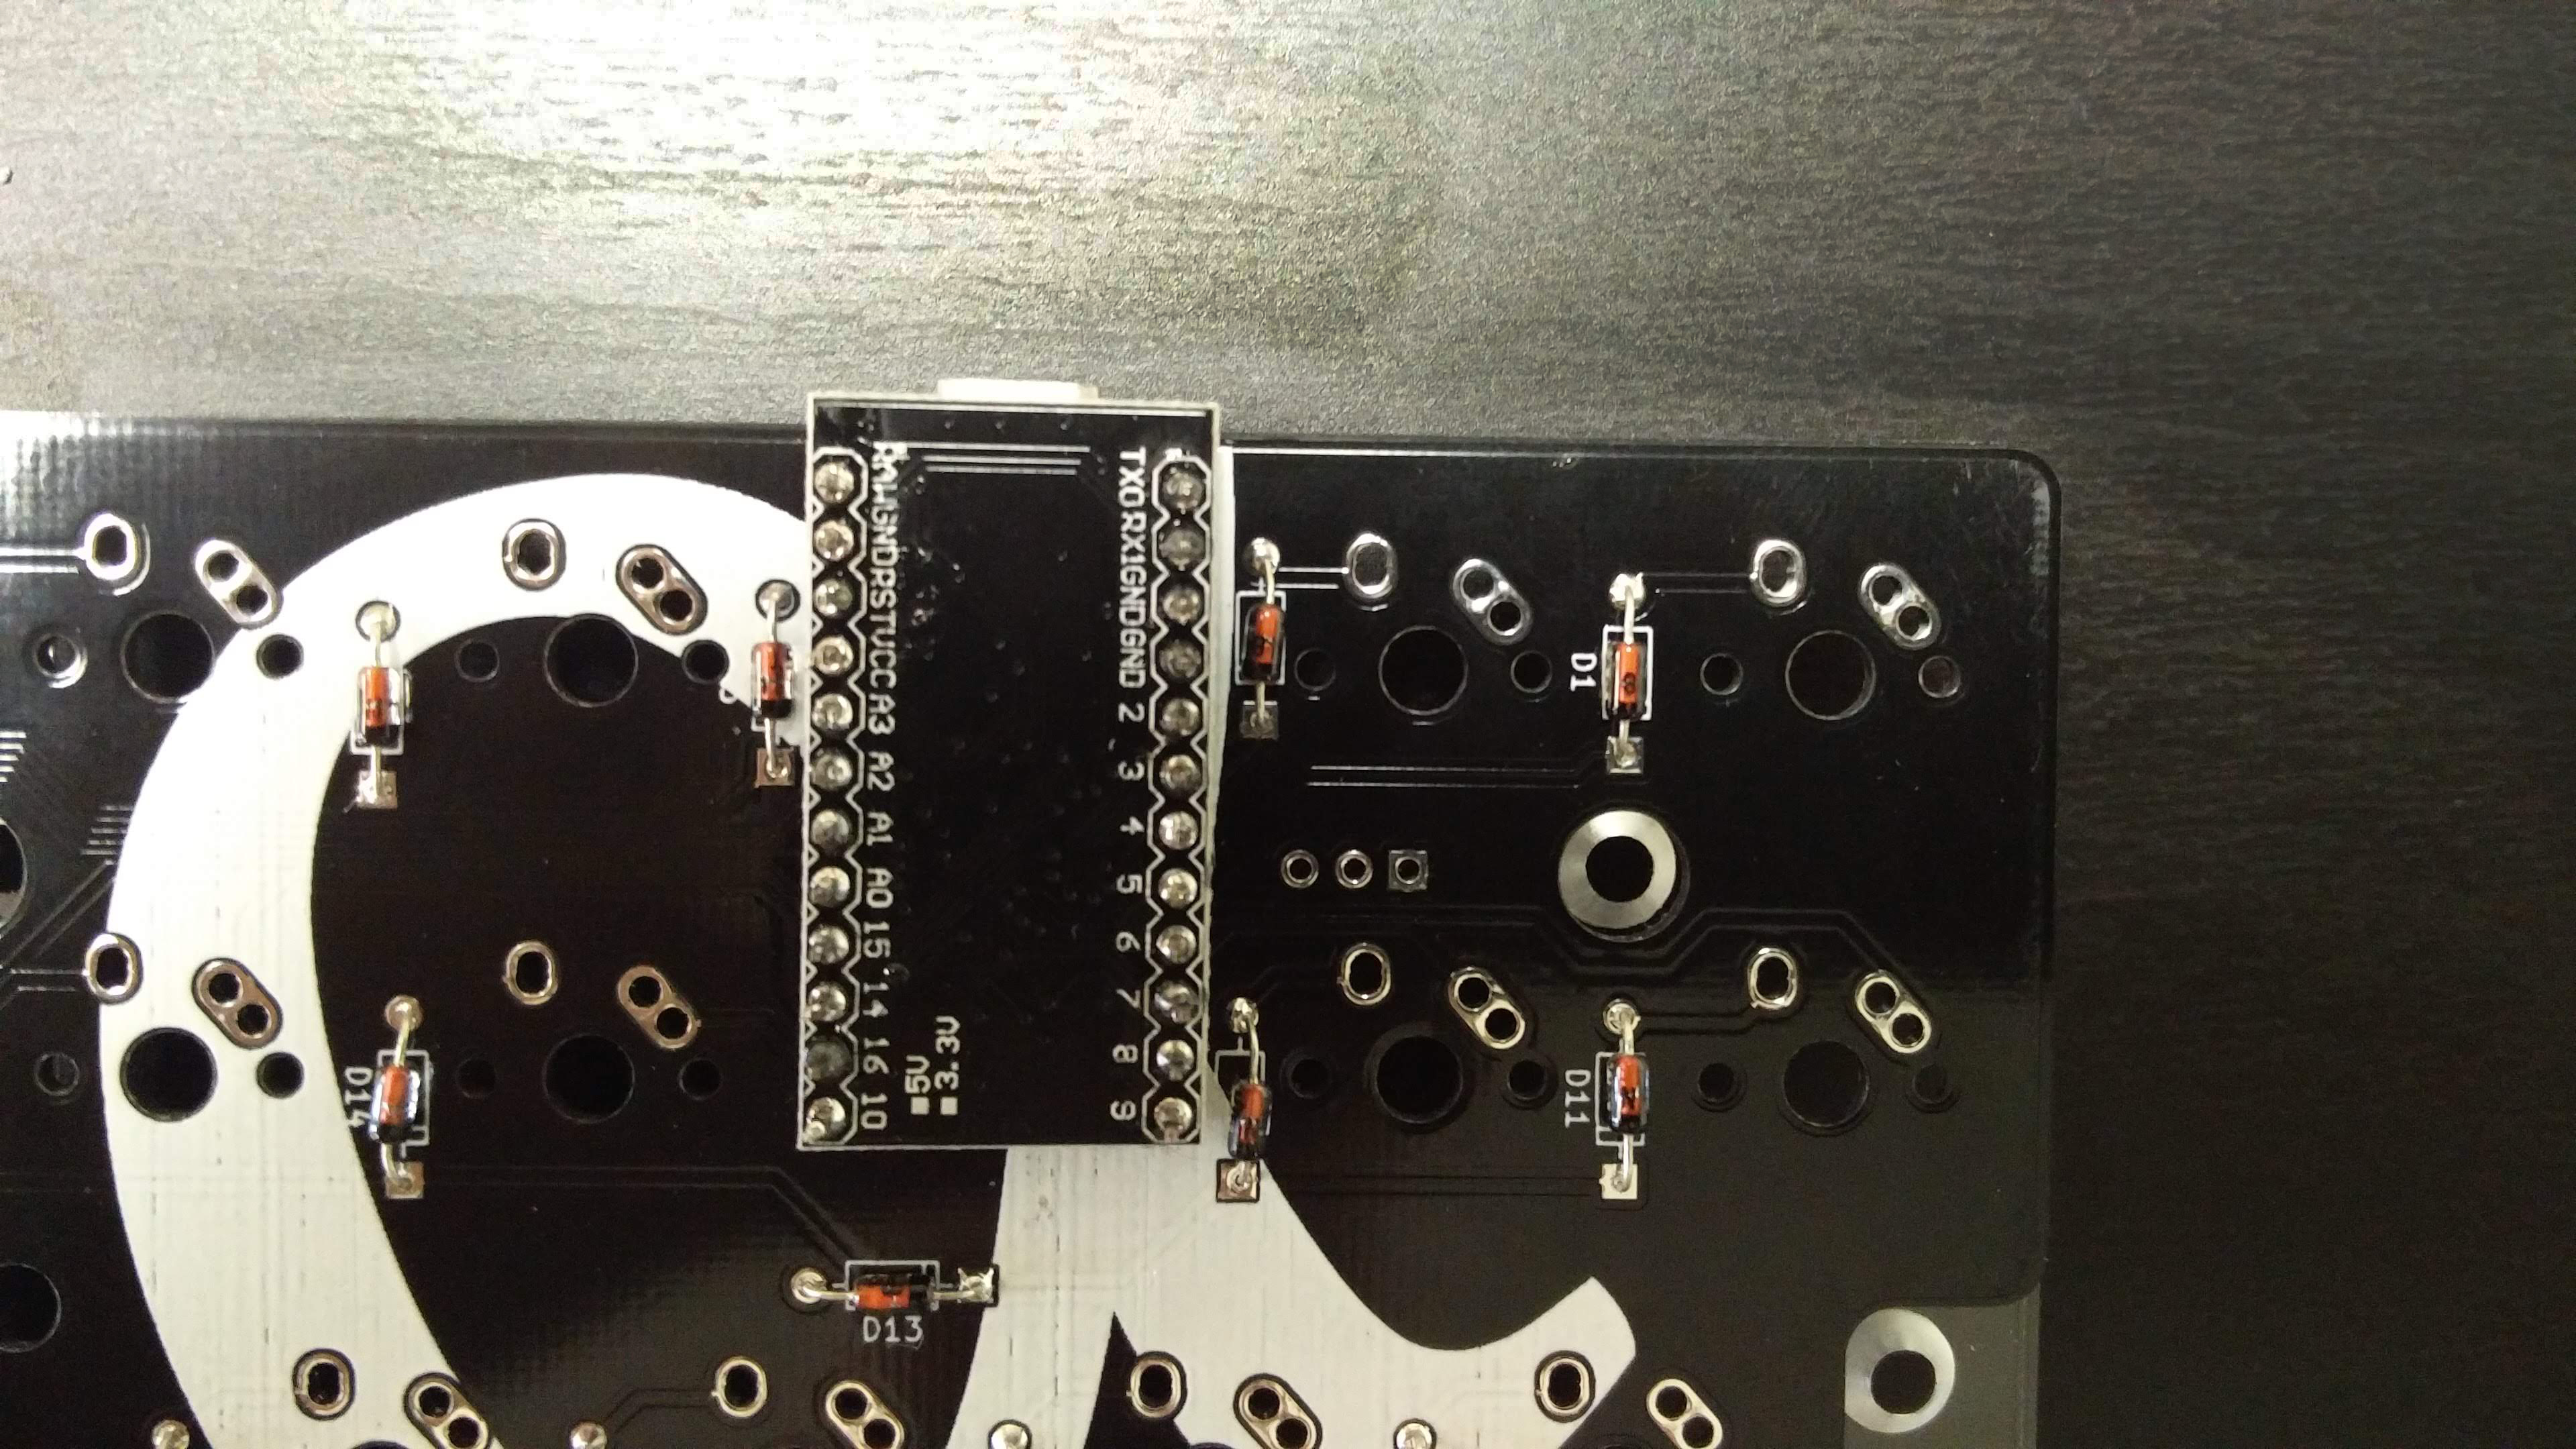
Mount the Pro Micro on the bottom of the PCB, smooth side facing you. Solder.
bakingpy has an awesome guide for an even lower-profile Pro Micro mounting solution that works with Alpha!
Very important: after soldering, (regardless of if you mounted normally or bakingpy-style,) use a wire cutter to clip as much of the protruding standoff as possible. With 10mm standoffs this is a snug fit, and it is impossible with the standoffs at full length. Reflow your solder if it climbed up the wire.
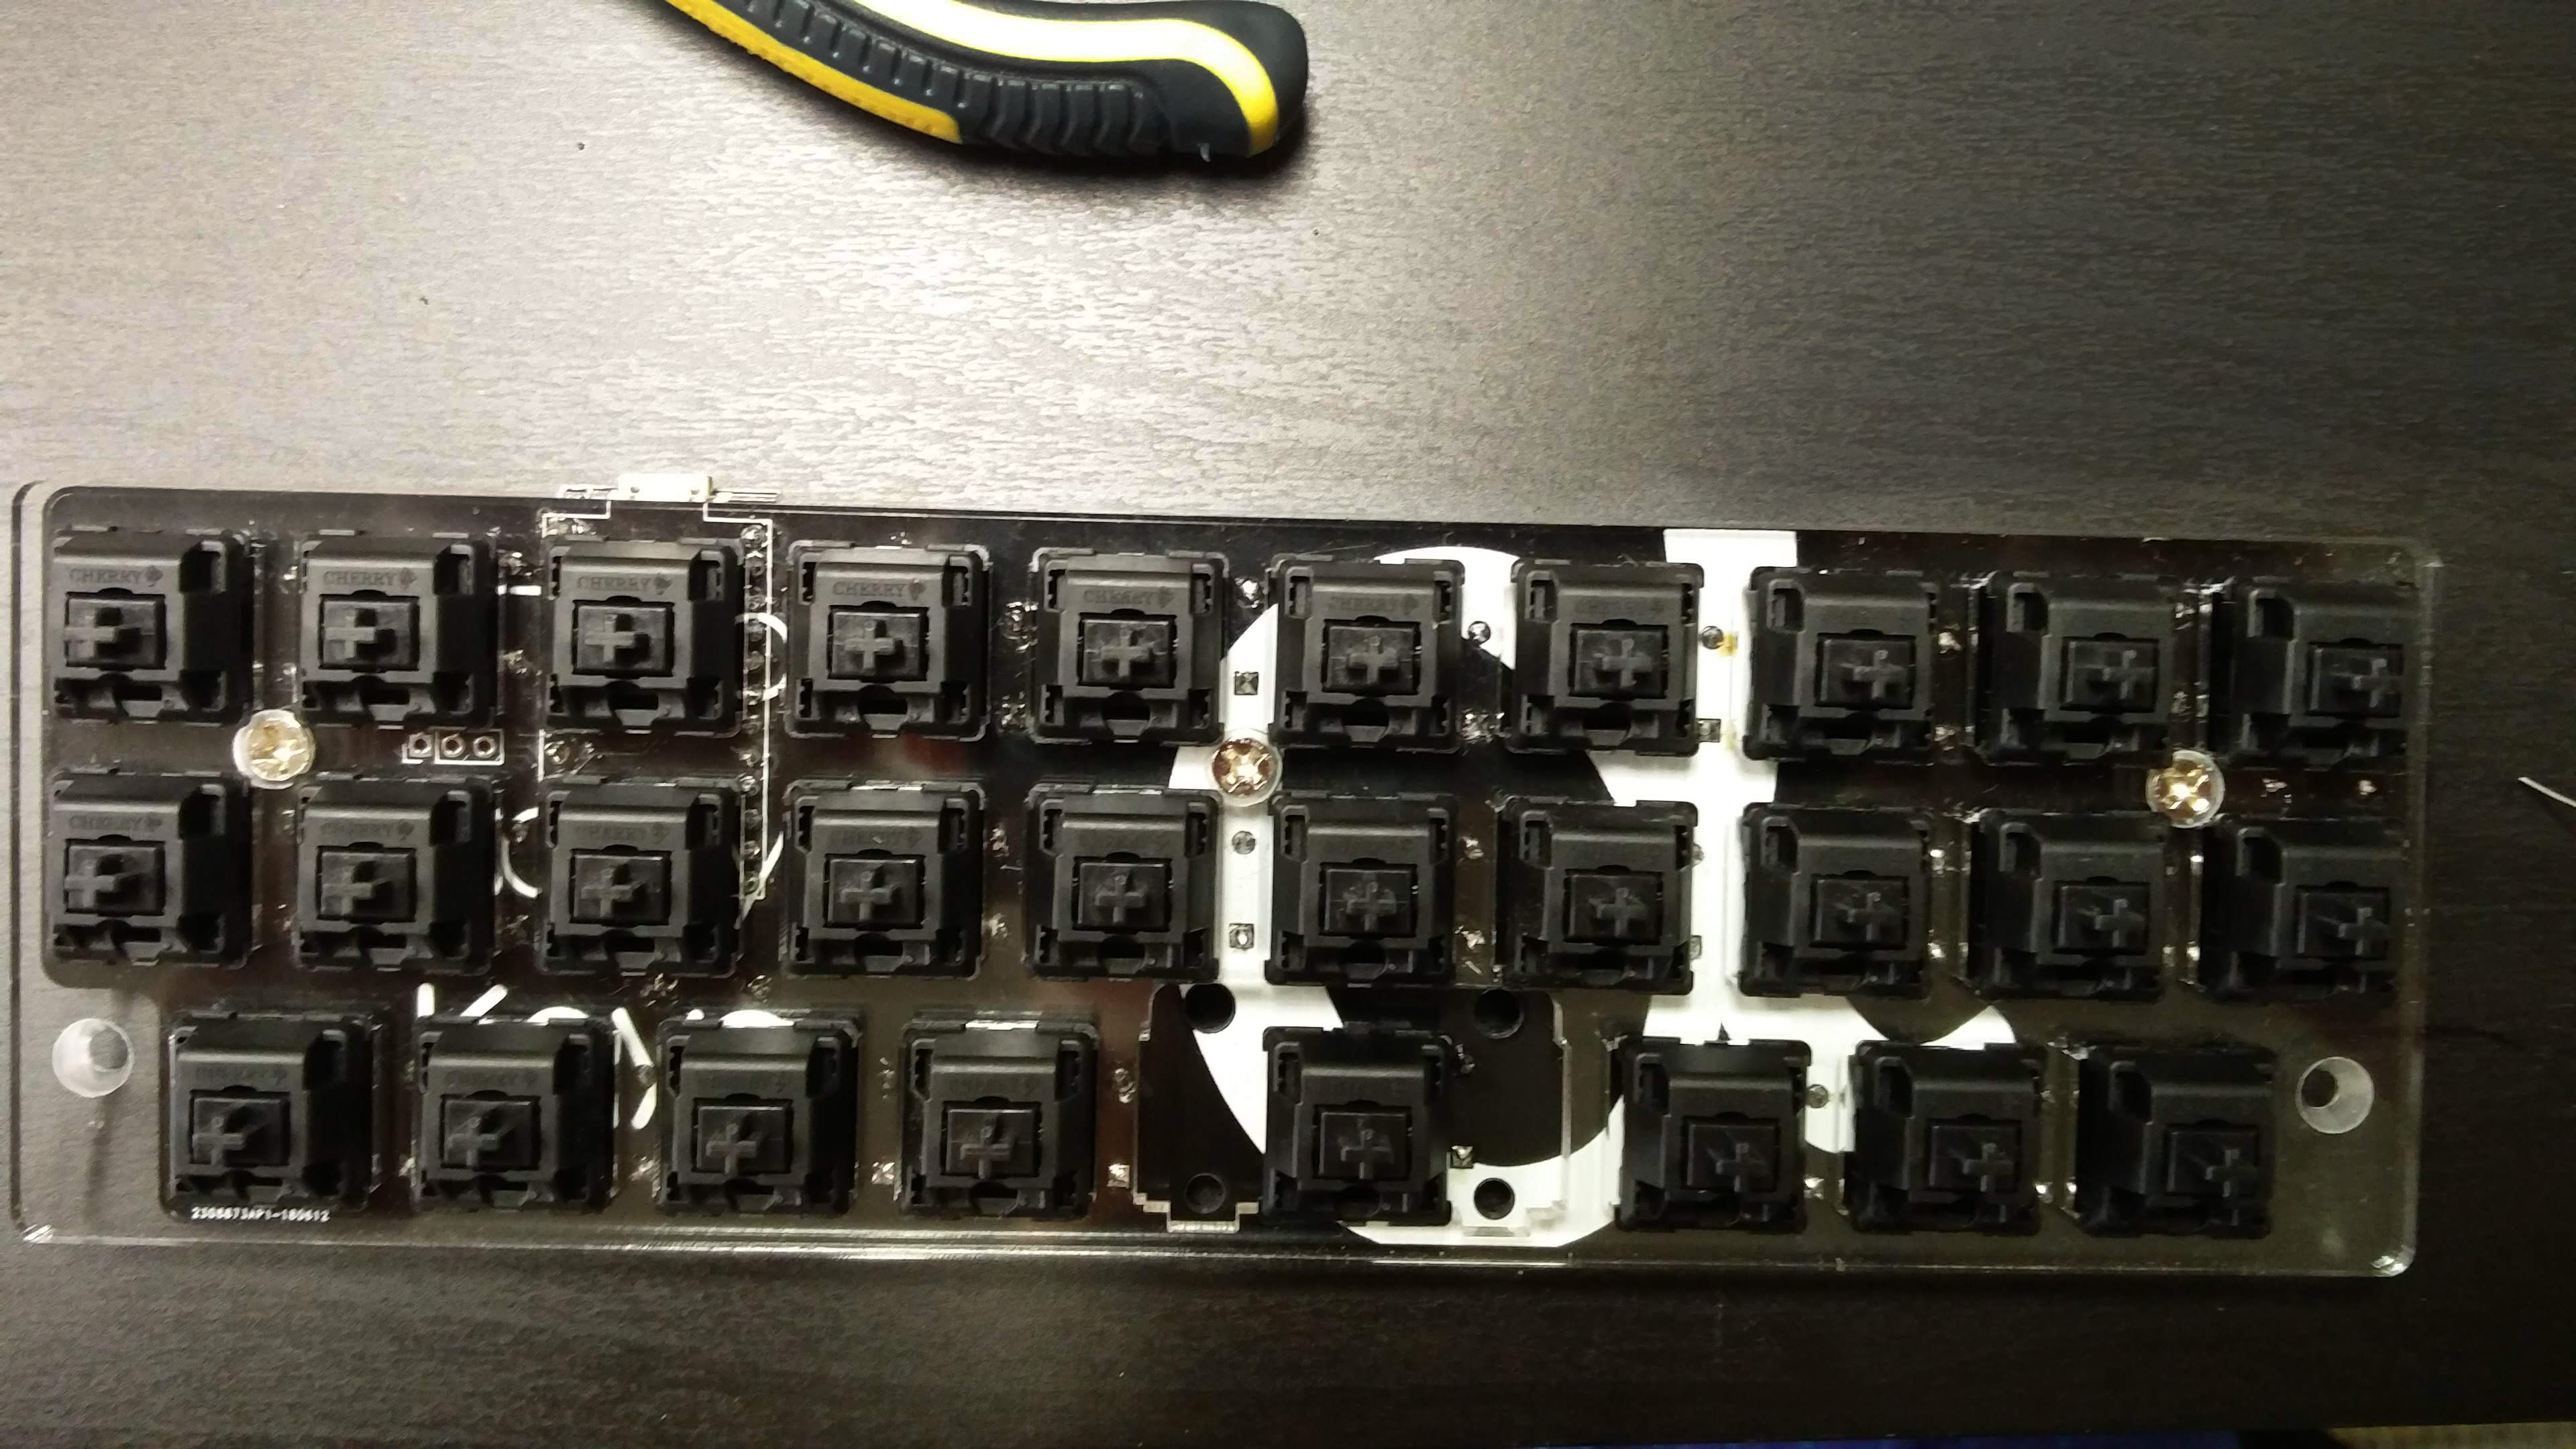
Mount the switches in the plate, and solder them all in. Careful for bent pins!
Remove the 3M adhesive strip on the back of your LED strip and place it on the bottom of the PCB. Cut 3 wires of similar length, preferably of different colors. Connect VCC, GND, and Data pins on the strip to their respective pins on the PCB.
v1.1 and onwards has pins labeled and in the same order as they come on the strip!
Assemble the case: for each hole, pass a screw through the top plate, screw in a standoff to finger tightness, then screw in through the bottom plate. Once all screws and standoffs are installed, use a screwdriver to tighten as needed (but not too tight, as acrylic can be brittle!). Flash using QMK (use my firmware, or kbfirmware.com), and enjoy!
Flash steps:
Don't forget to send me a pic of your build at @PyroL#7672 on Discord or /u/pyrocrastinator! I'd love to see what you guys do with these!
Added SKQG reset button pads (no need to manually short reset!) and fixed RGB pin order to match common SK6812/WS2812 pinout, and added silkscreen labels to RGB pins.
Diodes now are combo through-hole and SMD compatible! Breakout pins for artisan column ("tmo28") added on both sides. Routing cleaned up etc.
Choc footprints added! Also support for first version of "TMO28", an artisan column that's still being worked on.
Fixed disconnected D4, see here or contact me for fix if you are affected. Only affects v2.0.
Removed TMO28 breakout pins for cleaner look. Version with breakouts still available in breakoutholes branch.
| Qty | Value | Footprint | References |
|---|---|---|---|
| 28 | D | combodiode:ComboDiode | D1, D2, D10, D11, D12, D13, D14, D15, D16, D17, D18, D19, D20, D21, D22, D23 +12 |
| 27 | KEYSW | keebio-parts:MX-Alps-Choc-1U-NoLED | K1, K2, K10, K11, K12, K13, K14, K15, K16, K17, K18, K19, K20, K21, K22, K23 +11 |
| 1 | Conn_01x03 | Pin_Headers:Pin_Header_Straight_1x03_Pitch2.54mm | J1 |
| 1 | KEYSW | keebio-parts:MX-Alps-Choc-2U-StabFlip | K25 |
| 1 | LOGO | silkscreens:back_silk | G*** |
| 1 | LOGO | silkscreens:front_silk | G*** |
| 1 | MountingHole_6mm | Mounting_Holes:MountingHole_6mm | HC1 |
| 1 | ProMicro | promicro:ProMicro | U1 |
| 1 | SW_Push | random-keyboard-parts:SKQG-1155865 | SW1 |
The 62 most common of 64 parts.
It measures 192.9 × 59.5 mm and has 2 copper layers, 1.6 mm thick.
64 parts. The full list of its parts is on this page, with links to each part's symbol and footprint where PCBKit's library has them.
From the PyrooL/Alpha repository on GitHub, at the commit this page was made from: the board is PCB_kicad/alpha_pro_micro.kicad_pcb. PCBKit opens the board in the browser, with nothing to install.
Its repository publishes it under the MIT licence: you may reuse it on that licence's terms (keep the author's notice, and for a copyleft licence share your changes alike).
hackclub/OnBoard
💡 Join 1,000 teenagers and make your first PCB with a $100 grant!

drandyhaas/KiCadRoutingTools
A set of Python/Rust tools to aid routing in KiCad

BlueSCSI/BlueSCSI-v2
BlueSCSI v2/Ultra - an open source, open hardware, SCSI emulator using the Pi Pico PR2040 and Pico 2 RP2350


ugcs/ddc
Drone Show Software is software designed for drone shows, allowing flight path planning as well as control of dozens of drones simultaneously in a synchronized manner.


pekkaroi/bldc-drive
Cheap and simple brushless DC motor driver designed for CNC applications using STM32 microcontroller